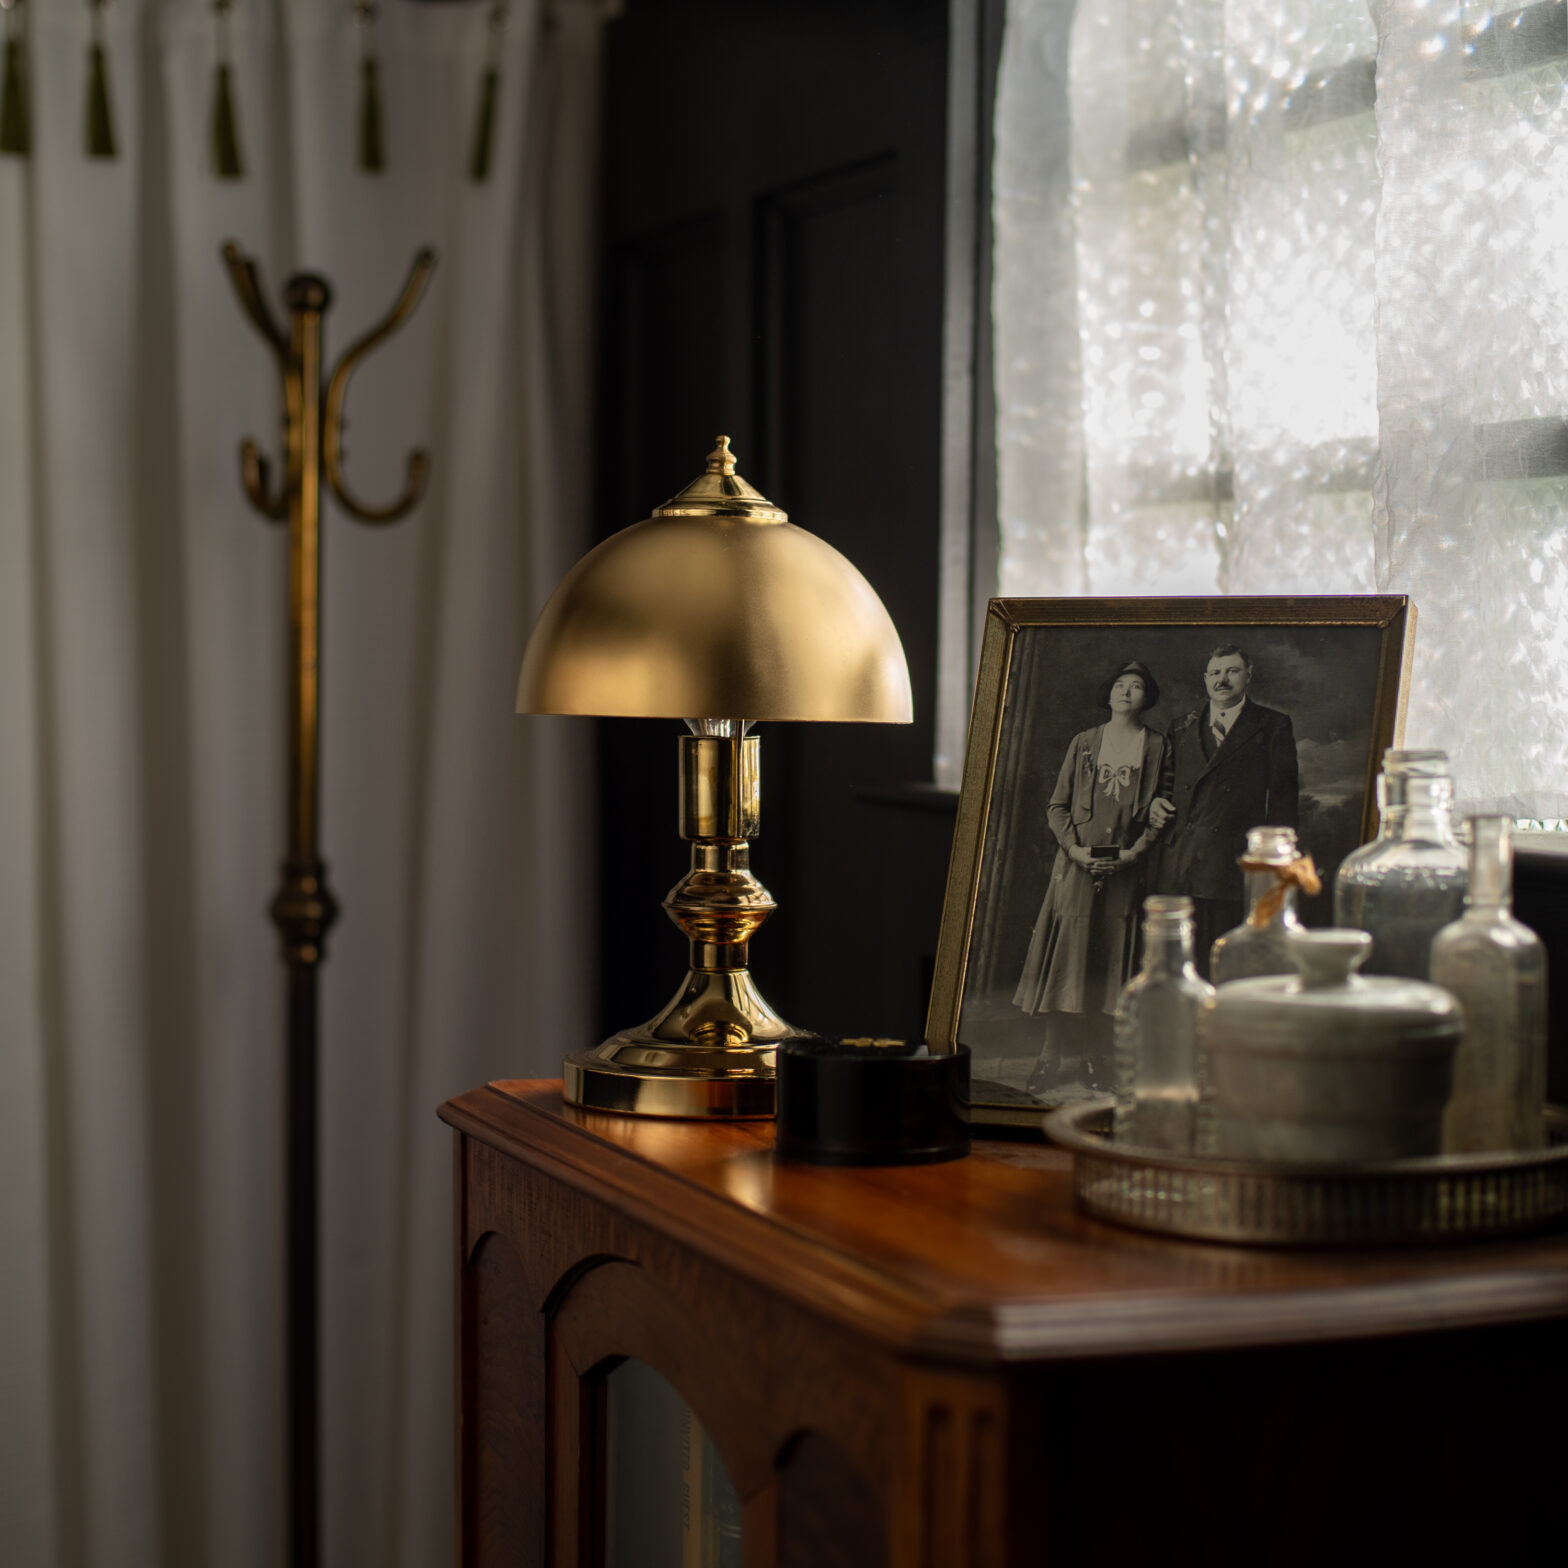
A few weeks ago I saw the most beautiful little brass lamp on instagram!
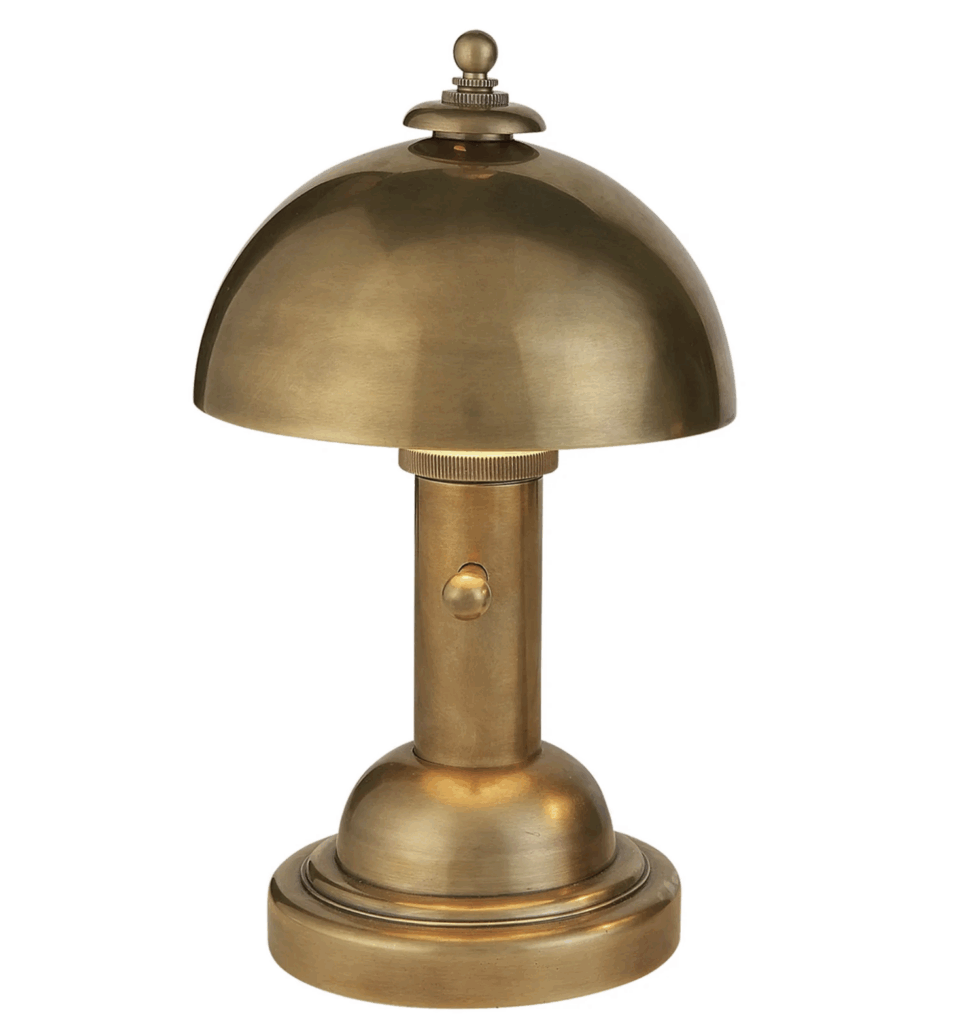
After some digging, I discovered it was the Totie Task Lamp designed by Thomas O’Brien for Visual Comfort. I also discovered that it retails for $479, which is a bit outside my current tiny lamp budget.
So when I stumbled upon a small, old and dated, brass lamp at the thrift store for $8 the other day, I was instantly inspired to create my own DIY version for less. Like a lot less.
Here’s how I did it:
*This blog post contains affiliate links, meaning that if you purchase any of the items using the links I provide I, as the author of this website, will receive a very very small commission from that sale. This is a great way to help support your favorite bloggers at no cost to you. Think of it like a tip jar that costs you nothing!
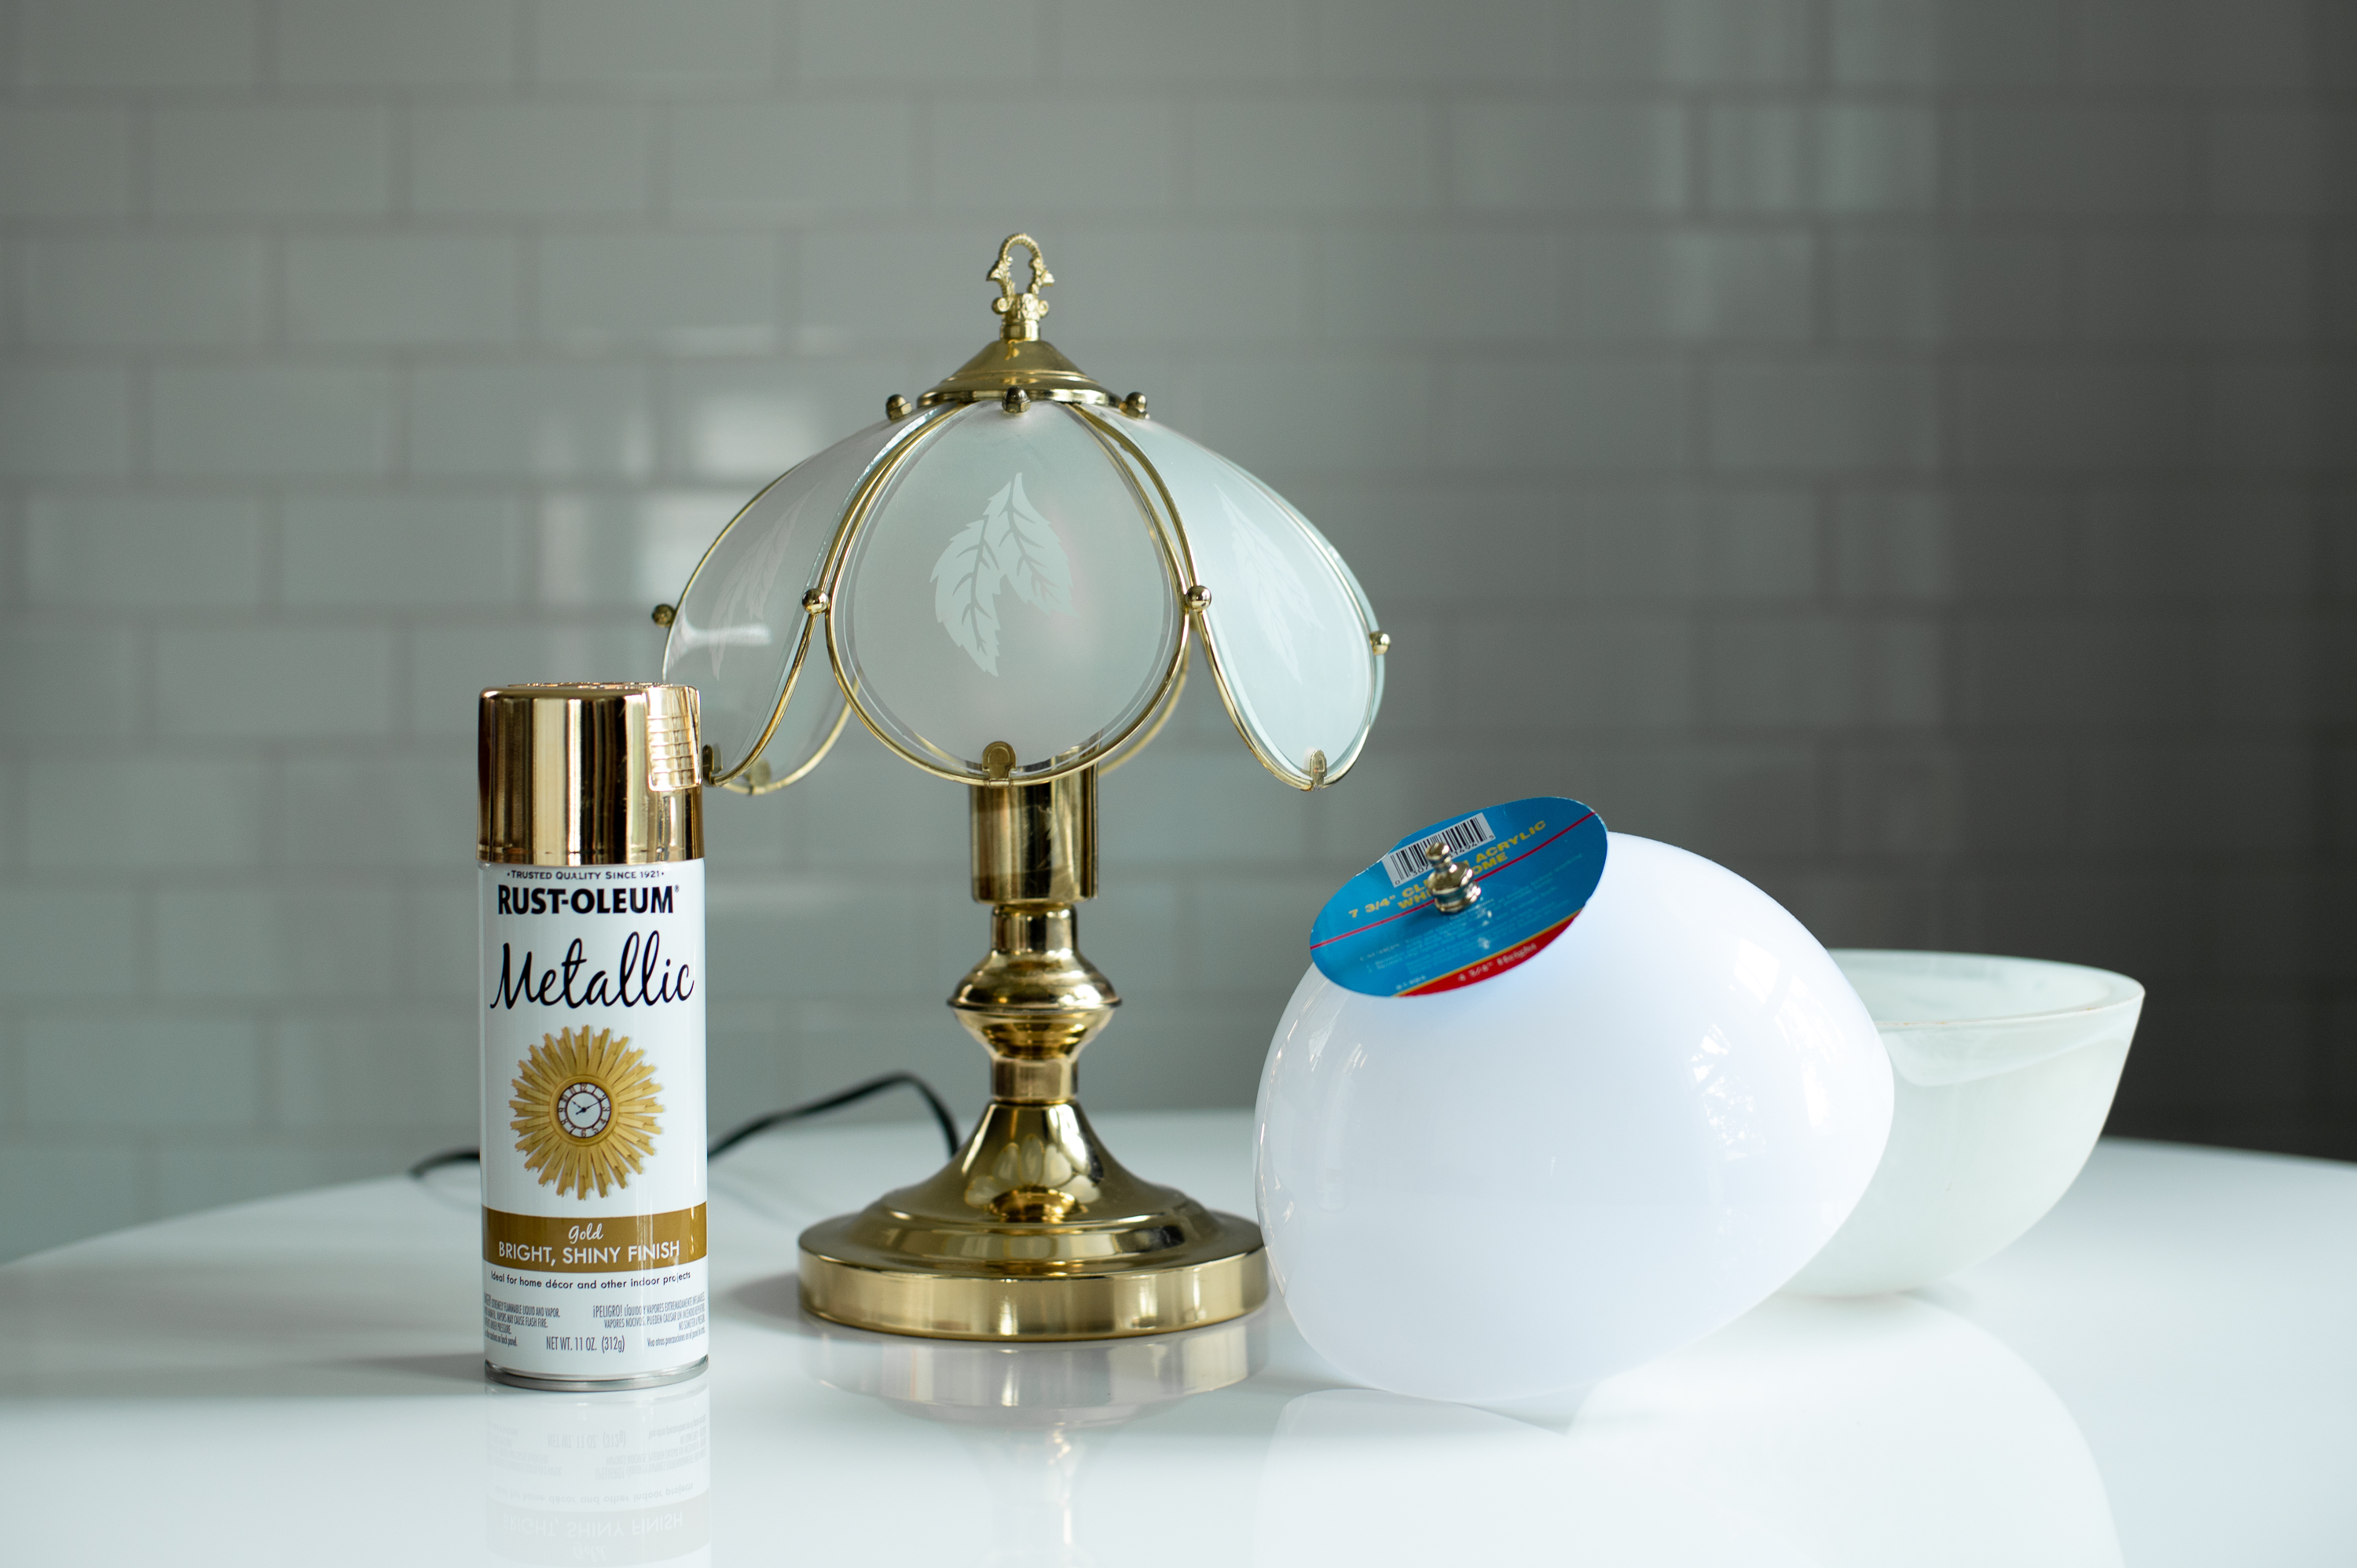
The Supplies For Our Totie Inspire Lamp
- A Small Thrifted Brass Lamp Base
- Try to find one complete with a brass cap and final. If it’s missing the brass cap, you can buy a replacement here on Amazon. If you need a finial, you can also buy a replacement for that on Amazon as well.
- You can also snag a lamp base with no harp at all, and it will work just fine for this!
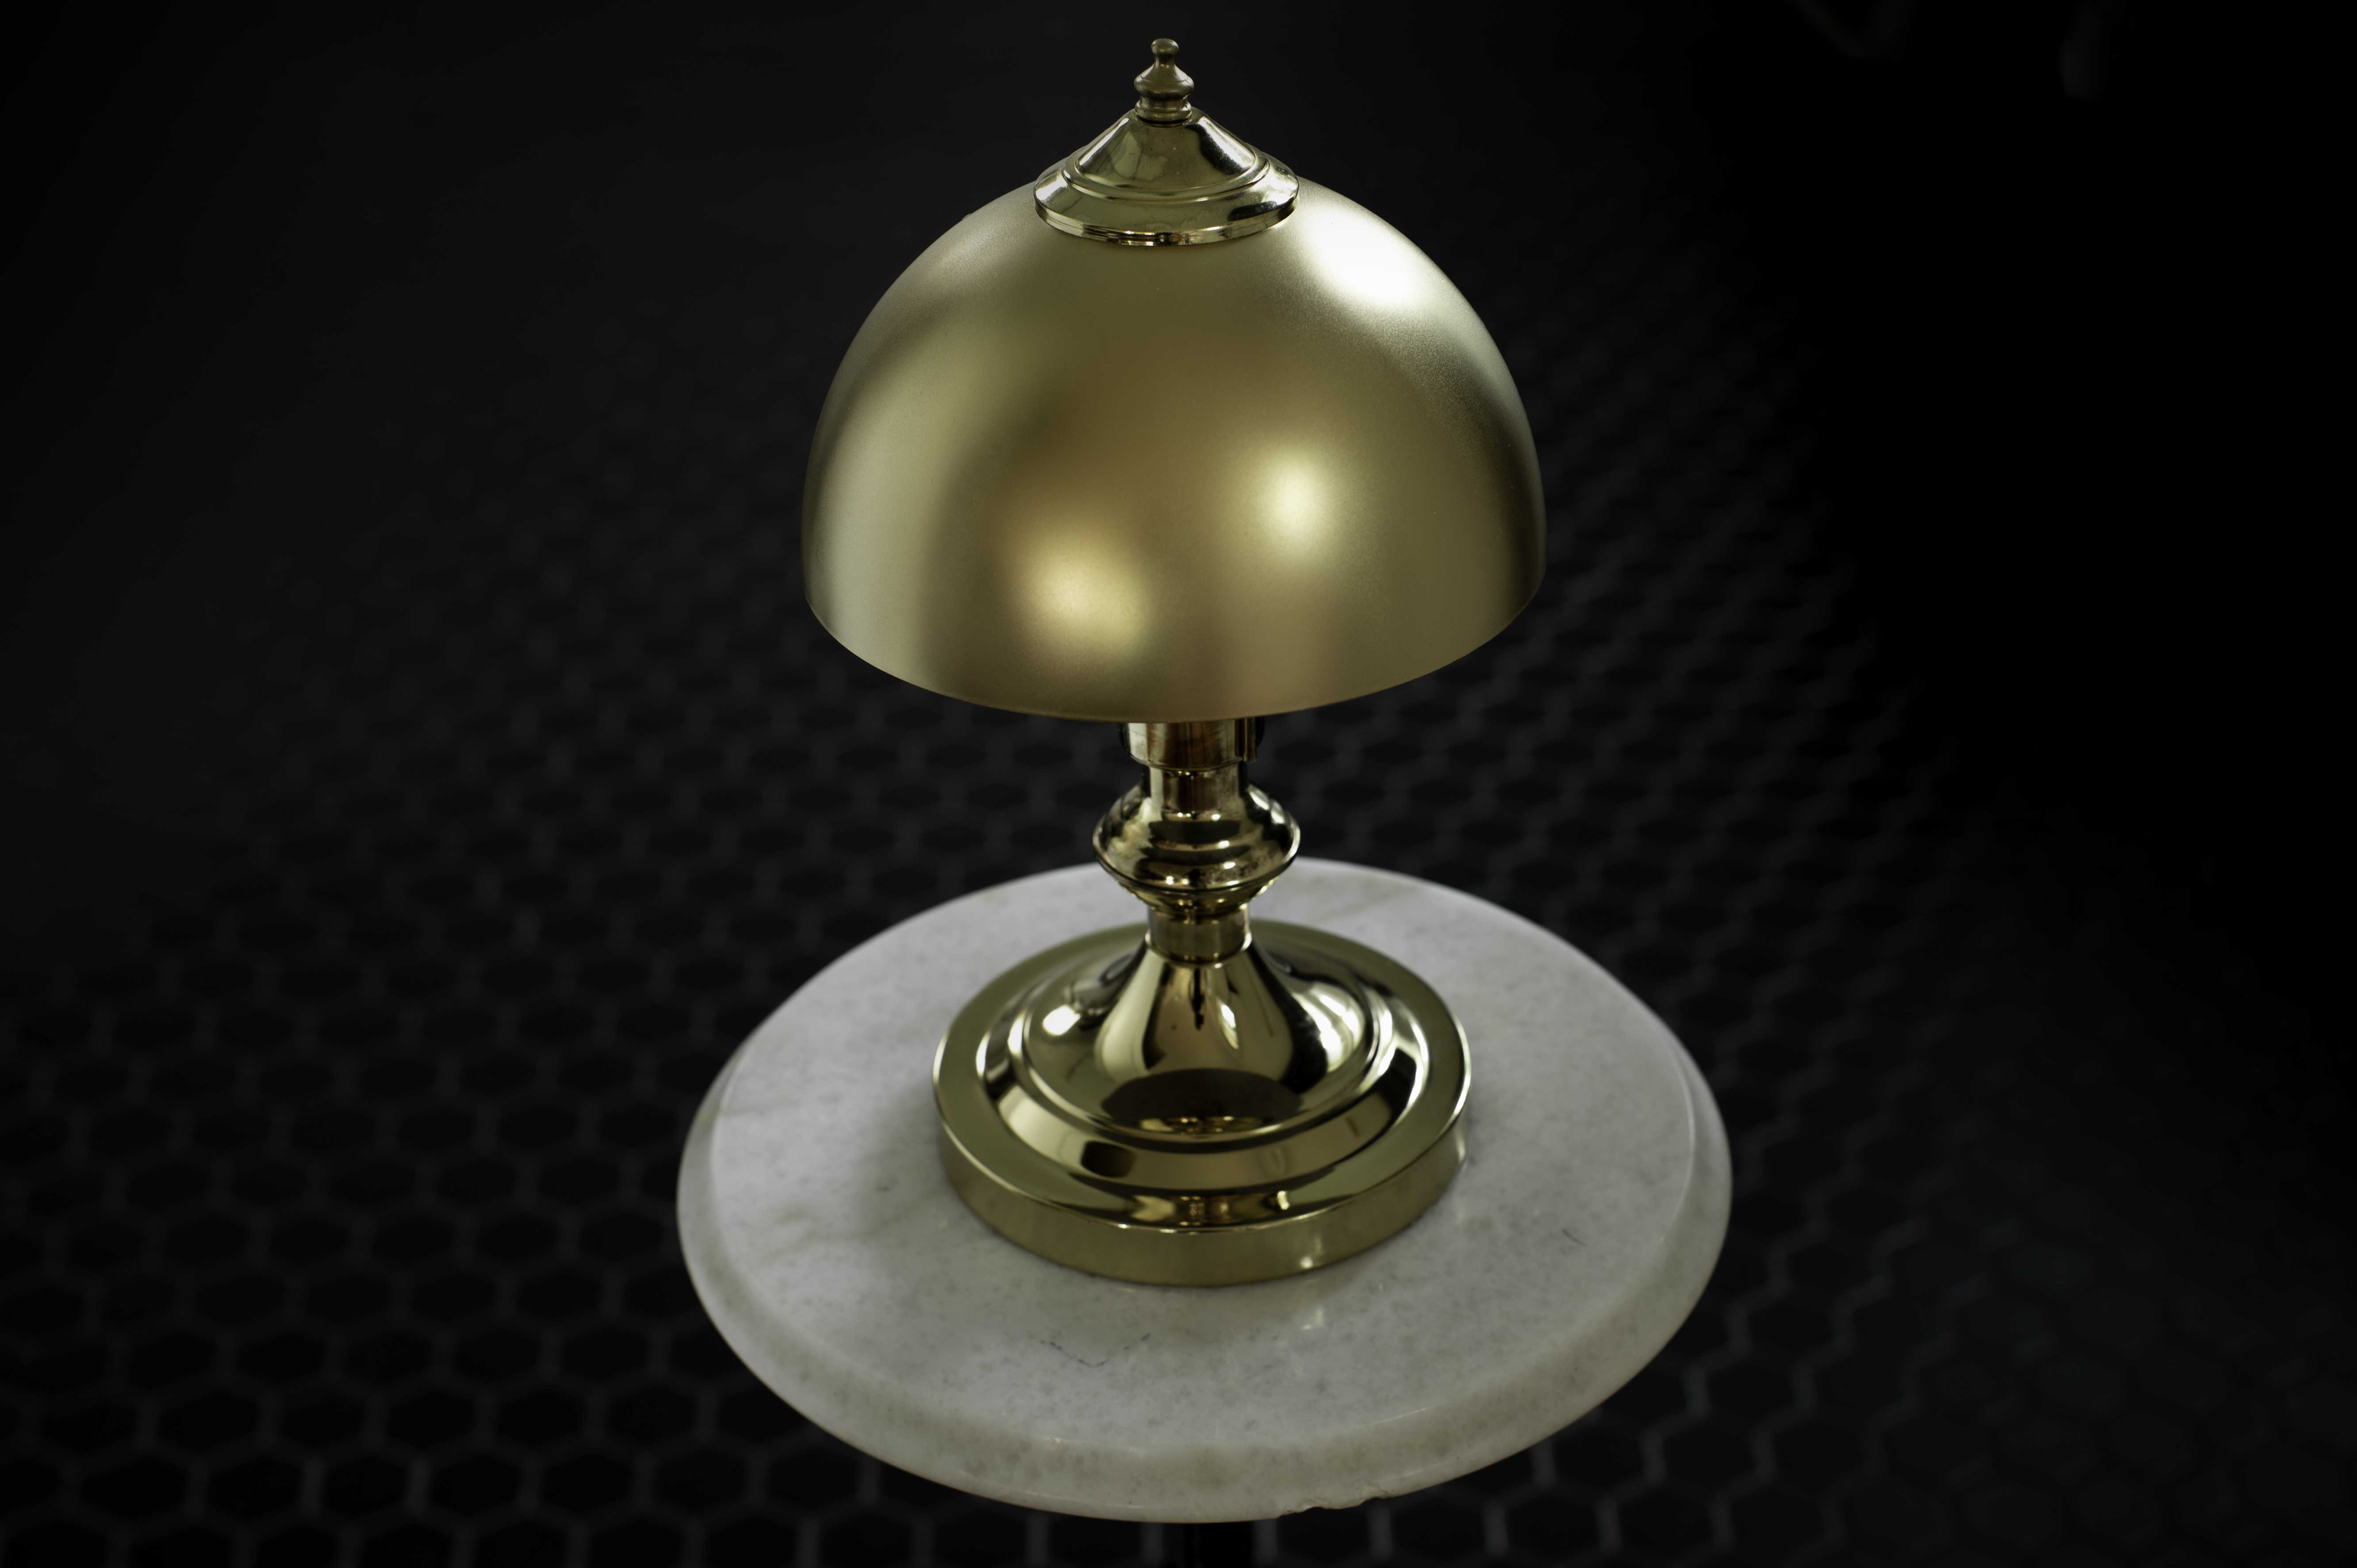
- The original Totie lamp from Visual Comfort is only 11″ tall and 7″ wide. So aim for a lamp about that tall if you want the best dupe!
- Don’t live near a decent thrift store? Buy one off goodwill’s online shop here!
- This Acrylic White Dome Clip-On Shade from Home Depot
- You can also find it on Amazon but it’s twice the price for some reason.
- A Can Of Gold Spray Paint or Rub n’ Buff
- I chose to use this Rust-Oleum Metallic Gold Spray Paint I picked up at Home Depot.
- BONUS OPTION: As an alternative idea, for a slightly different look, I also picked up an old flush mount light shade from our local Habitat for humanity ReStore for $3 to try as well!
How To Make Your DIY Visual Comfort Totie Inspired Task Lamp
This might be the easiest DIY ever. In fact it’s so easy that I feel almost silly breaking it down into steps.

Step One: Drill Out The Opening On Your Shade (Optional)
Because I wasn’t going to use the clip on hardware that came with the acrylic shade, I started by removing it. However, once I did so, I realized the opening on the shade wasn’t big enough to fit over the post of my lamp base. This was quickly fixed by drilling out the hole with an appropriately sized bit.
If you don’t have a drill, don’t worry because this shade is made out of plastic. So in a pinch you could cut or even melt the opening larger if needed.
If you have a smaller post on your lamp or are using a lamp that doesn’t have a harp, you won’t need to do this step as either it will already fit, or you’ll simply utilize the clip on hardware included with the shade. This step only applies if you’re using a harp and the shade won’t fit on the post.
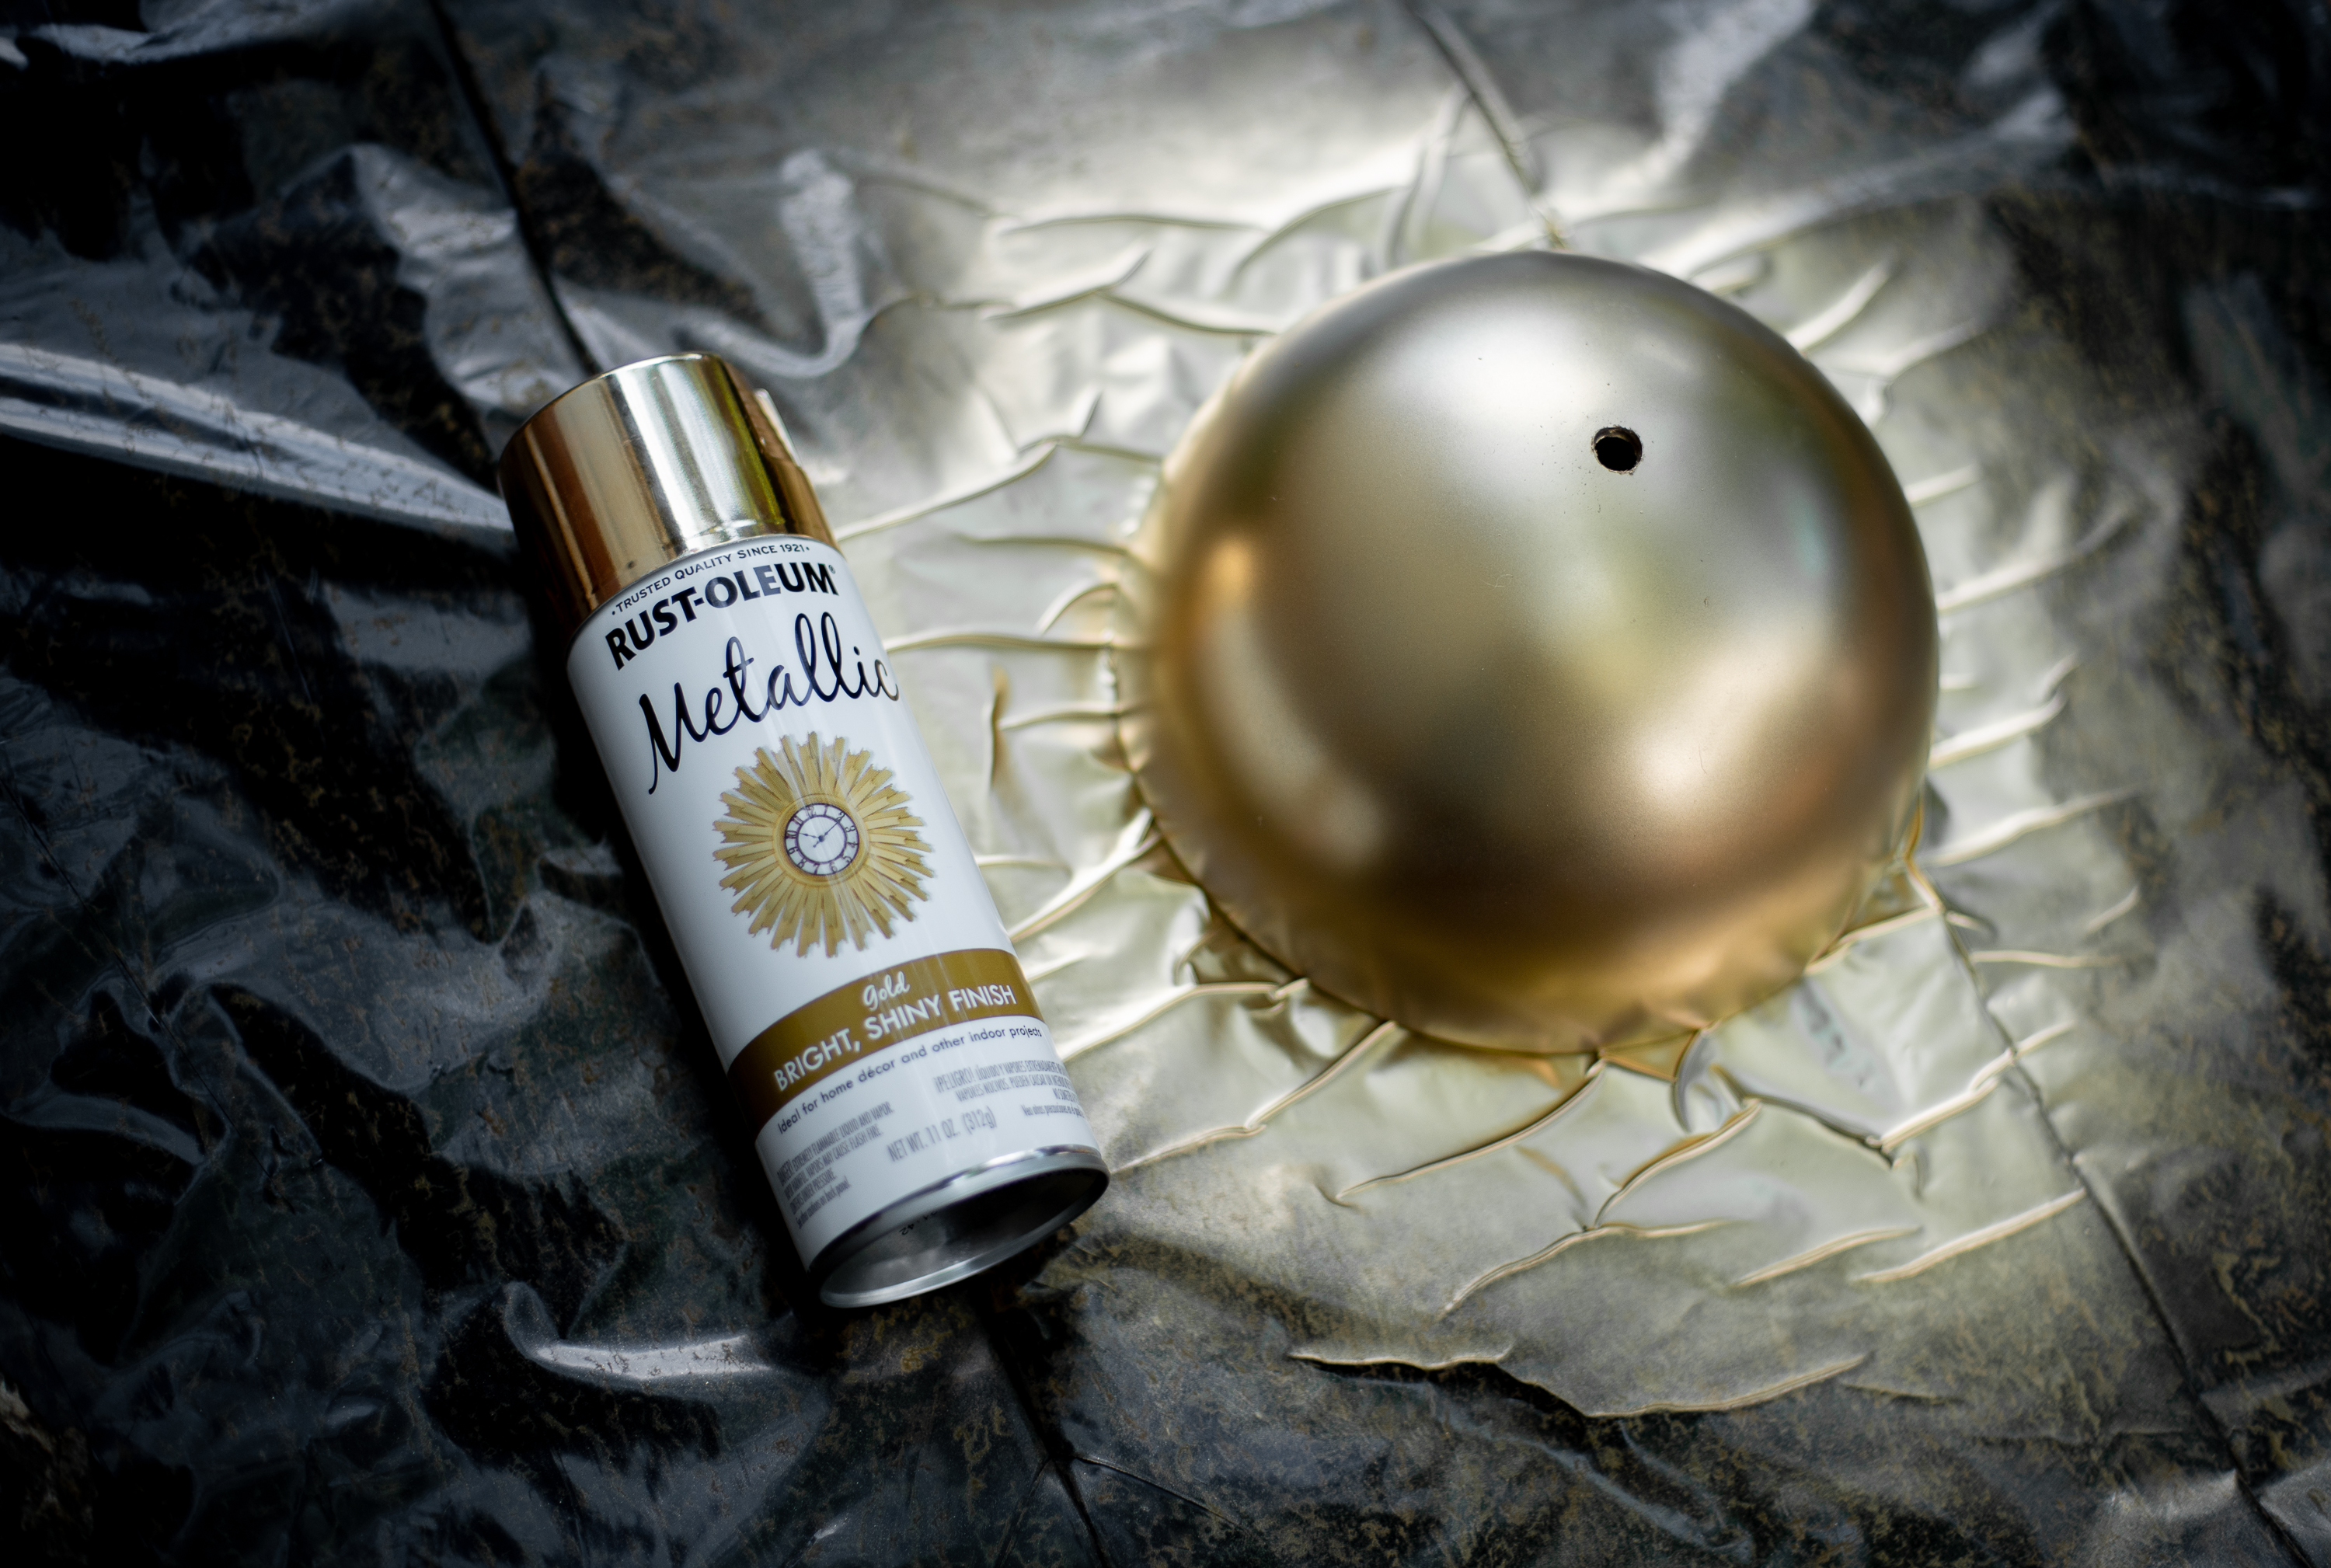
Step Two: Paint The Shade For Your Totie Inspired Lamp
After you’ve ensured that the opening on your shade is large enough to fit over the post of your lamp base, it’s time to paint!
There are a lot of different routes you can go with this, but I chose to use a spray paint that would be a close match to the existing lamp base. In this case that turned out to be a metallic gold spray paint made by Rust-Oleum.
However rub n’ buff would also be a great option as well if you prefer that! My favorite shade is the European Gold! If you go this route, I’d highly recommend giving the shade several coats of black spray paint first.
IMPORTANT NOTE: When you paint your shade, be aware that you will likely need several coats to achieve the opaque coverage needed for this project. (I needed 4!) Even if it looks good to the eye, it might not be enough once you light it from within. So I highly recommend testing your shade with the light turned on when you think you’re done to ensure you’ve gotten the coverage you need everywhere you need it. Otherwise, when you turn on your lamp, your shade might appear streaky and blotchy.
OPTIONAL PAINTING STEP: While I chose to only paint my shade (matching it to the existing lamp base color best I could) for closer match, you may want to also paint or rub n’ buff your lamp base as well.
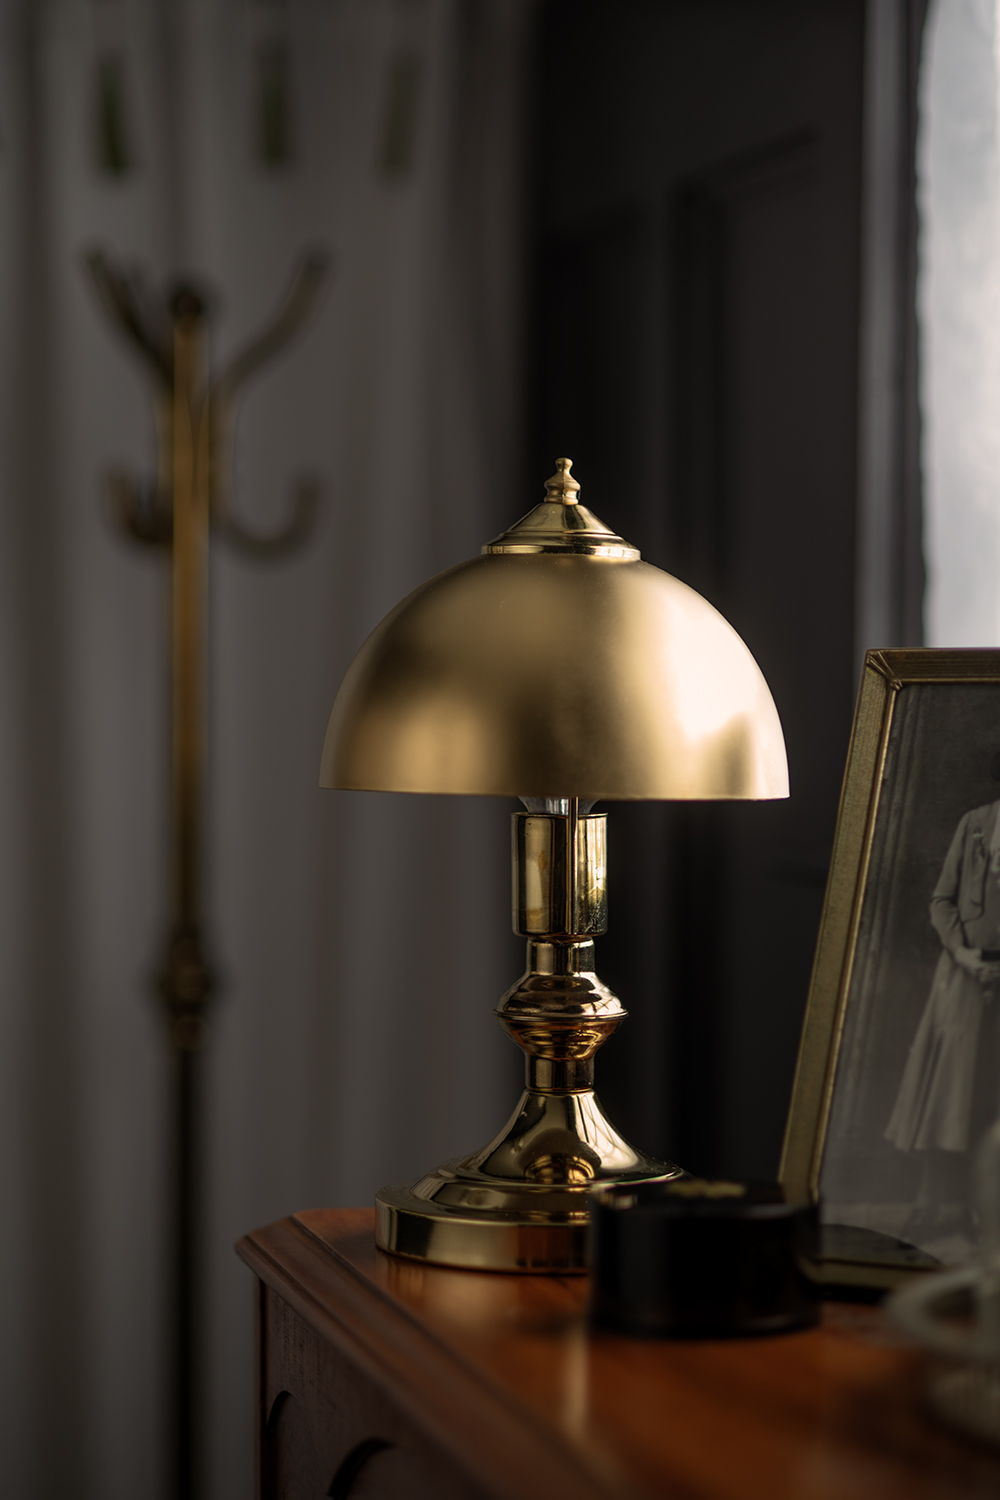
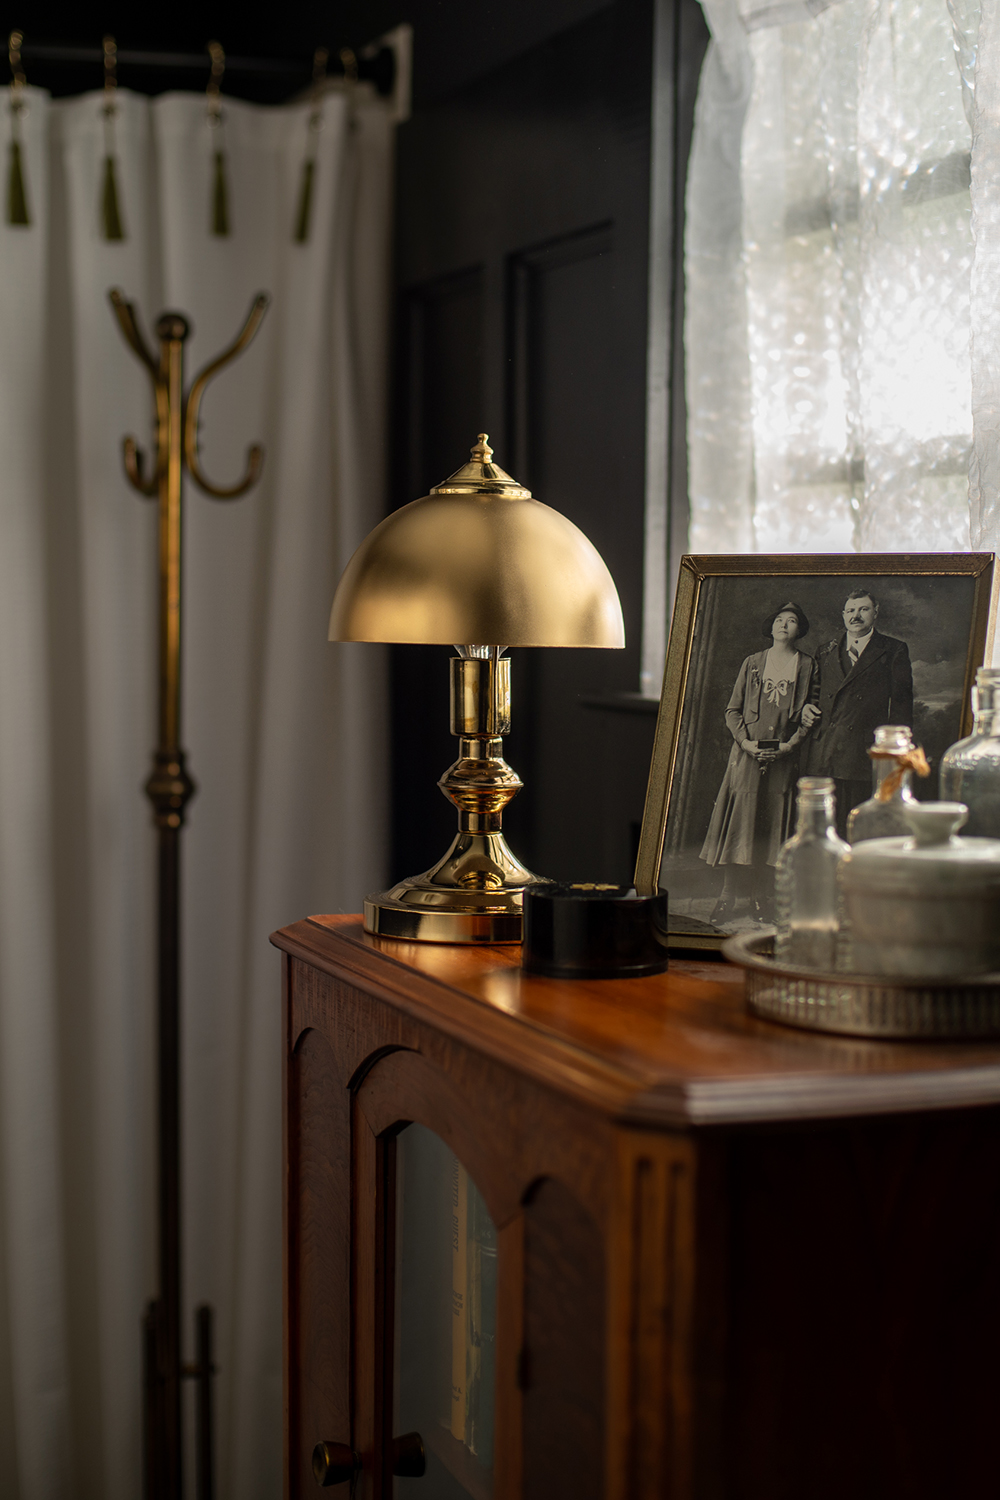
Step Three: Assemble Your Totie Lamp Dupe & Enjoy
See, I told you it almost didn’t deserve a step by step breakdown! It’s that easy. The best part? This Visual Comfort Totie inspired task lamp only cost me a total of $25! Which was a way better fit for my current budget for tiny lamps.
$8 – Thrifted Lamp
$7 – Can Of Gold Spray Paint
$10 – Clip On Dome Shade
Optional Alternative Look
Another way I LOVE to update dated table lamps, and have done so previously, is by converting old flush-mount and semi flush mount glass/alabaster ceiling light shades into table lamp shades!
Here’s what I look out for when I visit our local ReStore looking for shades to use in this way:
- The shade need to be nearly as deep as it is wide. If it’s too shallow it won’t look like a proper lamp shade when you flip it over and try and use it on a lamp base.
- Make sure you snag one that has the correct size option for the post on your lamp base. A lot of shade you’ll find there are meant for pendant lights and the opening will be too large for a table lamp post.
- Some shades will have a lip on the edge, I try to avoid these.
- If possible, bring your lamp base along with you to test things! I do this all the time and it makes everything so much easier. Just be sure to inform the employees working there what you are doing right when you walk in. That way they will know that the lamp is yours and won’t think you’re stealing it when you go to leave.
What do you think? Does this $25 budget inspired version of Thomas O’Brien’s Totie Task Lamp scratch your tiny brass lamp itch? Let me know in the comments below and don’t forget to follow me on Instagram! That’s where you’ll find all the juicy behind the scenes info!
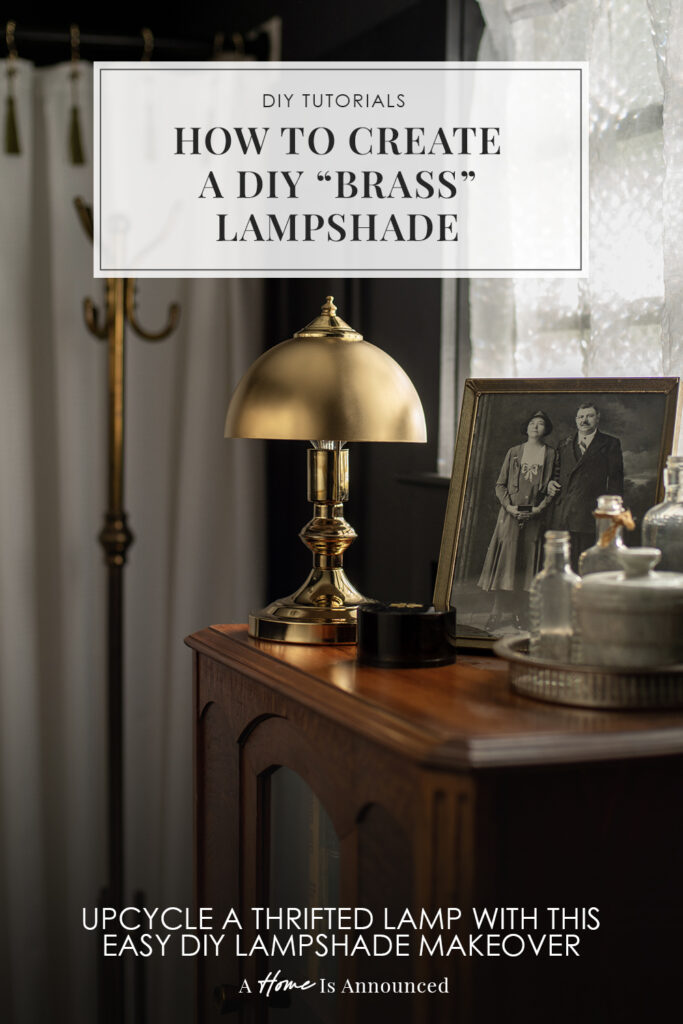
Don’t Forget To Pin This Post & Subscribe!
Want to keep getting more DIY home decor inspiration, thrifting tips & tricks, free art downloads, reading recommendations, and home renovation tutorials? Then don’t forget to pin this post for later so you can follow me on Pinterest and then subscribe to my blog so you can get links to my newest content as soon as it hits the blog!
One thought on “DIY Visual Comfort Totie Inspired Task Lamp”