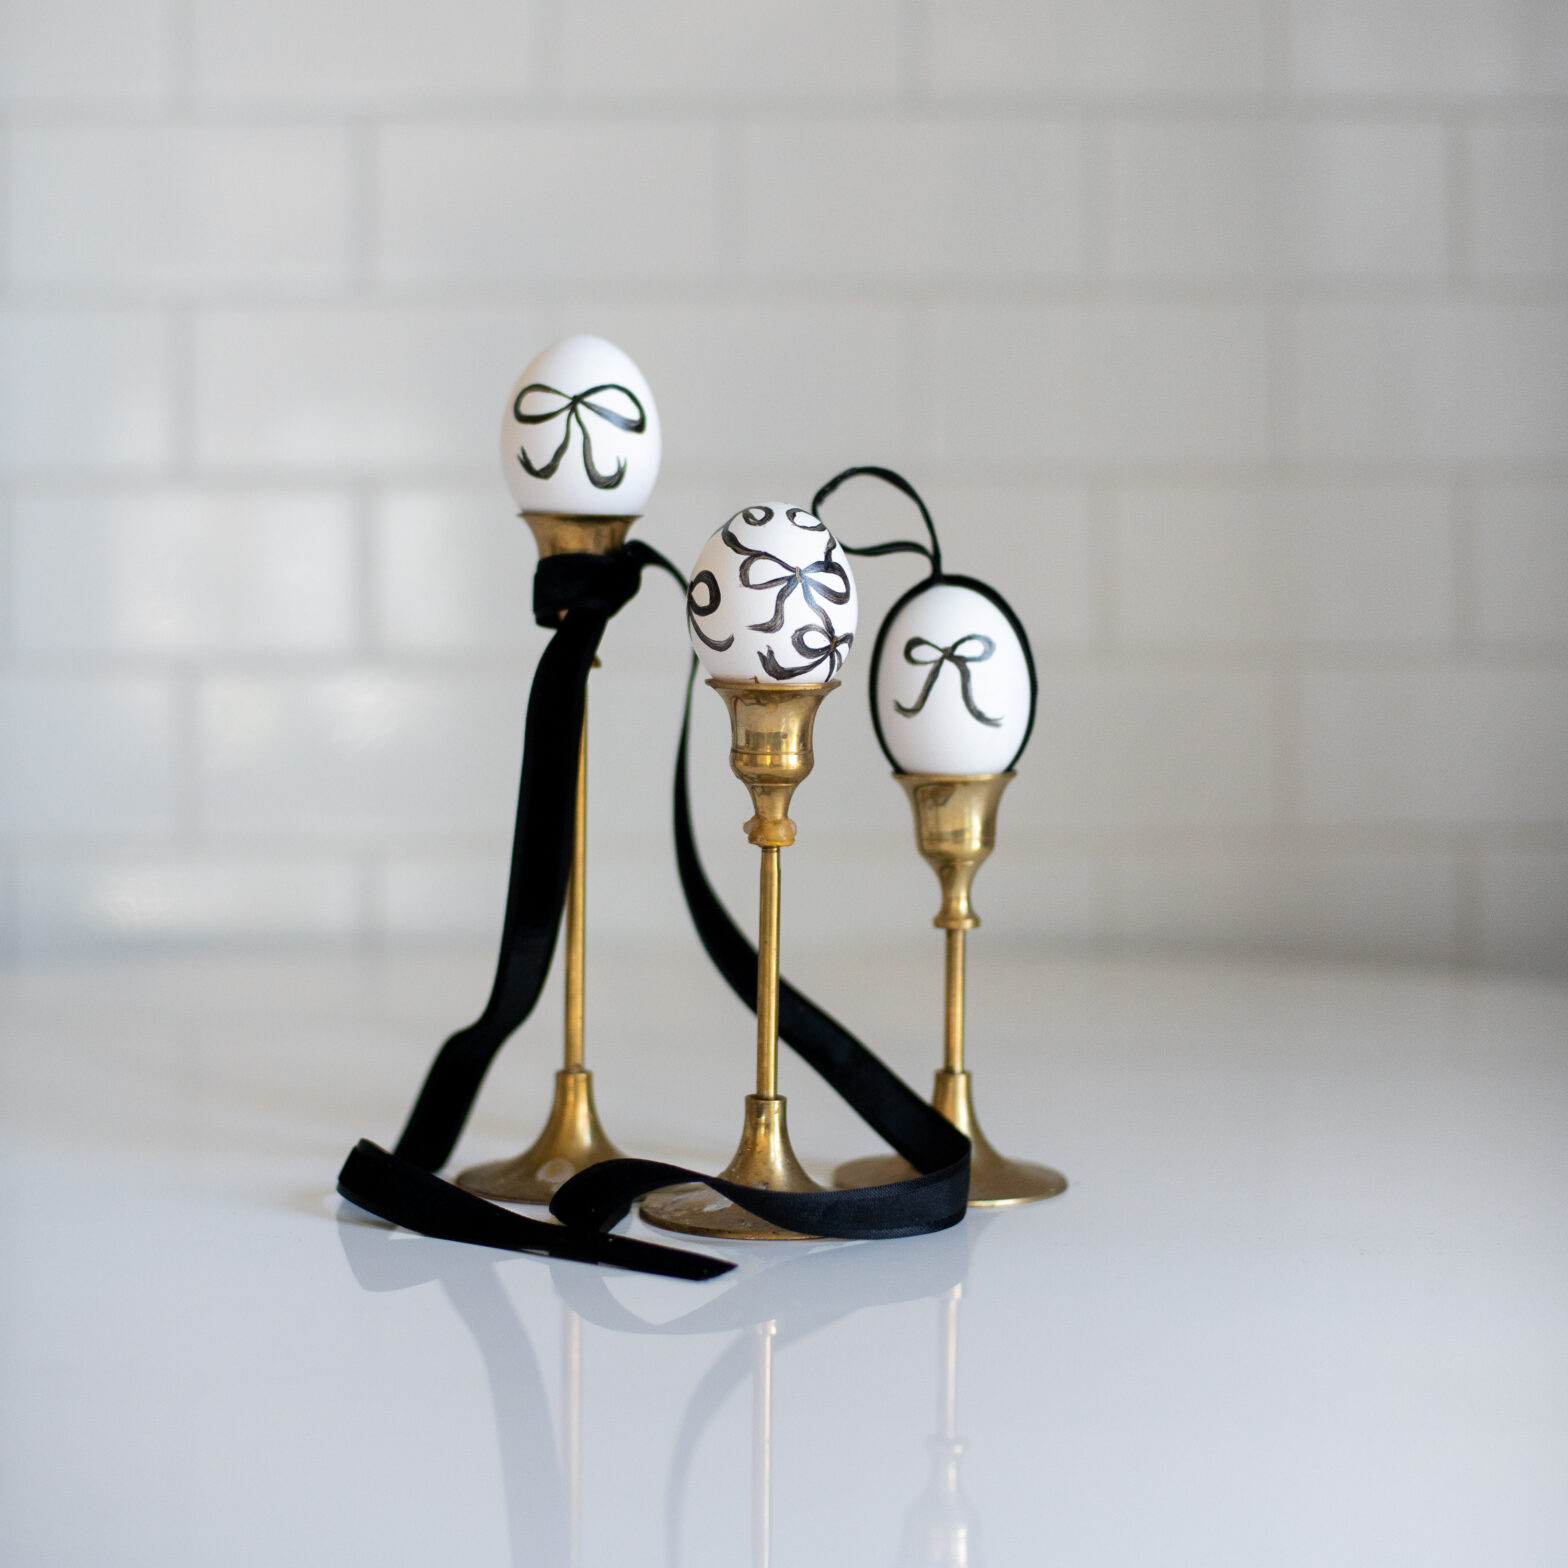
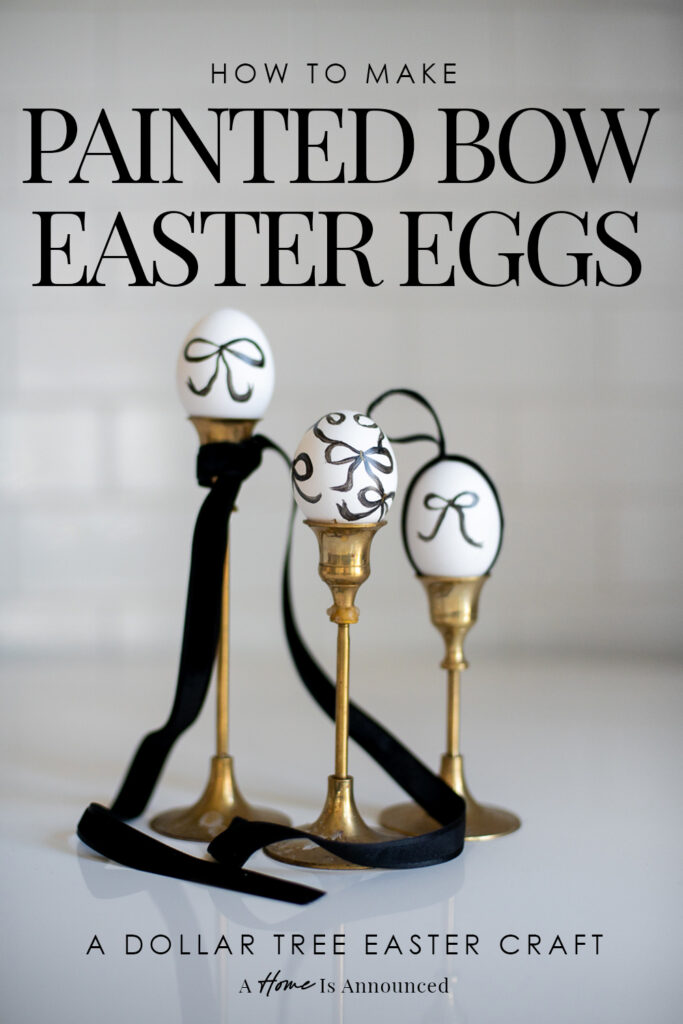
Bows are everywhere right now, and this is one viral trend I am happy to get behind. So imagine my surprise when I went to look for bow inspired Easter egg decorating ideas and couldn’t come up with much in the way of inspo! Obviously I had to do my solem bloggers duty and fill that hole in the “put a bow on it” niche.
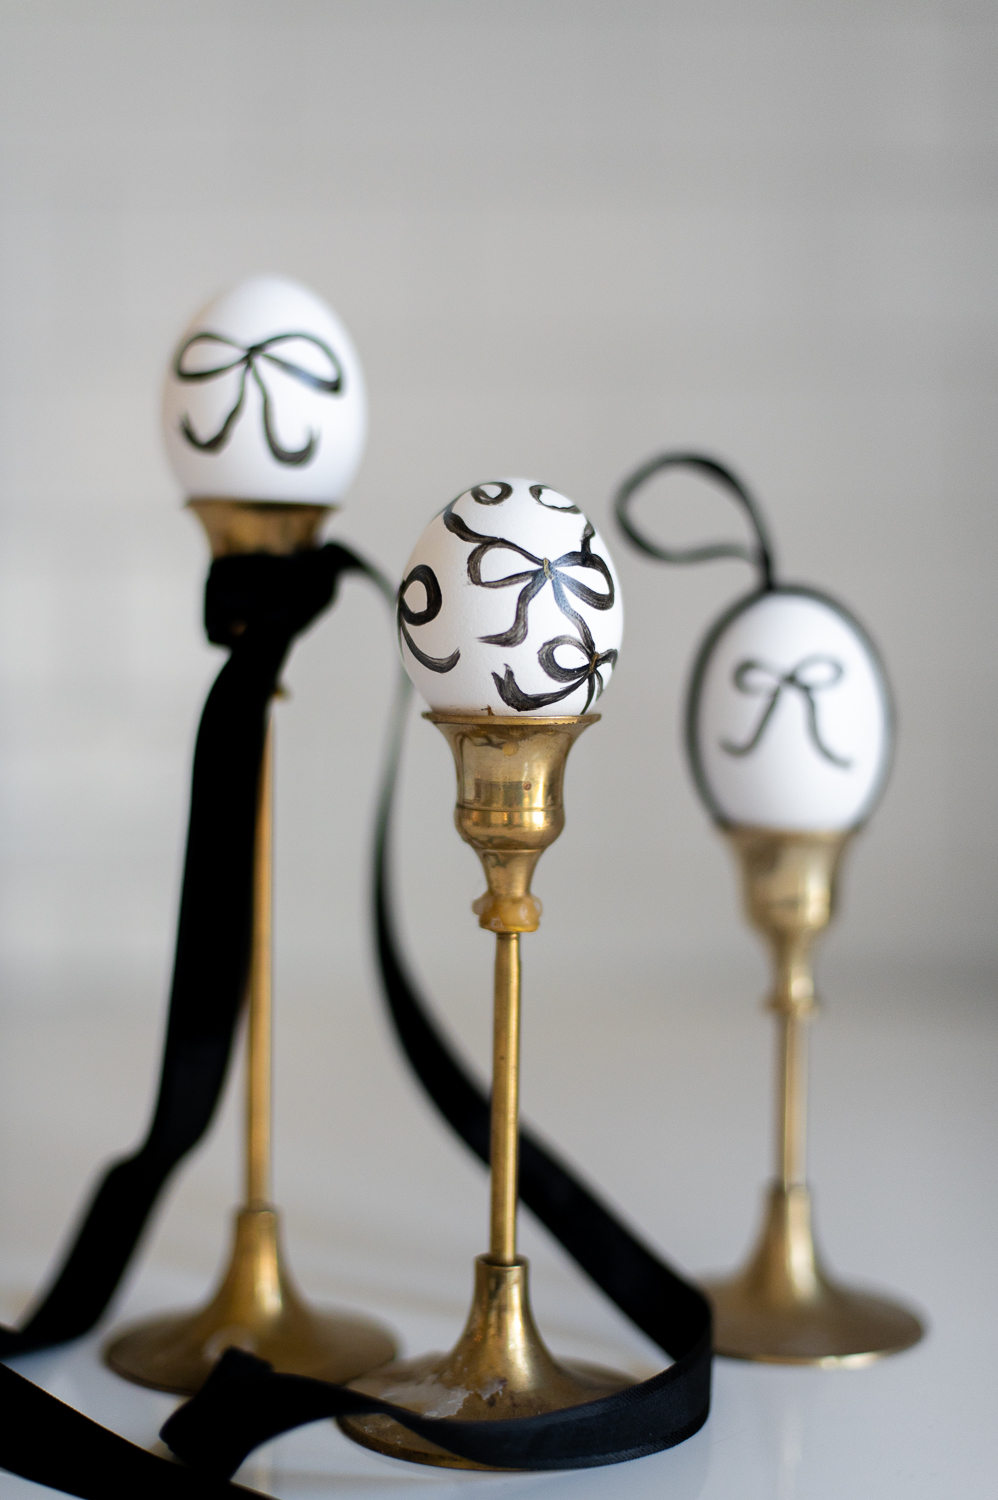
However, when I went to make my eggs, I couldn’t decide what design I liked best. So I present to you, elegant painted bow inspired Easter eggs three ways:


*This blog post contains affiliate links, meaning that if you purchase any of the items using the links I provide I, as the author of this website, will receive a very very small commission from that sale. This is a great way to help support your favorite bloggers at no cost to you. Think of it like a tip jar that costs you nothing!
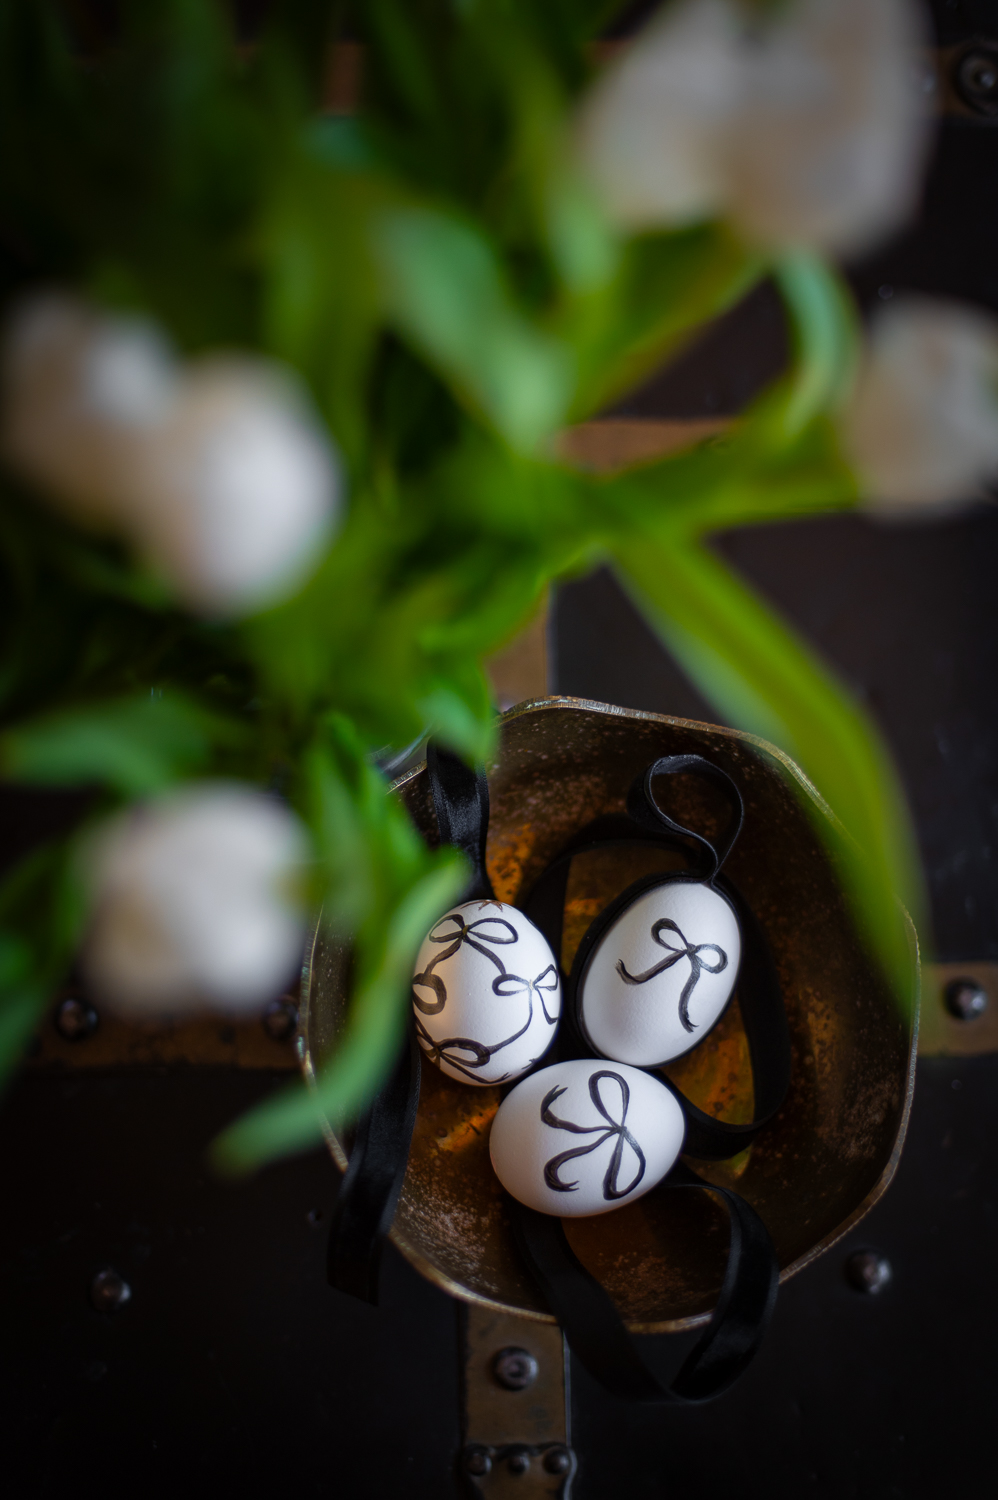
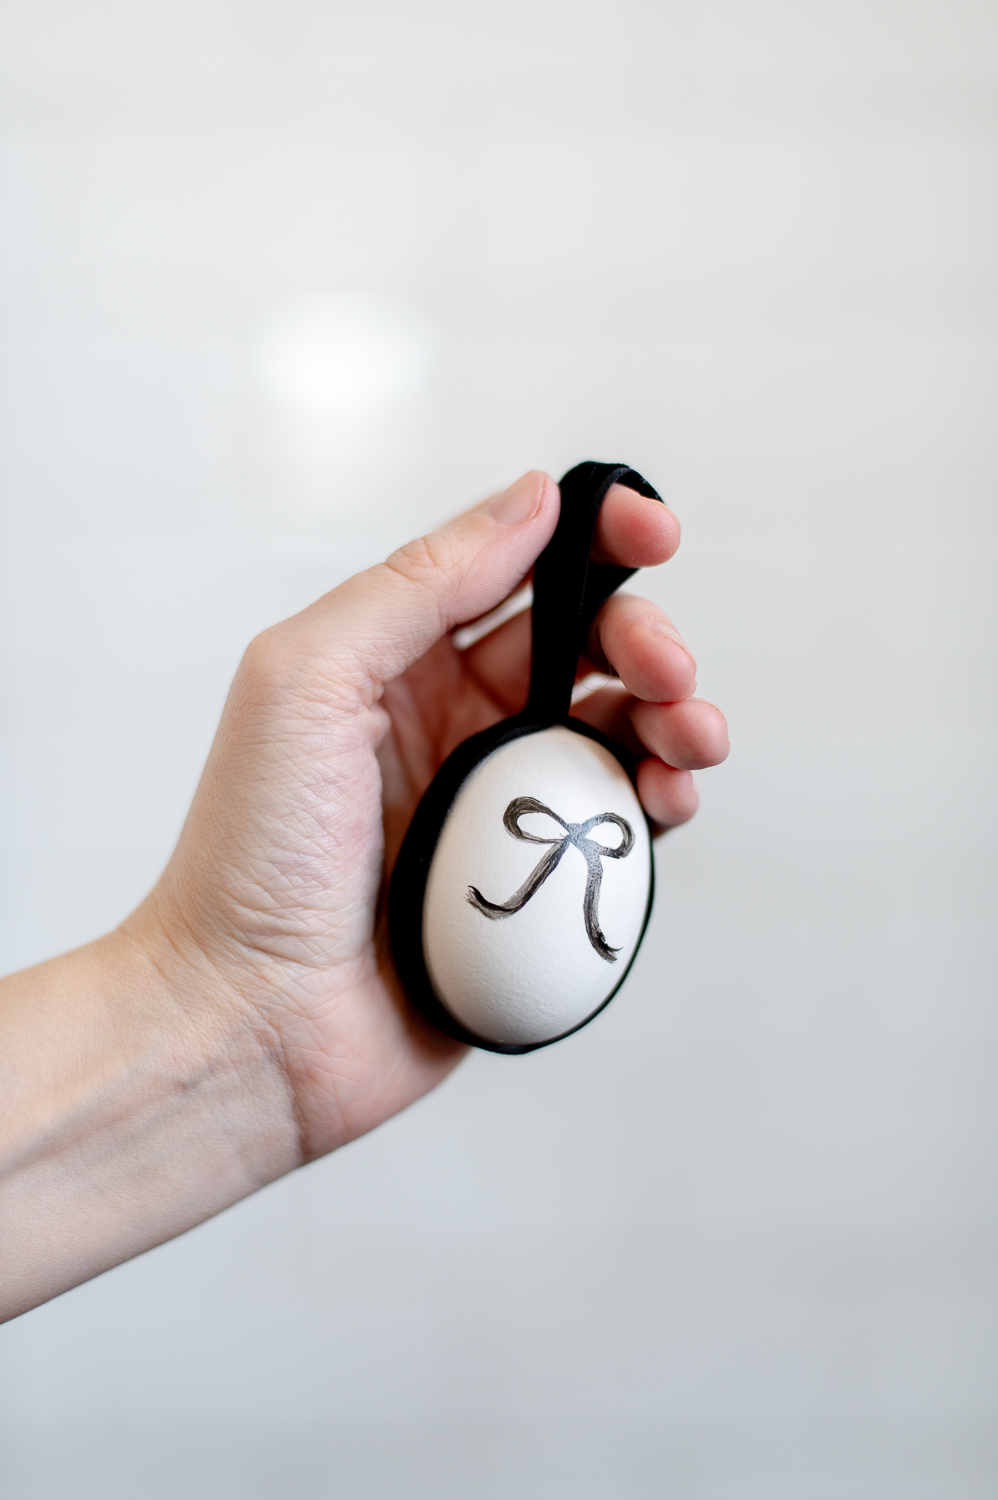
The Simple Painted Bow Easter Egg
This was the obvious place to start and I love how cute this simple little bow motif turned out!

How I Made My Simple Bow Easter Eggs
These eggs are so simple they don’t really need an entire tutorial to break down the process, but here are the basic steps:
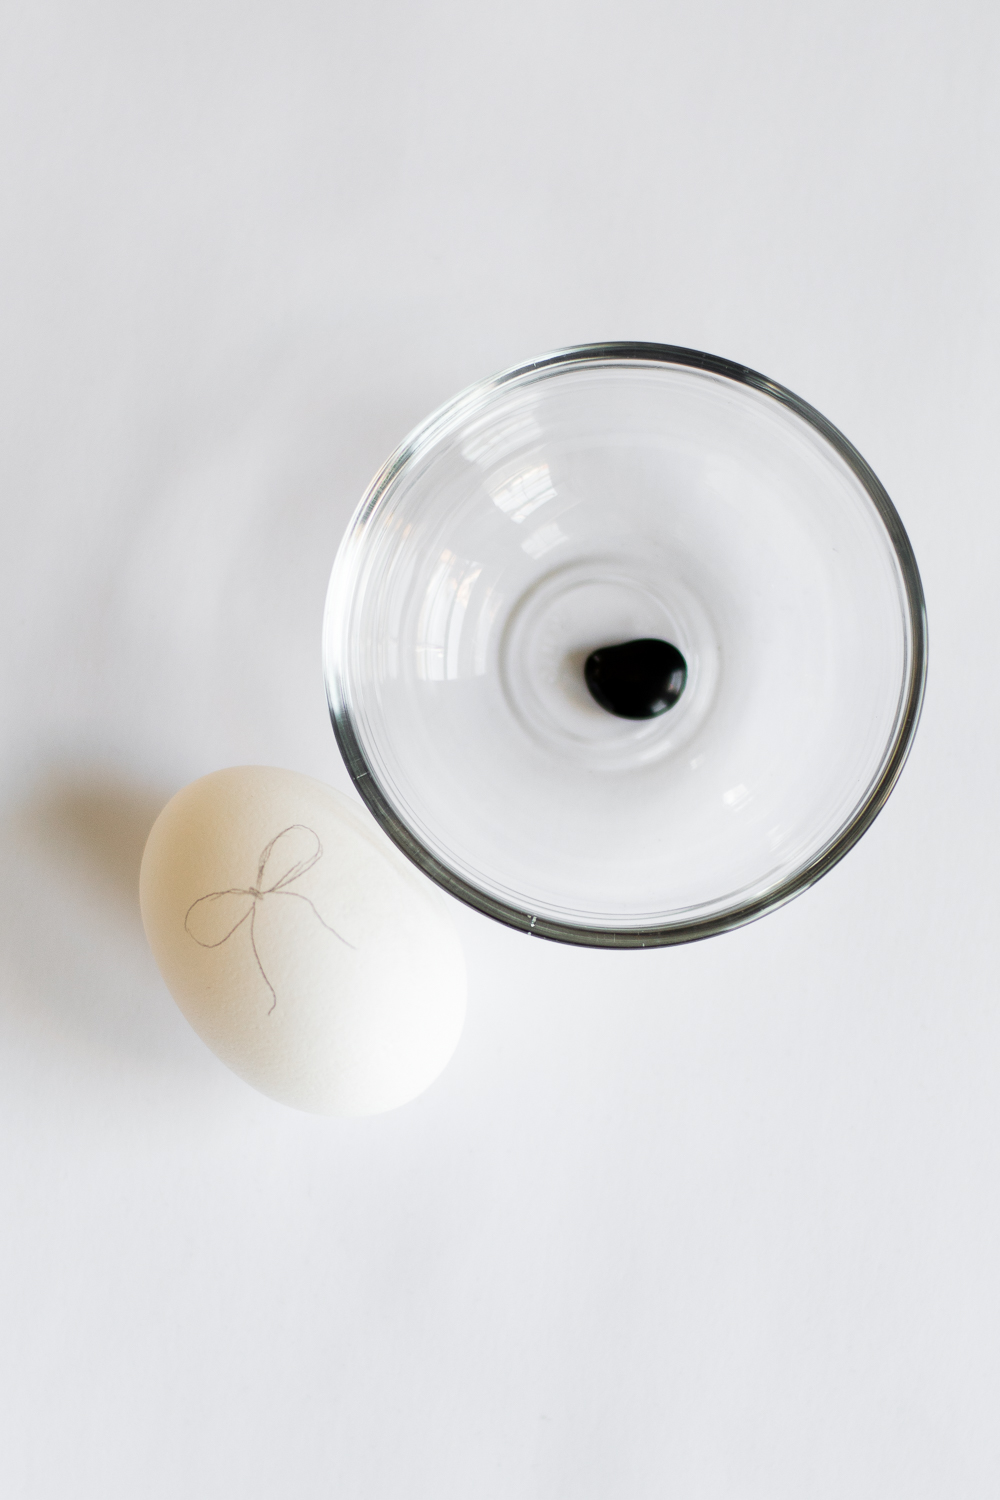
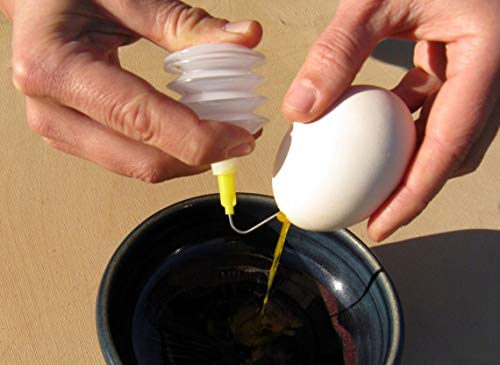
Step One: Empty & Dry Your Eggs
Feel free to prepare your eggs any way you like. I chose to use real eggs that I emptied out and dried. (I’m definitely picking up one of these to help me if I do this again next year though)
Step Two: Draw Your Design In Pencil
If you’re really confident in your painting skills and artistic talent, feel free to skip this step. I personally like to do a little sketch of my design on my egg before painting so I have a path to follow with my paint brush.
Step Three: Paint Your Bow Design On Your Egg
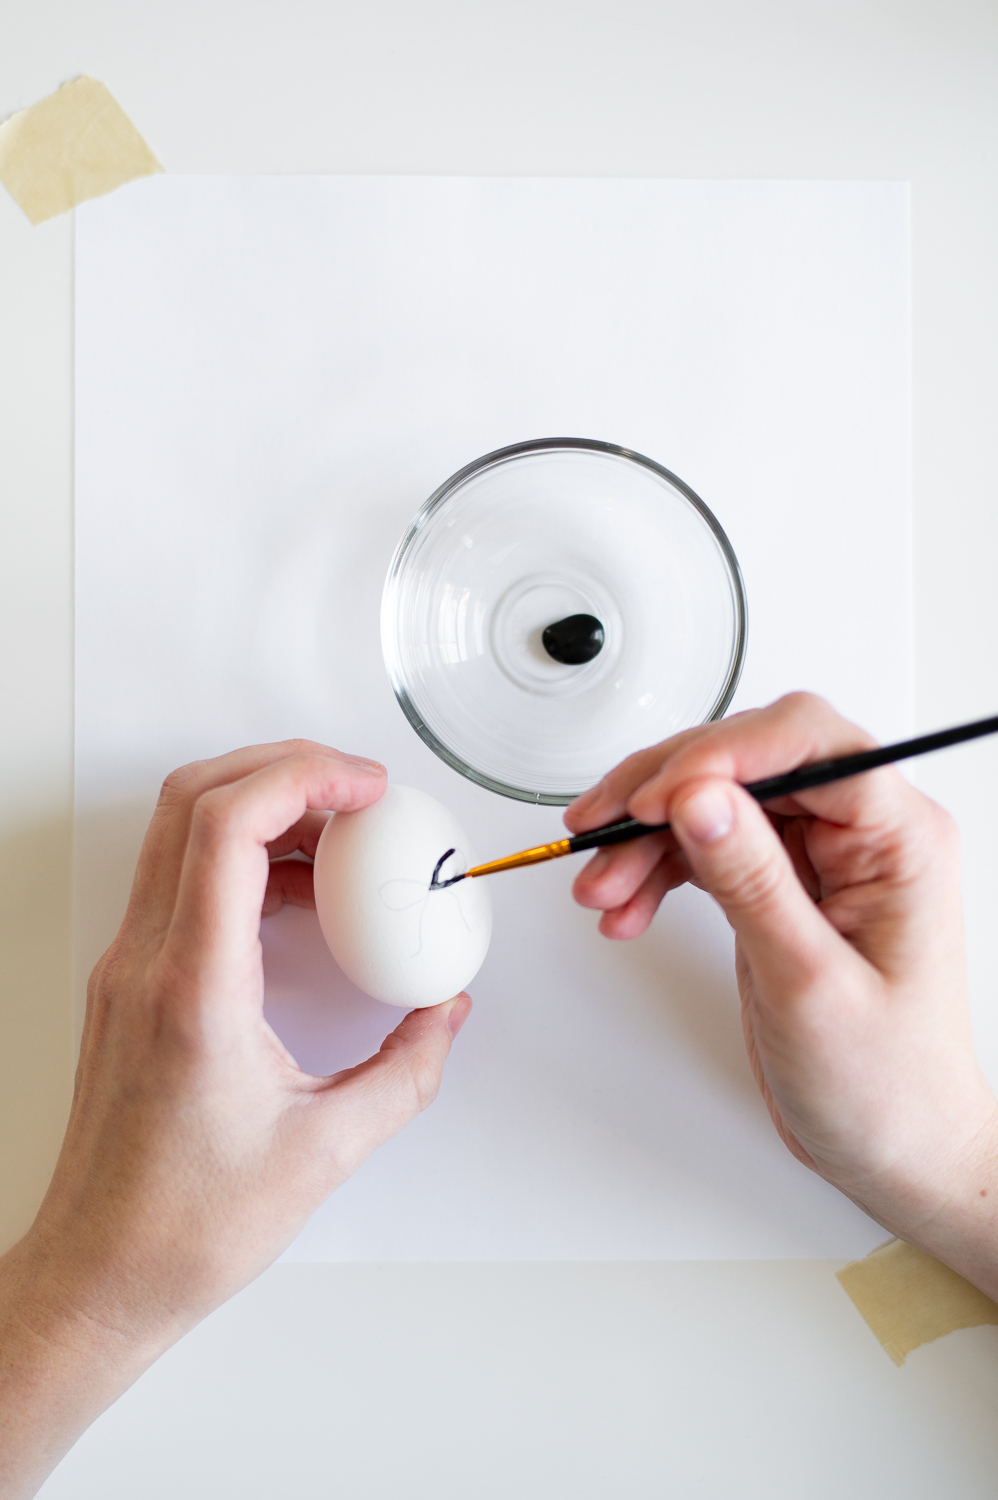
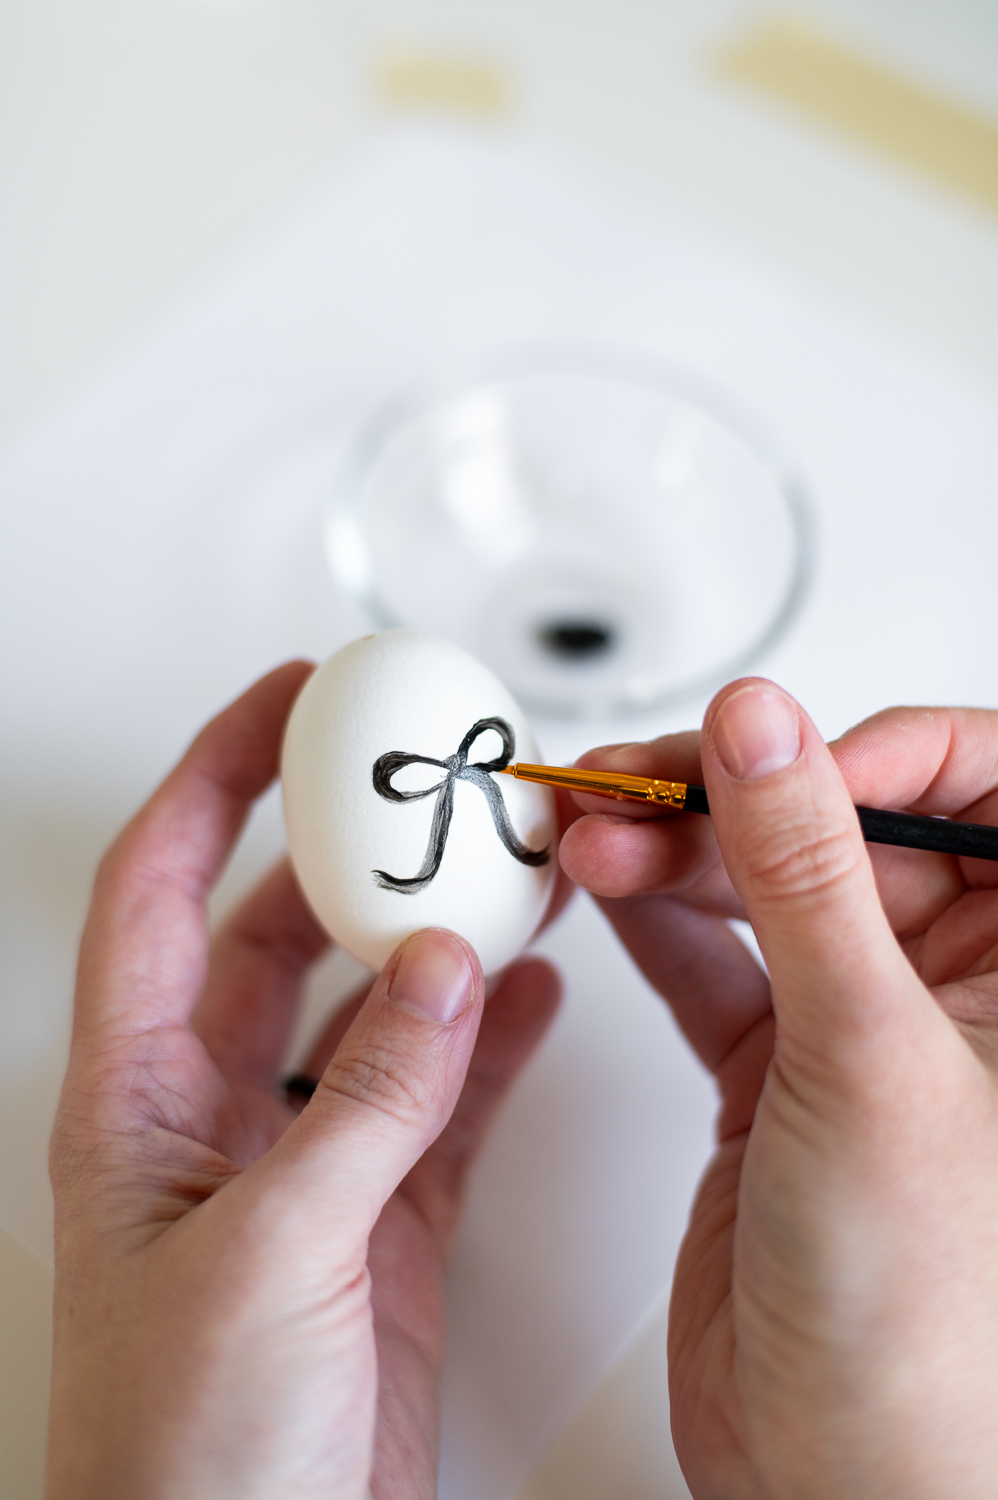
Using some black metallic paint and a small brush I picked up from The Dollar Tree, I then painted over my pencil sketch to create my tiny bow motif.
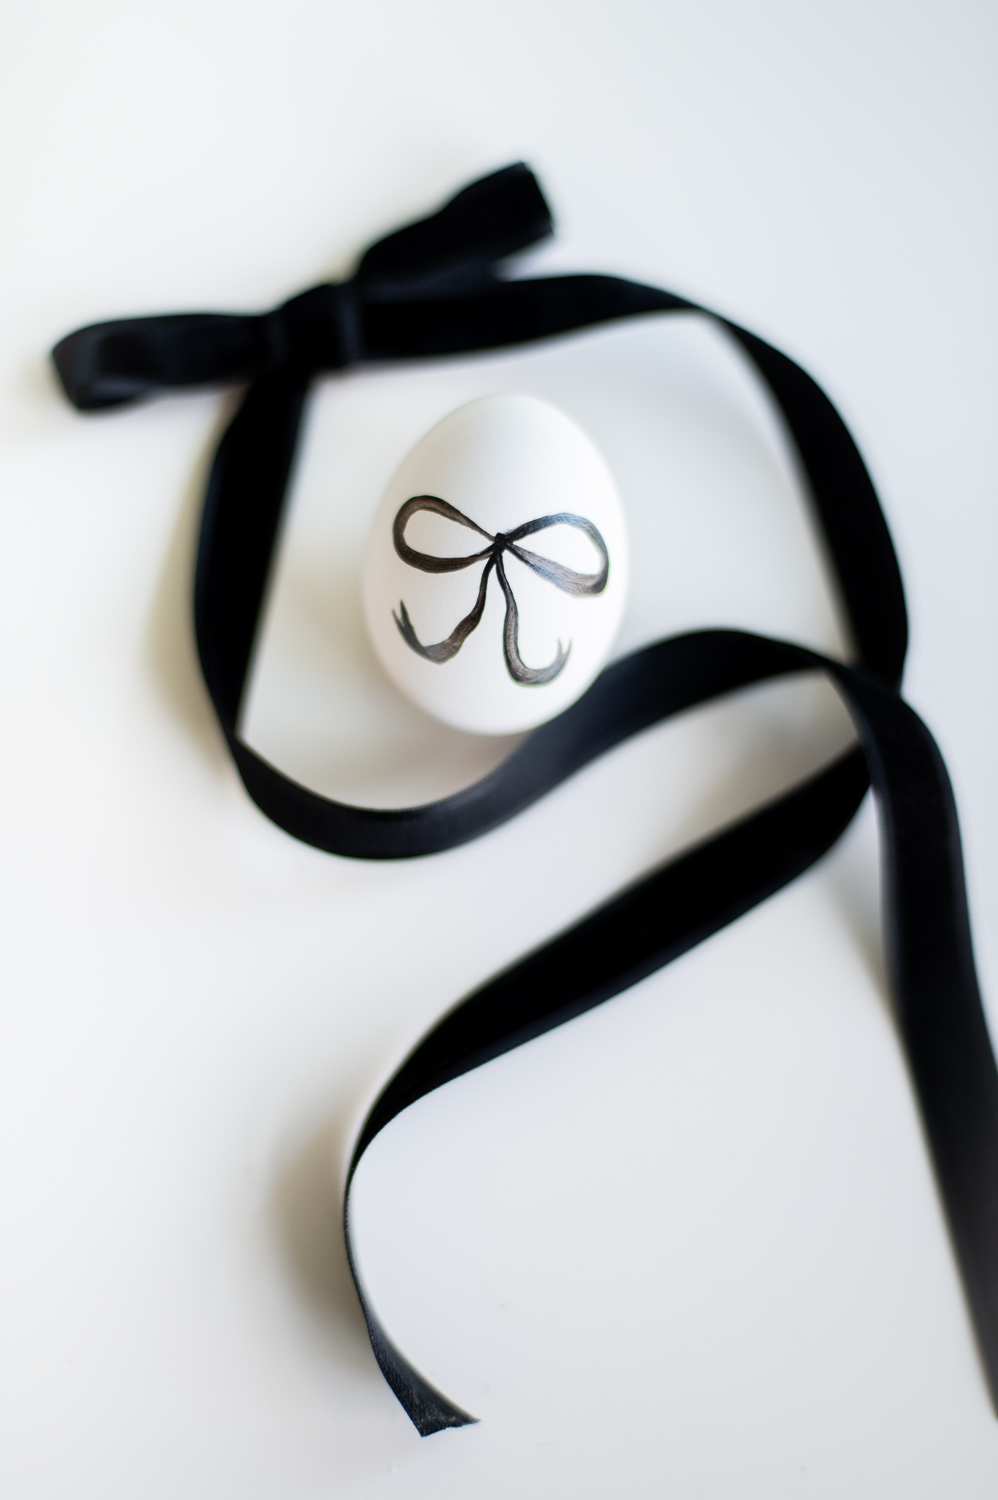
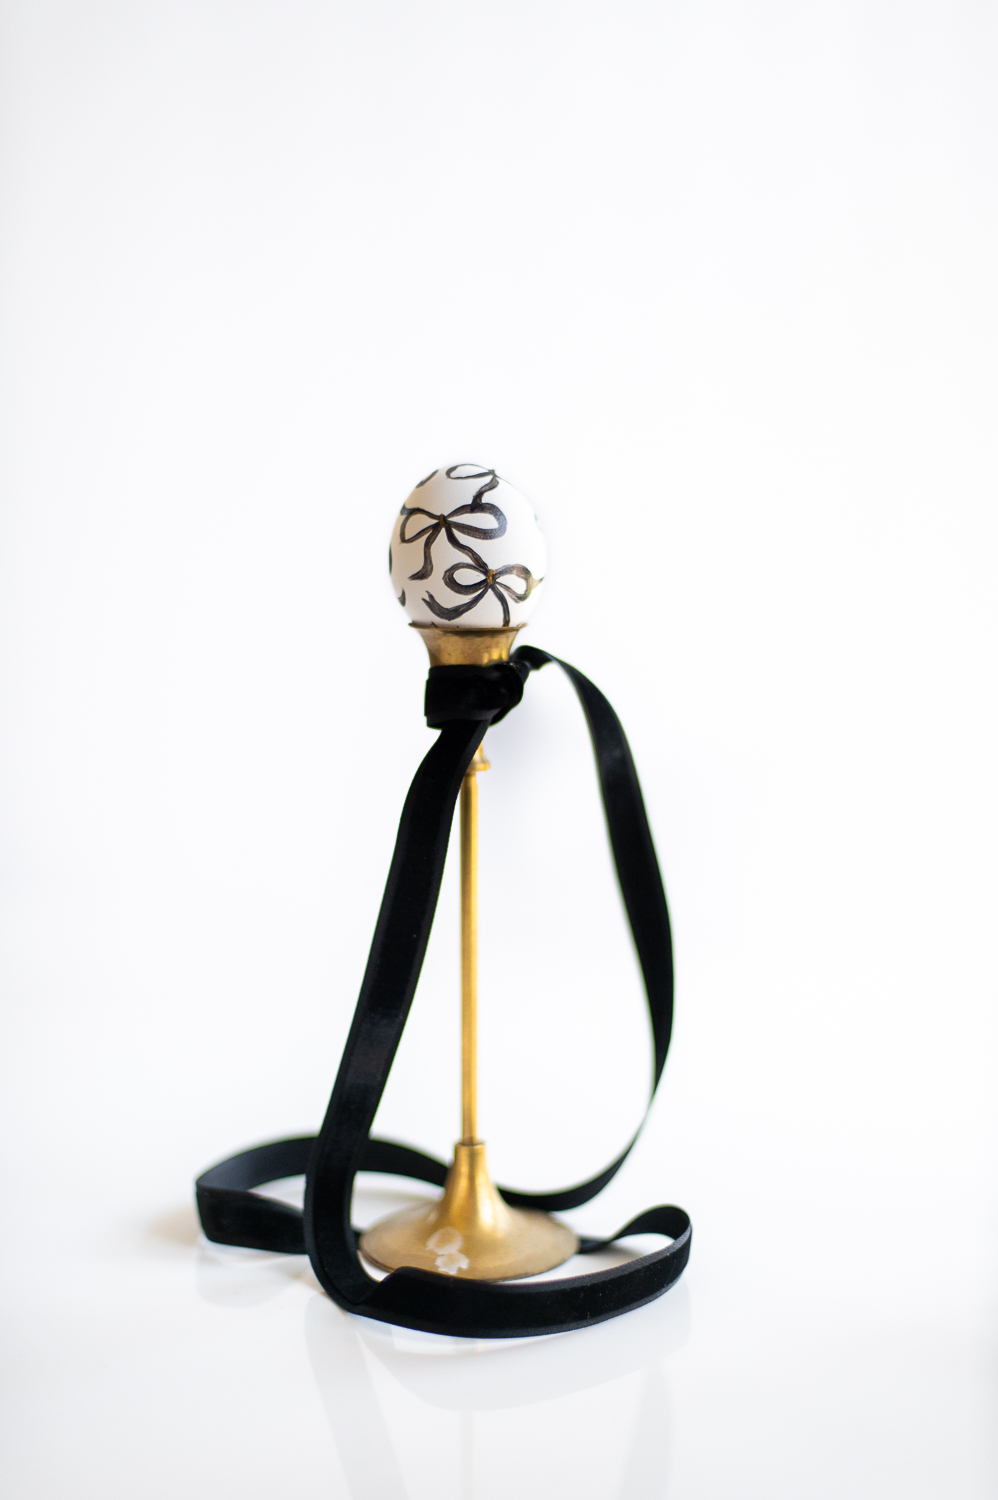
Painted Bow With Velvet Hanging Ribbon Easter Egg Ornaments

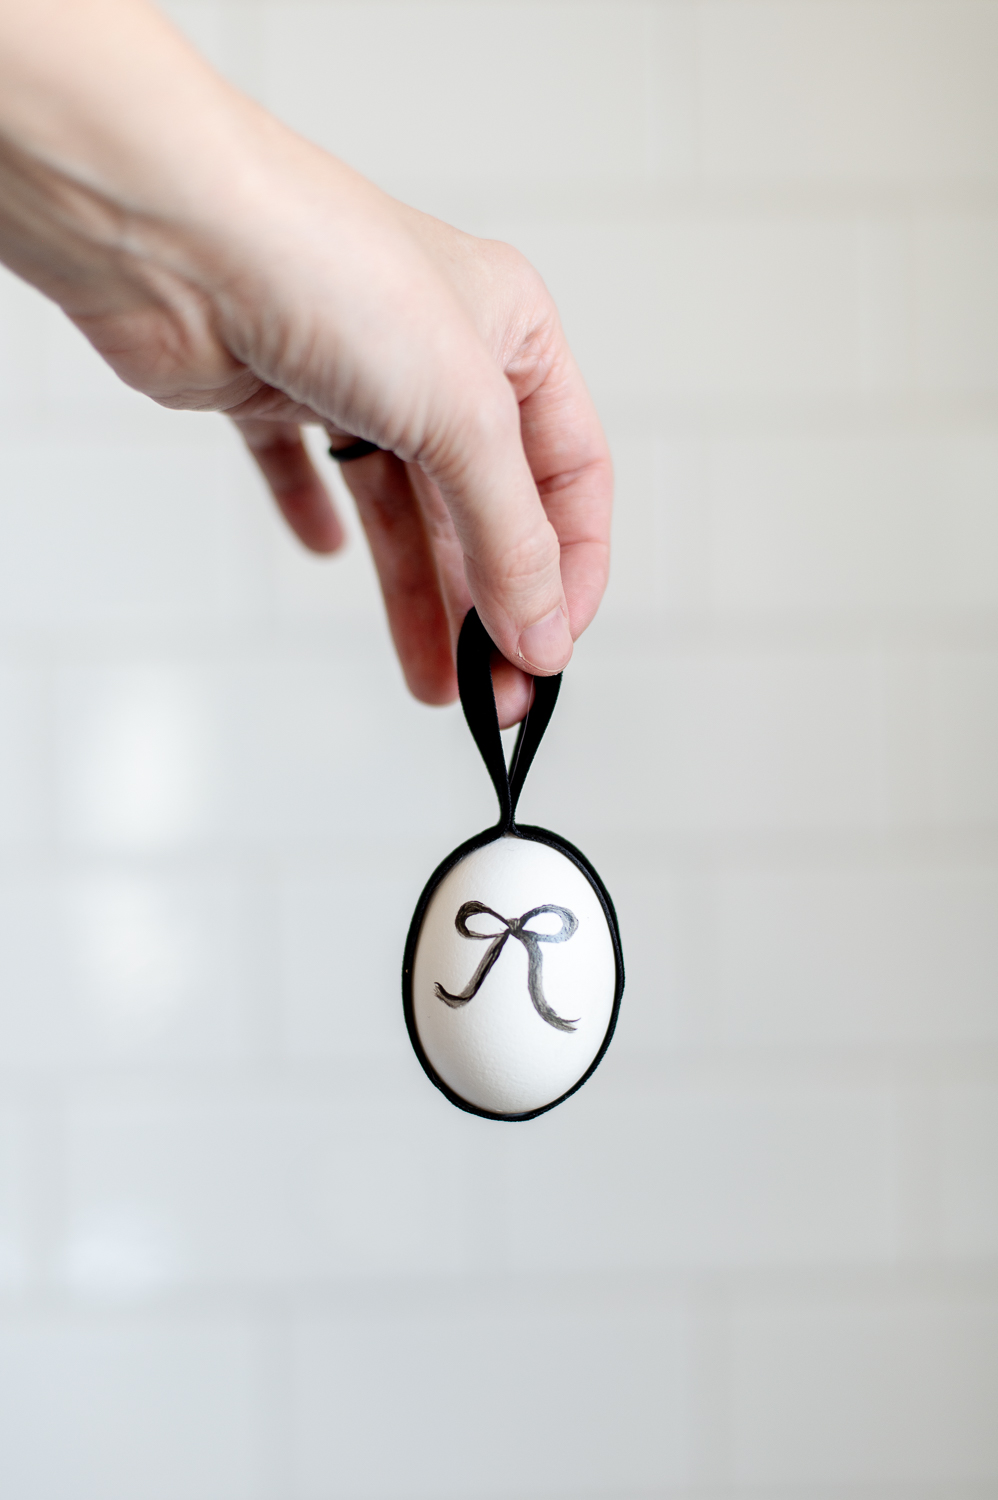
One of the things I was excited to find at The Dollar Tree when I was wandering around was this satin edged velvet ribbon that I knew would be perfect for turning some of my eggs into hanging ornaments.
How I Made My Painted Bow With Velvet Hanging Ribbon Easter Egg Ornaments
Once your have painted your simple bow motif onto the face of your eggs, here’s how to turn them into an ornament
Step One: Measure & Cut Your Ribbon To Length
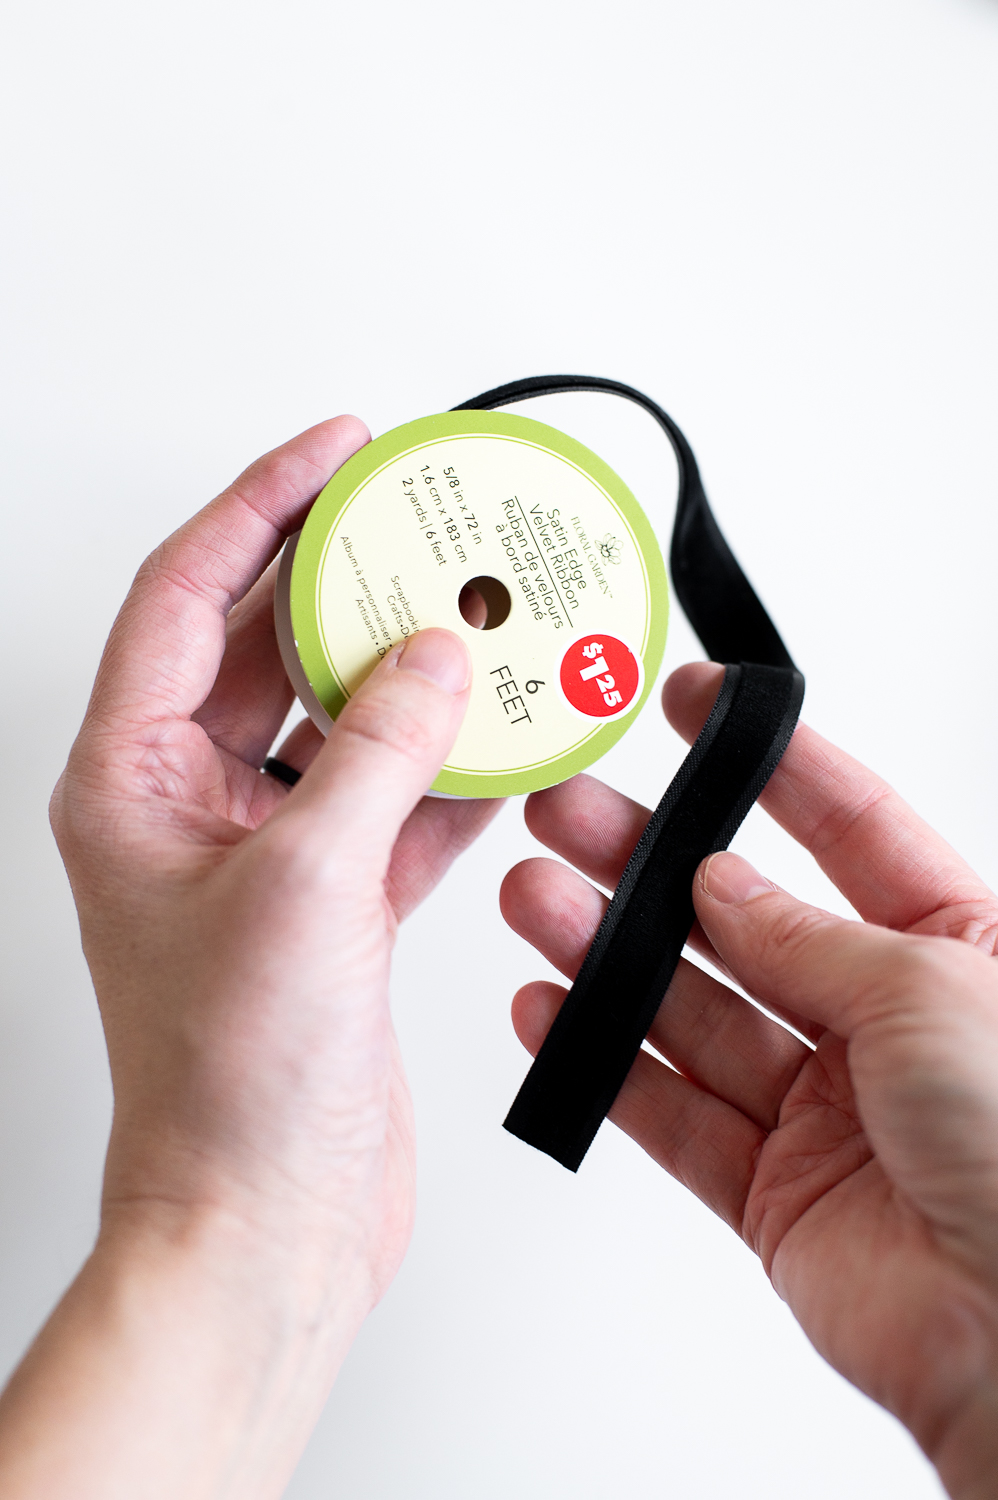
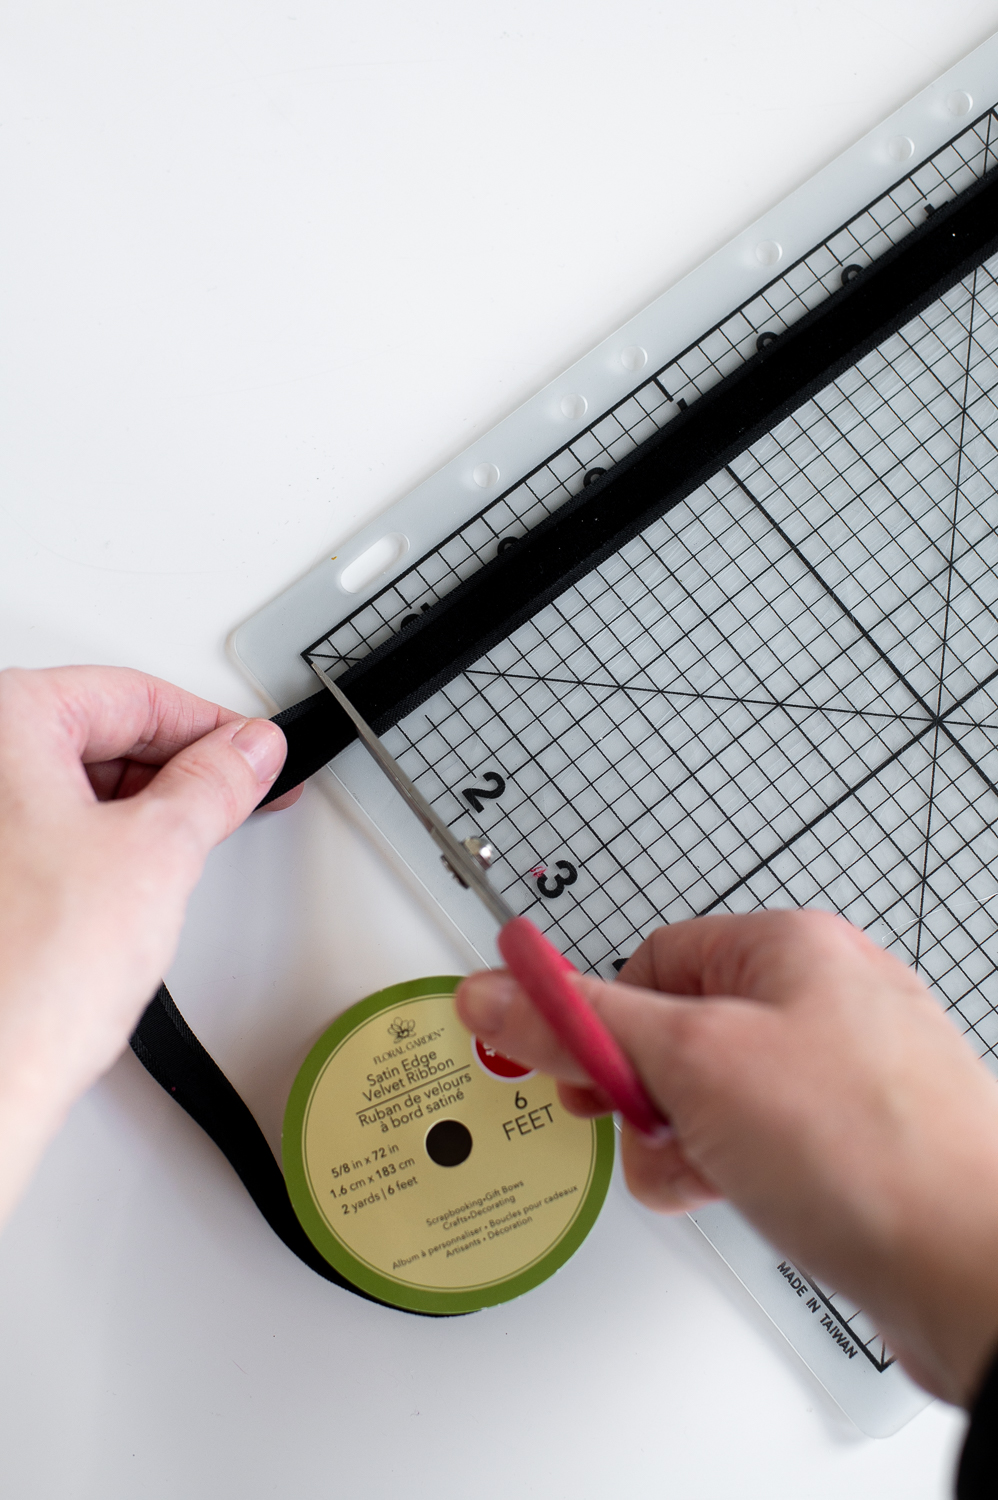
I was using medium sized eggs for this project and found 10-14″ of ribbon was the perfect amount depending on how large of a hanging loop you want to have in the end. But be sure and double check that will work on the eggs you are using before you cut any ribbon.
Step Two: Attach The Center Of Your Ribbon To The Bottom Of Your Egg
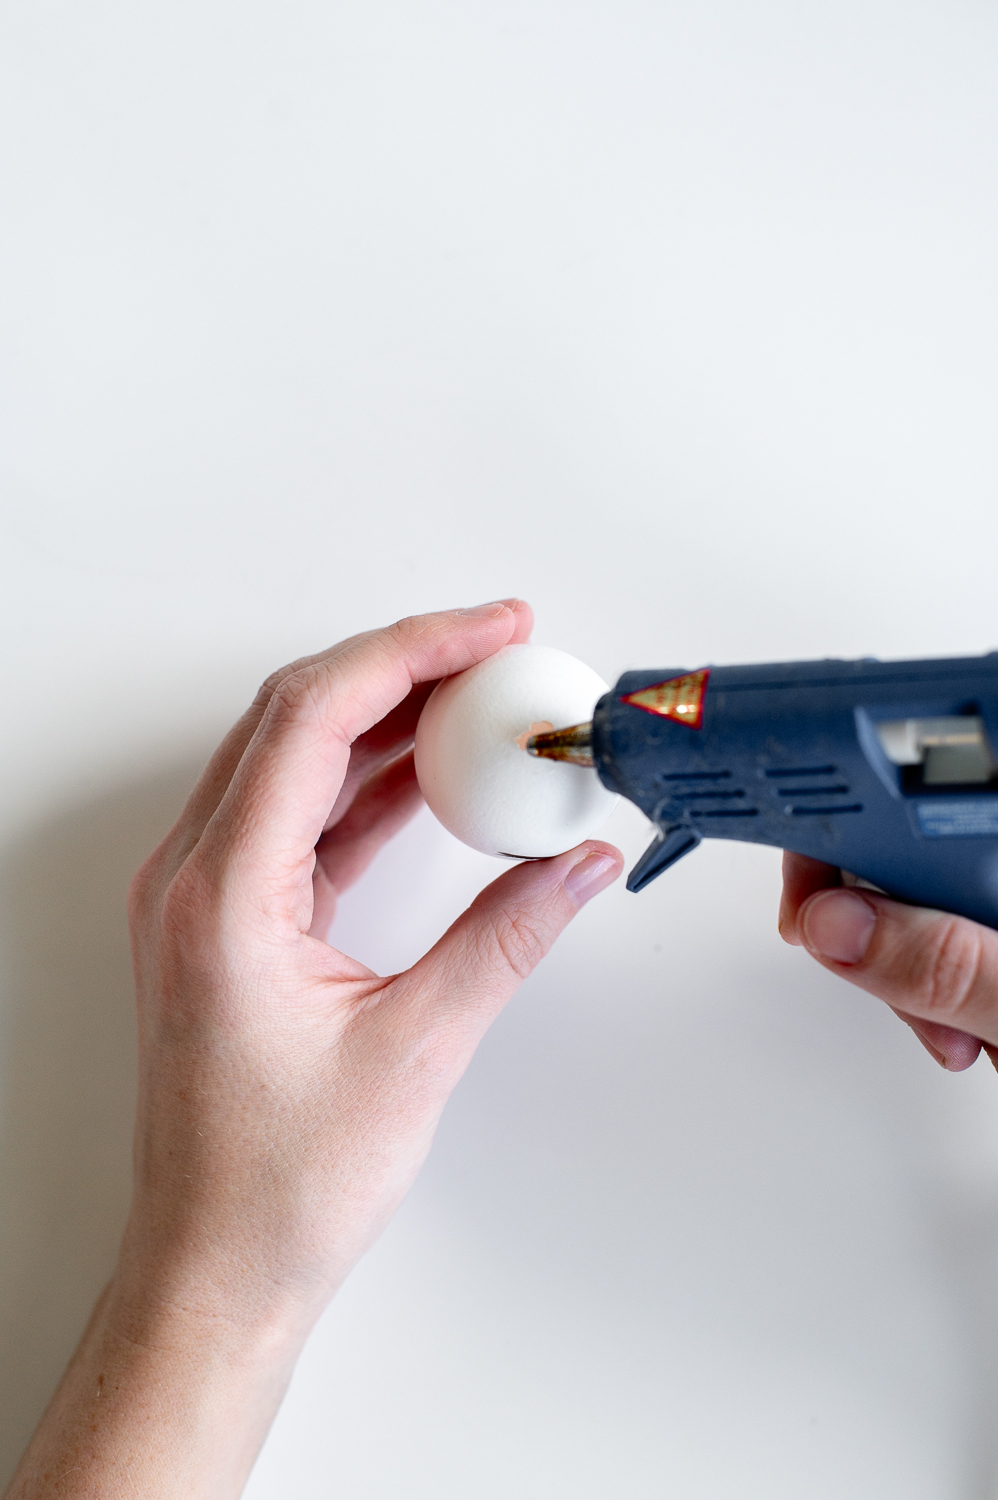
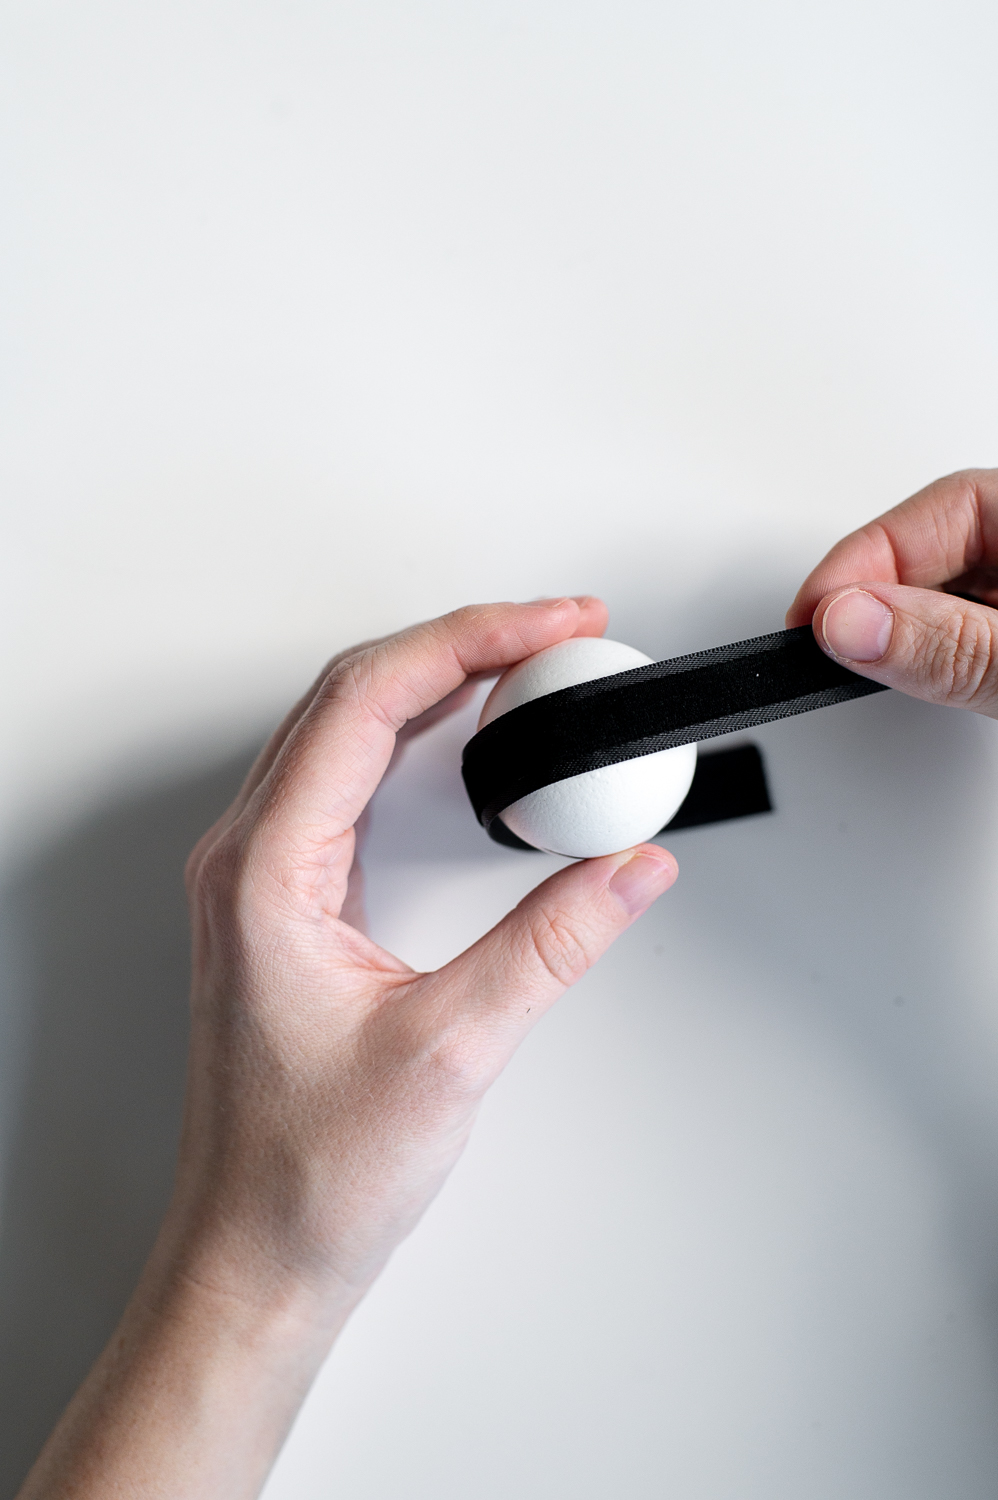
Fold your ribbon in half to find and mark the center point. Then take a dab of hot glue and attach the center point of your ribbon to the bottom of your egg, making sure to align it parallel to the design on your egg.
Pro Tip: If you accidently broke your eggshell and created a larger opening than you wanted while cleaning out your eggs, this method is great at hiding larger holes!
Step Three: Continue Glueing & Attaching The Ribbon Till You Get To The Top
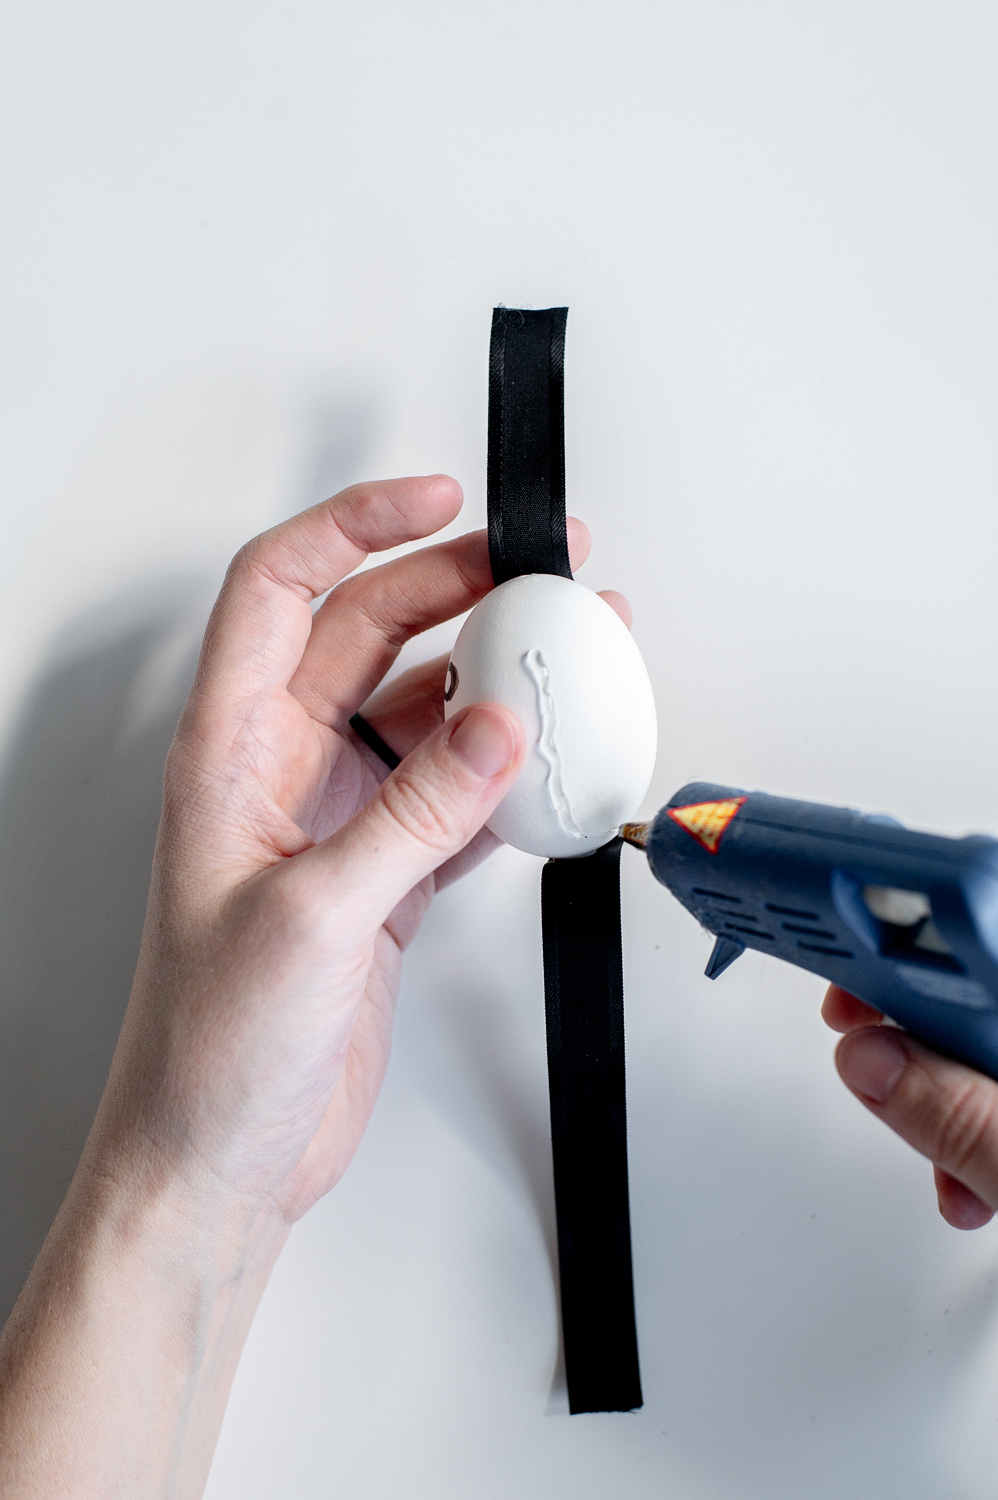
Run a small bead of glue up the side of your egg and attach your ribbon tightly to the sides of the egg. Once you have reached the top on both side, place a small dab of hot glue at the top center between the two strands of ribbon and press the strands together to connect them.
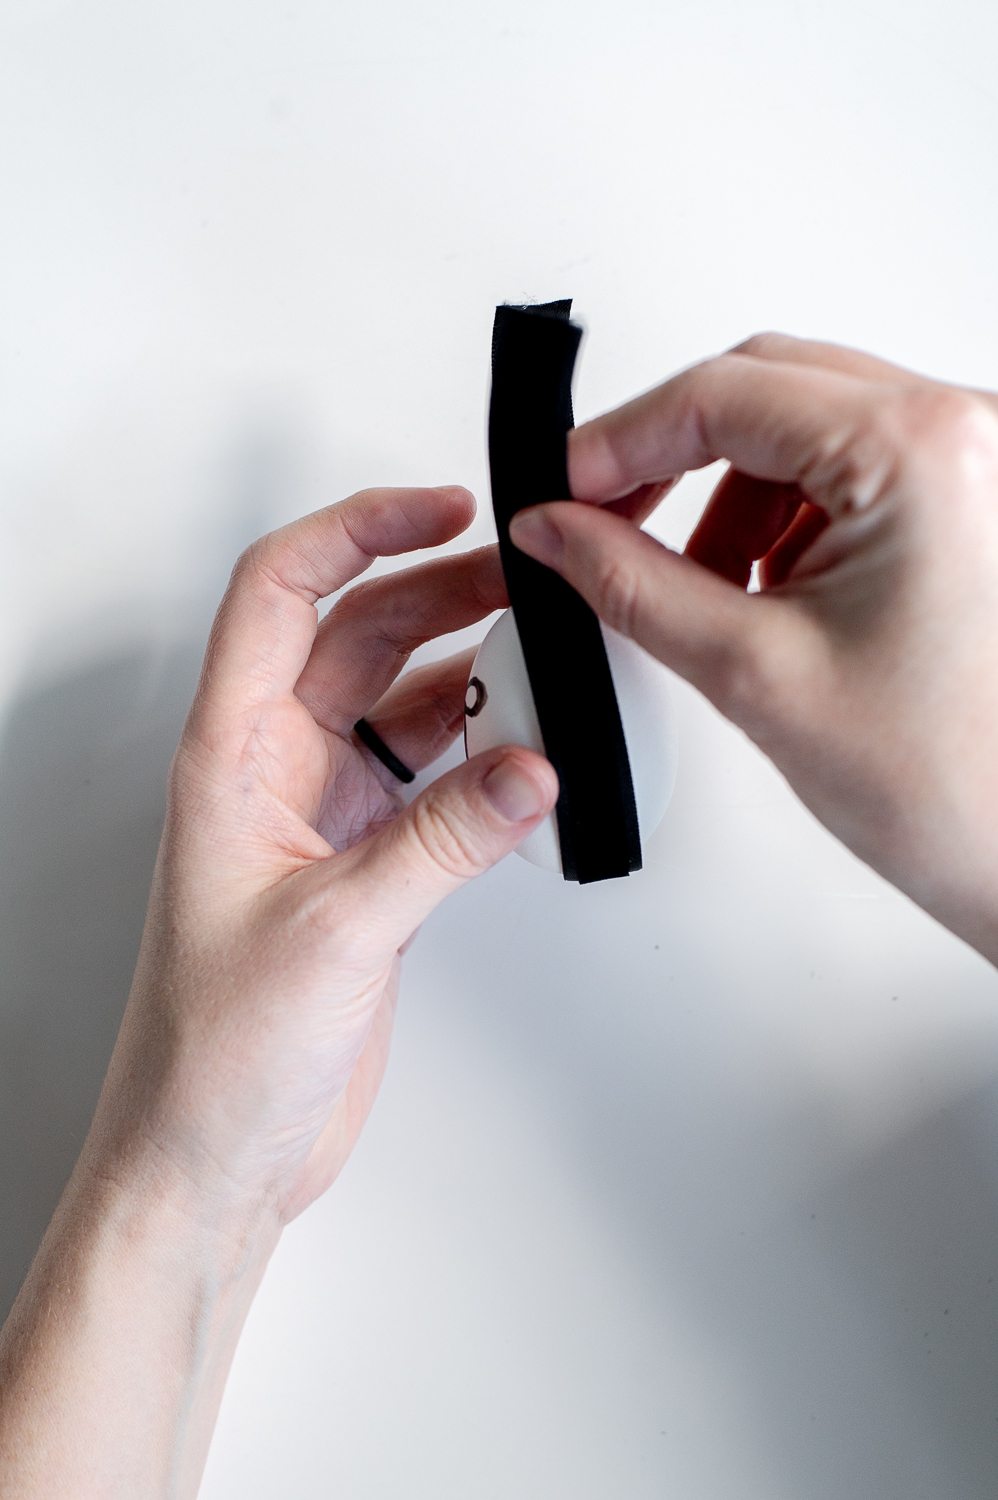
Step Four: Make A Small Loop & Glue The Ends Together
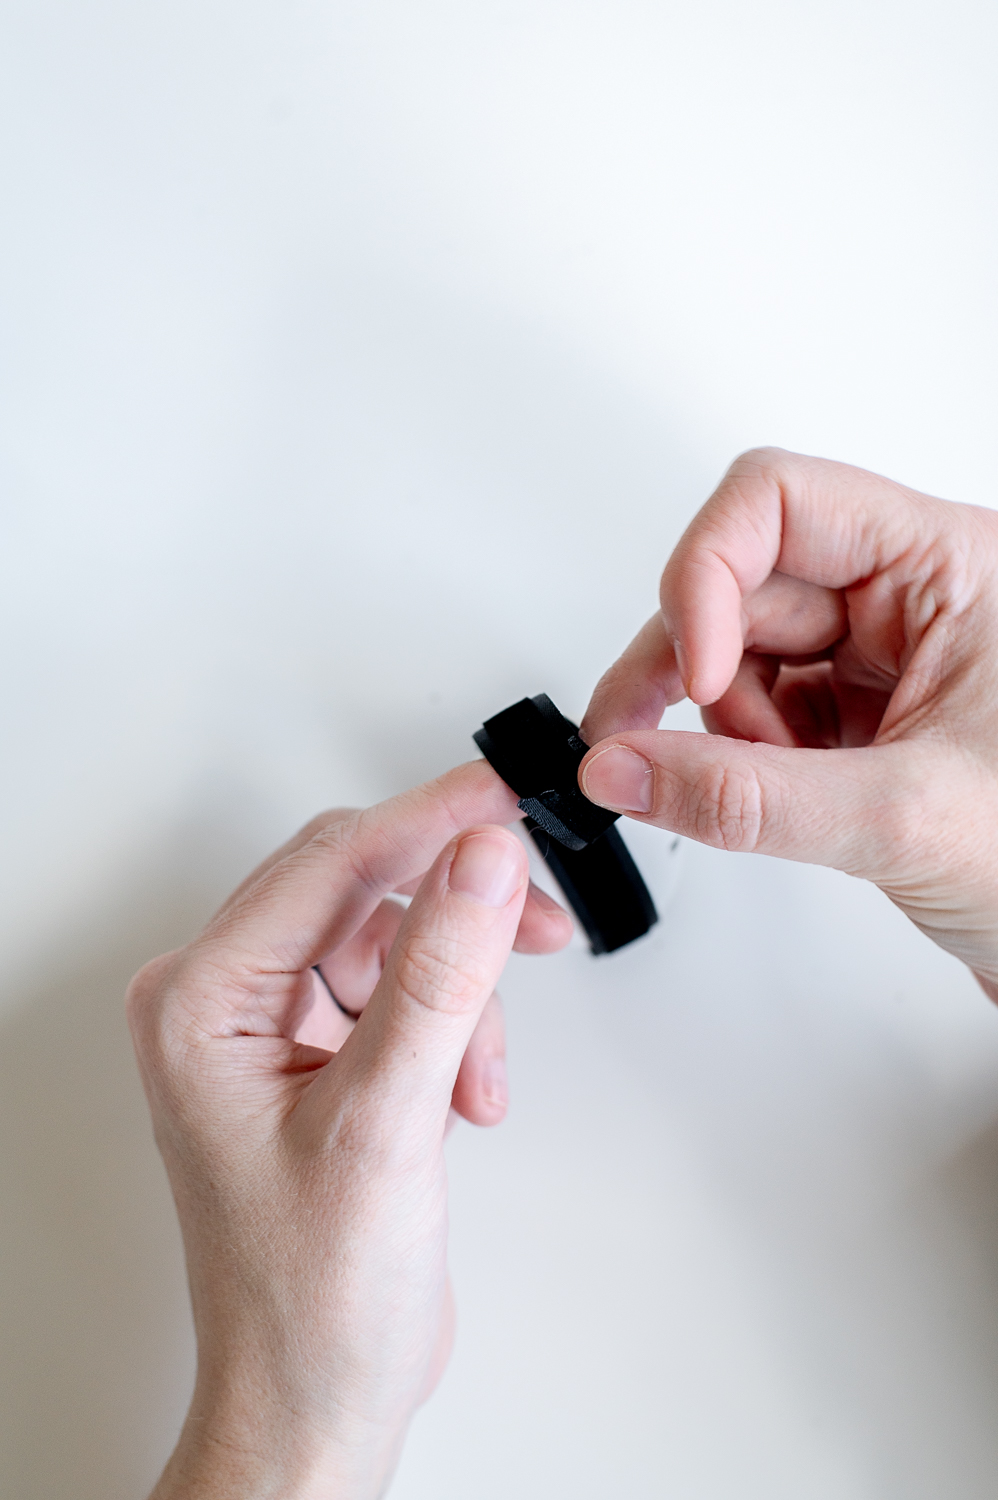

Finally you are going to make a small loop with the remaining ribbon, then take a dab of hot glue and attach the free ends together to connect the loop.
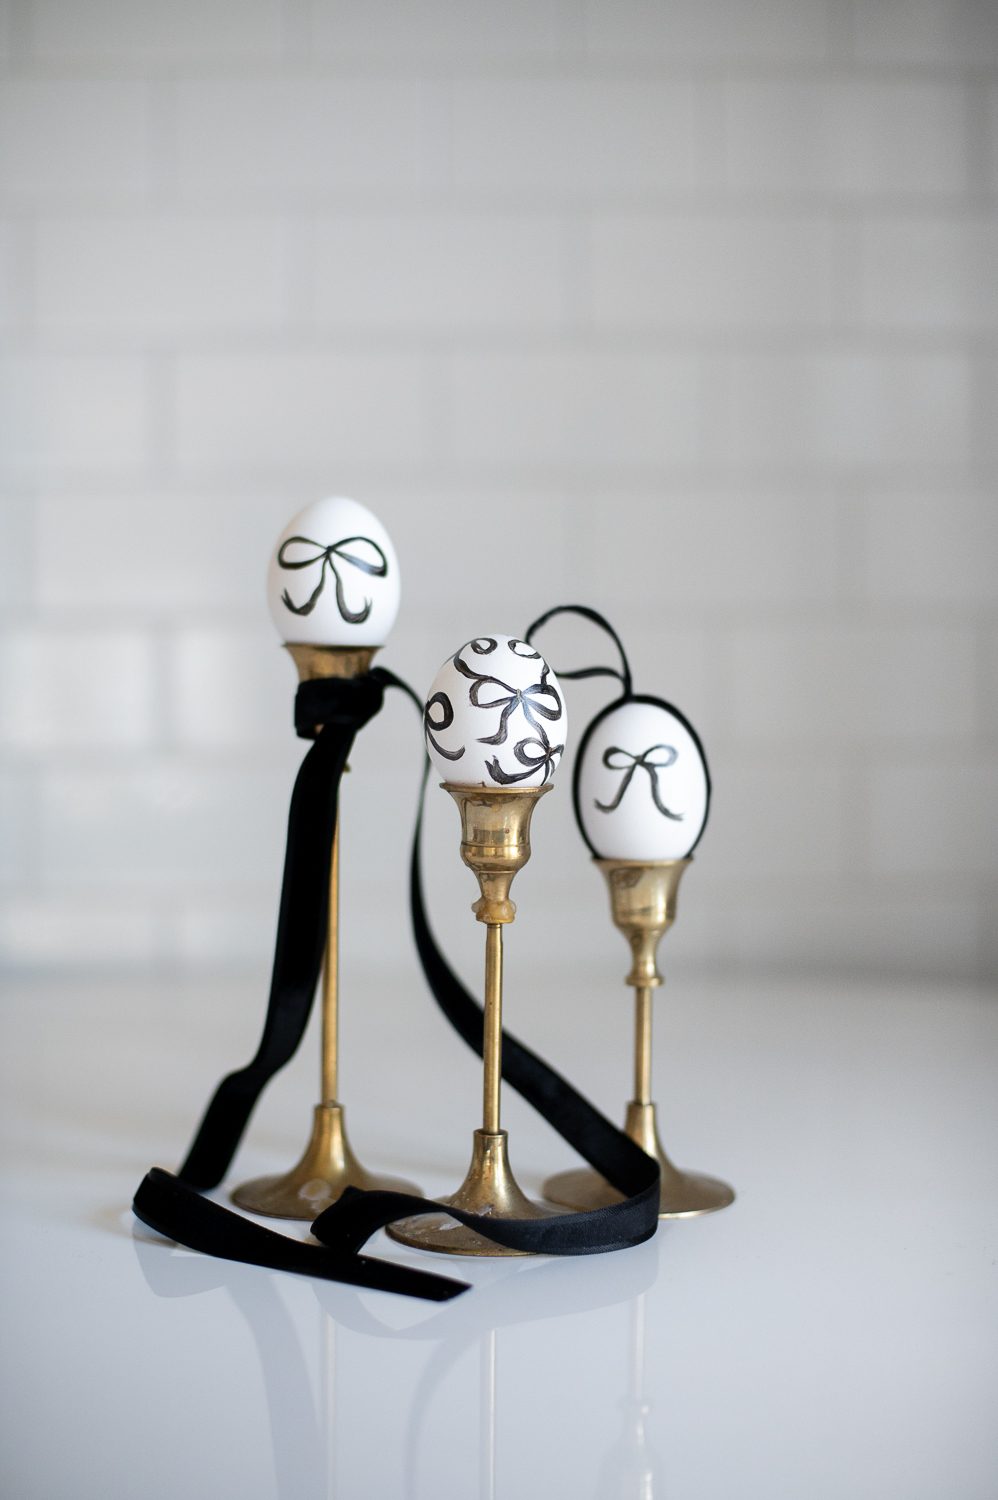
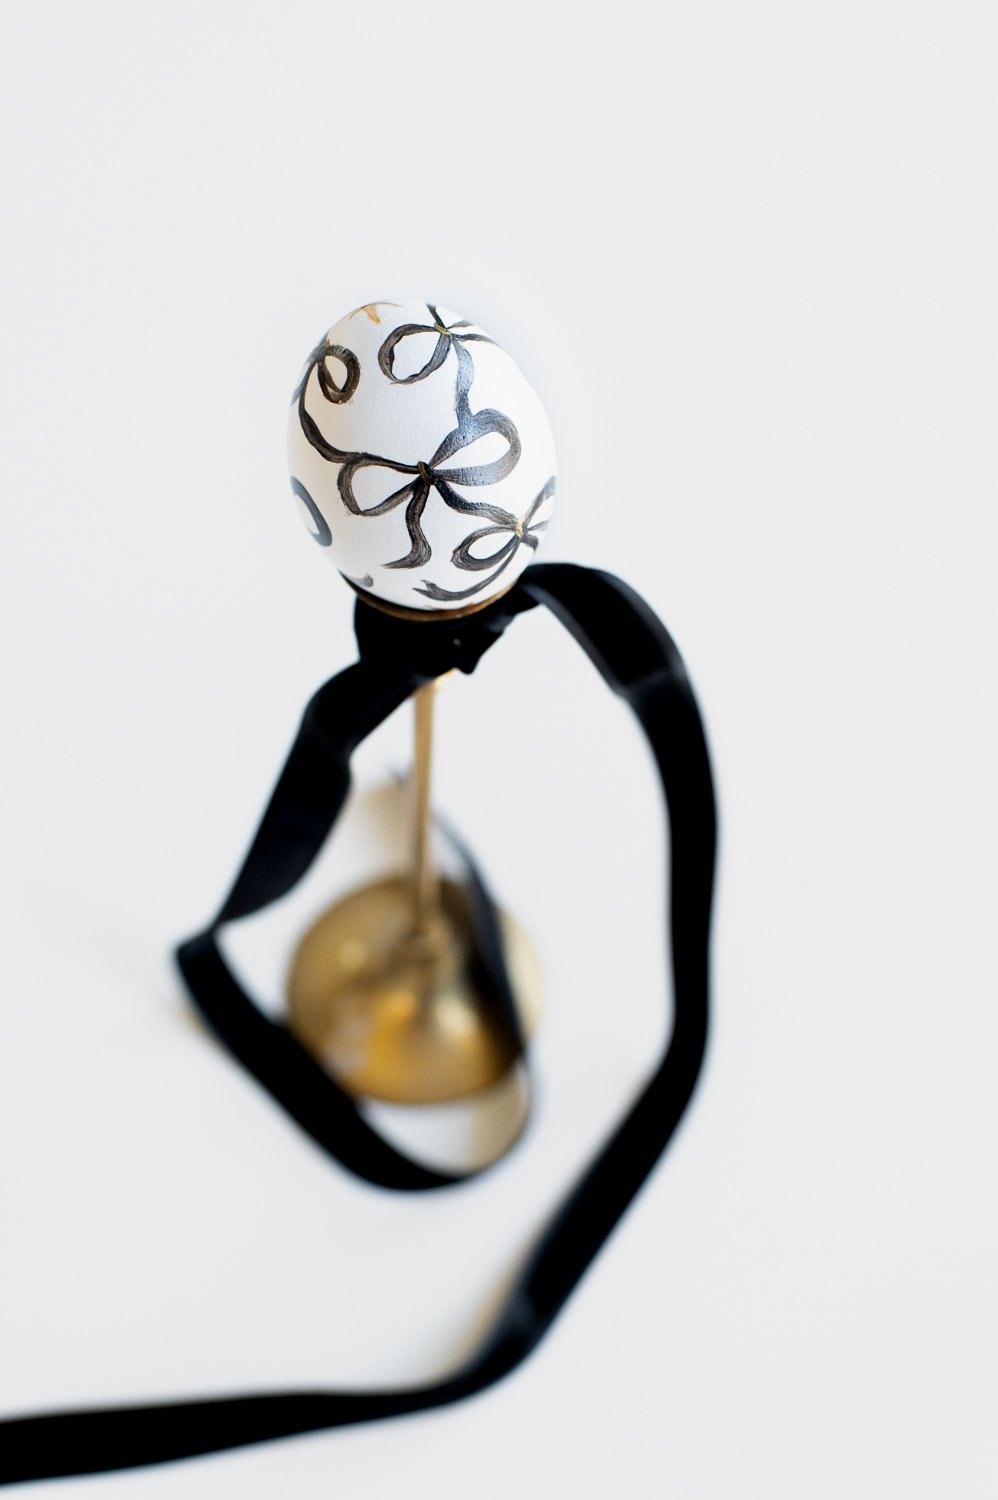
The Latticework Painted Bow Easter Egg
Finally, for this last version of my bow eggs I *attempted* to create a very simple bow lattice pattern over the entirety of the egg. Then I painted a simple gold compass star on the top and bottom of the shells for a little something extra!
How I Made My Latticework Painted Bow Easter Eggs
The steps for this design are nearly identical to the basic painted bow design I describe above. The major change of course being the fact that we’re now painting lots of bows instead of one small bow on the egg. The key steps that are different for this design were:
Step One: Map Out Your Latticework Bow Pattern In Pencil
This is arguably the hardest part of this project. The easiest way I found to do this was to draw out all the loops by themselves in a staggered pattern on the egg with my pencil. Then after I had all my loops, I would go back and attempt to draw the ribbon ends that create the latticework effect.
Step Two: Work Slowly & Use A Hair Dryer
The last thing you want to do when you are spending this much time and attention painting something tiny and detailed like this, is to smear the paint. So my advice to you is to work slowly and have a small hair dryer handy to dry each section you just painted as you go. That way you can continue to work without worrying about smearing the bow you just painstakingly brushed on.
Step Three: Use Gold Metallic Paint To Create Accents & Compass Star Pattern
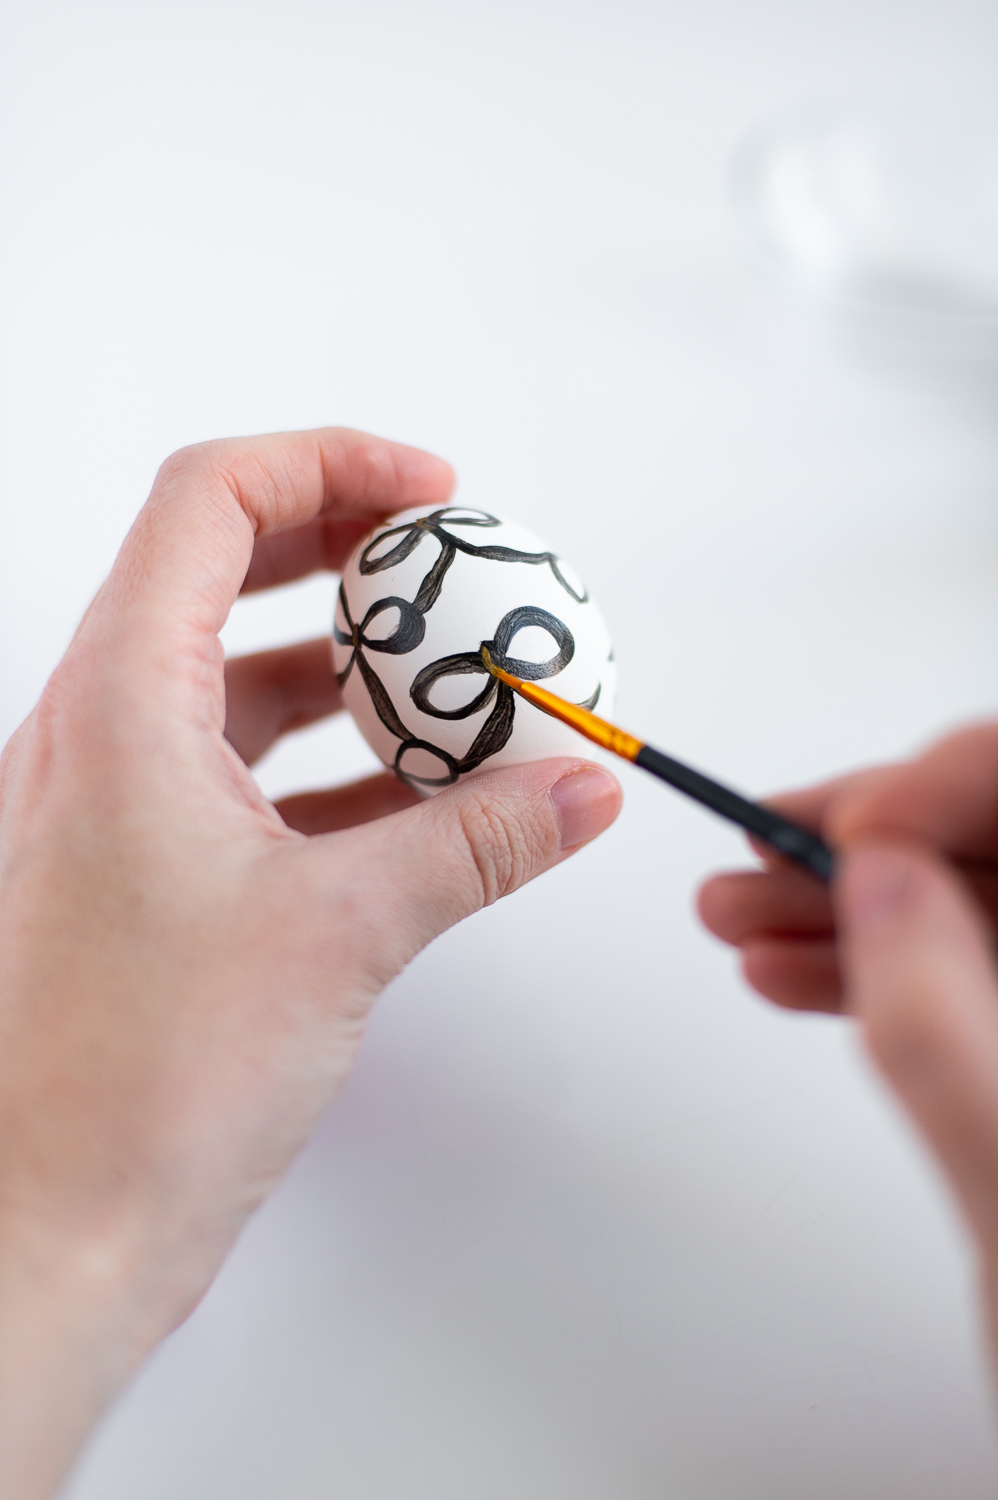
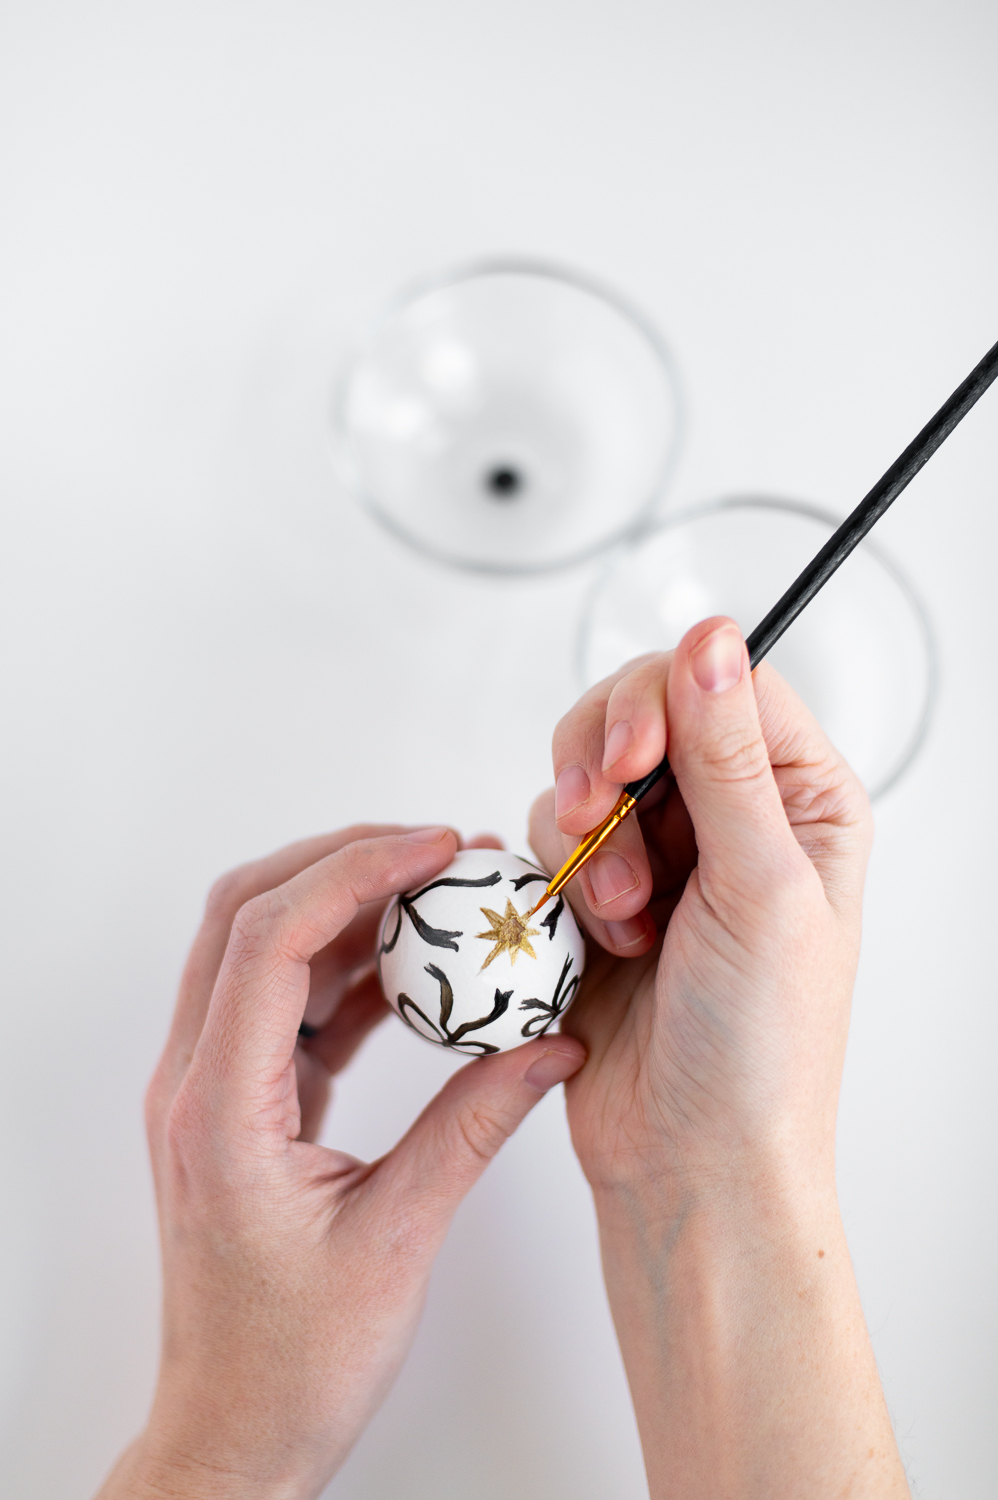
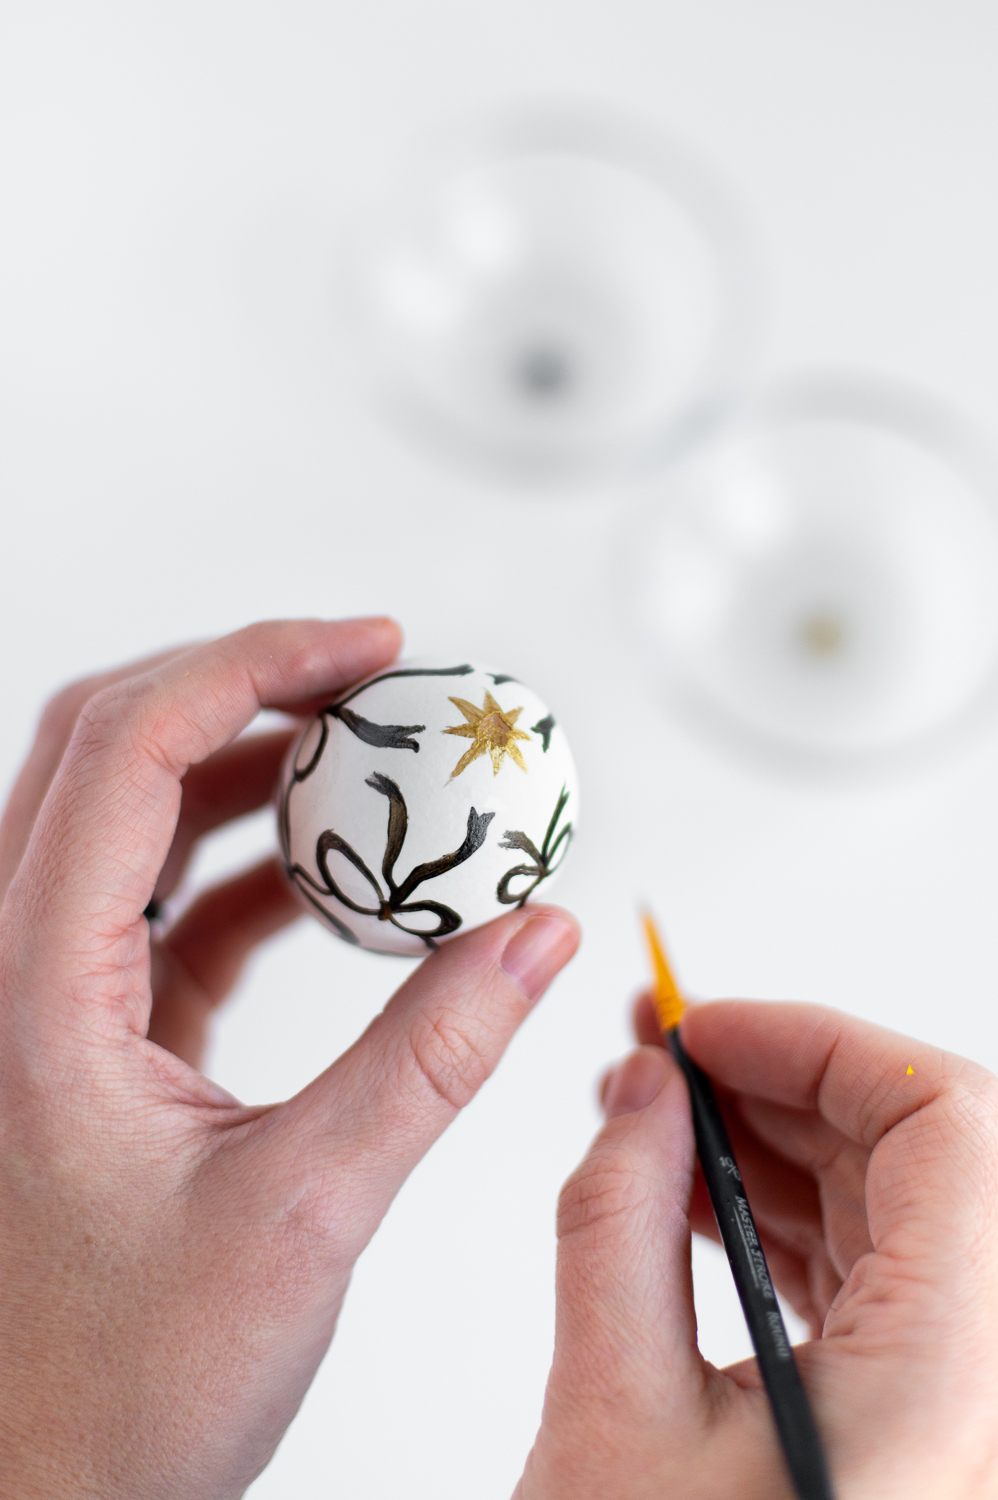
Finally, I decided to use a bit of gold metallic paint to create some small gold accents on the bows themselves and in addition to painting a compass star pattern on the top and bottom of the egg to help disguise the holes I poked in the shell in order to empty them out and complete the design.
During this process I learned that painting small little detailed pictures on eggs take a lot of patience and a very steady hand. Neither of which I have in abundance. So I don’t know that this will be my new life calling, but they sure did turn out cute! Which version is your favorite?
And in case you missed it, this is the second in a series of three elegant Easter egg decorating ideas I came up with using dollar store supplies. So if you want something that requires less drawing/painting skills, check out the Golden Confetti Easter eggs I posted last week and stay tuned for my third and final Easter Egg decorating idea!
Shop This Post
For this project I used only supplies you can pick up at your local Dollar Tree. However, if you don’t have a Dollar Tree near you, or they are out of stock of one of the items I used, here are some alternative options I sourced for you (and a one thing I wish I had used).
Note: If you plan to make several of the hanging velvet trimmed ornaments, this spool of ribbon from Amazon is *much* cheaper per ft than the small spool you’ll get from the Dollar Tree.


Don’t Forget To Pin This Post & Subscribe!
Want to keep getting more DIY home decor inspiration, thrifting tip & tricks, free art downloads, reading recommendations, and home renovation tutorials? Then don’t forget to pin this post for later so you can follow me on Pinterest and then subscribe to my blog so you can get links to my newest content as soon as it hits the blog!