There is no Christmas decoration I love more than fresh evergreen garland. But have you seen how much fresh garland costs!? And even if I could afford to purchase fresh evergreen garland every year, often it doesn’t hang well and isn’t as thick and luscious as my Dickensian Christmas dreams have their heart set on. Which is why I figured out how to make it myself for less than a cup of coffee!
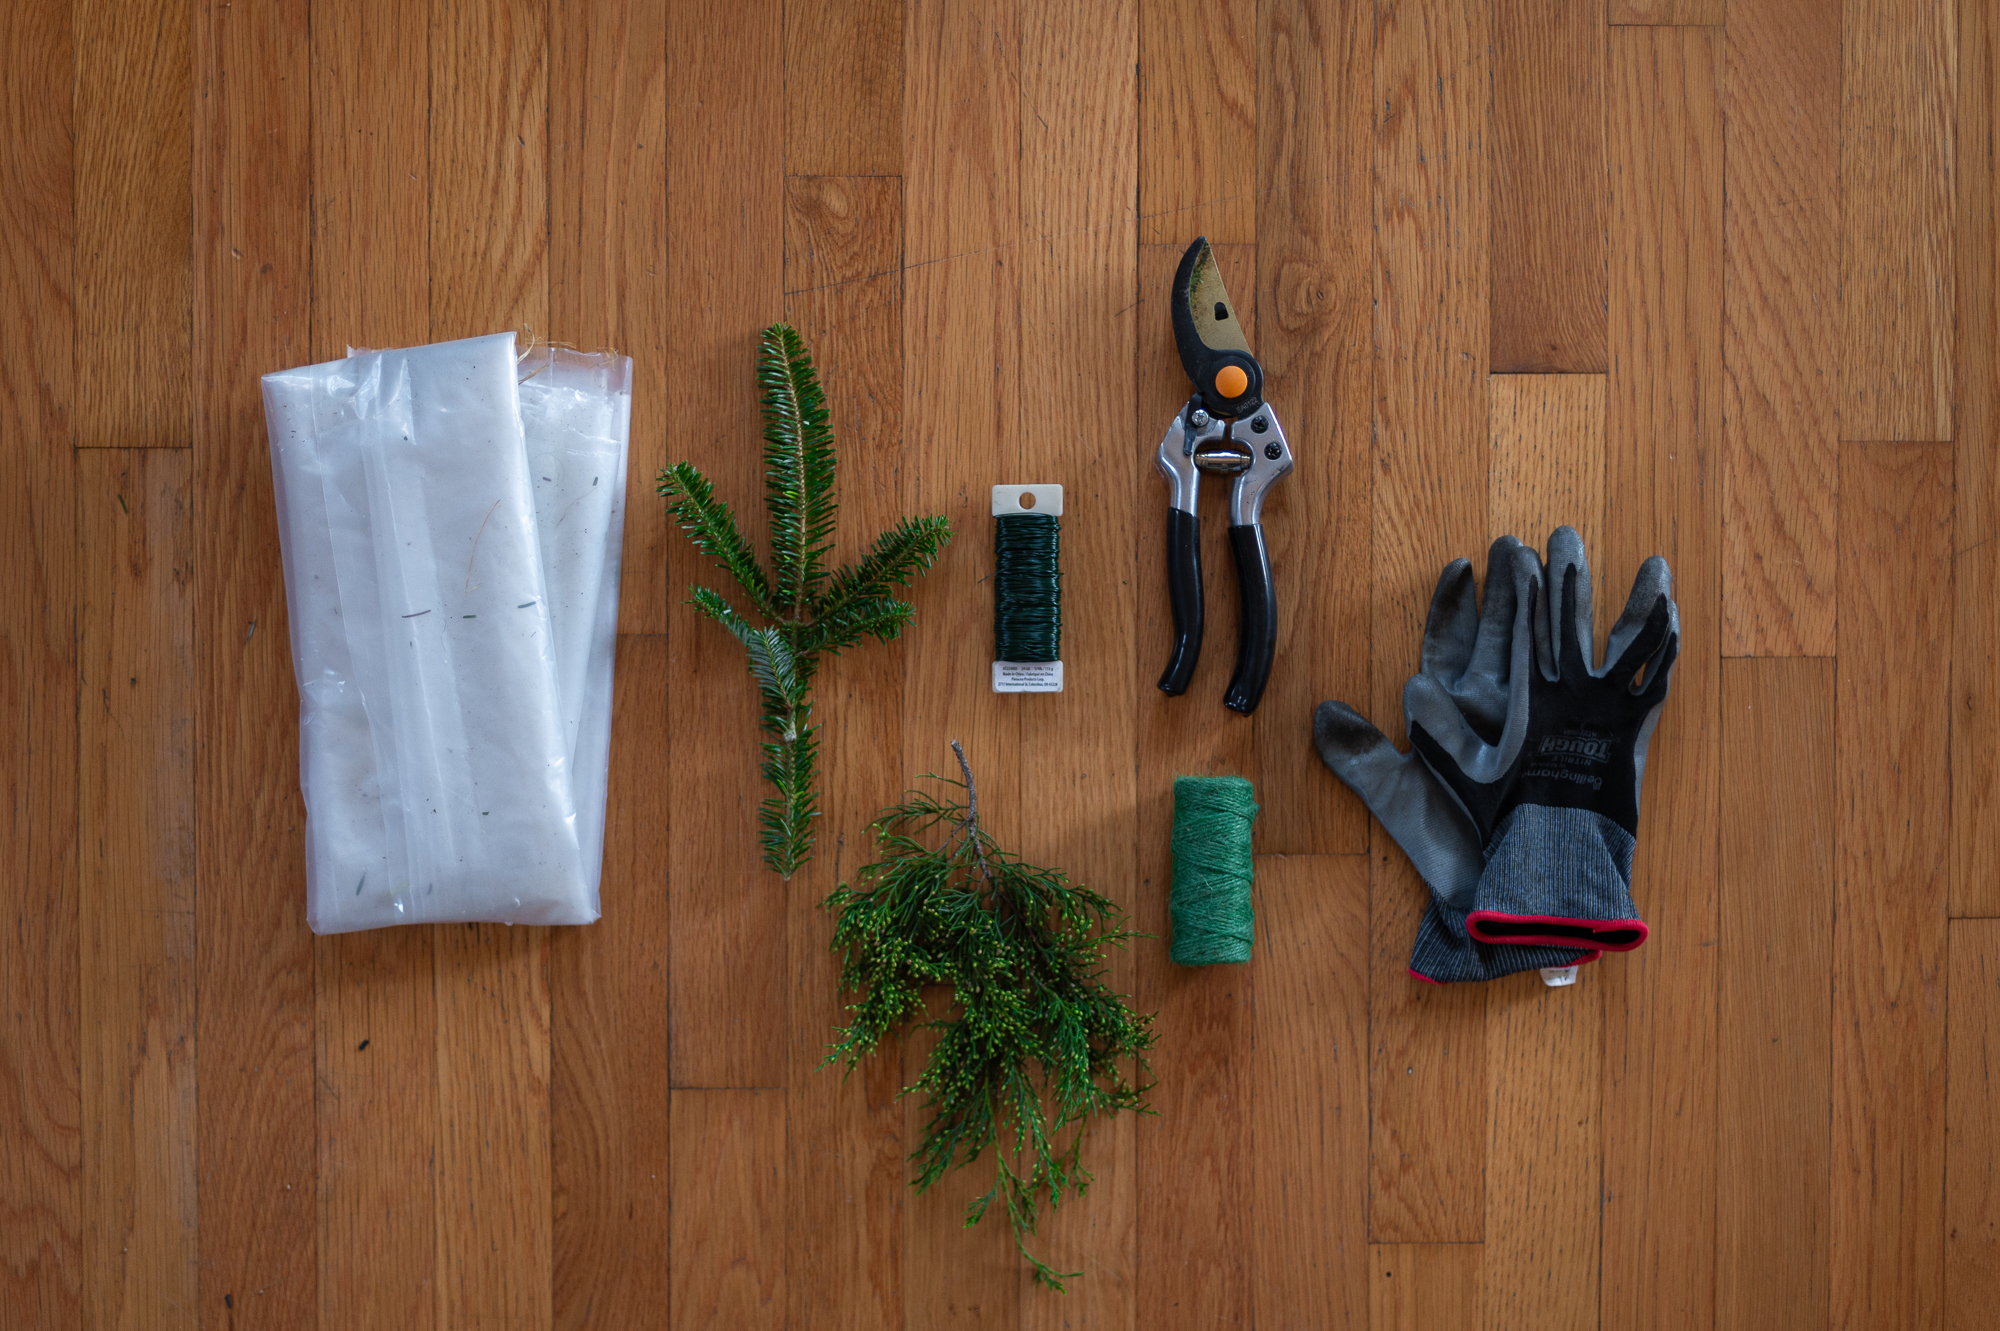
Supplies & Tools You’ll Need
*This blog post contains affiliate links, meaning that if you purchase any of the items using the links I provide I, as the author of this website, will receive a very very small commission from that sale. This is a great way to help support your favorite bloggers at no cost to you. Think of it like a tip jar that costs you nothing!
- Fresh Evergreen Branches (Check out THIS BLOG POST for where I break down how to get all the fresh evergreen branches you”ll need for this project FOR FREE!)
- I like to have at least two types of evergreens I’m using together. But you can get by with just one if that’s all you can find! For this tutorial I’ll be using fir Christmas tree trimmings & juniper (which doesn’t smell as amazing as cedar, but looks great and is often easier to forage here where I live in Alabama.)
- Garden Pruning Shears
- You’ll want to make sure they are nice and sharp and can cut through small branches.
- Floral Wire
- This is widely available at any craft store, but you can also snag some for $1.25 at the Dollar Tree. However, it’s actually cheaper per foot to grab it from Amazon here.
- A Roll of Sturdy Jute or Twine
- I like to use green just because it blends in a bit more with my garland, but you can use any color you like. Pick this up locally at The Dollar Tree, any craft shop or online from Amazon.
- Wire Snips
- Anything that will cut thin floral wire works. If possible, I prefer needle nose pliers with wire snips for the job. I just find these come in handy when working with wire.
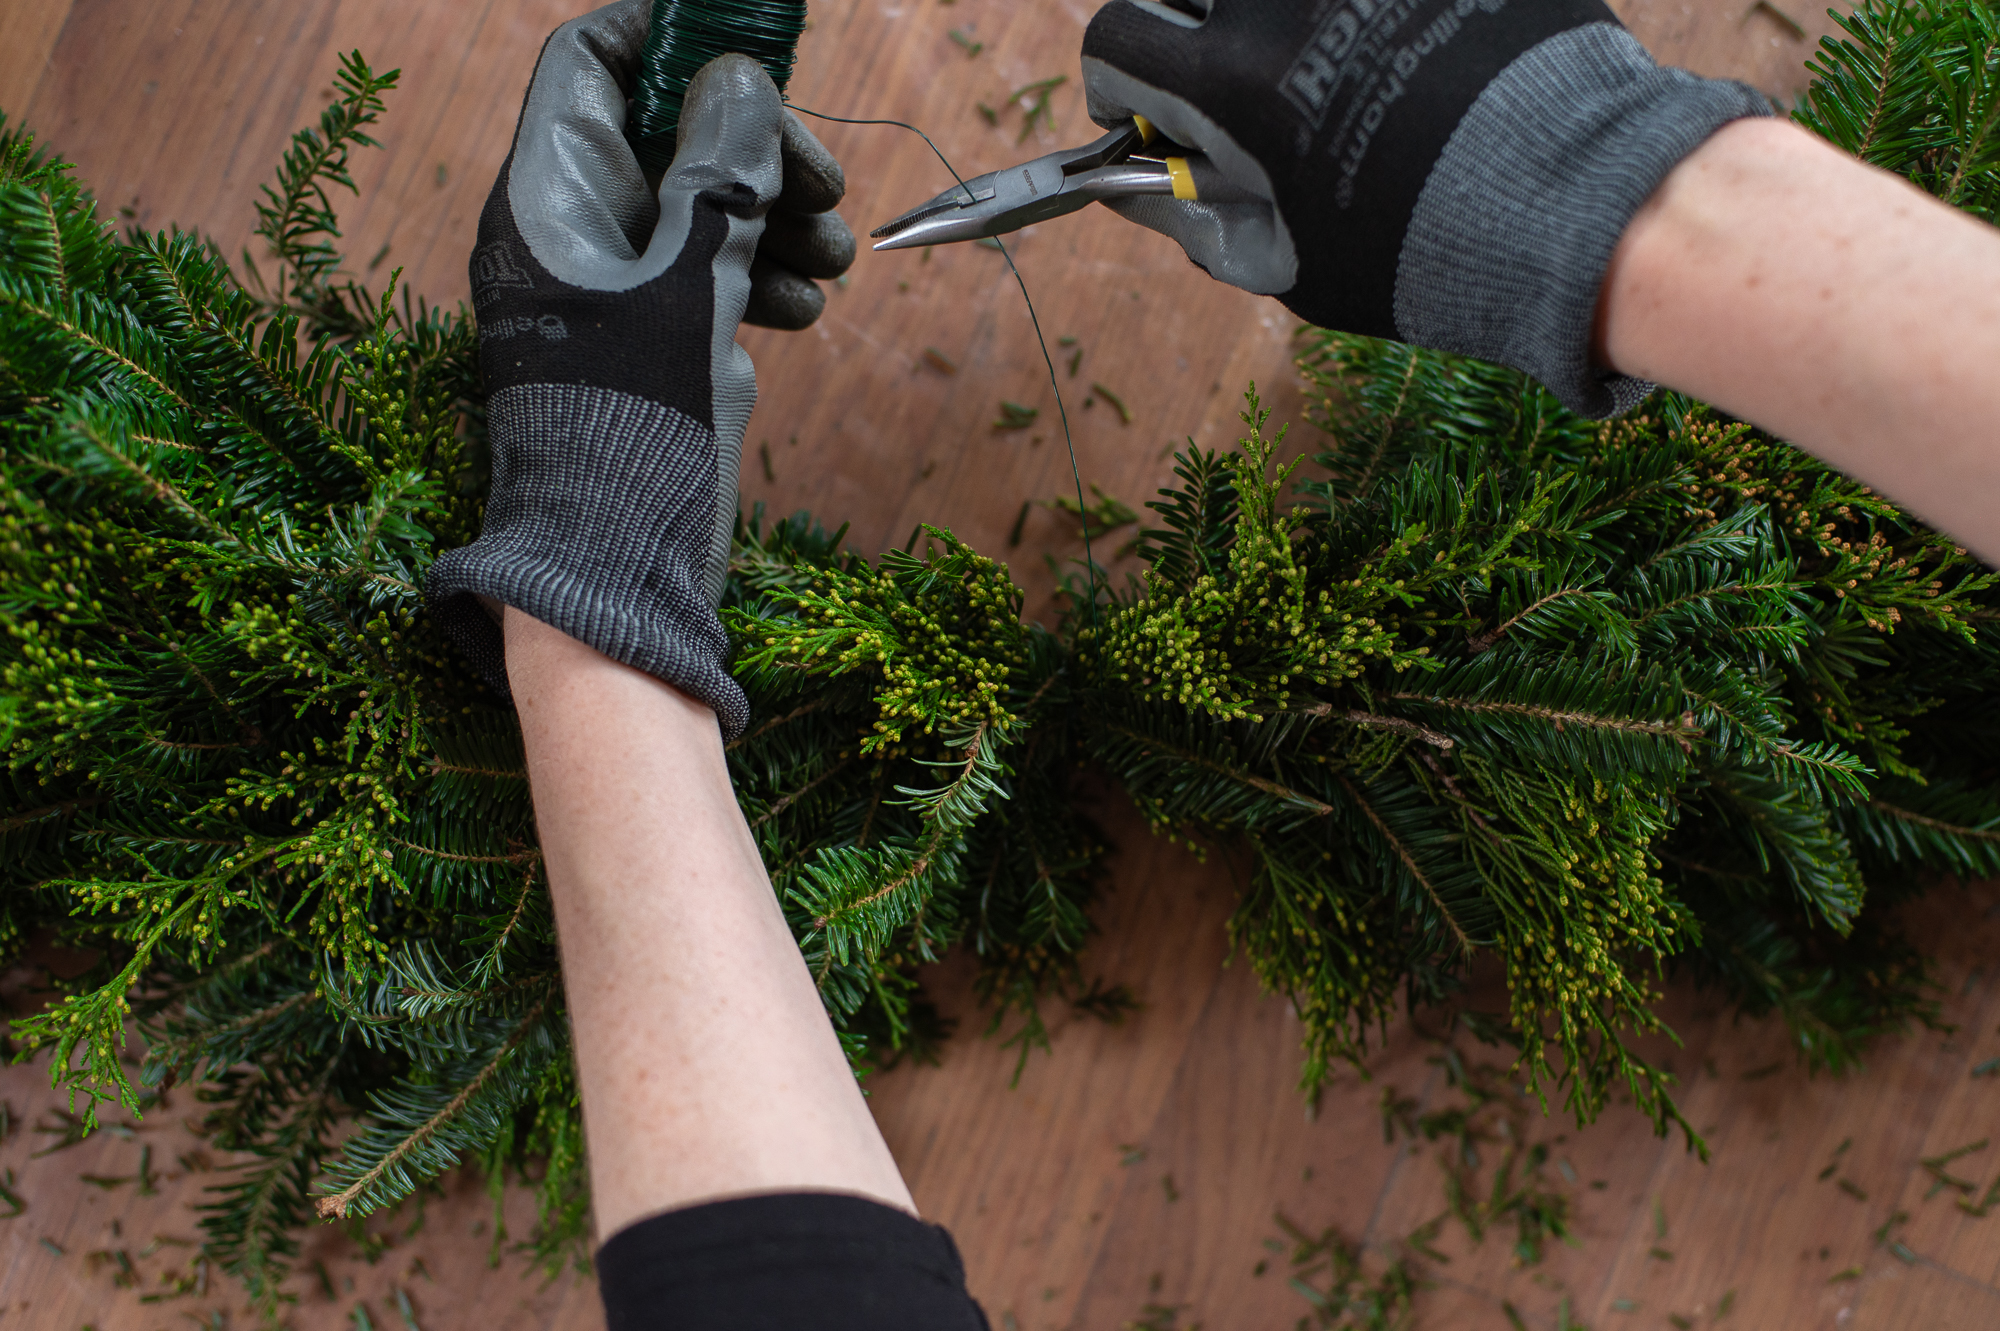
- Gloves
- You are going to want to protect your hands somehow during this project both from the wire and from tree sap. I personally prefer this kind of nitrile gardening glove for craft projects like this because they let me retain more dexterity than other types of work gloves do. (Also these come in size X-Small to X-Large so you can get a pair that actually FIT your hands.)
- A Plastic Tarp
- This project is MESSY. So if you’re working inside, or you just want to save yourself some time on clean up (and protect your surface from tree sap), pick up a cheap plastic tarp or table cloth (or even just some old newspapers) to throw down before you start.
How To Make Your DIY Fresh Evergreen Garland
Once you’ve gather all your tools and supplies together and foraged for all your FREE fresh evergreen tree trimmings, it’s time to pour yourself a steaming cup of hot cocoa, download the perfect holiday audiobook (Tim Curry’s narration of A Christmas Carol is excellent), lay down your protective sheeting, don your gloves and get to crafting some holiday magic.
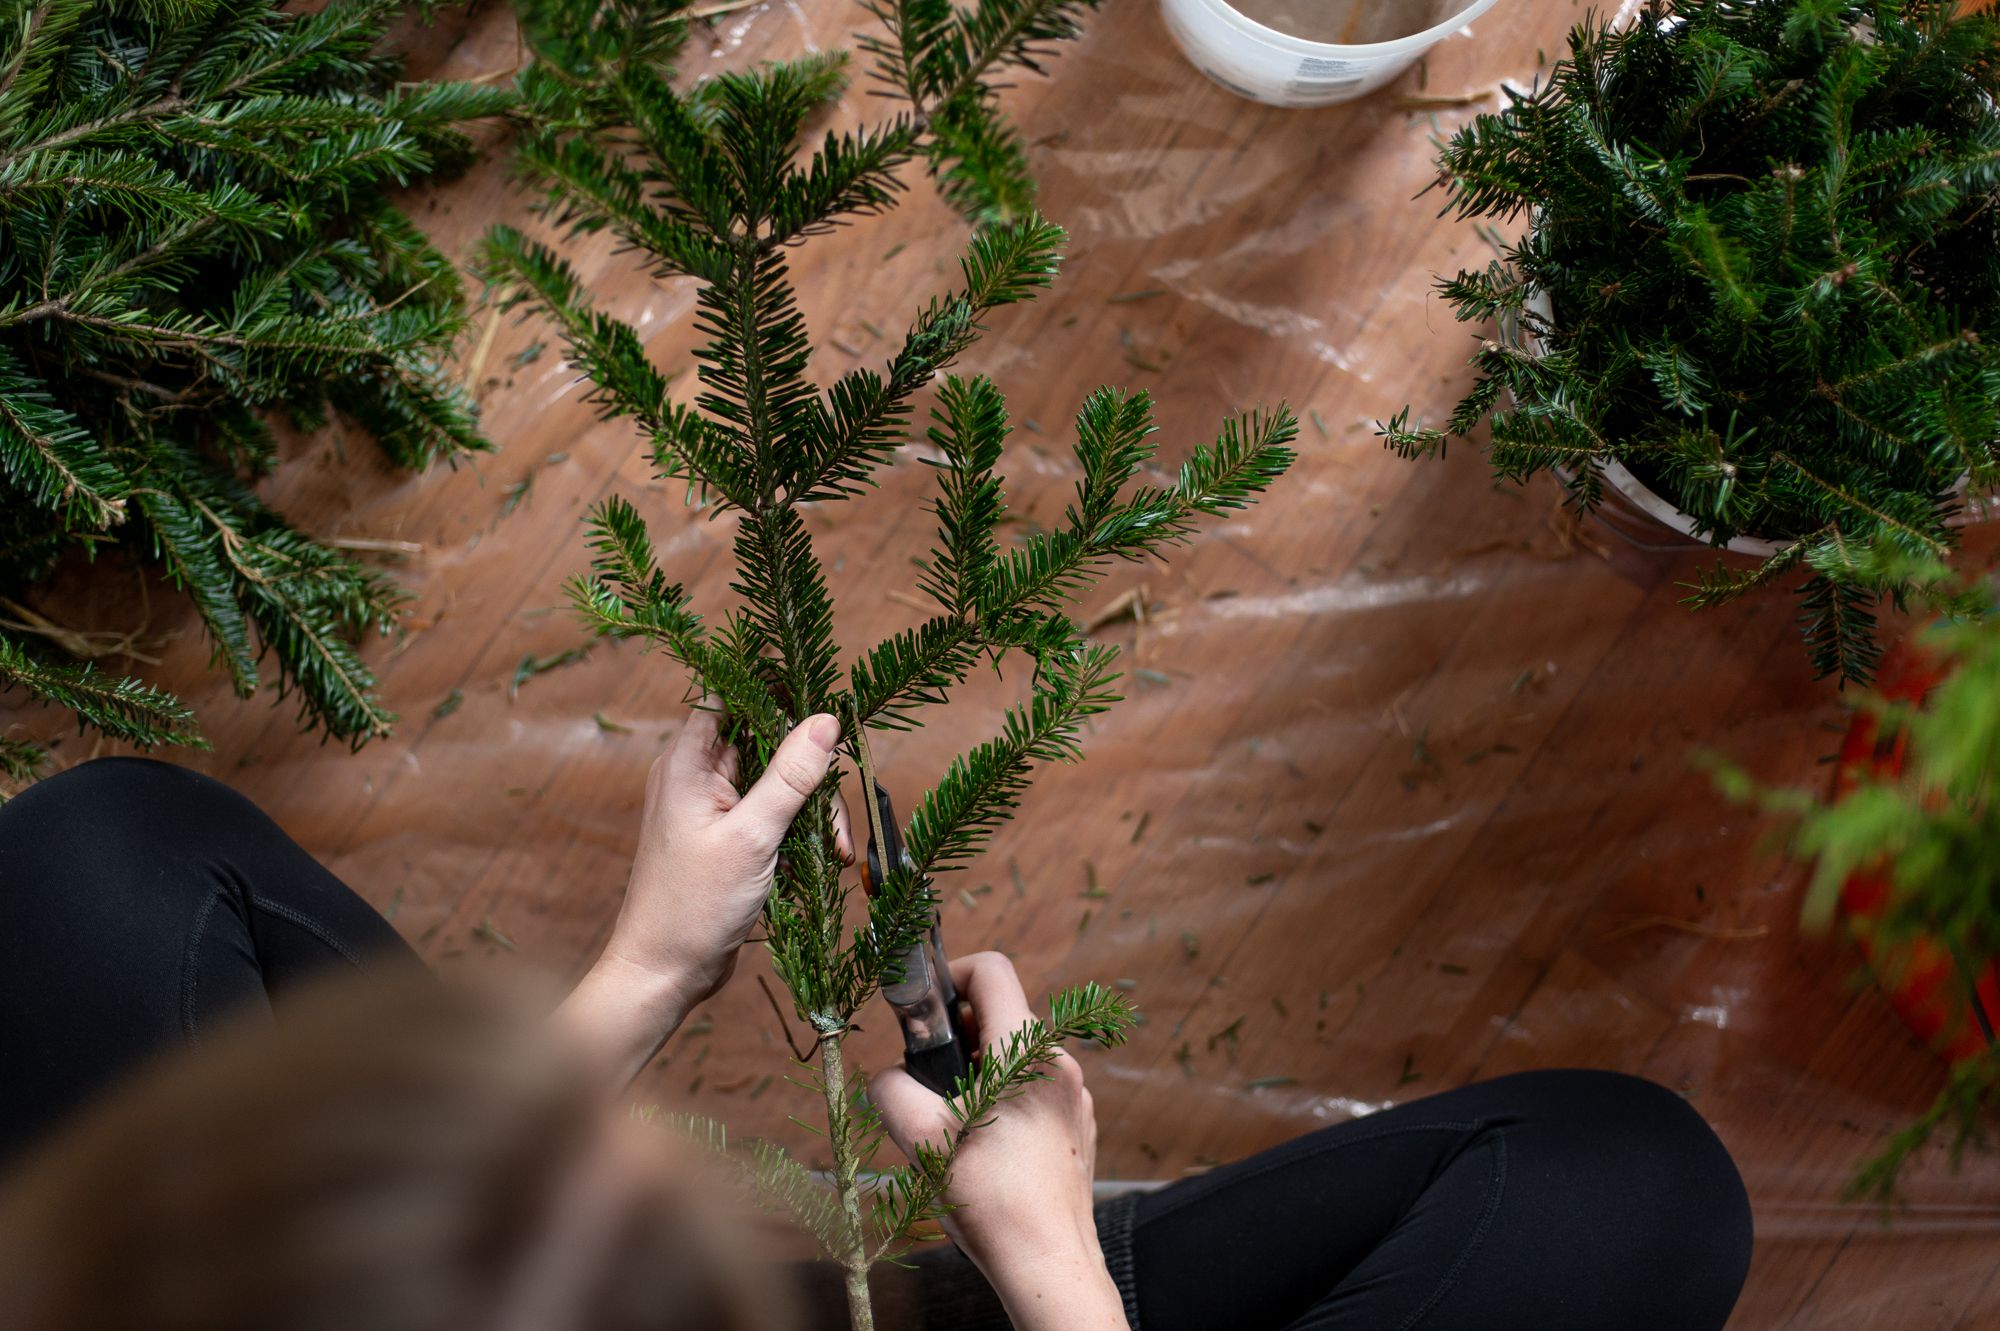
Step One: Cut & Process All Your Trimmings
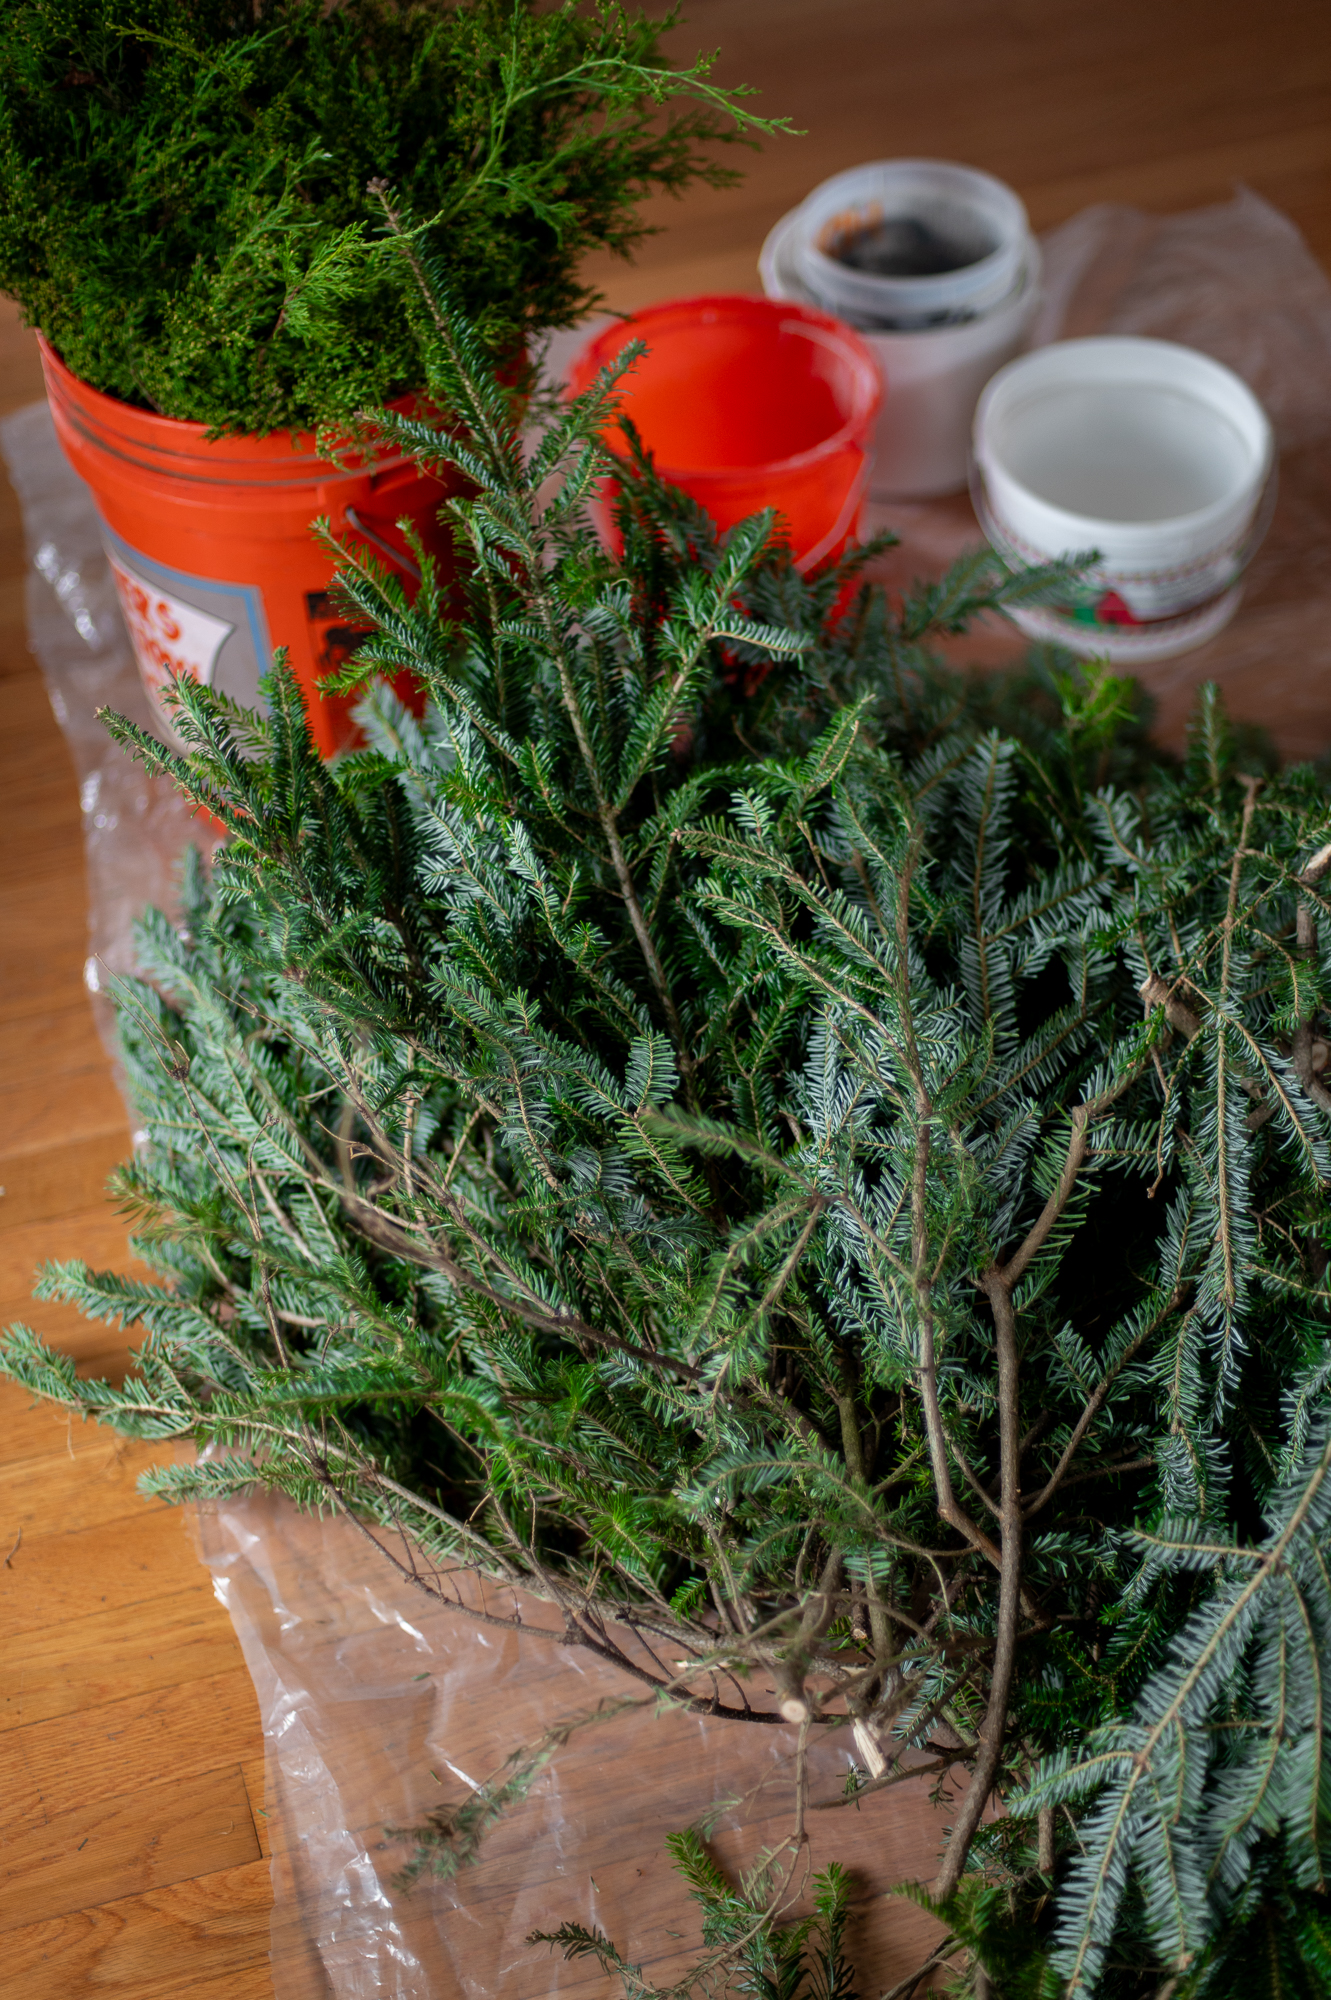
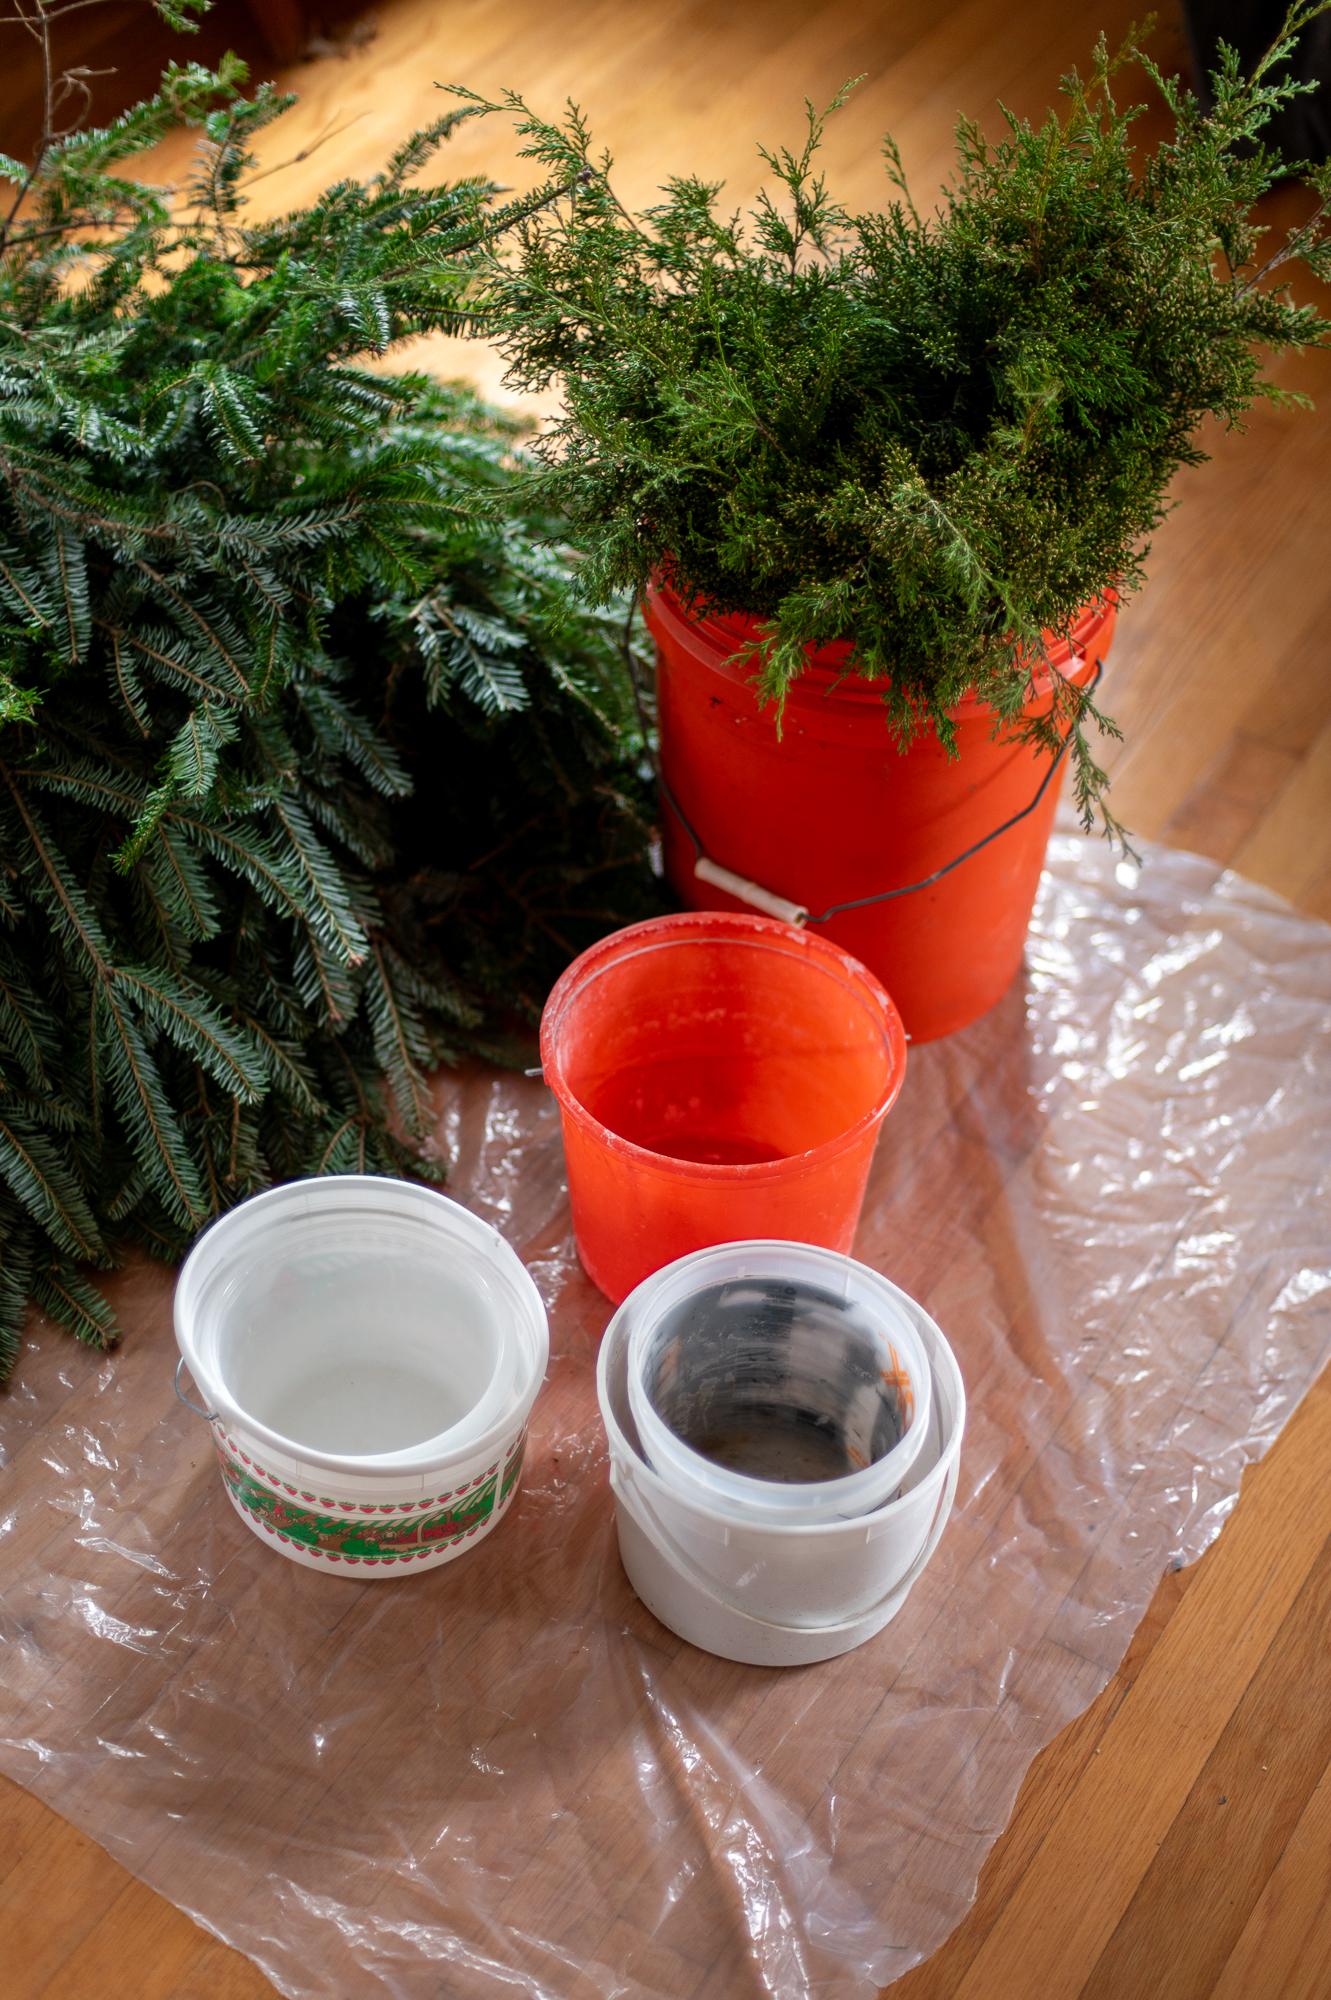
Before we can begin making our fresh evergreen garland, we need to get our trimmings cut down into a size and shape we can use. For garland, I like to cut my foraged evergreen tree trimmings down into 6-10 inch cuttings. (You’ll want to save a handful of 4-6 inch pieces as well for later!)
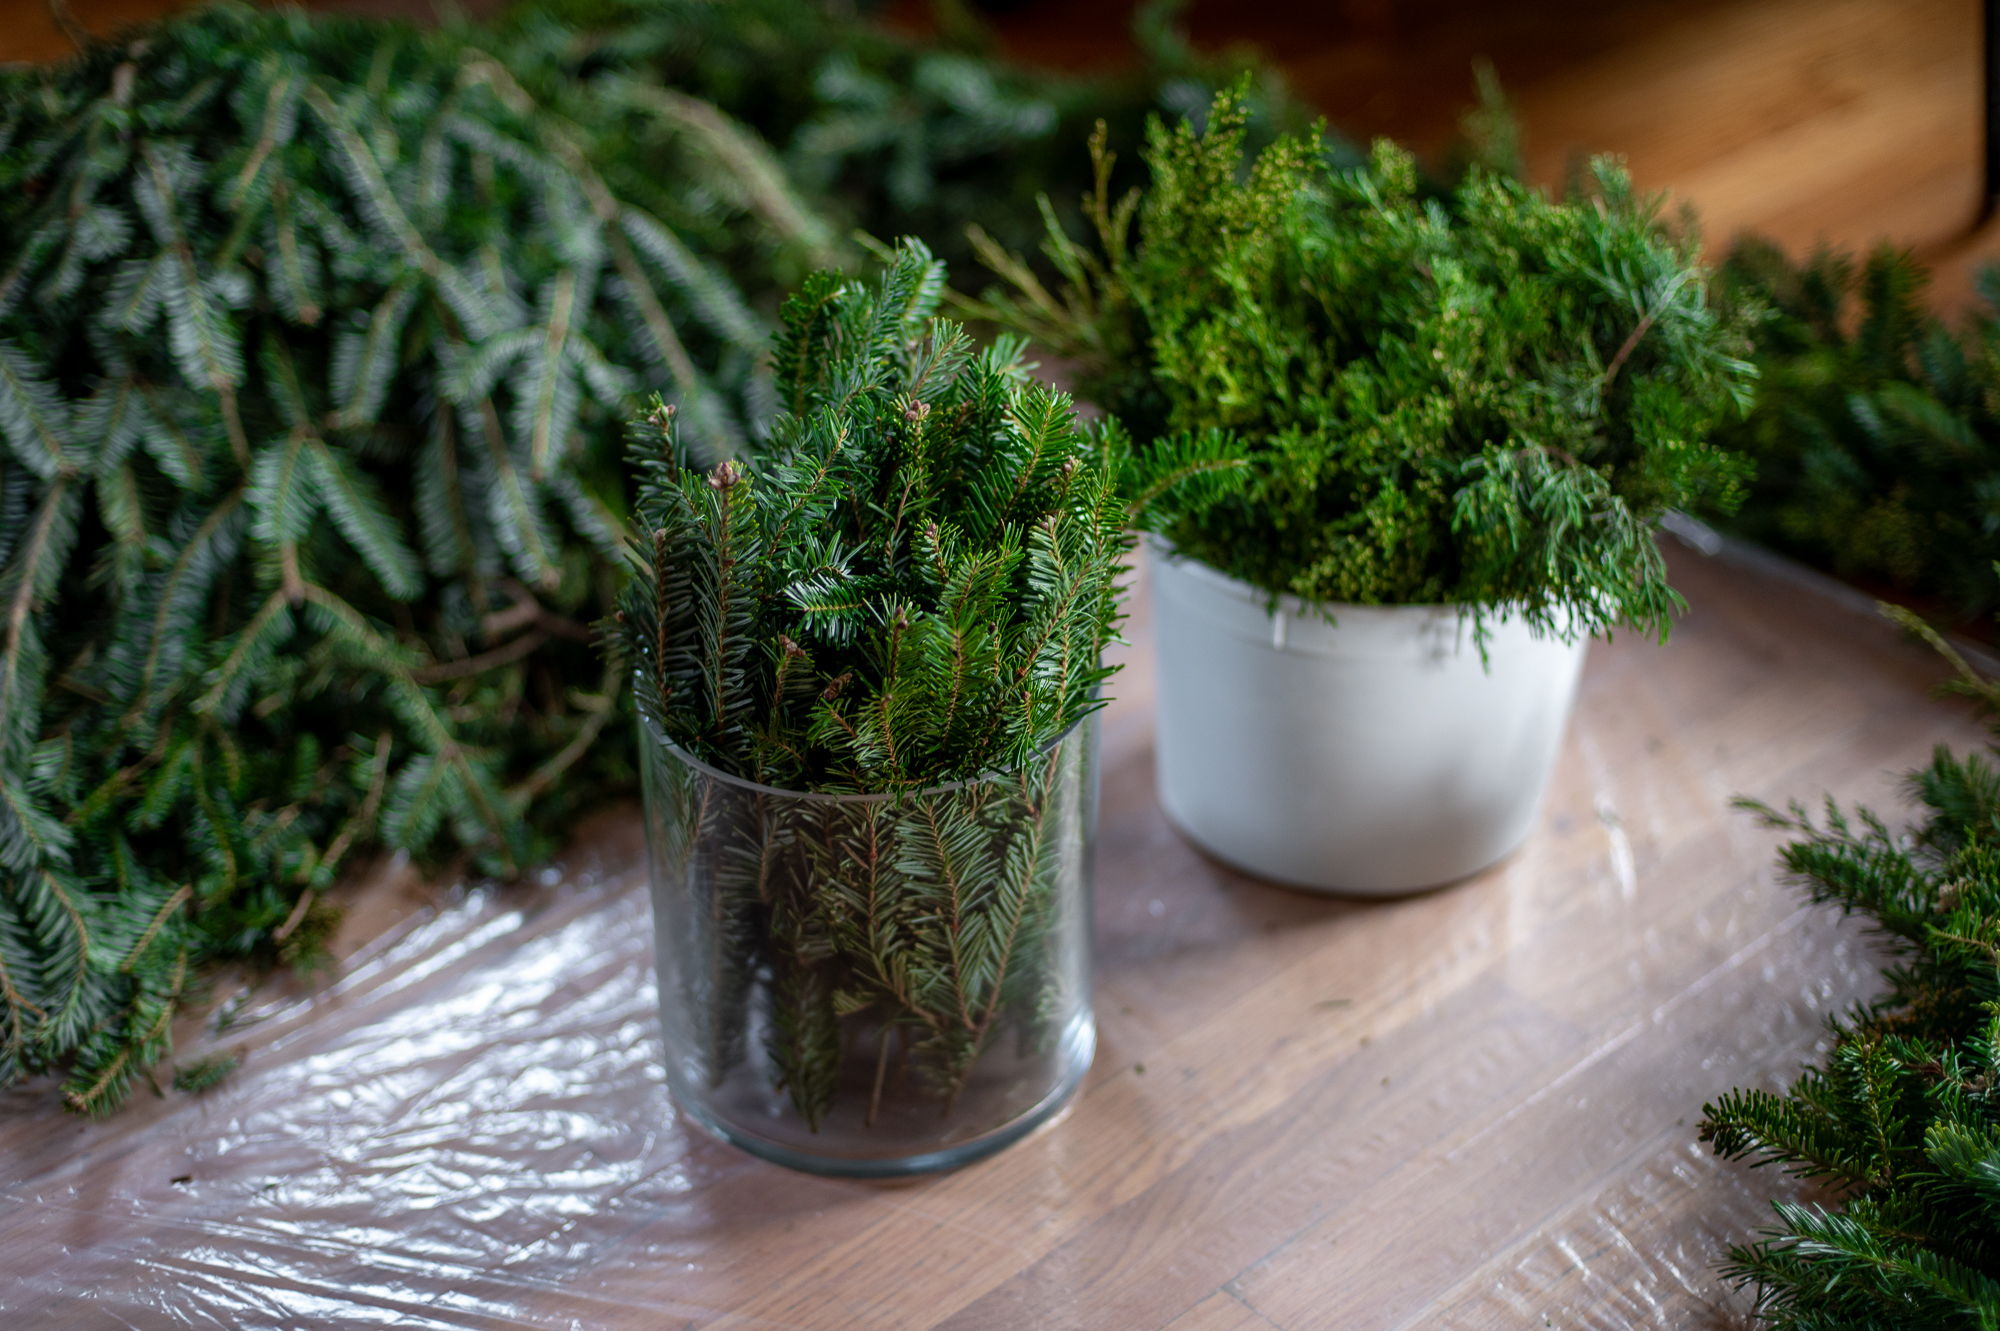
Then I take all my cuttings and pop them into buckets with fresh water so I can hydrate them a bit as I work on my project.
Step Two: Make A Plan & Do Some Measuring
One thing I’ve learned over the years of making this evergreen garland is that you get a much more professional looking end result if you take a few moments before you start to plan out where and how you want your final garland to hang.
The two things you will need to determine and plan out before you start are:
How Long To Make Your Garland:
You can of course figure this out with a tape measure, but I find the easiest way to do this is with the twine we’ll need to cut to length anyway. Simple hang your twine where you plan to hang your garland and cut it to your desired length while it’s in place!
How Your Garland Will Hang:
(This is the most complicated part of the entire process to explain, so stay with me because it’s also the most important step.) Before we can get started on our garland we need to consider gravity and how it will affect our garland when we hang it up.
There are two main techniques you can use when creating garland, both of which work for different circumstances.
The first way would be to start creating your garland at one end and work all the way to the other end with all your greenery going in the same direction.
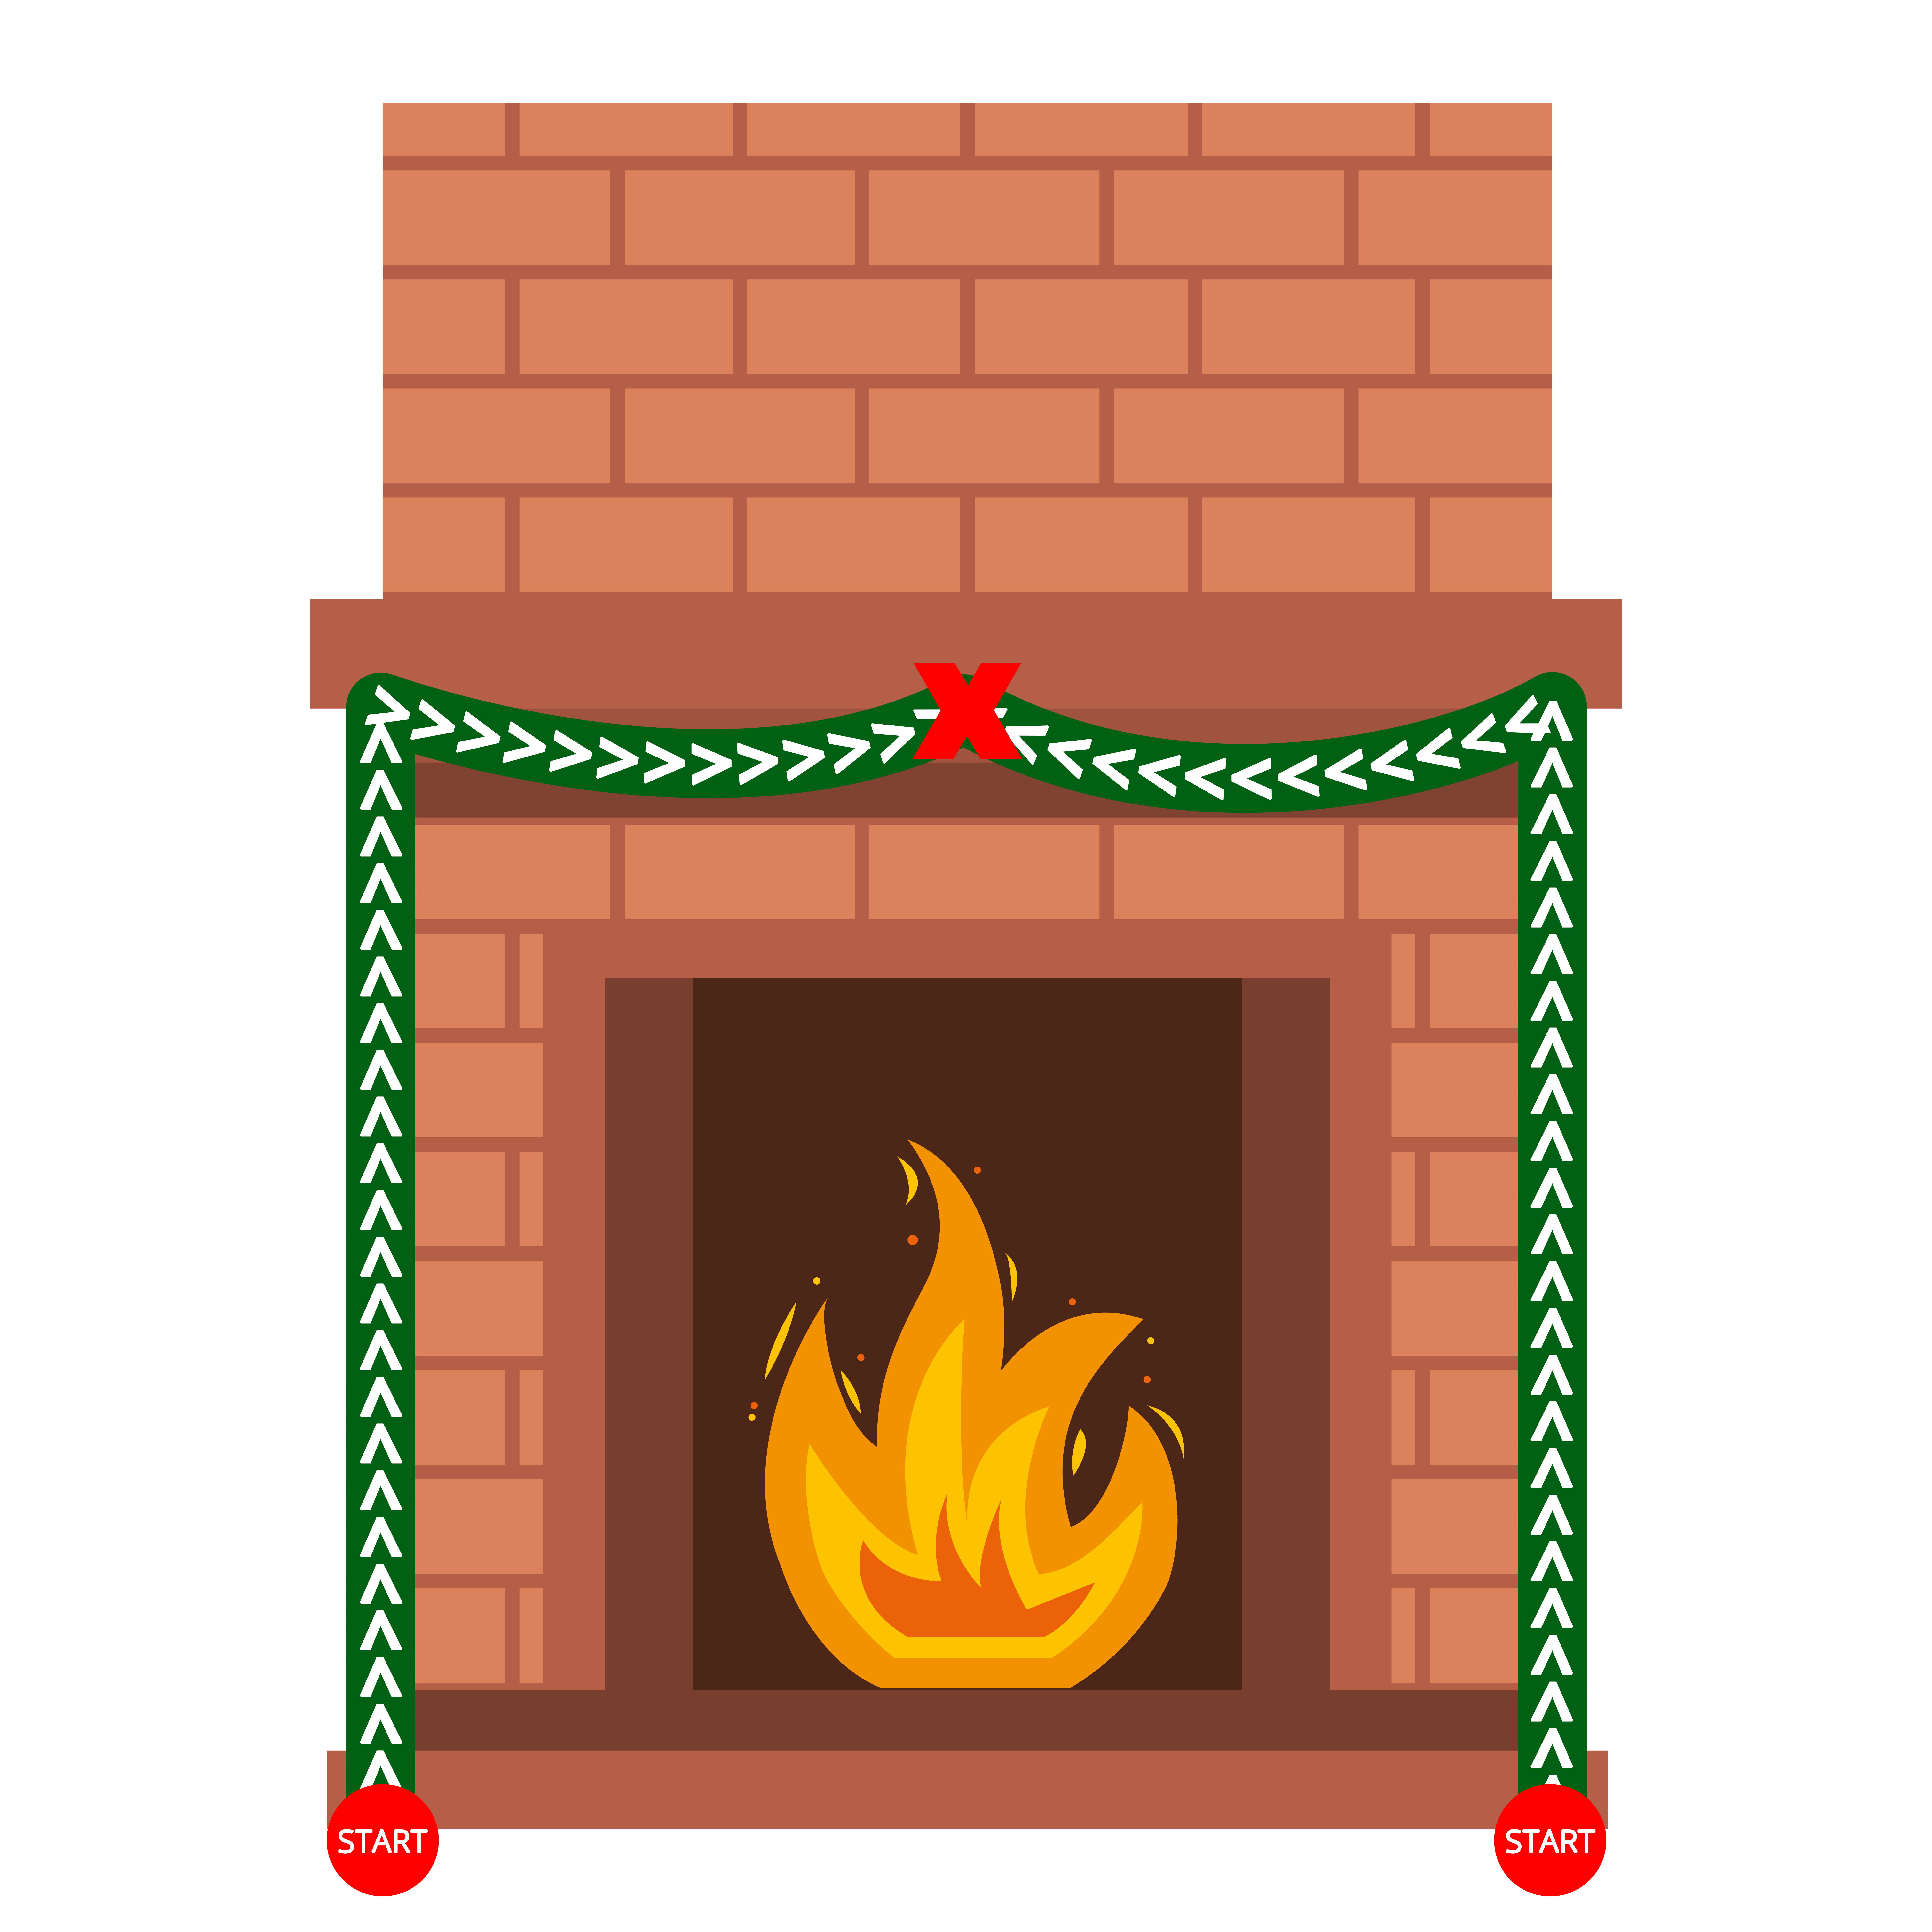
The second way is to start creating your greenery from both ends and work in towards the middle until the greenery meets in the center. This technique lets your greenery be laid in two different directions.
Here’s an illustration of how both techniques would look when we hang them over a fireplace mantel like I intend to in this tutorial:
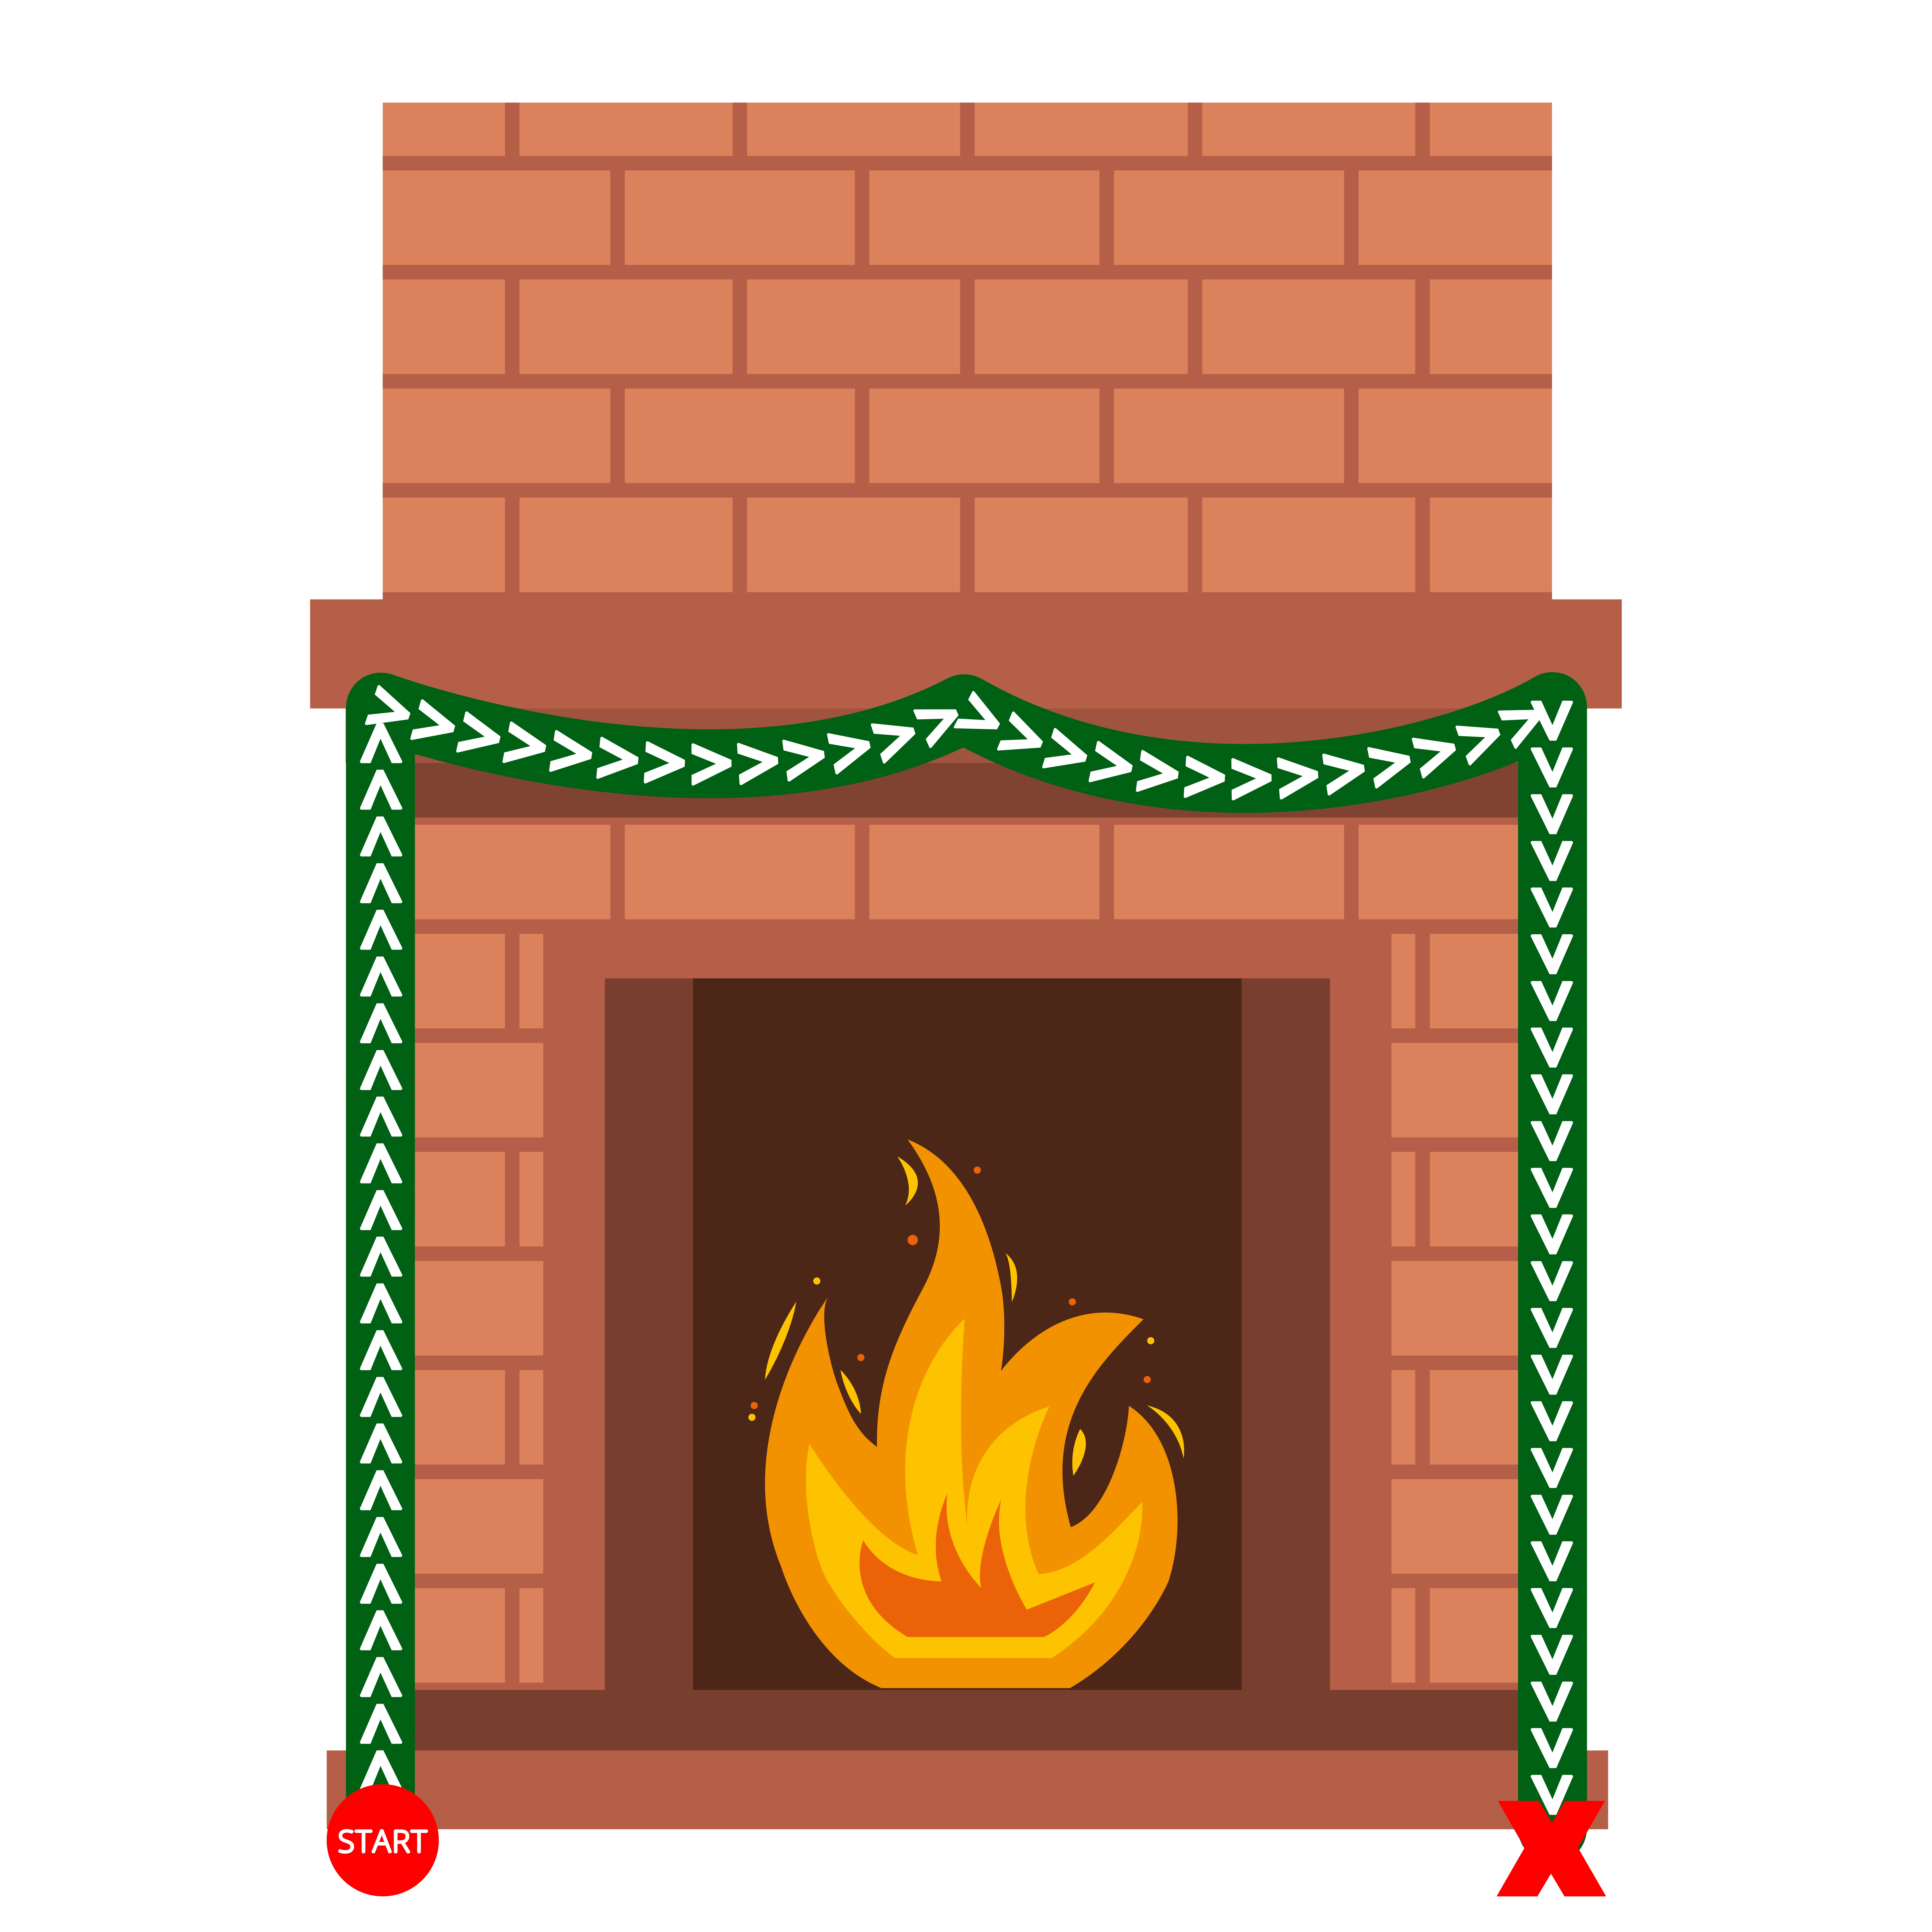
Looking at the two examples above, you can see how if you were to start making your garland at one end and keep going until your reached the other end, when you went to hang up your garland, one side of it would actually be hanging upside down. Which usually makes the greenery stick out funny and look less than optimal. This is how nearly all store bought fresh evergreen garland is made, and one reason it never hangs quite as well without some extra work.
Since we are making our own garland, and we know exactly where it will be hanging, we can take gravity into account so it hangs perfectly. In *most* cases for HANGING GARLAND, starting from both ends and working towards the middle the will give you the best result, so that’s what I’ll be demoing in this tutorial.
WHEN TO USE THE 1ST TECHNIQUE: As I mentioned earlier, there are lots of instances where the first way would work just fine. For example any instance where your garland in laying flat on the surface of an object, like the top of a mantel or along a table top. Another instance would be if your garland only need to drape one direction, like down a stair banister for instance. All those examples would be just fine to do the first way.
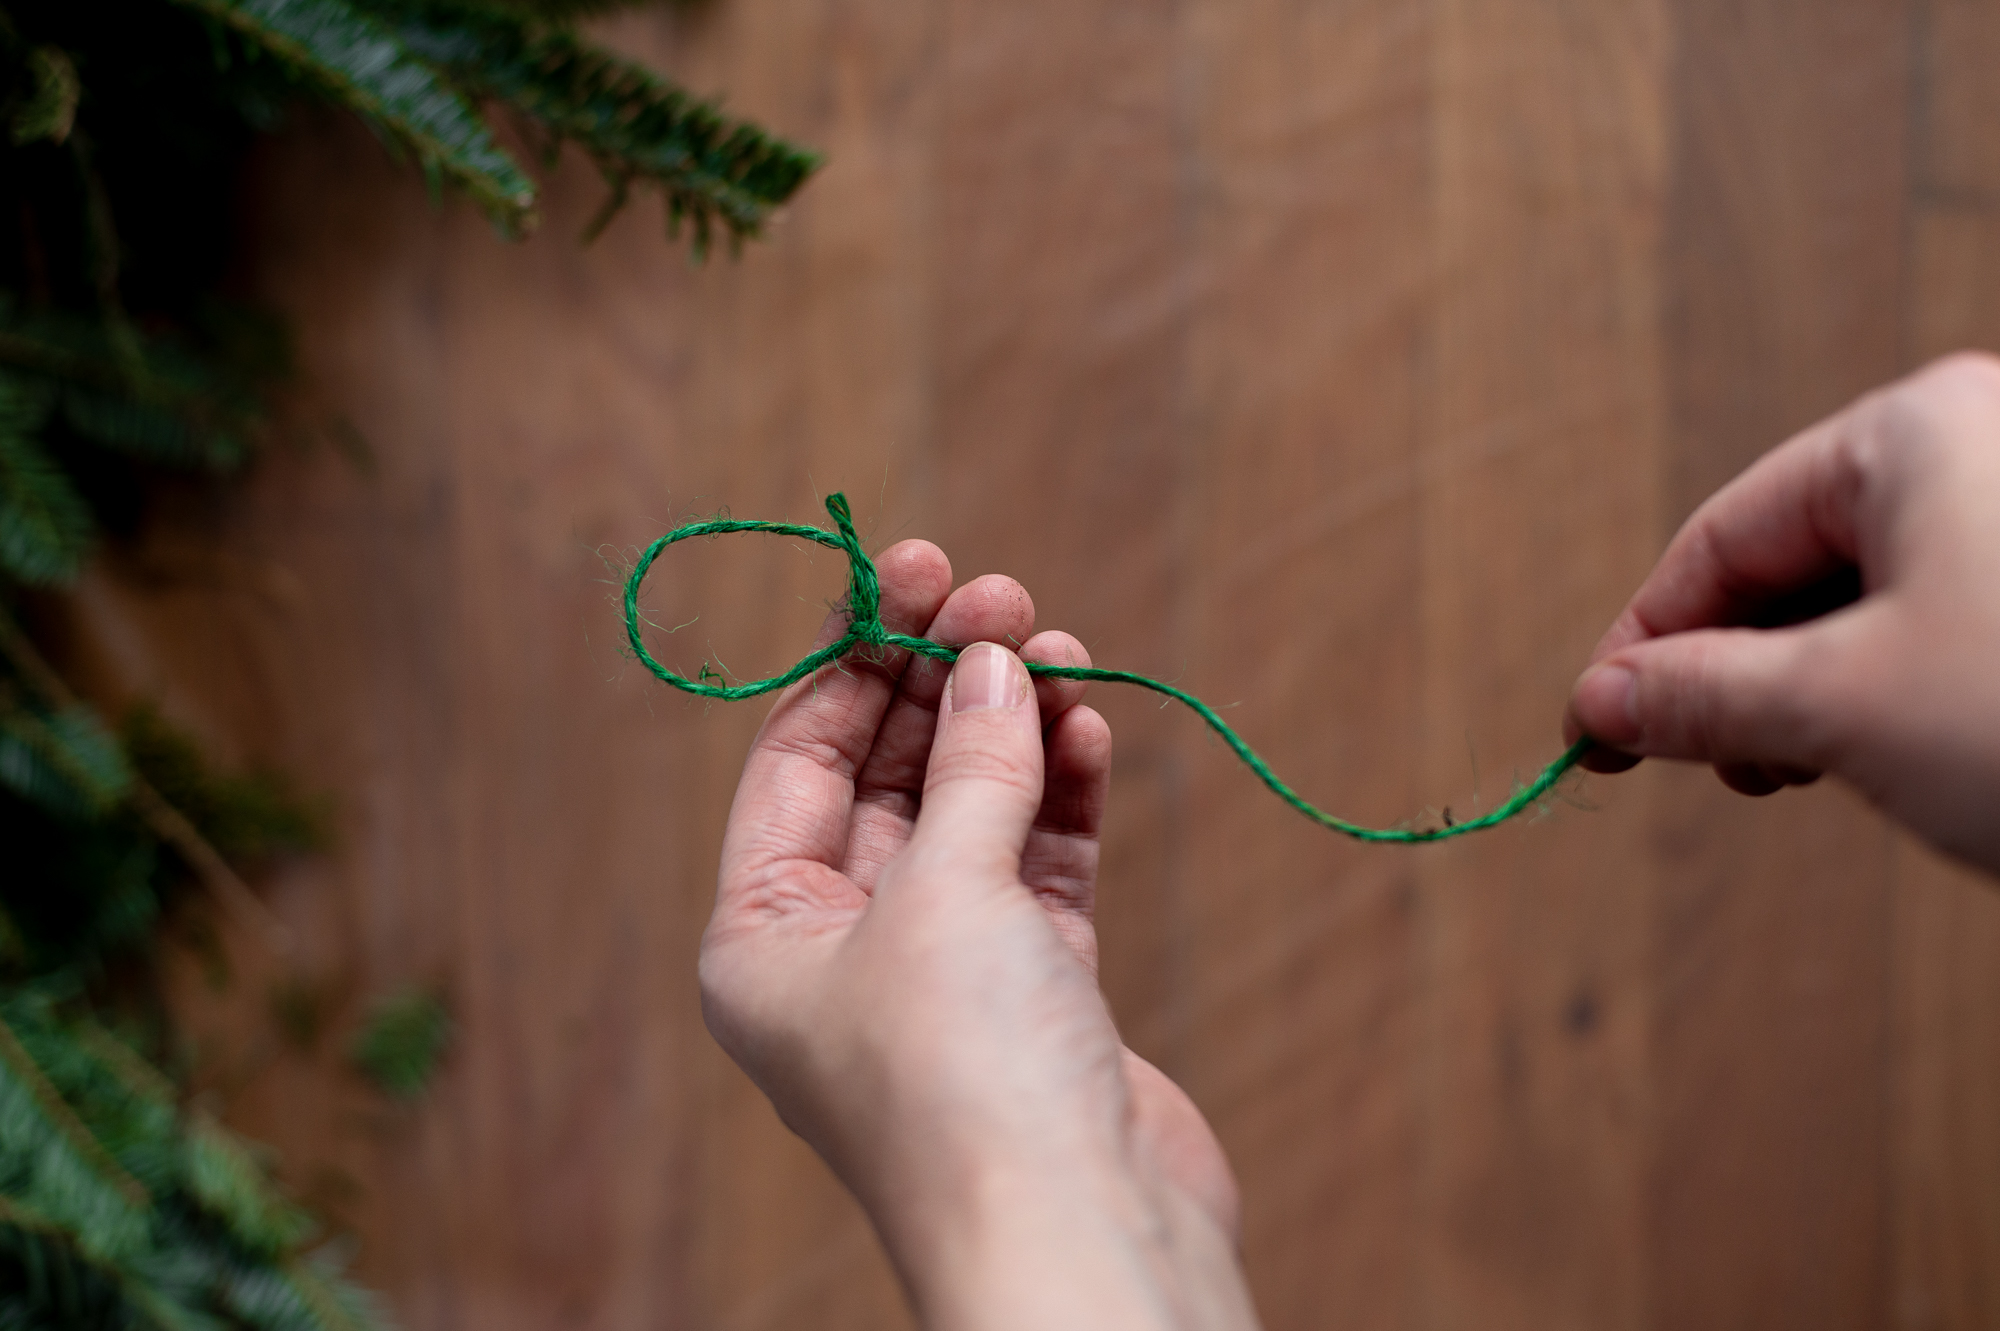
Step Three: Cut Your Twine To Length & Mark Your Center Point
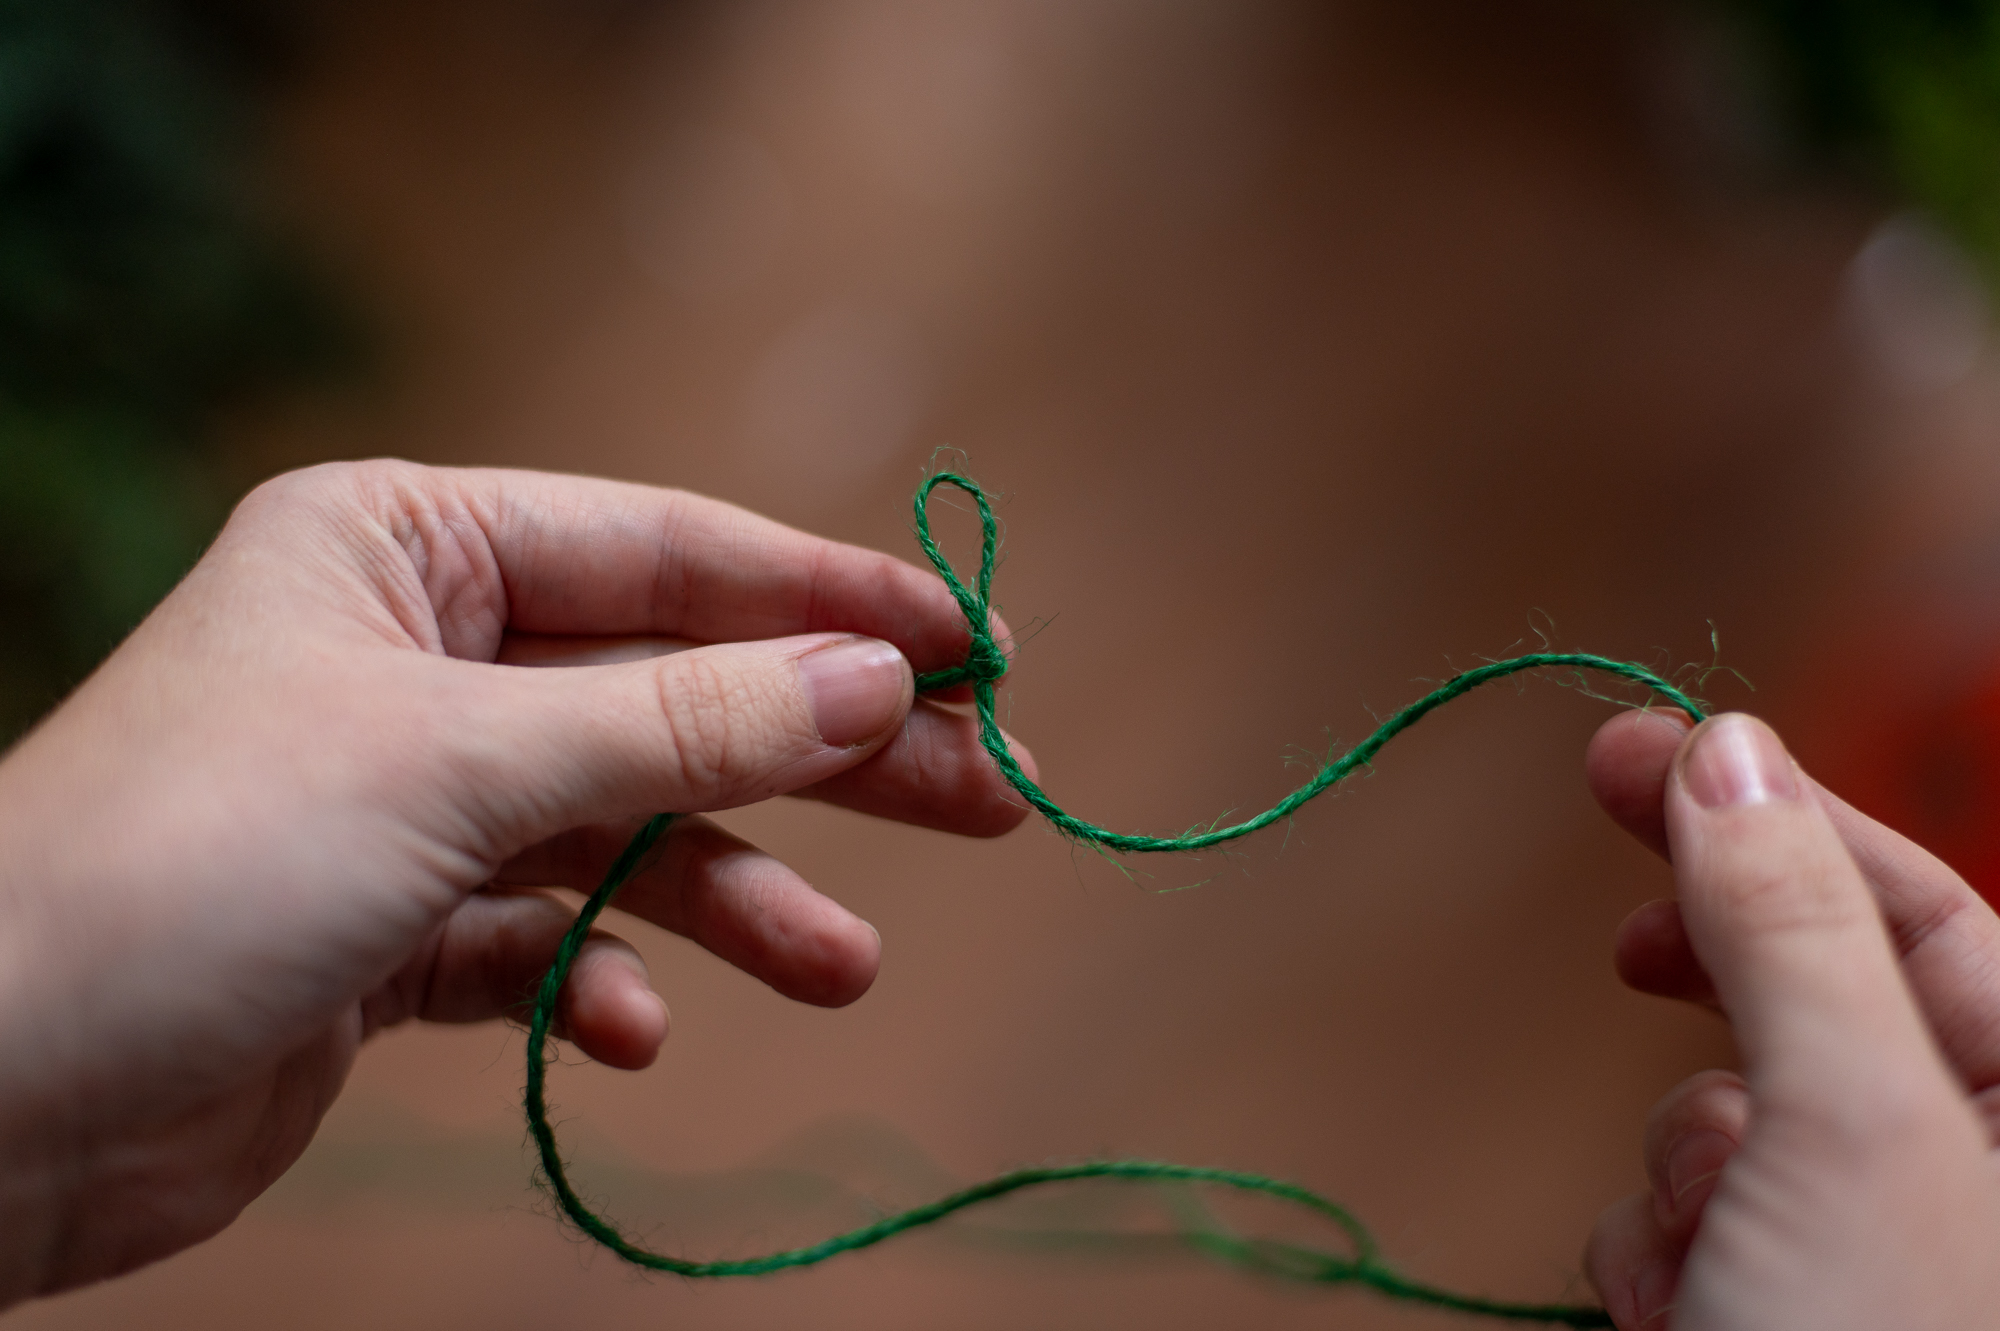
Once you’ve figure out how long you want your garland to be, you can cut your twine to that exact length. Then fold your twine in half and mark the center point with a knotted loop as shown in the photo above. (You’ll be able to use this to help hang your garland later!)
I also like to prep the ends of my garland with knotted loops as well. These come in handy for hanging later as well.
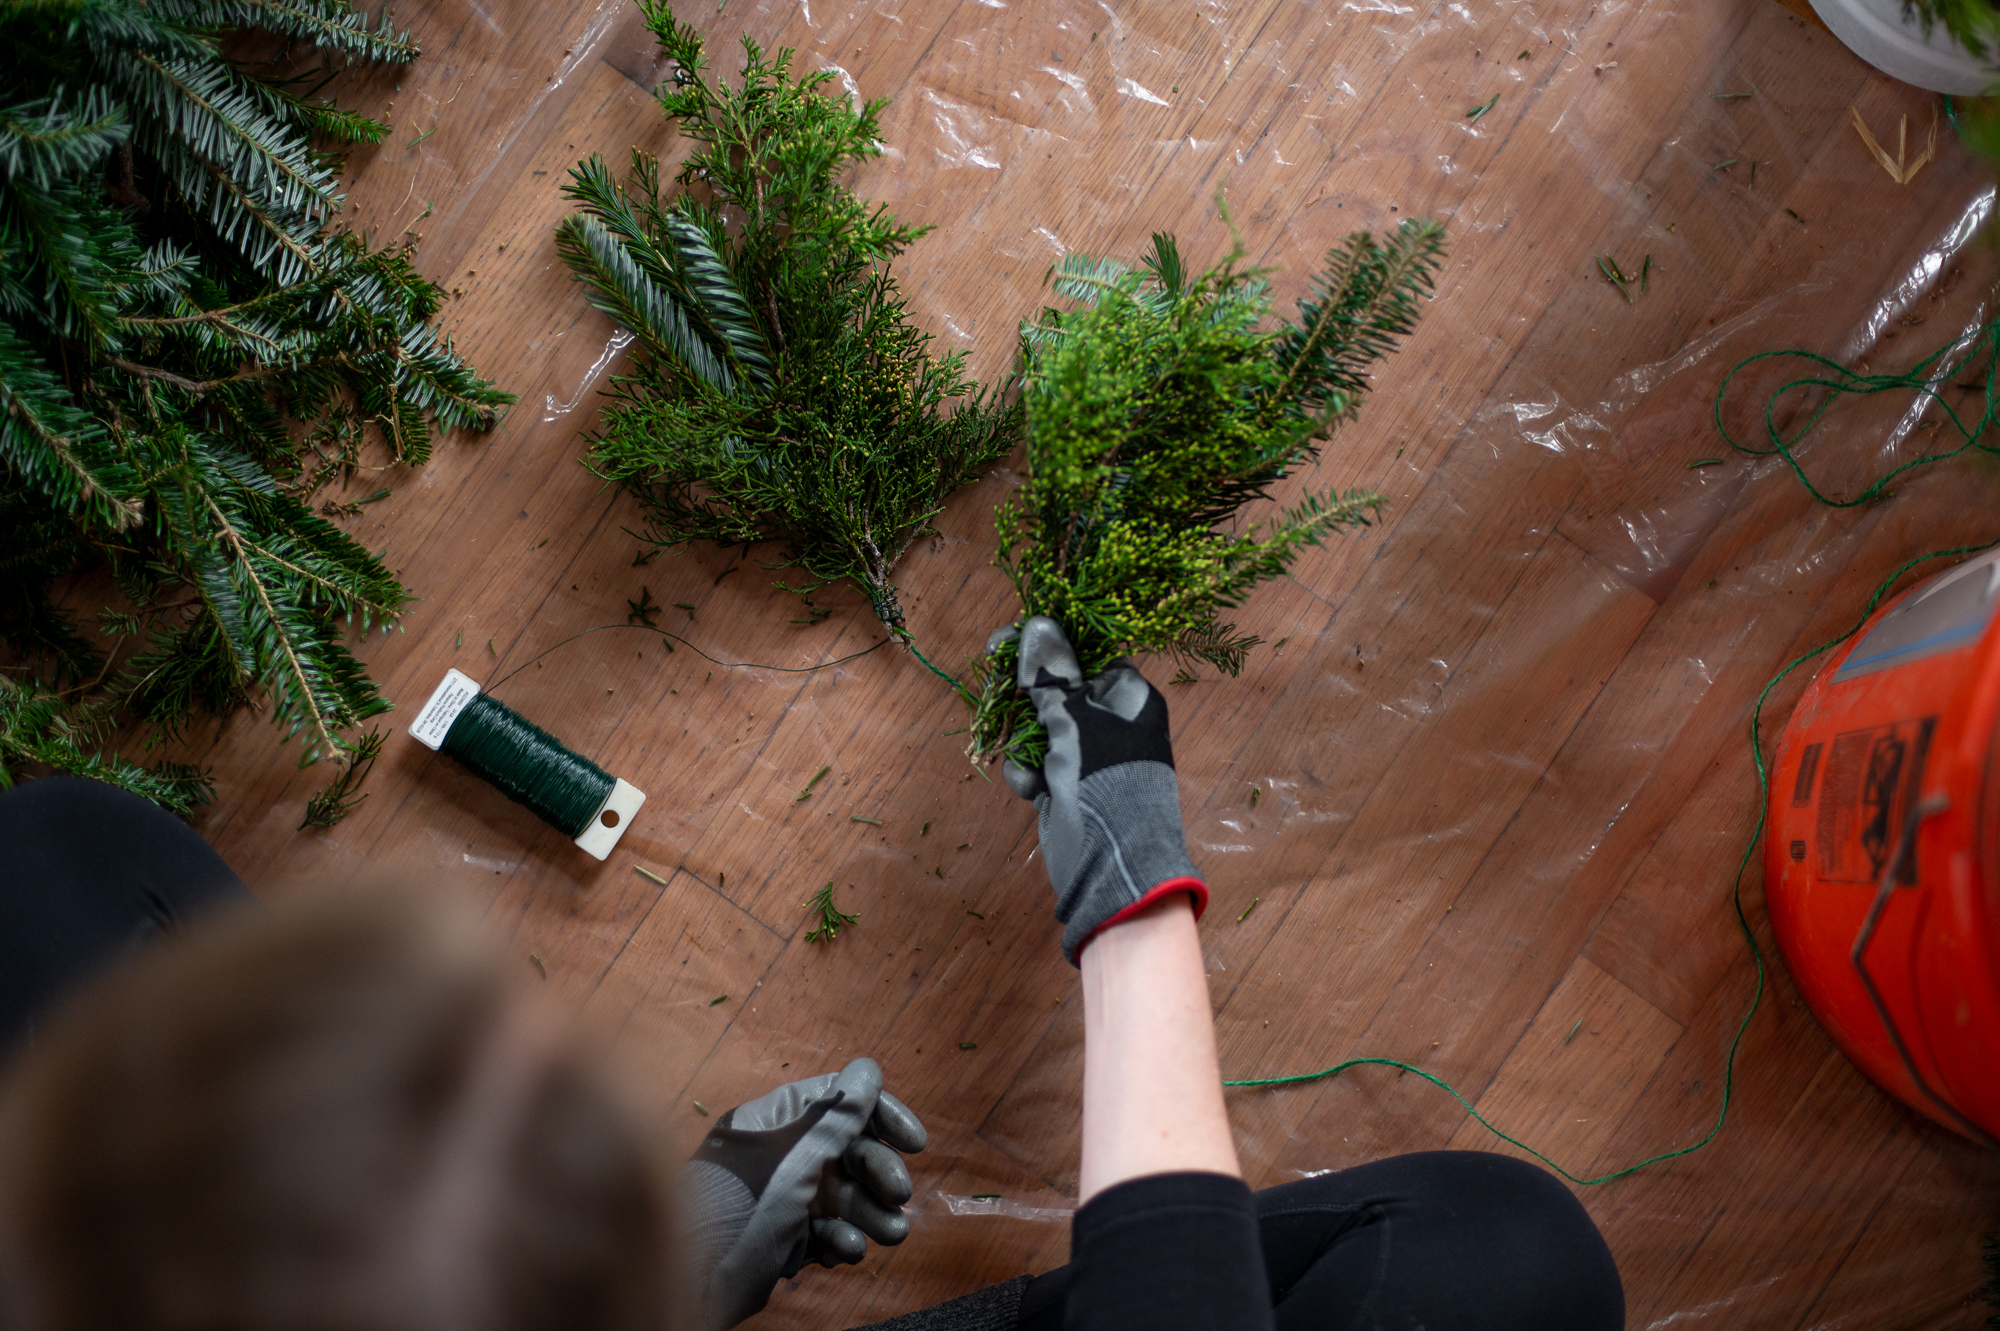
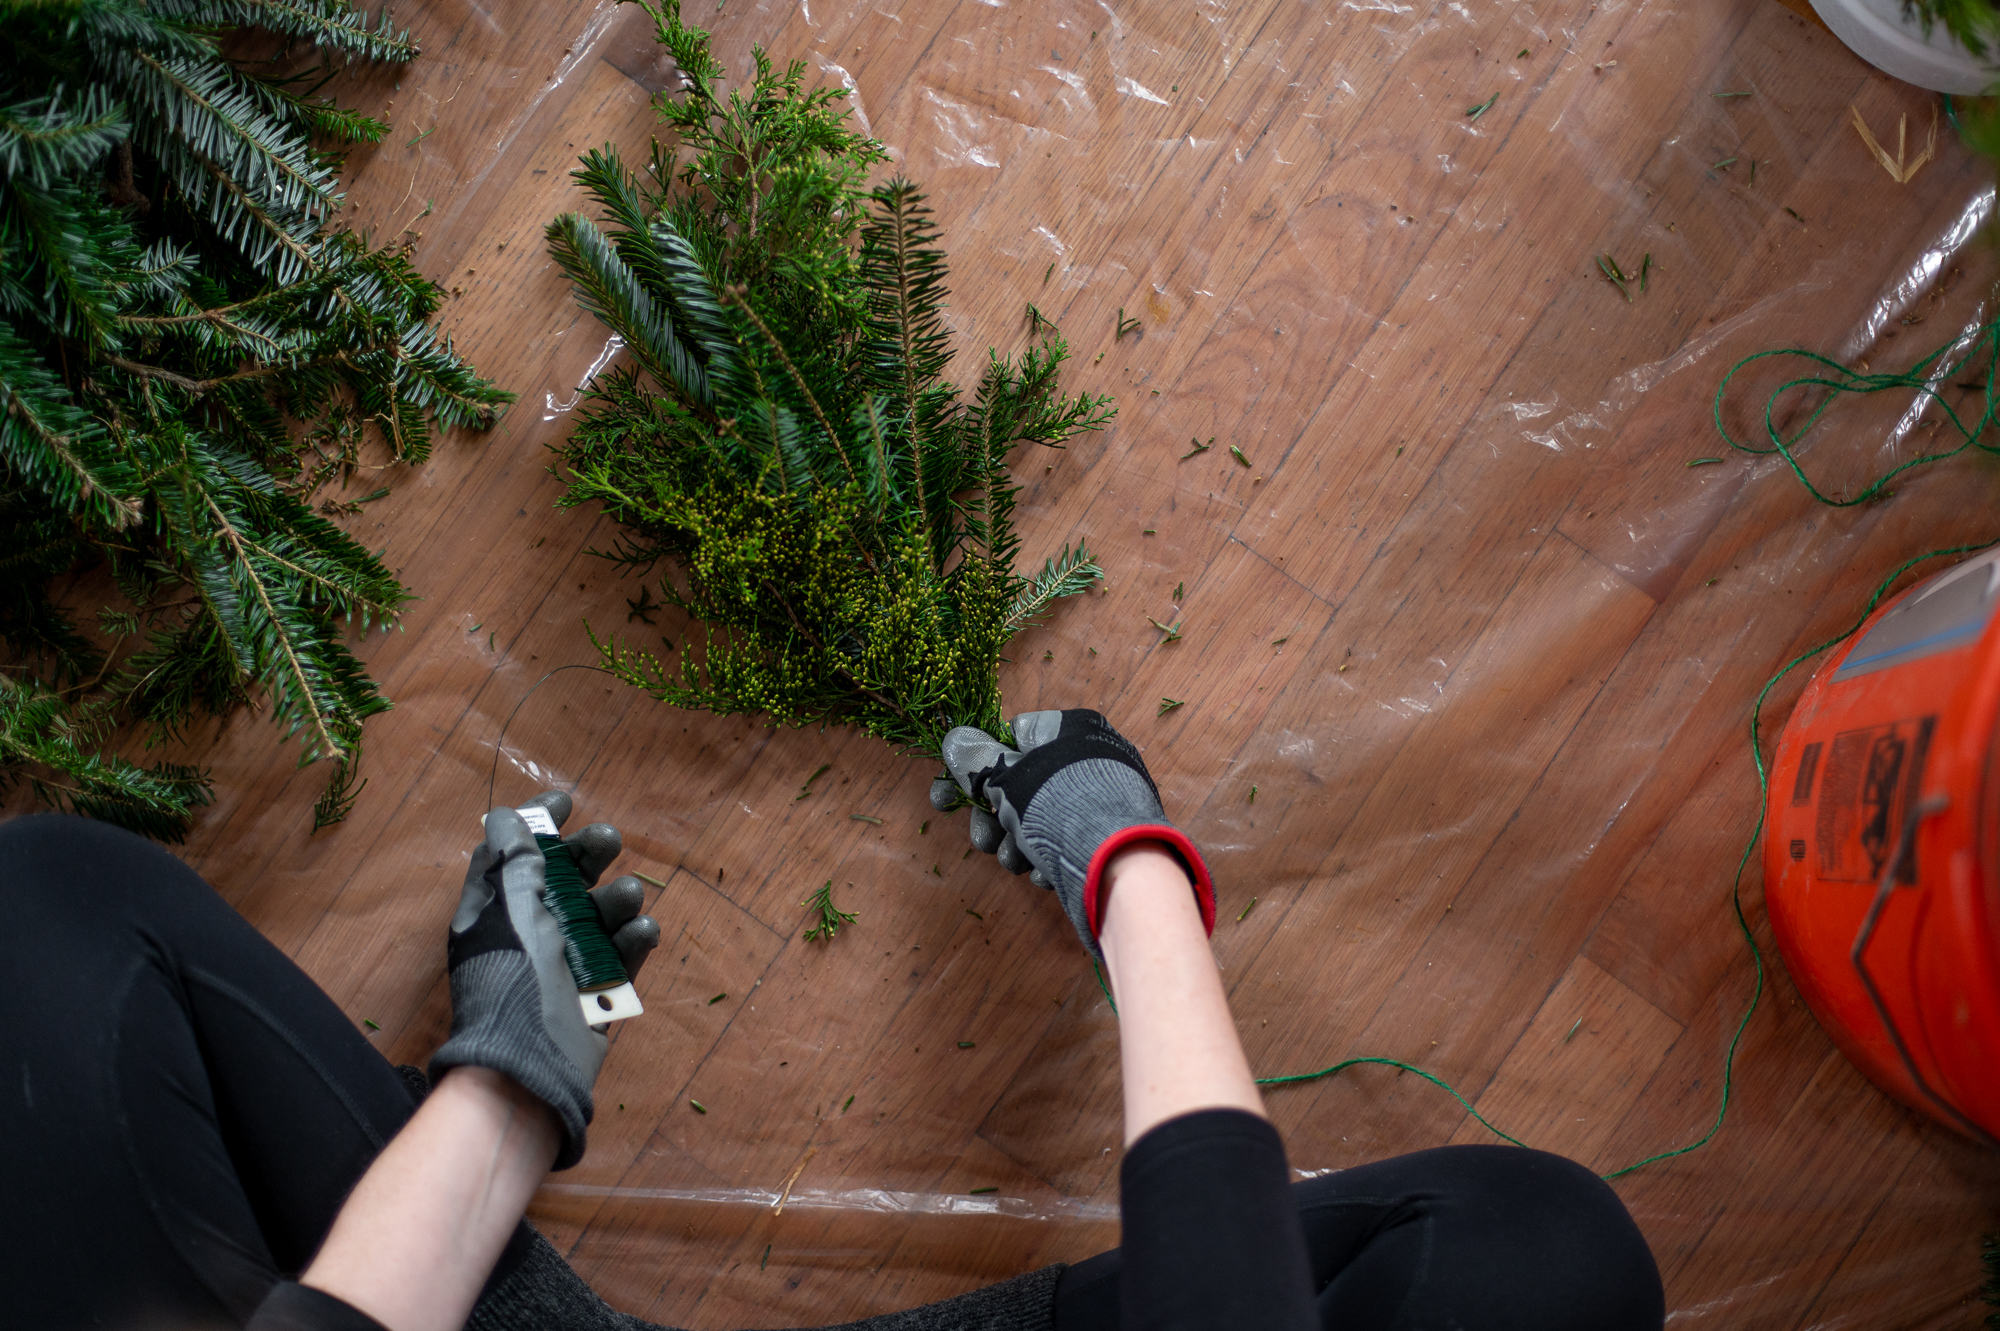
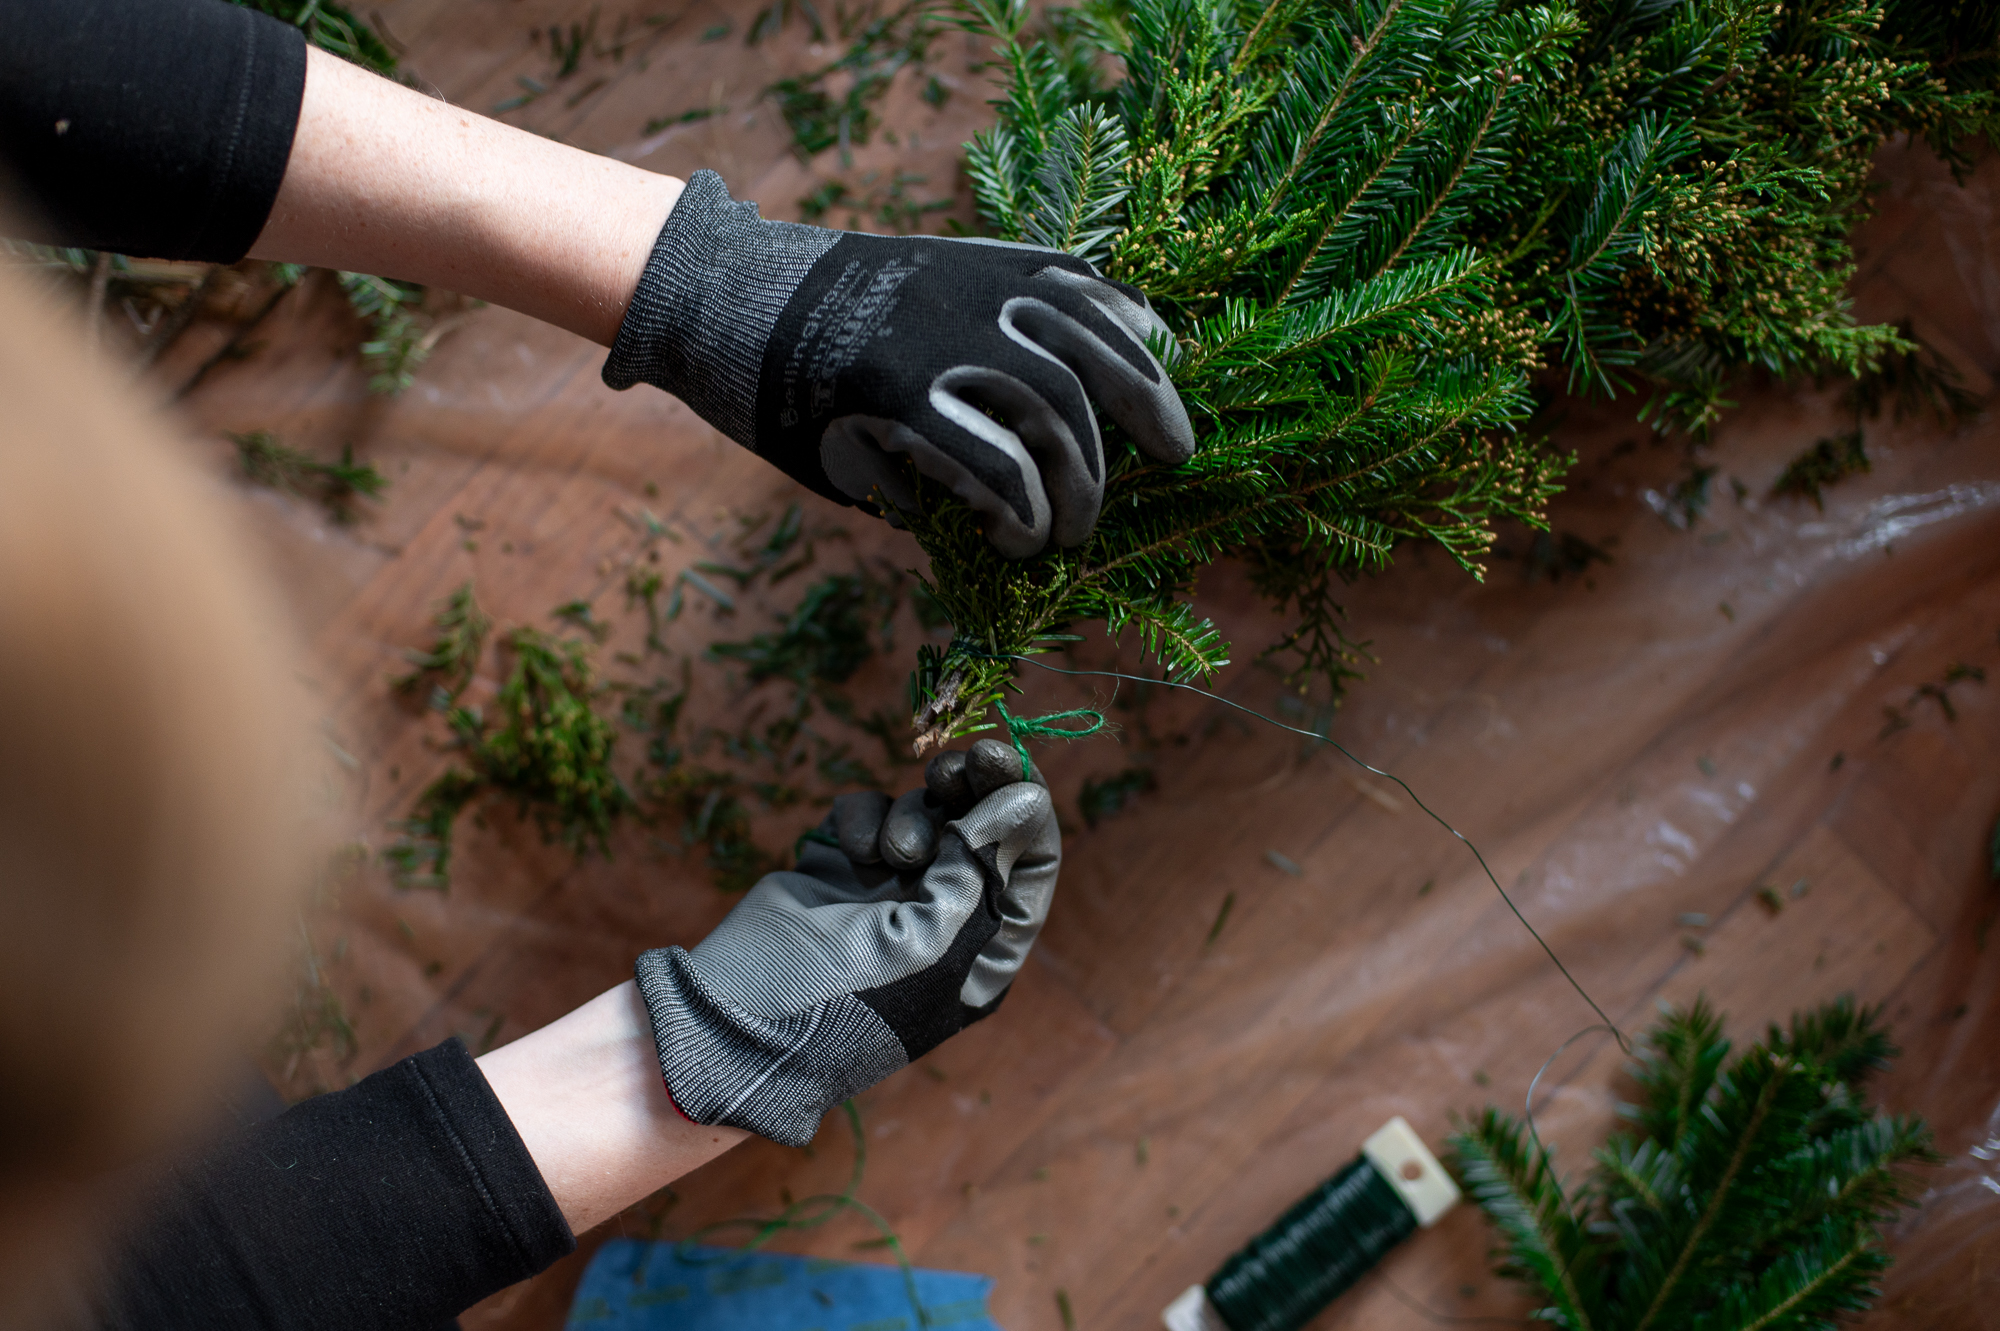
Step Four: Create a Small Bundle Of Evergreen Cuttings
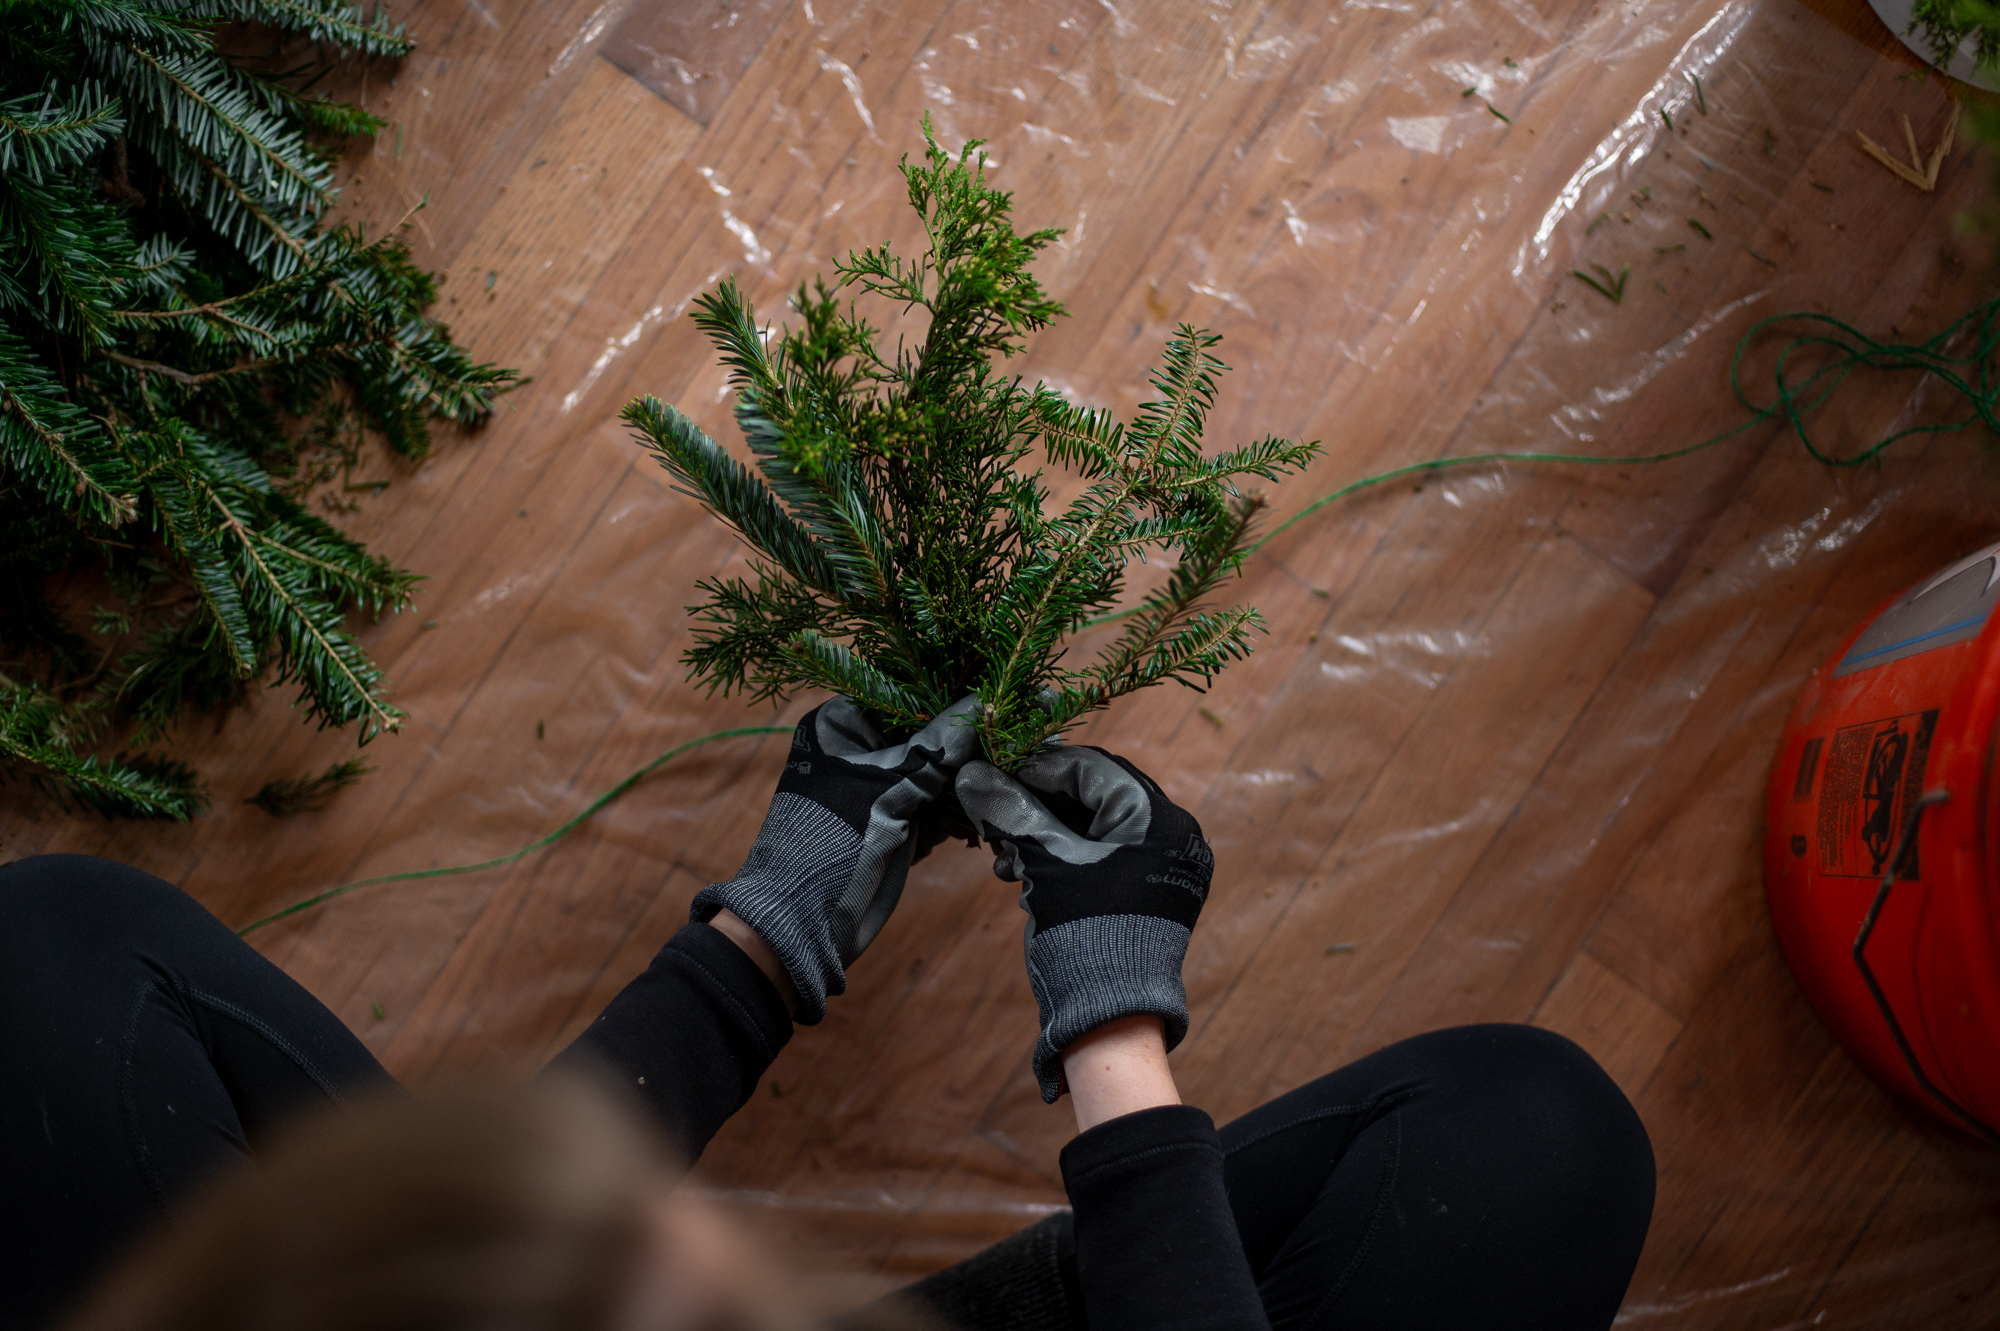
If using all one type of greenery, I typically will grab three 6-10 inch cuttings to create each little bundle. If I’m using a variety of greenery, like in this example, I will grab two of whatever I have most of (usually Christmas tree trimmings) and then one of my alternate greens (in this case Juniper) to create my bundle.
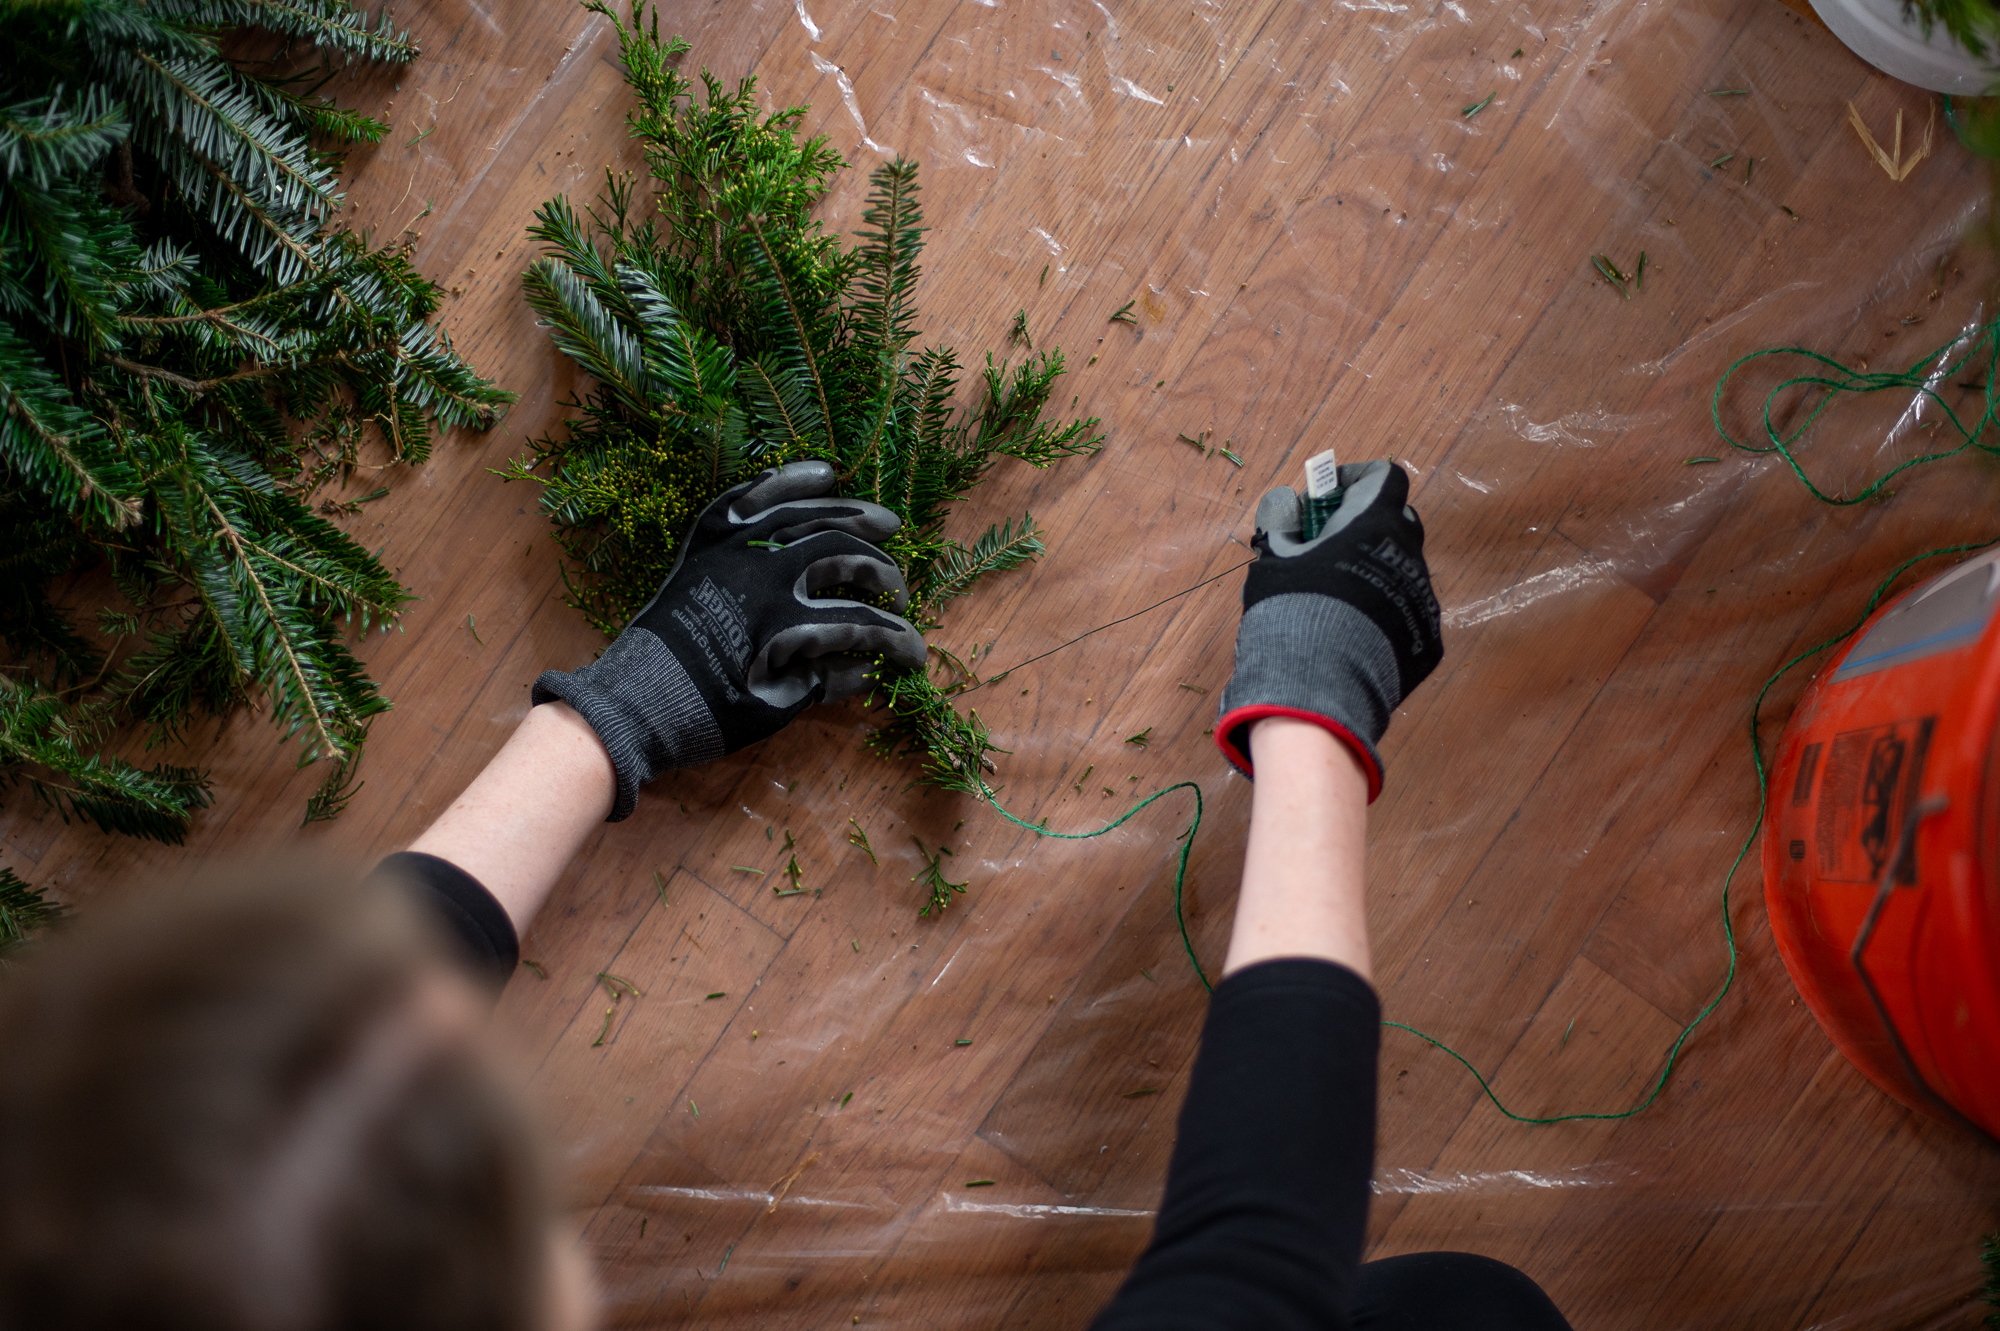
Step Five: Attach Your Bundle To The End Of Your Twine
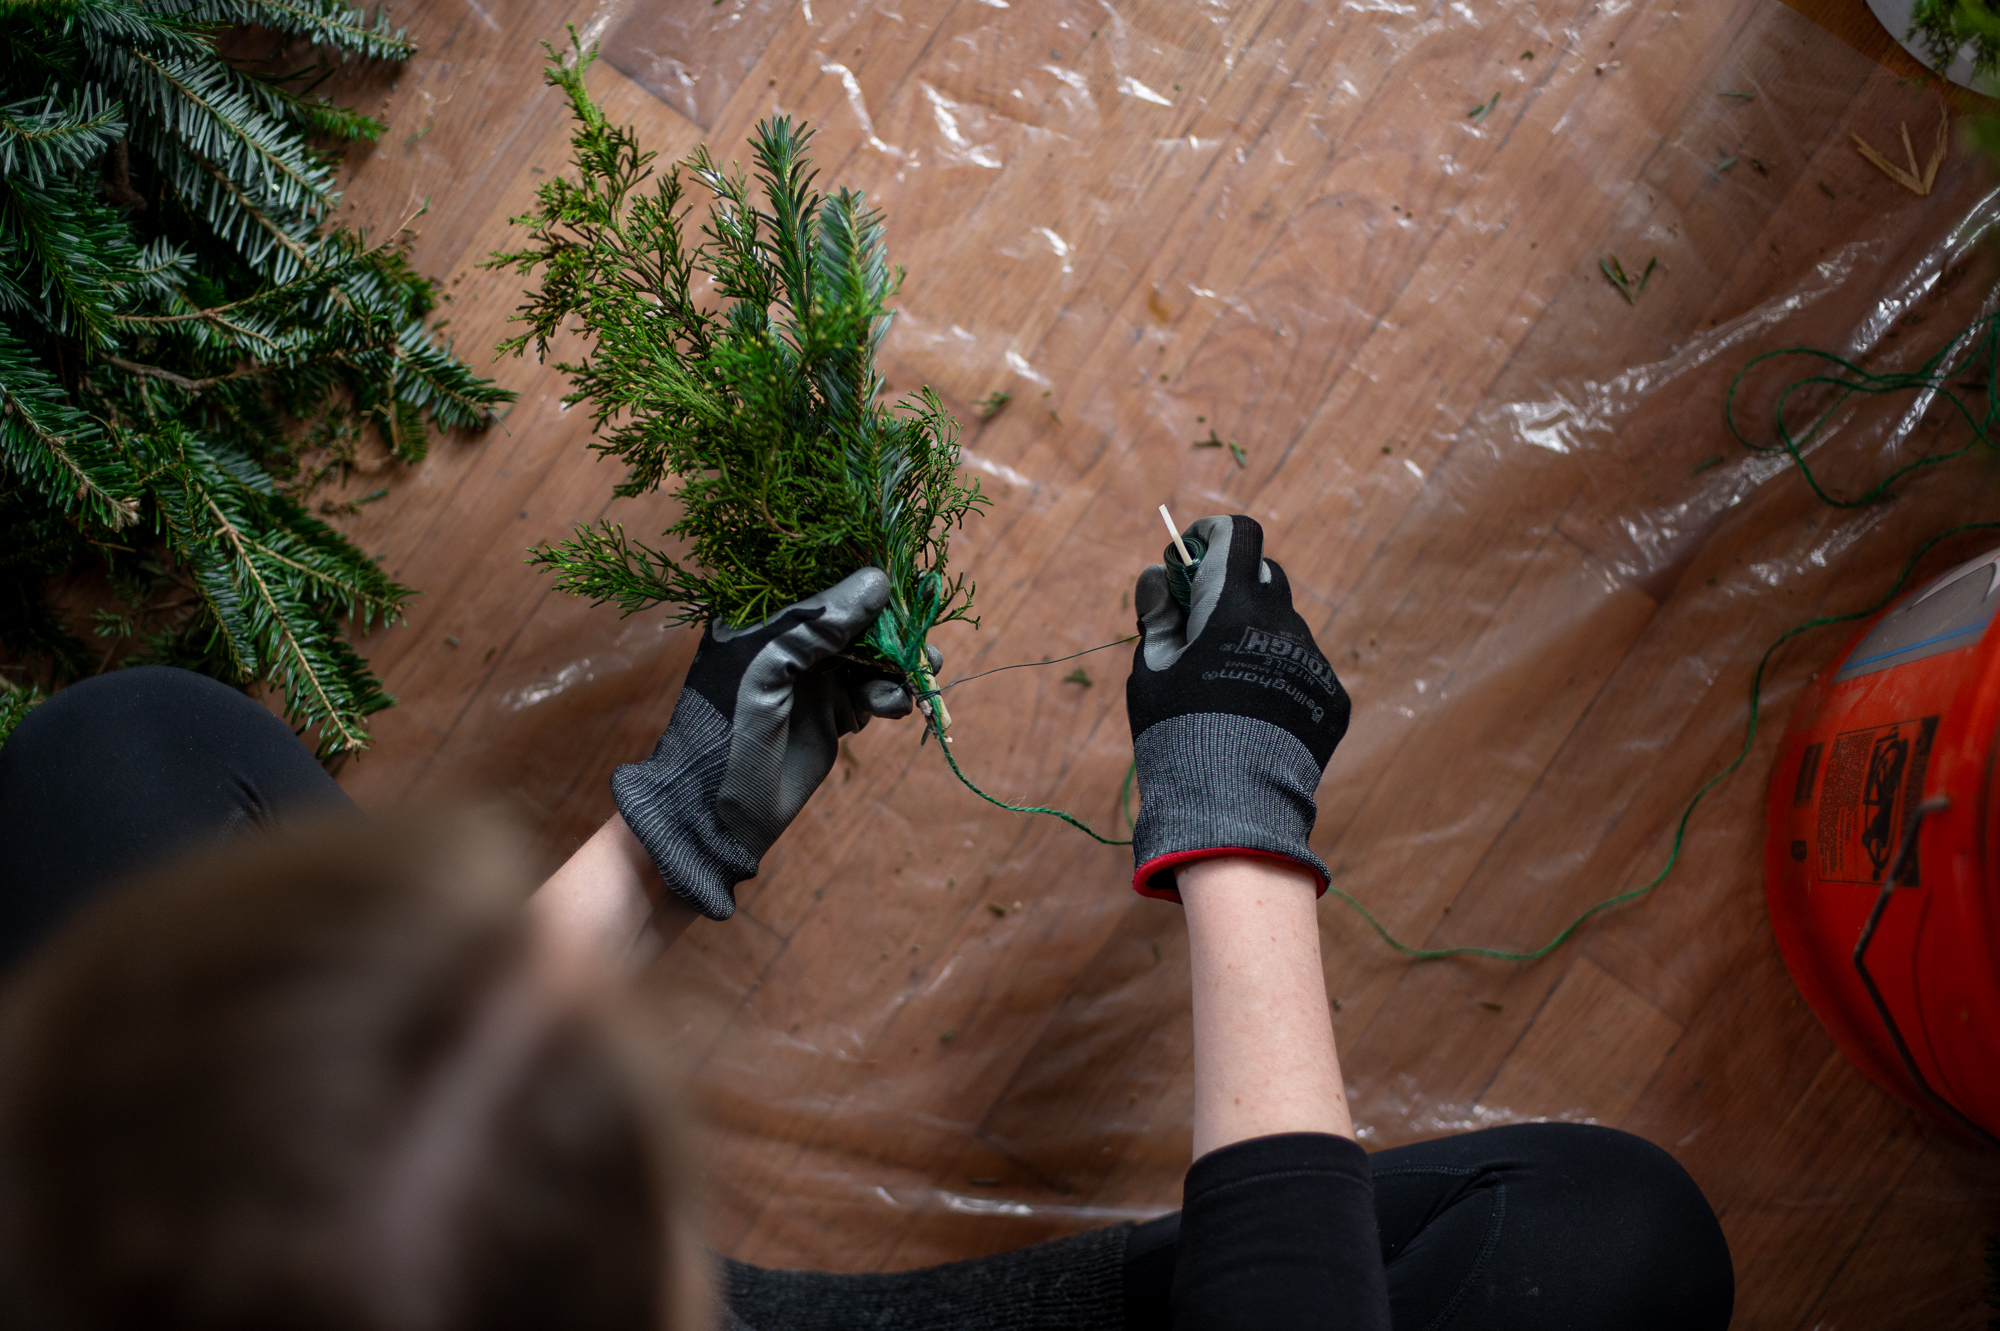
To do this, you’ll lay your fresh evergreen bundle on top of the end of your twine (with the foliage pointing toward the end of your twine and the cut ends pointing toward the center of your twine) and then repeatedly wrap your floral wire around the bundle and the twine. Pull it as tight as possible with each pass.
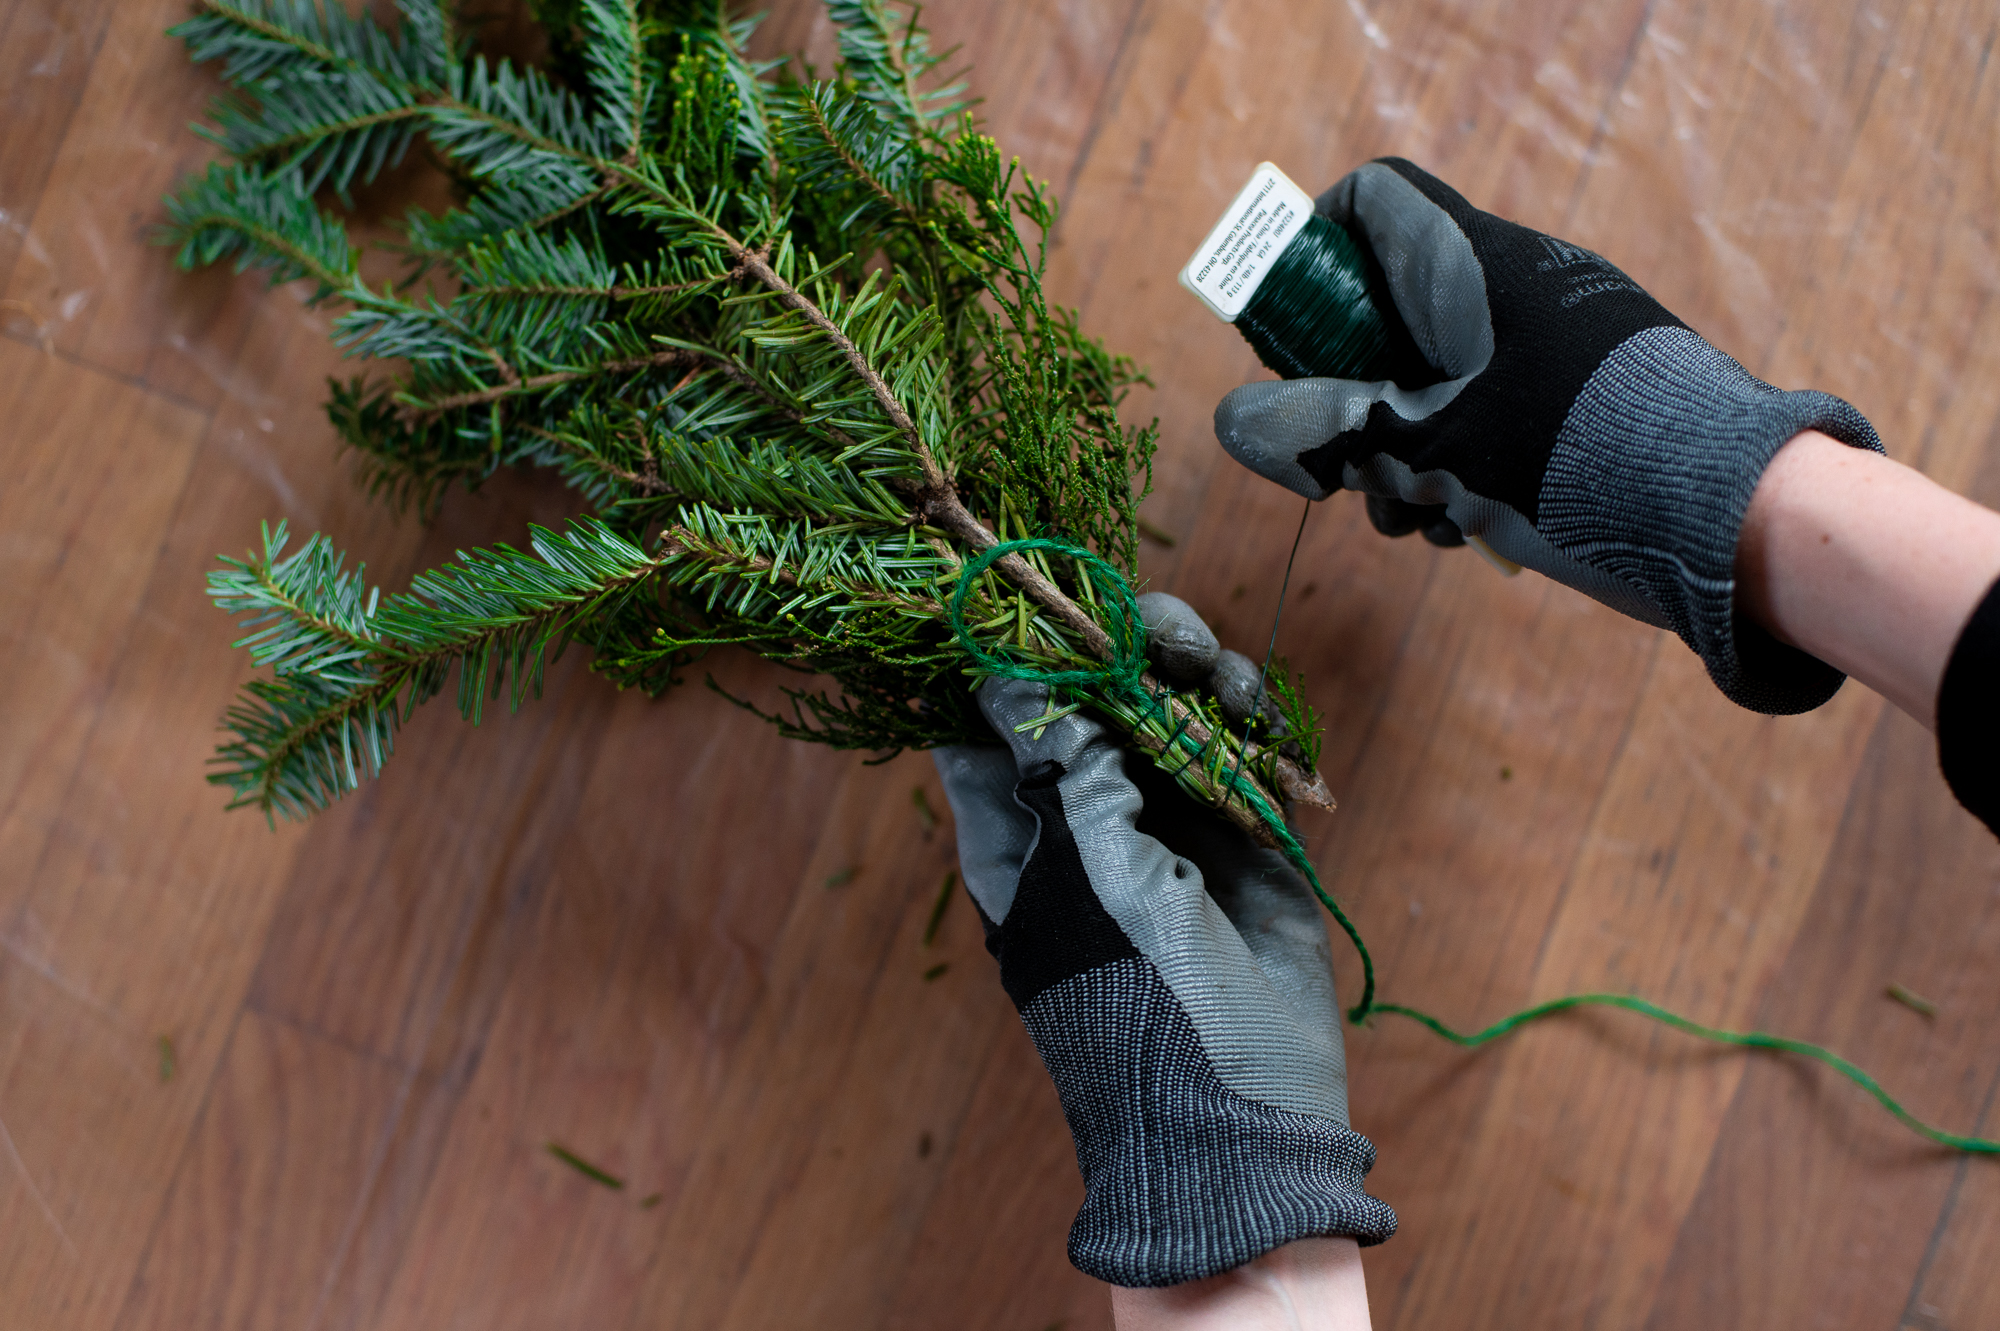
NOTE: We won’t be cutting our wire until we get all the way to the center of our garland. So you’ll want to leave it attached to the spool the entire time you are working. This will help our garland lay more smoothly.
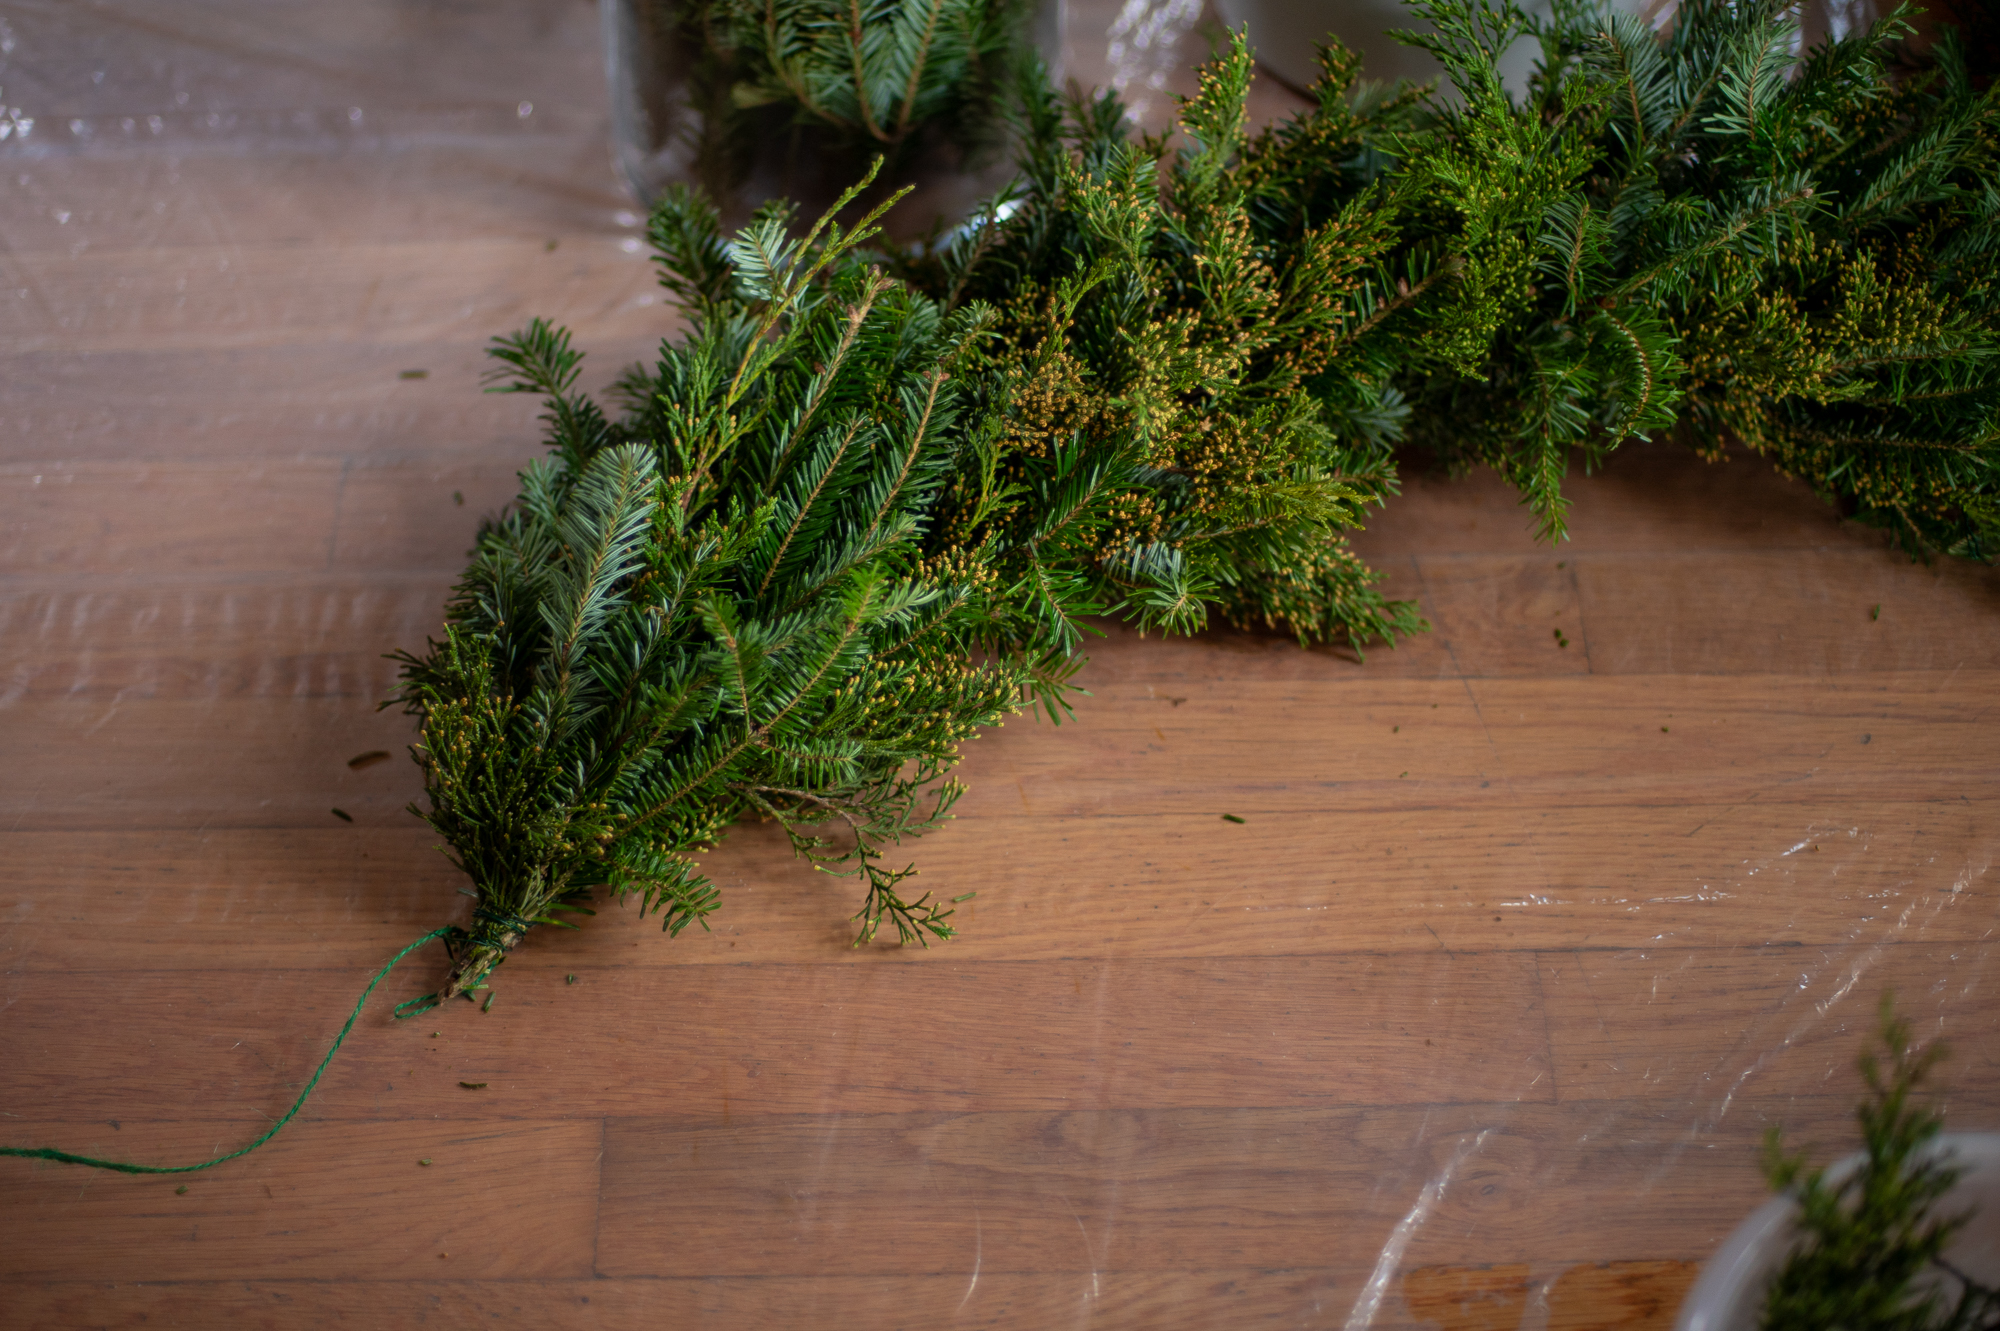
Step Six: Create Another Bundle & Attach It Slightly Lower Down
For your second and proceeding bundles, you’ll want to lay your bundle on your twine about an inch or two lower than your previous bundle.
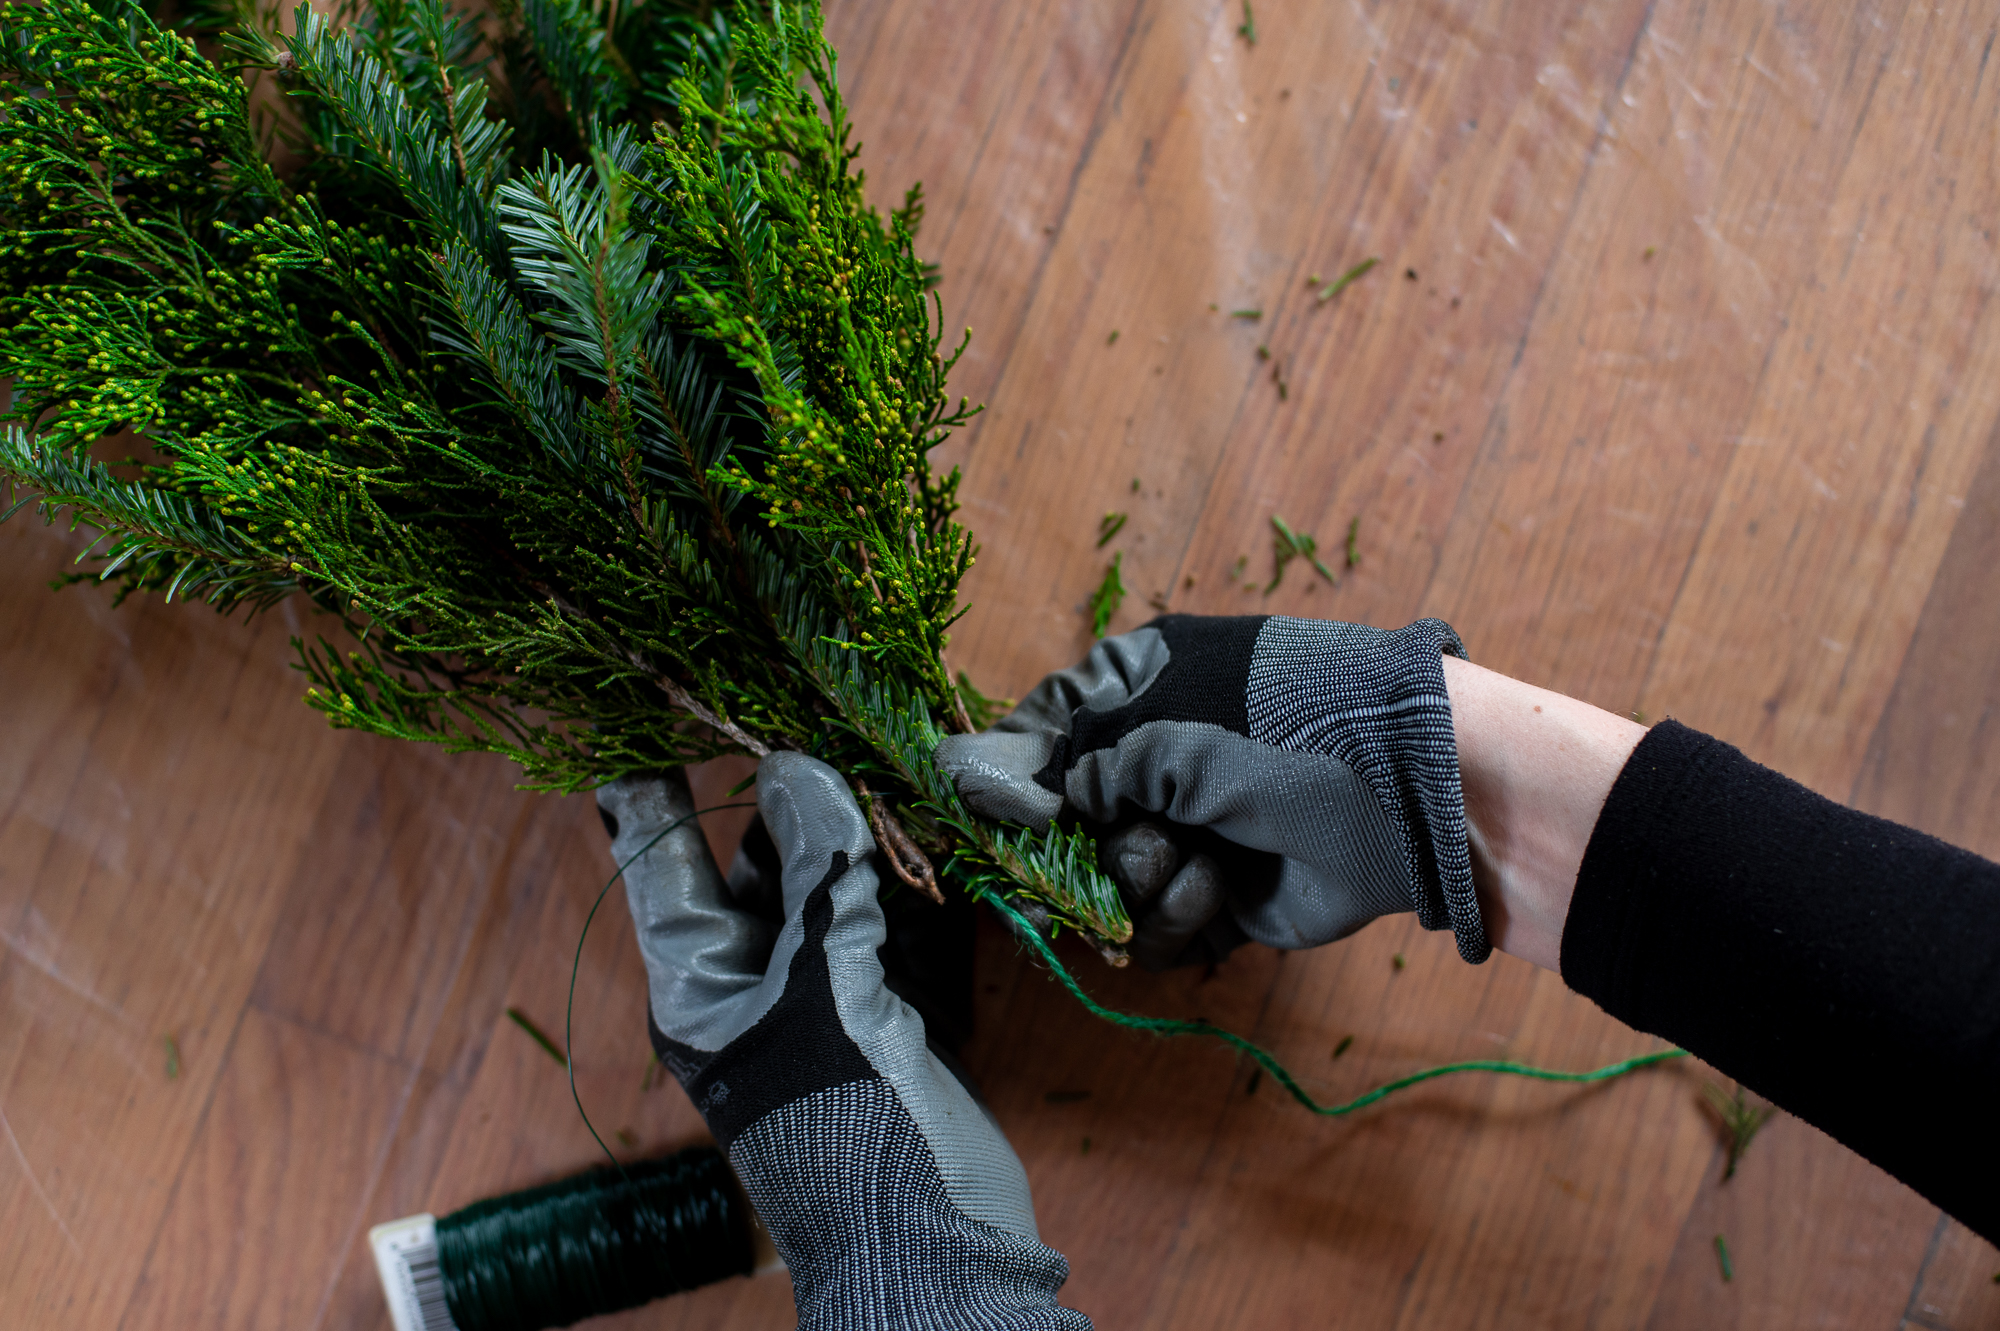
You want enough overlap that when you go to wrap the floral wire around your next bundle of greens you’ll also catch just a bit of the bottom of the previous bundle.
PRO TIP: Unless you take great care not to, your garland will have an obvious front and back. Typically this isn’t a big deal since when it is hung up the back of your garland usually goes unseen. However, if your garland will be hung in a location where it will be visible from all sides, you’ll need to take more care to make sure some greenery sits in front of and behind your twine each time you attach a new bundle. This will ensure your garland looks great from any angle.
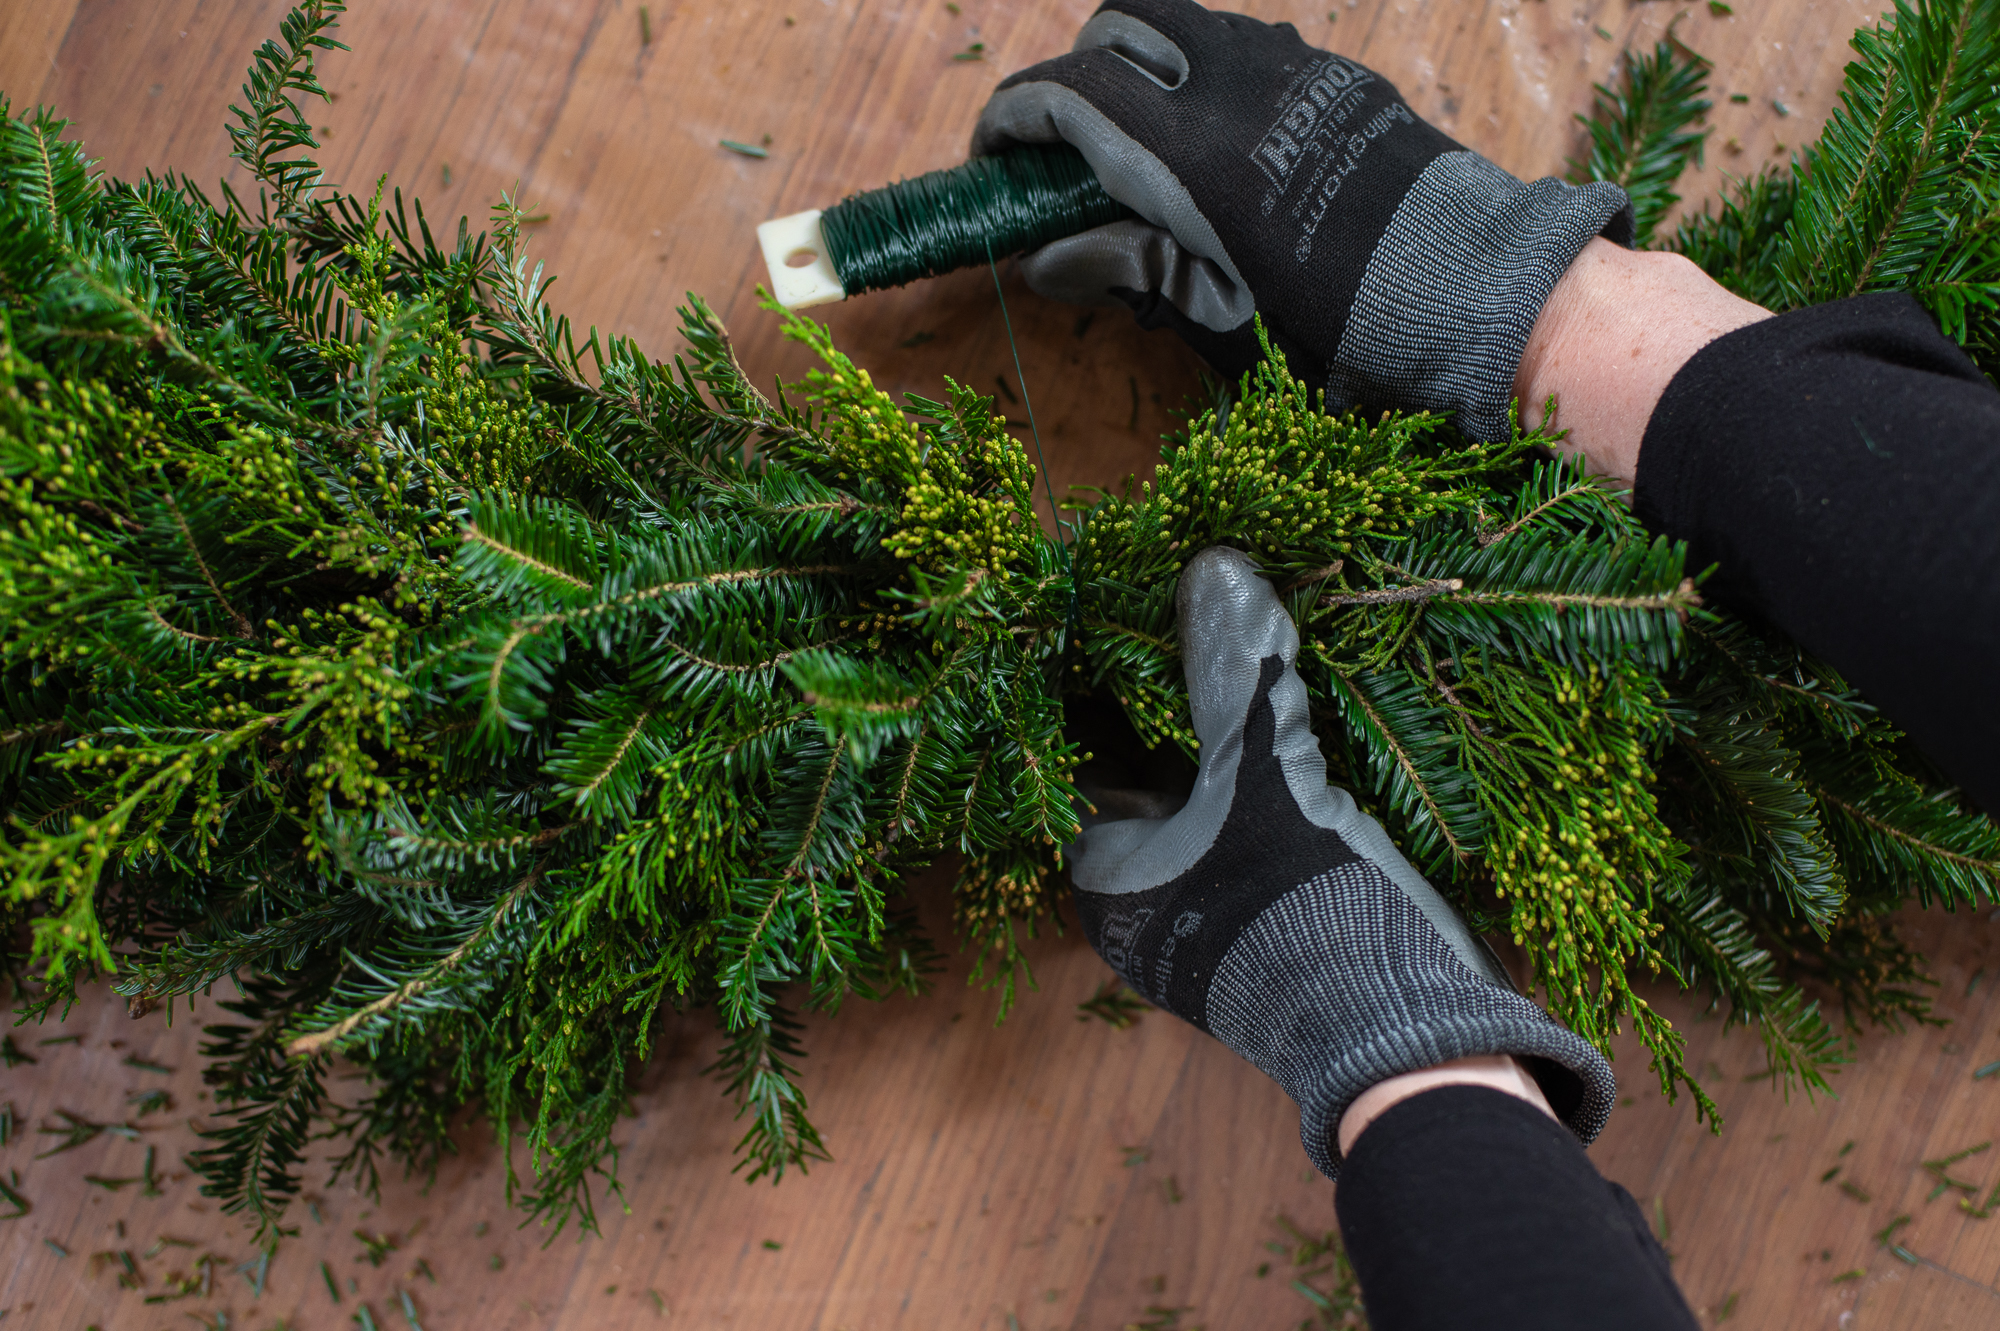
Keep attaching bundles slightly lower down your twine each time, wrapping both the twine and your bundle with the wire until you reach your center point. (This always feels like it will take forever and then magically you’re there…)
Once you have reached the center point, cut your floral wire and secure it to your garland.
Step Seven: Repeat That Entire Process From The Other End

I promise the second side goes faster now that you know what you’re doing.
*As a reminder, you only need to work from the ends into the center if your garland will be HANGING, if you are just laying it flat (across the top of your mantel or along a tabletop for example) you can just work from one end all the way to the other.
Step Eight: Finishing Your DIY Fresh Evergreen Garland

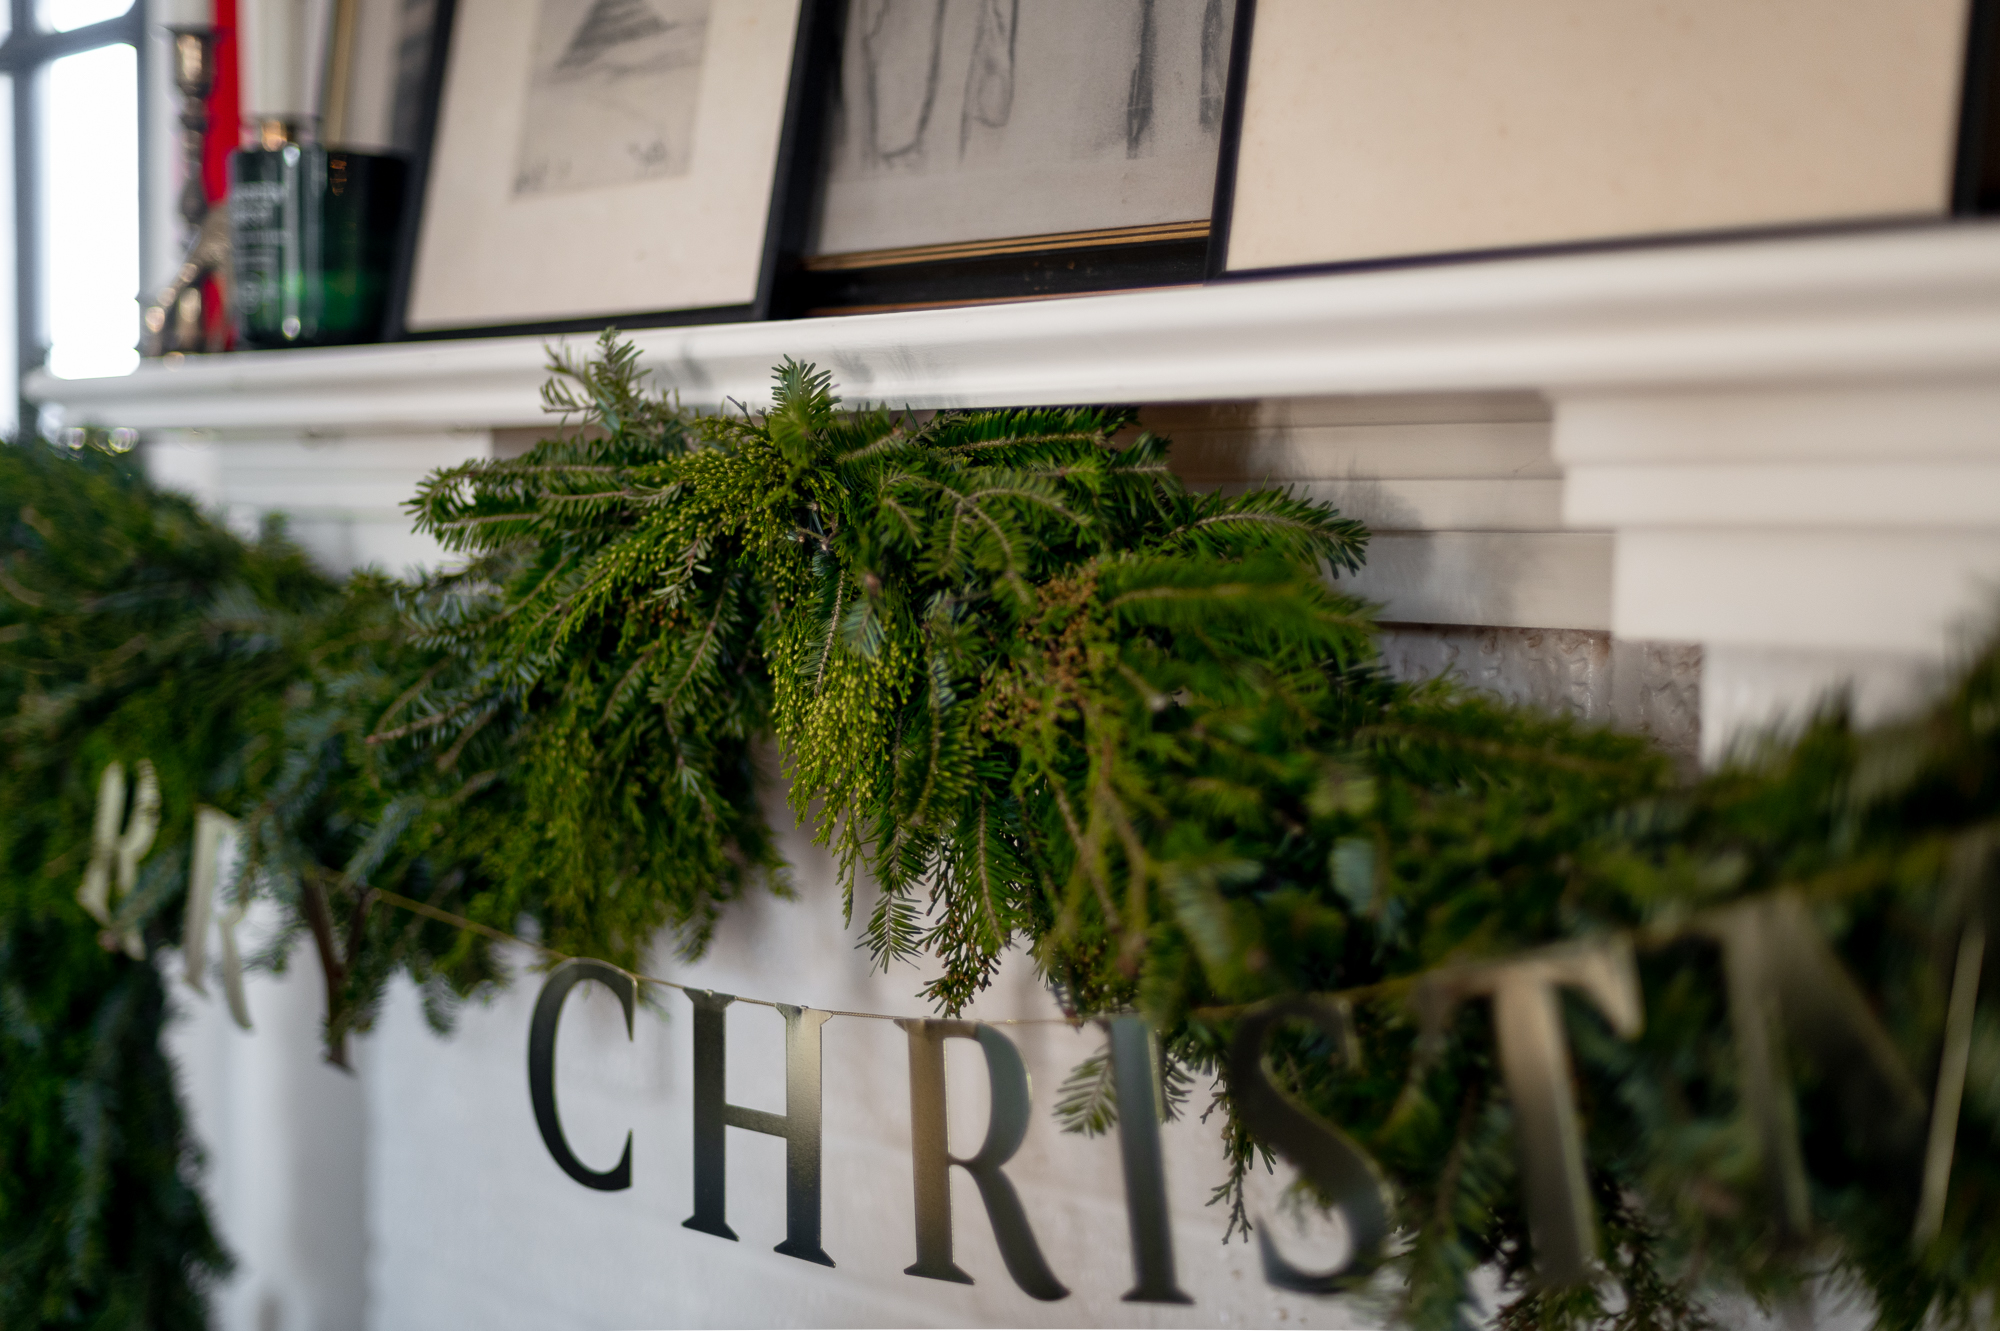
Once you’ve made it back to your center point a second time, your garland will probably look a little something like this, with a big ugly blank spot in the middle where the ends meet.
To disguise that, you’ll simply take a handful of smaller evergreen cuttings and keep layering them onto the middle, securing them with the wire, until you get your desired fullness and the center point is fully covered. (If all else fails and you can’t get this part to look right, you can always wrap a piece of greenery around the center to disguise the wire & branches or pop a bow over it.)
Once you’ve gotten the center completed, it’s time to cut your floral wire and secure it to your garland!
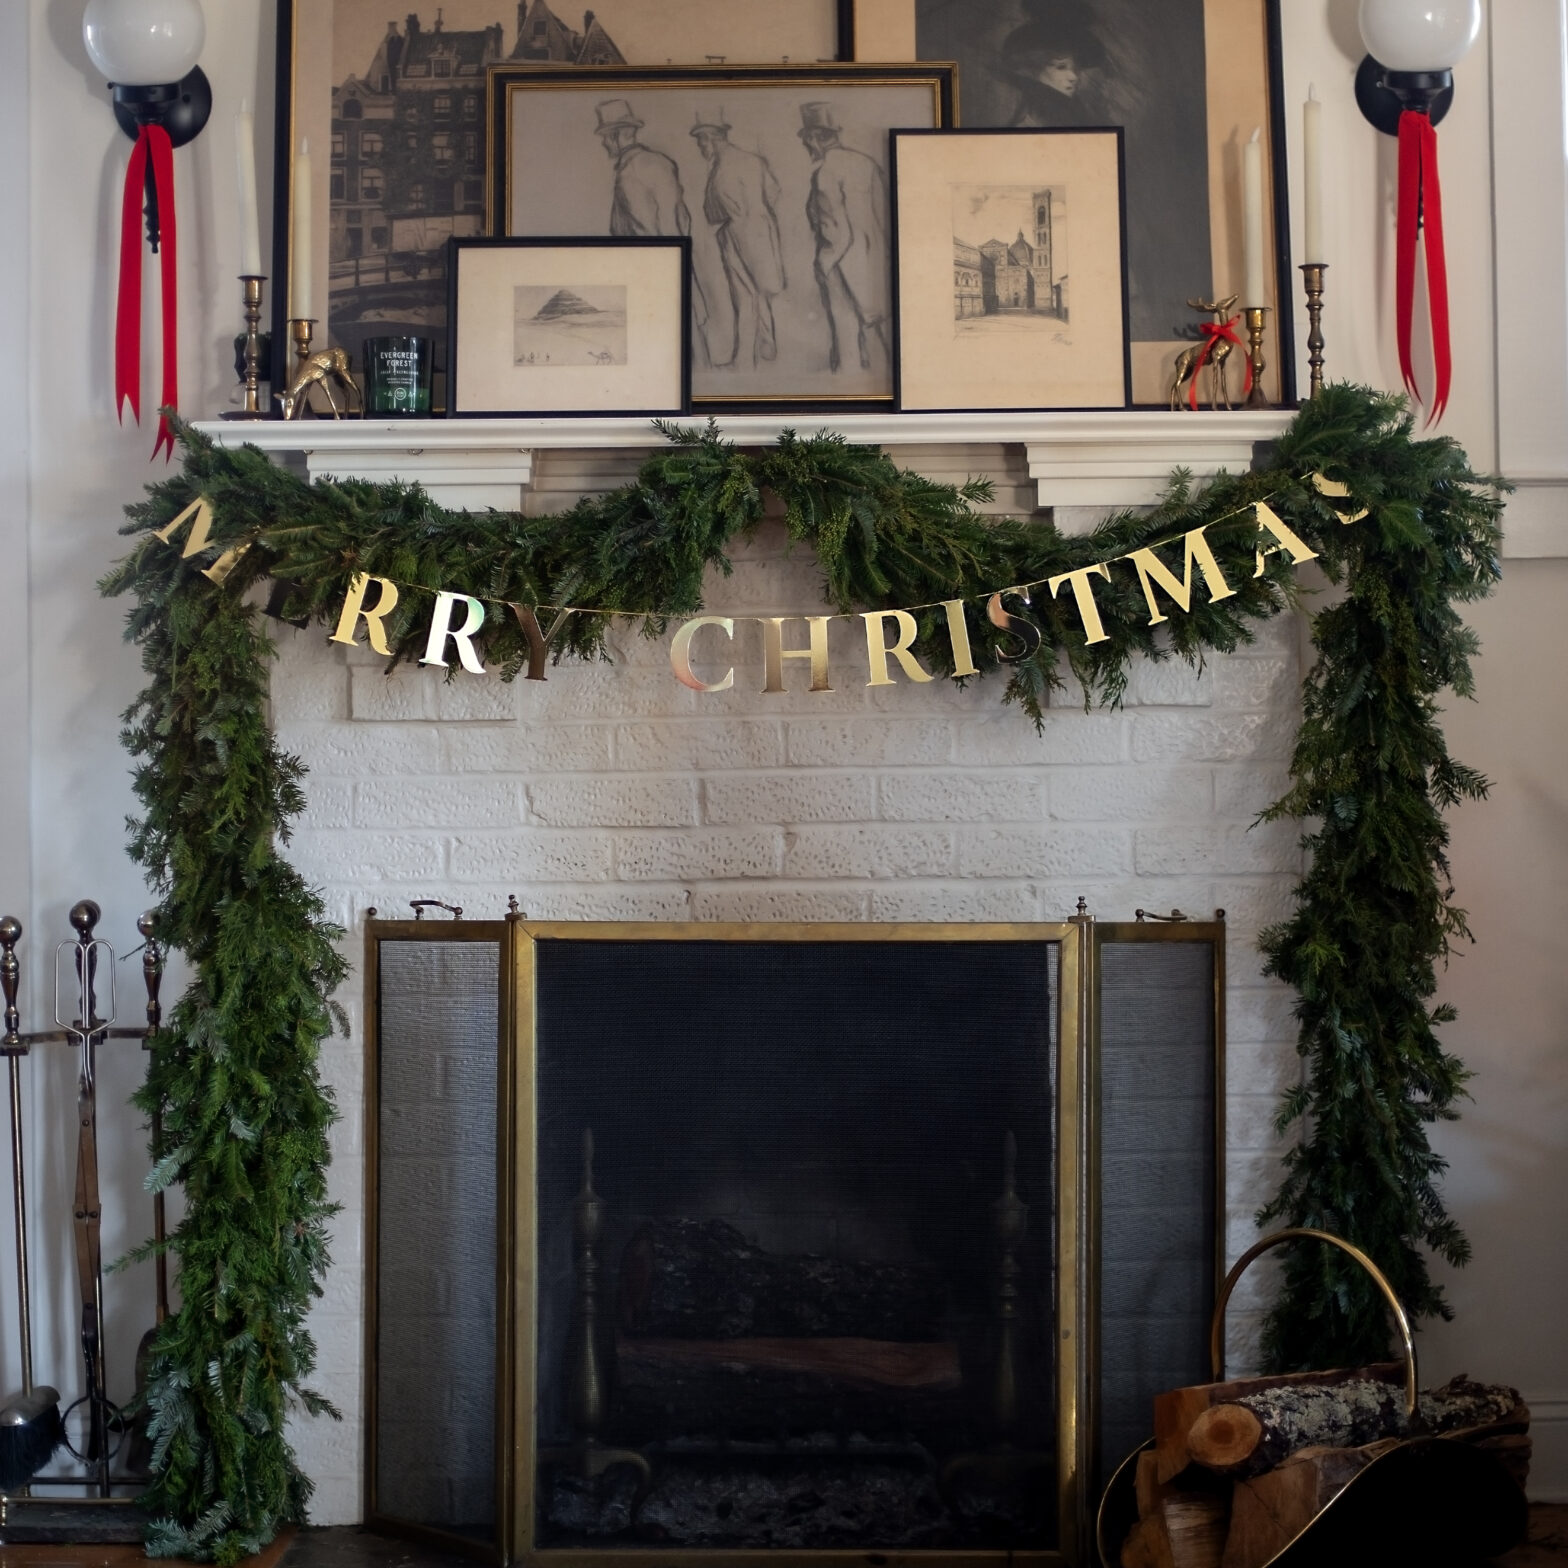
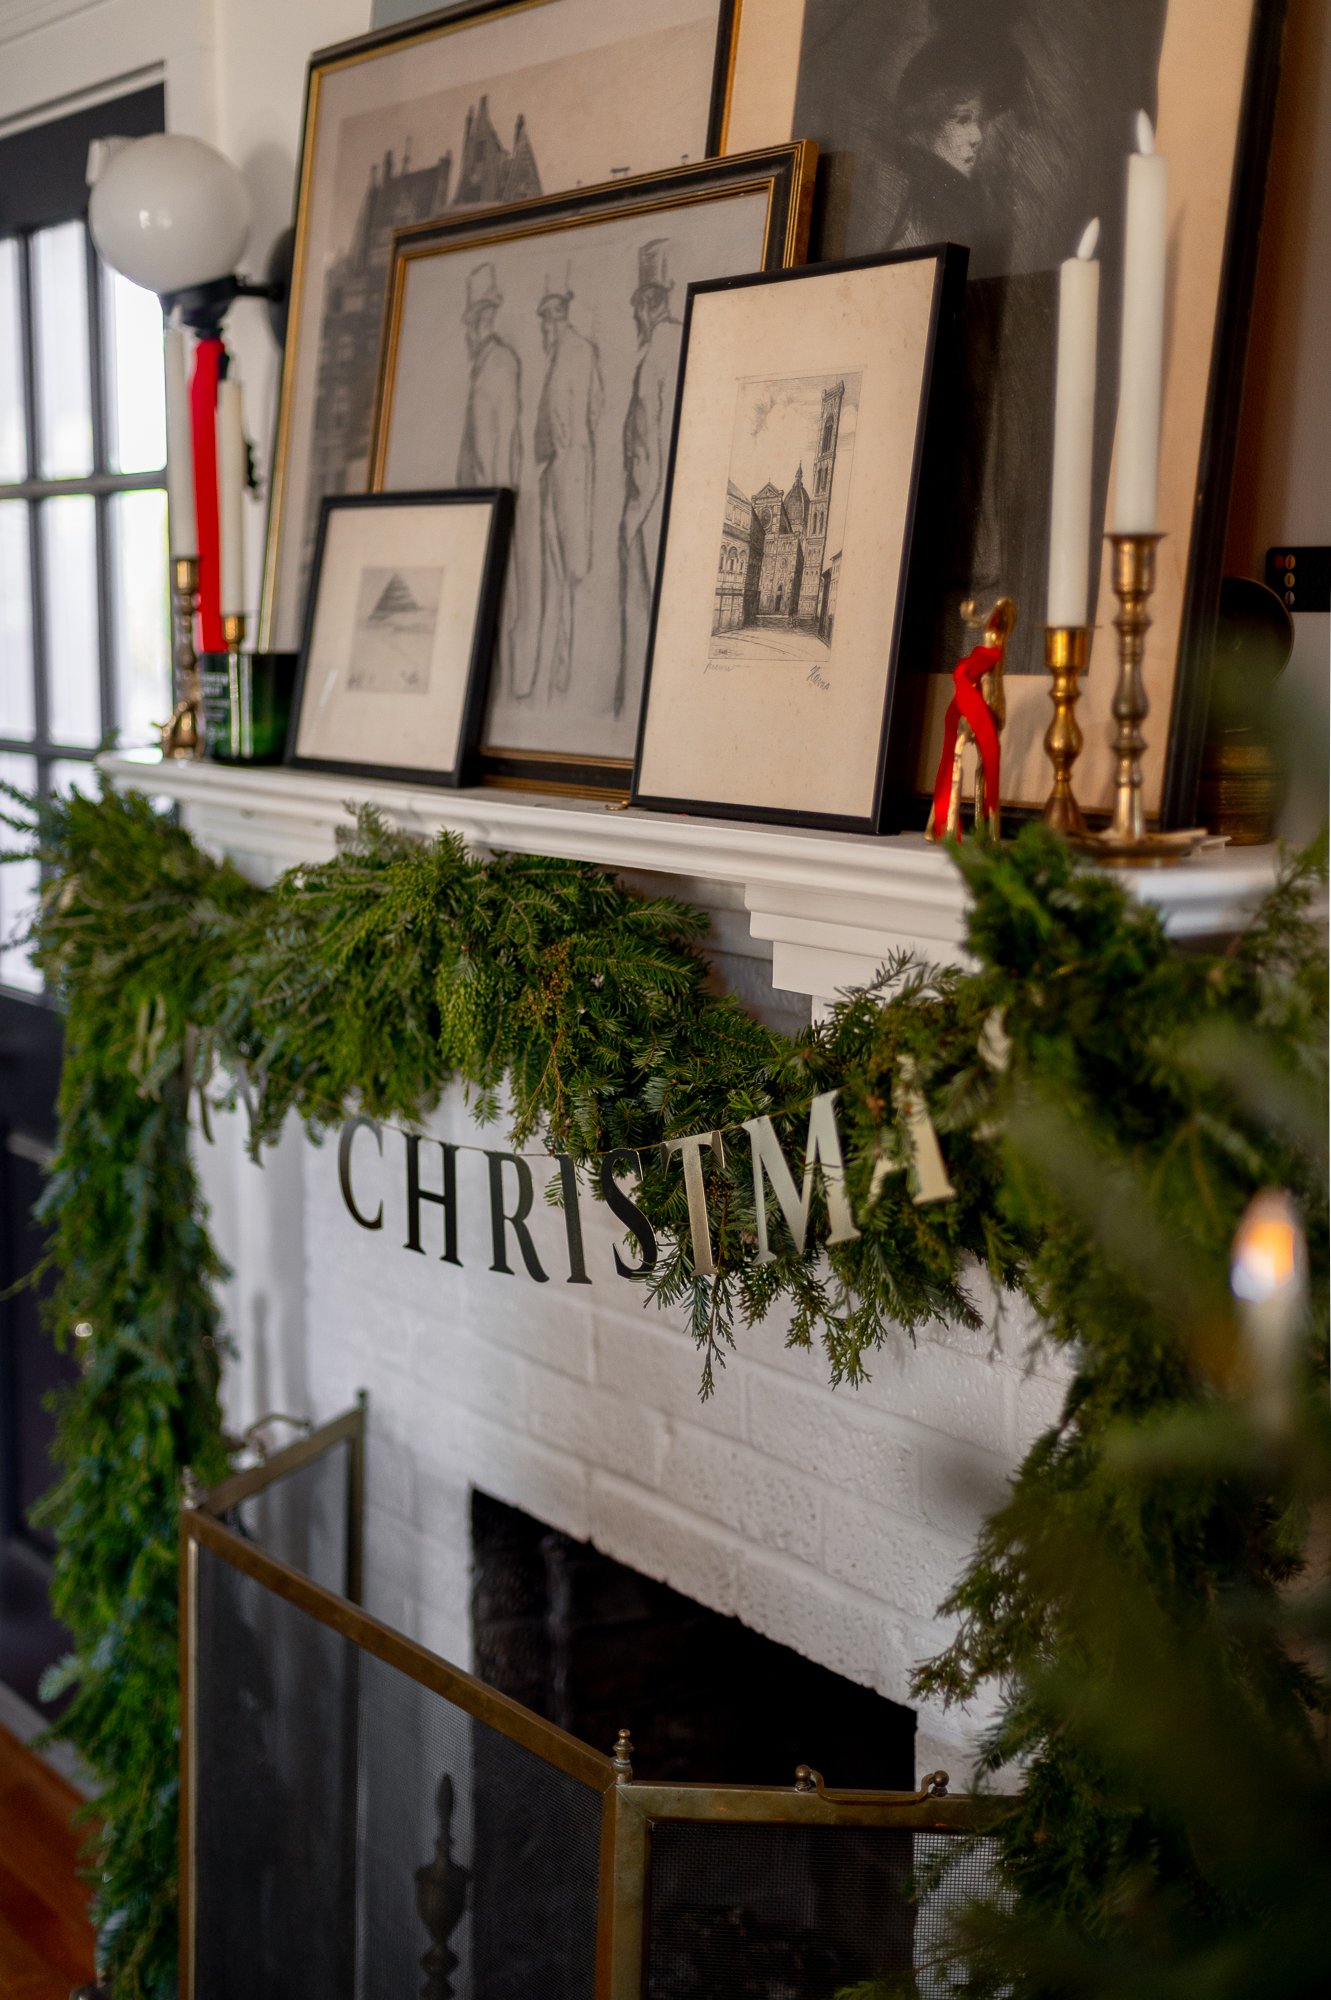
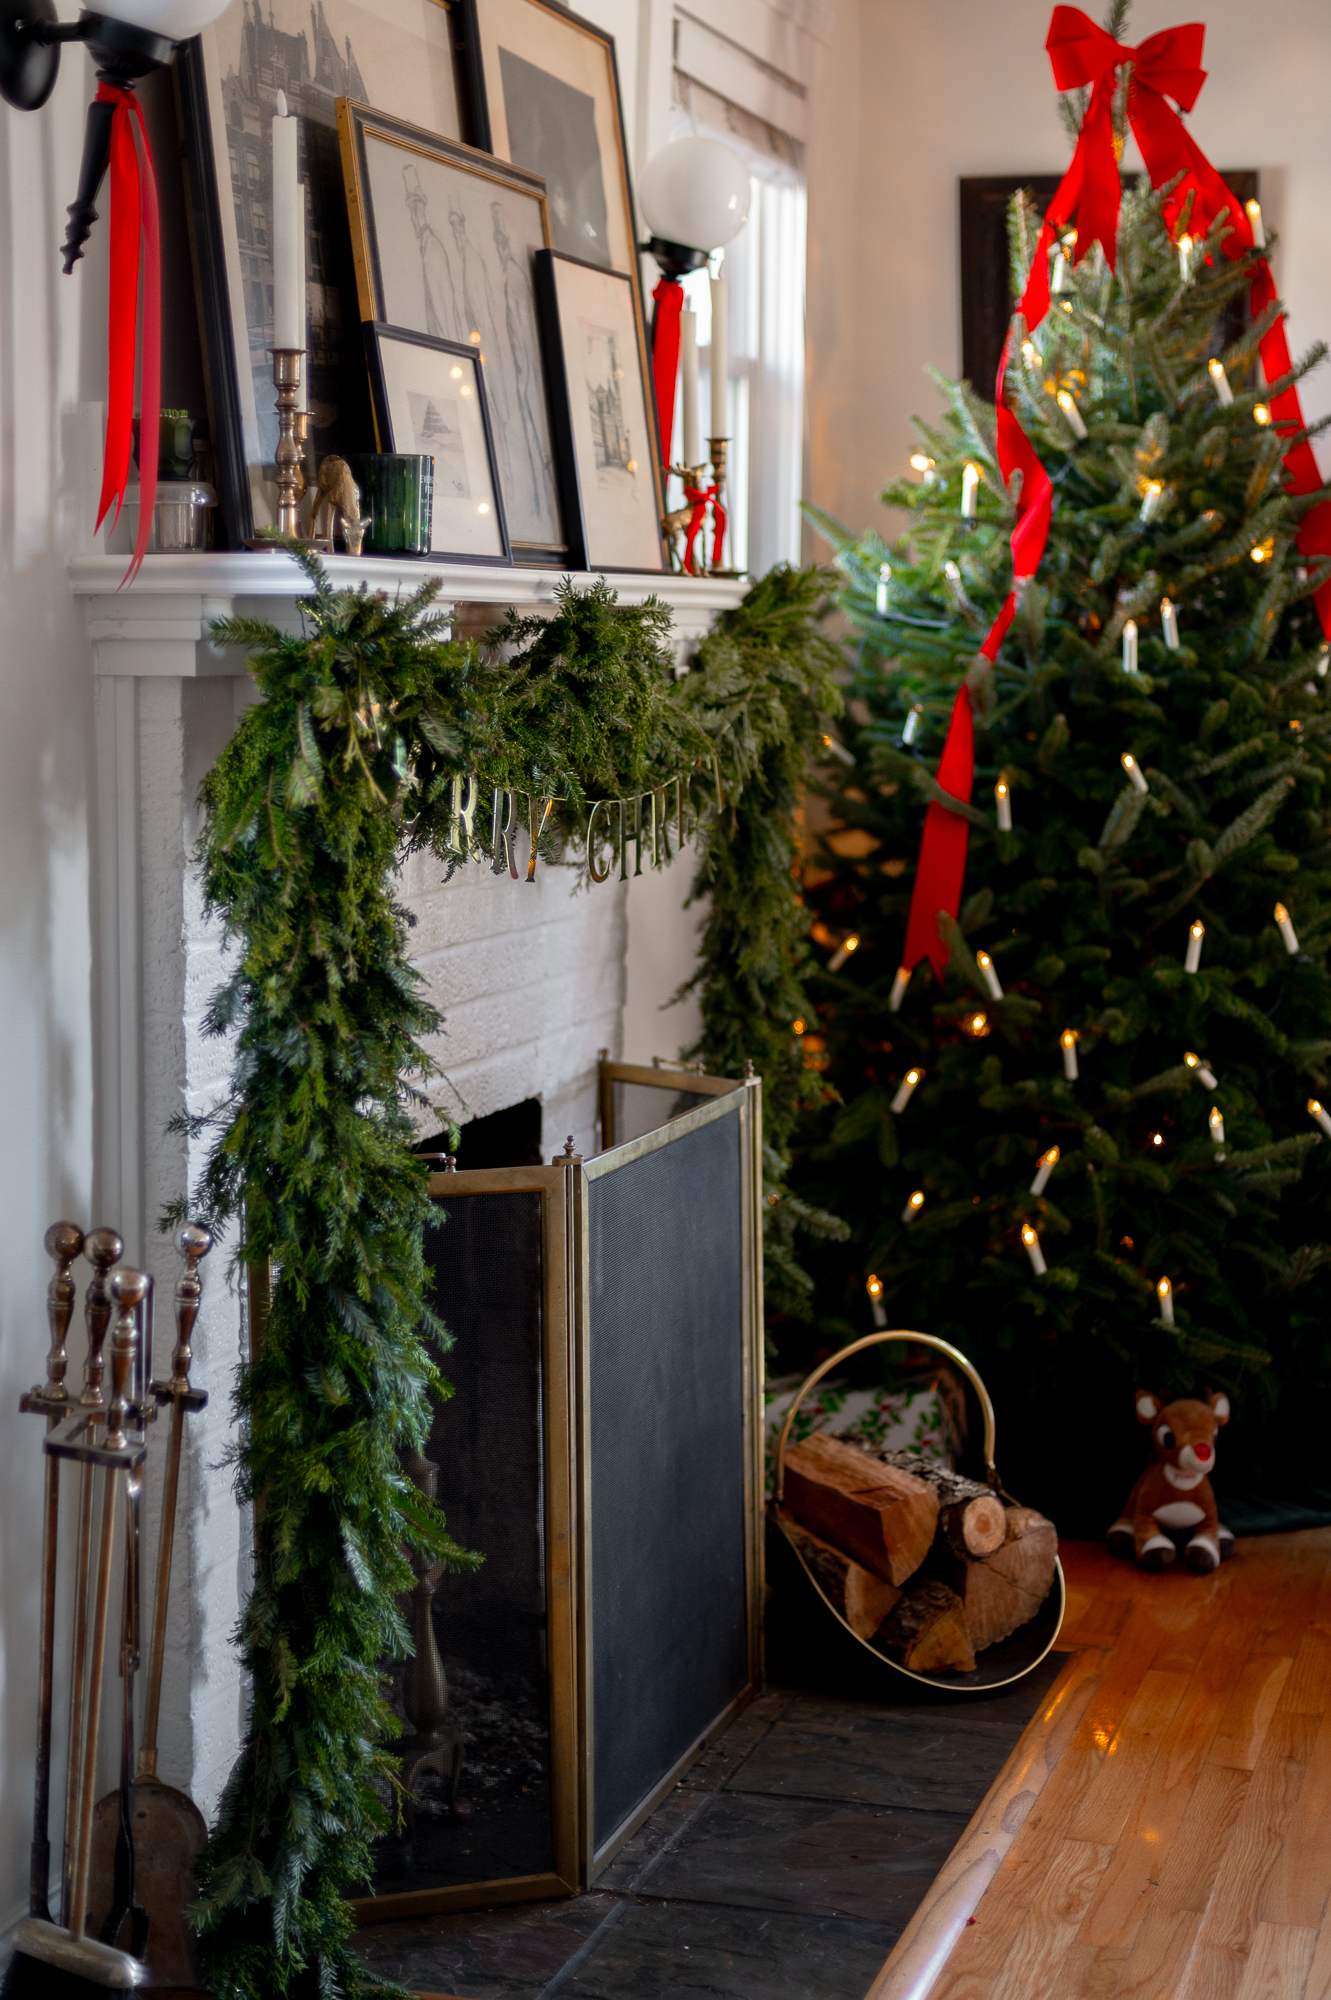
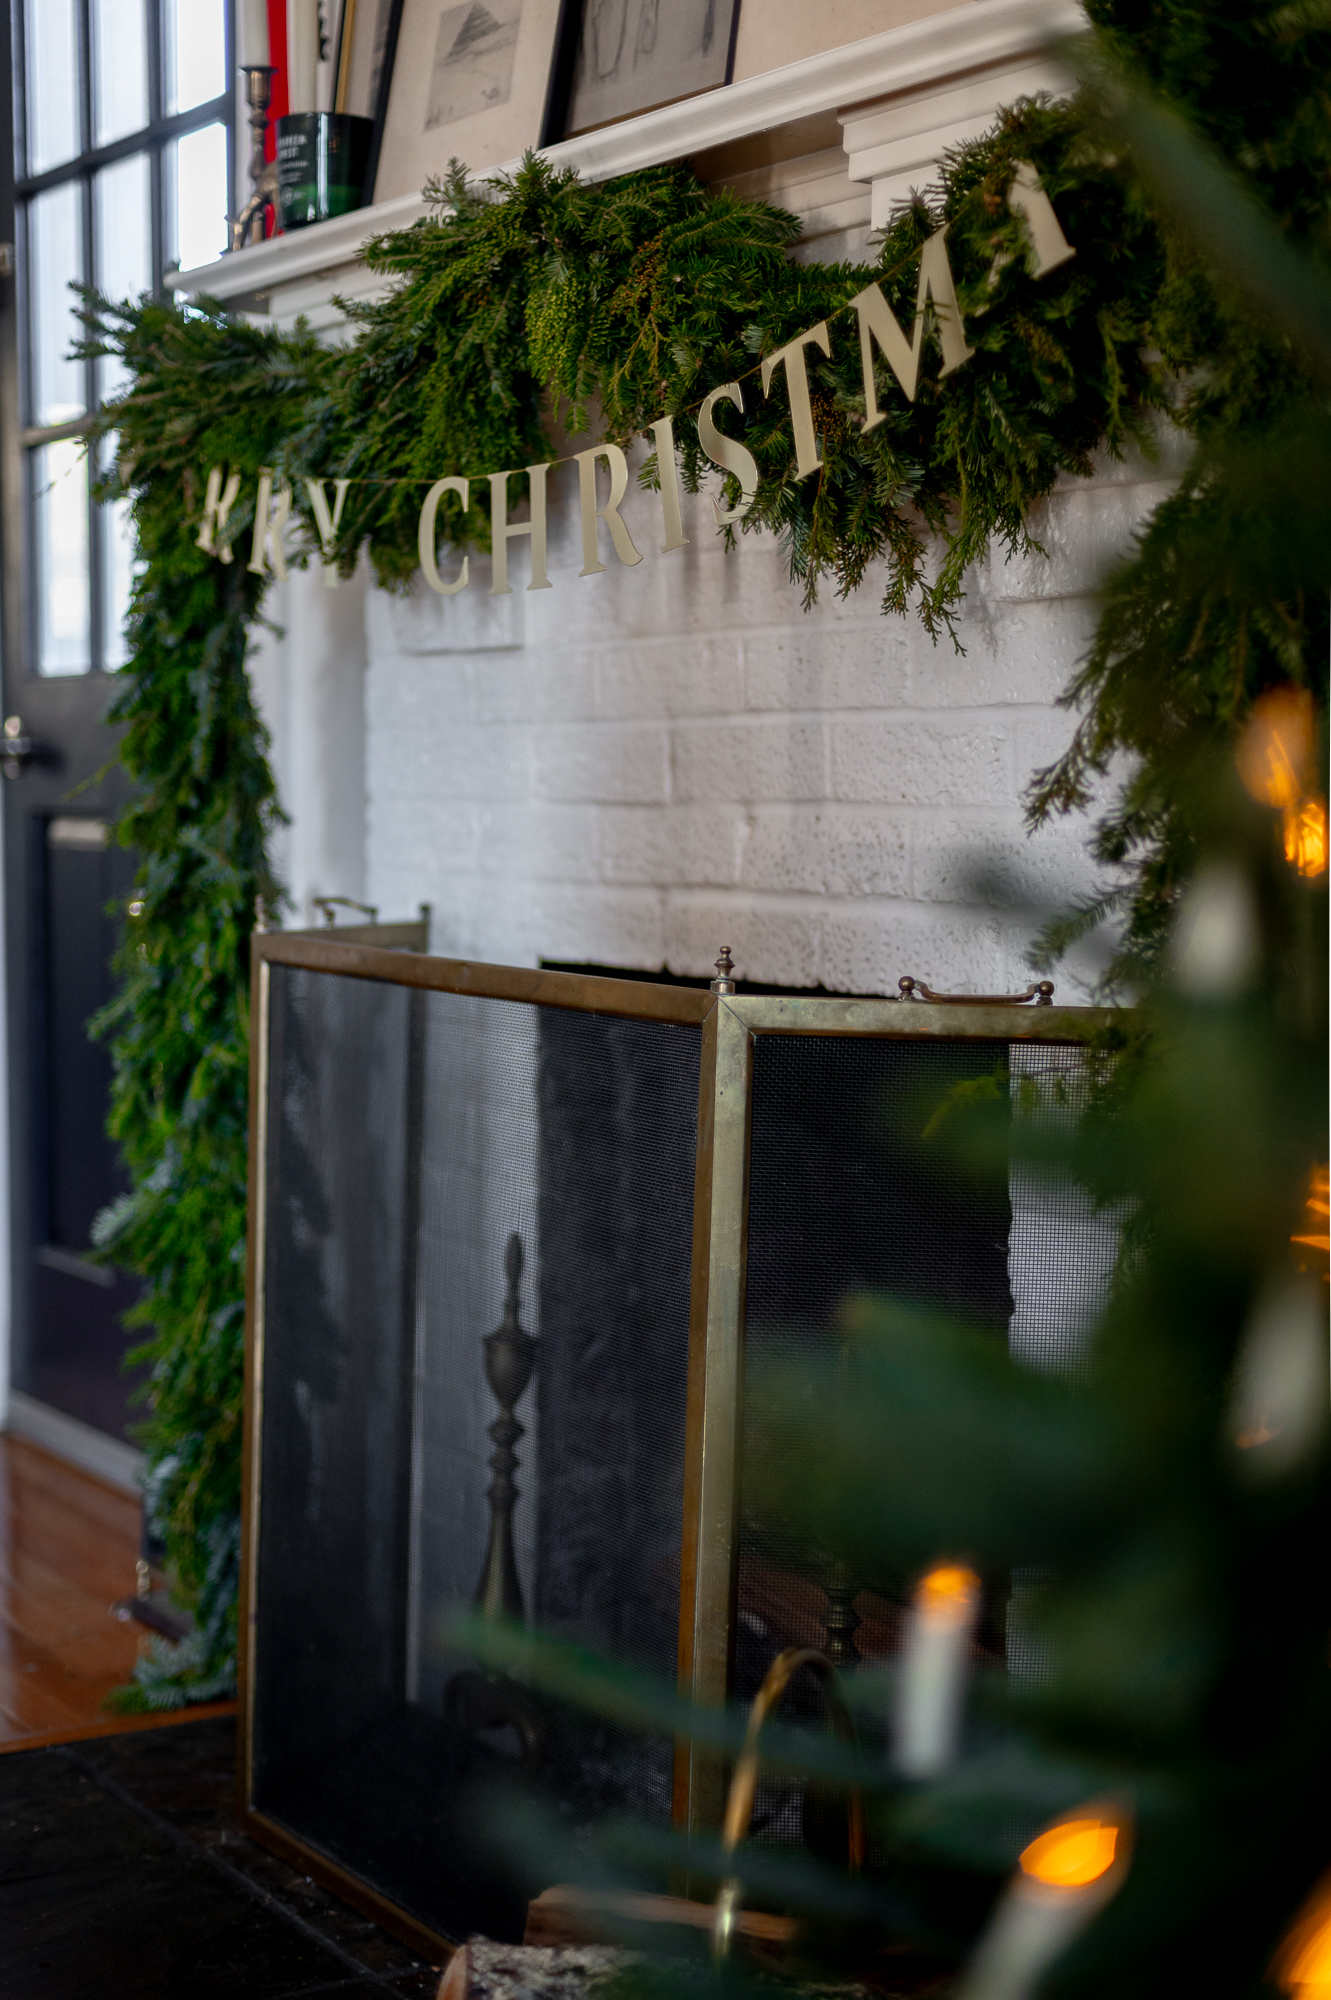
Step Nine: Hang Your Fresh Evergreen Garland
This garland will likely be heavier than the faux garland you may have used in the past, so be sure the surface you hang it from can support the weight.
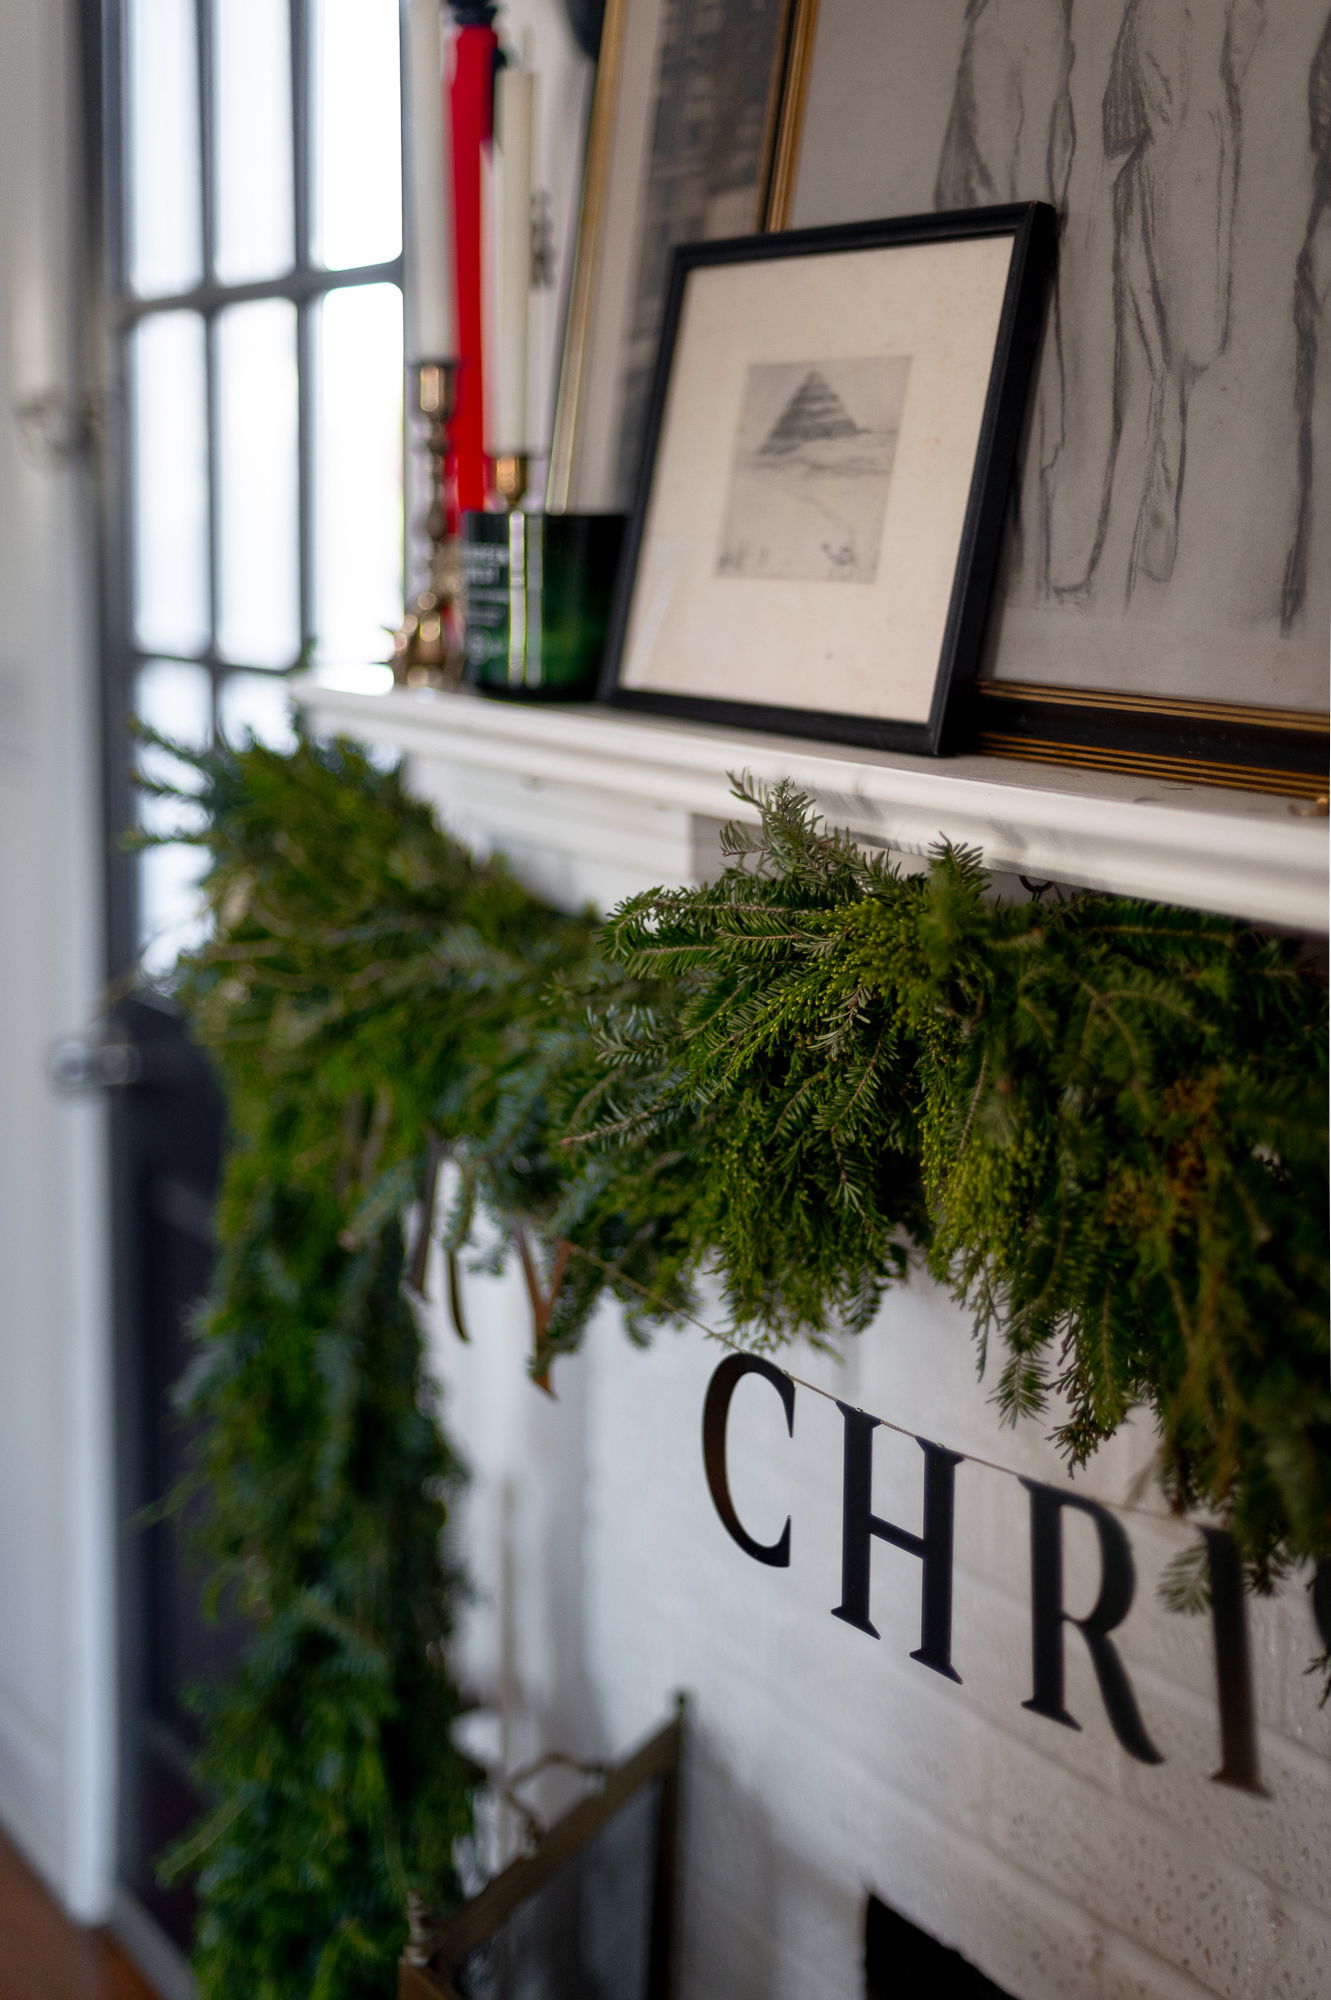
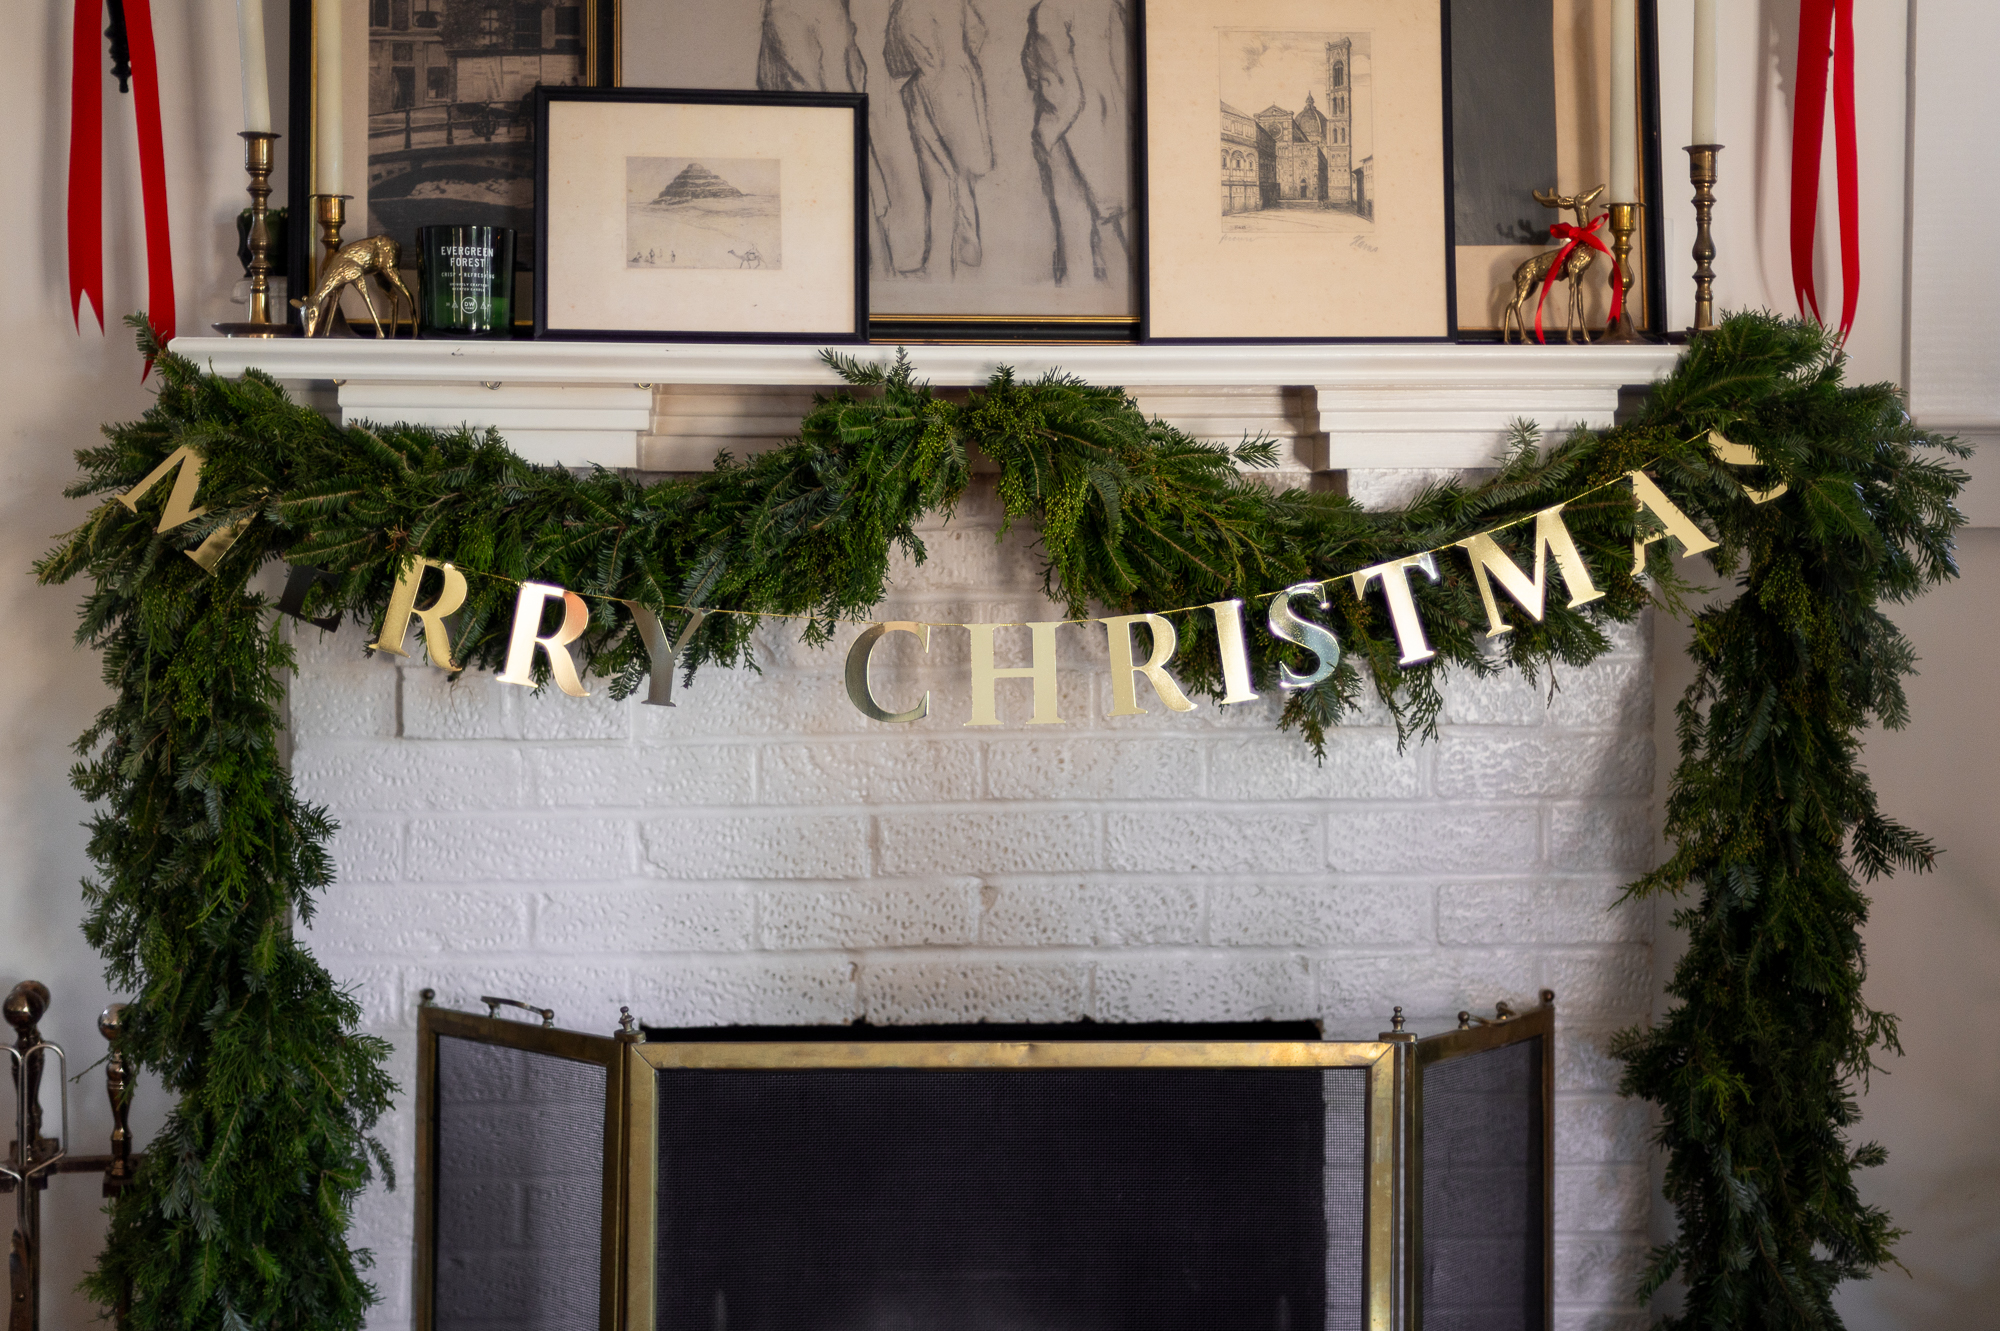
In years past I’ve layered in ribbon or other decor into my garland, but this year I decided to keep things simple with just the fresh evergreen garland and this brass Merry Christmas banner I picked up from Target this year.


Don’t Forget To Pin This Post & Subscribe!
Want to keep getting more DIY home decor inspiration, thrifting tip & tricks, free art downloads, reading recommendations, and home renovation tutorials? Then don’t forget to pin this post for later so you can follow me on Pinterest and then subscribe to my blog so you can get links to my newest content as soon as it hits the blog!
So many great details🌲!!!! Thanks so much, Kadie! I almost (almost) wish it was time to decorate… 😊