When your hubby offers to upgrade you from the sad plastic bin you’ve been using to store your firewood kindling in, to a custom DIY outdoor storage bench for your front porch, you say yes. Then you go draw him a very complicated picture of exactly what you want it to look like… in detail… complete with inspo images.
Over the last few months I’ve been digging through photos of past projects we’ve done and realized I never posted this bench build we made for our small front porch on the blog!
This was one of the very first woodworking projects we completed when we moved into our house and I’m still so proud of how well the design of this bench came out! It was the first time either of us had ever built anything like this and so many lessons were learned. Which also meant many things had to be taken apart and then redone after said lessons were learned. But we got there in the end and I’m so proud of how far we’ve come since then.
*This blog post contains affiliate links, meaning that if you purchase any of the items using the links I provide I, as the author of this website, will receive a very very small commission from that sale. This is a great way to help support your favorite bloggers at no cost to you. Think of it like a tip jar that costs you nothing!

How We Built Our DIY Front Porch Storage Bench
Unfortunately we built this project before I was consciously documenting things in the same way I do now. So I don’t have a lot of pictures of the build process. But I’ll walk you through what we did best I can.
Step One: Take Measurements
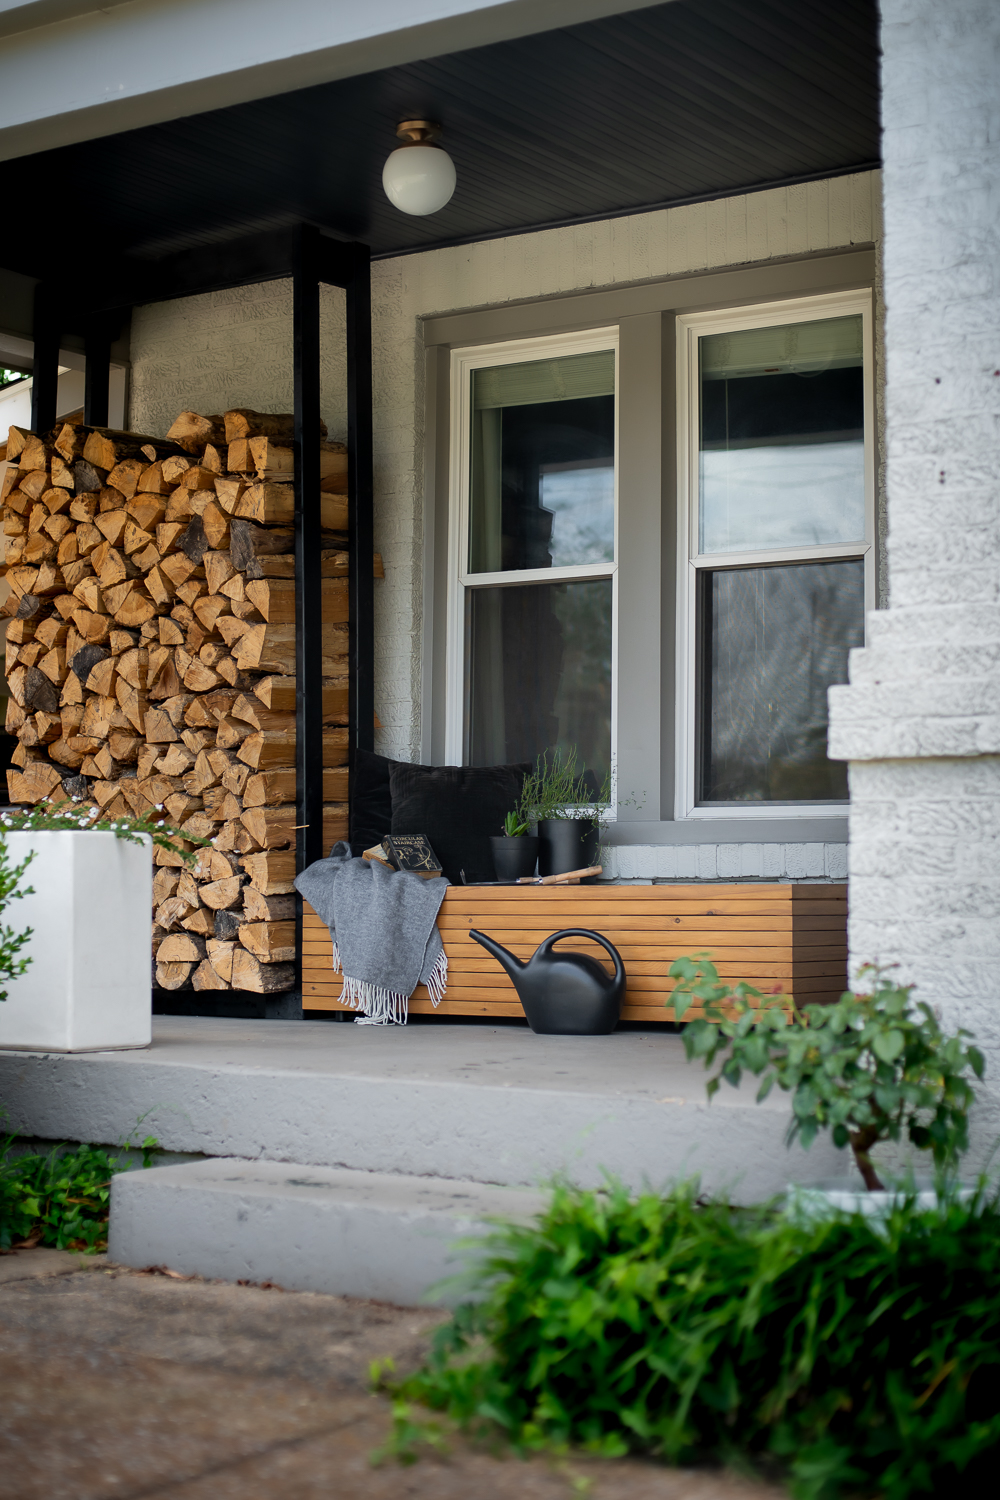
We knew we wanted the final storage bench to sit under the double windows on our small front porch, so we began by taking a bunch of measurements of the area. That let us come up with dimensions that would be the perfect custom fit to fill the space.
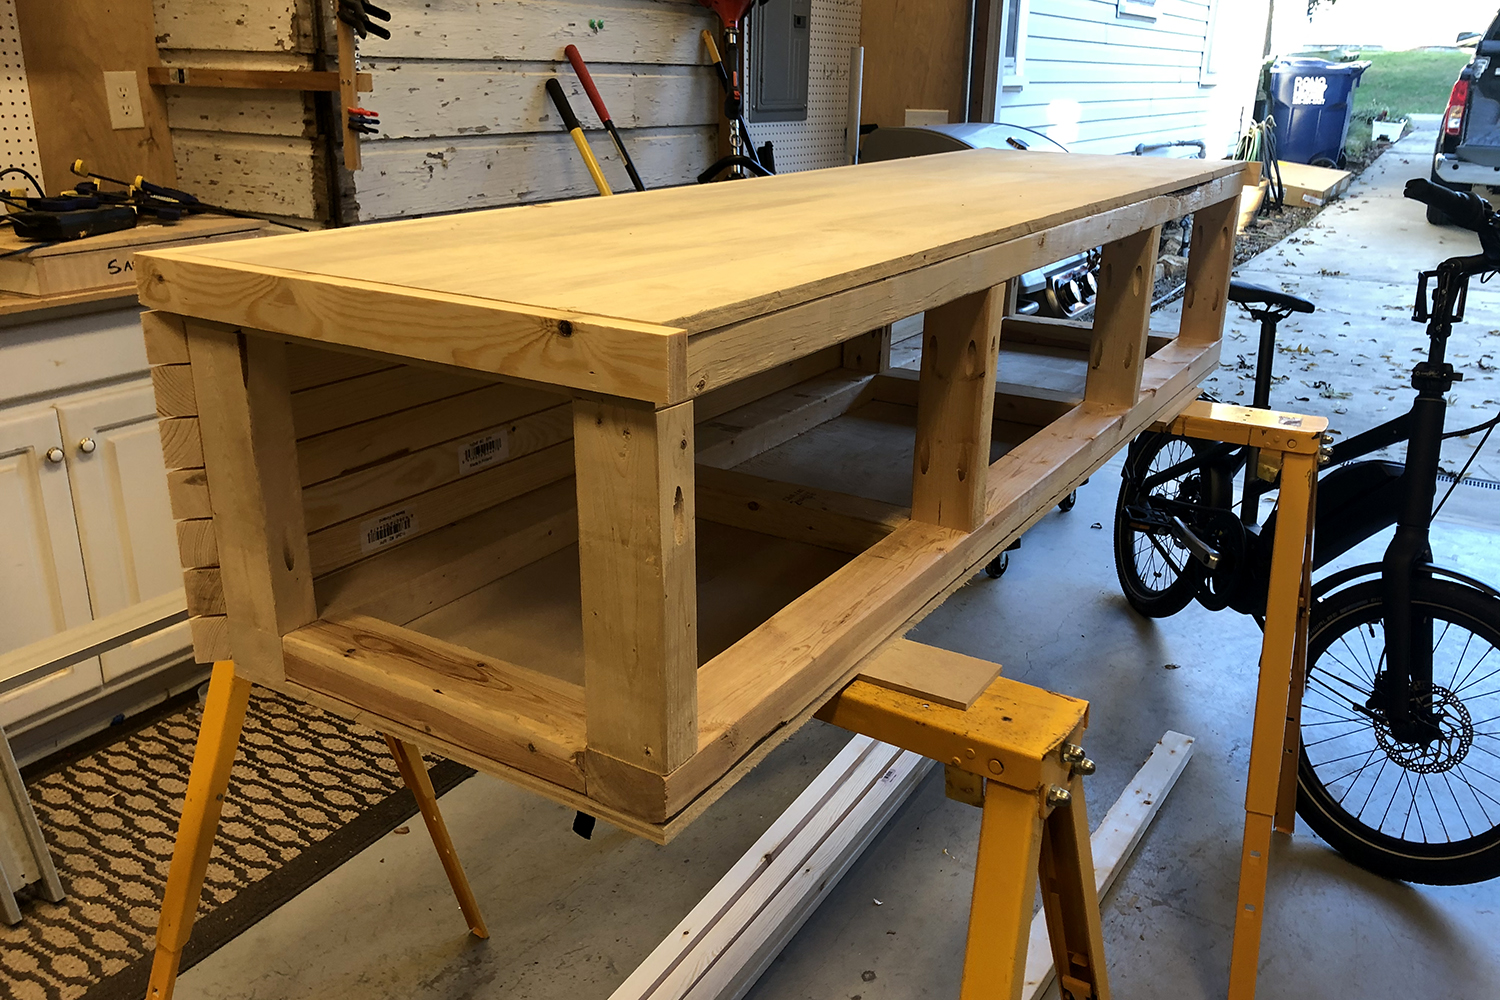
Step Two: Build A Simple Interior Frame
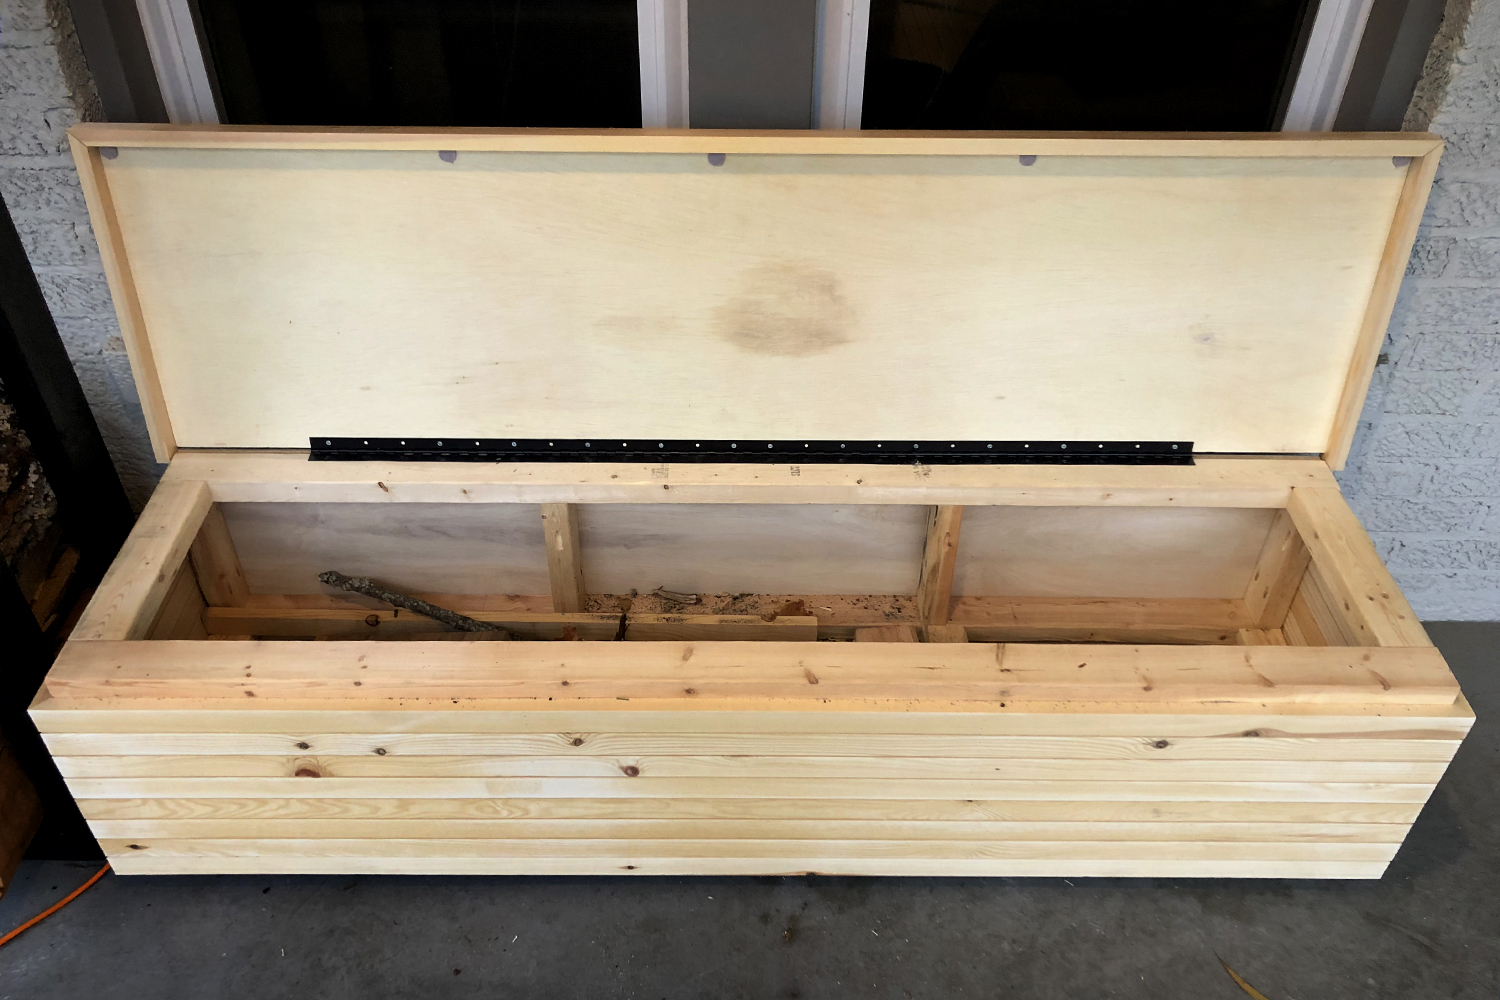
Once we had our measurements, Joe started off the storage bench build by using 2x4s to construct a rough interior frame for the bench, connecting each of the pieces with pocket holes and screws.
Note: It was incredibly important to this build to make sure every side of the box was square. So while the interior frame was simple, Joe spent A LOT of time making sure every inch of it was square so that all the next steps in the process would align properly.
Step Three: Cut & Attach Plywood To The Bottom Of The Frame
Next we cut down a sheet of plywood and attached it to the bottom of the frame to act as the floor of our storage bench.
Step Four: Cut A Matching Piece Of Plywood For The Lid Of Your Bench
Using the exact same measurements as the piece we cut for the base of our bench, we cut a second duplicate piece of plywood down to serve as the lid of our box.
Keep in mind that people will be sitting on the lid of this box, so you’ll need to use an appropriate thickness of plywood that will withstand the weight.
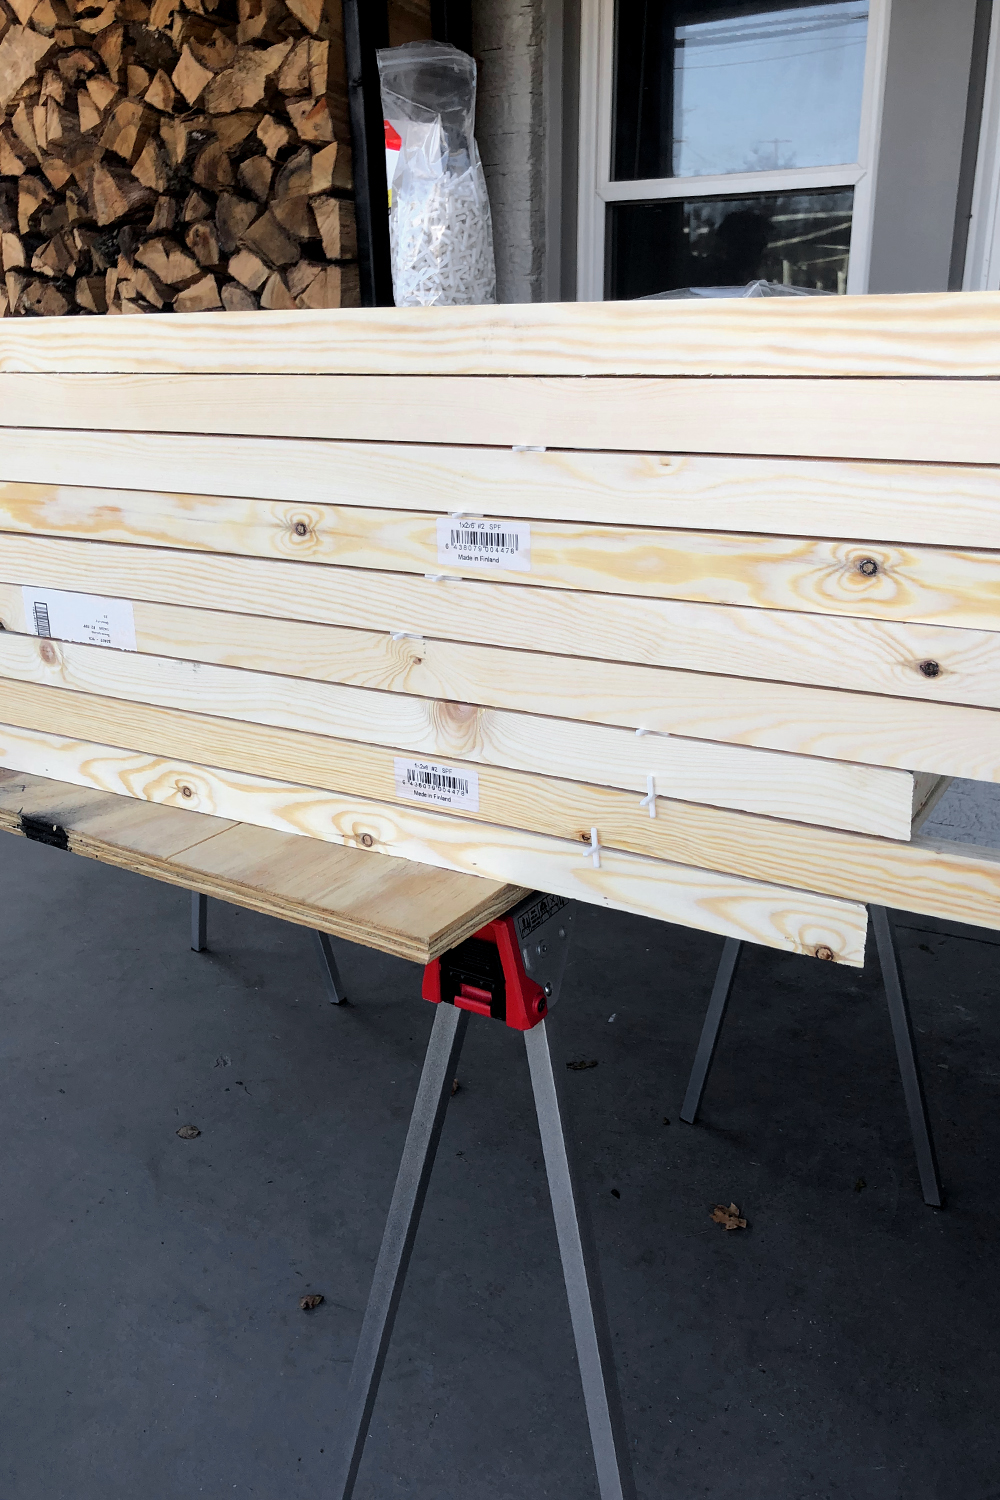
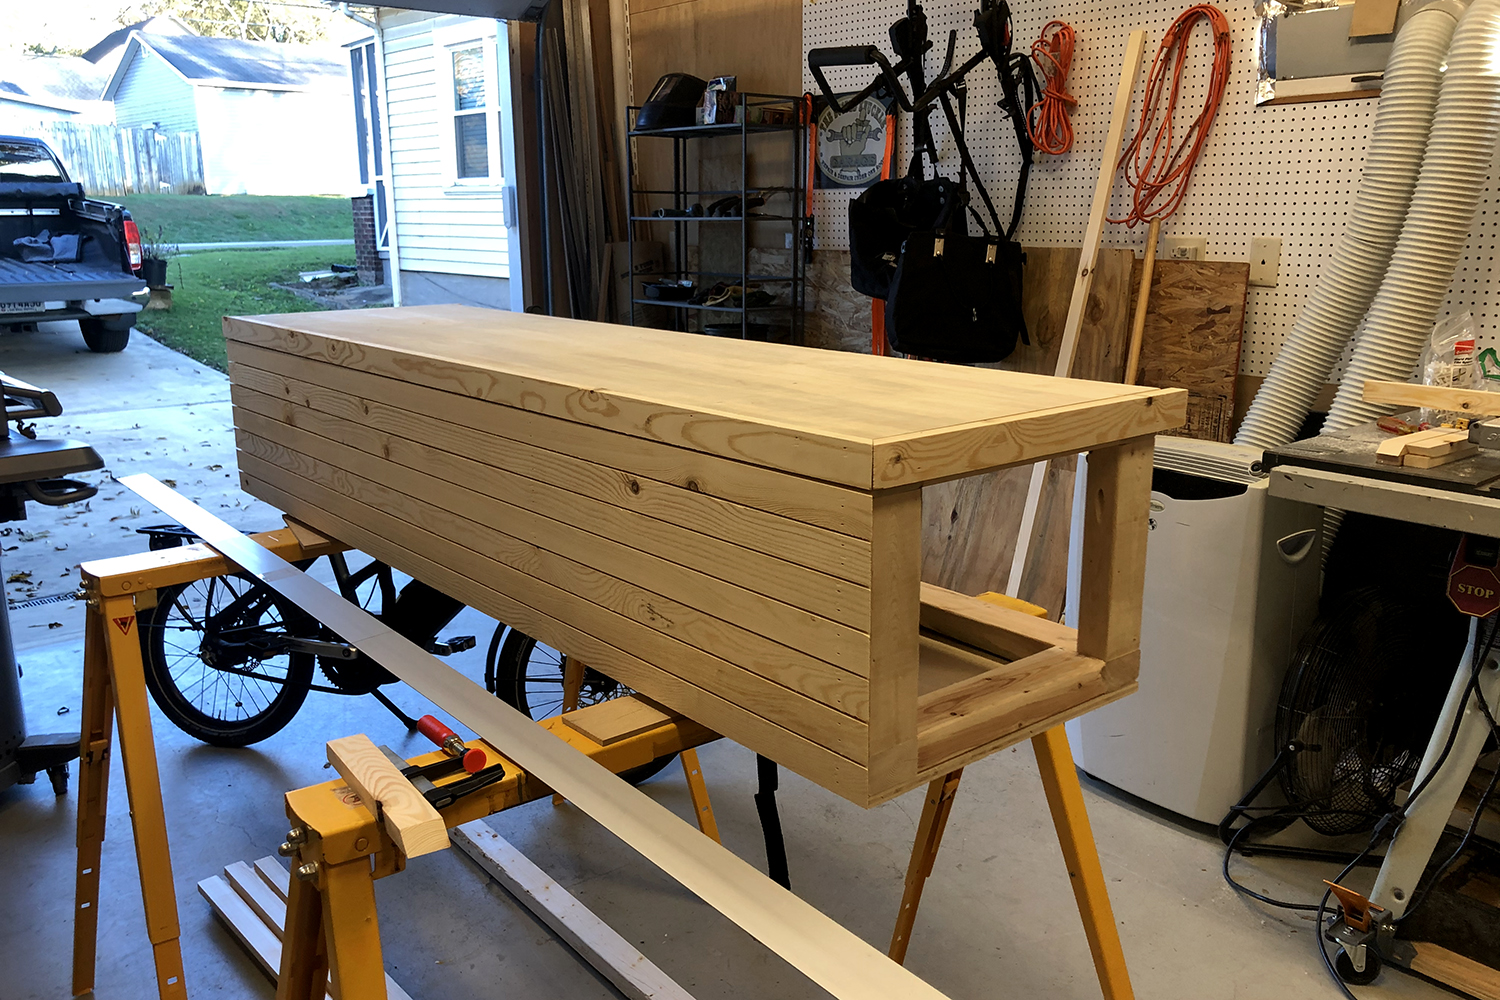
Step Five: Cover Your Frame In 1x2s
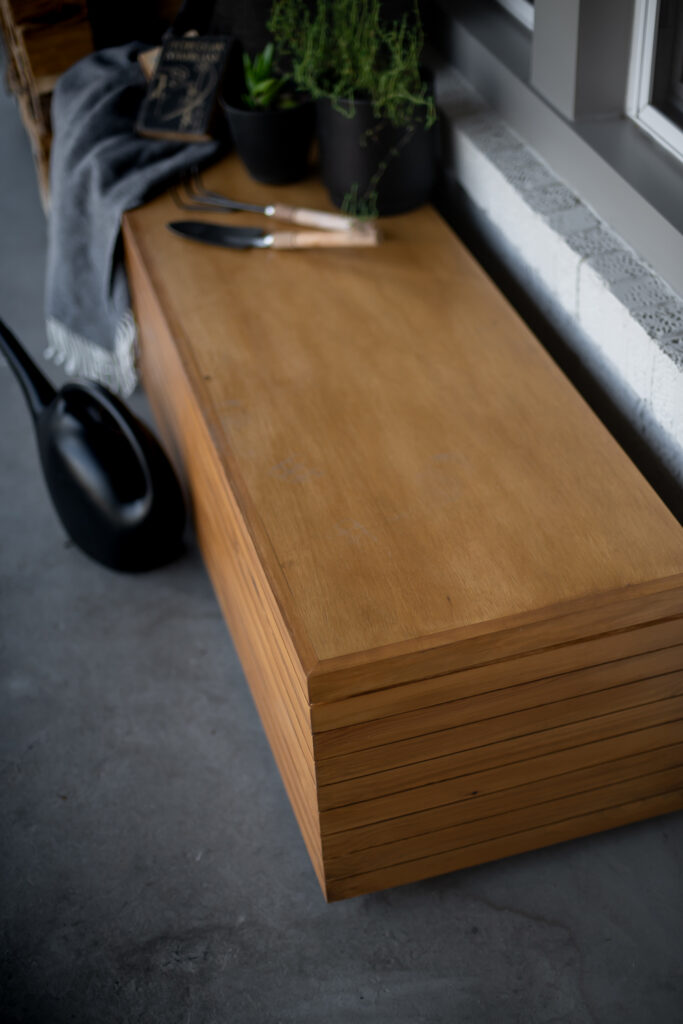
We then took 1x2s and attached them around the front and sides of the plywood lid so that they were flush with the plywood. (The type of hinge you decide to use on your box will dictate what you’ll need to do on the back side of the lid)
We then set the plywood lid with attached 1x2s on top of the box and began attaching 1x2s around the entire front and sides of the rest of the box with a brad nailer, spacing them out from the top down (with our 1x2s on our lid as our starting point) using 1/8th inch tile spacers as we went and mitering the corners for a clean modern look.
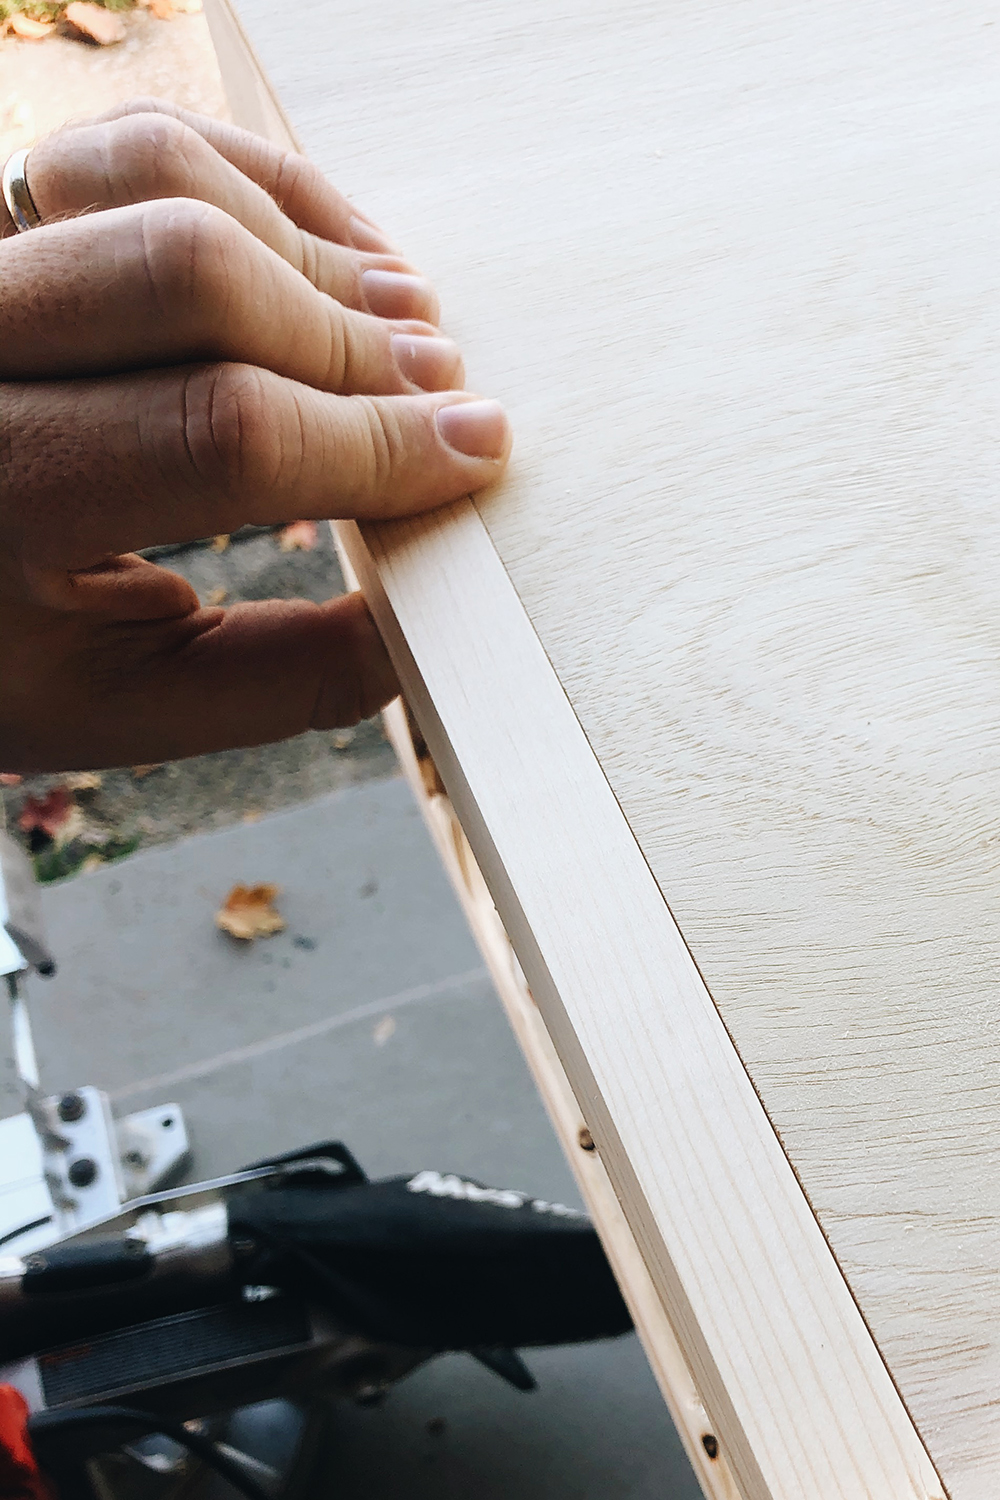
We lucked out and our 1x2s with spacers were the *exact height* of the box we designed. However, if your spacing doesn’t work out at well, don’t stress. We’ll be putting feet on the bottom of the box, so the last 1x2s at the bottom of the box don’t have to sit flush with the base. It’s fine if they overhangs a bit.
Step Six: Cut & Attach Plywood To The Back Of The Frame
Finally we cut down the remainder of our sheet of plywood to attach to the back of our frame to act as the back of our storage bench.
Since our bench was designed to sit against a wall, we chose to just finish off the back of the box with plywood to save money. But if you plan to have your bench visible from all sides you could choose to continue wrapping the back of the box in 1x2s as well.
Step Seven: Secure Legs To Your Bench
To help the long term durability of our storage bench, we chose to attach a few small 2″ legs to the bottom of the box that would slightly elevate it off the ground. This inexpensive set of legs I grabbed off of Amazon worked perfectly for this.
Step Eight: Attach The Hinges
Ok… so here’s where us having no clue what we were doing at the time let us down. We did not think through the whole hinge thing well at all.
That meant that the box we built wouldn’t work with the type of hinge I originally bought. So we then had to pivot and use a basic piano hinge. However, this was also not ideal and had issues of its own pop up since we again didn’t build the box with a piano hinge in mind either.
I’m not going to get too into what we ended up having to do to get our piano hinge to work with our box build, because it was…. special, but just know that our biggest take away from this build was that you need to take into account how your hinge works BEFORE YOU BUILD YOUR BOX & LID to make sure it will still open and close easily.
Step Nine: Time To Stain The Wood Storage Bench
Finally, it was time to stain the box to ensure it was protected from the elements since it would be living outside on our front porch, and I don’t think Joe wants to build me another again any time soon.
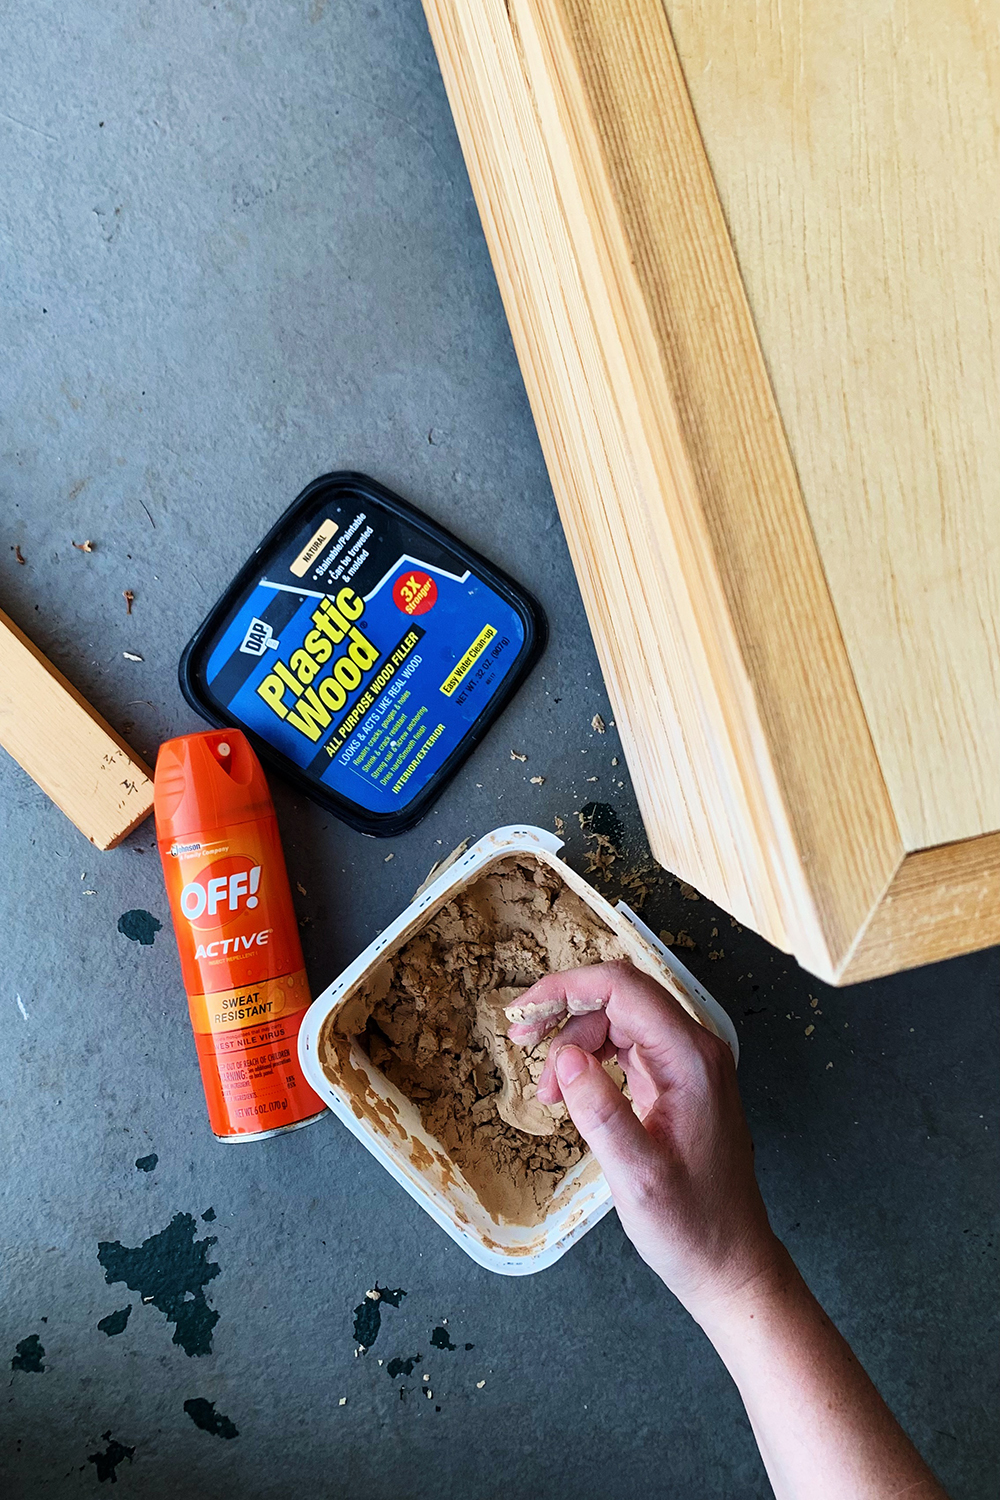
To prep the box, we first filled all the brad nail holes with all purpose stainable wood filler that we left to dry overnight. The next day we gave the box a good sanding until it was all nice and smooth and then wiped it down with a tack cloth to remove any leftover dust/debris.
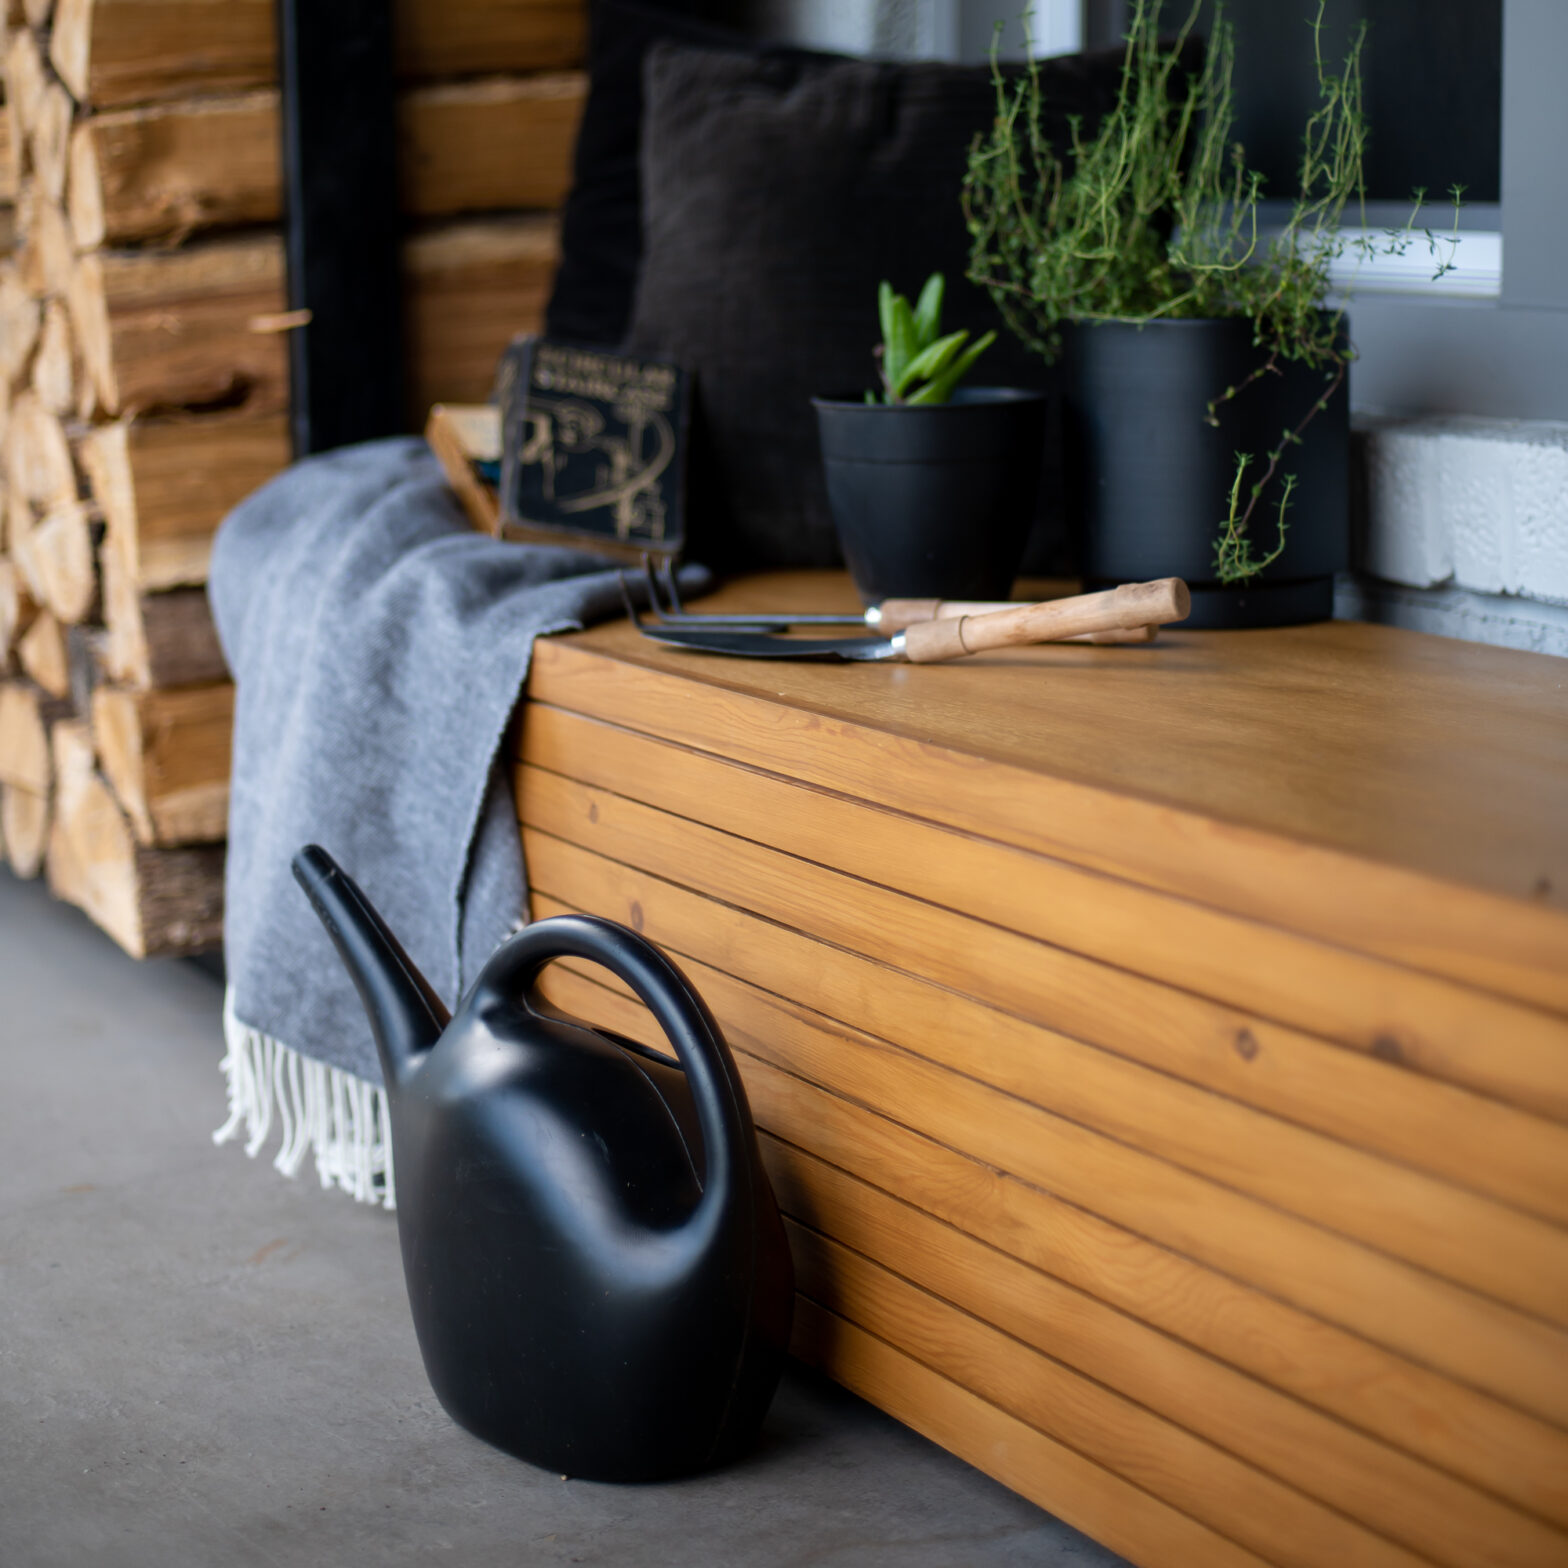
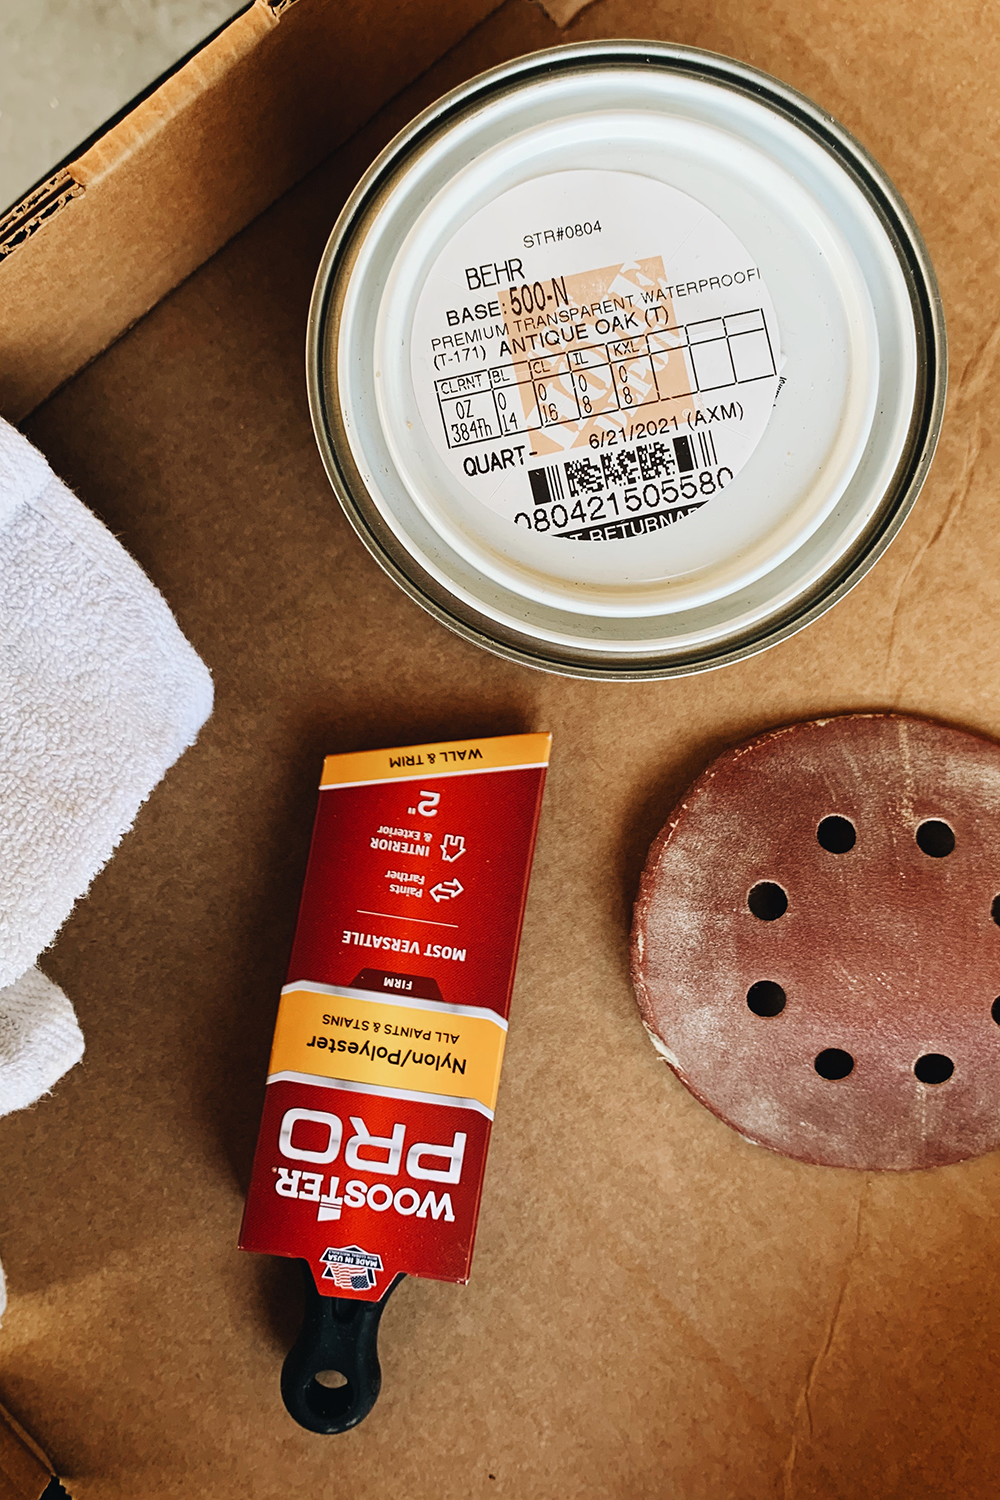
When the box was clean I applied two thin coats of Behr Premium Transparent Waterproofing Wood Finish stain that I had tinted to their “Antique Oak” finish, which was the closest finish I could find to get the final wood tone on the pine box to match the stack of firewood on our porch!


Five Year DIY Porch Bench With Storage Update
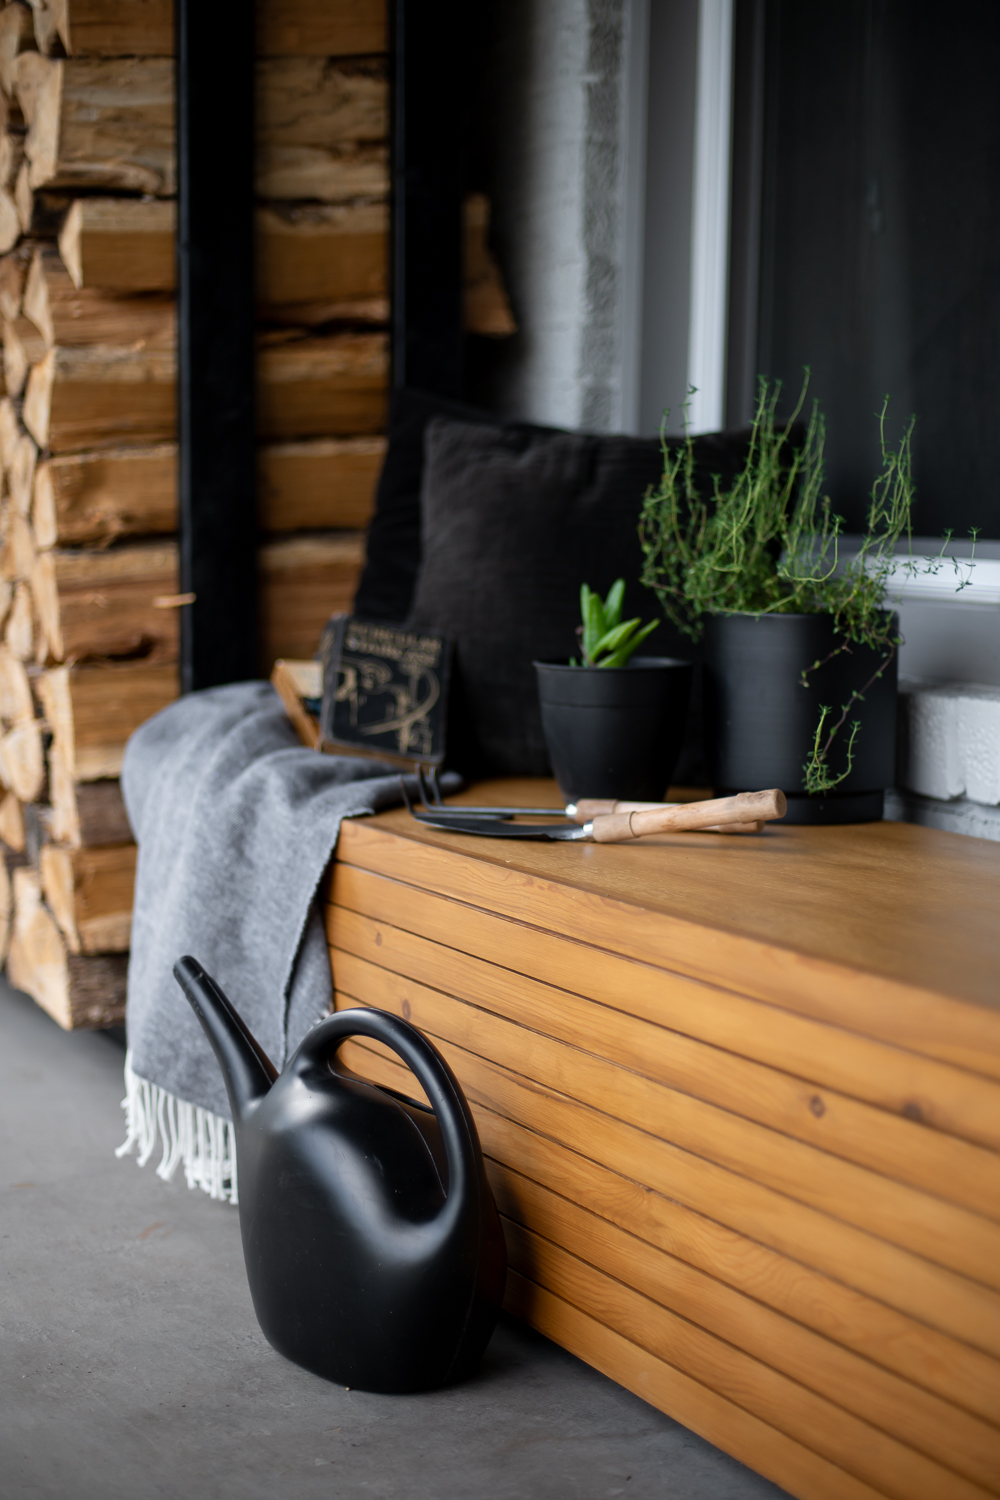
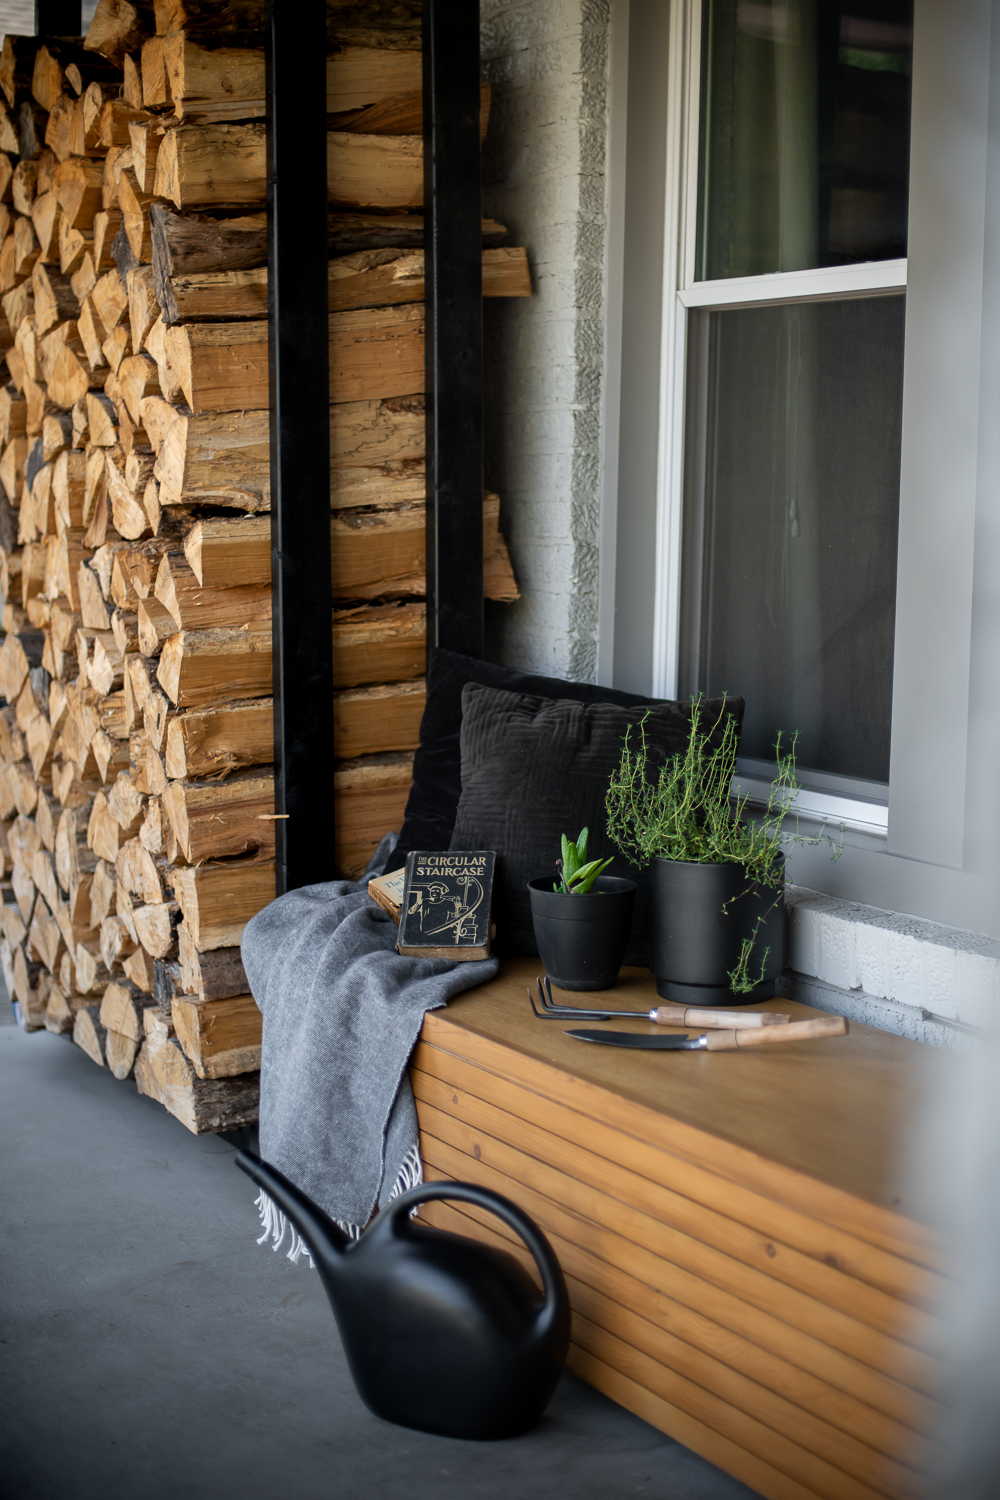
I can’t believe it’s been five years since we built this little storage bench for our small front porch! I’m happy to report that it has held up wonderfully and looks just as good today as it did when we first built it!
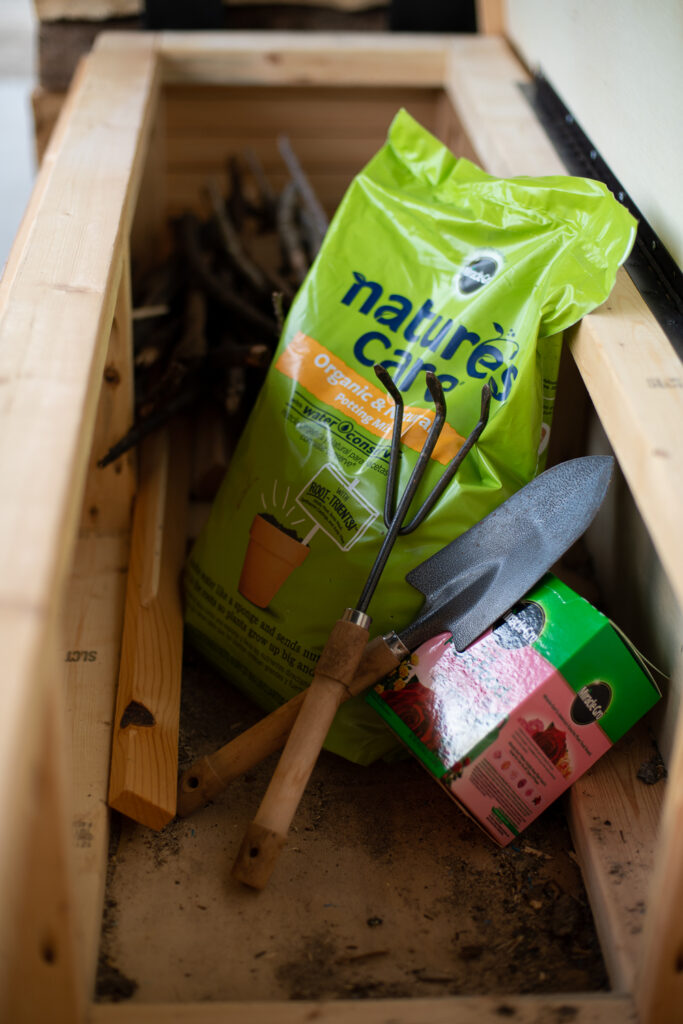
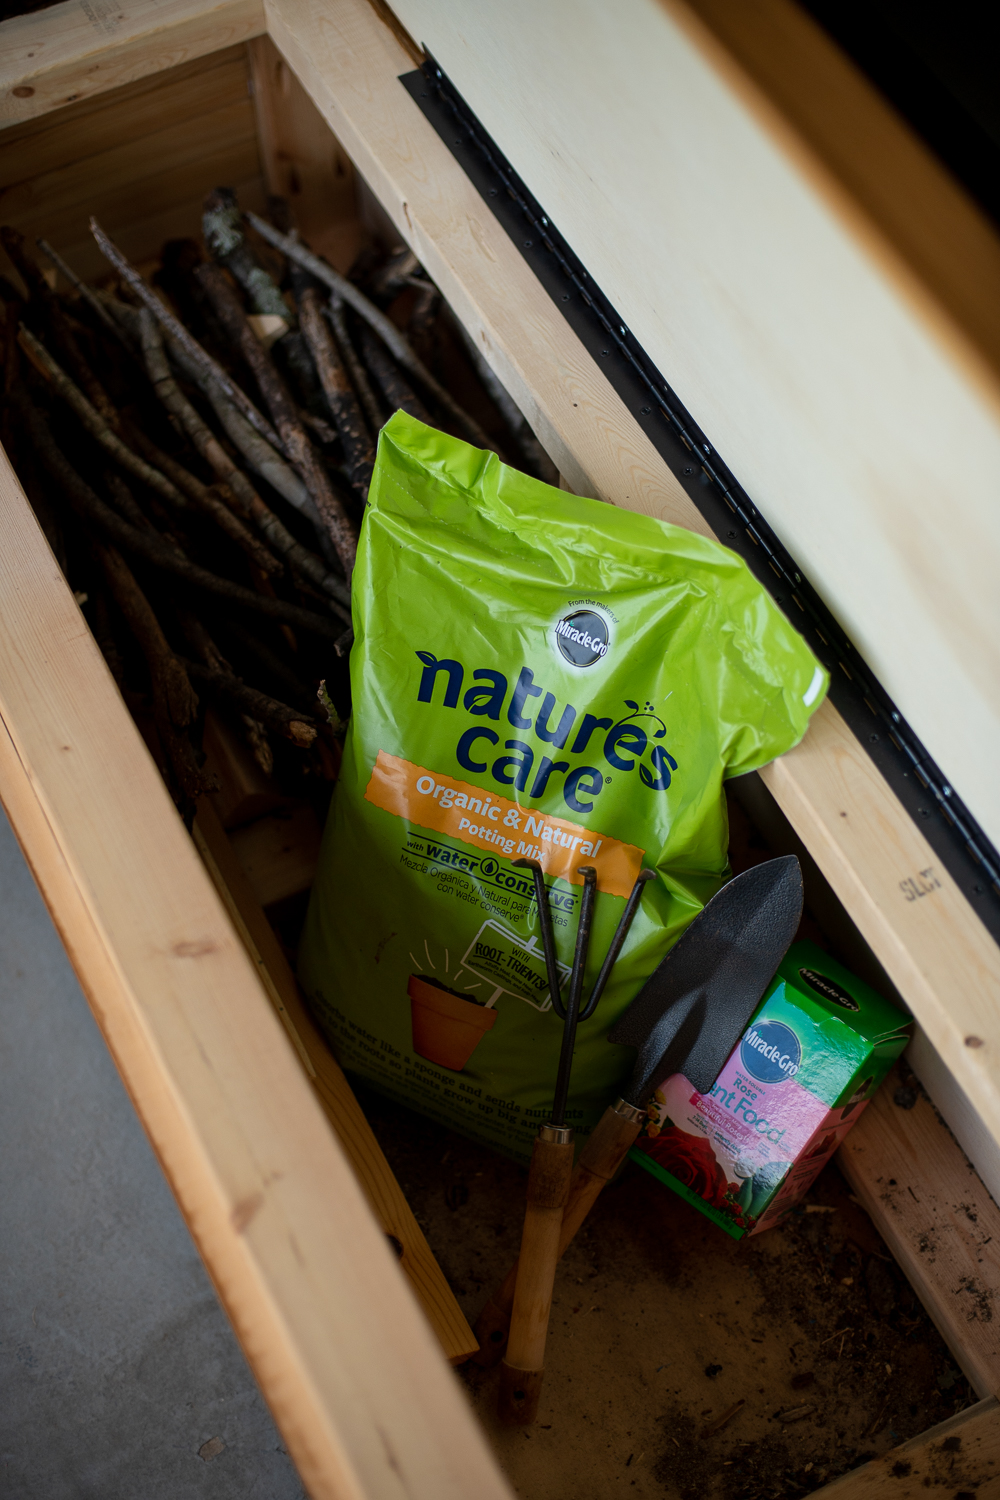
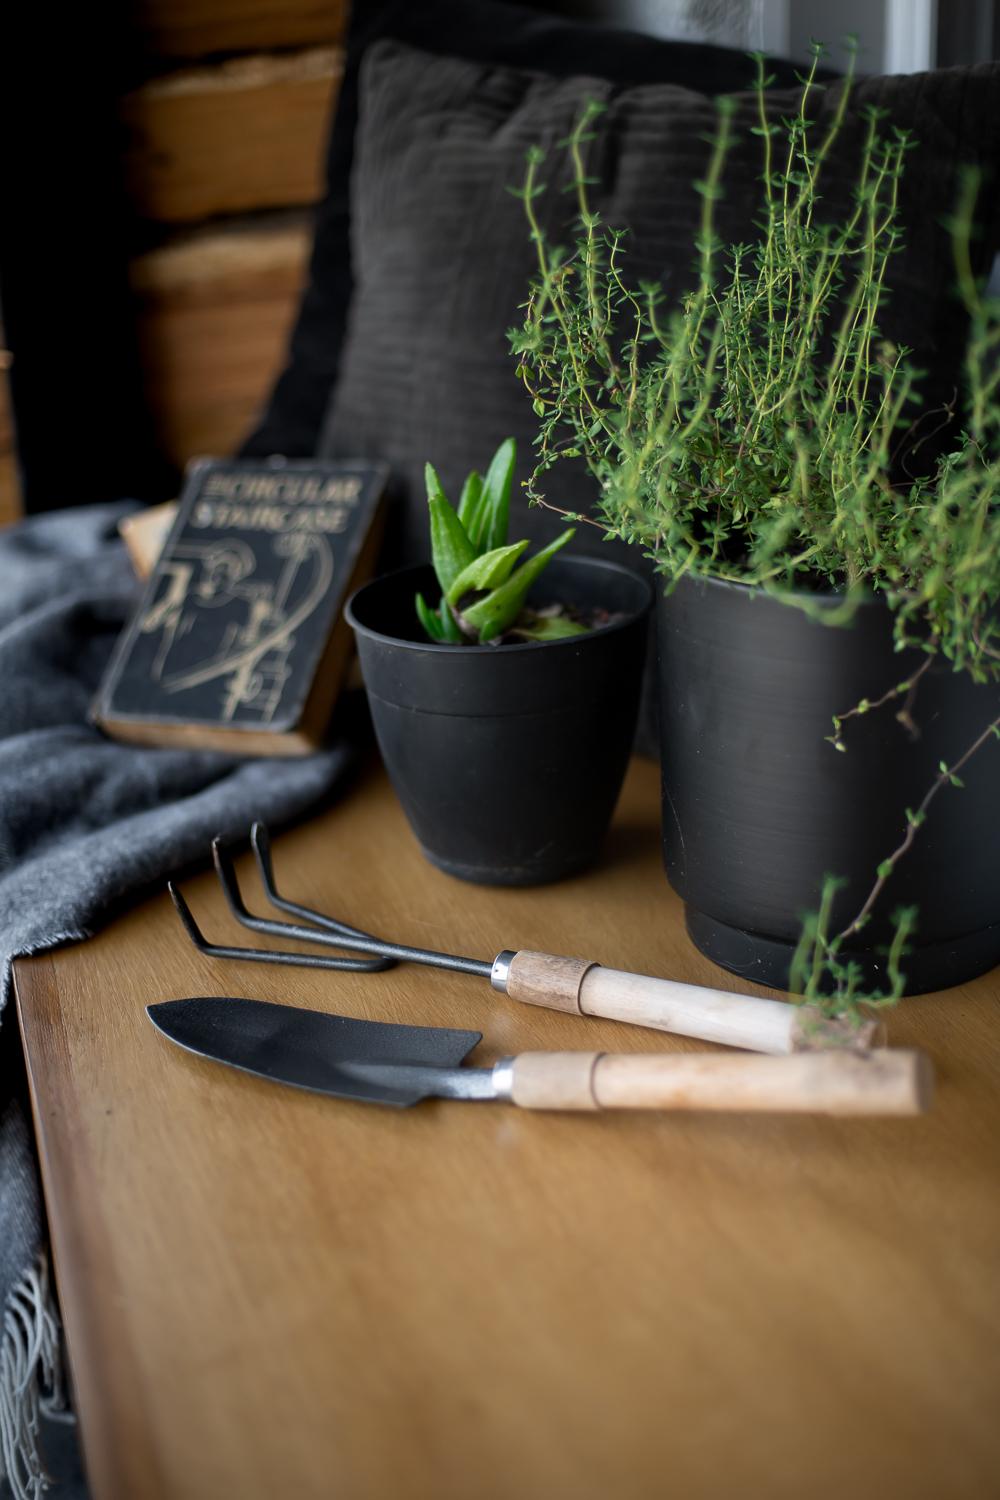
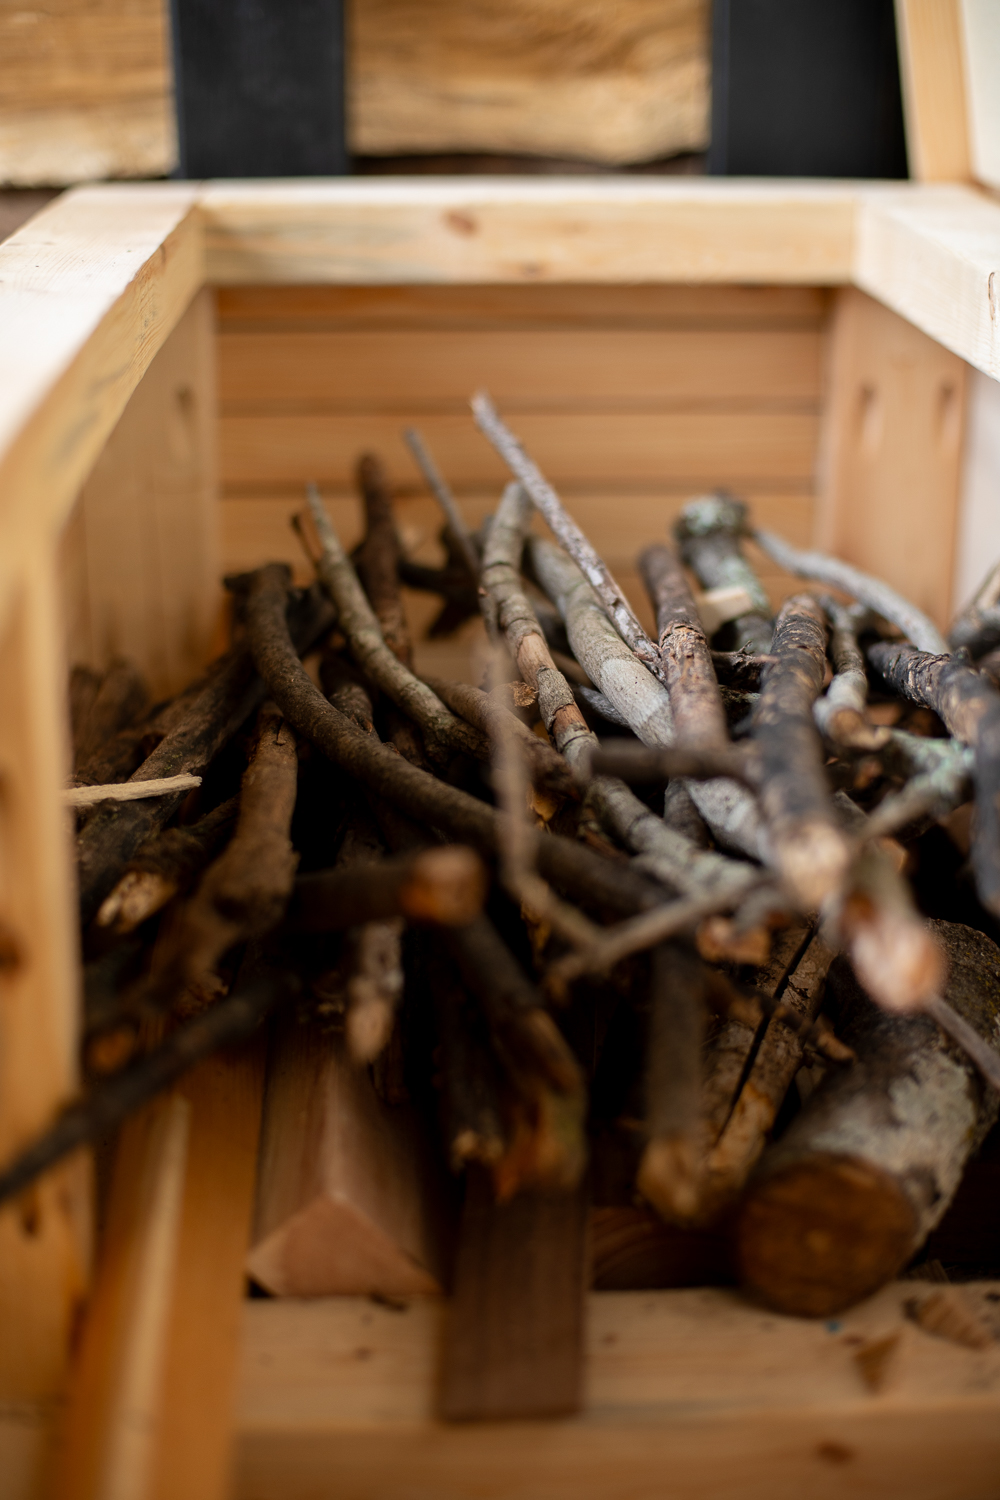
This little bench has worked SO HARD for our family. Yes it stores all our firewood kindling and small gardening supplies like hand trowels, pruning shears and plant food (like we designed it to). But it is also is where we sat out on our front porch with our daughter in the mornings when she was a newborn. It’s where we sit and chat with friends while drinking a glass of wine and watching the rain come down. And it taught us SO MANY of our first woodworking lessons that gave us the knowledge and the confidence to do some of the bigger and more complicated projects we’ve completed in the years since.
So thanks little bench. Who would have guessed how important you’d be to our lives?


Don’t Forget To Pin This Post & Subscribe!
Want to keep getting more DIY home decor inspiration, thrifting tip & tricks, free art downloads, reading recommendations, and home renovation tutorials? Then don’t forget to pin this post for later so you can follow me on Pinterest and then subscribe to my blog so you can get links to my newest content as soon as it hits the blog!