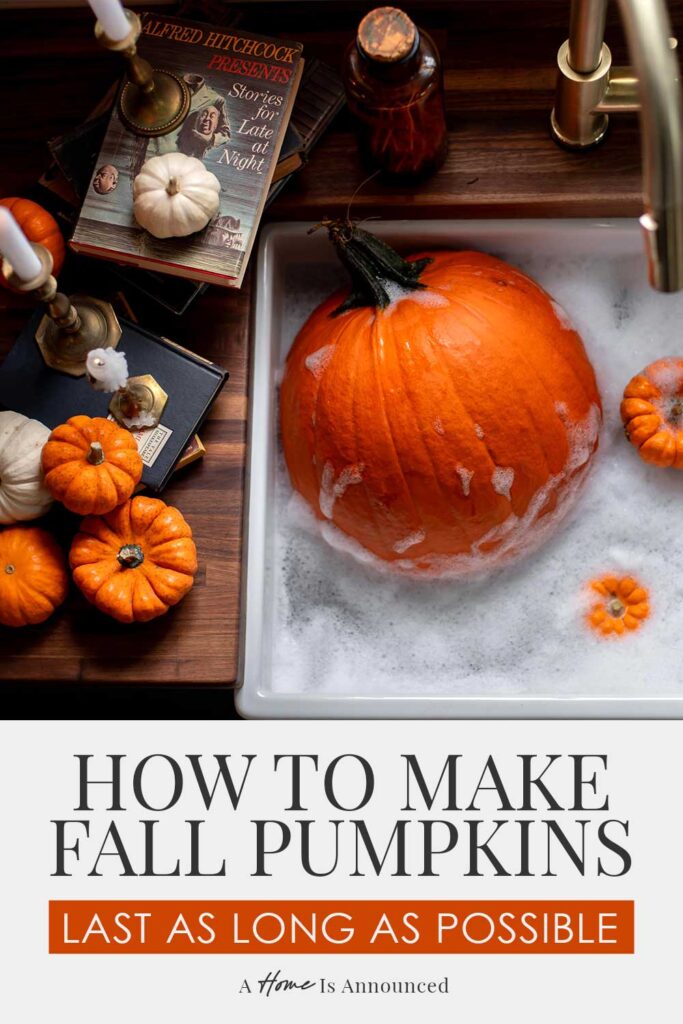
Carving pumpkins is fun, but anyone who’s done it knows they don’t stick around forever. A little prep can make a big difference. Whether you want your jack-o’-lantern glowing on Halloween night, or just hope your front porch pumpkins don’t turn into a moldy mess before the weekend, I have a few tricks that can help.
From the best cleaning, prepping, and preservation methods to a few extra tips that will keep your pumpkins looking their best all season long, I’ve compiled a list of tried-and-true pumpkin preservation tricks. These methods will not only help keep pumpkins from rotting too soon, they’re also all animal safe (just in case Bambi comes by for a snack).
How To Clean & Preserve A Pumpkin
There are two different ways that are generally regarded as the most effective at reducing mold and increasing the longevity of your pumpkin. One uses a small amount of bleach and the other uses more natural ingredients:
Option One: (Animal Safe) Bleach Method
This method is great for removing all the bacteria and mold living on your pumpkin and helping slow down the process of decay while also keeping it hydrated. And even though we’re going to use *a small amount of bleach* this option is still safe enough for animals to eat later.
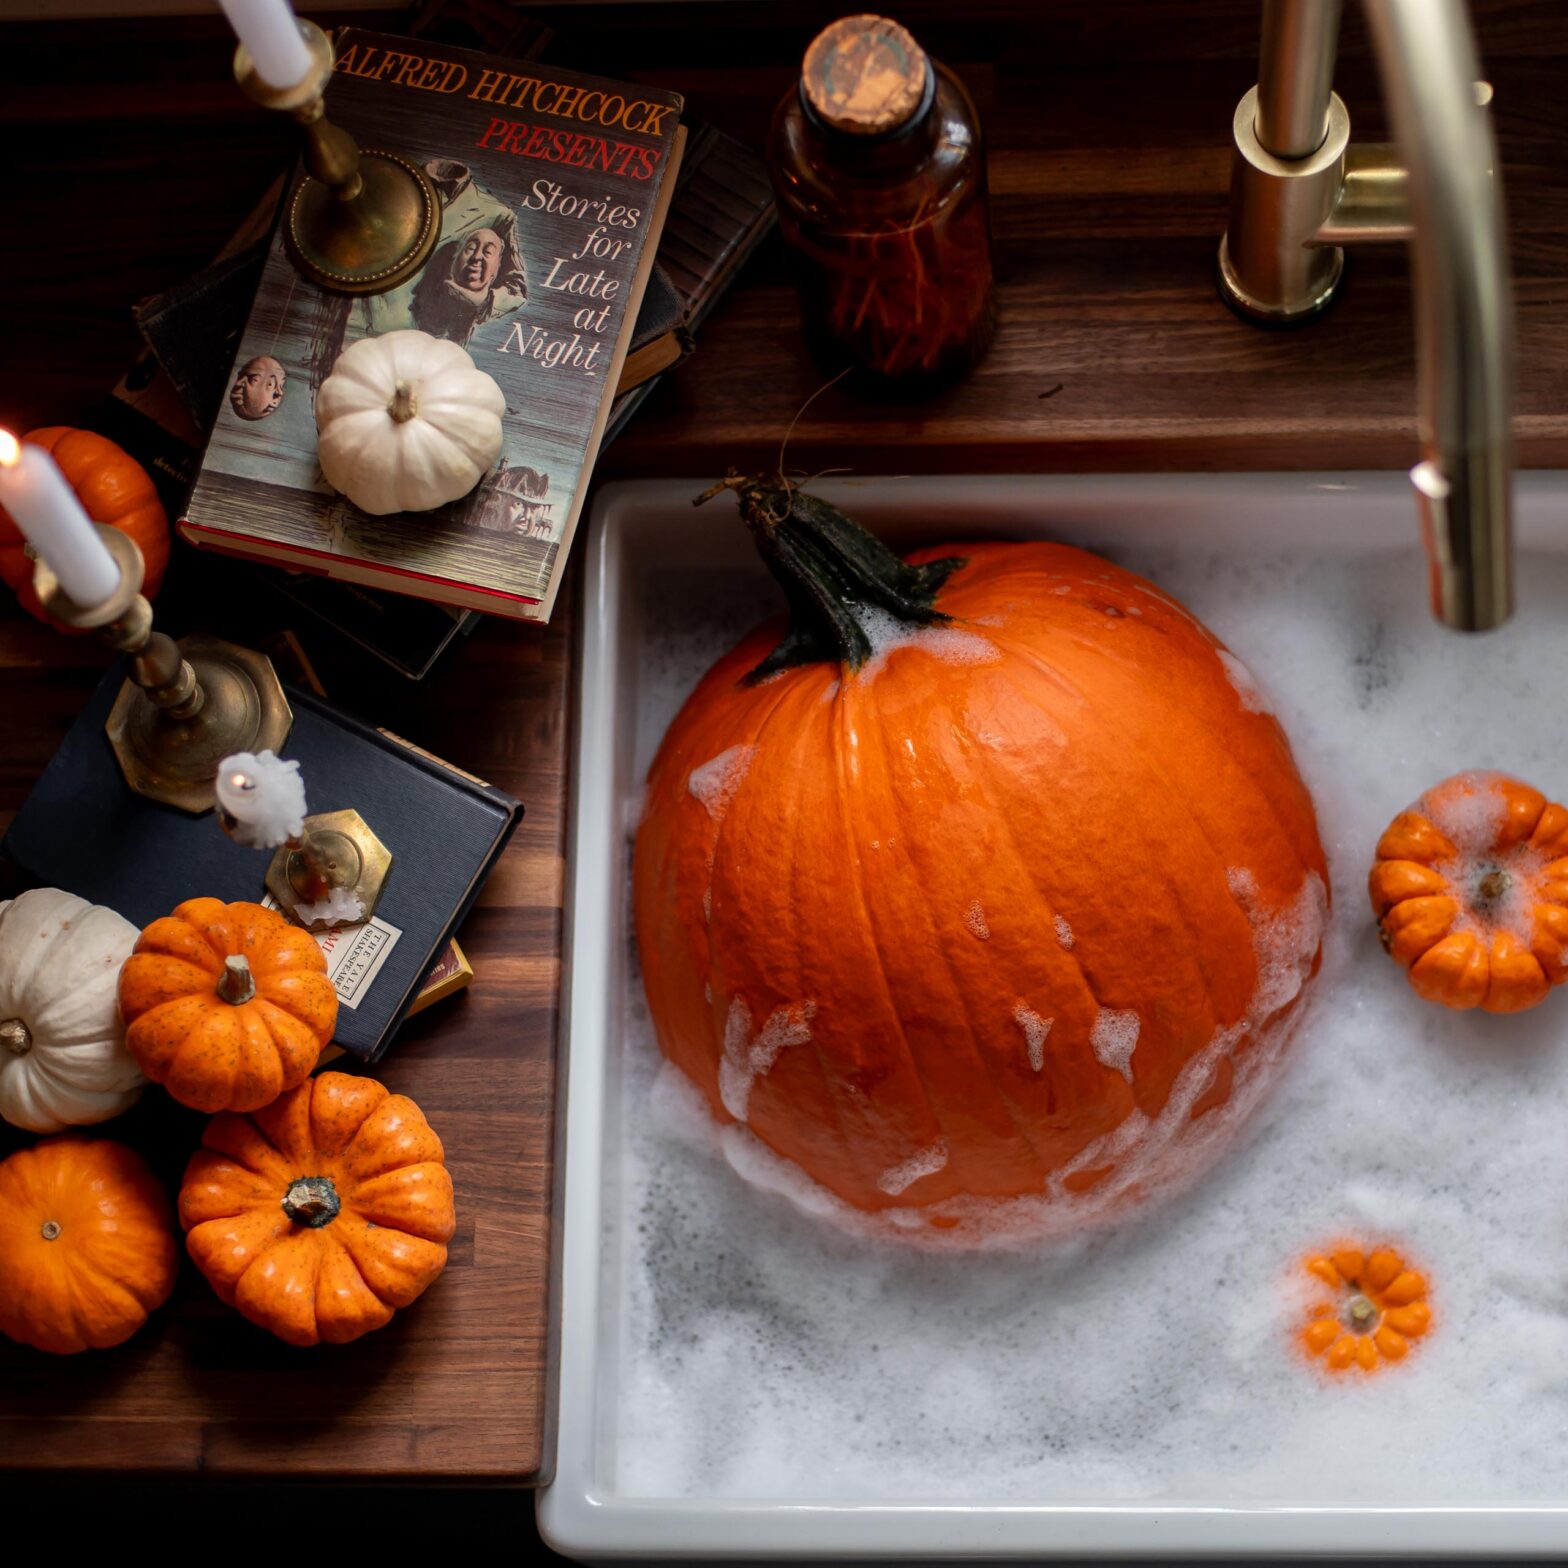
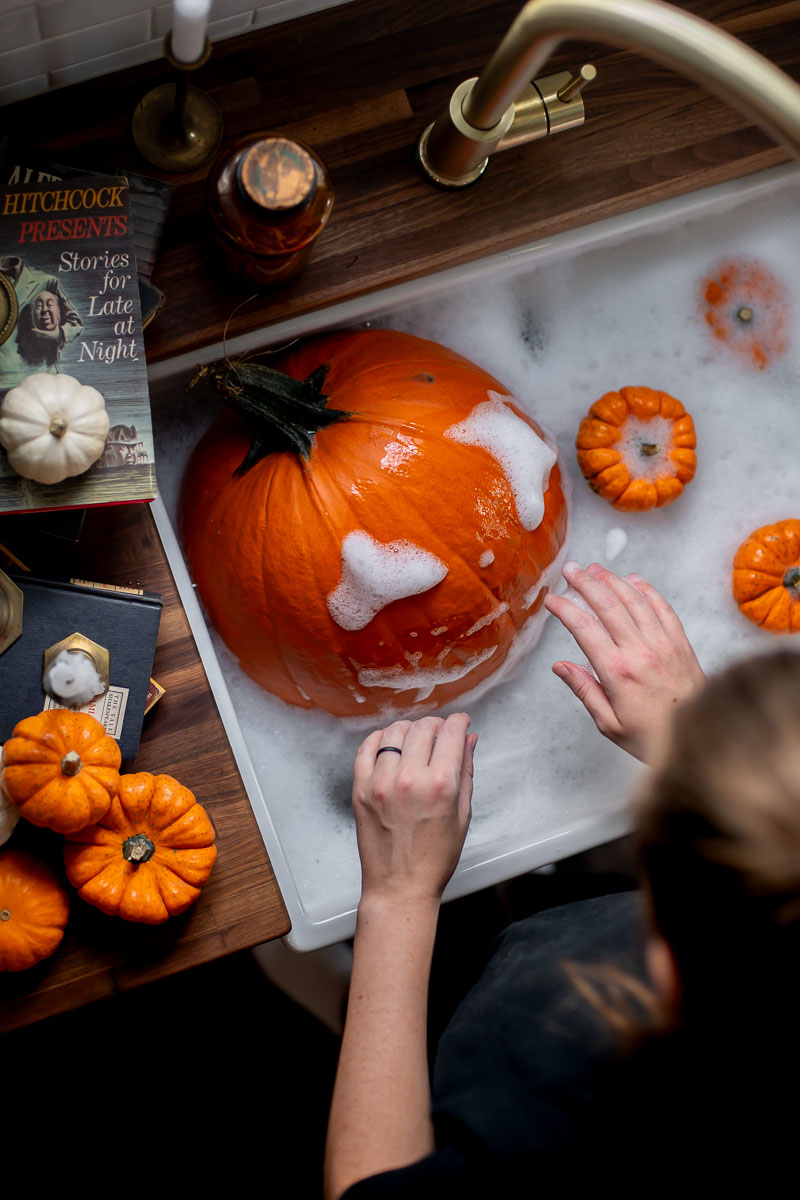
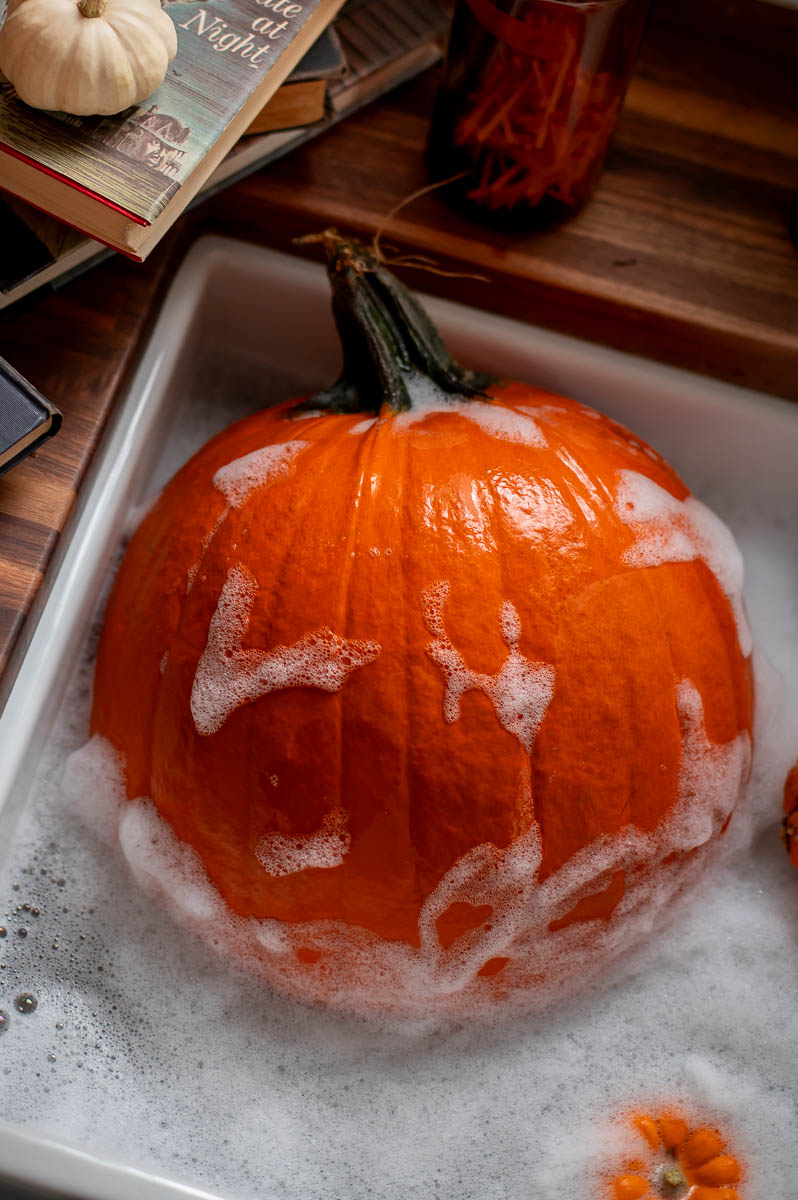
Step One: Pre-Clean The Pumpkin
Use a soft brush or cloth with some COOL soapy water to remove all the dirt and debris from your pumpkin, then rinse and thoroughly dry it.
Step Two: Carve Your Pumpkin Thoroughly
After your pumpkin is dry, it’s time to carve (or etch) your pumpkin. After you’ve created your design be sure to remove all the guts and carefully scrape the interior walls of the pumpkin clean.
You want to make sure that not only are all the seeds gone, but that you also scrape out every strand or string in addition to anything that seems gooey or moist.
Step Three: Preserve Your Pumpkin
Once your pumpkin is fully carved its time to preserve your pumpkin so it lasts as long as possible.
1. Use A Bleach Spray Or Soak Your Pumpkin
Using a very mild bleach solution (about 1 tablespoon per qt of water or 1 part bleach to 10 parts COOL water), you are going to spray (or soak for about 8 hrs) every surface of your pumpkin. This will help reduce mold and bacteria. (Prolonged soaking can also help rehydrate your pumpkin)
You can even save some of the bleach and water solution to use as a daily spray to help keep your pumpkin mold free.
FAQ – Isn’t Bleach Harmful To Animals?: As long as the bleach is properly diluted, a water and bleach rinse is safe for wildlife! Once it dries, the solution breaks down into salt and water, so critters can still snack on your pumpkin later.
2. Coat Exposed Guts With Petroleum Jelly
Finally, after your pumpkin has been spritzed with bleach and thoroughly dried, use a small amount of petroleum jelly on all the exposed cut edges and inside guts to help seal in moisture and slow down the shriveling.
WARNING: Petroleum Jelly is flammable, so skip this step if you plan to use real candles.
Option Two: Natural Pumpkin Preservation
If you want to preserve pumpkins without bleach, here’s an effective all natural alternative method you can use to help increase the longevity of your fall pumpkins:
Steps one and two for this process are the same as above, cleaning the pumpkin with soap and water thoroughly and being sure to remove as much of the guts as possible after carving.
Preserve Your Pumpkin Naturally (Without Bleach)
Once your pumpkin is fully carved, you can spray it down with a mixture of 1 part vinegar (or hydrogen peroxide) to 2 parts water. This will help inhibit mold from growing.
Seal You Pumpkin Naturally
After you’ve throughly sprayed down your pumpkin with your vinegar (or hydrogen peroxide) mixture, you can rub a thin coat of either vegetable oil, olive oil, or coconut oil onto all the carved edges to lock in moisture.
WARNING: These oils are also flammable, while much less volatile than petroleum jelly, there is still a small fire risk with these options as well, so I’d still skip this step if you plan to use real candles.
5 Extra Tips To Make Your Fall Pumpkins Last Longer Outside
Ensuring your pumpkins are thoroughly cleaned, sanitized and sealed are by far the three most important things you can do to help your fall pumpkins last as long as possible. However, there are a few other things you should keep in mind as well:
1. Limit Handling (Especially The Stem)
Pumpkins bruise just like any other fruit, and the oils from your hands can actually speed up the decay process. So handle your pumpkins gently and always lift them by the sides instead of gripping by the stem (which can be easily damaged and also lead to faster decay since the stem actually continues to feed nutrients to the pumpkin even after it’s cut from the vine!)
PRO TIP: This also means that you should avoid buying a pumpkin without a stem, as these tend to decay faster.
2. Elevate Pumpkins Off The Ground
In general, airflow is a key component in ensuring your pumpkins last as long as possible, elevating your pumpkins off the ground can not only help with this, but also make it harder for bugs and other critters to get at them.
3. Give It Daily Care & Rehydrate Them When Needed
If you want your pumpkin to last as long as possible, you can’t simply set it and forget it. You’ll need to do some daily upkeep. For starters, make sure to save back some of your bleach and water (or natural vinegar and water) solution in a spray bottle. Use this to give your pumpkin a quick spritz a few times a week.
And if your pumpkin starts to droop and look in desperate need of rehydration, you can fill a bucket with cold water and submerge it for about 30mins to an 1hr. Making sure to dry it thoroughly afterwards. This can help plump it up again.
4. Sprinkle Natural Insect Deterrents Around Your Pumpkin
If you’re displaying your pumpkins outside, you are battling not only the elements but all the bugs and critters who might want to snack on your fall porch display as well. To help deter as many pests as possible from chowing down on your hard work, sprinkle some citronella oil, lemongrass spray or even ground cinnamon cloves around the base of your pumpkins to help repel insects.
5. Avoid Freezing or Excessive Heat
Finally, the number one element you need to pay attention to is excessive cold or heat. Either will drastically speed up the decay of your pumpkins. This means:
Bring Pumpkins Inside Before A Big Freeze
When pumpkins freeze it can damage the pumpkin’s cells and cause it to collapse when thawed. So pay attention to the weather and be sure and bring your pumpkins inside and out of any extreme weather conditions.
Avoid Placing Pumpkins In Direct Sunlight
Excessive heat speeds up the decay process and leads to faster dehydration. Ideally carved pumpkins should be kept in a location that stays between 50-60 degrees. So finding your pumpkins a nice shady location out of direct sunlight can help keep them looking their best all season long.
Avoid Using Real Candles To Light Your Pumpkin
For the same reason you don’t want to place your pumpkins in direct sunlight, the excessive heat put off by candles can also damage your pumpkins and cause them to rot faster. Instead opt for a flickering battery-powered light.
6. (Bonus Tip) Consider Etching Your Pumpkin Instead Of Carving It
While carving pumpkins is the most traditional way to embellish them for fall, there are lots of other ways you can decorate a fall pumpkin that won’t damage it as much as traditional carving will.
My personal favorite it to actually etch my pumpkins with clay tools instead of carving them. I love the intricate designs I can create using this method and as at added bonus, etching them helps preserve the pumpkin for even longer!
Pro Tip: Painting your pumpkins will make them last EVEN LONGER!
When To Make & Display Your Fall Pumpkins So They Last Until Halloween

Now that we’ve broken down a few different methods we can use for increasing the longevity of our fall pumpkins, I wanted to break it all down into a little table that can help you plan when to carve and start displaying your pumpkins so they make it all the way to Halloween night:
| Pumpkin Type | Without Any Preservation | Using These Best Practices | Best Time To Display |
| Uncarved / Painted | 2-3 Weeks | 4-8 Weeks | Early October |
| Etched | 5-7 Days | 10-14 Days | Around Oct 18-21 |
| Fully Carved | 2-4 Days | 5-7 Days | Oct 25-28 |
Uncarved or painted pumpkins can last up to two months with proper prep. These should be your go to Fall seasonal decor since they will allow you to enjoy them all season along.
Etched designs last about two weeks if cleaned and treated. Since these last a bit longer, you can display these as early as two weeks prior to Halloween!
Fully carved pumpkins are the most fragile. Plan to carve them just a few days before Halloween if you want them to look their best.
Final Thoughts
Pumpkins aren’t built to last forever, but a little prep and care can buy you some extra time. Keep them clean, don’t rush putting them out too early, and they’ll stick around long enough to make it to Halloween looking good enough for a six-year-old dressed as ghost to get their photo taken with. After that… well, that’s between you, the squirrels, and the compost bin.
Don’t Forget To Pin This Post & Subscribe!
Want to keep getting more DIY home decor inspiration, thrifting tips & tricks, free art downloads, reading recommendations, and home renovation tutorials? Then don’t forget to pin this post for later so you can follow me on Pinterest and then subscribe to my blog so you can get links to my newest content as soon as it hits the blog!