One of my favorite parts of entertaining during the holidays is coming up with new tablescape ideas to surprise my guests with. Velvet has been showing up everywhere this season, so I thought it would be fun to bring a little of that trend to the table with these DIY napkin rings. They’re simple yet elegant and add just the right touch of texture to each place setting.
I also wanted to show just how easy these are to customize, so I made three different versions: one that’s perfect for Christmas or Valentines Day, one with a warm fall look for Thanksgiving, and one with a moodier classic vibe that could be used for Halloween. But no matter what you’re celebrating, there’s an idea here you can easily customize to your event. And the best part? They look far more expensive than they actually are!
*This blog post contains affiliate links, meaning that if you purchase any of the items using the links I provide I, as the author of this website, will receive a very very small commission from that sale. This is a great way to help support your favorite bloggers at no cost to you. Think of it like a tip jar that costs you nothing!
Supplies You’ll Need
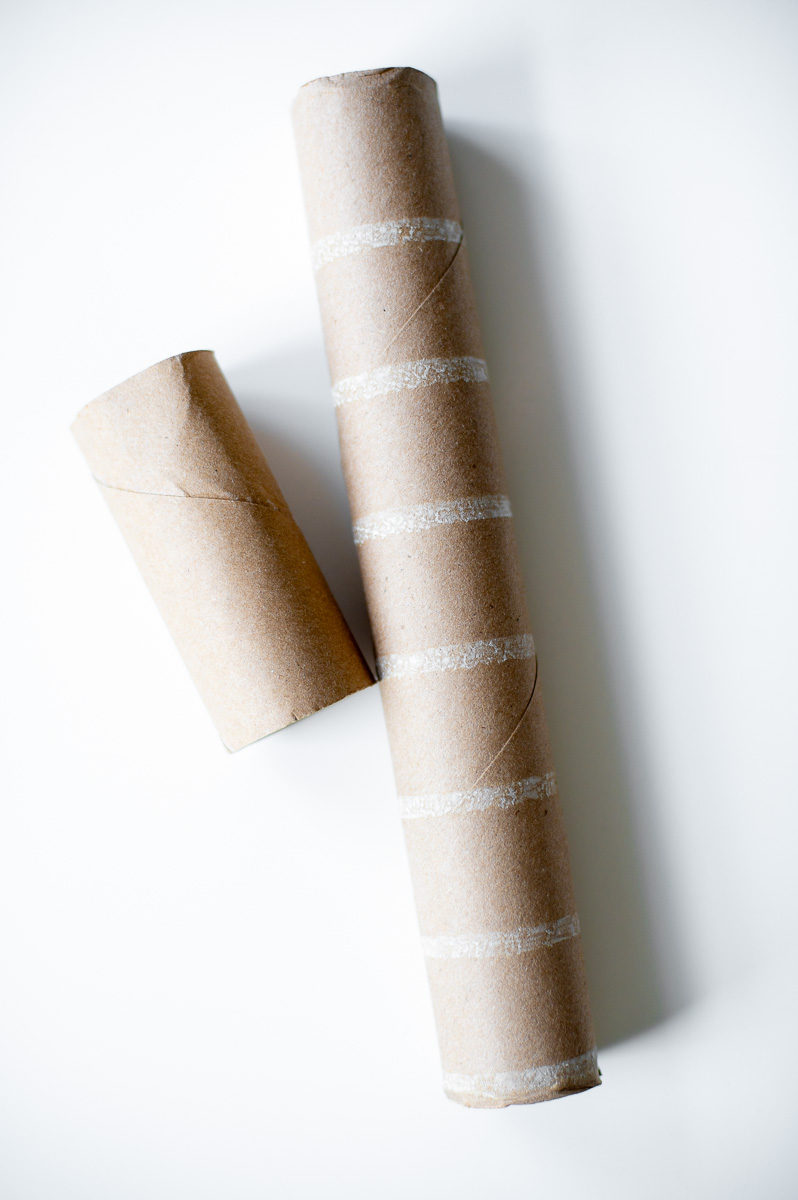
- A cardboard tube (like from a paper towel roll or toilet paper roll)
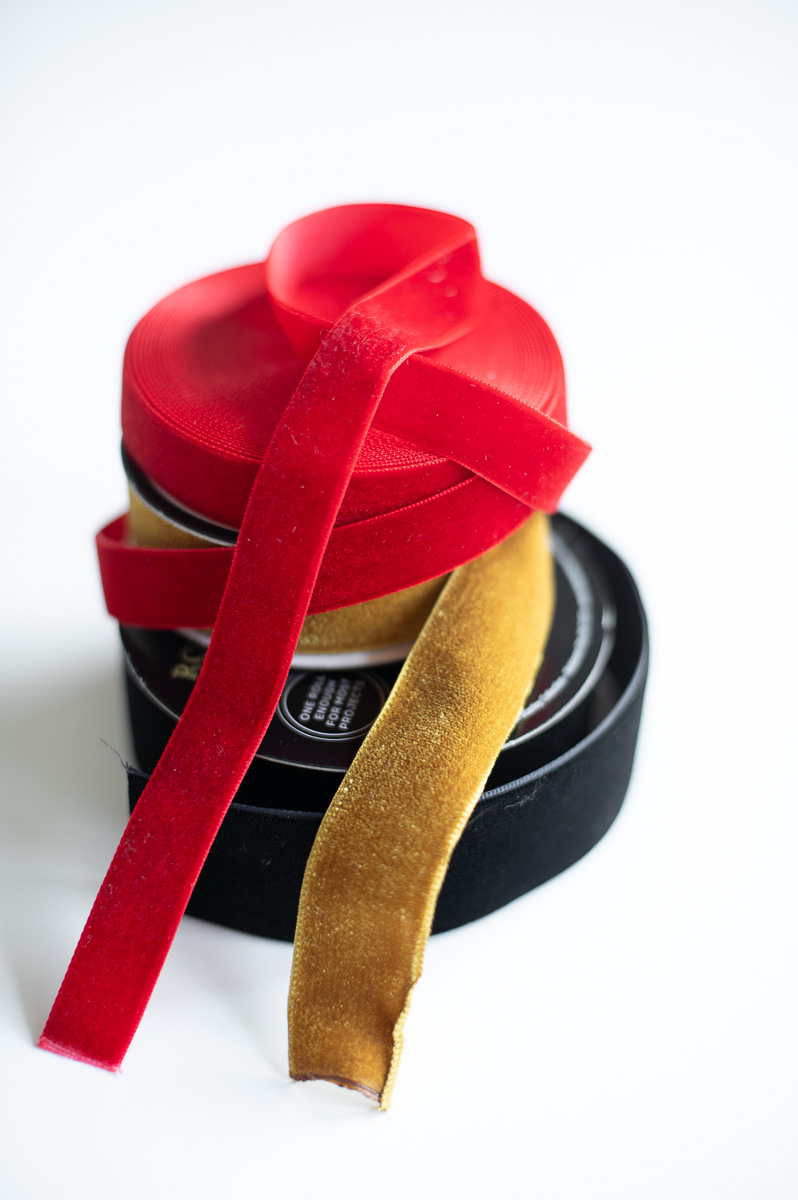
- Velvet ribbon in your desired color (For this tutorial I used three different widths of ribbon, red 5/8th” ribbon, soft gold 1″ ribbon, and black wire edge 1 3/8″ ribbon.)
- Scissors (I have had this pair for years and love them)
- Hot glue gun (or strong craft glue)
- A Ruler (I find these sewing gauge rulers super handy for this sort of project)
- Craft knife (I have this one)
- Candle or lighter
How To Make DIY Velvet Napkin Rings
Whether you’re looking to make Christmas napkin rings, Thanksgiving Napkin Rings or even Halloween napkin rings this holiday season, I’m breaking down three easy ways to create your own custom DIY napkin rings that will look anything but homemade:
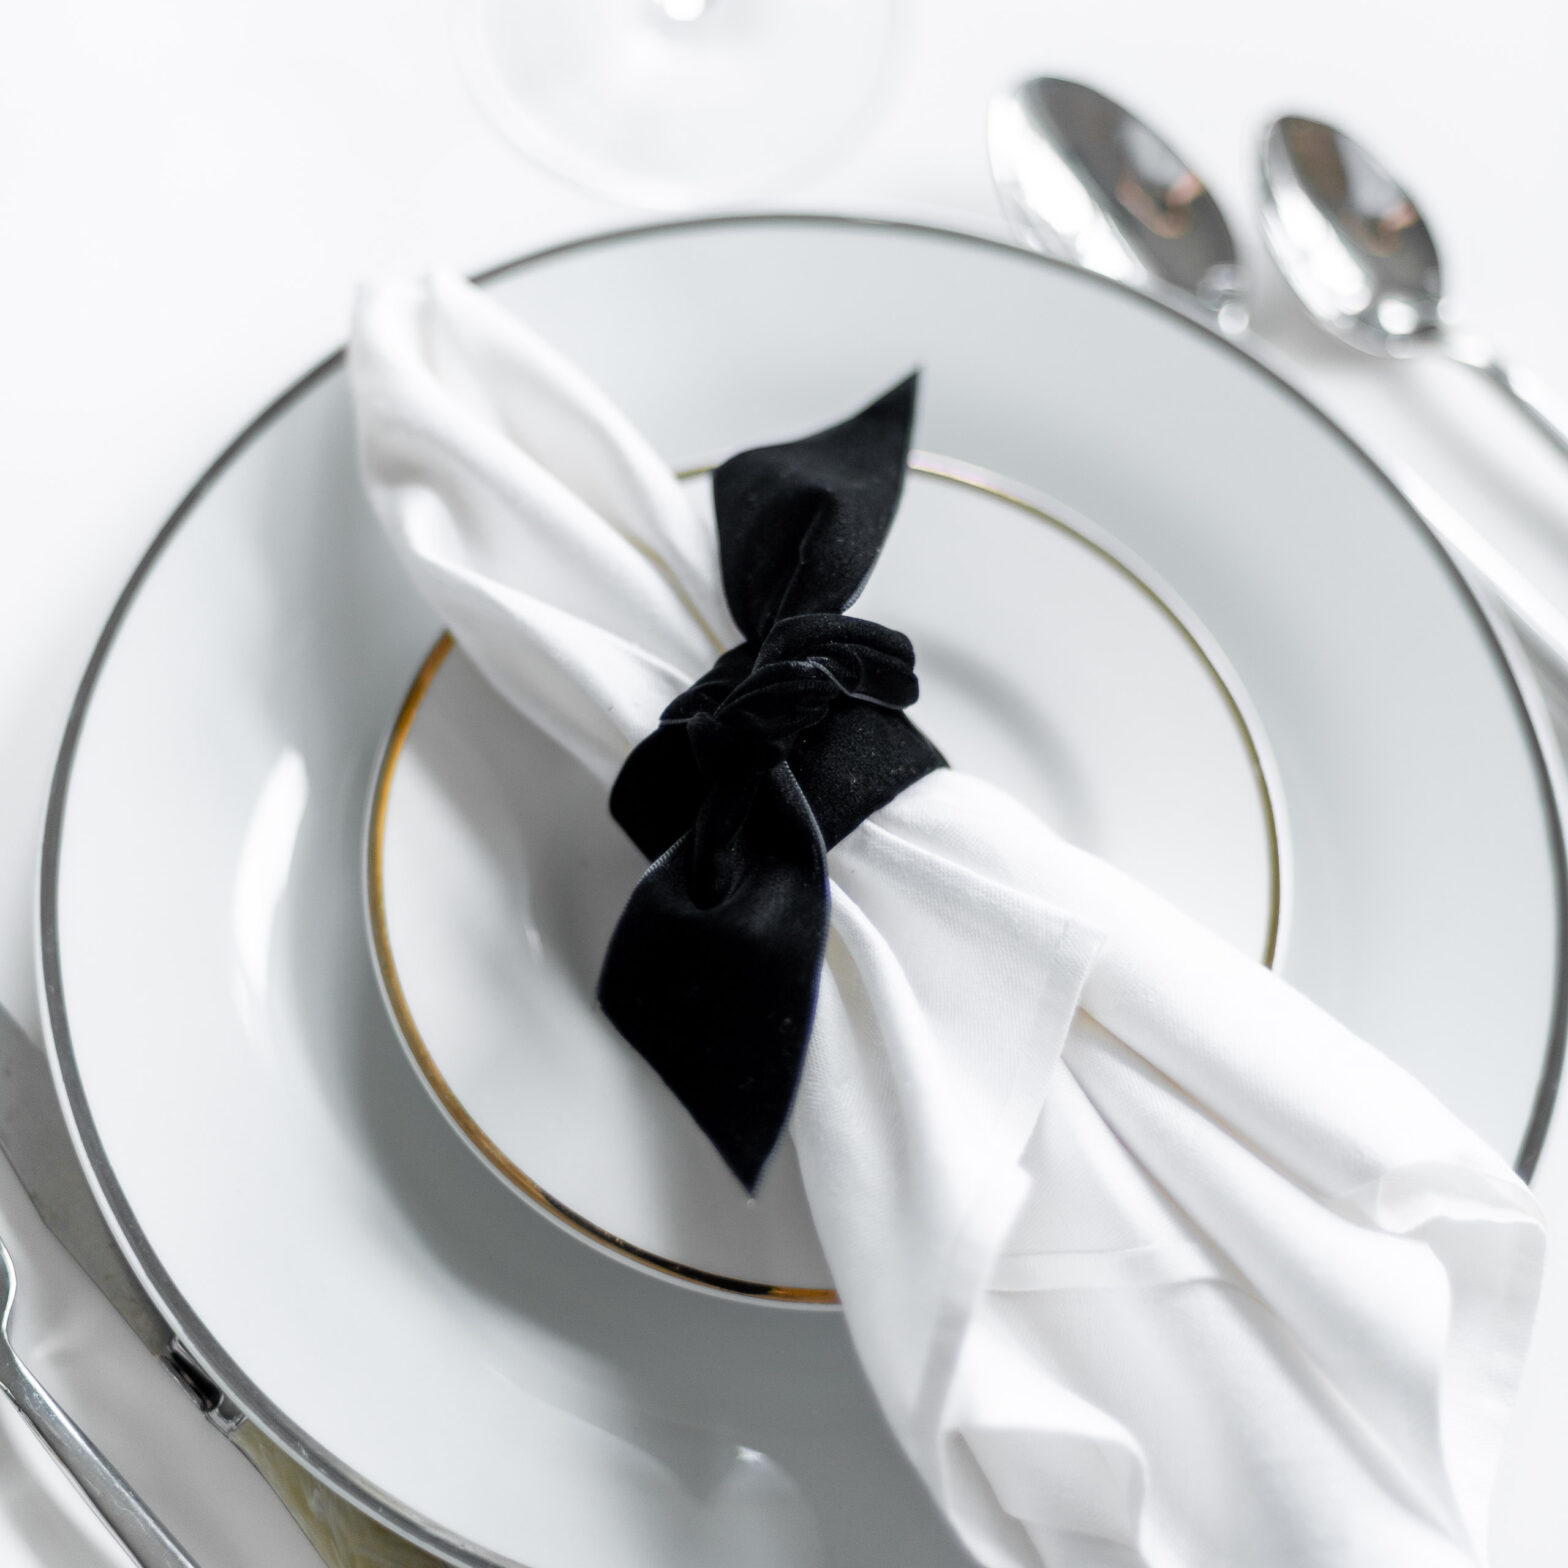
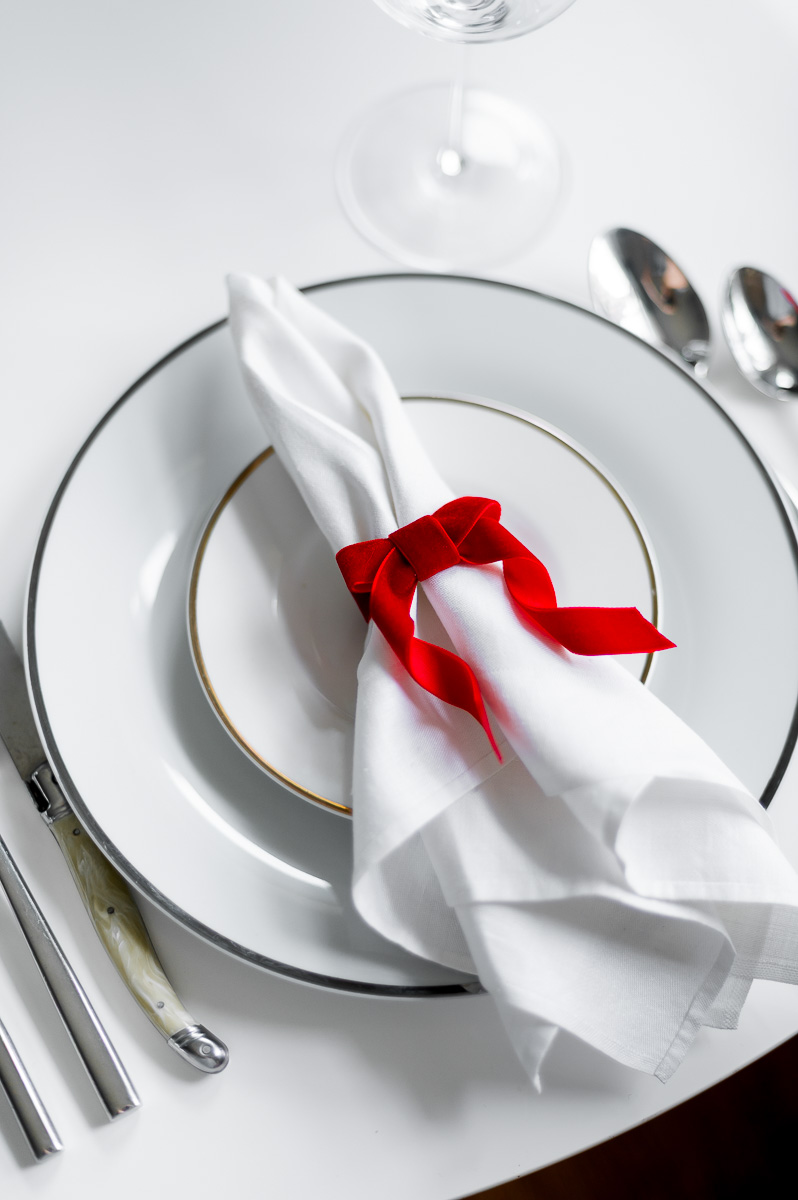
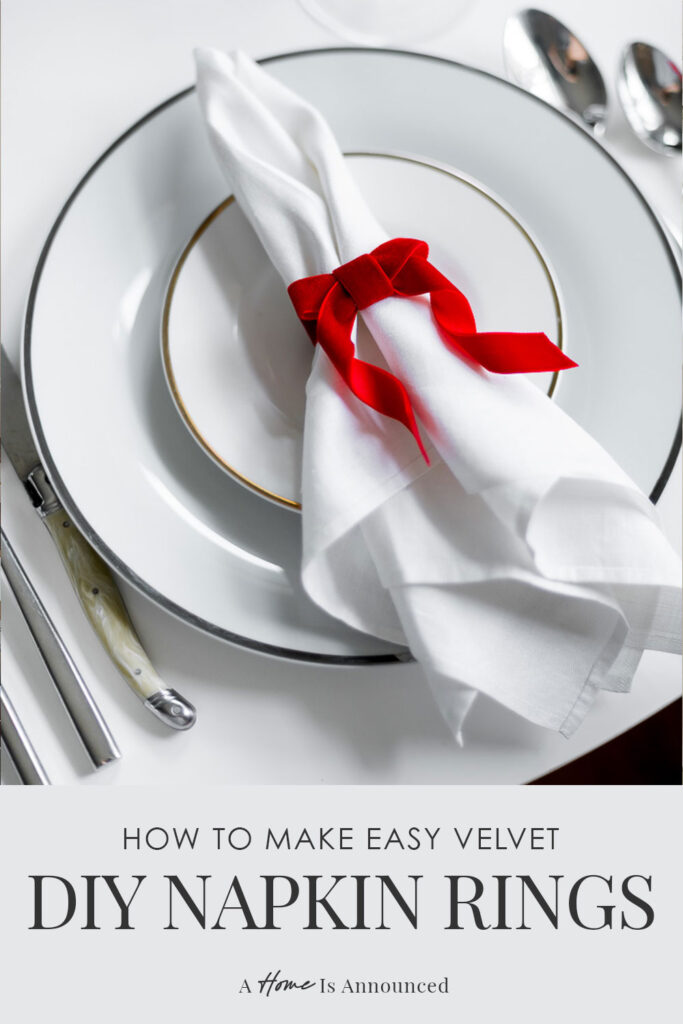
DIY Velvet Bow Napkin Rings – Version One
When the idea for this project first popped into my head, this was the image that came to me and I knew I needed to try and recreate ASAP.
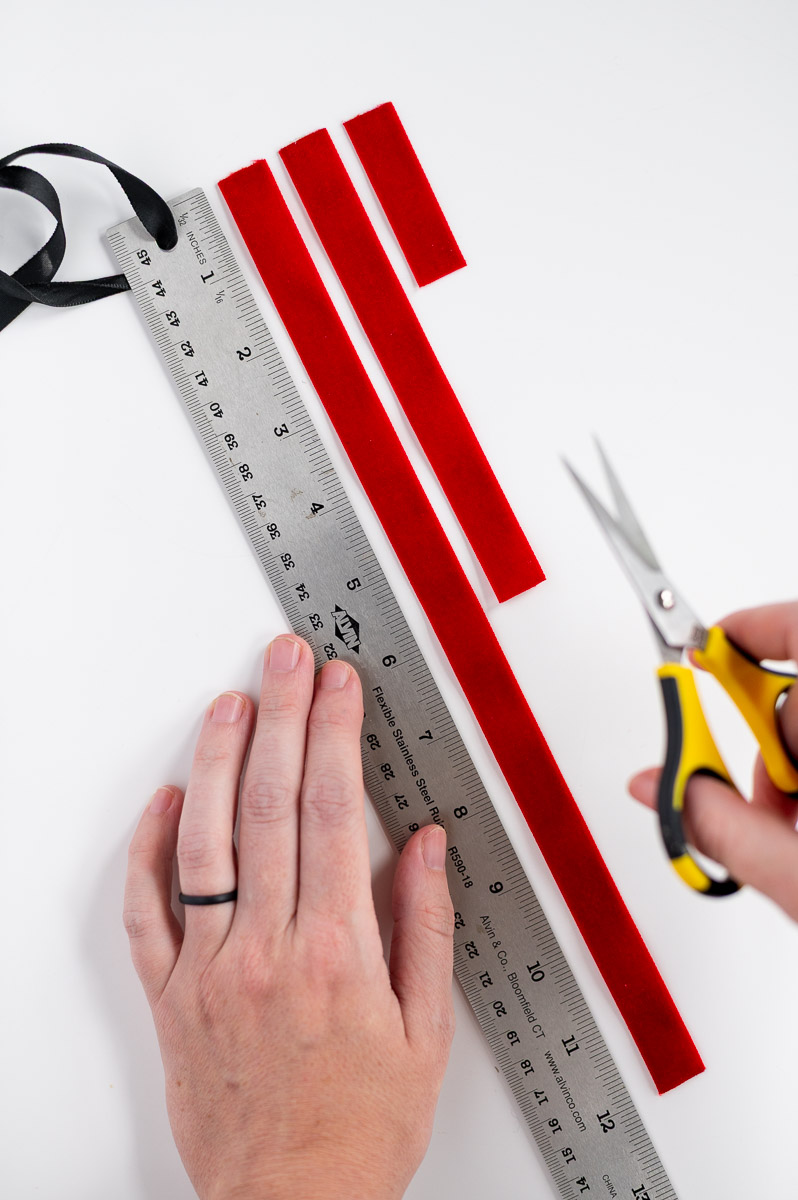
Step 1: Measure, Cut & Prepare Your Ribbon
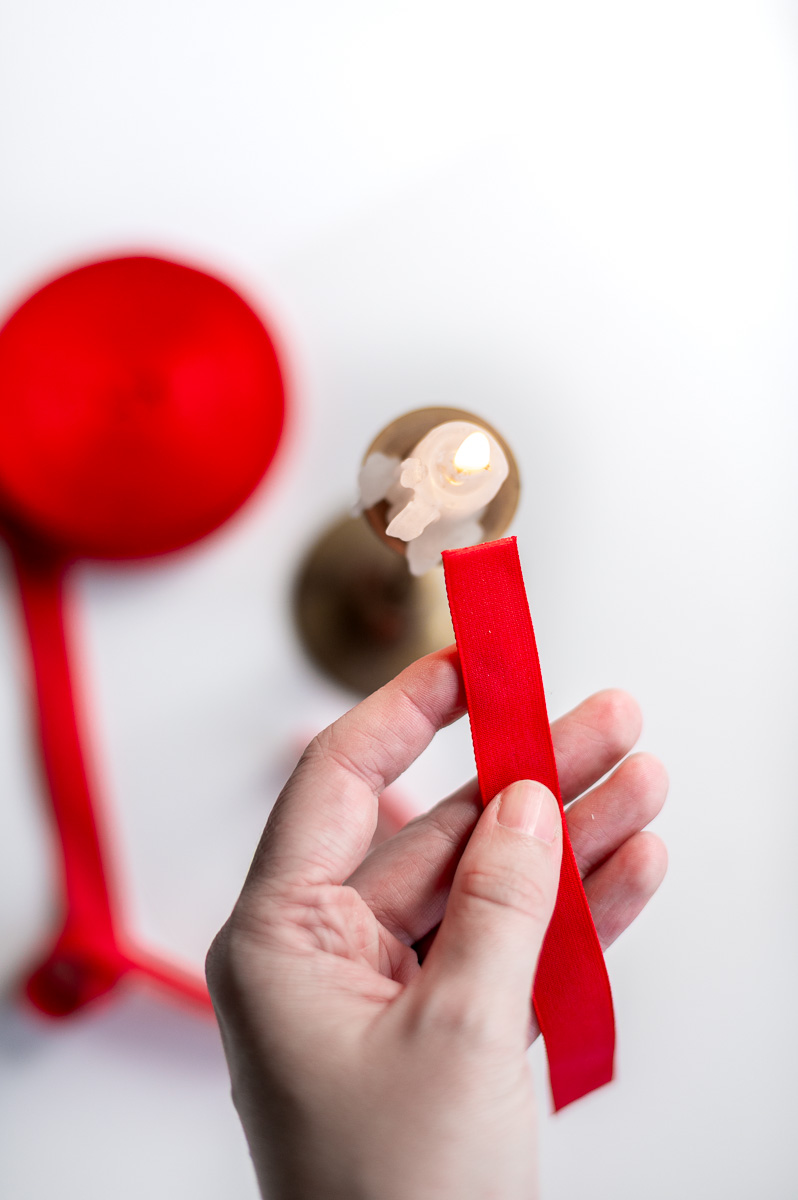
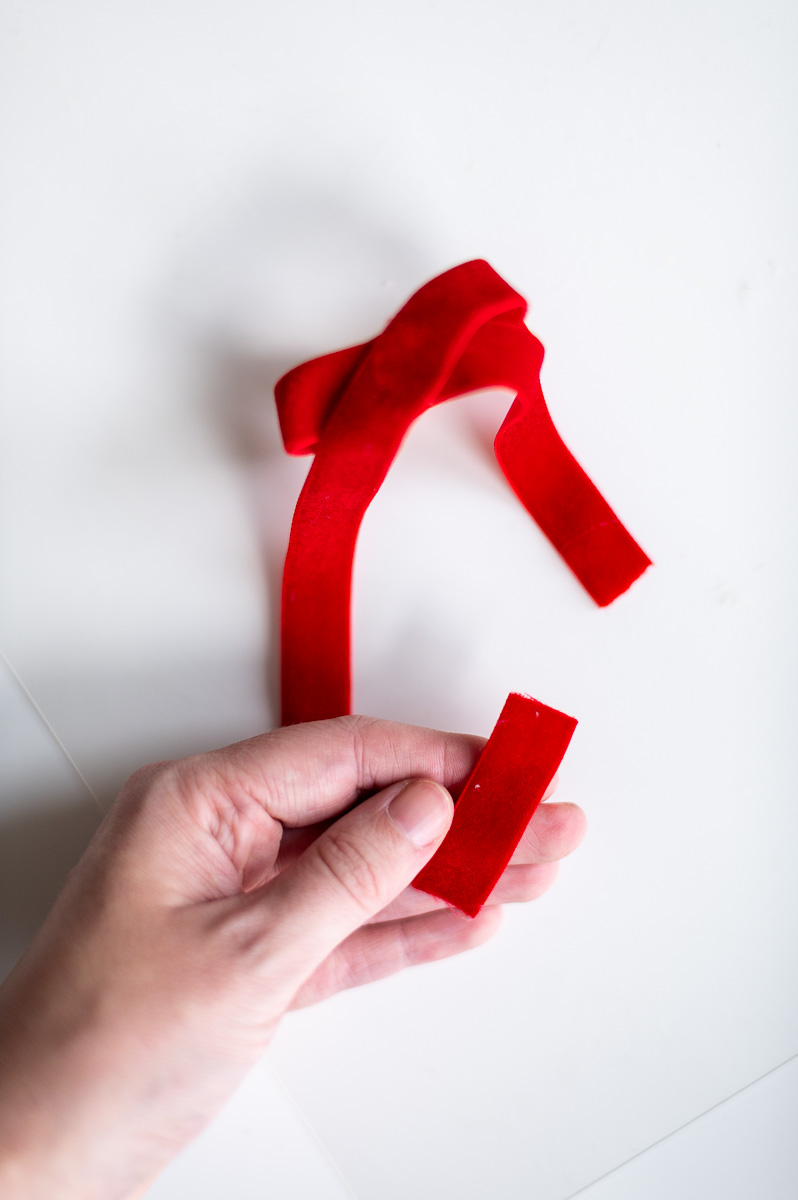
For this version I measured out three lengths of red 5/8th in ribbon. One long enough to wrap around the cardboard tube with a small overlap (about 6″), one 12″ piece for the bow, and a short roughly 2″ piece to wrap around the center of the bow at the end.
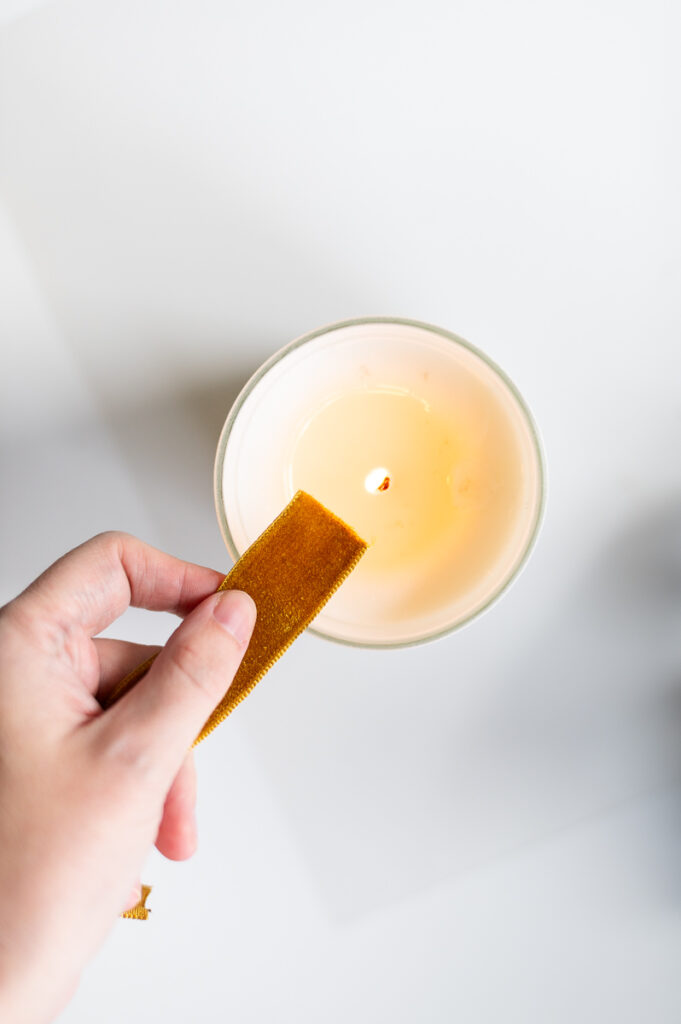
After cutting all my ribbon, I held the edges to a lit candle to melt the threads at the cut edge and seal them from fraying.
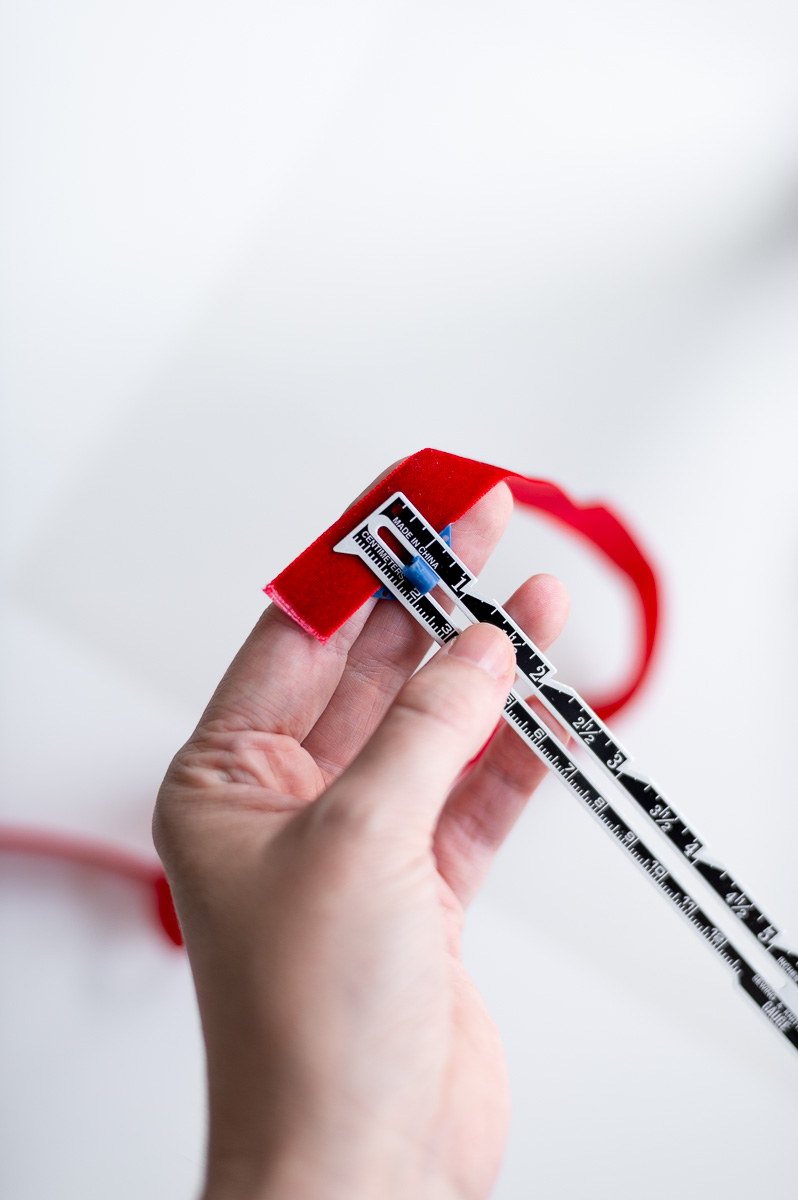
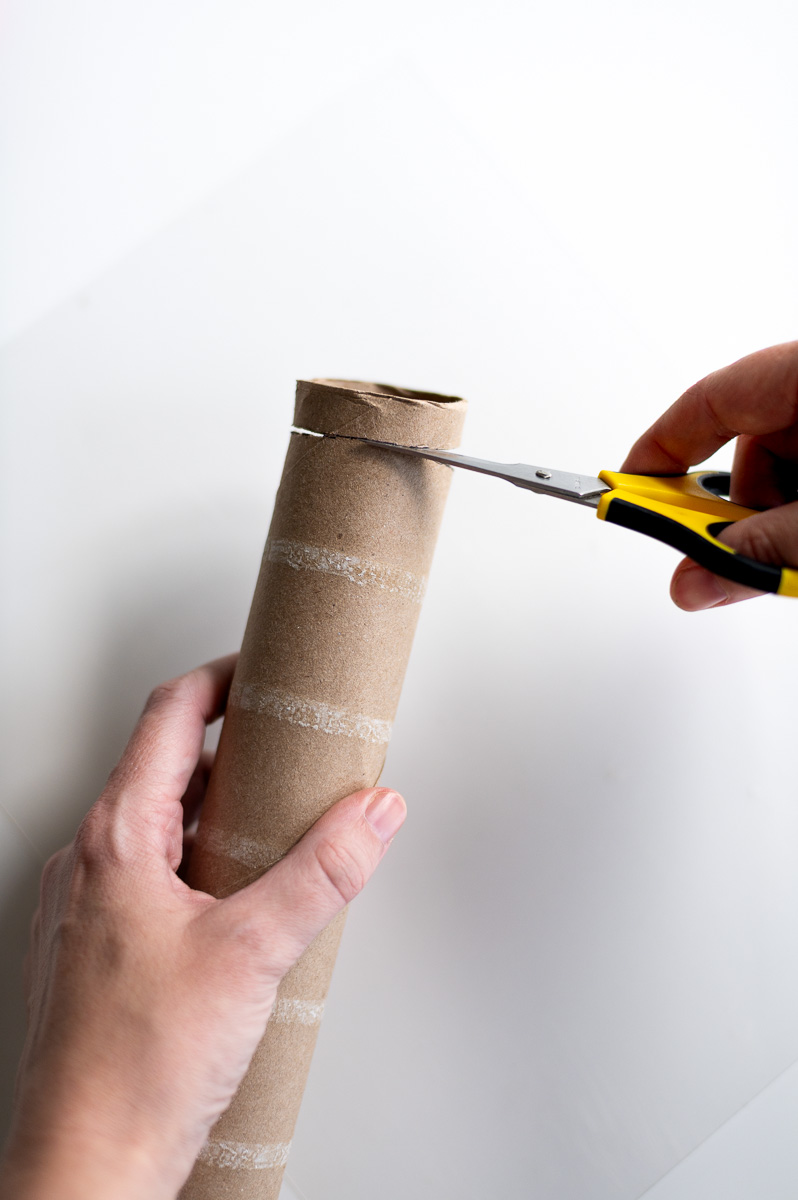
Step 2: Cut Your Cardboard Tube To Size
In order to know how wide to cut your cardboard tube, you’ll need to first measure the width of your ribbon. Once you have that measurement, you’ll cut your tube a minimum of an 1/8th smaller. I used 5/8th ribbon for my velvet bow napkin rings, so my tube needed to a 1/2 inch wide.
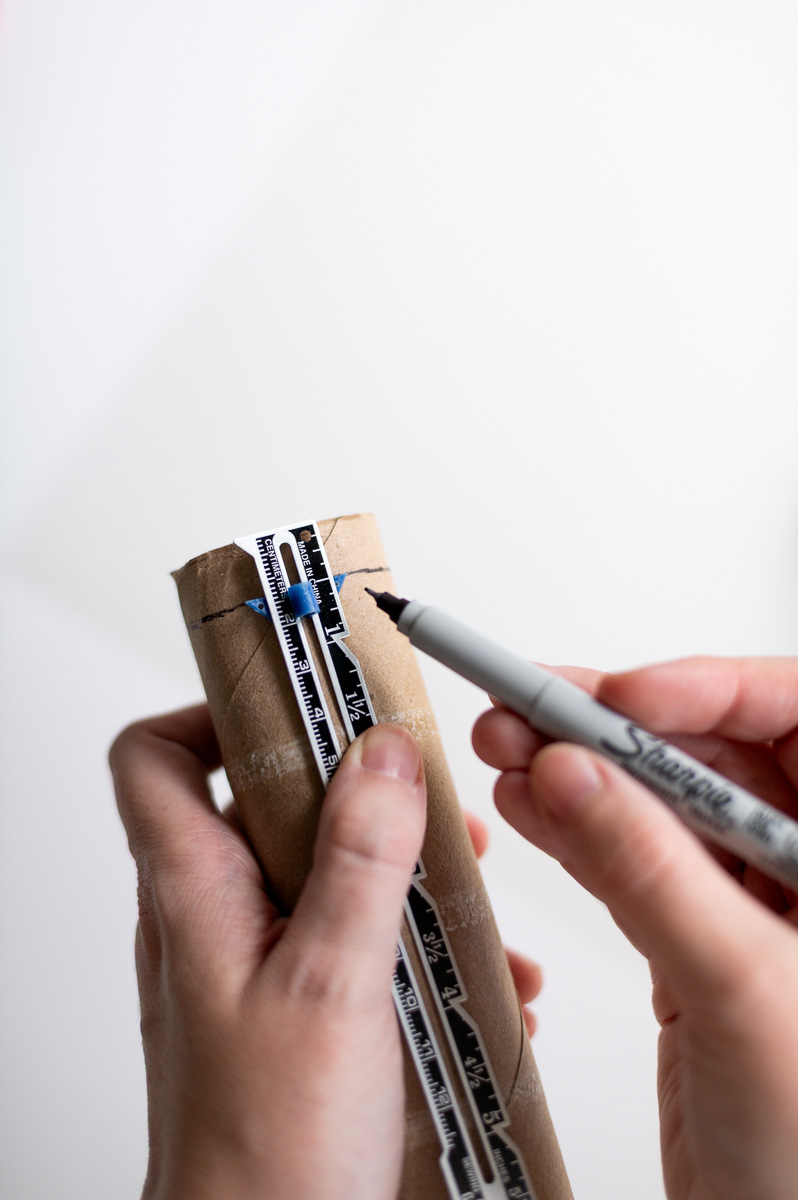
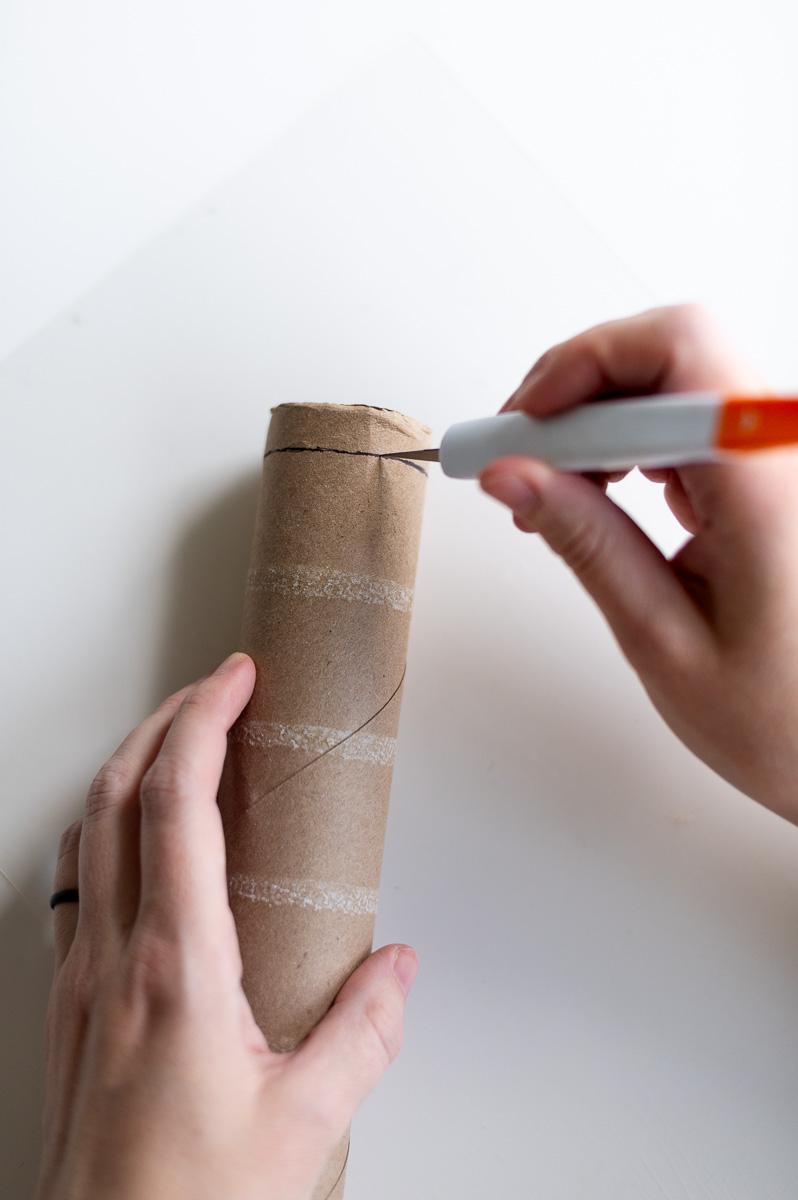
Take your ruler and draw your cut line onto your cardboard. Then, to cut the ring out without crushing or damaging the cardboard, start by punching a hole in the tube with your craft knife. Once you have a large enough opening, you can insert your scissors and finish cutting out your cardboard ring.
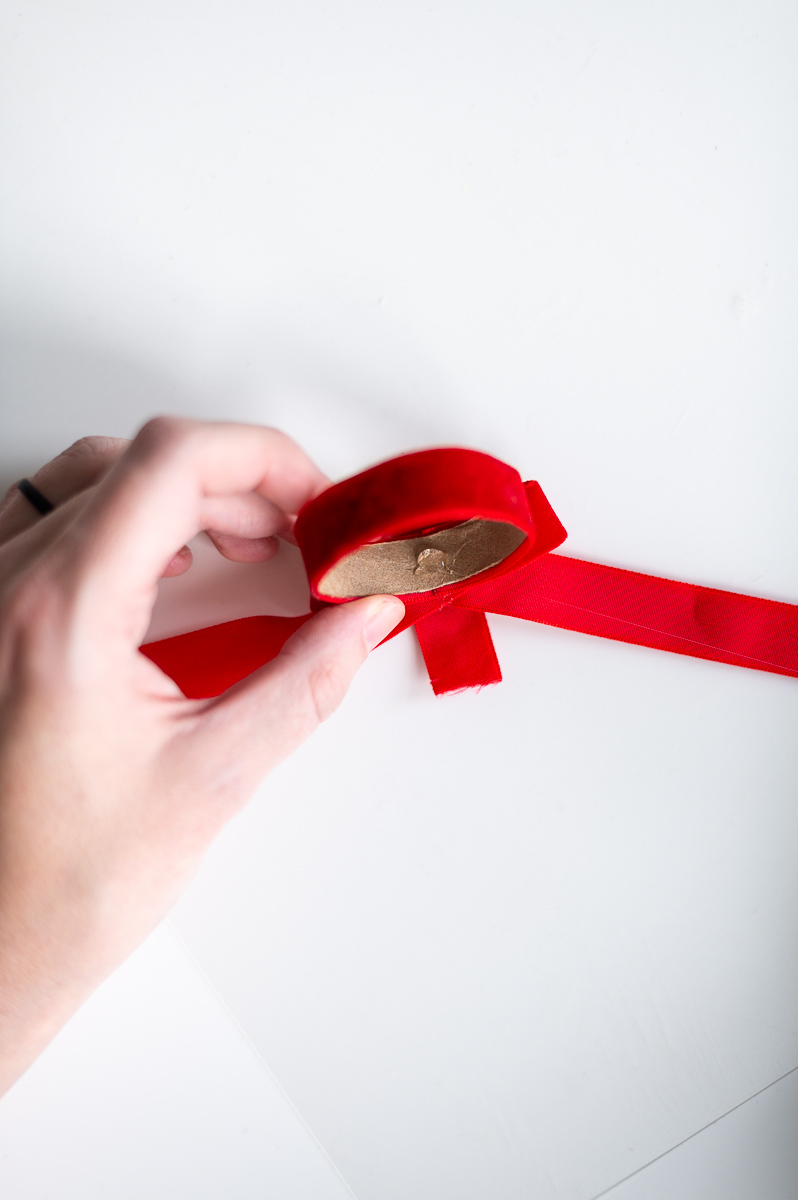
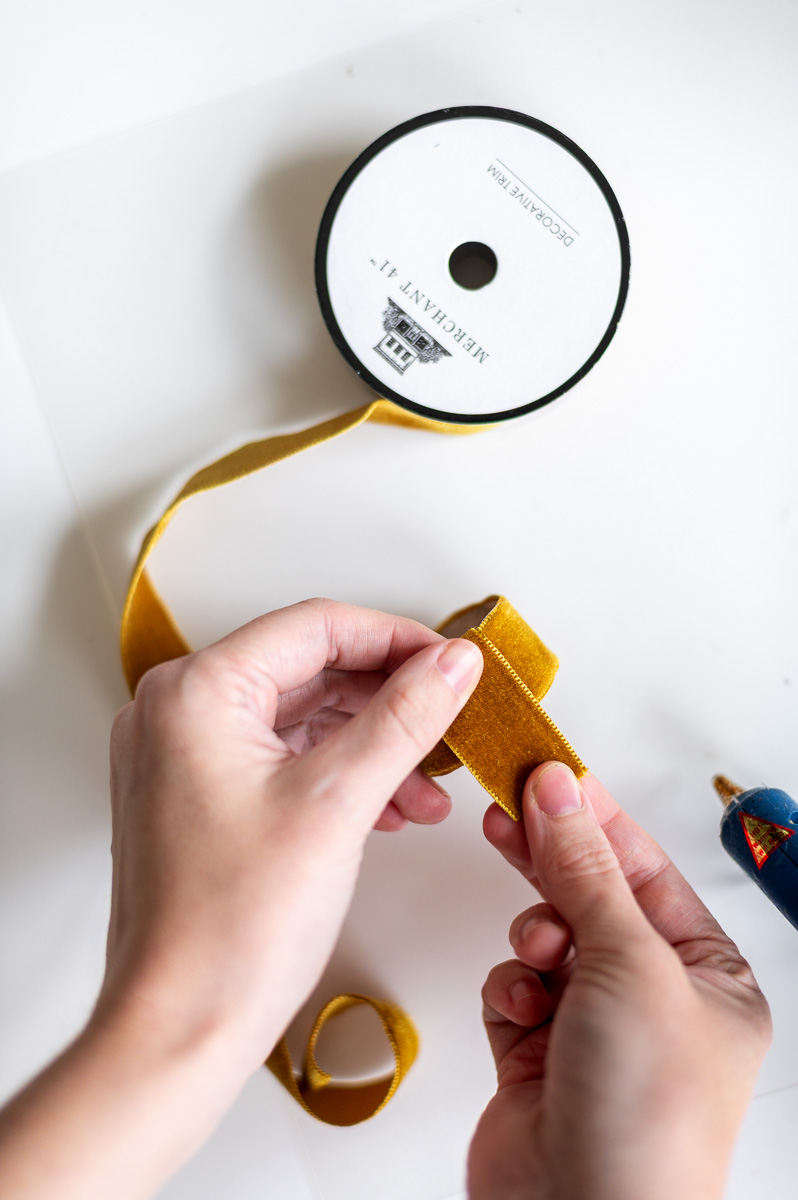
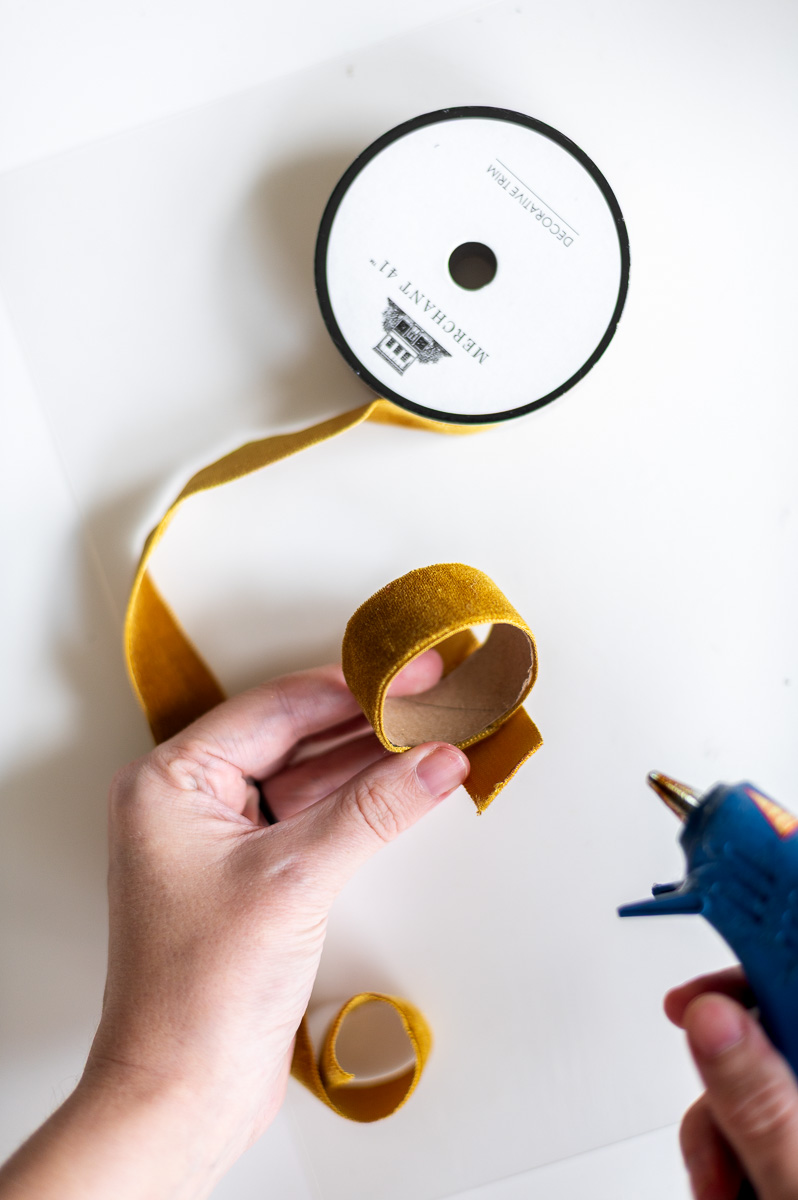
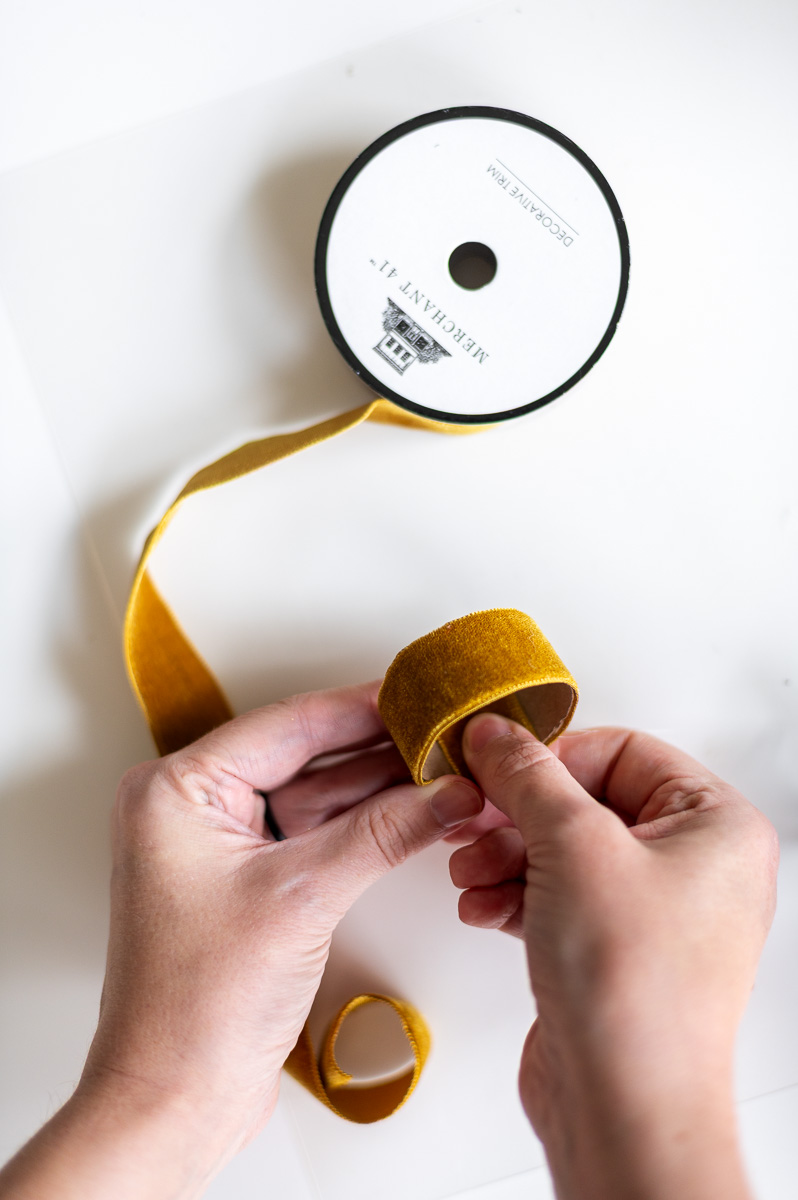
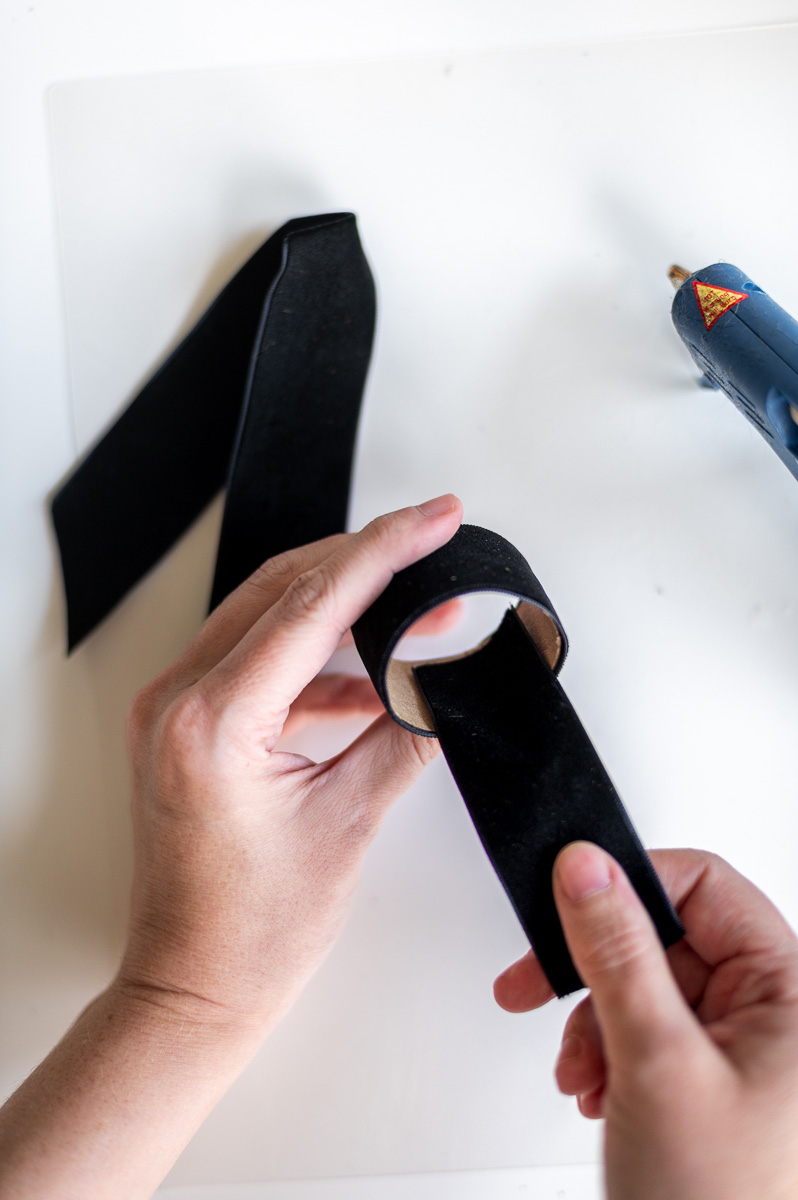
Step 3: Cover Your Cardboard Tube With Velvet Ribbon
Once your ring of cardboard tubing has been cut out you can use hot glue to cover it in velvet ribbon. Be sure to keep the ribbon centered and pulled taut as you go and that the seams meet-up or overlap slightly at the end.
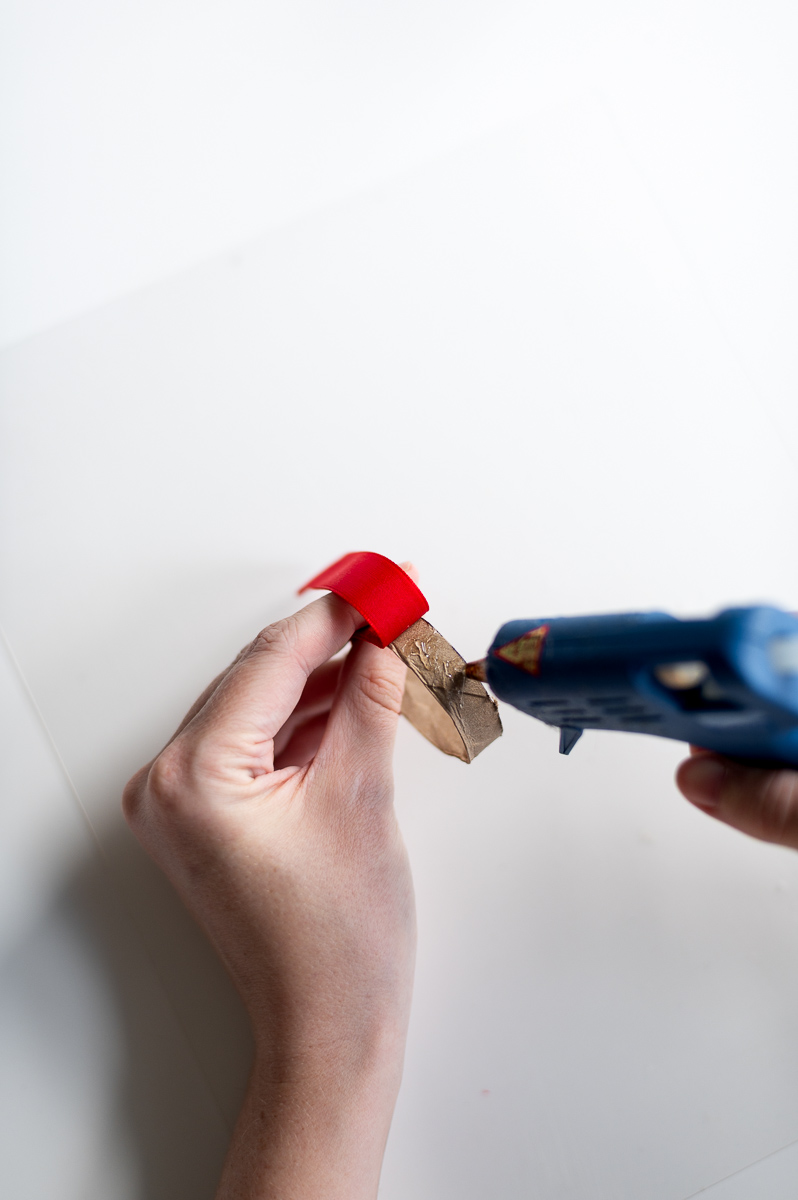
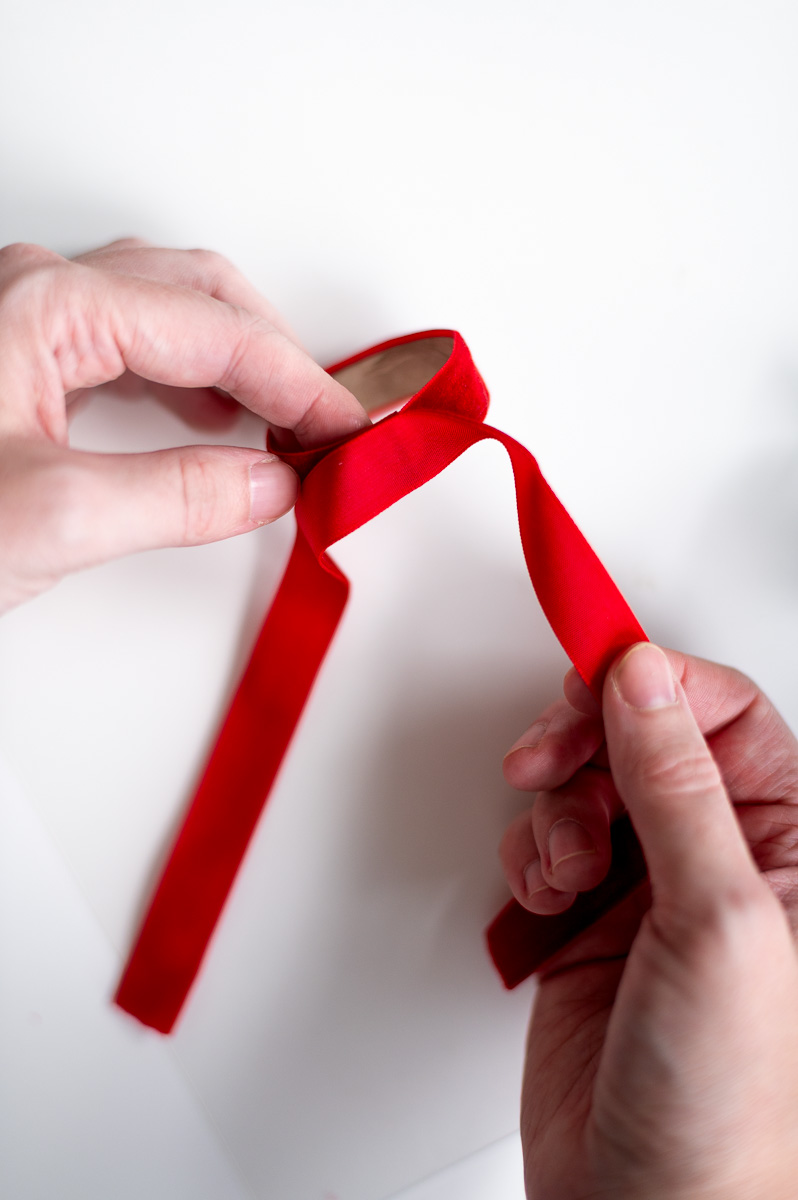
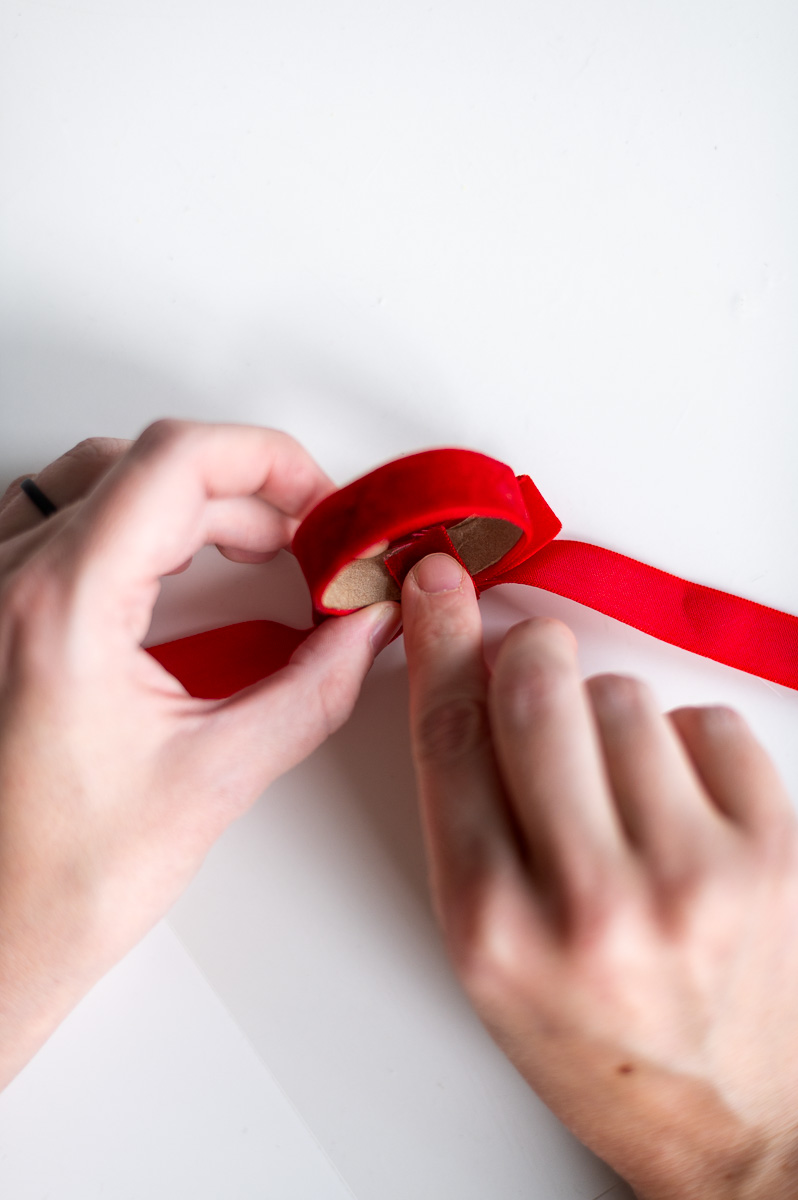
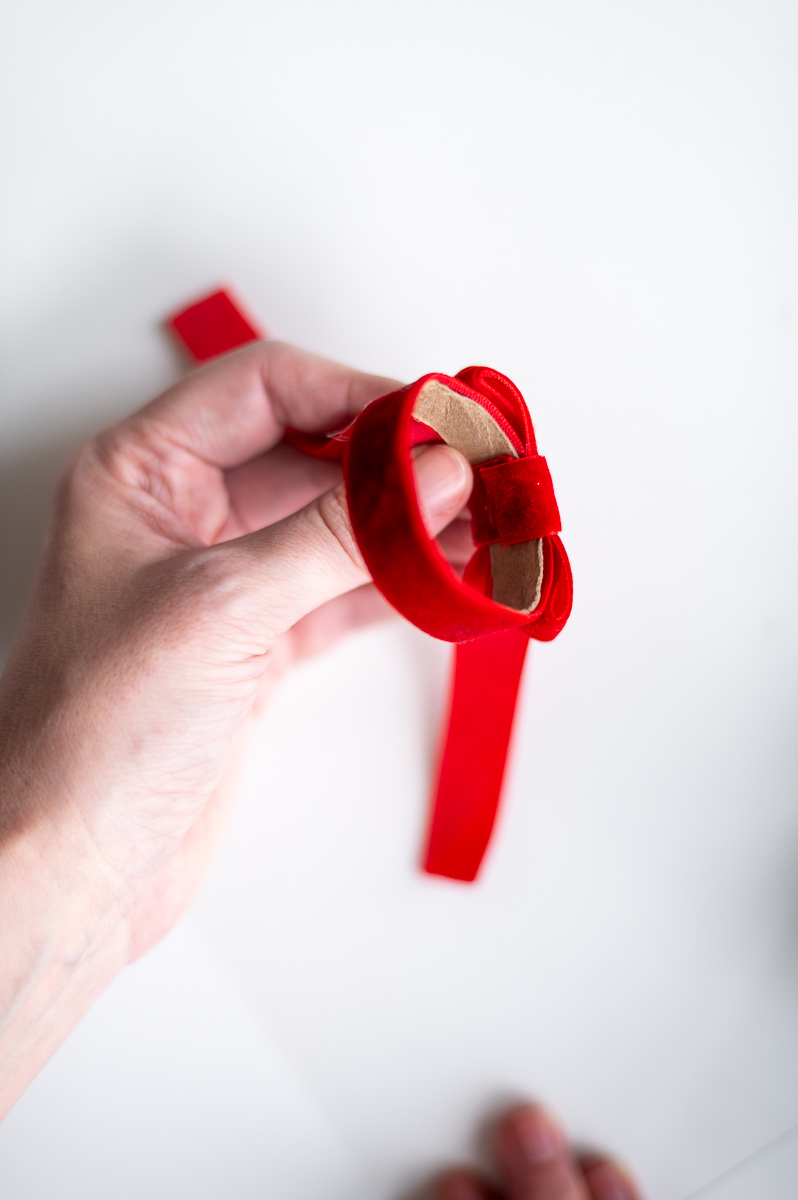
Step 4: Attach Your Bow Ribbon & Create Your Bow
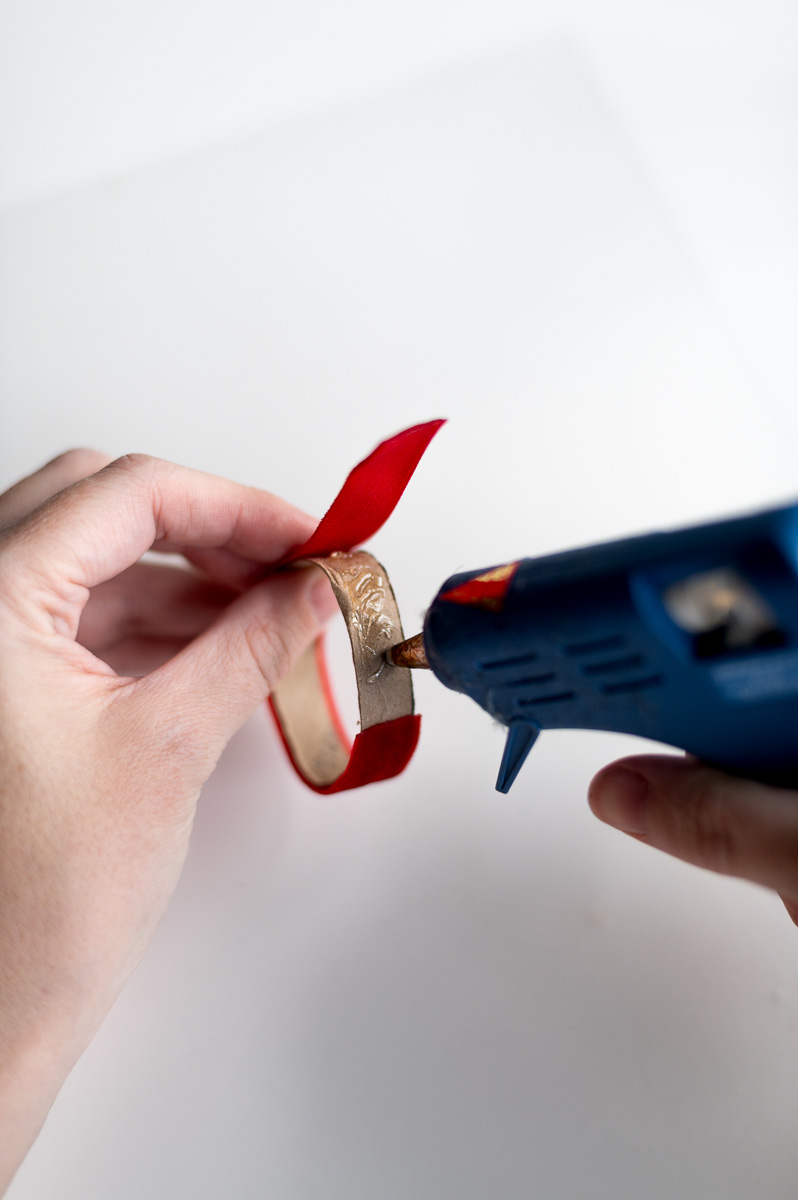
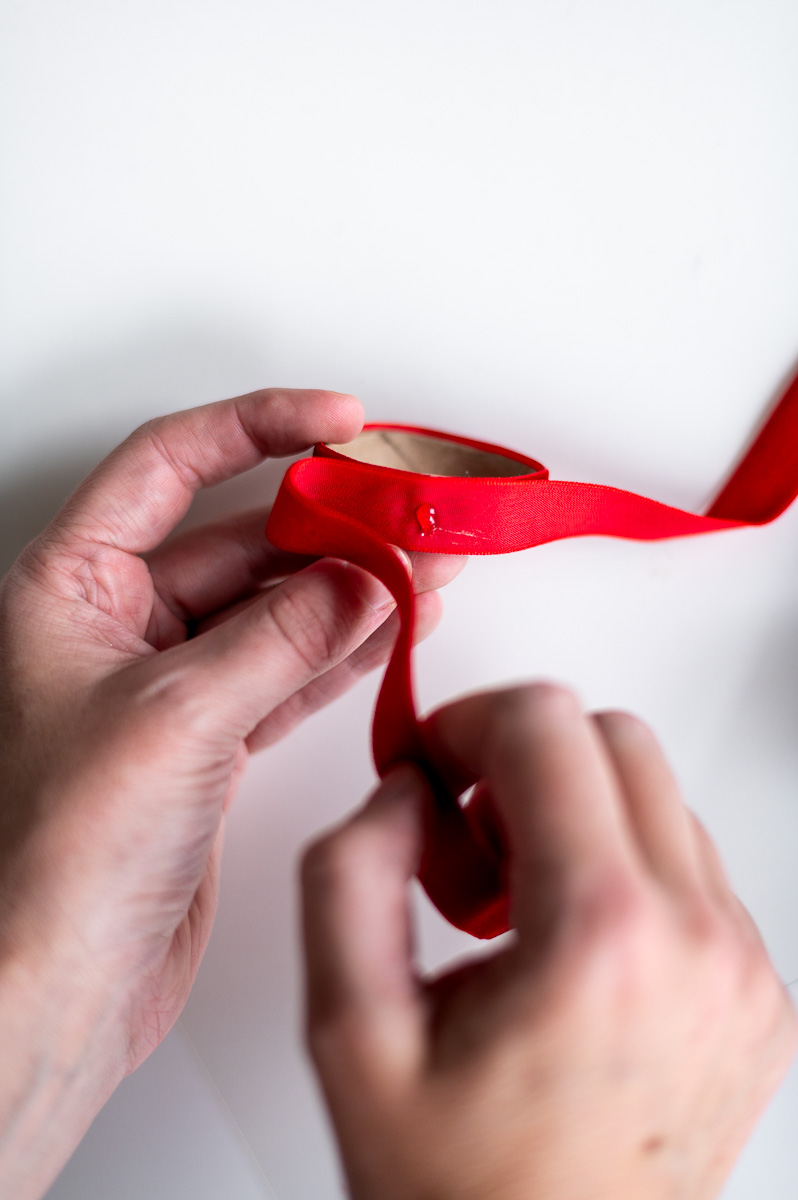
Once you have your ring of cardboard covered in ribbon, it’s time to work on making your bow. First place a small dab of glue on your ring at the seam where the ends of the velvet ribbon meet. Then attach the center of your 12″ length of bow ribbon, velvet side down, to your ring.
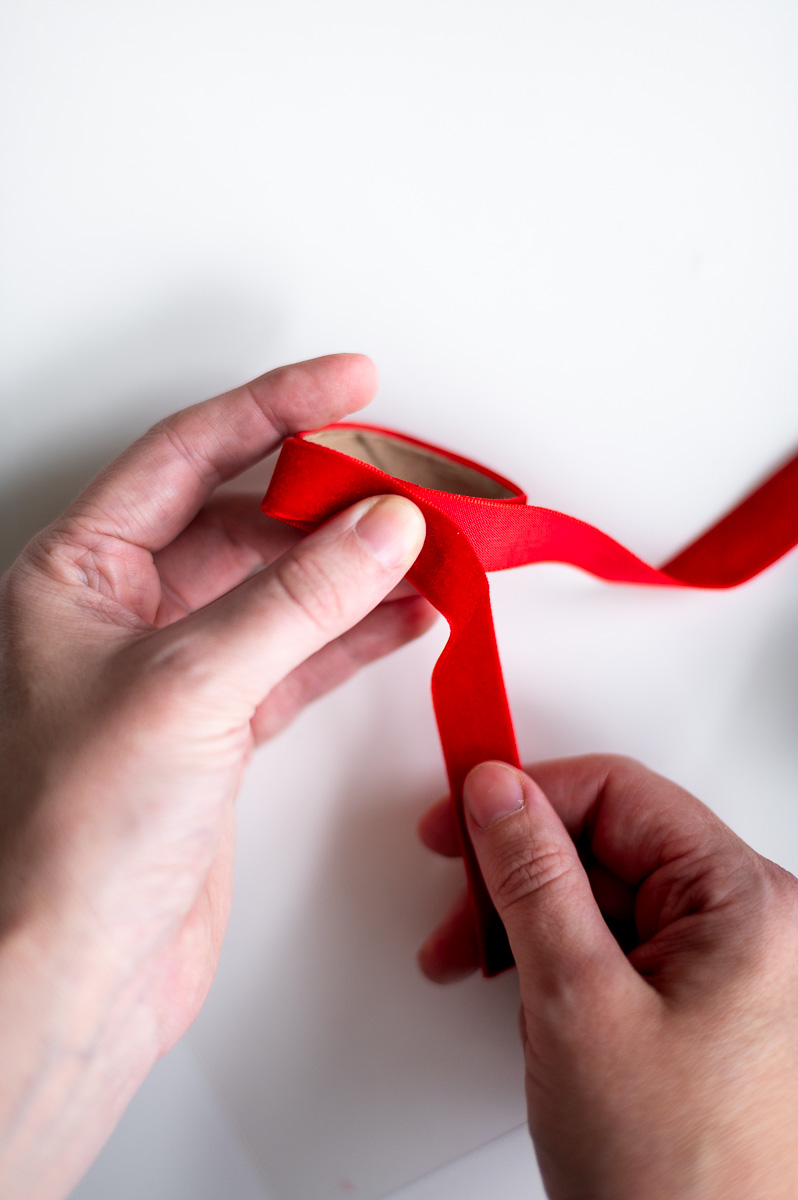
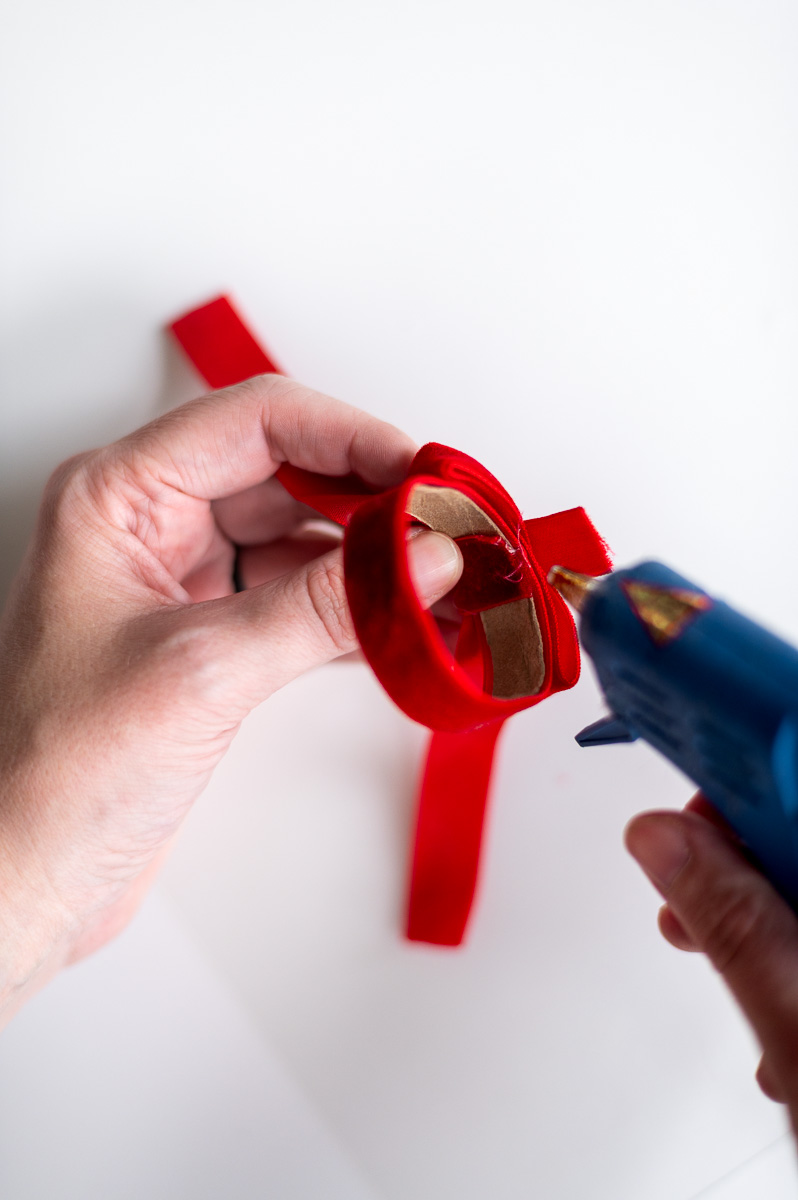
Now place another dab of glue in the center of that ribbon. Form a loop with the left end of the ribbon and glue it to the center (velvet side up). Repeat with the right side to create a symmetrical bow.
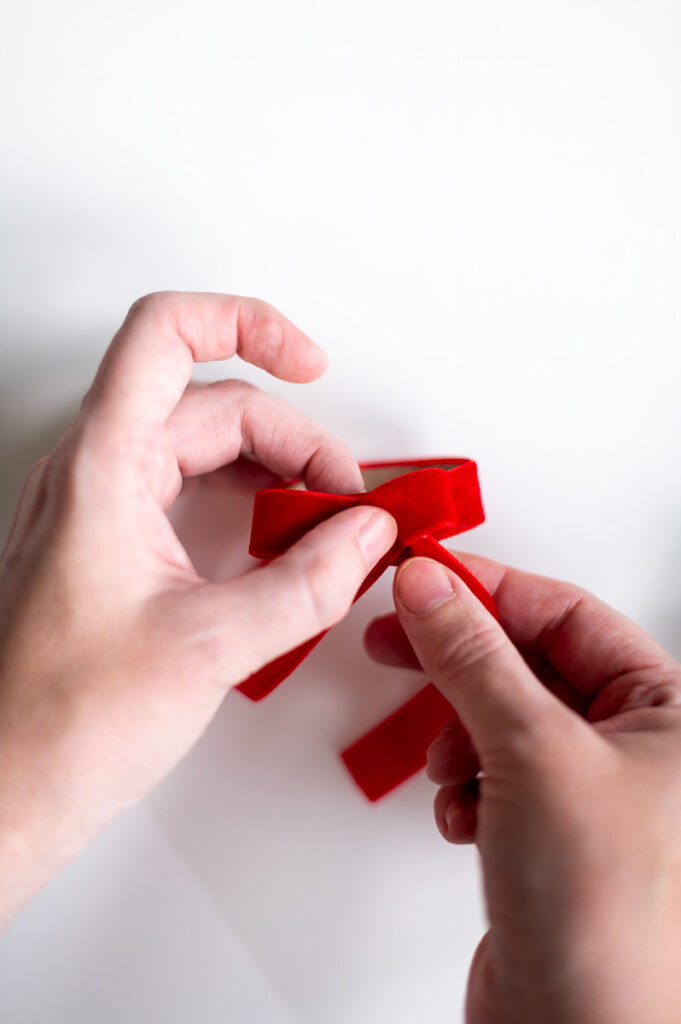
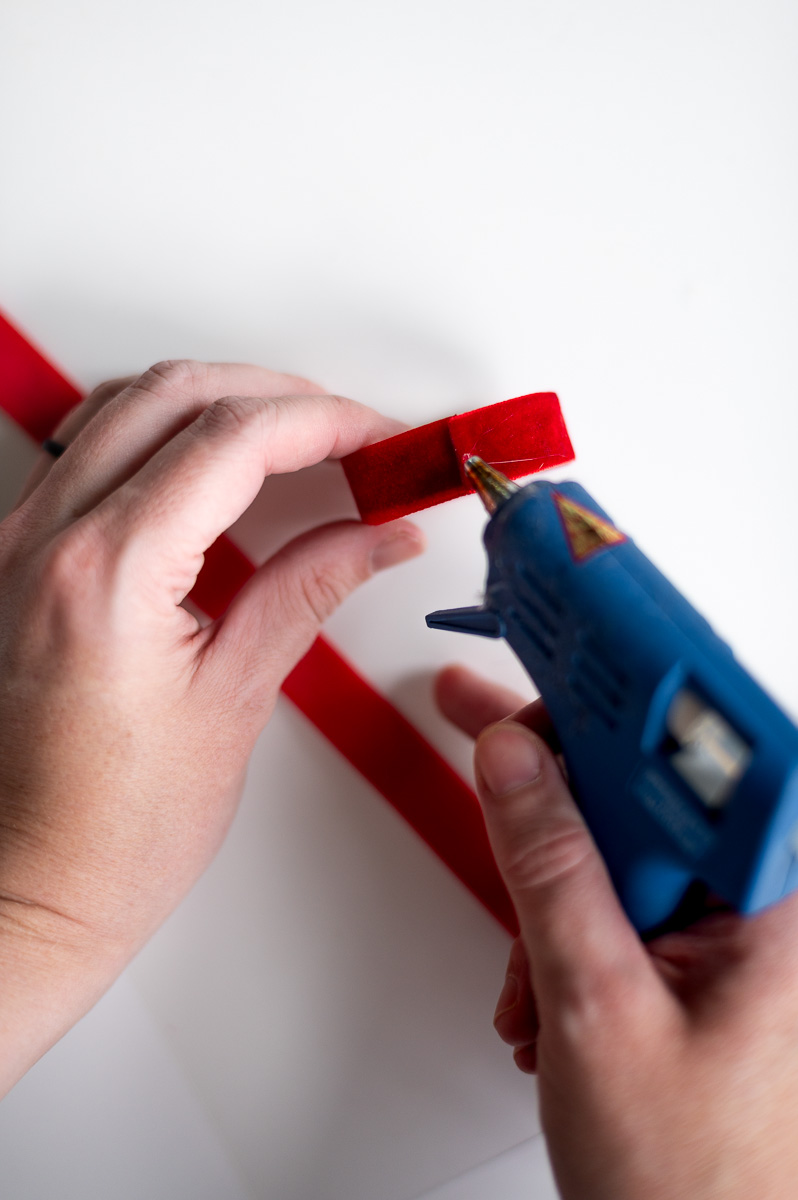
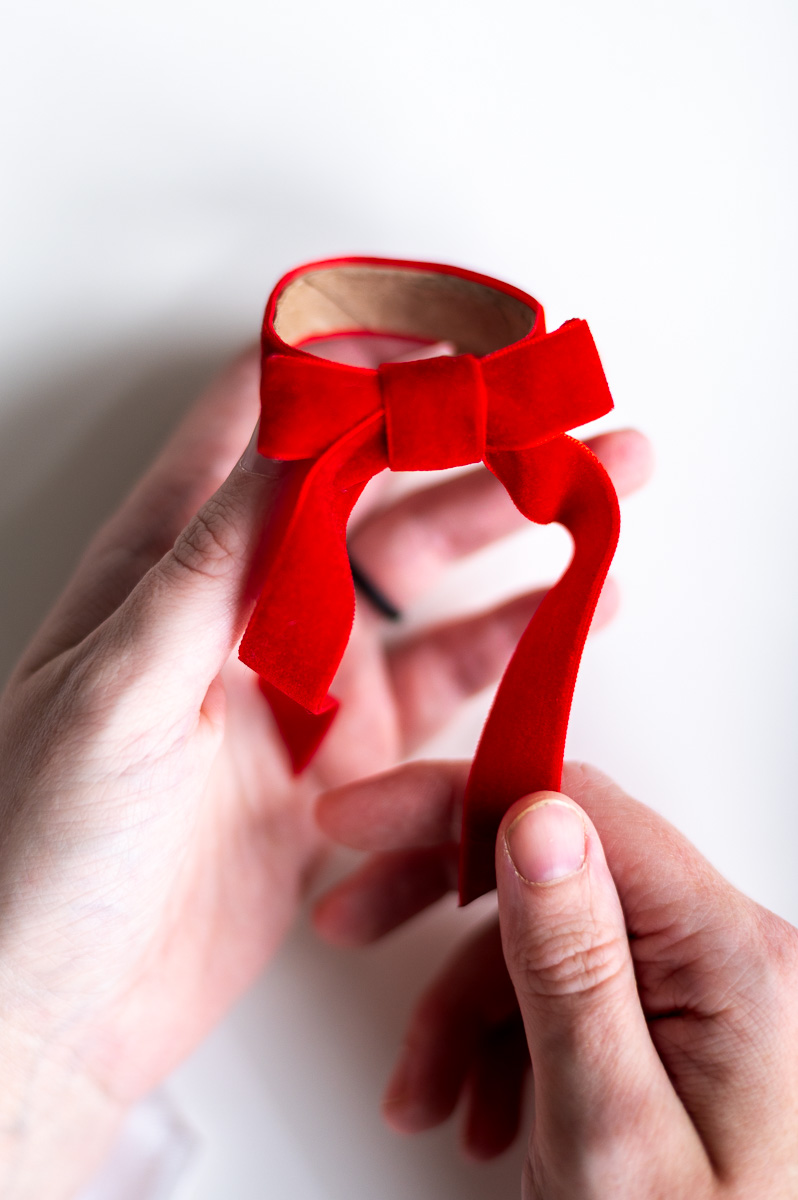
Step 5: Wrap The Center Of Your Bow With Ribbon
After you’ve created your bow loops, it’s time to take your final length of 2″ ribbon and wrap it around the center of your bow. Adhering it with hot glue as tightly as possible to the inside of your ring.

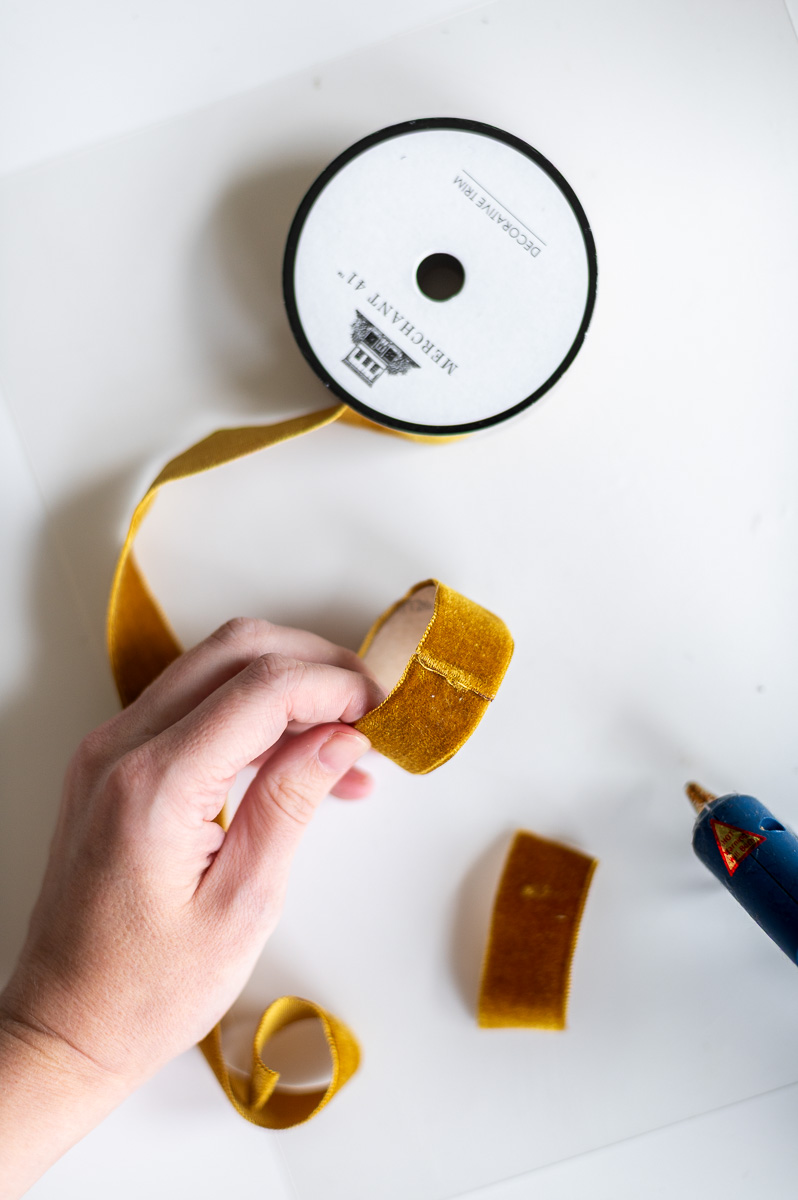
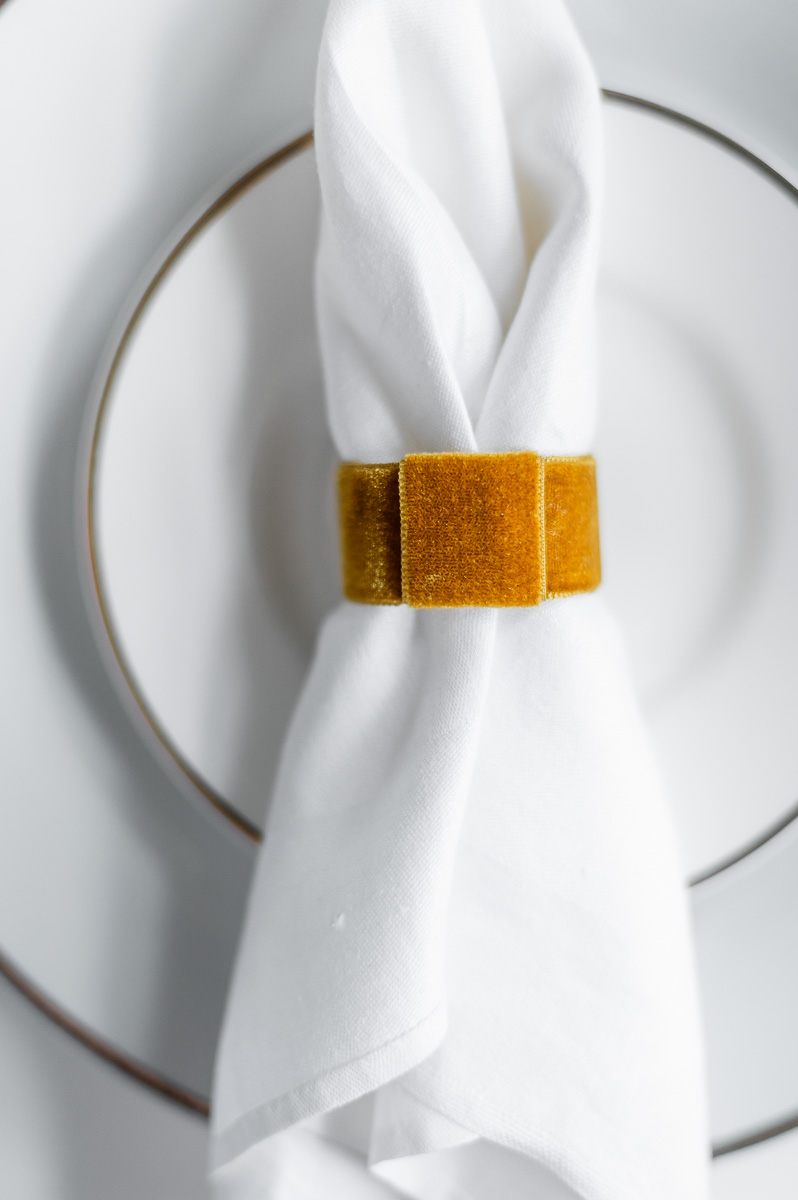
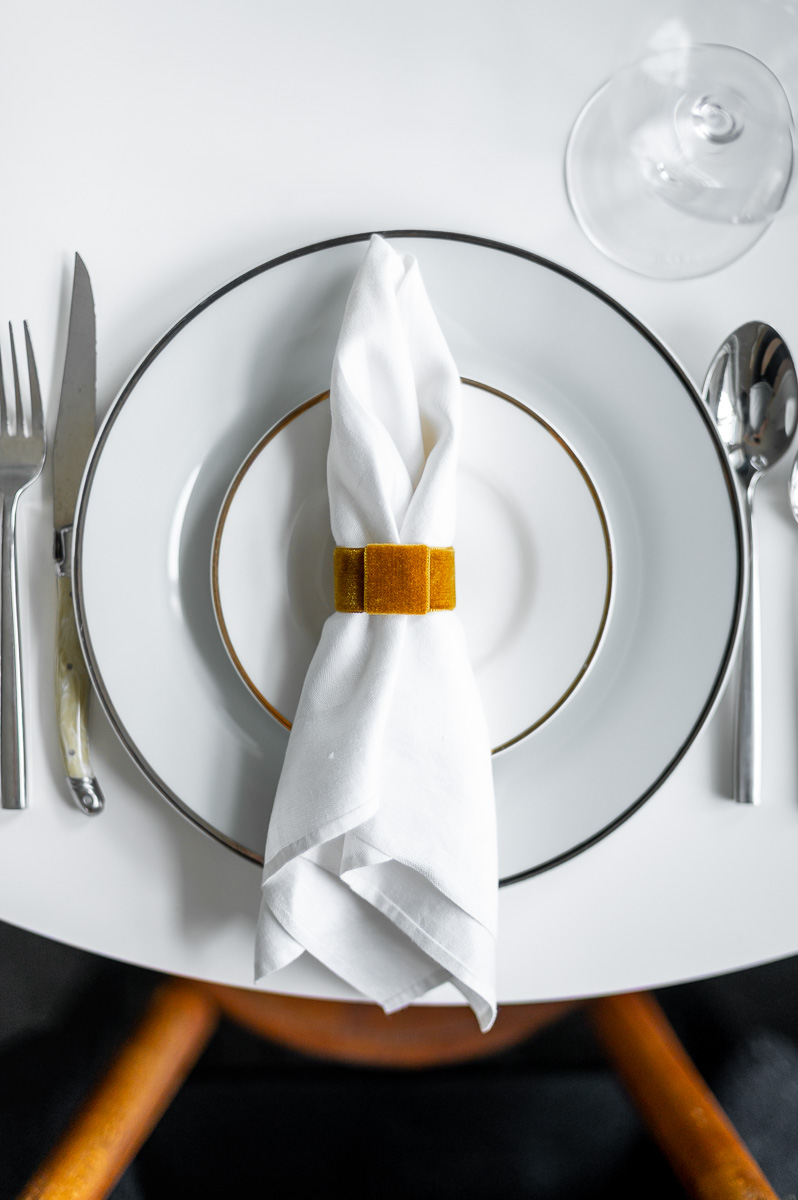
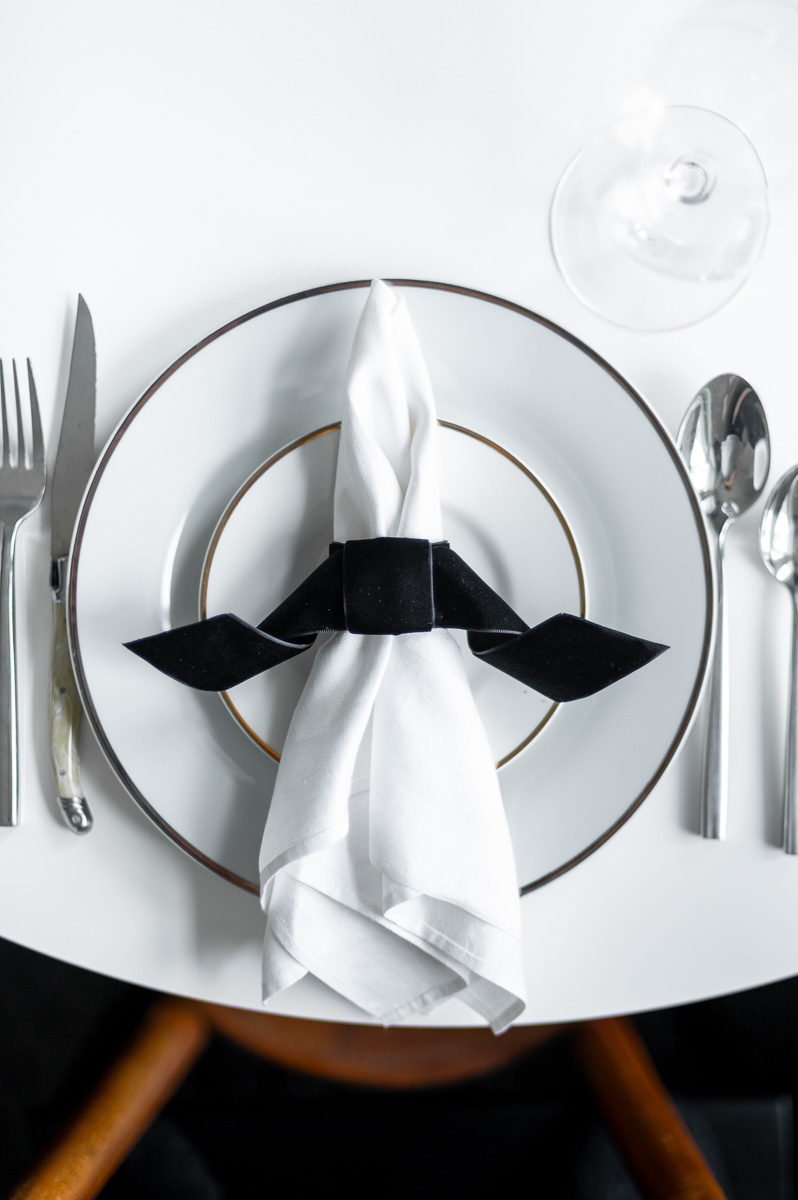
Simple DIY Velvet Napkin Rings – Version Two
This next version uses a slightly wider ribbon and simplifies the design by removing the bow for a cleaner, more minimalist look.
Step 1-3: Same As Version 1
Using a wider 1″ ribbon, follow steps 1-3 from the first version (minus the 12″ length of bow ribbon). Trimming your ring to 7/8″ wide this time and attaching your ribbon all the way around your cardboard ring.

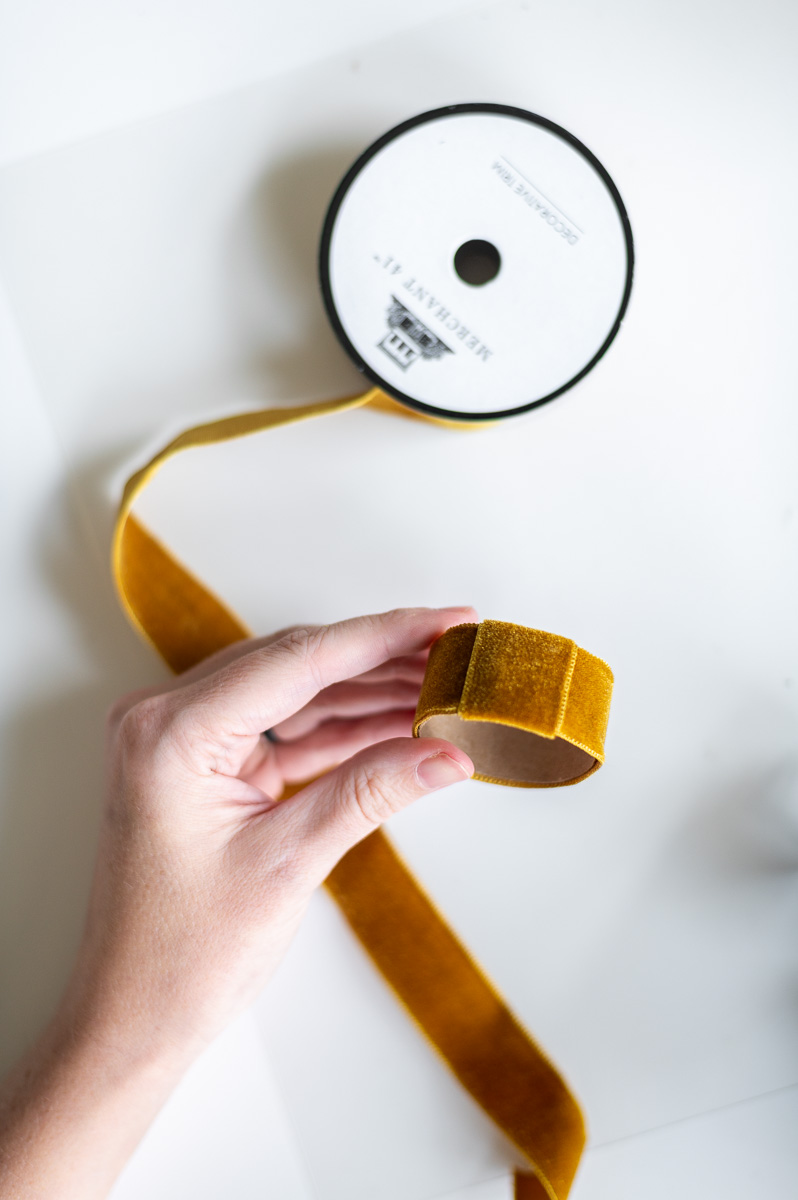
Step 4: Cover The Seam With A Small Piece Of Ribbon
Finally, we’re going to cover the seam where the two ends of the ribbon going around our cardboard tube meet with a shorter length of ribbon roughly 2″ in length.
Be sure to pull the ribbon as tight as possible and use hot glue to attach the ends to the inside of your cardboard ring.
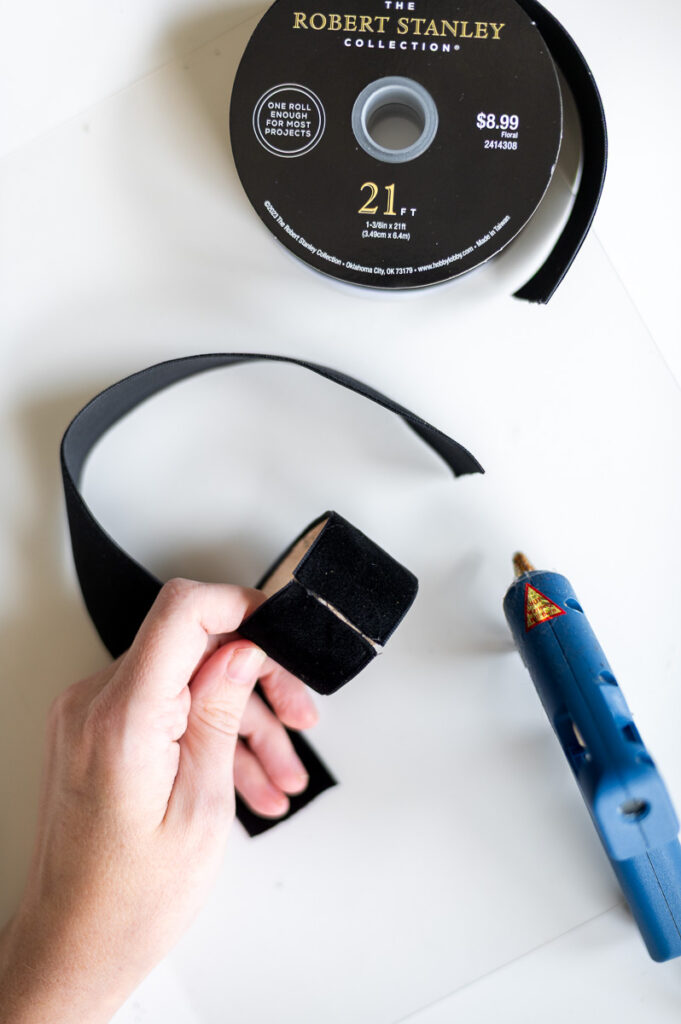
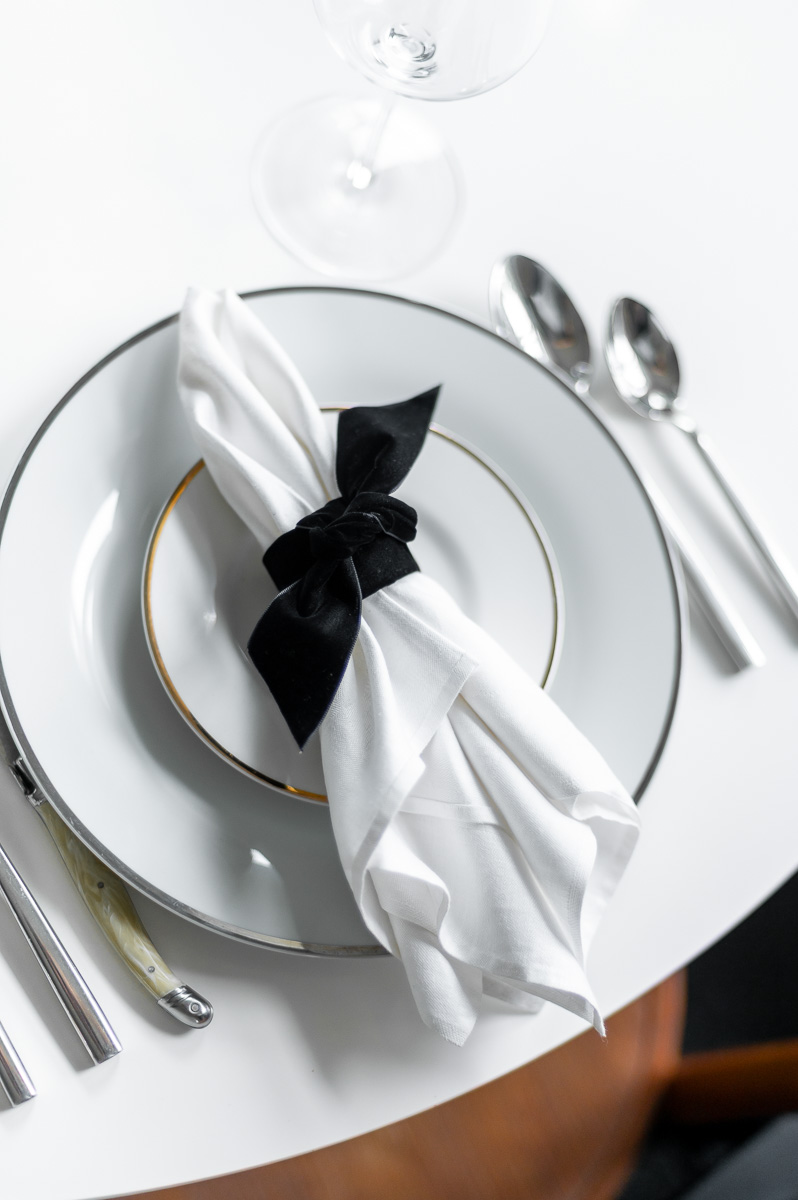
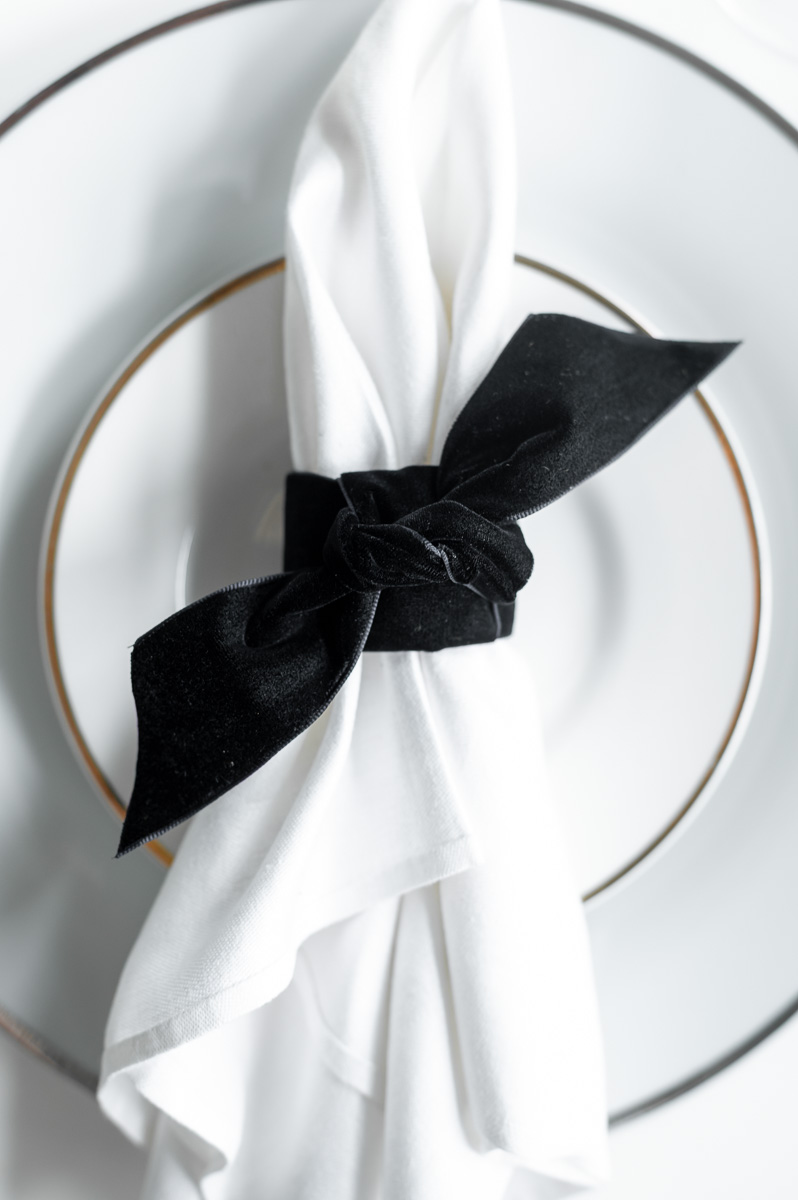
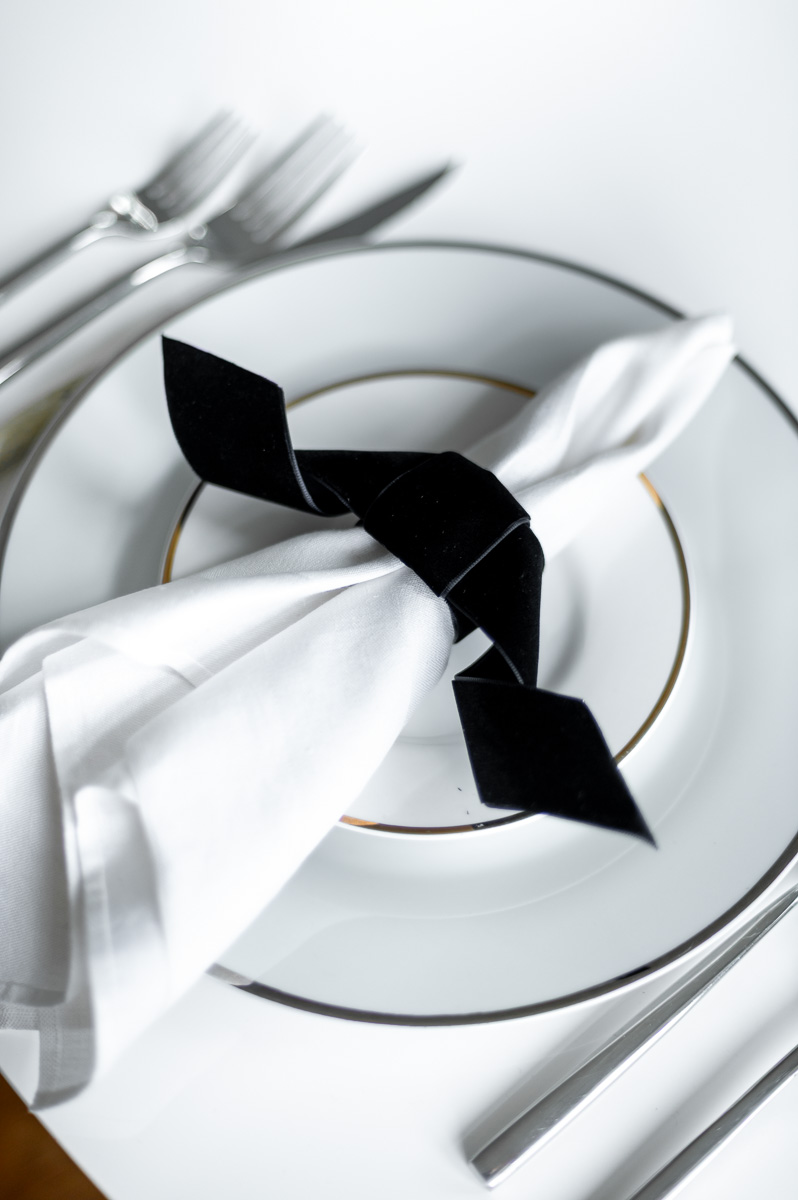
Knotted DIY Velvet Napkin Rings – Version Three
This final version also uses wider, but wired edge, ribbon to create an elegant knotted style.
Step 1-3: Same As Version 1
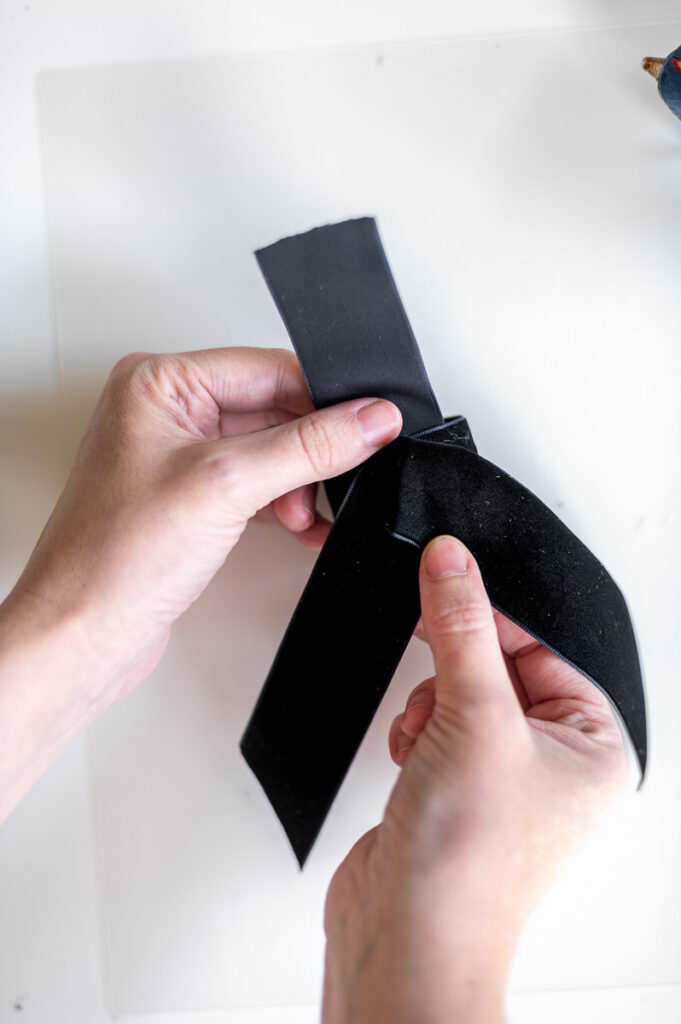
Using an even wider 1 3/8″ ribbon with a wired edge, follow step 1-3 of the tutorial for version 1. INCLUDING the 12″ length of ribbon, except this time we’ll be knotting it instead of using it to make a bow.
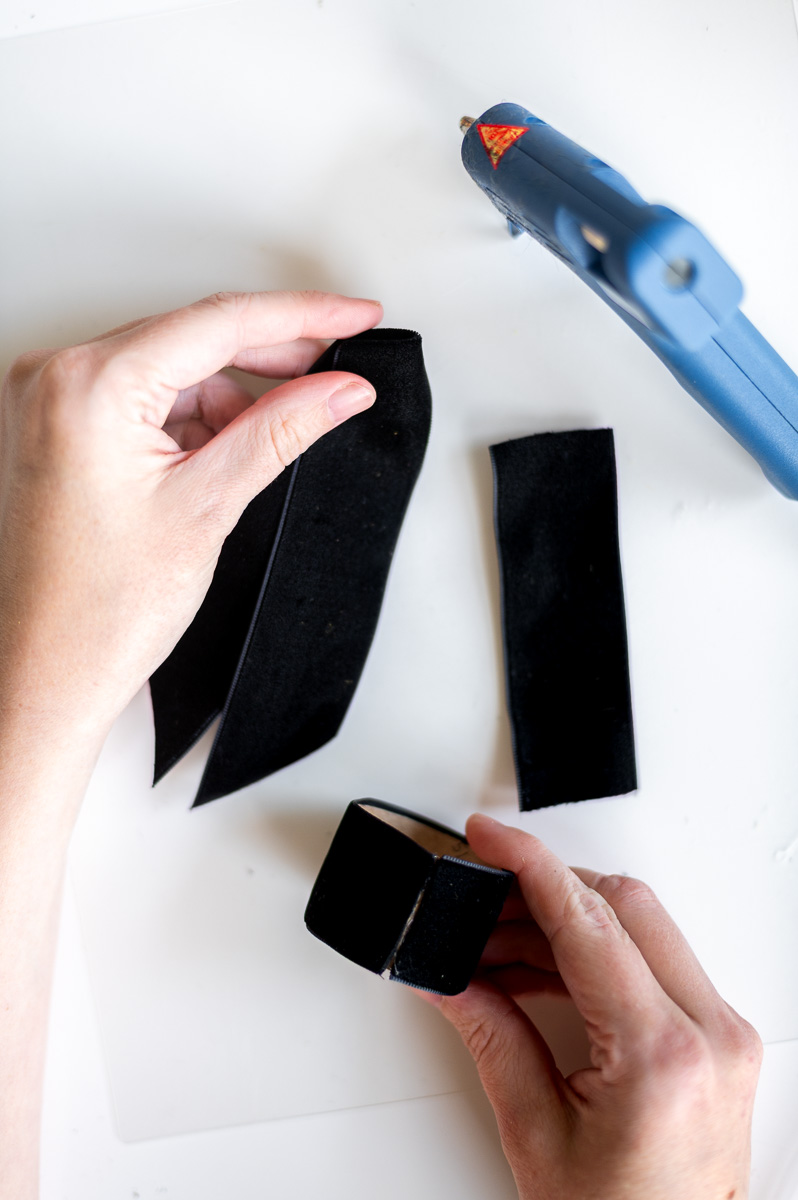
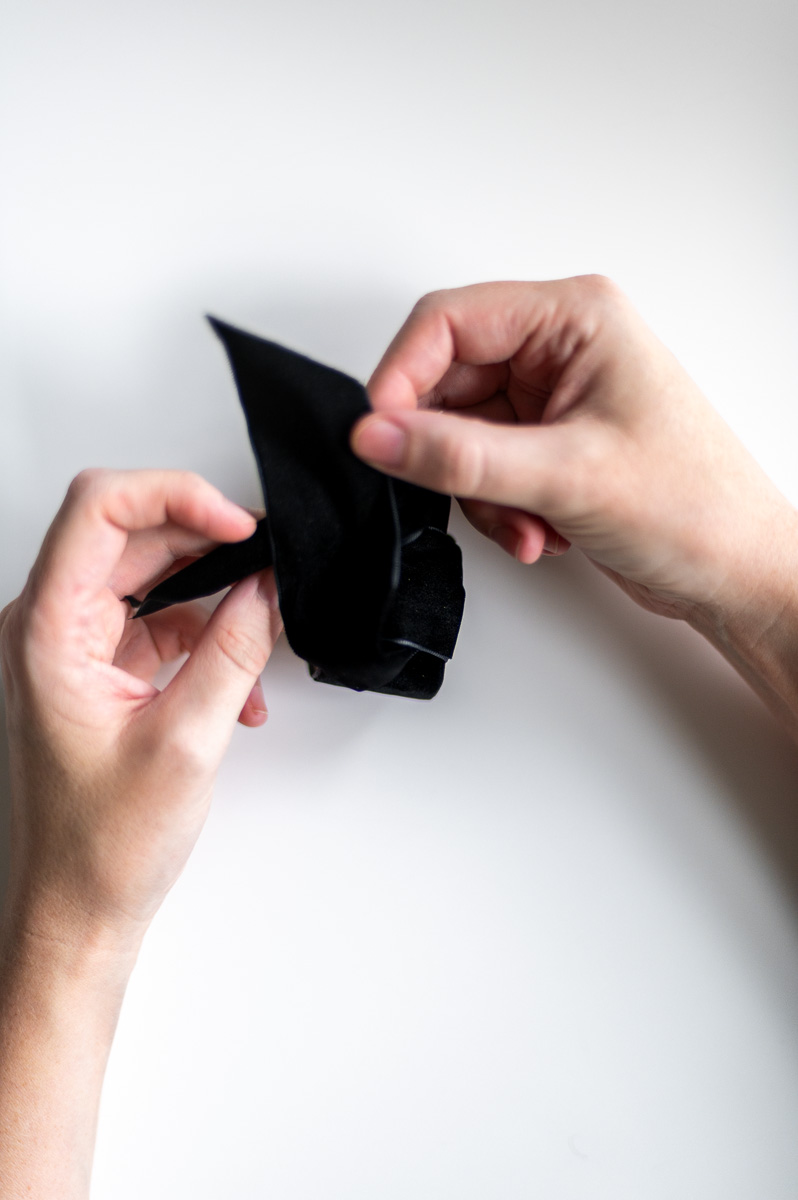
Step 4: Attach Your Short & Long Ribbons To The Ring
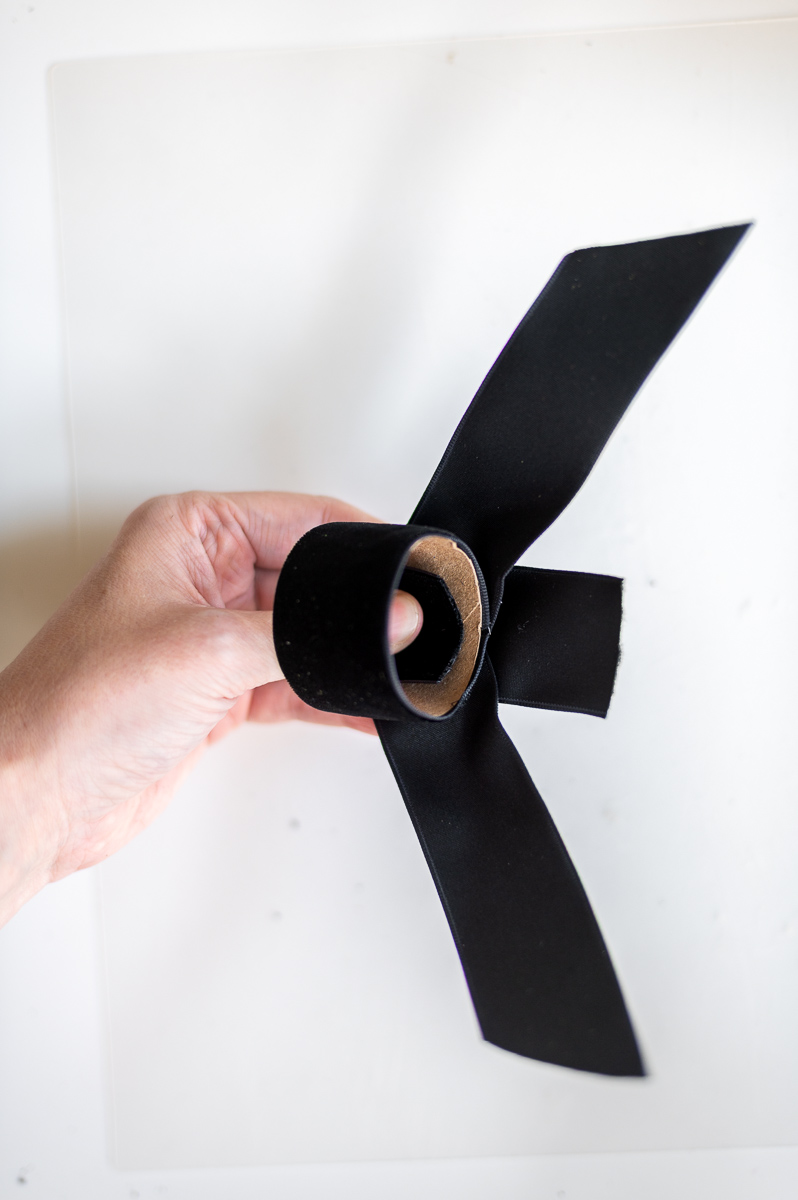
Once your cardboard ring is fully wrapped in ribbon, it’s time to work on the knotted section. Start by attaching one end of your short ribbon to the inside of the ring. Then place the 12″ ribbon on top of the ring and wrap the short ribbon over it to hold it in place.
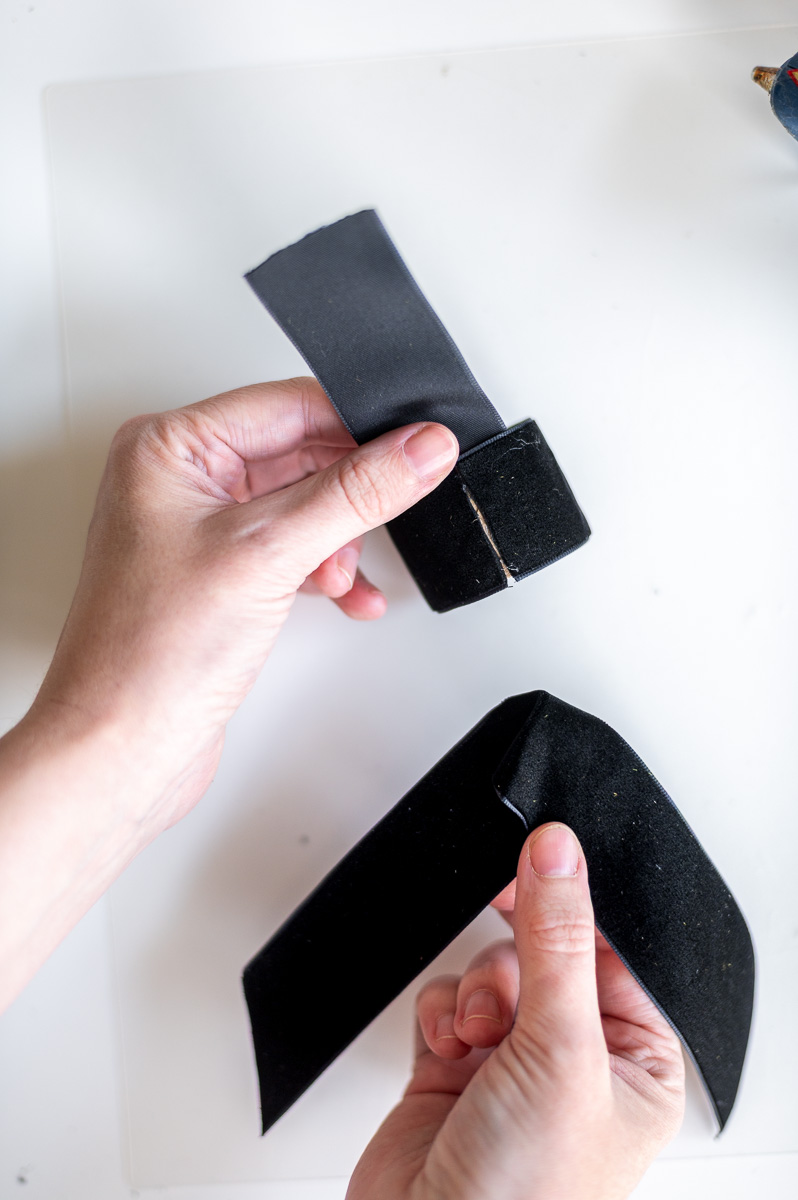
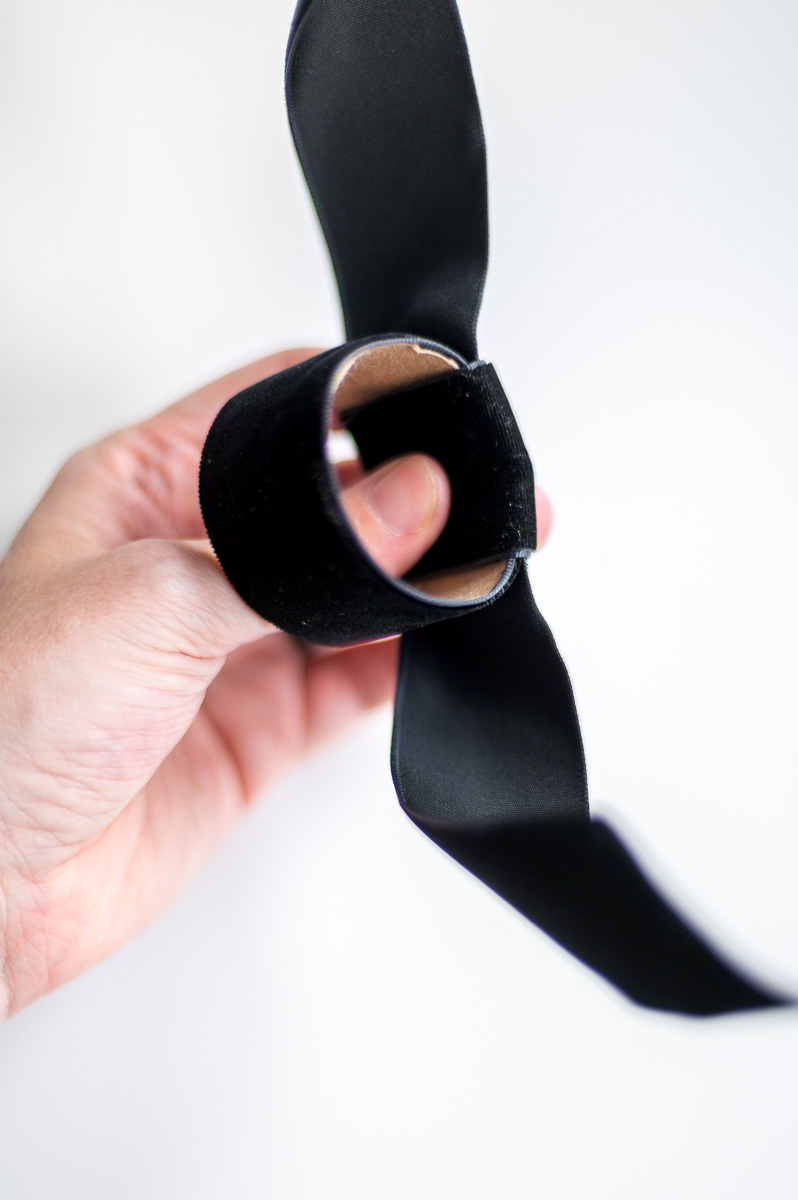
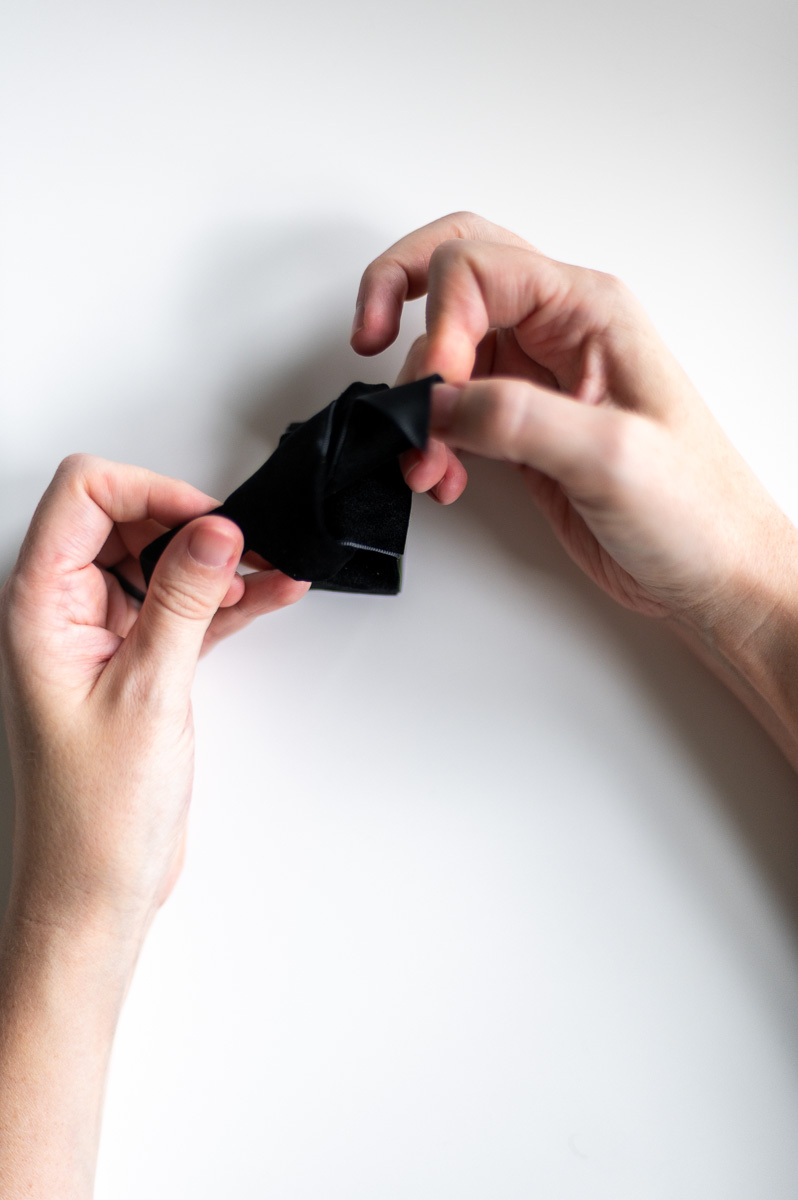
Now adhere the other end of your short ribbon tightly to the opposite side of your cardboard ring.
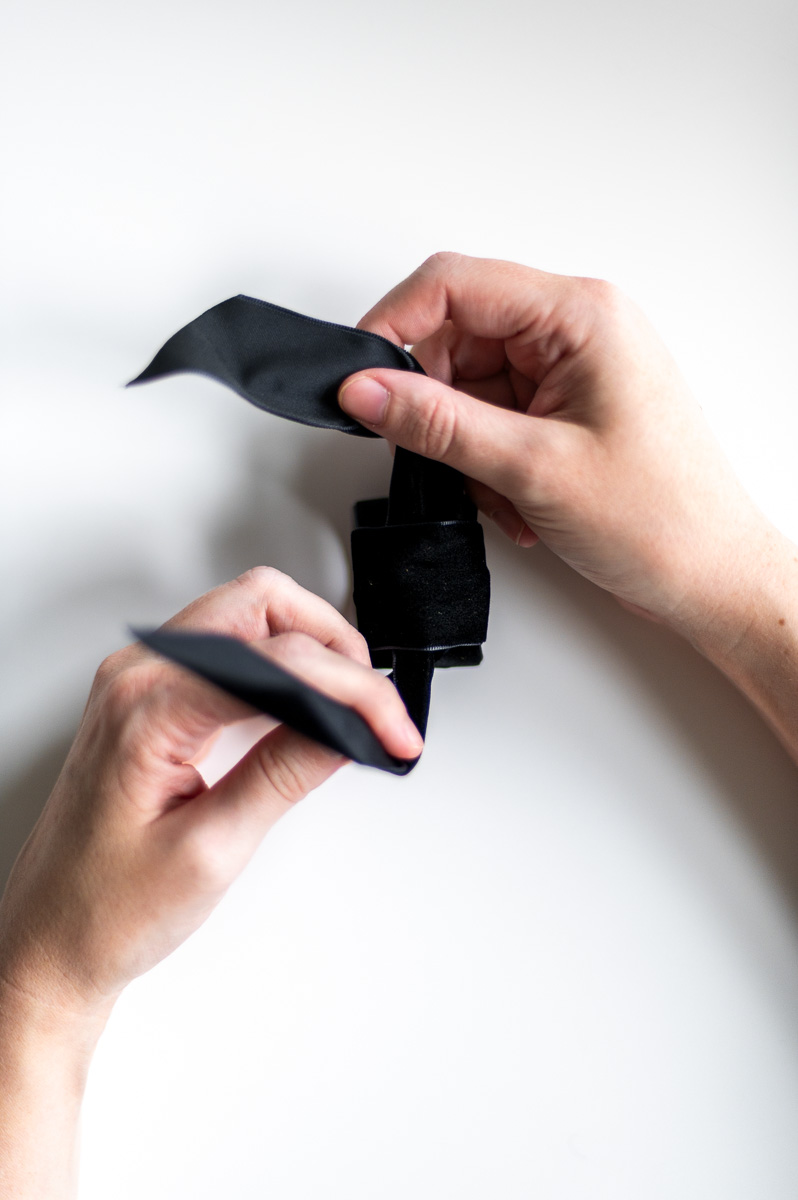
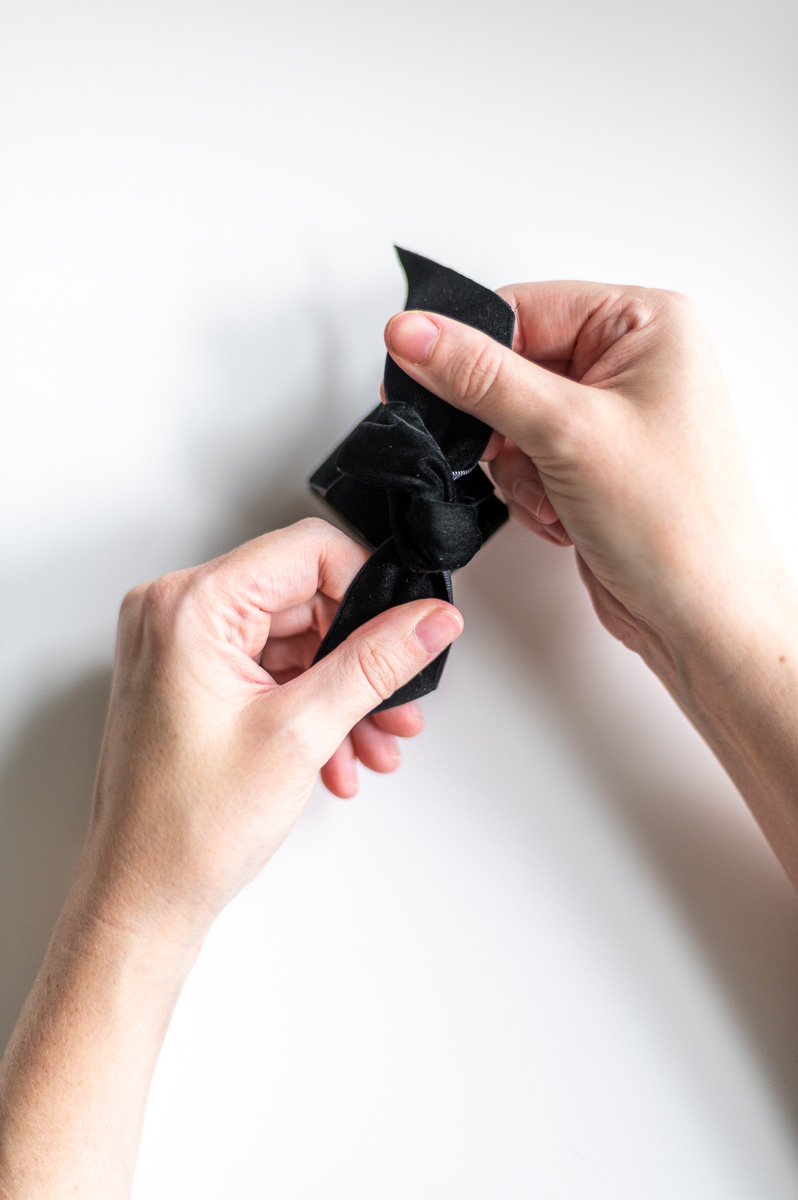
Step 5: Tie The Ribbon In A Knot
Now flip your ring over and take the two ends of your ribbon and tie them into a tight knot.
Final Thoughts On These Homemade Napkin Rings
I love how something as simple as a little velvet ribbon can make such a big impact on a holiday table! These DIY napkin rings are for sure going to be my new go-to trick for elevating the look of any tablescape without blowing my entire event budget on table decor.
Big dinner, small gathering (or even just pretending to be fancy on a random weeknight), these little touches can make such a big difference to your dining experience!

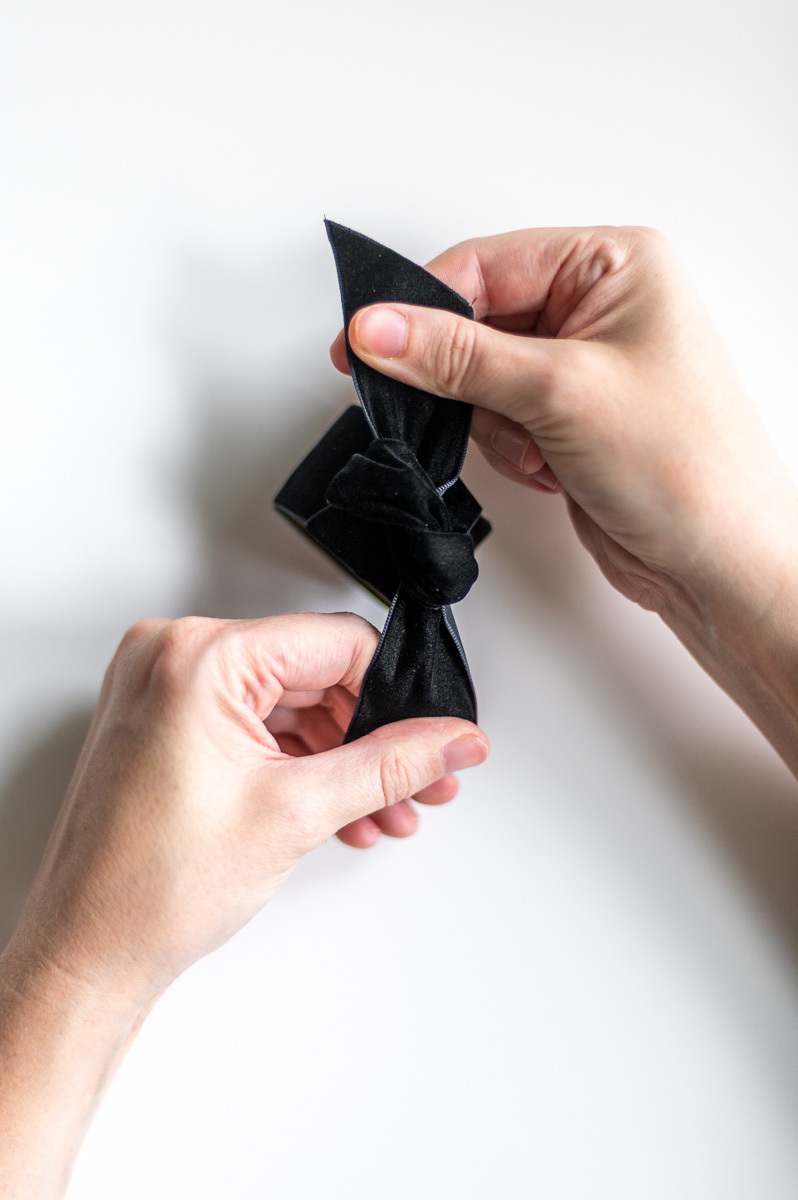
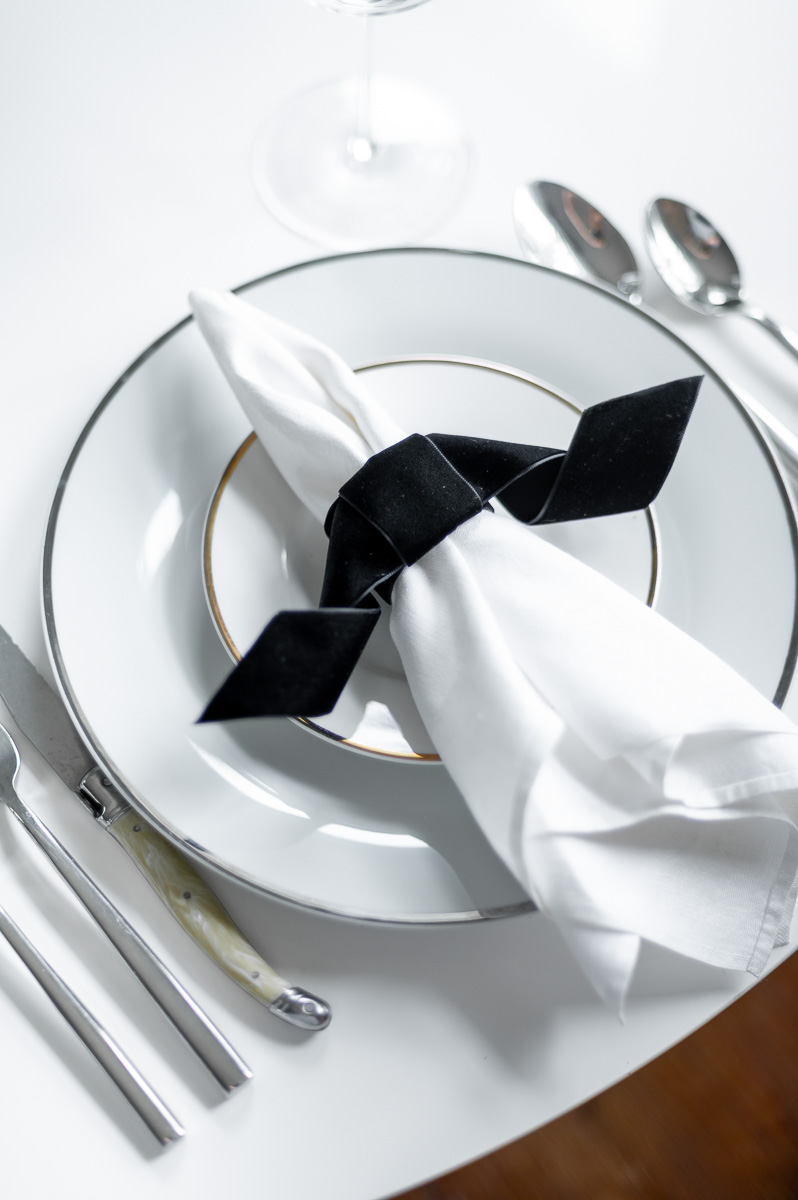
Bonus – Halloween Bat Inspired Napkin Ring
If you made it all the way to the bottom of this post, I have a surprise bonus styling idea for you that uses the knotted version of these napkin rings! Instead of tying the ribbon in a knot, you will simply fold the ends up and… tada! You have a little bat! How cute would this be on a Halloween tablescape!?
Which version is your favorite? Let me know in the comments below! I can’t wait to see how you style yours!
Don’t Forget To Pin This Post & Subscribe!
Want to keep getting more DIY home decor inspiration, thrifting tips & tricks, free art downloads, reading recommendations, and home renovation tutorials? Then don’t forget to pin this post for later so you can follow me on Pinterest and then subscribe to my blog so you can get links to my newest content as soon as it hits the blog!