Bells have been tied to Christmas for centuries, but jingle bells as we know them didn’t really show up until later when people started attaching them to horse-drawn sleighs so you could hear them coming.
Today the sound of jingle bells gives off instant warm nostalgic Christmas vibes during the holiday season.
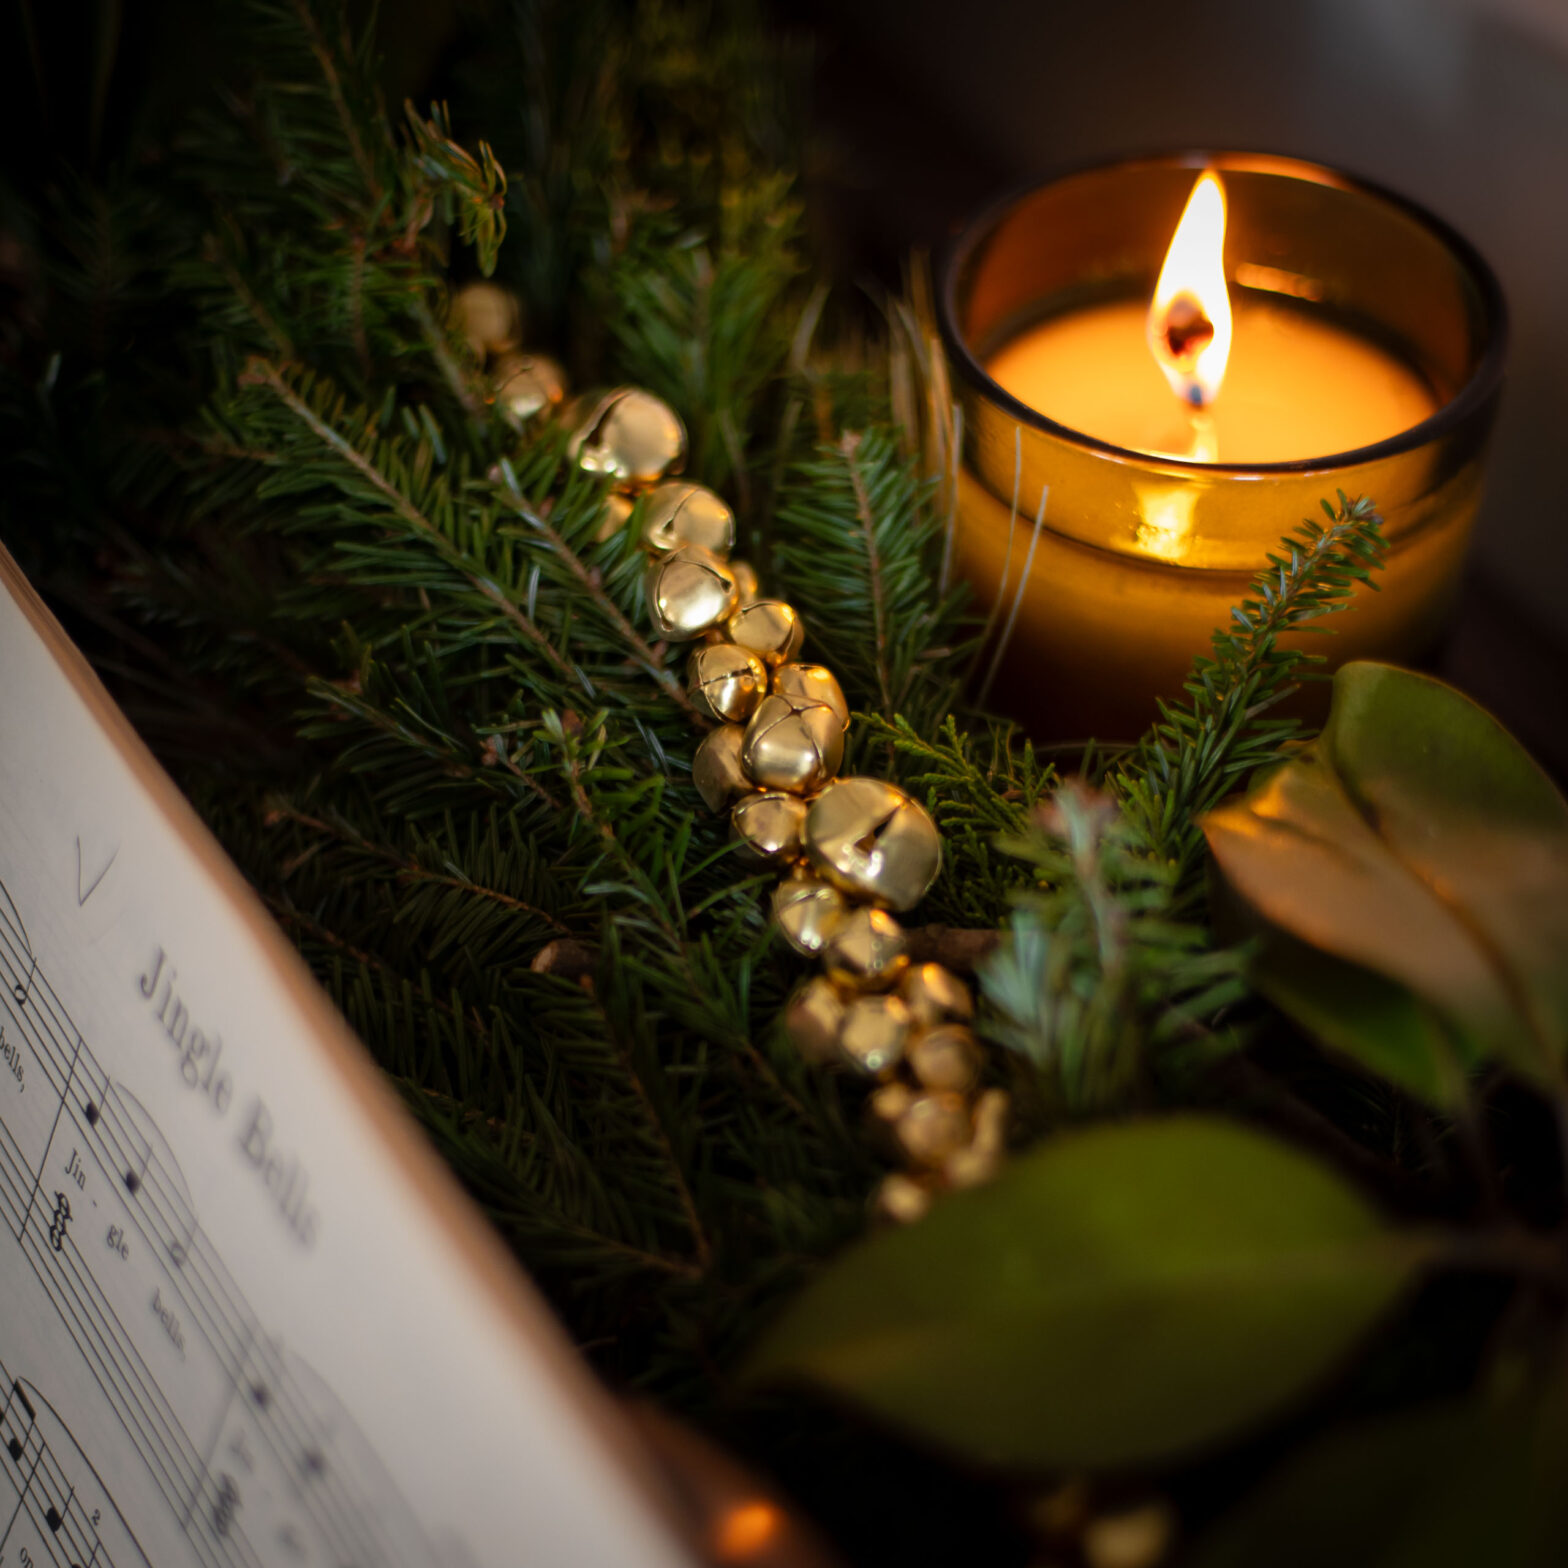
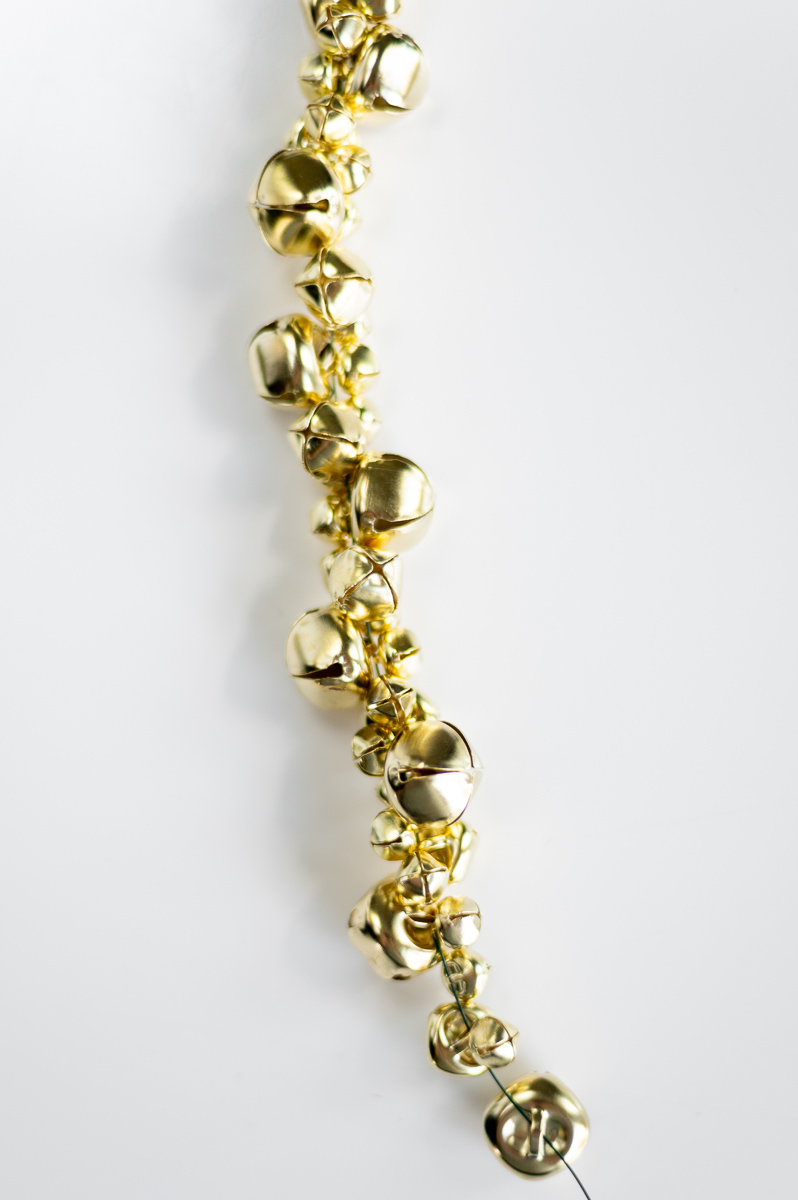
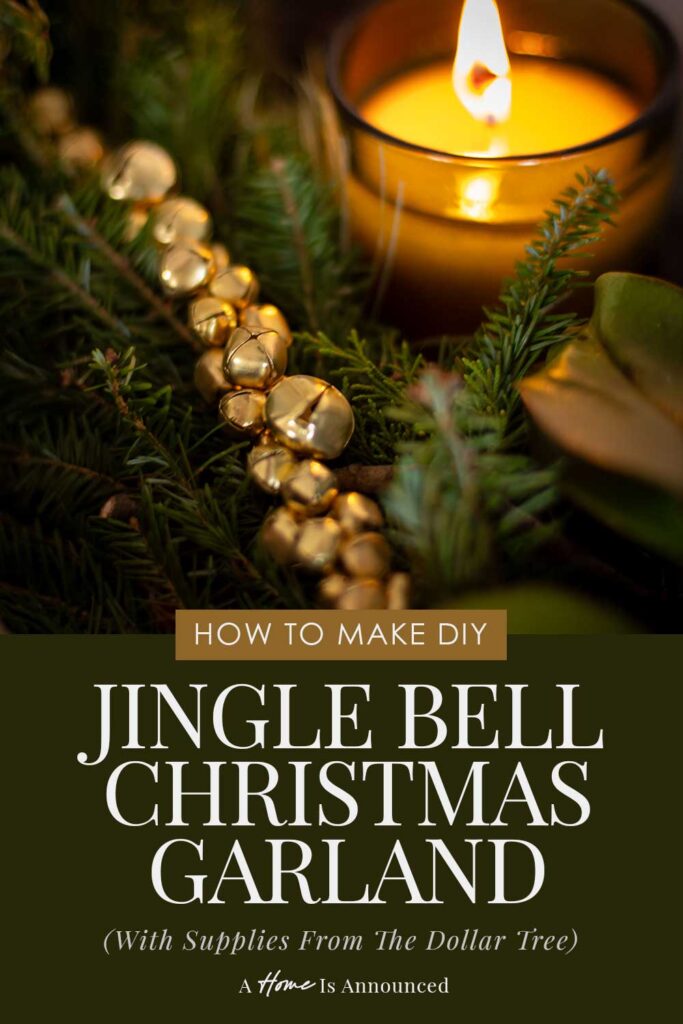
To capture a little bit of that magic, I created this DIY jingle bell garland to bring some of that cozy, old-fashioned holiday feel right into your home without spending a ton. It’s quick, simple, and very beginner-friendly (which also makes it a great project to do with kids too). The best part? Every single supply comes from The Dollar Tree! Which means you get a big festive payoff for a tiny price tag. My favorite holiday craft combo!
(This DIY jingle bell garland tutorial is just one of the budget-friendly projects from my elegant old world Christmas decor roundup, so if you want even more DIY holiday decor ideas, head there for more inspo!)
*This blog post contains affiliate links, meaning that if you purchase any of the items using the links I provide I, as the author of this website, will receive a very very small commission from that sale. This is a great way to help support your favorite bloggers at no cost to you. Think of it like a tip jar that costs you nothing!
Supplies You’ll Need To Make A DIY Jingle Bell Garland
While you can find all the supplies I used at your local Dollar Tree, I’ll also link to a few other sources for you in case you don’t have a Dollar Tree in your local area.
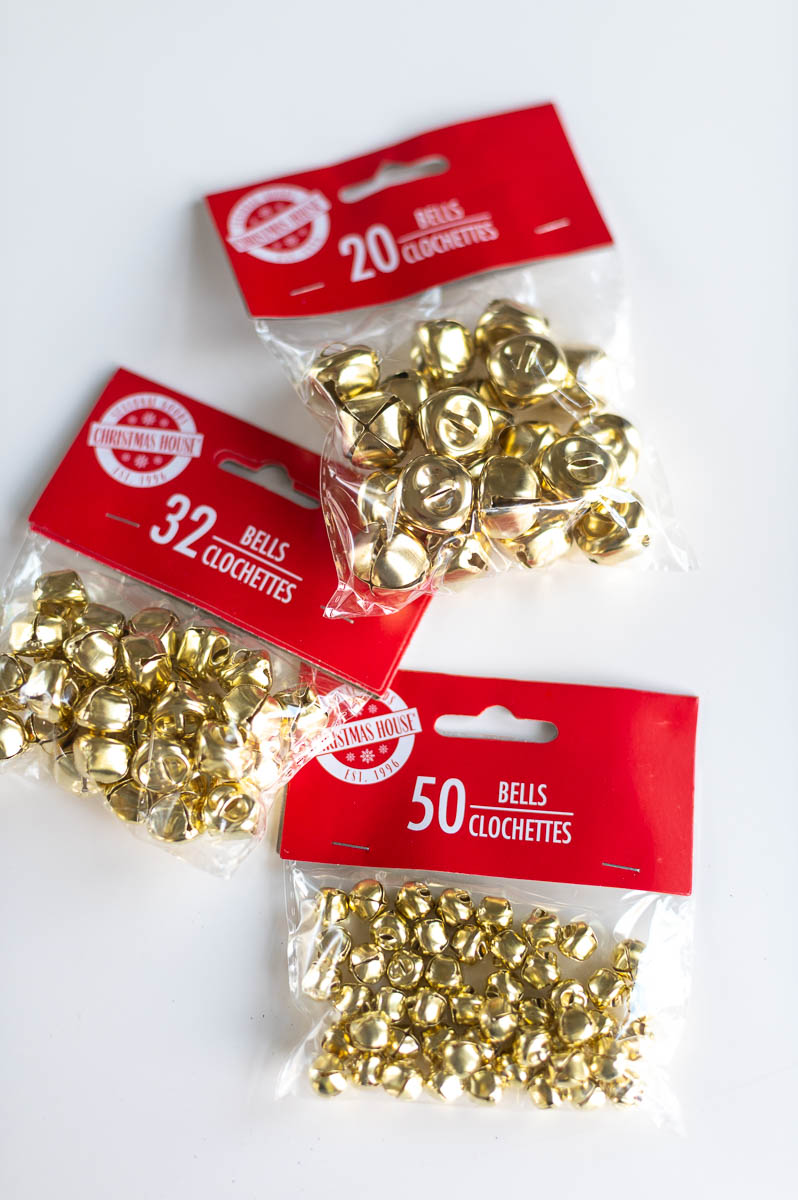

- Jingle Bells
- Be sure to buy three different sizes, small, medium & large. (I used 1/4″ small bells, 1/2″ medium bells and 3/4″ large bells in this tutorial.)
- If you’re using supplies from The Dollar Tree: 1 bag of 50 small bells, 1 bag of 32 medium bells, and 1 bag of 20 large bells will make about 18″ of garland using this tutorial.
- So if you want to make a 6 ft of jingle bell garland using this tutorial you’ll need approx: 4 bags of small bells, 3 bags of med bells, and 4 bags of large bells from The Dollar Tree.
- If you’d like to purchase your supplies online: These are the closest matches I could find to the Dollar Tree bells I used – 1/4″ bells, 1/2″ bells, 3/4″ bells
- If you’re using supplies from The Dollar Tree: 1 bag of 50 small bells, 1 bag of 32 medium bells, and 1 bag of 20 large bells will make about 18″ of garland using this tutorial.
- Be sure to buy three different sizes, small, medium & large. (I used 1/4″ small bells, 1/2″ medium bells and 3/4″ large bells in this tutorial.)
- Floral Wire (if you’re lucky you can snag gold floral wire to better match the bells!)
- If you’ll be doing this project with kids: You can make the floral wire safer for tiny hands to work with by placing a small bit of tape over the end to make the sharp wire ends safer for small helpers.
- If you’re like to purchase your supplies online: gold floral wire
How To Make DIY Jingle Bell Garland (Step-by-Step Tutorial)
Gold jingle bell garland like this one from Williams Sonoma, can run you upwards of $50. Using this DIY jingle bell garland tutorial, you can make THAT SAME garland for around $16.50. Here’s how to do it.
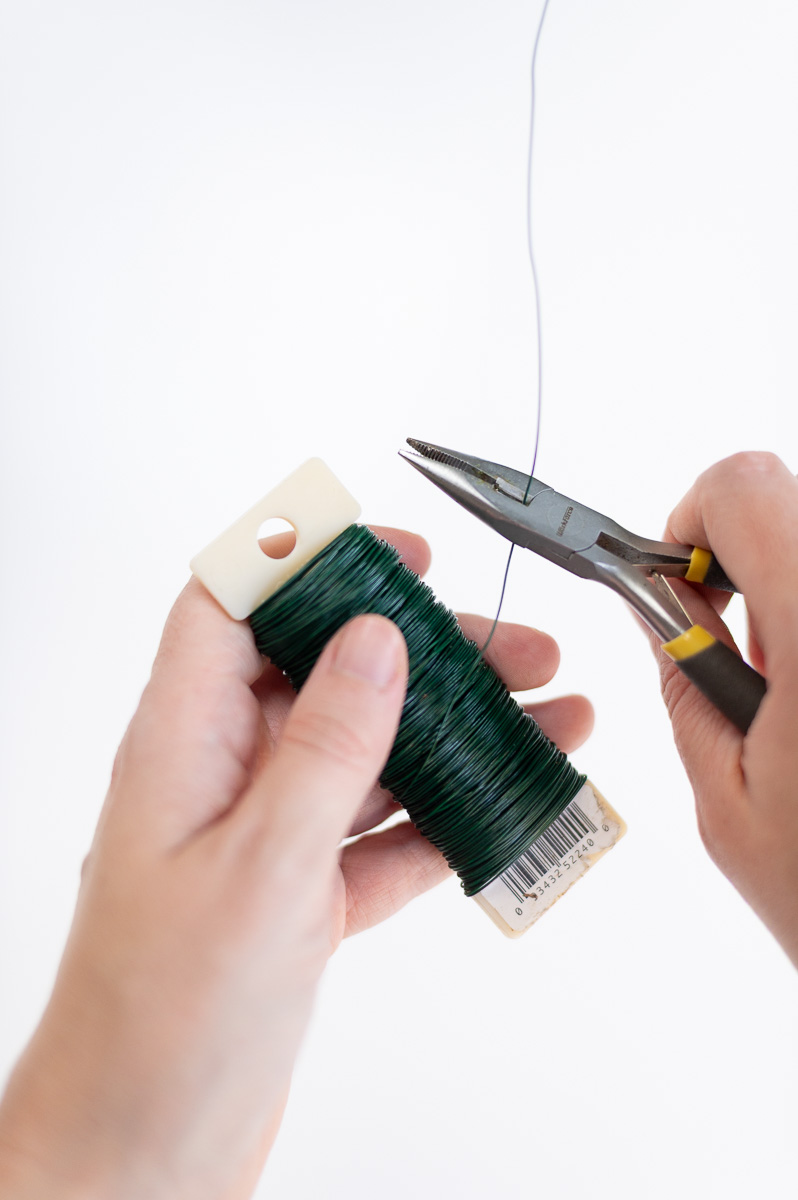
Step One: Prepare Your Jingle Bell Garland Wire
Before we can start stringing bells, we first need to measure out our wire to the length we’d like our final garland to be. (Add about 6-12″ of extra length for creating the loops at the start and end of your garland). Cut the wire, and prepare the end by twisting a small loop onto it. (You can use this loop to help hang the garland later)


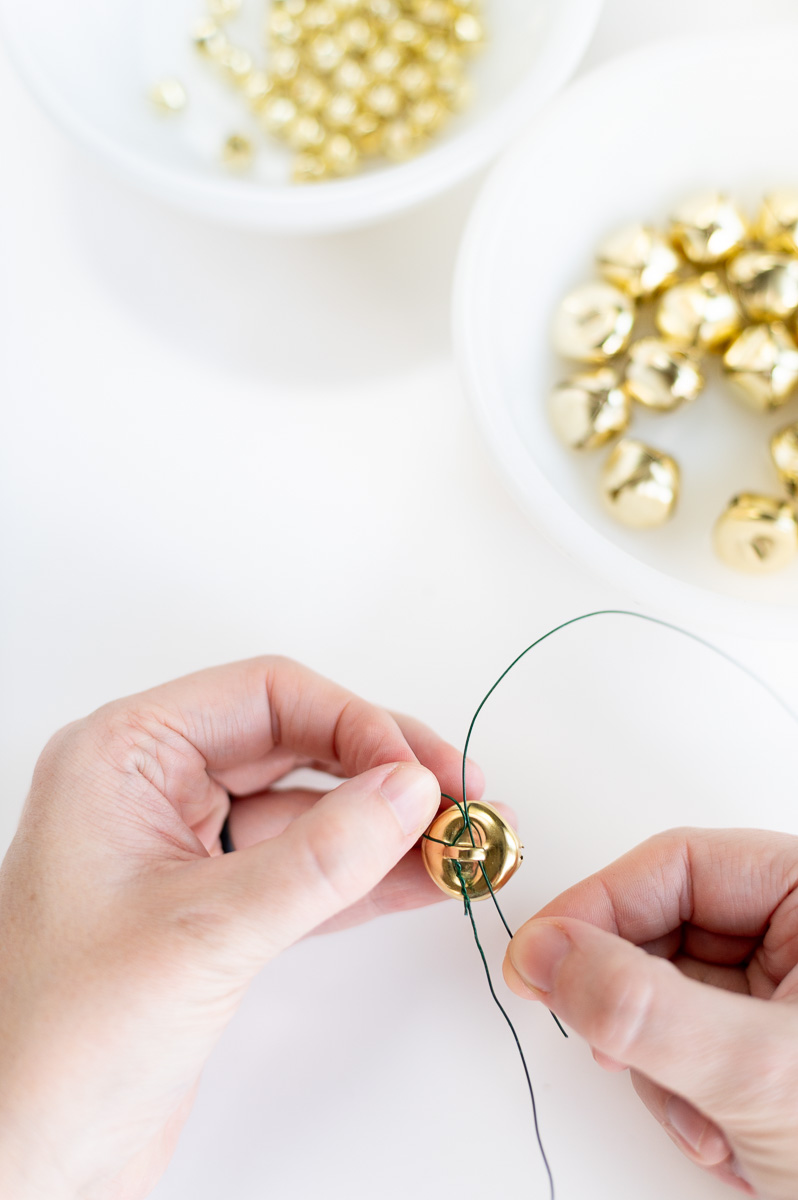
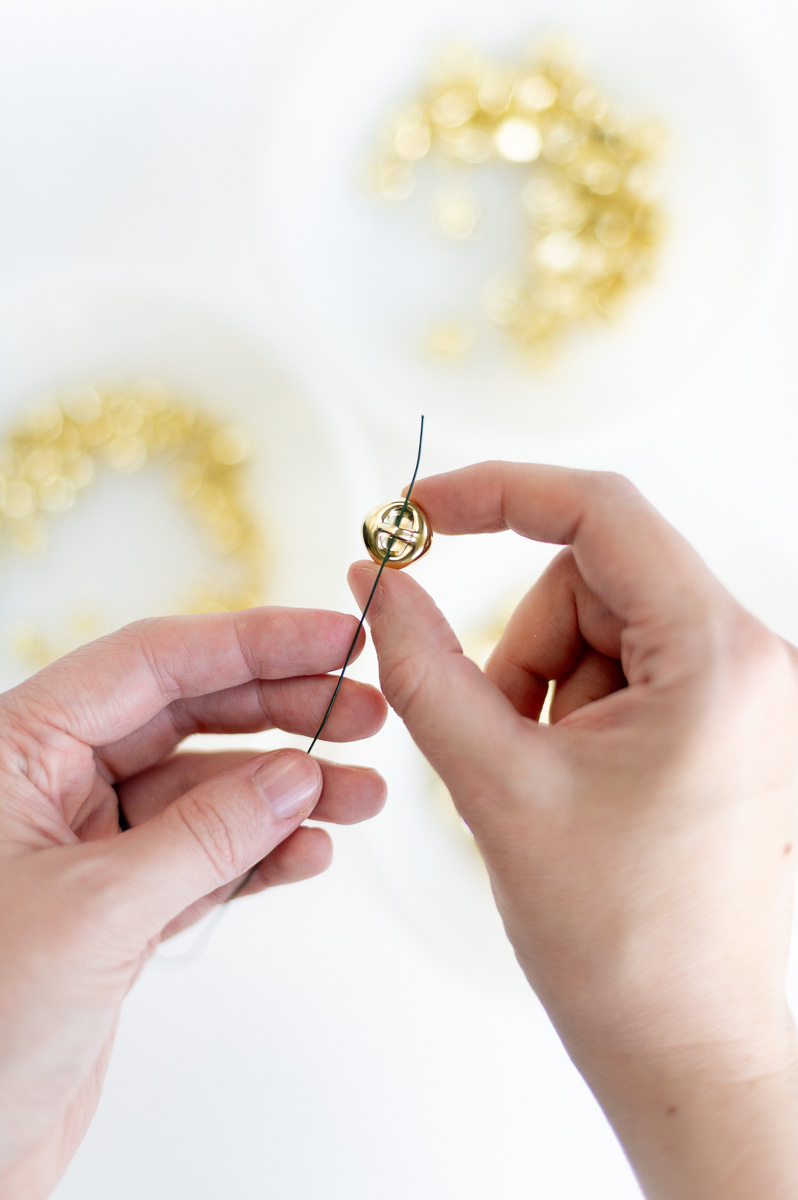
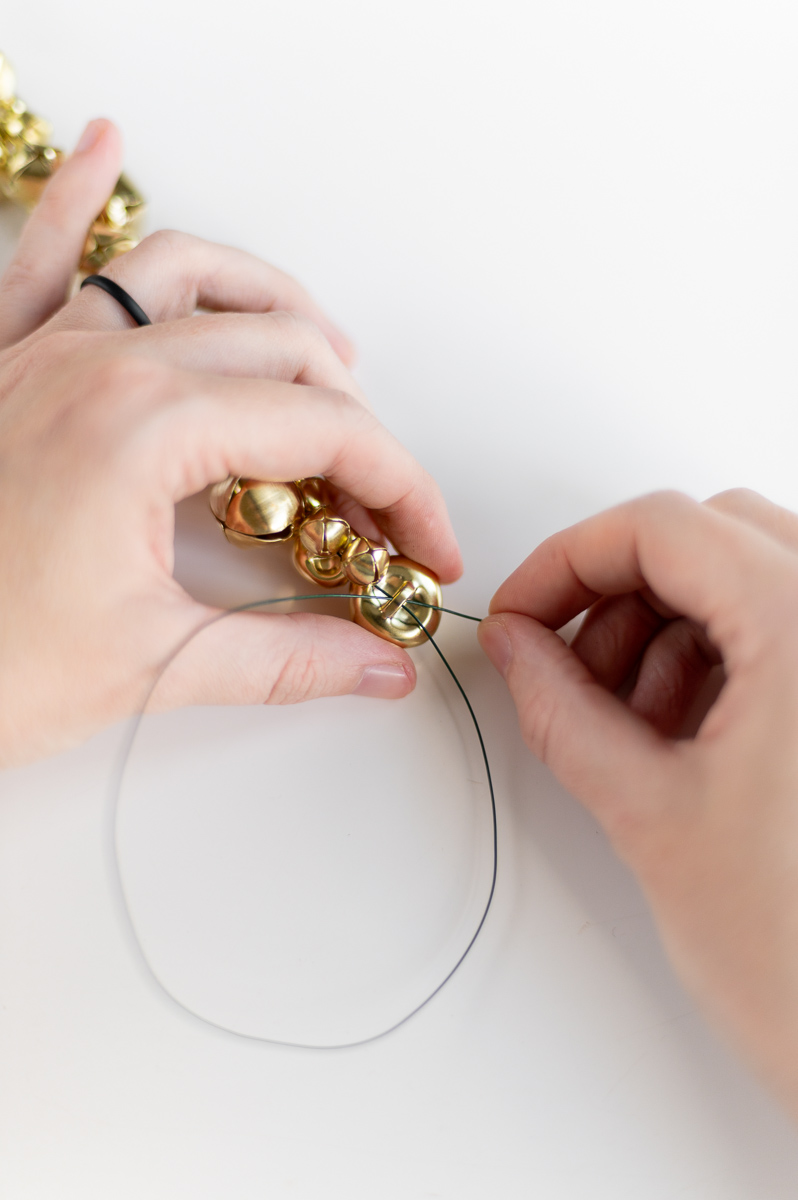
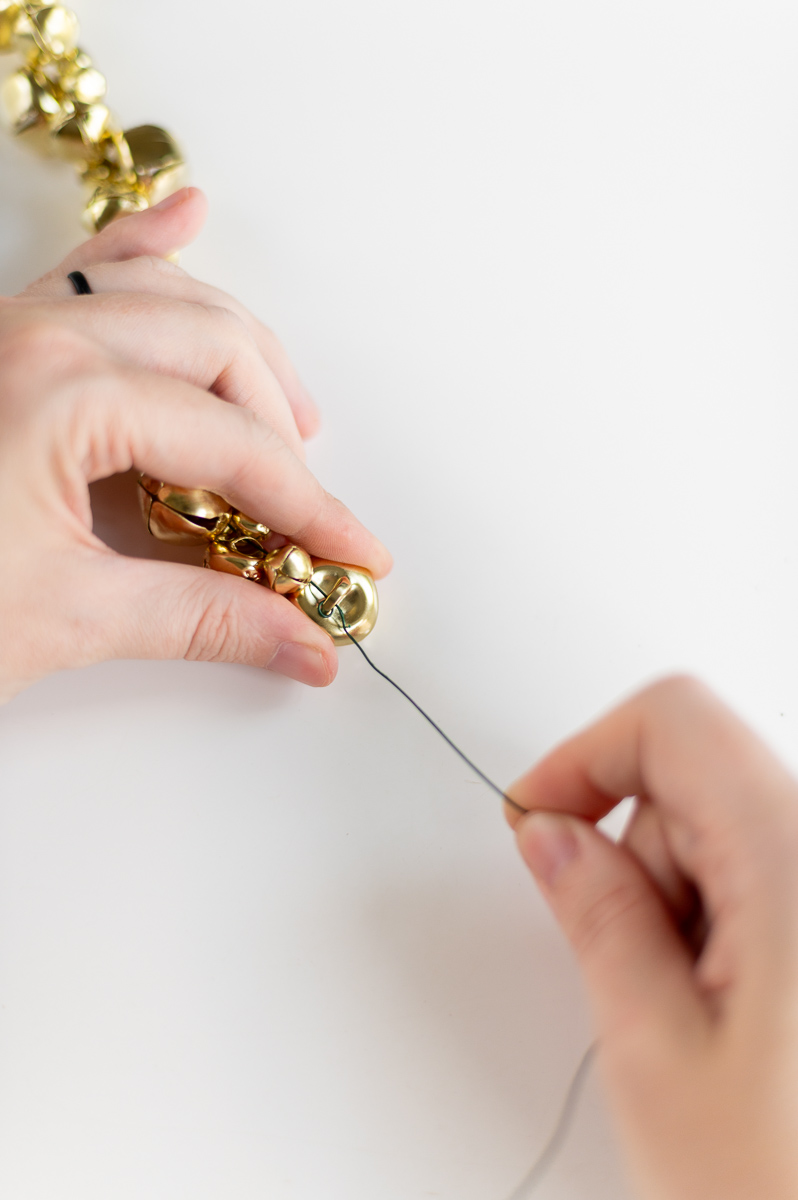
Step Two: Thread Your First Jingle Bell On & Secure It
Once your garland wire is prepared, you’ll start your garland by threading one of the large jingle bells on and sliding all the way down to the loop we just made.
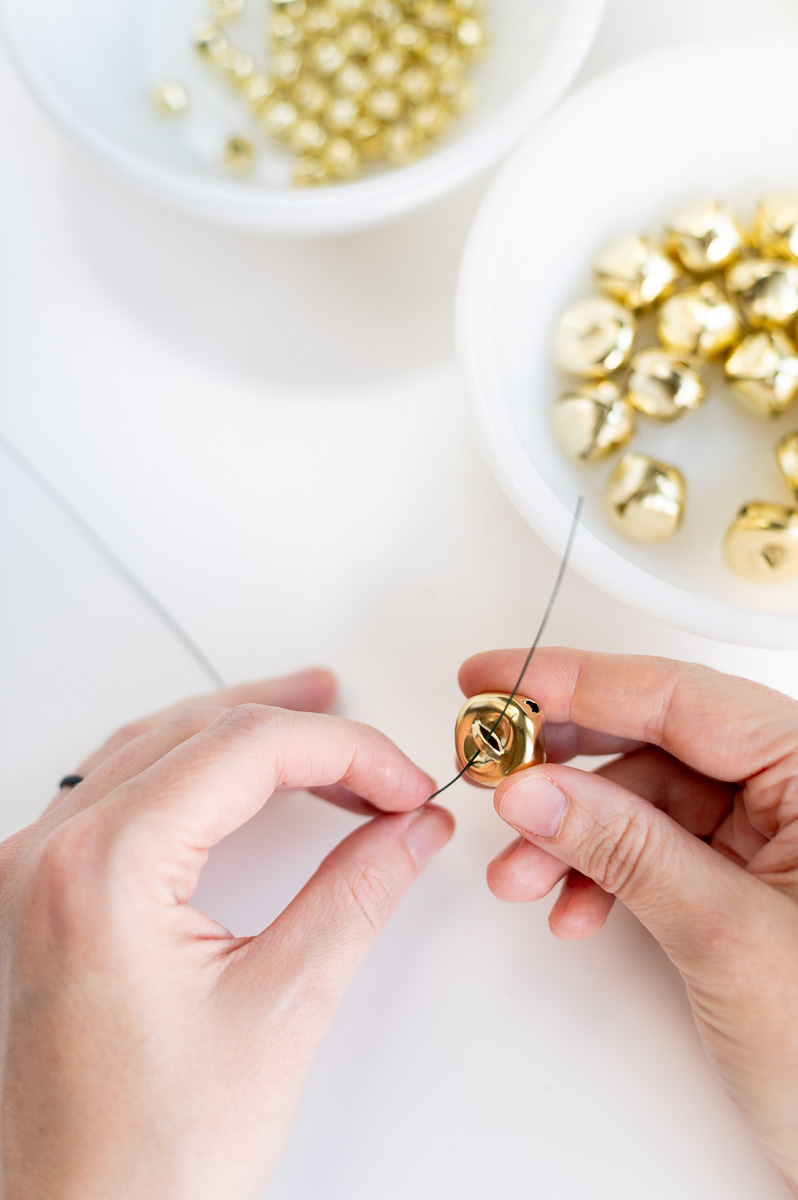
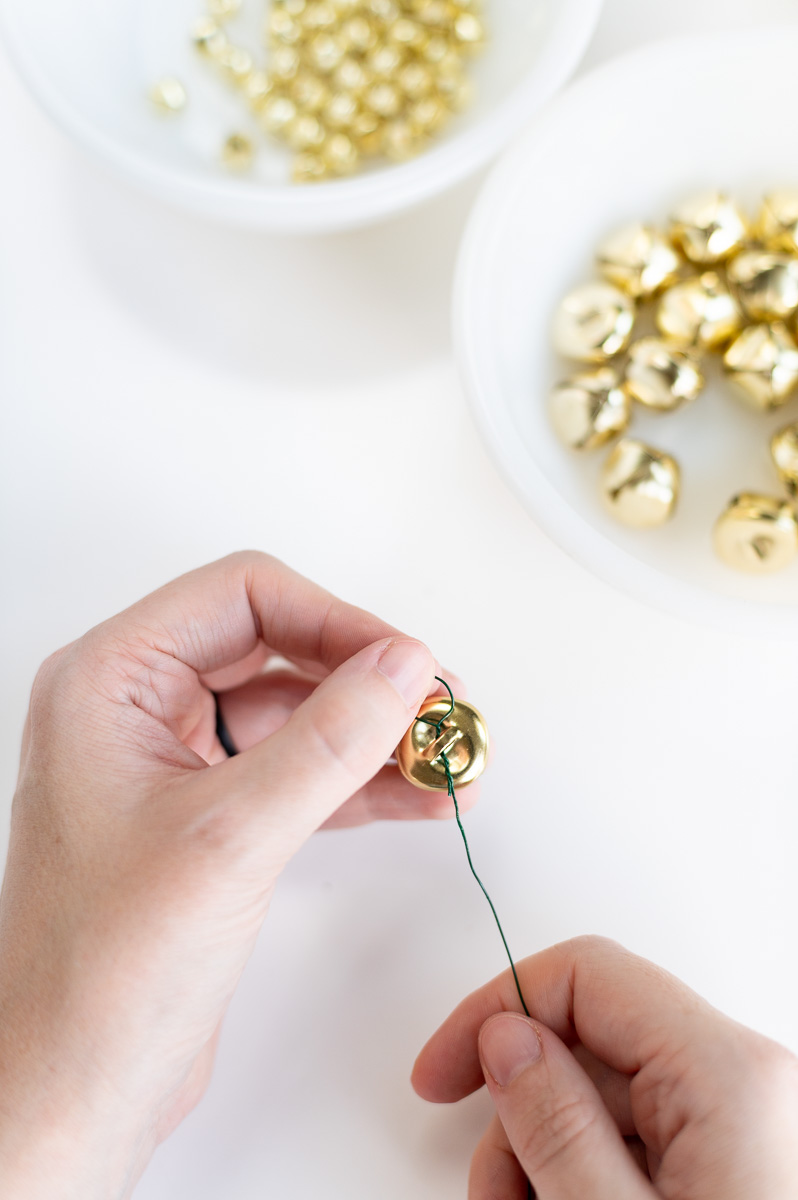
Next we’re going to secure the bell to the wire by looping the end of our garland wire back through the jingle bell a second time and pulling the wire tight.
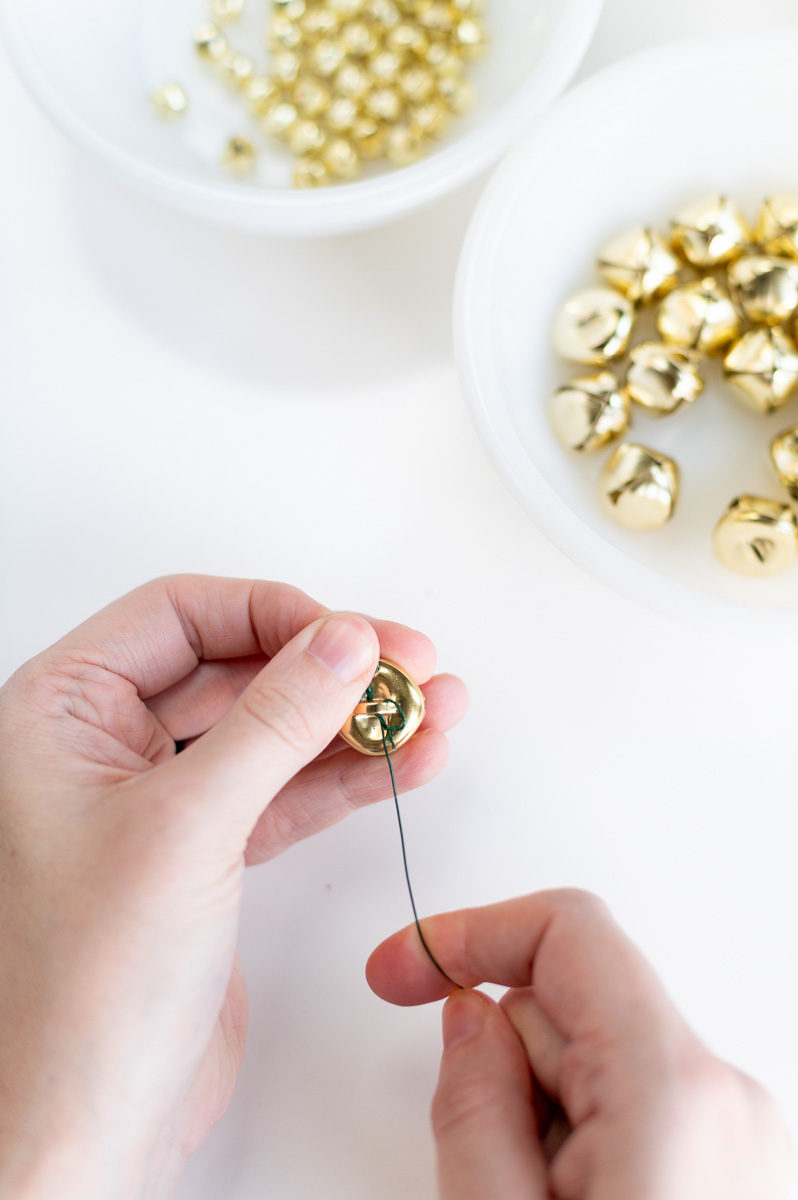
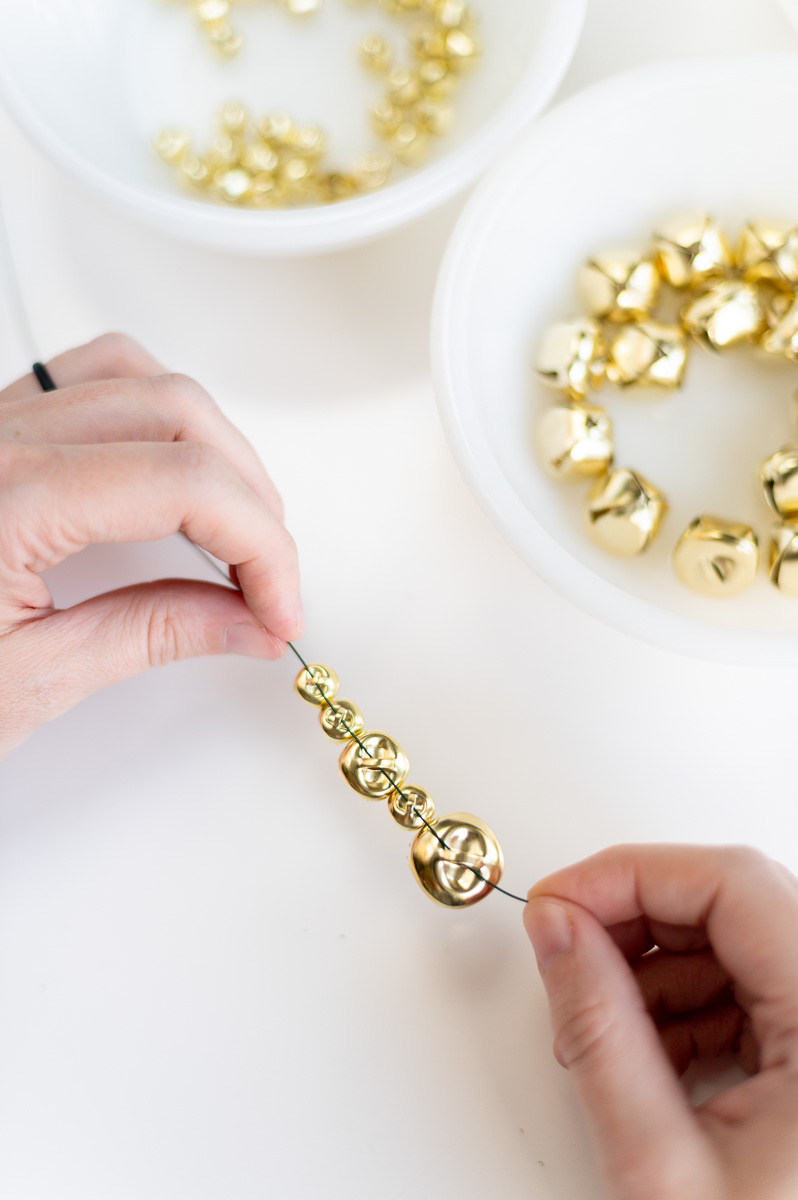
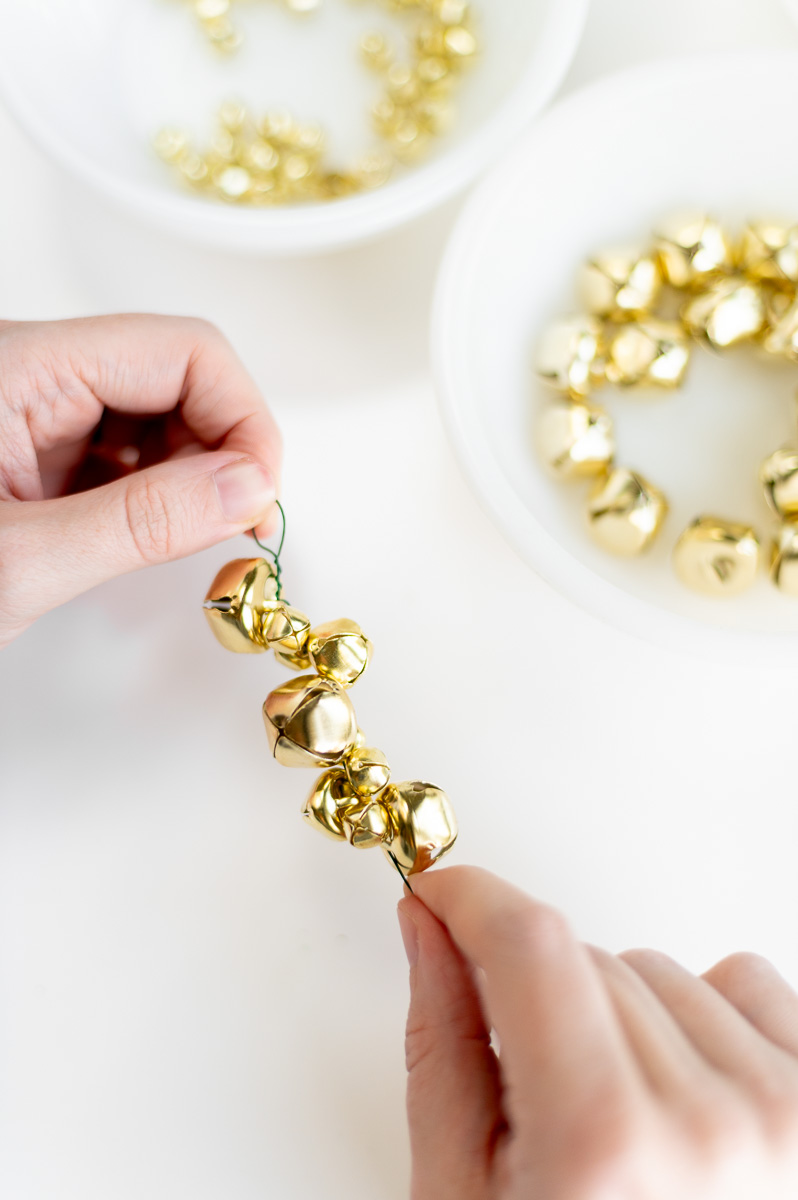
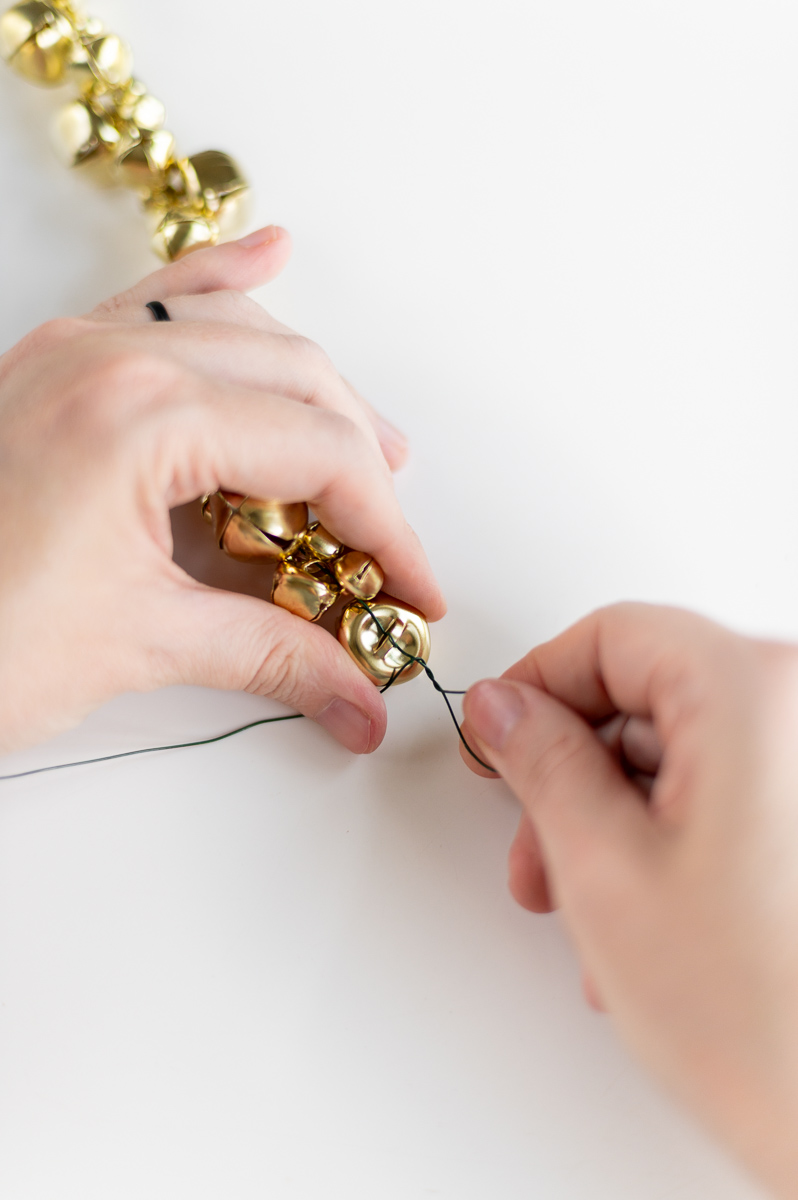
Step Three: Continue To Thread On Jingle Bells To Create Your DIY Garland
After your first jingle bell is secured you can continue stringing on jingle bells until your garland reaches your desired length.
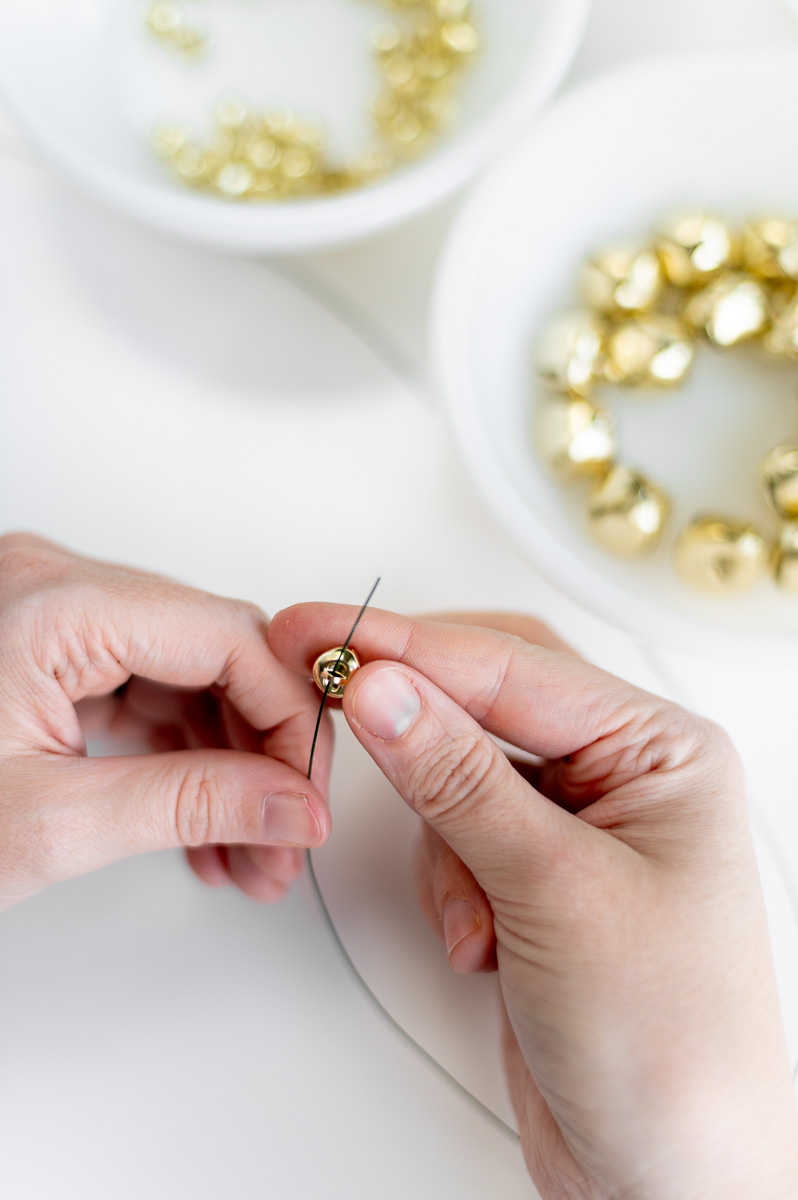
You can string your bells on in whatever pattern you like. The pattern I used was Small – Small – Medium – Small – Large. (Placing small bells between the larger bells helps them nestle together better, I found.)
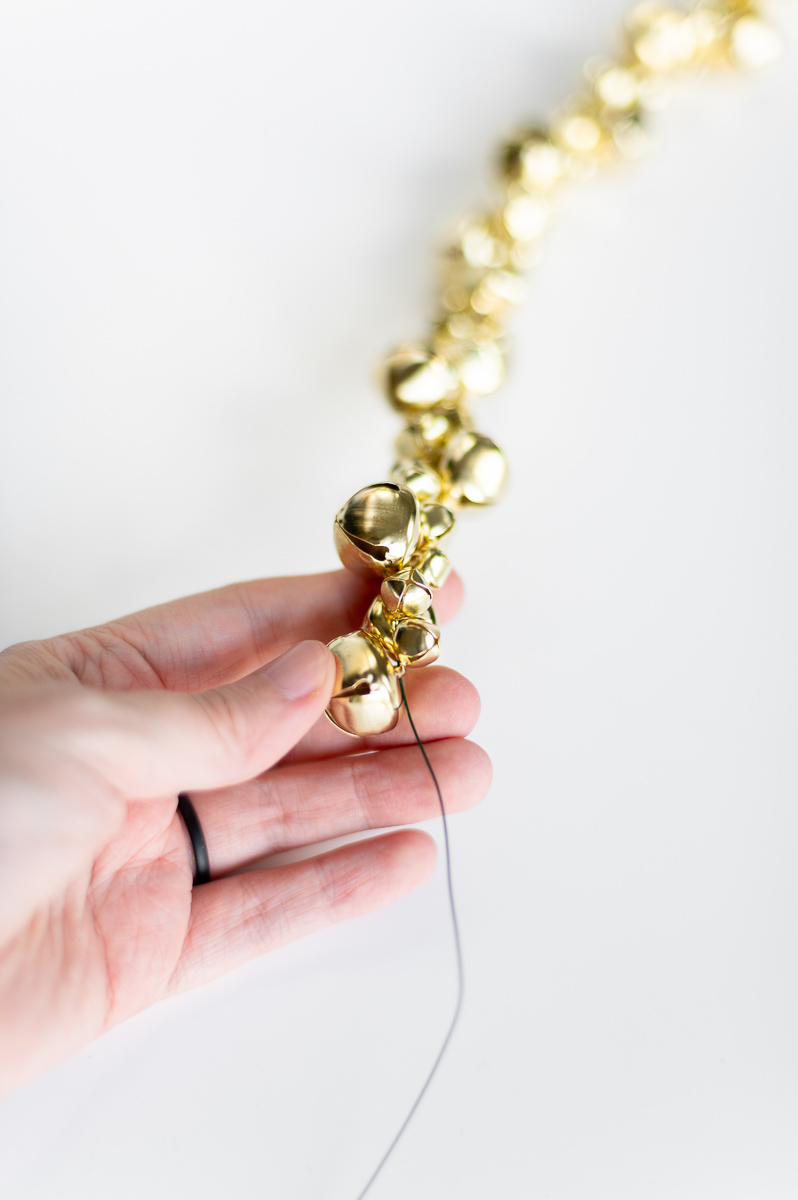
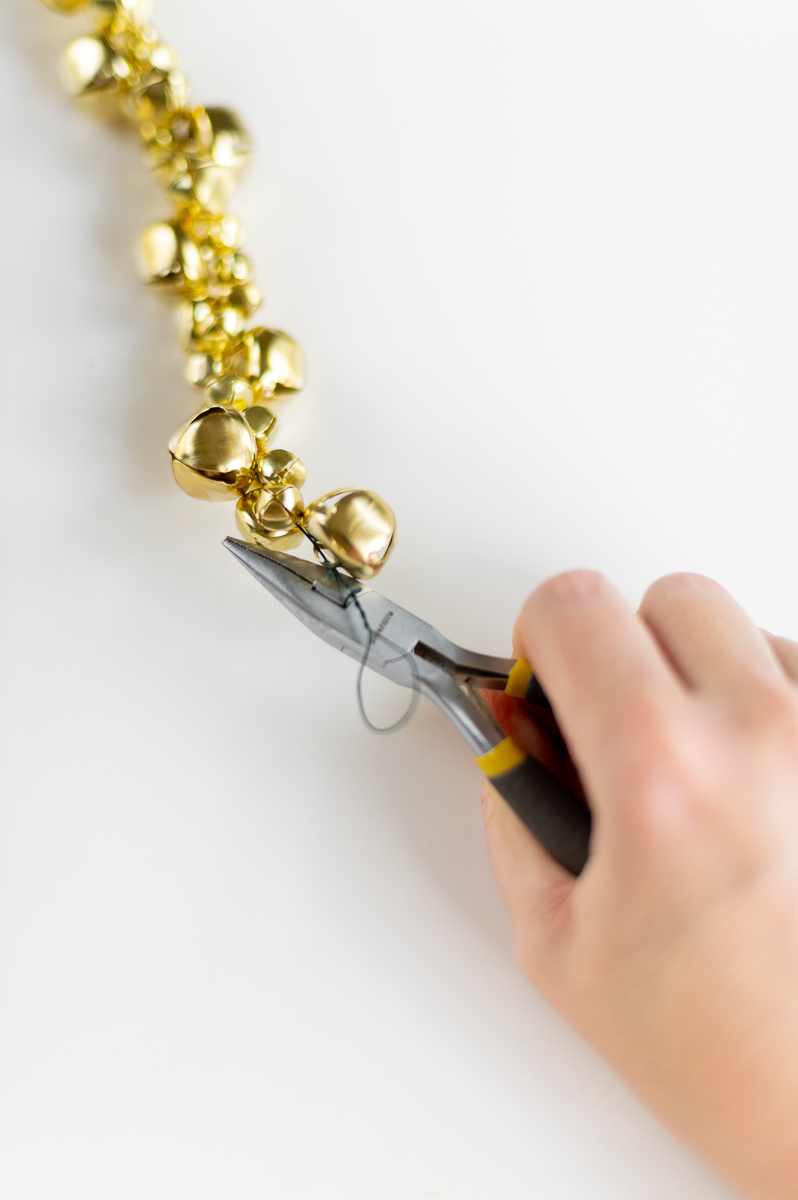
Step Four: Finish Your Christmas Garland By Securing Your Final Bell & Twisting Another Loop On The End
Once you’ve reached the end of your DIY jingle bell garland, you’ll finish your garland off the same way that we started by looping your wire through a large bell for a second time and pulling it tight to secure it to the wire. Then you’ll fold the end of the wire over and twist to make a matching loop on this end as well. Now trim off any leftover wire and you’re all done!
Final Thoughts
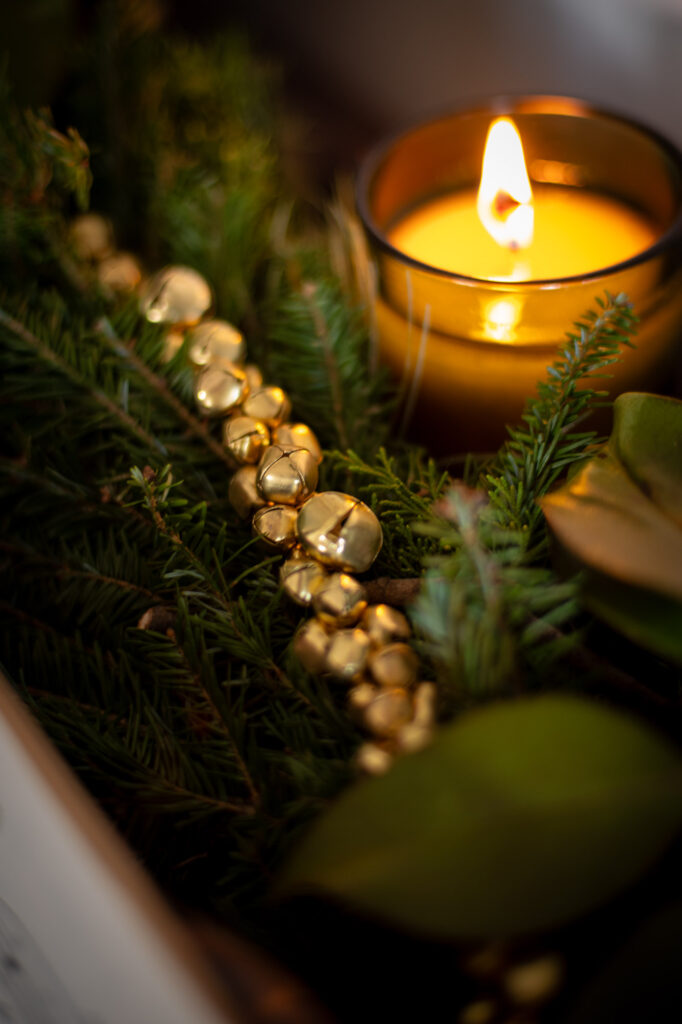
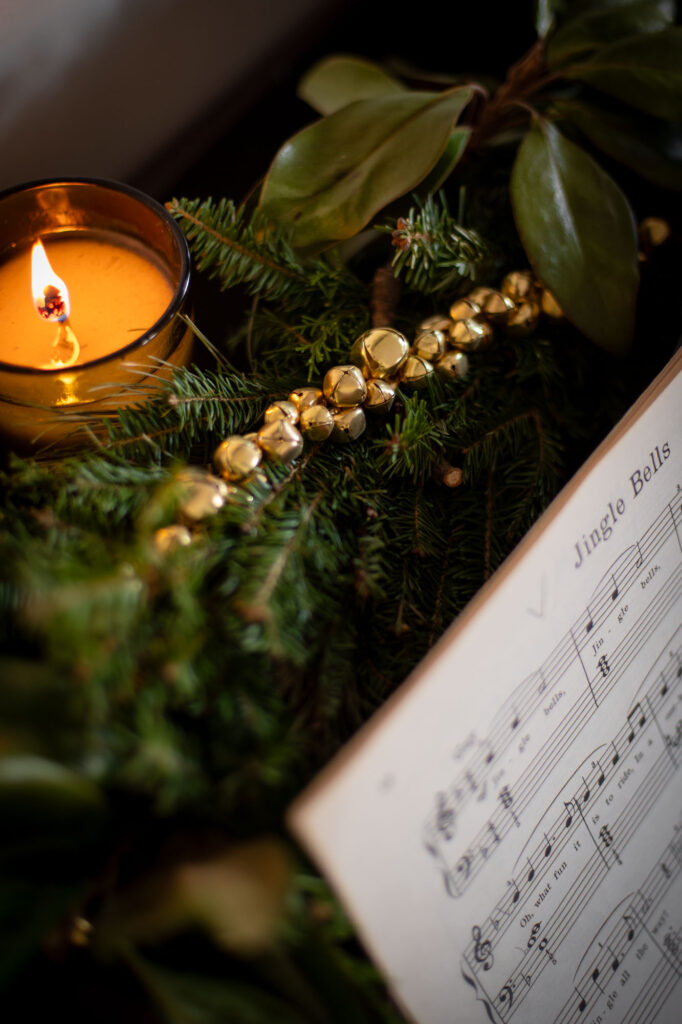
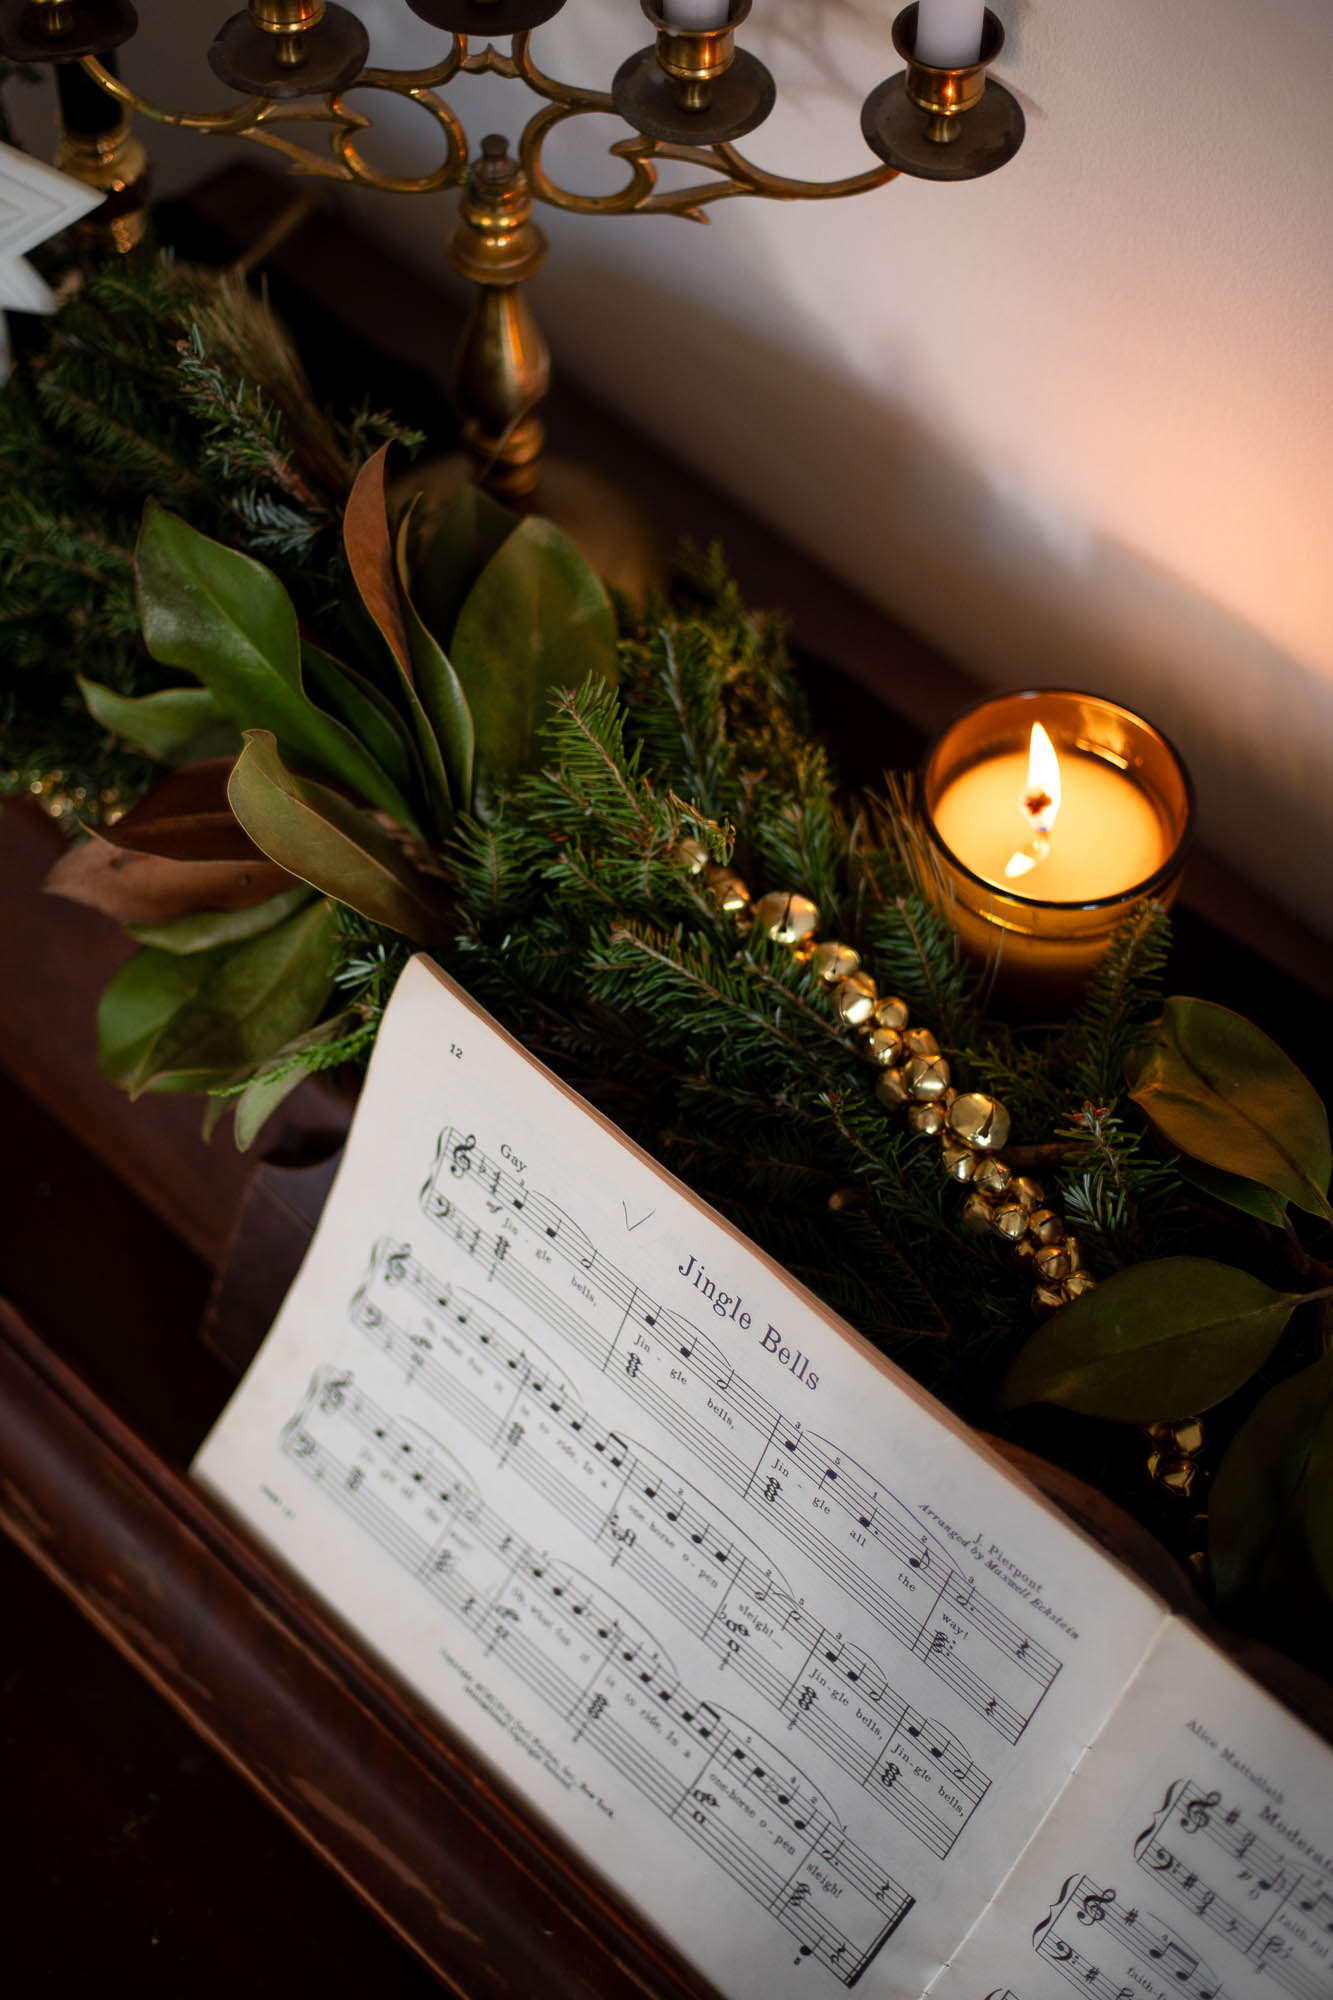
I love this DIY jingle bell garland because it’s affordable, easy to make and the end product looks way more expensive than it cost to create. Not to mention the fact that jingle bells are classic and this garland will last you for years to come. Which is more than I can say about the popcorn garland I made one year…


If you liked this post, be sure and check out my DIY evergreen garland, DIY evergreen Christmas wreath, and orange Christmas pomanders tutorials!
Don’t Forget To Pin This Post & Subscribe!
Want to keep getting more DIY home decor inspiration, thrifting tips & tricks, free art downloads, reading recommendations, and home renovation tutorials? Then don’t forget to pin this post for later so you can follow me on Pinterest and then subscribe to my blog so you can get links to my newest content as soon as it hits the blog!