When we were prepping for our Ralph Lauren inspired bonfire party, I stumbled upon a package of leftover charcuterie cups from a previous party and it dawned on me: why not use these to create individual s’mores kits for my guests!?
Why are these not more of a thing!? They turned out so cute!
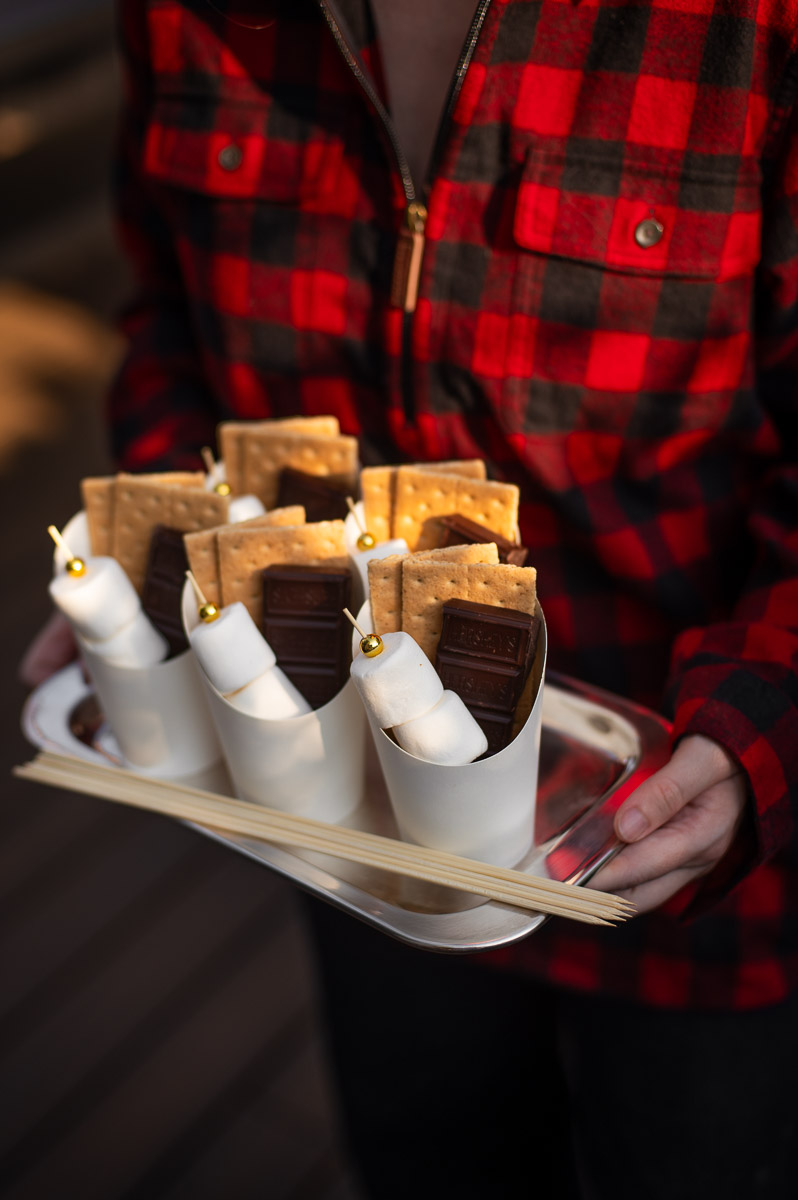
These diy s’mores charcuterie cups are super quick and easy to assemble. I love that you can do most of the prep-work ahead of your event and that they enable you to quickly pass out individual portions of ready-to-roast s’mores to your guests.
They truly are the easy s’mores dessert every backyard summer BBQ party, camping themed birthday or casual bonfire party needs for roasting over the firepit in the evening.
*This blog post contains affiliate links, meaning that if you purchase any of the items using the links I provide I, as the author of this website, will receive a very very small commission from that sale. This is a great way to help support your favorite bloggers at no cost to you. Think of it like a tip jar that costs you nothing!
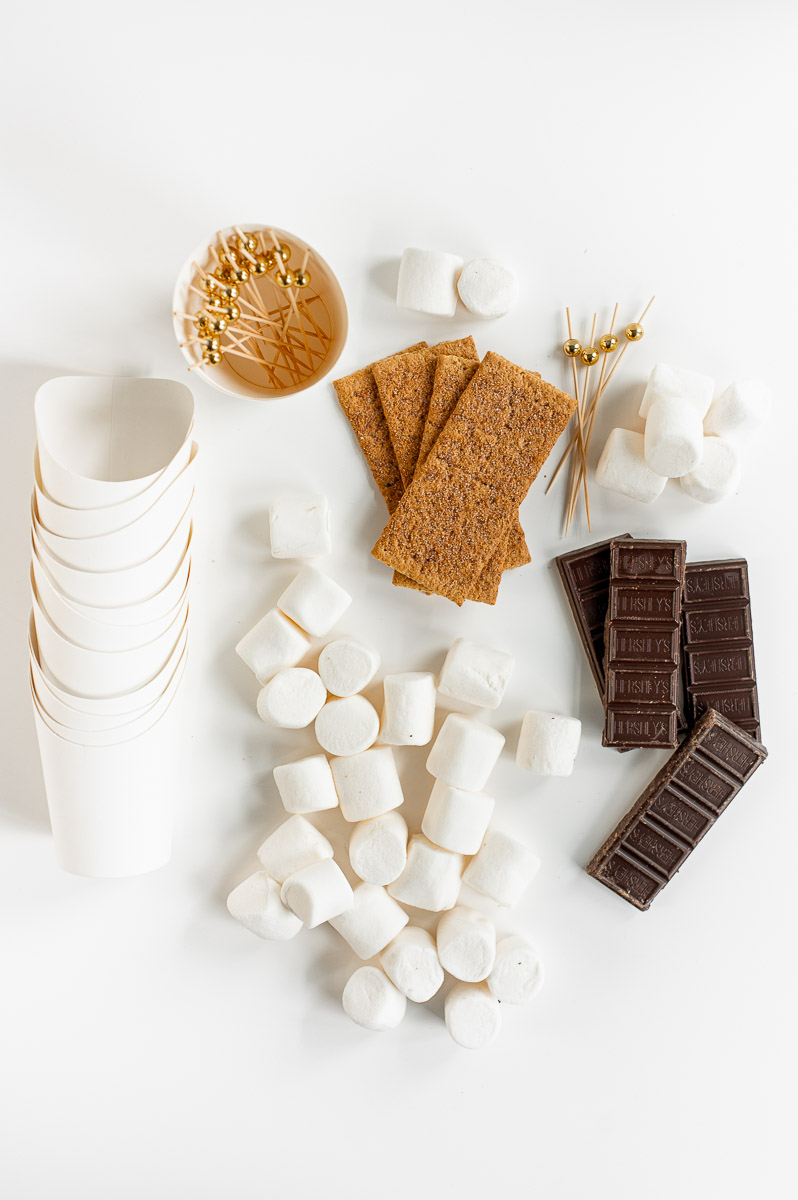
What You’ll Need for Your S’mores Cups
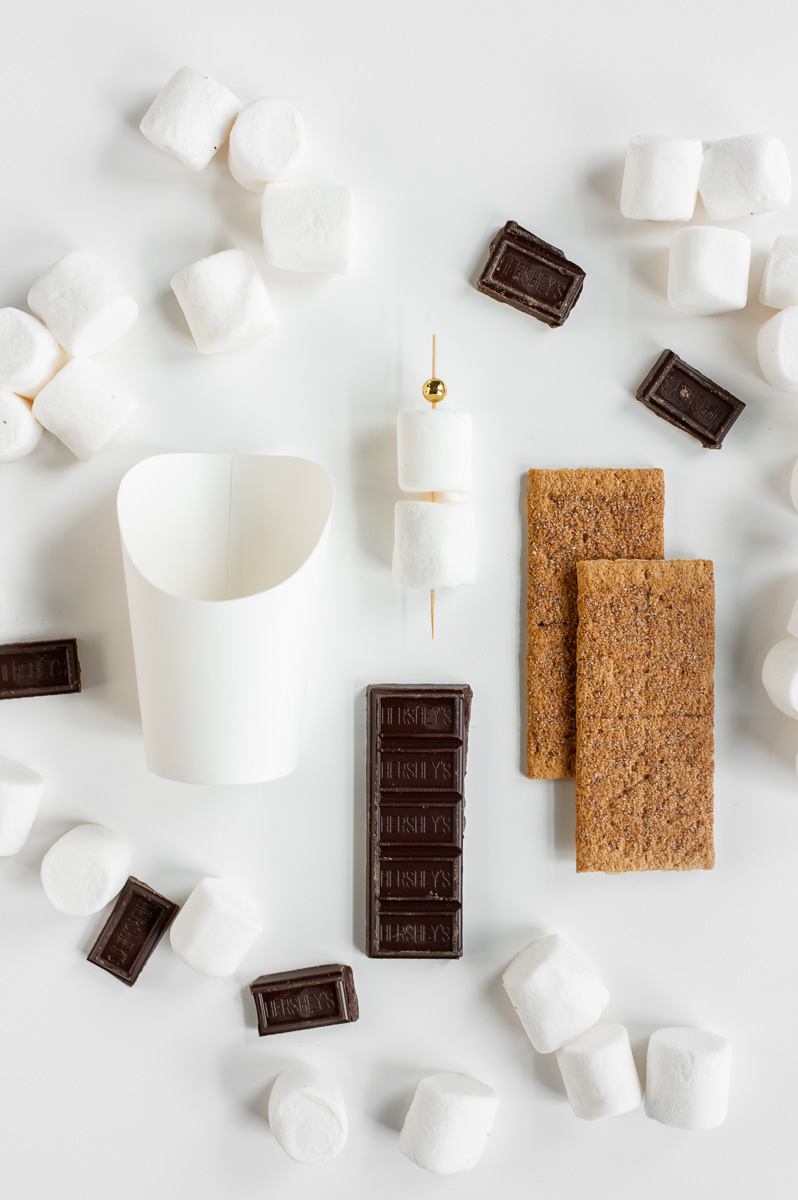
While these DIY s’mores kits are incredibly easy to customize, the base ingredients you’ll need are:
- Charcuterie Cups – I like that this set I used comes with skewers!
- Skewers – If your cups didn’t come with them
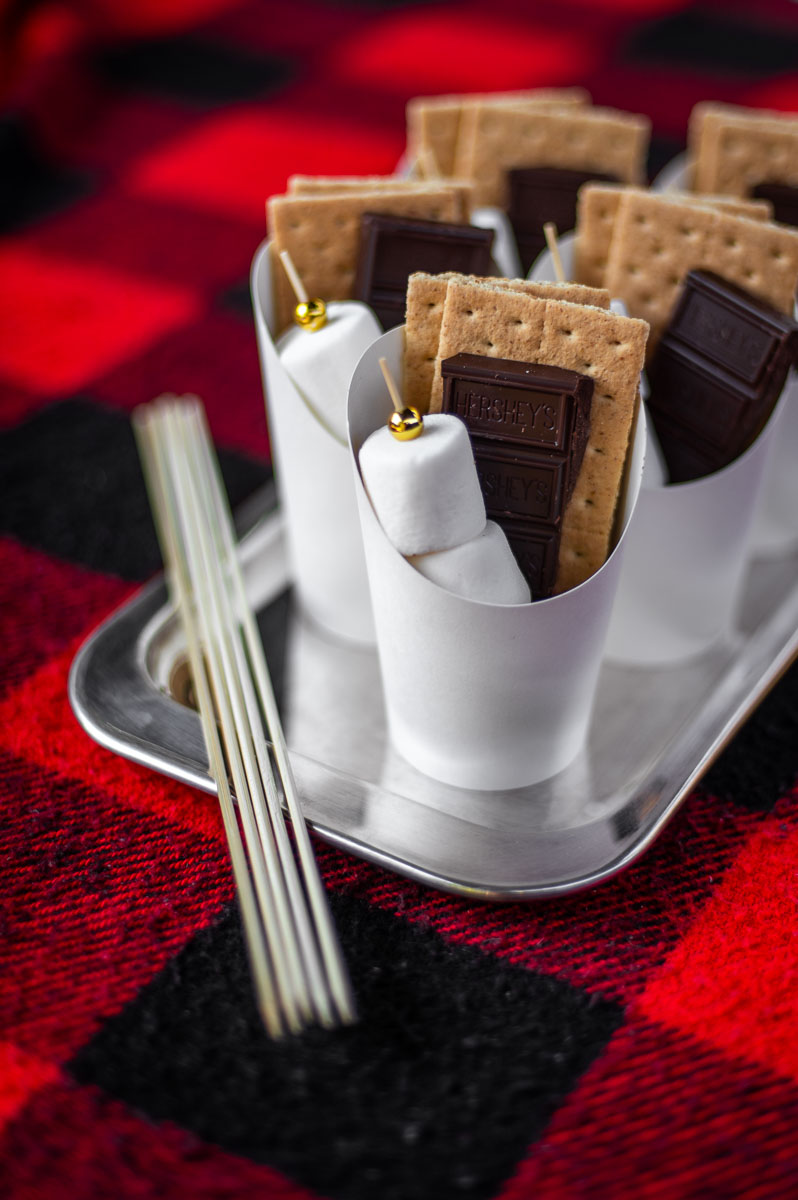
- Chocolate – I used these “giant” Hershey’s dark chocolate candy bars
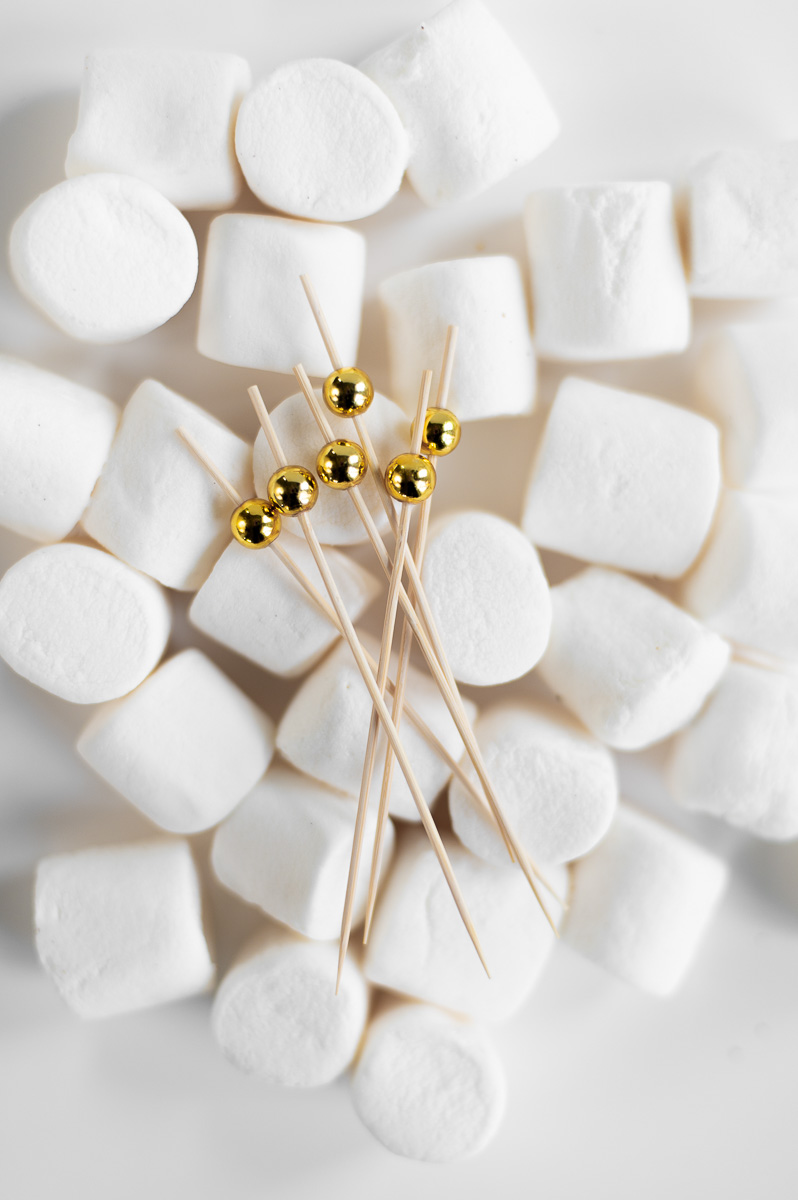
- Marshmallows – The large round ones work best for this, I found
- Graham Crackers – In whatever flavor you like best!
How to Make S’mores Charcuterie Cups
These easy summer dessert cups are so simple to assemble with only some very minor prep needed. For my cups I chose to include enough supplies for each person to make two s’mores.
Step One: Break Your Chocolate Into Strips
If you use the same “giant” Hershey’s chocolate candy bars I did, you’ll simply need to break the bar down into strips. Each strip has 5 chocolate squares, which is more than enough to create two s’mores out of.
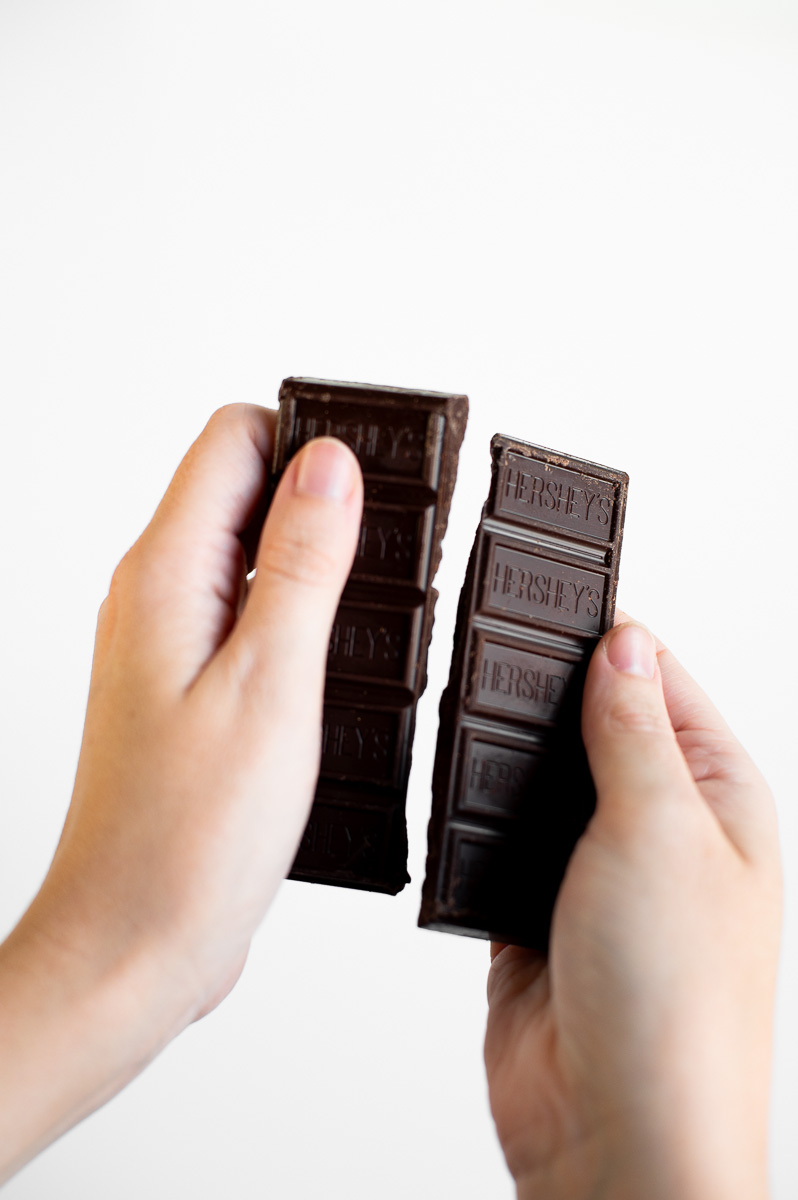
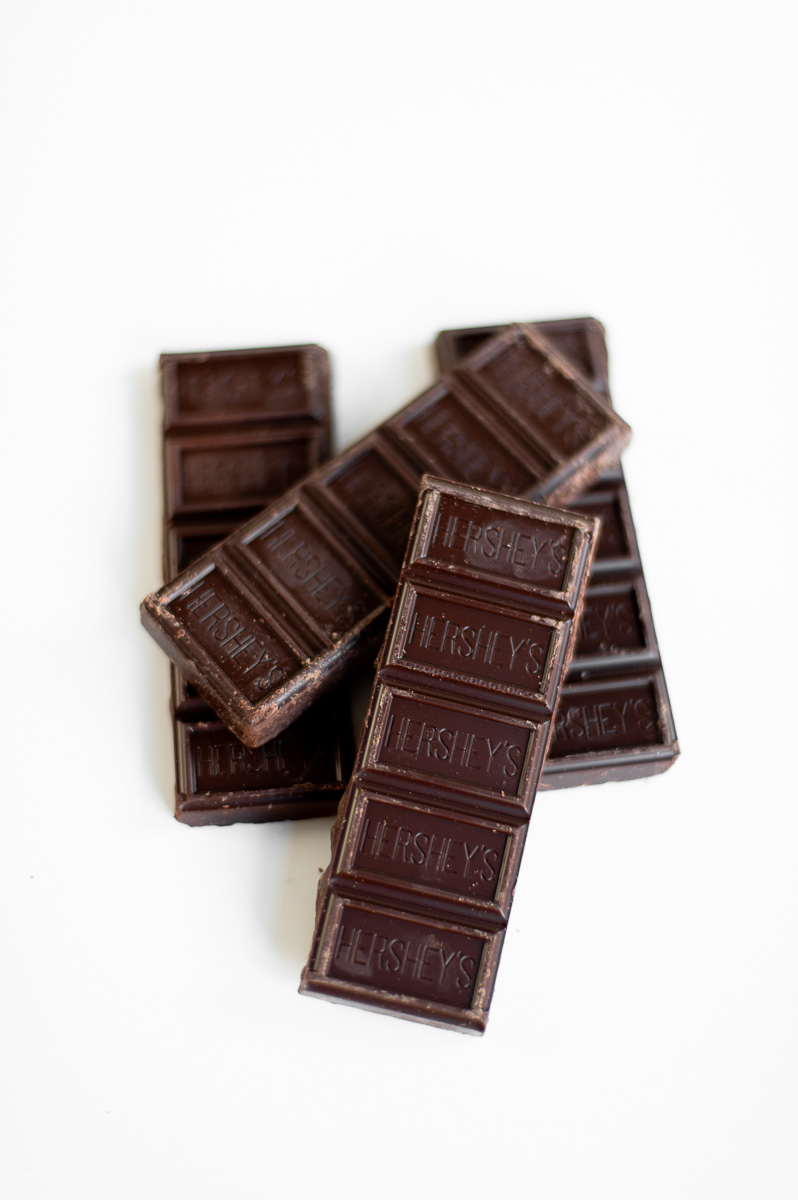
Pro Tip: If you want “perfect” strips, heat up the blade of a sharp knife in boiling water, then use it to slice through your chocolate bar.
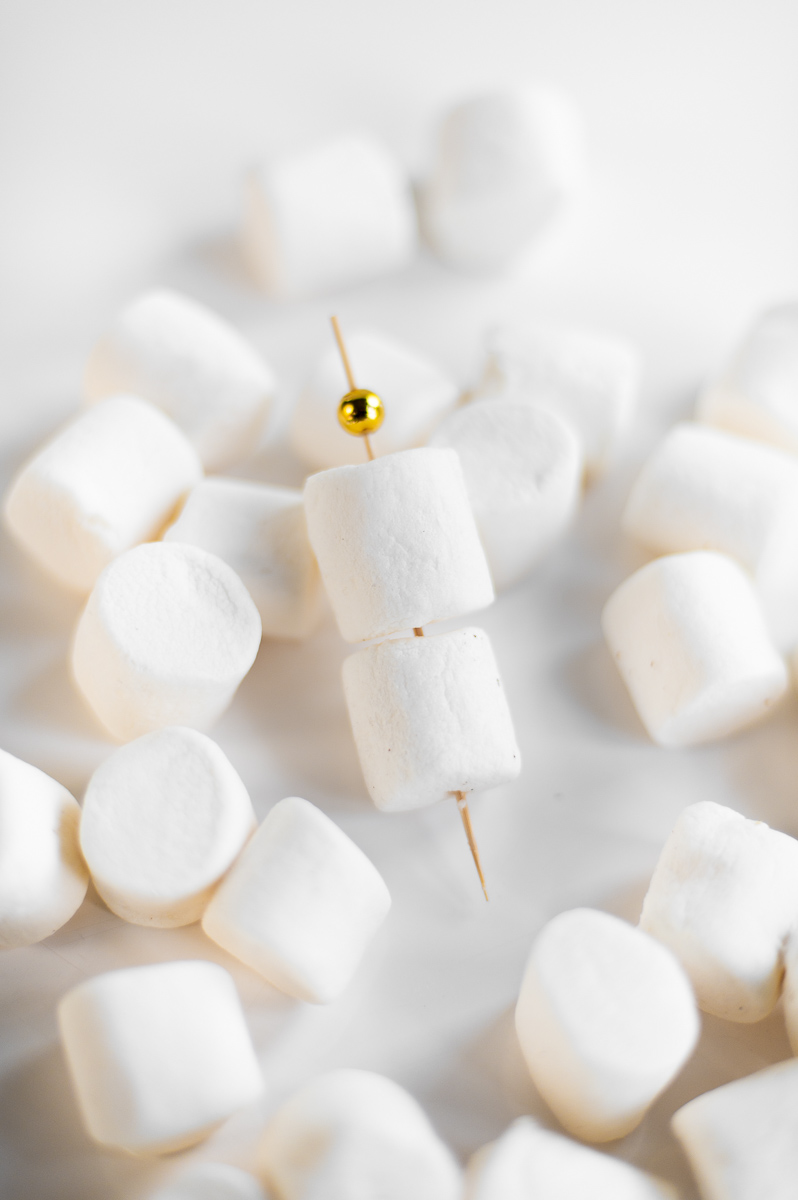
Step Two: Skewer Your Marshmallows
Next you’ll need to skewer your large toasting marshmallow onto your skewer sticks. I included 2 marshmallows in each of my s’mores charcuterie cups but you could fit 3 if you wanted to.
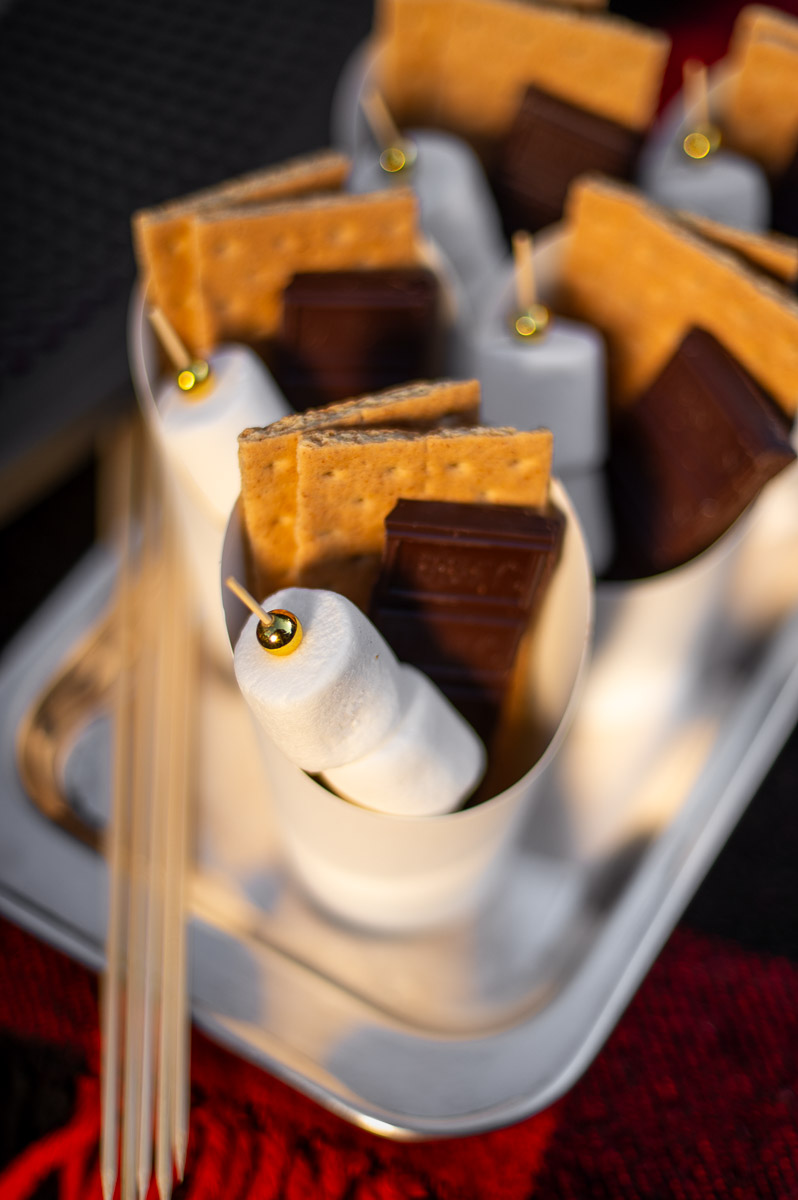
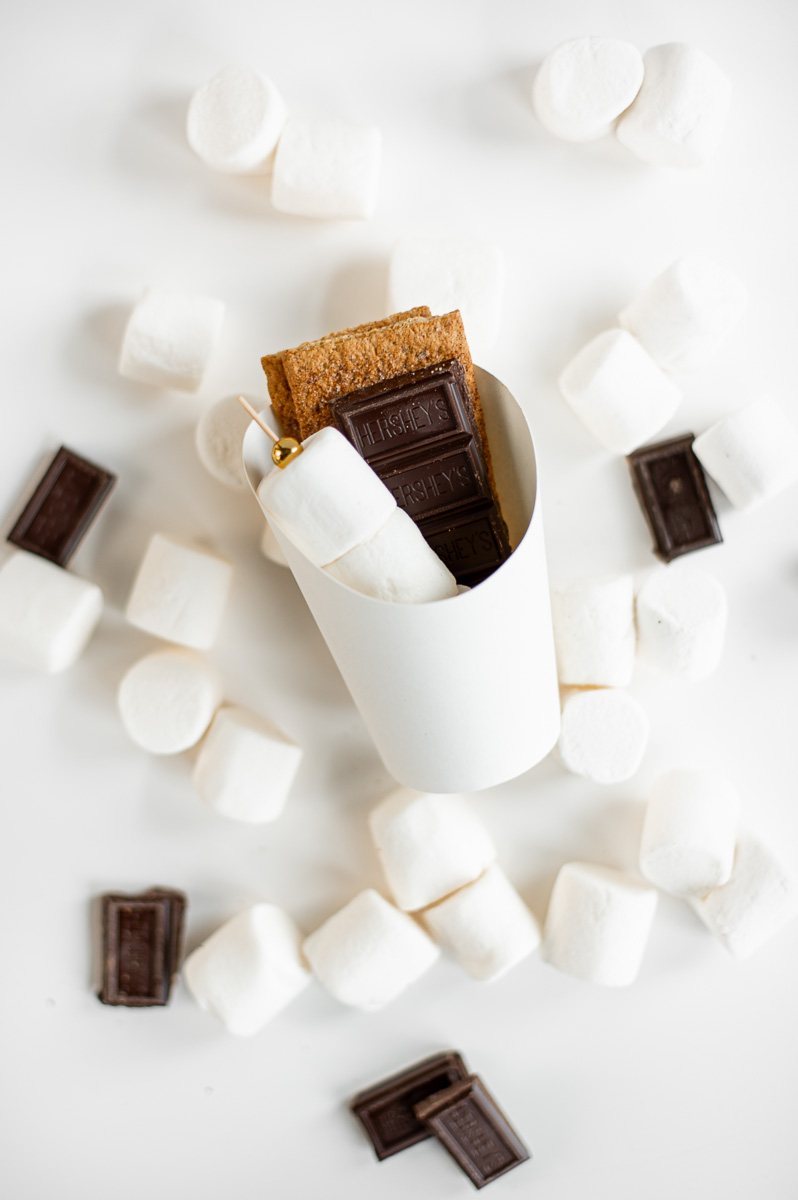
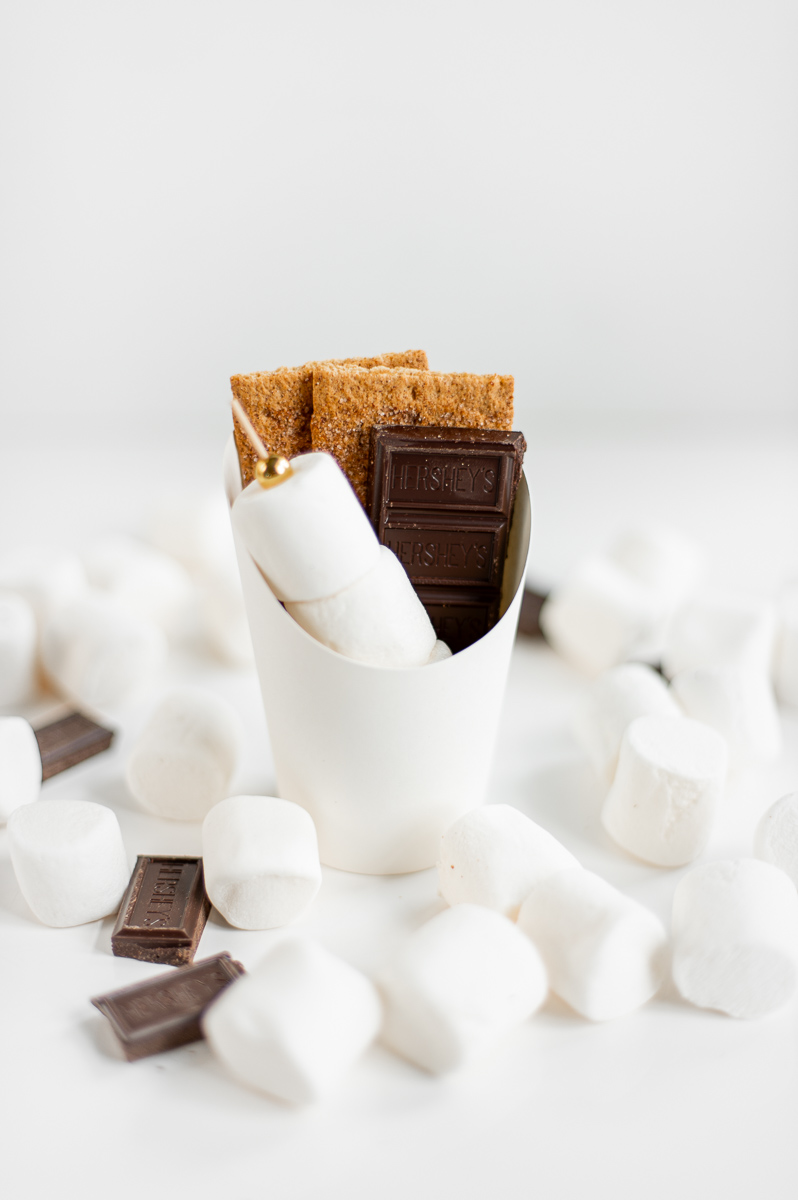
Step Three: Assemble Everything Into Your Cups
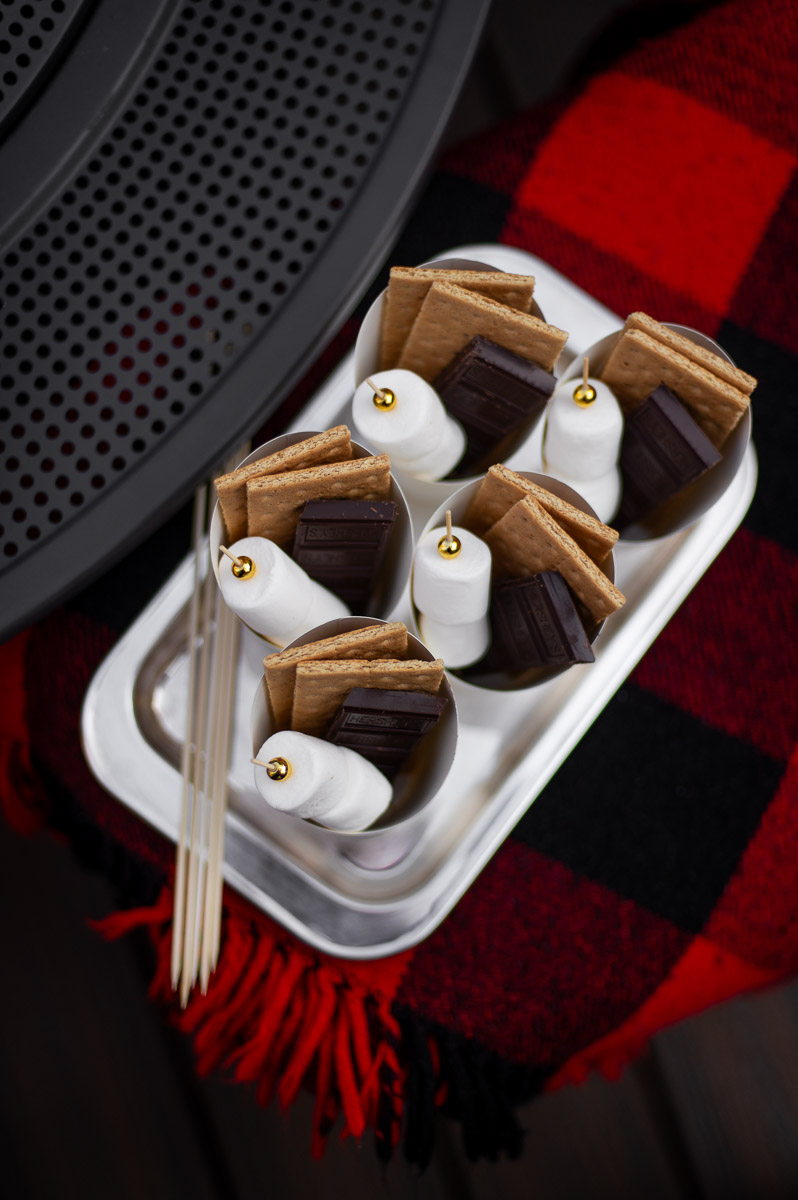
Once that’s done, it’s time to assemble your cups! I chose to keep things super simple for this event and included just the basics: 2 graham crackers, 1 strip of chocolate, 2 marshmallows on a skewer stick.
DIY S’mores Kit Make-Ahead Tips
This easy party dessert is such a fun summer treat and I love that you can prep most of it ahead of time. Here’s how I’d suggest preparing it in advance:
Week Of Your Event
This is a great time to break down all your chocolate bars into the right size and skewer all your marshmallows. Once you have everything broken down or skewered, simply pop them into a ziplock bag to keep them fresh.
The Day Of Your Event
On the morning of your campfire party, all that’s left is to set out your charcuterie cups and pop in the graham crackers, pre-broken chocolate bars and already skewered marshmallows!
If you want to prep these more in advance than the day of your event: Place your charcuterie cups on a large baking sheet, fill with your graham crackers, chocolate bars and marshmallow skewers. Then carefully wrap the entire baking sheet in plastic wrap to keep the graham crackers from going stale.
(If you plan to include any fruit in your cups I’d still recommend keeping those separate in the fridge until the day of the event)
Fun S’mores Charcuterie Cup Variations to Try
The possibilities with these really are endless making them so easy to customize for any occasion. Here are just a few fun variations you could try:
4th of July S’mores Cups
You can easily make these 4th of July themed by swapping out your skewers for these red, white, and blue ones and then popping in a second skewer of red and blue fruit (strawberries and blueberries work great for this) alongside your marshmallow skewer, graham crackers and chocolate.
Savory S’mores Cups
I’ve recently become obsessed with savory s’mores so I love the idea of creating little savory cups with mini brie bites to roast, a skewer of apple and prosciutto along with some crackers and maybe even a honey straw stick!
“Elvis” Peanut Butter S’mores Cups
If you’re a peanut lover, you can swap the chocolate bar for two Reese’s Peanut Butter Cups skewered sideways on a stick paired with a skewer of banana slices, a skewer of marshmallow and graham crackers.
Tropical Pineapple S’mores Cups
Want something a bit more tropical to serve at a pool party or summer luau? Simply swap the skewers for these cute summer ones, serve with chopped pineapple rings, bars of white chocolate, marshmallows and graham crackers.
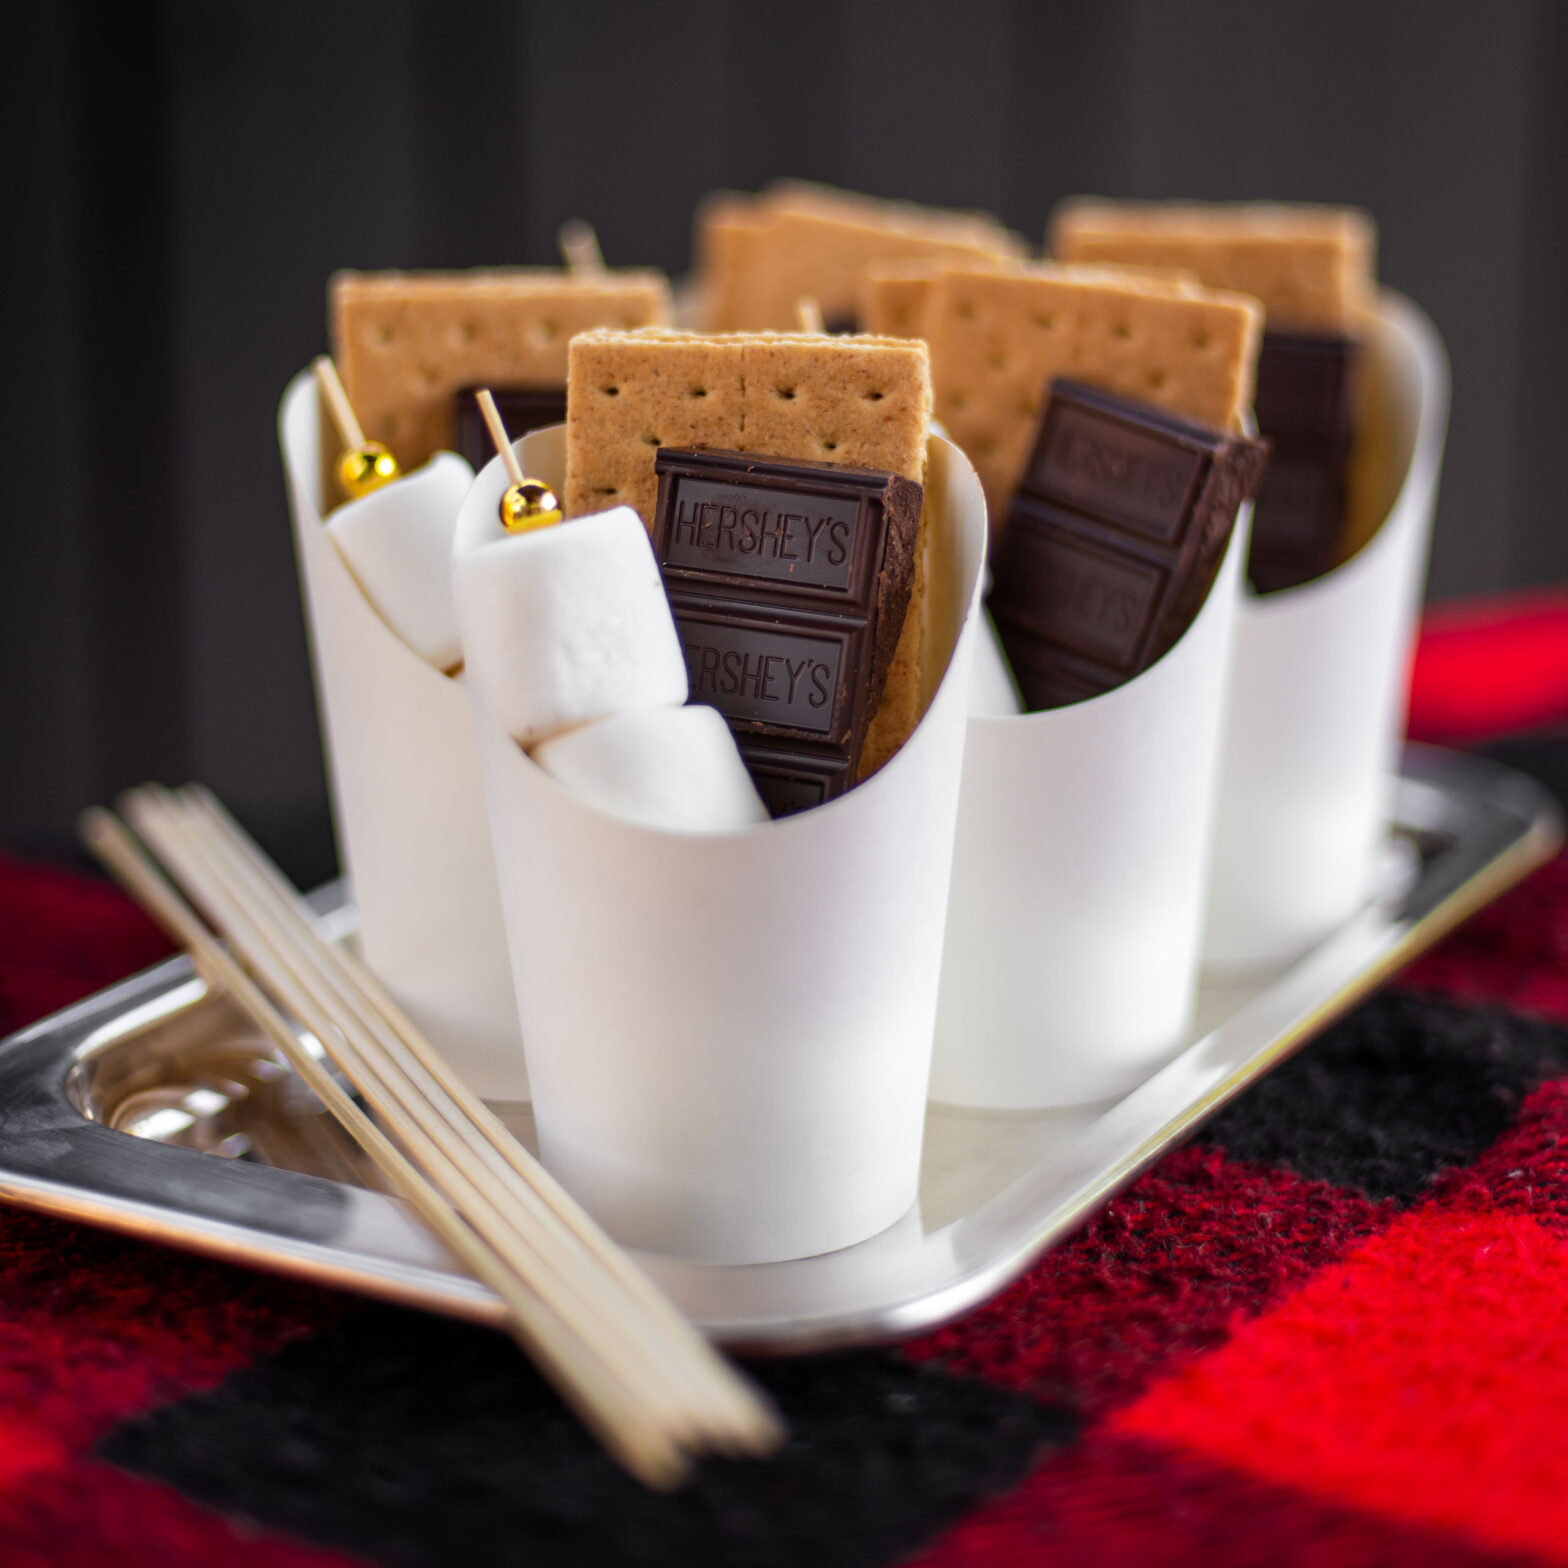
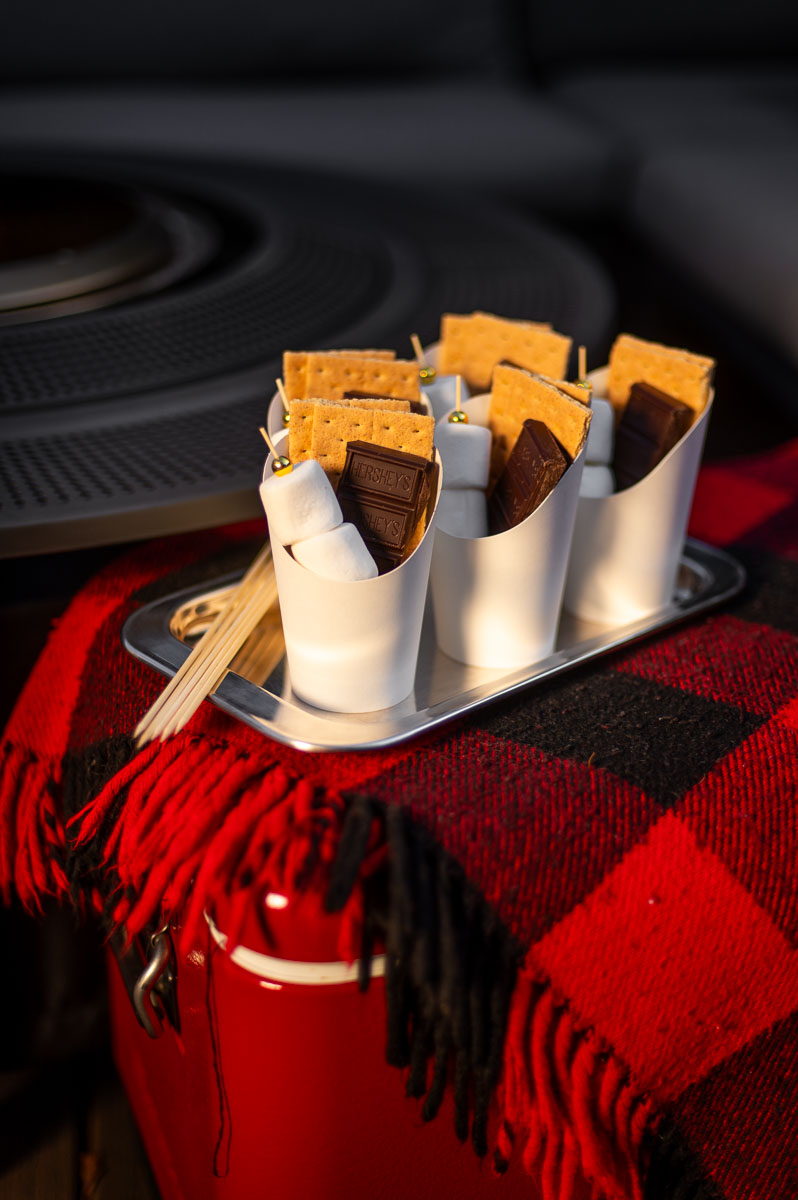
How My Bonfire Party Individual S’mores Kits Turned Out
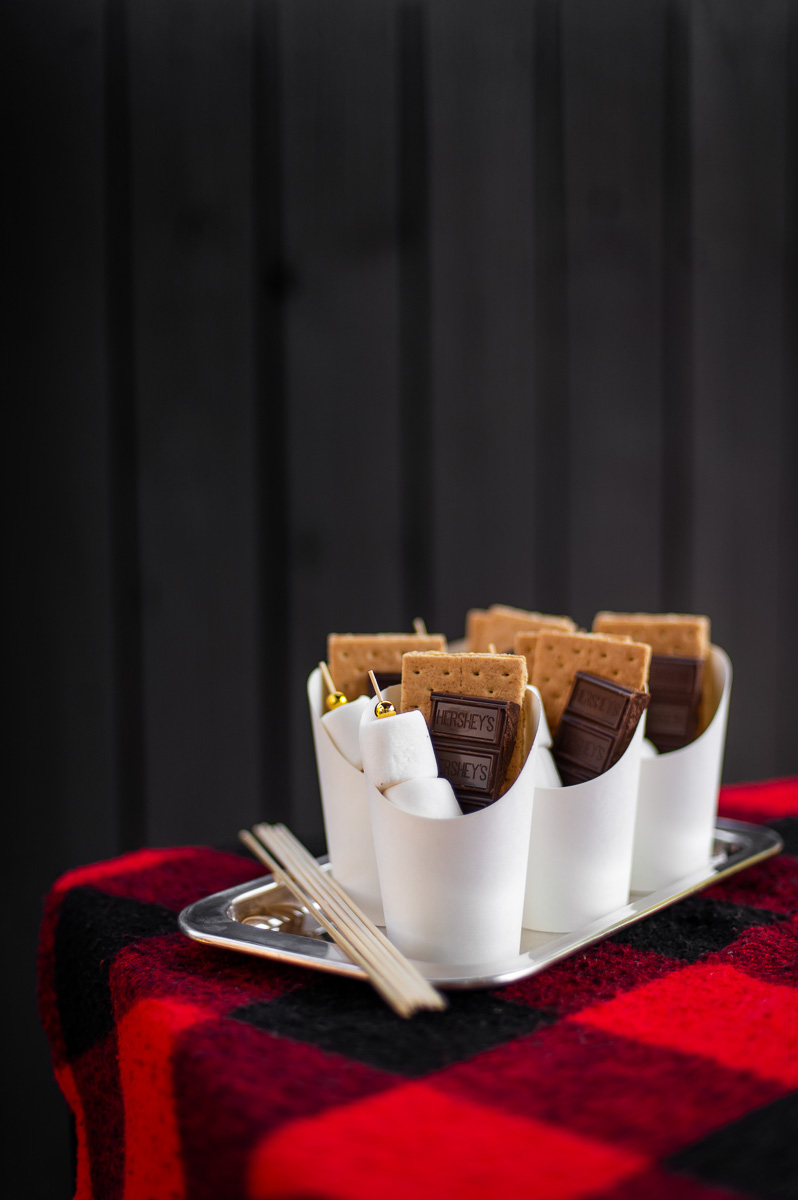
Here’s how I styled my s’mores charcuterie cups for our Ralph Lauren themed backyard bonfire party. I think this would be so cute for a camping themed birthday party too!
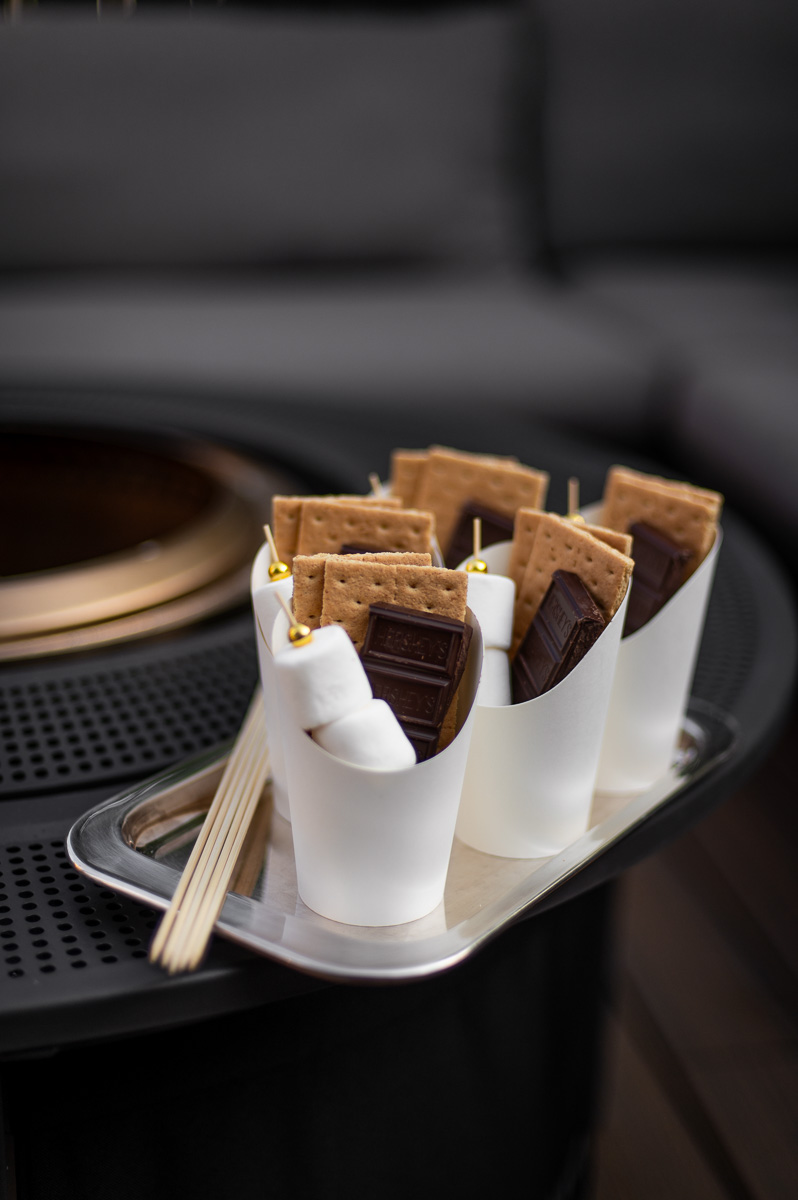
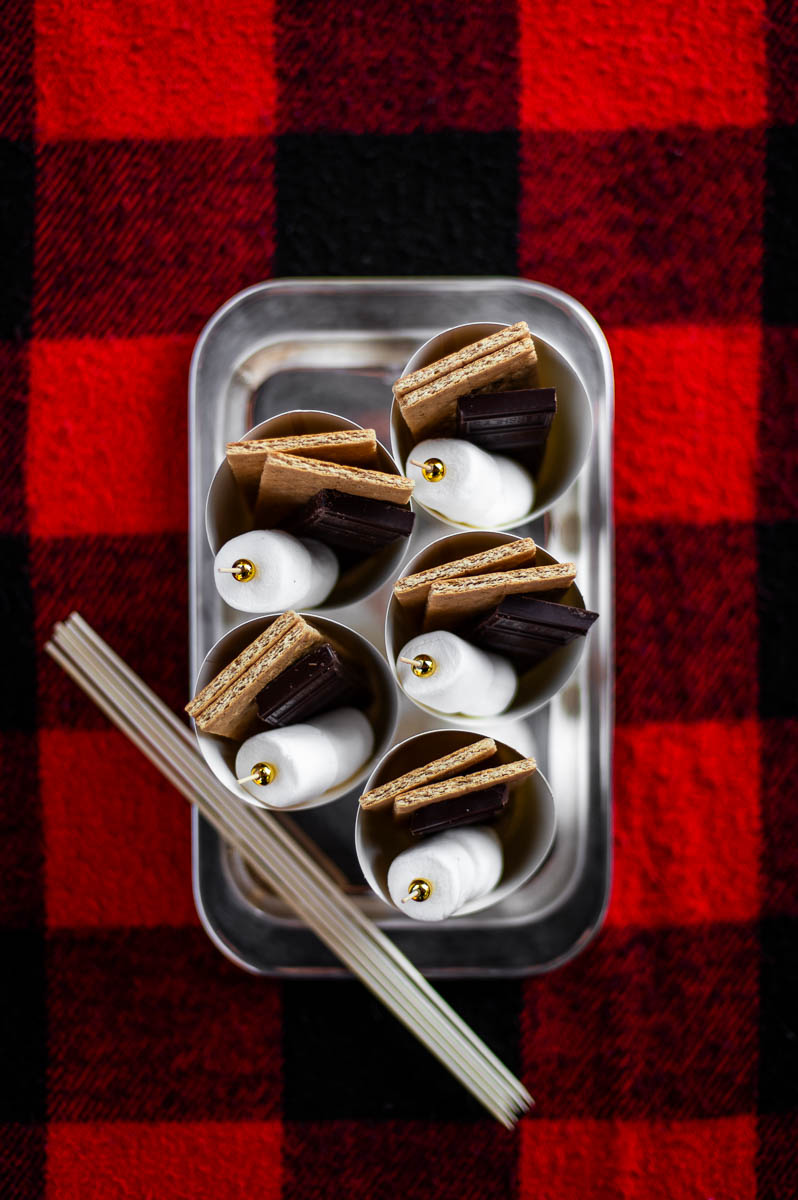
I love that these let my guests quickly grab supplies and get to roasting without having to pass around a bag of marshmallows or having everyone trying to pull a graham cracker out of the one box at the same time.
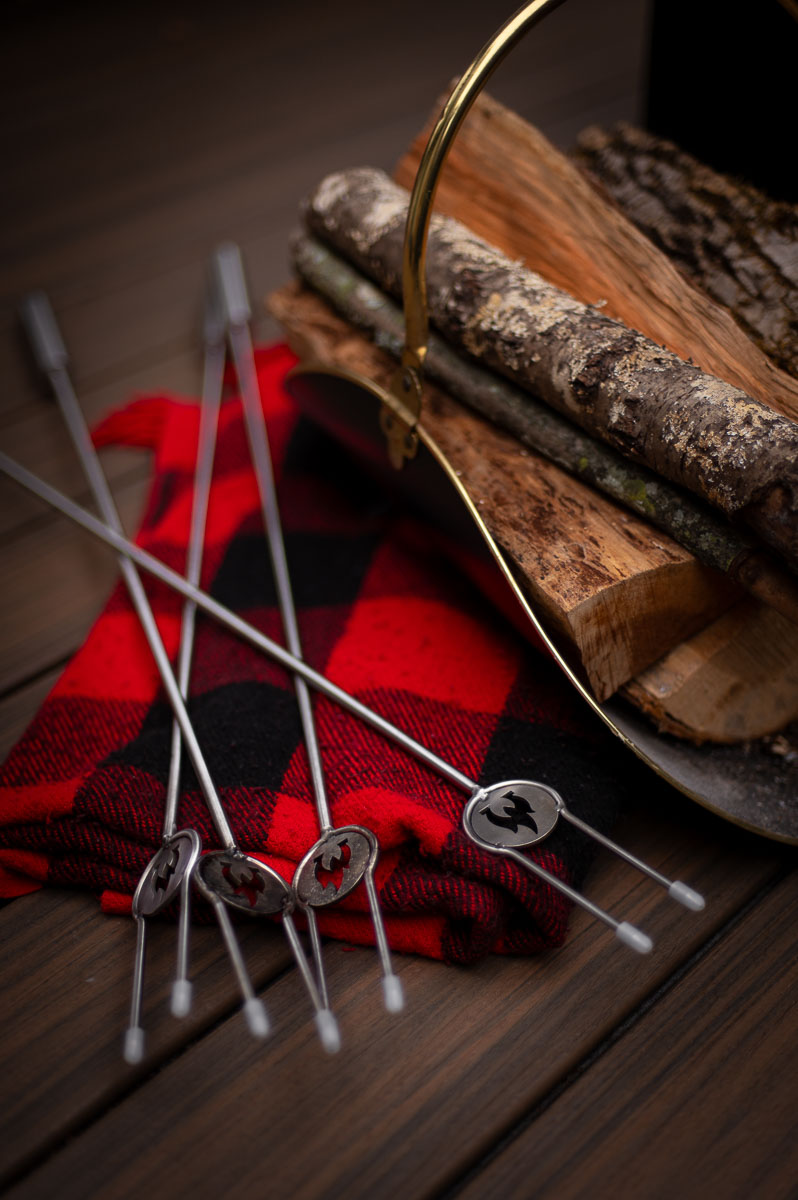
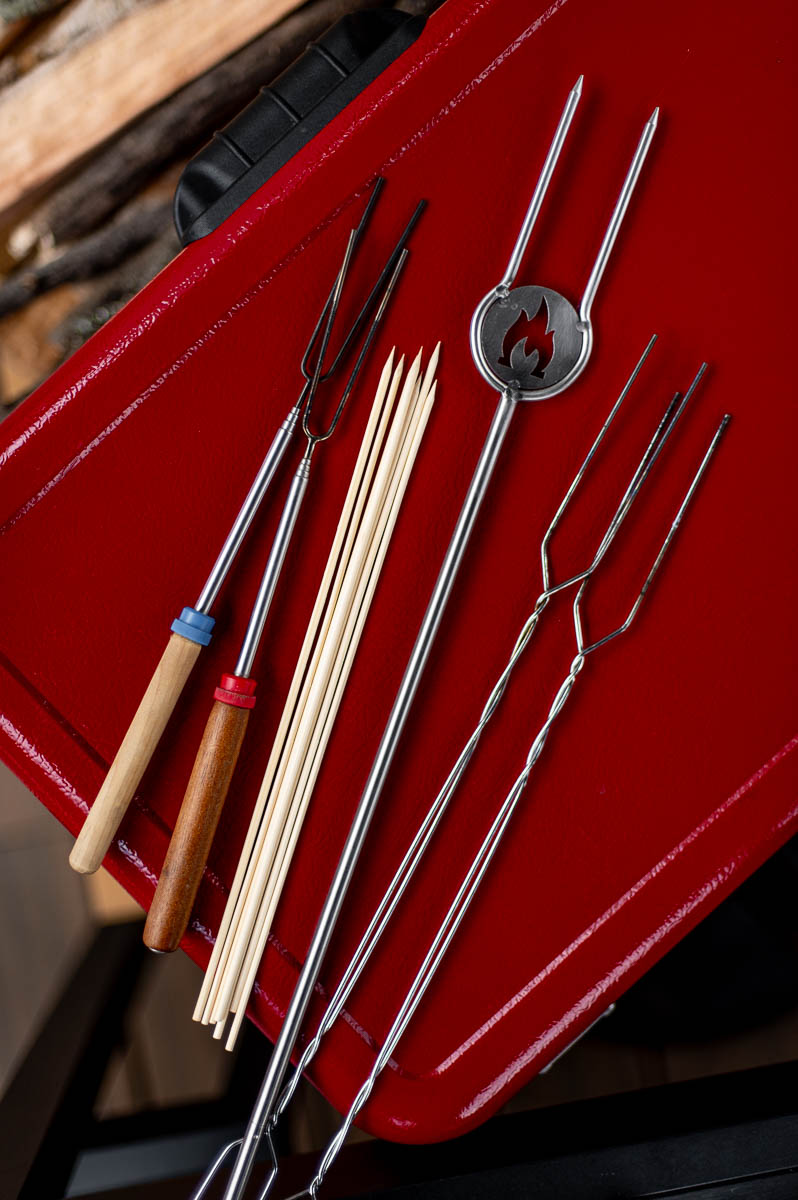
Don’t Forget The Roasting Sticks!
If you’re serving s’mores cups you’re going to need some way to roast your marshmallows! I’ve tried just about every type of roasting stick on the market and reviewed them all here for you!
Final Thoughts
I honestly couldn’t love these little individual s’mores kits any more if I tried. They are just so darn cute and practical for serving individual portions of ready-to-roast s’mores at a party in a way that feels a bit more elevated and elegant! That said, if you want to go full glamping, then you need to check out the s’mores charcuterie grazing table I created too!
What would you add to these S’mores cups? Did I miss any variations you think I should add? Let me know in the comments below!
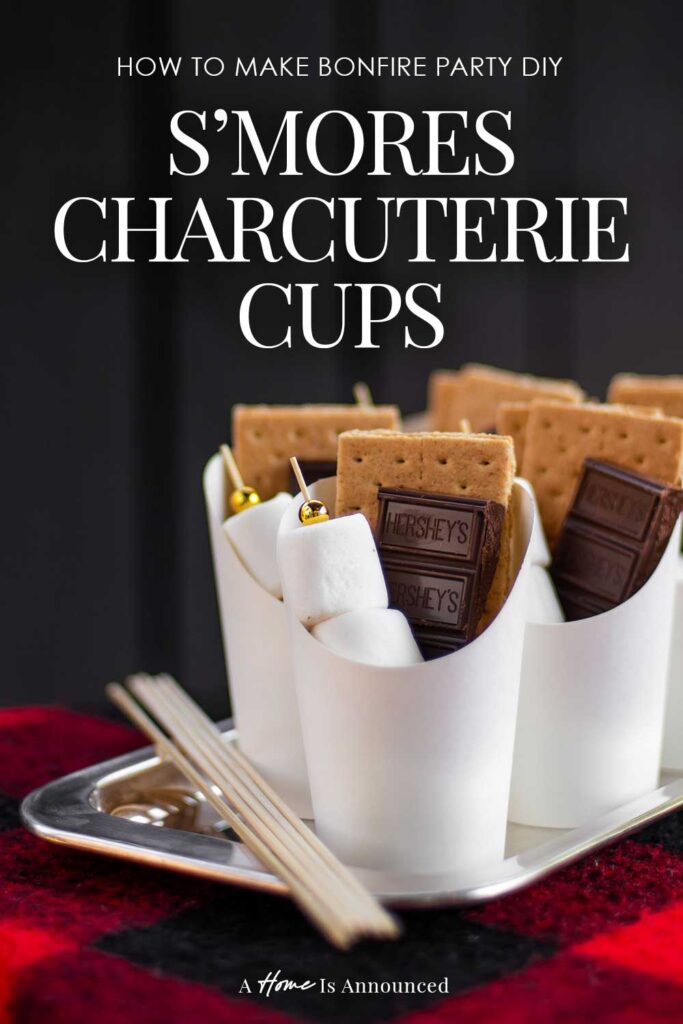
Don’t Forget To Pin This Post & Subscribe!
Want to keep getting more DIY home decor inspiration, thrifting tips & tricks, free art downloads, reading recommendations, and home renovation tutorials? Then don’t forget to pin this post for later so you can follow me on Pinterest and then subscribe to my blog so you can get links to my newest content as soon as it hits the blog!