Here’s the thing about tiling an old home. Absolutely nothing is square or level. Nothing.
Which is a problem when you need to lay tile in nice straight even lines so everything aligns properly and your grout lines look clean, crisp, and professional.
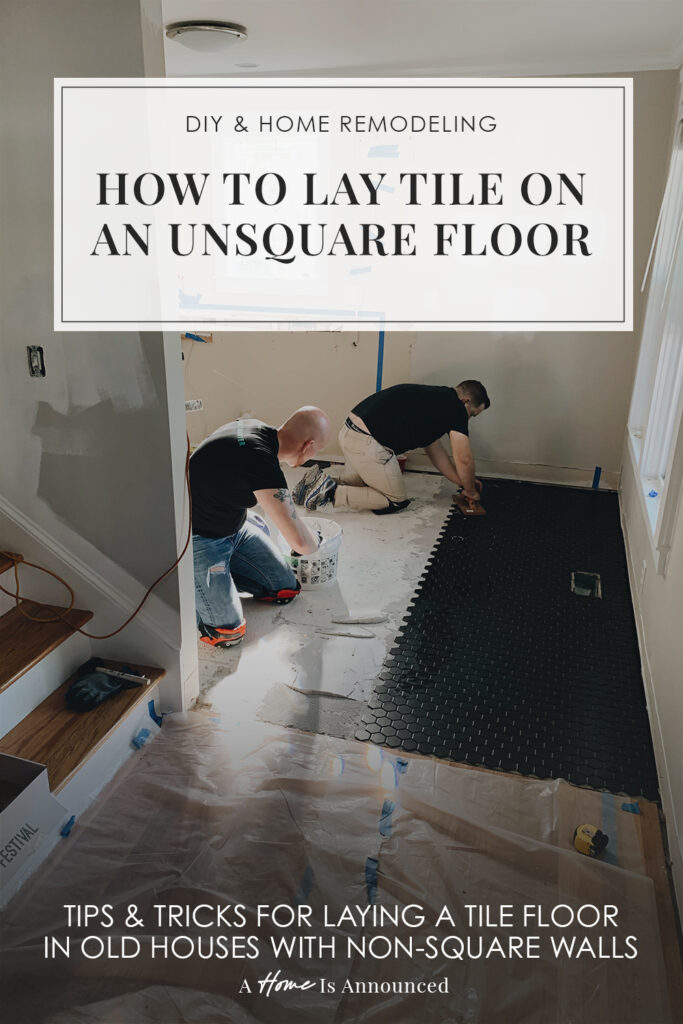
After extensive research, hands-on experience (and a lot of trial and error of laying tile in our historic 1920’s bungalow), I’ve compiled a comprehensive guide that includes everything we learned about laying tile in an unsquare room and how you too can achieve a professional finish on even the most crooked of floors.
Why Laying Tile In An Unsquare Room Is A Challenge
Here’s a quick run down of WHY tiling an unsquare room can present quite the challenge to even the most experienced tile installation crew:
1. Trouble Determining the Starting Point
In an unsquare room, something as simple as deciding where to lay that very first tile and what line to follow from it can pose a challenge.
In a perfectly square room, you have the flexibility to start laying tile from almost any point in the room you like, and if you are careful to follow the line of the wall and keep things even, the tiles will all line up nicely with all the other walls in the room in neat little rows.
However, in an unsquare room, choosing the wrong starting point can have a drastic effect on the overall appearance of your final result.
2. Alignment Issues Across Walls
After you do finally select a starting point, you then have to select a straight line to follow with your tile, however, aligning tiles parallel to one wall (and using that as your straight line to follow) in an unsquare room can result in noticeable misalignment along adjacent walls.
In other words, while your tile might look nice and straight along the initial wall, it would probably be very crooked along all the other ones. Which won’t give you the professional looking installation you’re likely after if you’re reading this.
3. Gaps & Crowding
Following the line of an existing wall in an unsquare space can also introduce major gapping or crowding issues as you progress as well. And, unfortunately with tile, even minor deviations at the start of your installation can compound over distance and translate into wildly inconsistent grout lines that vary in width across a room and detract from the clean, even, consistent grout lines we’re aiming for.
4. Pattern Misalignment
Lastly, if your tiles become crooked, and gaps or crowding issues present themselves, it will become increasingly difficult to keep your tiles properly aligned. This is especially problematic when dealing with any sort of patterned tile where maintaining proper alignment is crucial.
Strategies for Tiling an Unsquare Room
Now that we are on the same page for WHY tiling an unsquare rooms can be a problematic, let’s get into some solutions for how to deal with it!
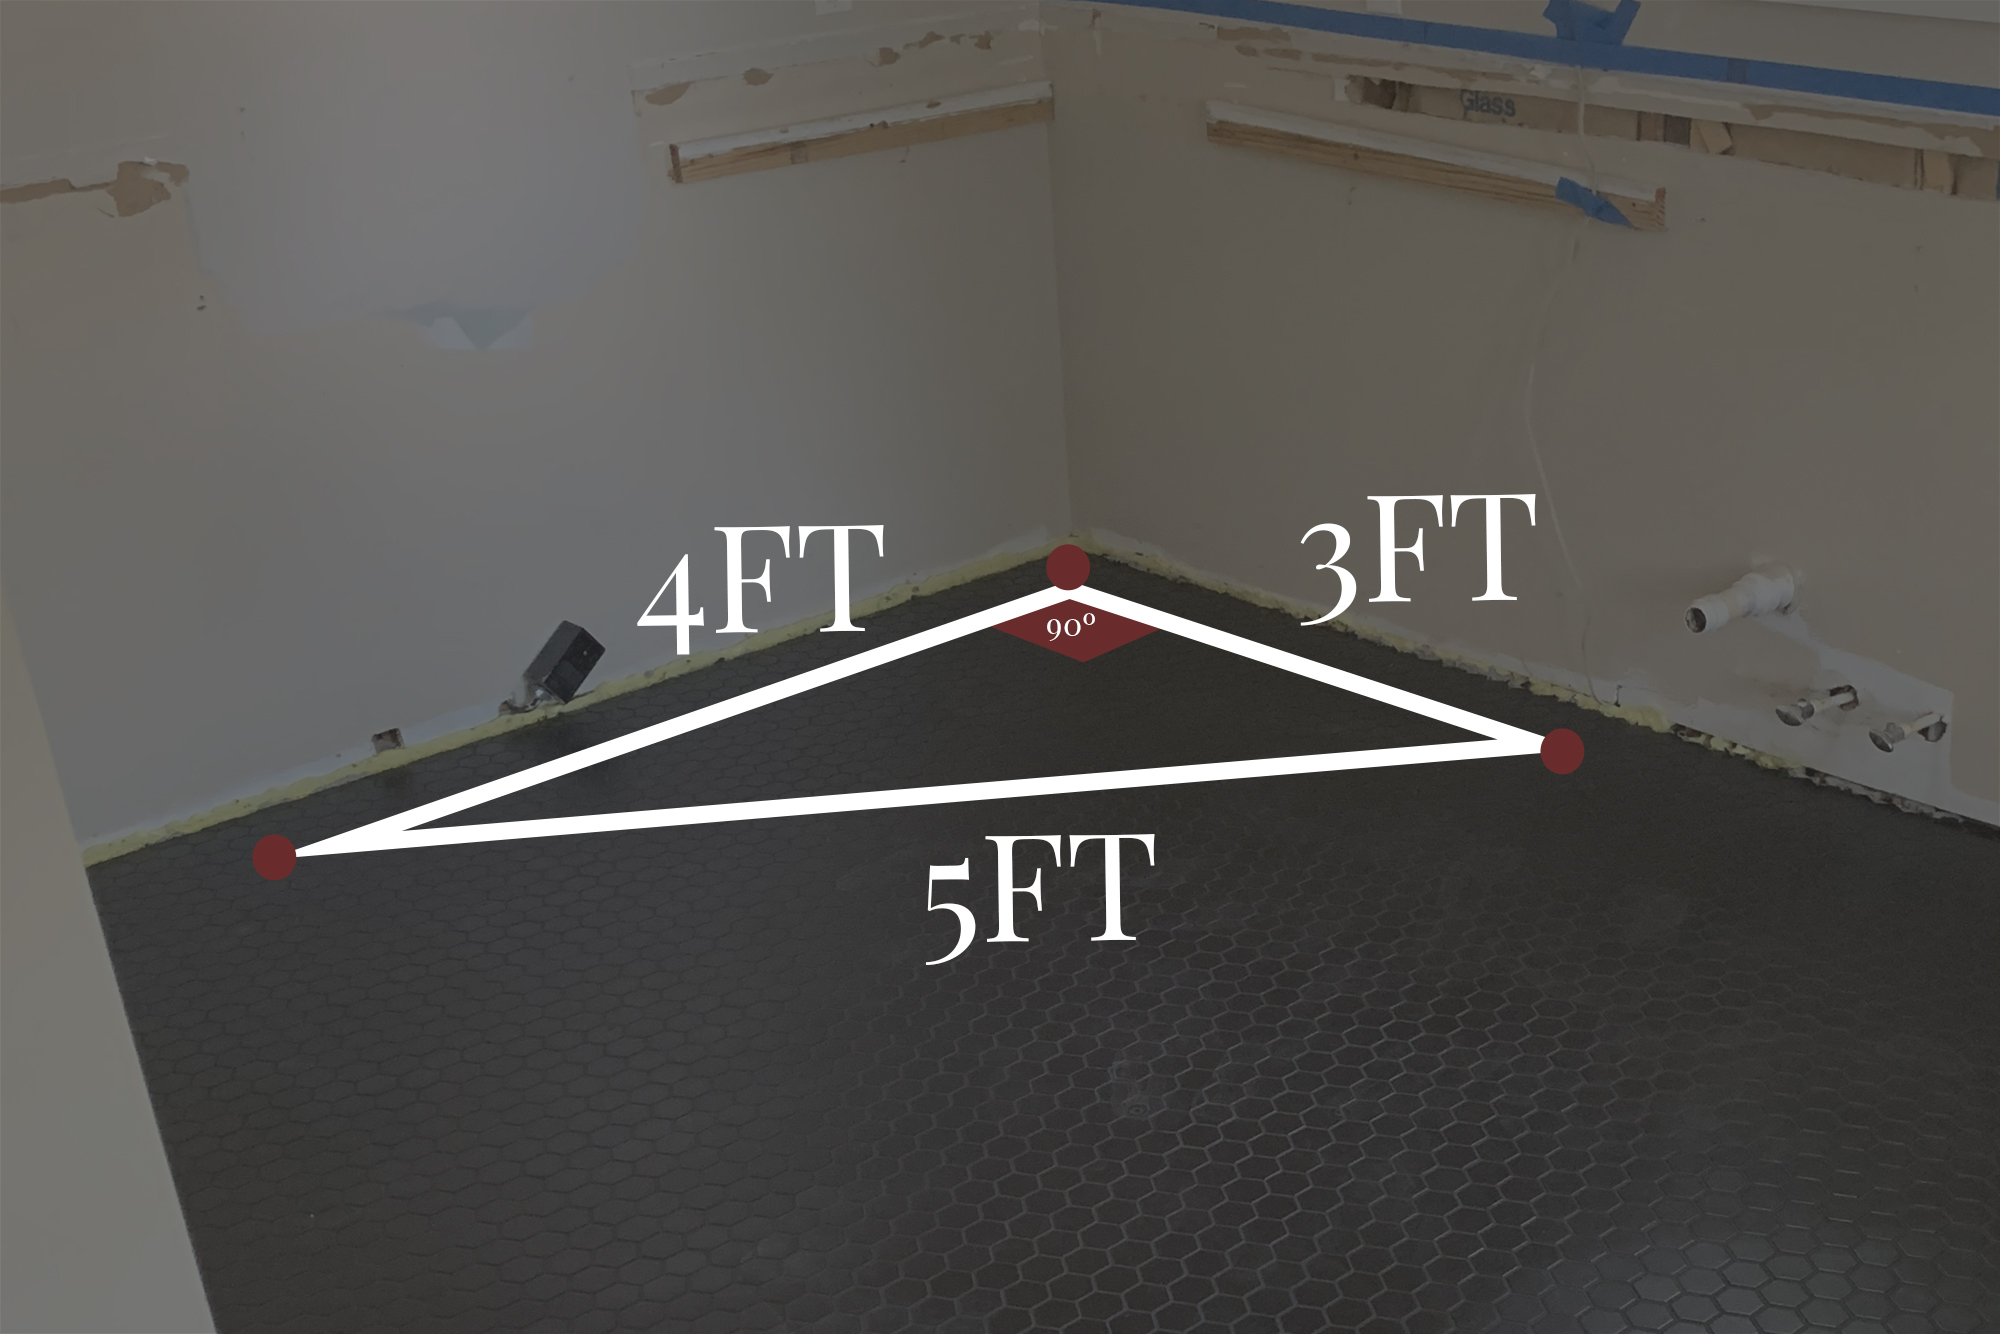
1. Use The 3-4-5 Triangle Technique To Square Off Your Room
Remember when you never thought you’d use geometry again after high school? Surprise! It’s back and here to save your unsquare room. Don’t stress though, this technique is super simple. If you can count to 5, you can do this.
Step One: Choose Your Reference Wall
Start by selecting the most prominent or longest wall in the room as your reference point. This will serve as the baseline for your tile layout.
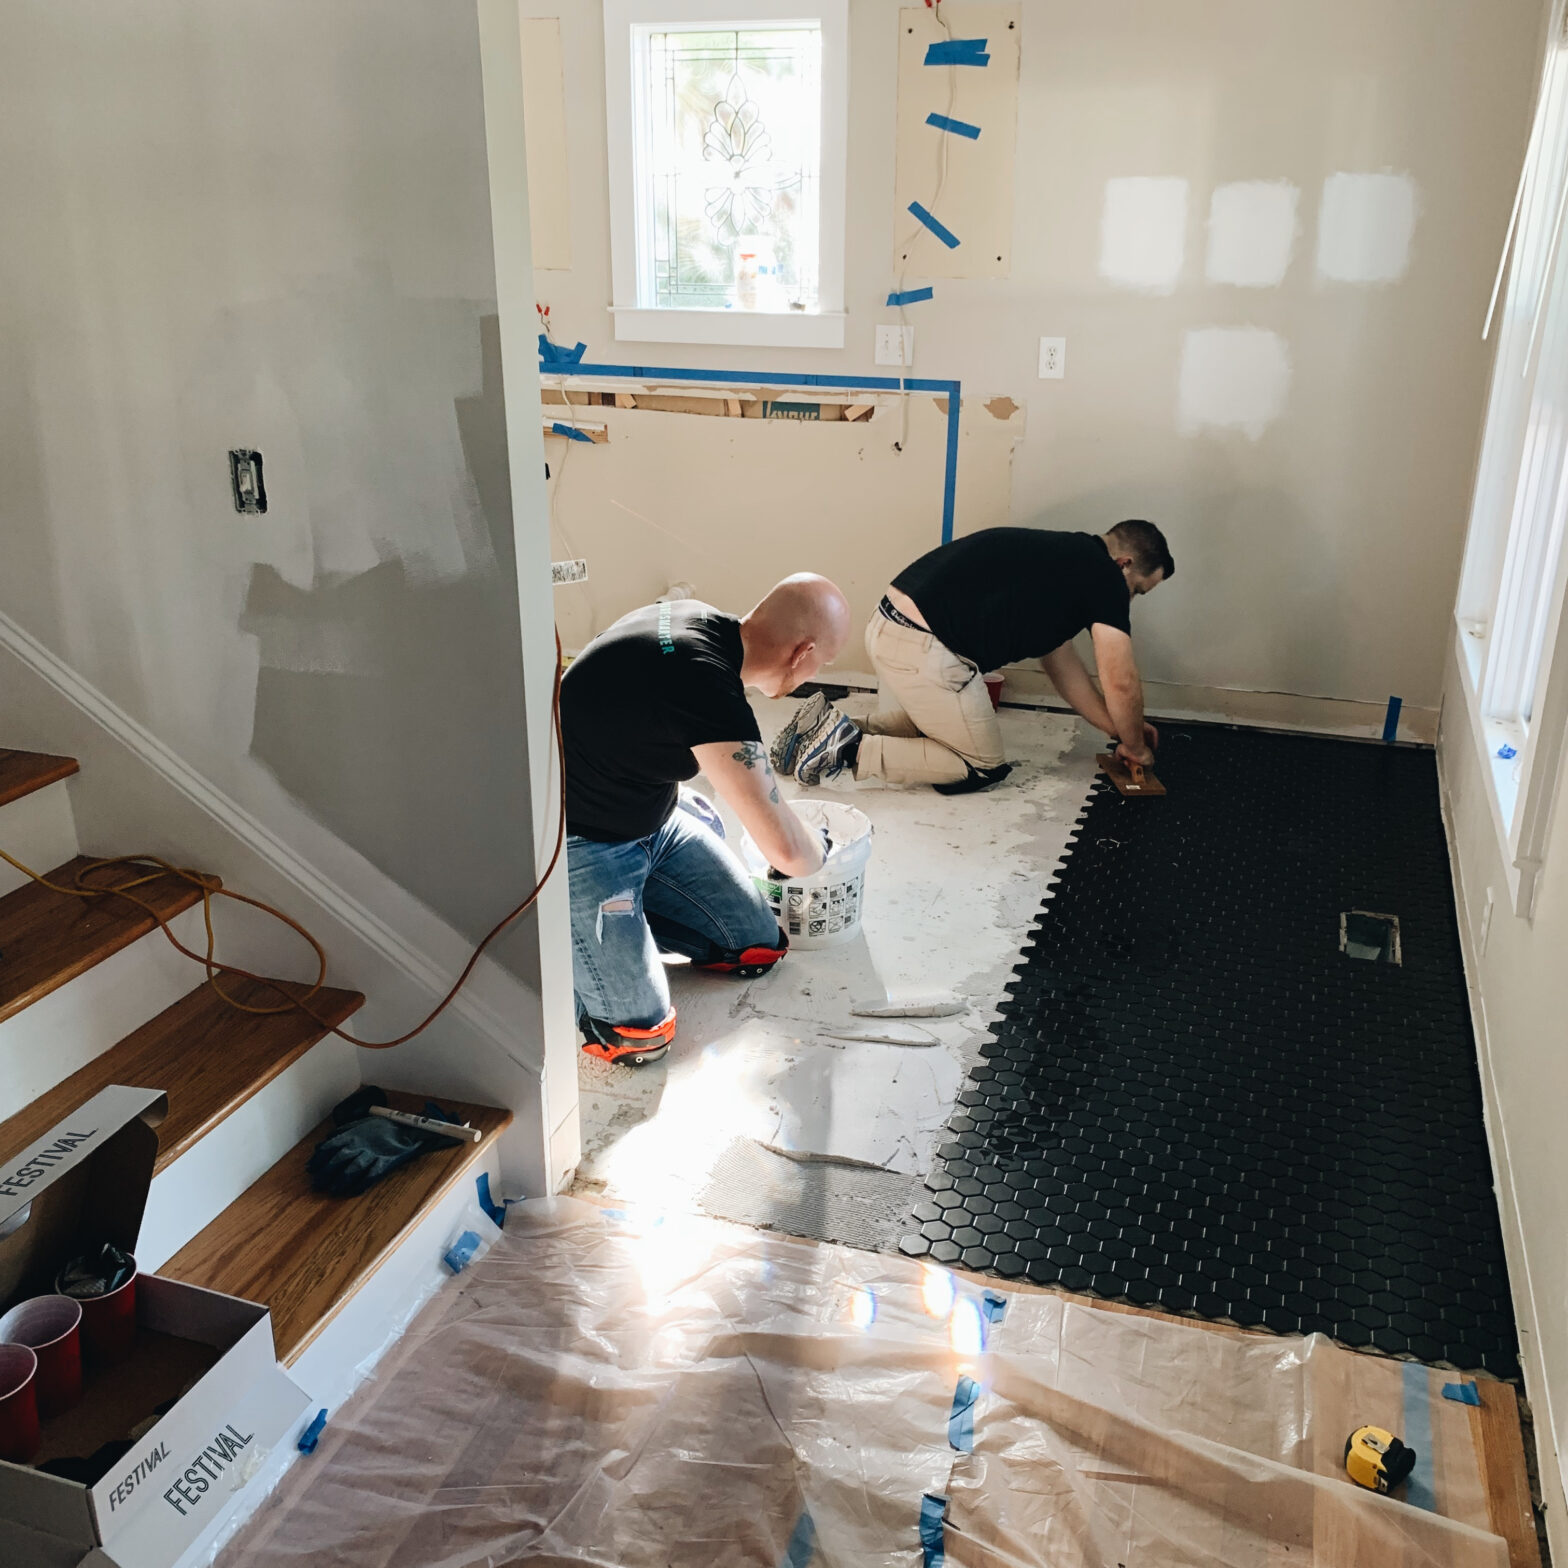
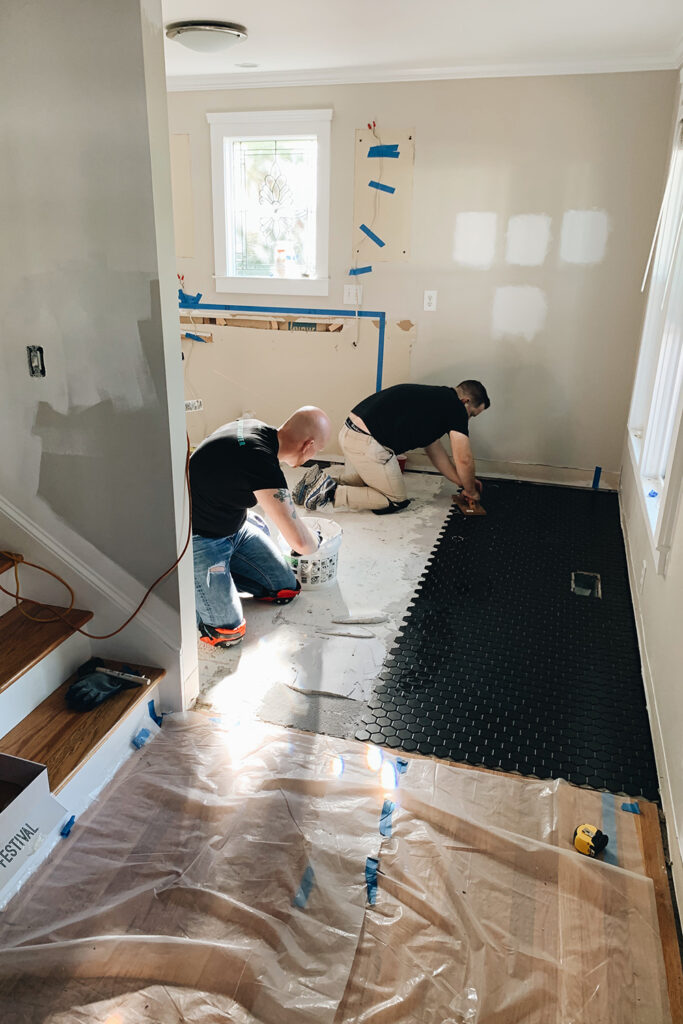
For my kitchen (which is the room we’re tiling in these photos) I knew I wanted to make sure the tile was *perfectly* parallel with the wood transition strip at the entryway to our kitchen. The other tile edges would be hidden under cabinets or broken up by curtains and furniture. So that entryway was the most visible and therefore the most important to have nice and straight.
Step Two: Measure and Mark
From one end of your chosen wall, measure exactly 3 feet along its length and make a mark. Then, from the same starting point, measure 4 feet perpendicular into the room and mark that spot on the floor.
Step Three: Check the Diagonal
Now, measure the diagonal distance between the two marks. If it measures exactly 5 feet, congratulations! You have a perfect right angle. If not, adjust the 4-foot mark slightly left or right until the diagonal equals 5 feet.
Step Four: Create Your Guideline
Once you’ve achieved the correct measurements, snap a chalk line between the starting point and the adjusted 4-foot mark. This line serves as a precise 90-degree guide for laying your first row of tiles, ensuring your installation remains straight and true, even if the walls aren’t!
2. Use A Laser Level To Ensure You Stay Square
Remember those beautiful nice square lines you just spent all that time painstakingly marking out of the floor?
Well, any lines you draw on the ground (be it with chalk or pencil or whatever) will all get covered up by the mastic tile adhesive you’ll need to lay down on the floor to actually attach the tile.
Luckily our friend the laser level is here to save all our hard work from disappearing.
So BEFORE you start laying down any tile adhesive, be sure and set a laser level to shine on the lines you have marked out on the ground. This will ensure your guidelines don’t vanish on you once you get started.
We used a very inexpensive one like this, that was not fancy AT ALL, but we were able to set it up on a tripod and it worked for what we needed it to do at the time. If you plan on doing A LOT of tiling in your home though, I’d suggest upgrading to a nicer one like this as the light on the cheap one is not *super* bright and you’ll also need to buy a tripod if you don’t have one already.
3. Choose Your Tile & Grout Color Wisely
Listen, I’m not here to kill anyone’s dreams, HOWEVER if your room is INCREDIBLY unsquare, you might want to opt for a tile that will visually help disguise that fact and not augment it. Here are some options that will help do just that:
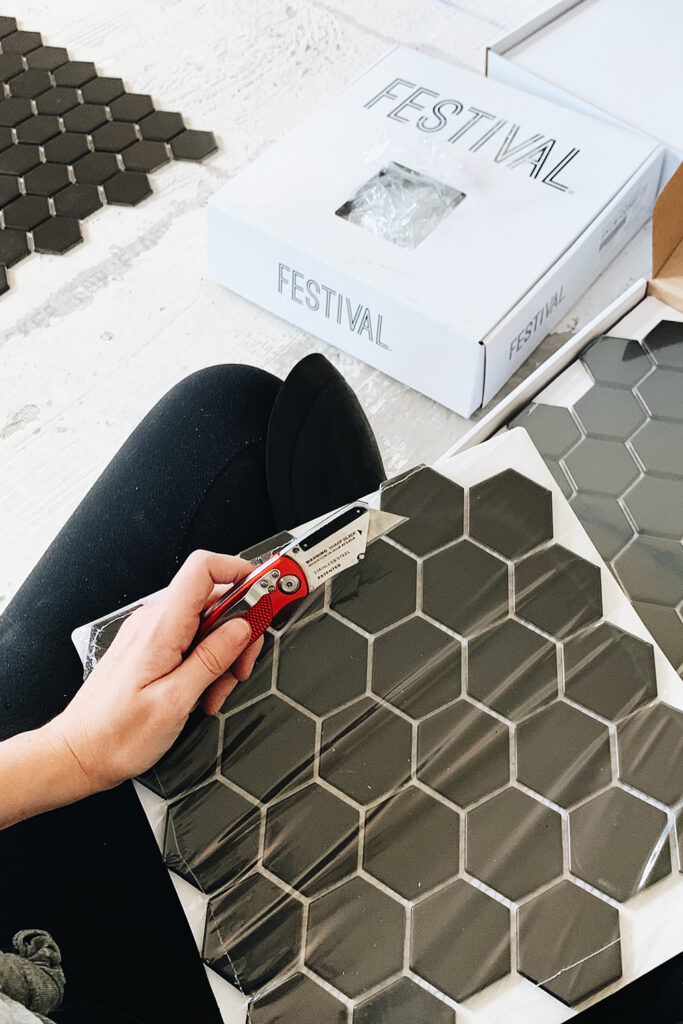
Opt For Smaller or Mosaic Tiles
Smaller tiles, especially mosaic tile (like a penny round for instance) is much easier to work with in an unsquare room because it can more easily conform to an uneven space without a lot of complicated cuts. Additionally, opting for a mosaic style tile with no straight lines (lines that might visually contrast with the very not straight lines of the wall) can help disguise how unsquare a room really is.
Choose A Matching Grout Color
Selecting a grout color that matches the color of your tiles can also help to disguise skewed walls, uneven grout lines or visual distortion that may occur when tiling an unsquare room. Whereas a contrast grout will likely highlight these issues.
Consider Alternative Tile Shapes
Non-rectangular tiles, like hexagons, octagons, penny-rounds, etc. can distract from how unsquare a room really is, as their shapes don’t emphasize straight lines.
Choose An Alternative Layout
Installing tiles diagonally, or in a staggered pattern can also help divert attention from any of the room’s imperfections.
Create A Monochrome Border To Absorb Imperfections
If your heart is set on a patterned tile that you know will be difficult to install correctly in an unsquare room, one option you can consider is to create a plain tile border around the room’s perimeter to act as a buffer, absorb any imperfections, and square off the room. You’d then install your patterned tile within your nice squared off tile border.
4. Do A Dry Fit First To Test Your Layout
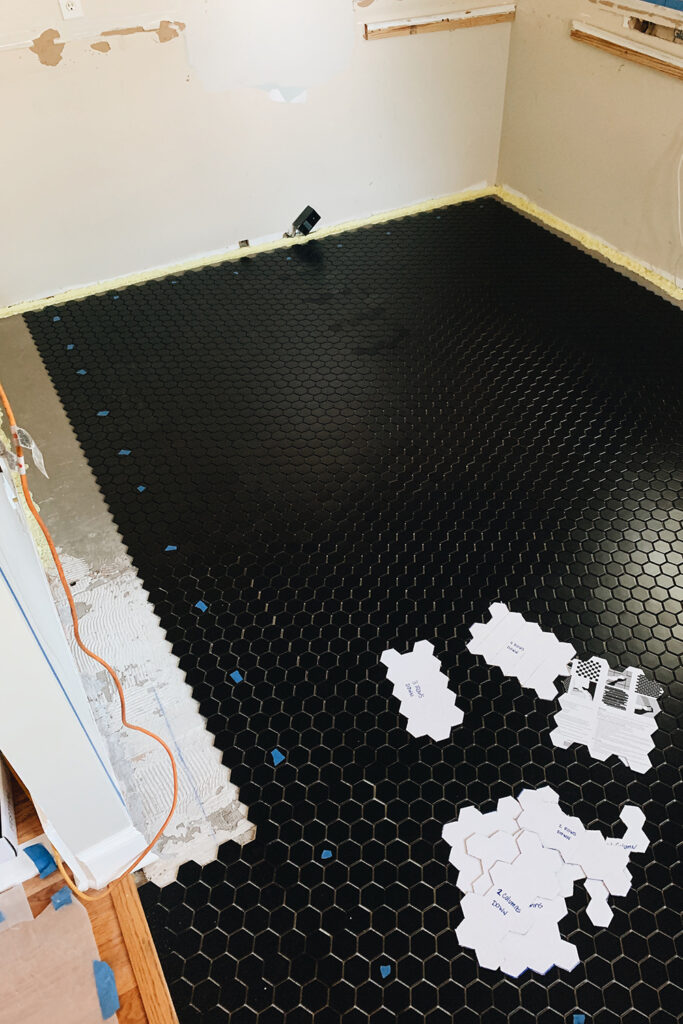
If you, like me, are a very type A perfectionist, I would highly suggest doing a dry fit of all your tile to test the layout you decide on. (If you’re not familiar with the term dry fitting, it simply means you’re going to lay your tiles down on the ground just like you want them but without placing down any adhesive. So you’re placing them on the floor and fitting them in place “dry”.)
While this can be a time consuming optional step, it can also help save you in so many ways and let you visualize exactly how your tile is going to look in relation to the rest of the room.
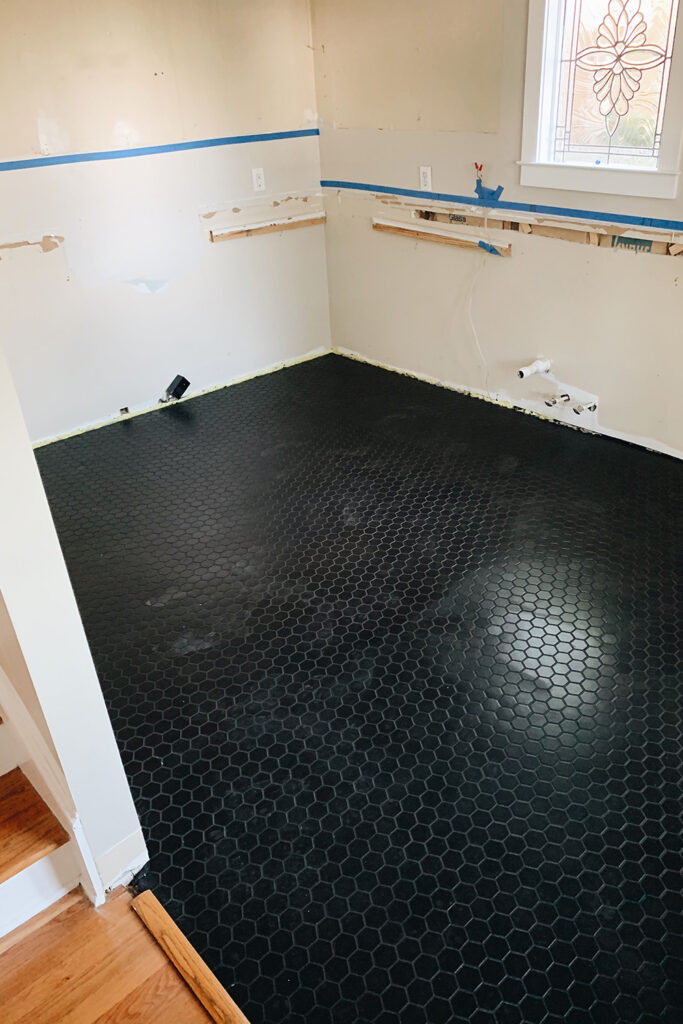
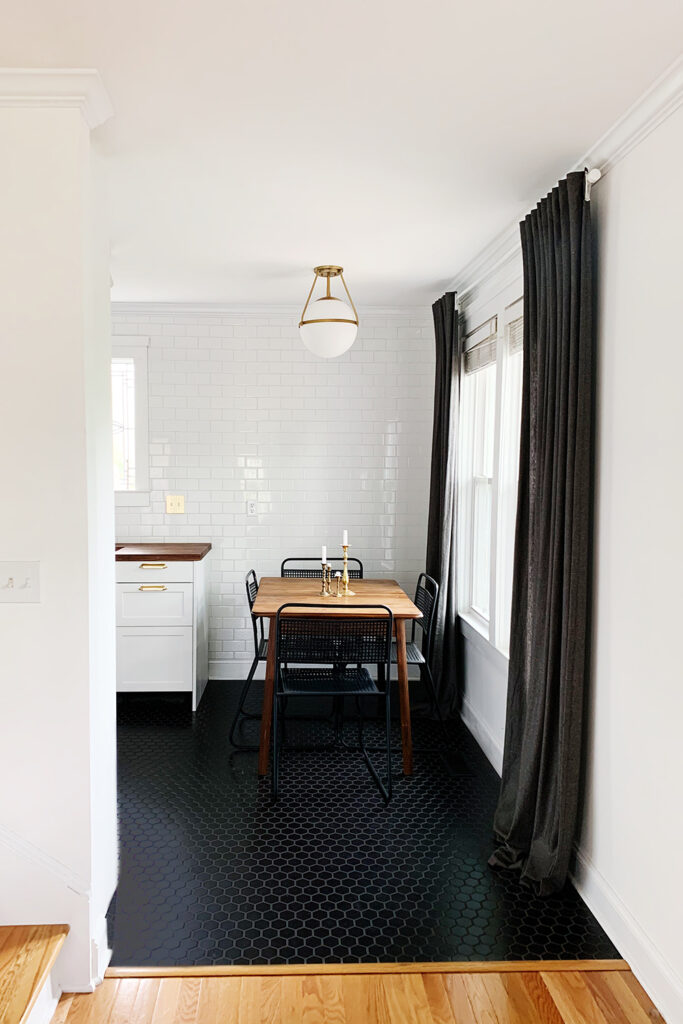
Below is a photo of how my dry fit floor looked (top left pic) and then how the final floor with grout turned out in the end (bottom two pics).
Shop This Post


Full Supplies List Of Everything Else We Used
Tools:
- Trowel With Teeth (For applying the adhesive mastic)
- Remember to make sure you have one with the right size teeth for your project.
- REALLY GOOD KNEEPADS (trust Kadie)
- I really like these ones I linked to as they are designed for women and provide a much better fit.
- A Large Wood Float
- We used this to gently tamp down the tiles as a way to apply even pressure to the tops of them (vs creating pressure points using just our hands). After we had a large section down, we’d again use it to gently slide over the top of each section to ensure everything was laying even and flush with one another.
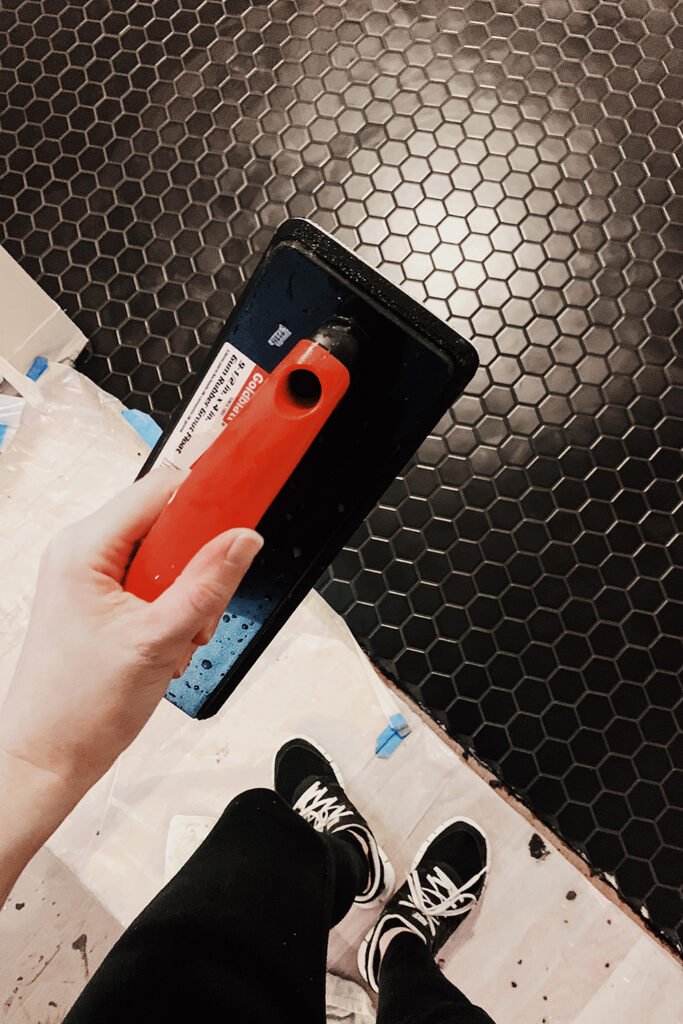
- A Rubber Grout Float
- A Wet Saw
- A Grout Sponge
- I prefer this double sided kind that has a more abrasive scrubby side as well as a soft sponge side. I find it helps clean the excess grout off the tile more effectively.
- Some buckets for holding clean water to cleanse your sponge.
Other Supplies:
- You’ll obviously need your chosen tile (we used this one)
- We lucked out and were able to use the existing backer board for our project, but you may need to lay down fresh backer boards like these before you can tile your floor.
- Mastic Tile Adhesive
- Then you’ll need grout in your chosen color. (I loved this “ready-to-use” stuff from Mapei we used for our project in the color Black. I was so happy to not have to mix this up myself)
- Be sure to ask someone at the tile shop if you’ll need “sanded” or “unsanded” grout for your project. *Most* projects need sanded grout. However, if your project has *very very thin or practically no spacing between the tiles* you may need unsanded grout. There are also certain types of tile that can be damaged or scratched by using sanded grout. So it’s always best to confirm you’re using the right product for your project.
YouTube EDU
Here’s a YouTube video that helped me the most when I was trying to figure out how to square off this room! This is the same process I describe above, but I wanted to give a shout out to the creator who I learned it from!
Don’t Forget To Pin This Post & Subscribe!
Want to keep getting more DIY home decor inspiration, thrifting tip & tricks, free art downloads, reading recommendations, and home renovation tutorials? Then don’t forget to pin this post for later so you can follow me on Pinterest and then subscribe to my blog so you can get links to my newest content as soon as it hits the blog!
2 thoughts on “Ah… The Joys Of Tiling Old Unsquare Rooms…”