With our beautiful new tile floors laid, Joe and I were ready for stage two our our kitchen remodel. CABINET INSTALL!
Since we weren’t able to use the existing cabinet boxes for our new kitchen design, we needed to source new ones that would work for what we wanted, and most importantly, fit into our very teeny tiny budget. Hello Ikea.
While at a certain point in our life, literally every piece of furniture in our entire home had come from Ikea, I wasn’t totally sold on using them for my kitchen. But after way more research and reading of online reviews than is healthy for any normal, sane person, I decided they were going to be the best option to fit our needs.
My favorite part of going through Ikea was the free, and very handy 3D kitchen planner they have available for anyone to use. Even if you don’t want to use Ikea for your project, it’s an amazing and free tool that can help you try out various design plans and layouts in your space.
After playing around a bit, we settled on keeping the general layout of our kitchen the same, but removing all the upper cabinetry on the back wall and sink wall, and then expanding the cabinetry on the left side of the kitchen to extend all the way up to the ceiling, wrap around the refrigerator and then ending in a small narrow pantry to the left of the fridge.
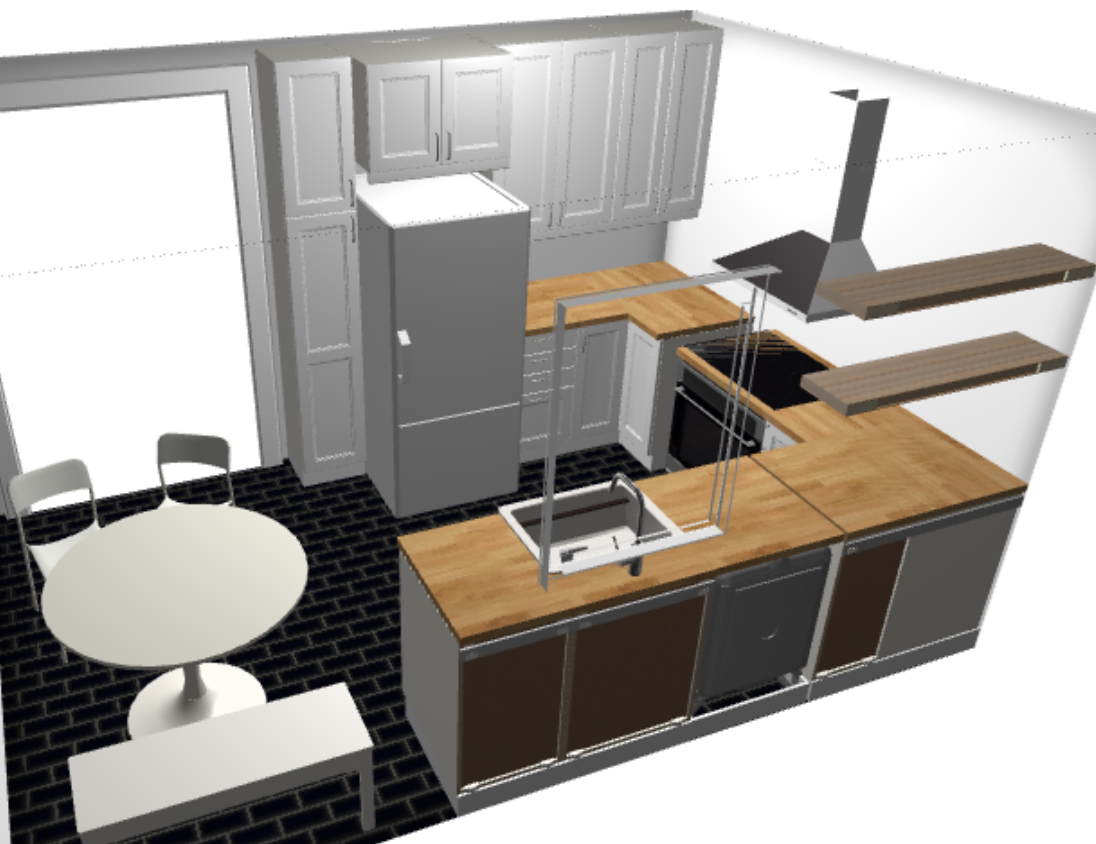
Here’s the very rough plan I came up with for the space using Ikea’s 3-D planning software.
One of the most important elements of the design for me was making sure it felt right for the age of our house. I wanted to ensure the choices I made not only looked good aesthetically, but also had design elements that spoke to the history of our home. Since this is such a small space, I also spent a lot of time thinking through all the items we store in our kitchen, how we use them on a daily basis and making sure each item would have a dedicated home in our new space.
Three things to be aware of when deciding if you want to use Ikea for your kitchen.
- Each year, Ikea hosts a huge sale on their kitchen cabinetry (sometimes more than once a year). That means, if you aren’t on a tight deadline for redoing your kitchen, you can save a lot of money by waiting until their annual kitchen sale comes around to buy your items.
- Your design will be somewhat limited by the fewer number of choices Ikea offers for cabinet box sizes than other cabinet box providers. For instance, when we purchased our cabinets, the narrowest cabinet they had available was 12″ wide. There are Ikea Hacks you can use to cut down the boxes into any width you desire, however you’ll need to keep in mind that you will then also need to acquire a custom sized door for that cabinet.
- It’s Ikea, so all of this comes flat packed and you will spend DAYS putting together ikea cabinet boxes. If you are using a contractor, they often charge extra to install Ikea cabinetry for this very reason.
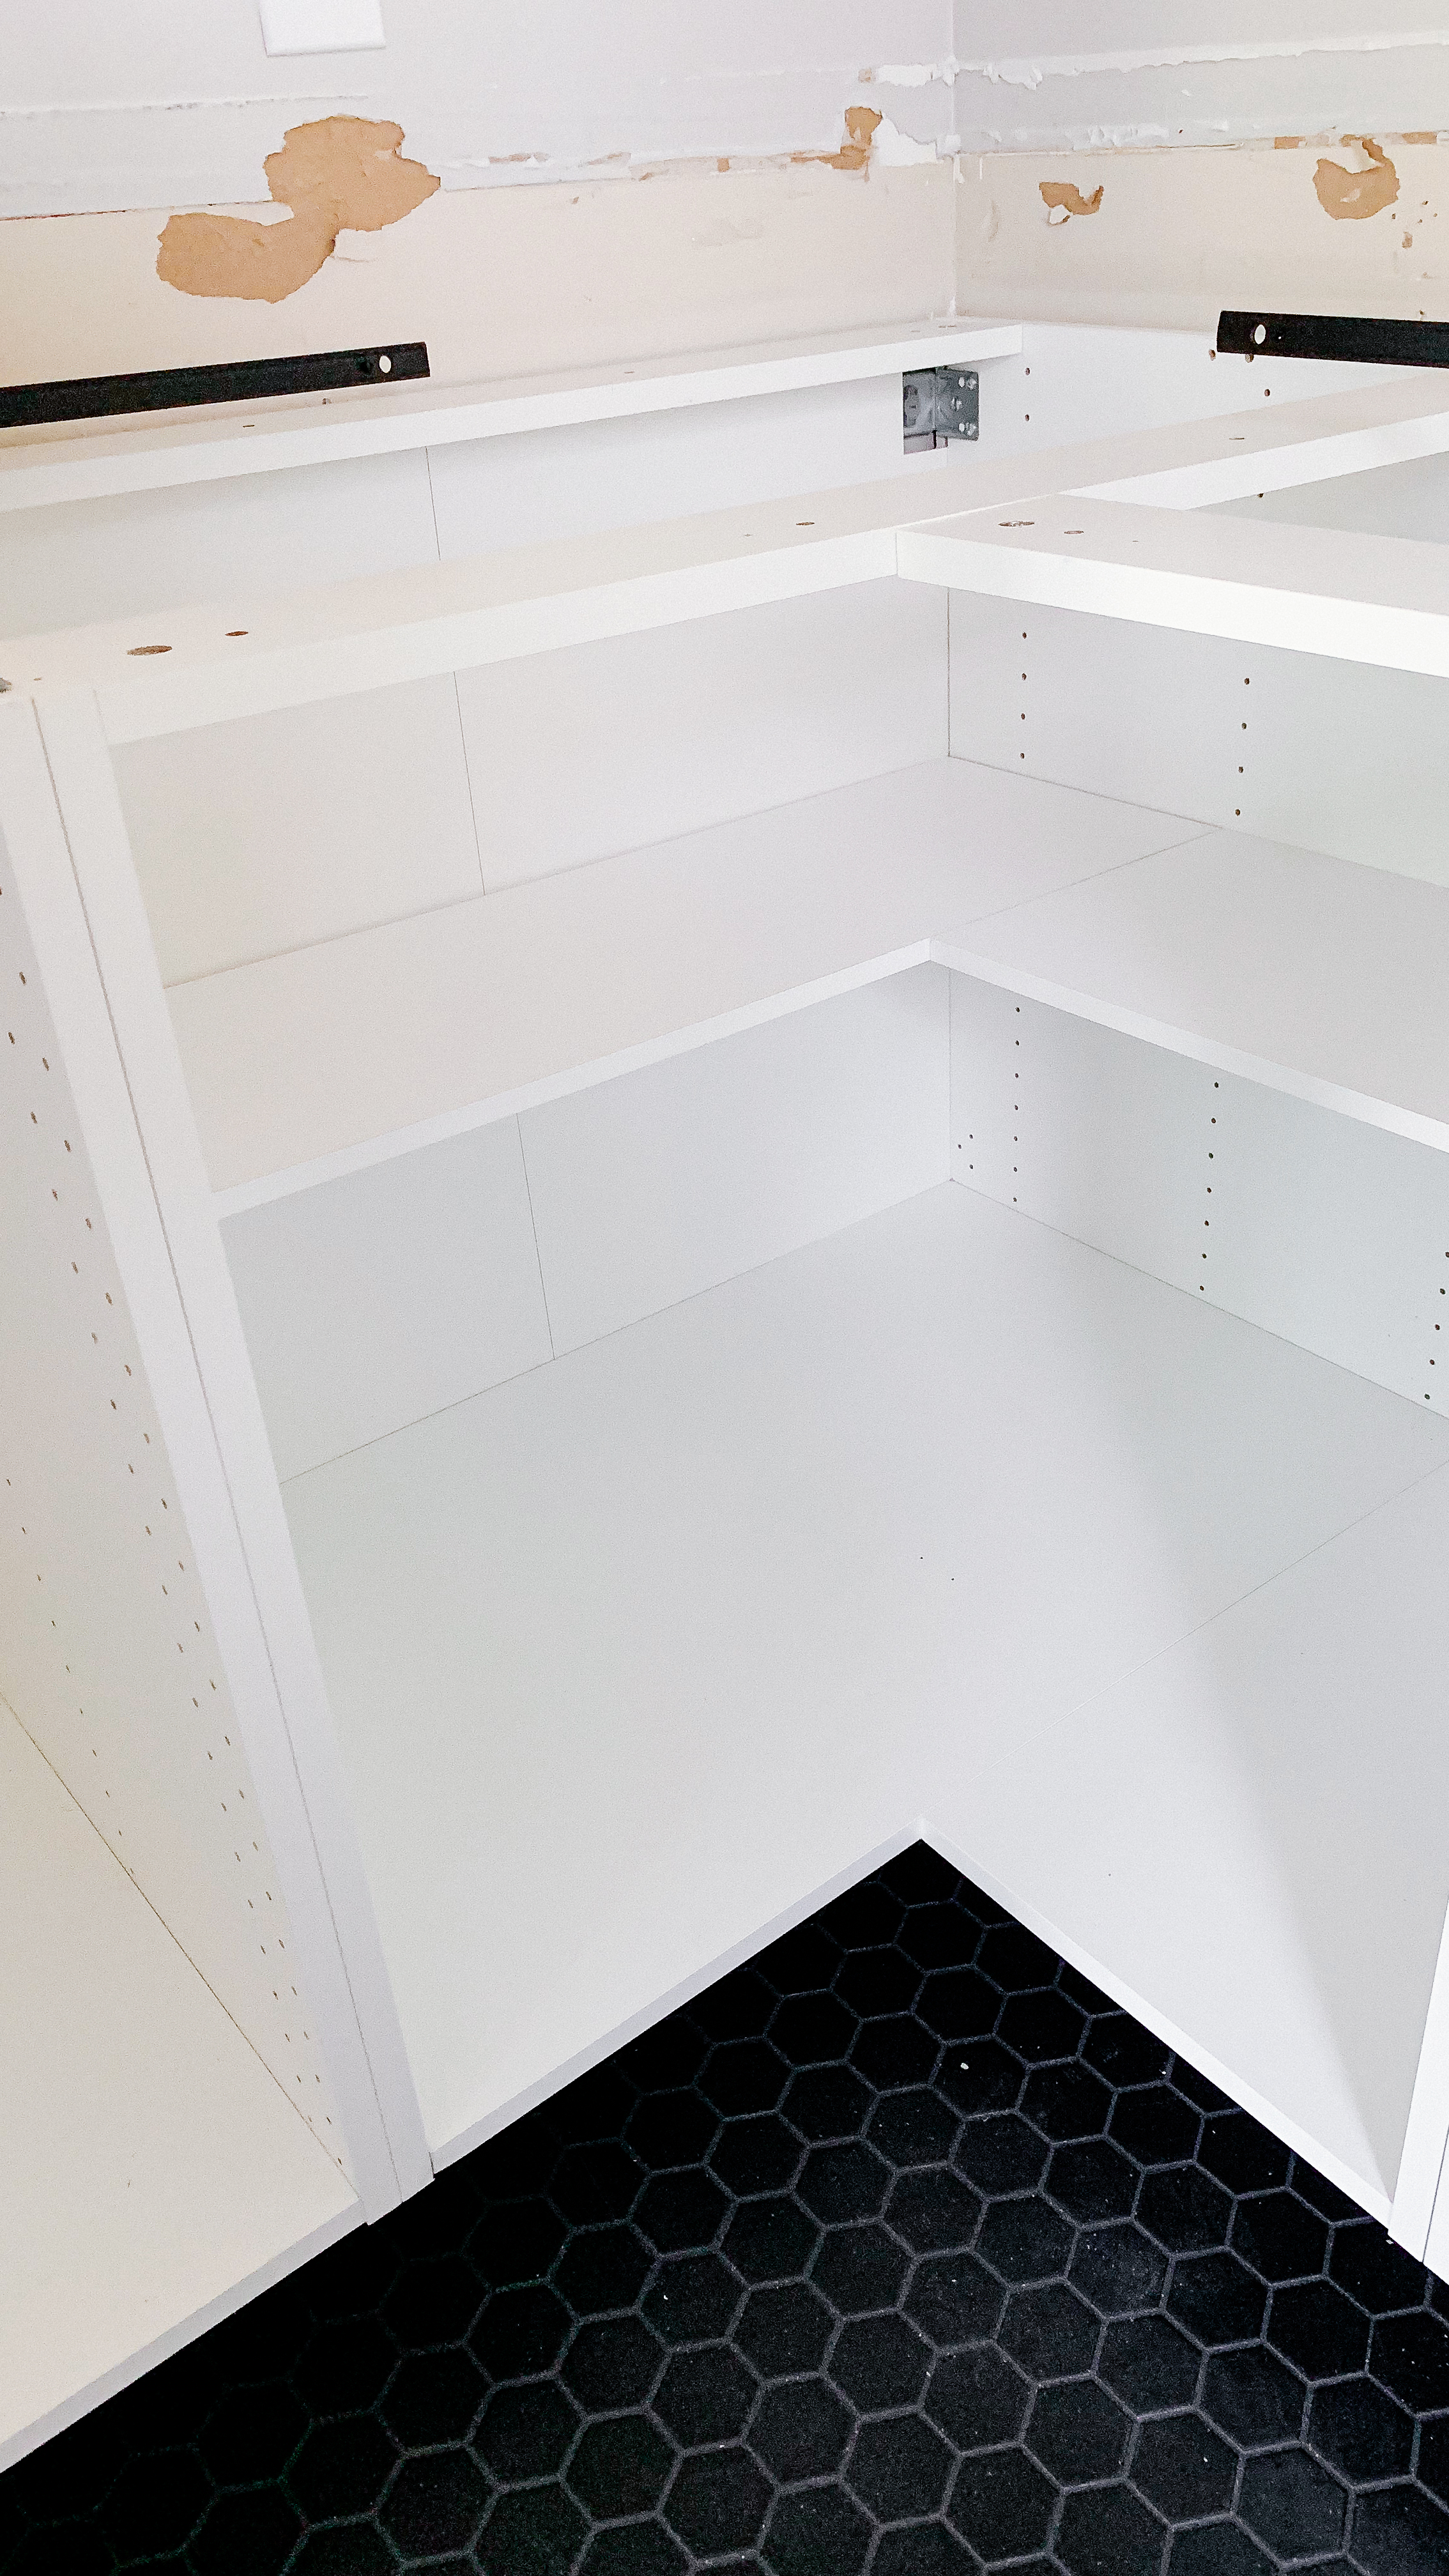
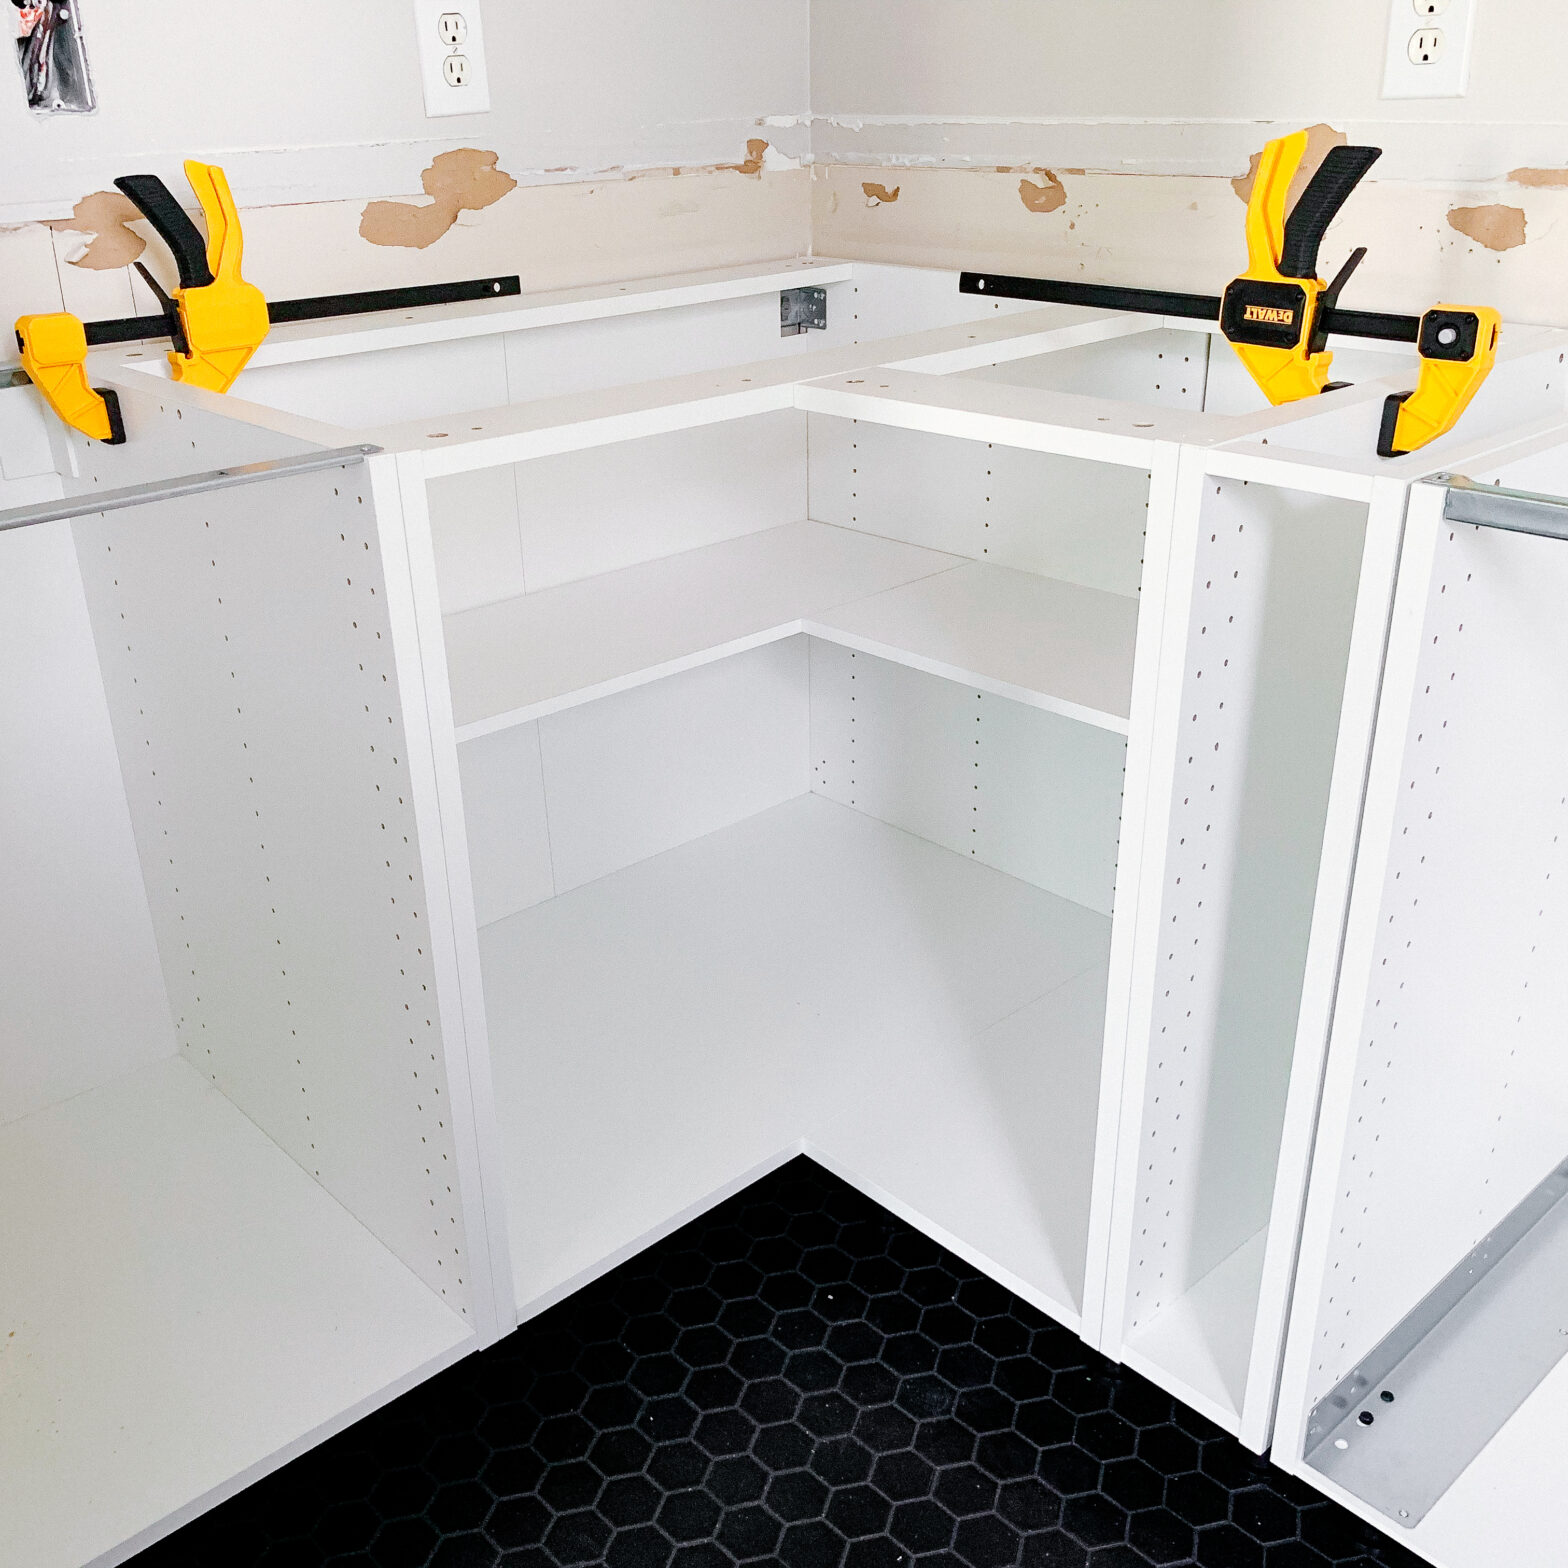
In the end, we found ourselves having to make several modifications to the Ikea boxes we bought to in order to make them work for our needs. For starters, at the time we purchased our cabinets, Ikea only offered corner cabinet boxes with the dimensions we needed featuring a spinning carousel insert for the shelving. This was going to waste a lot of space for us, and not be conducive to the items we needed to store in that area of the kitchen, namely large, bulky kitchen appliances. So we purchased some simple white shelving material from Home Depot and built custom shelving into the corner cabinets in lieu of the spinning carousel.
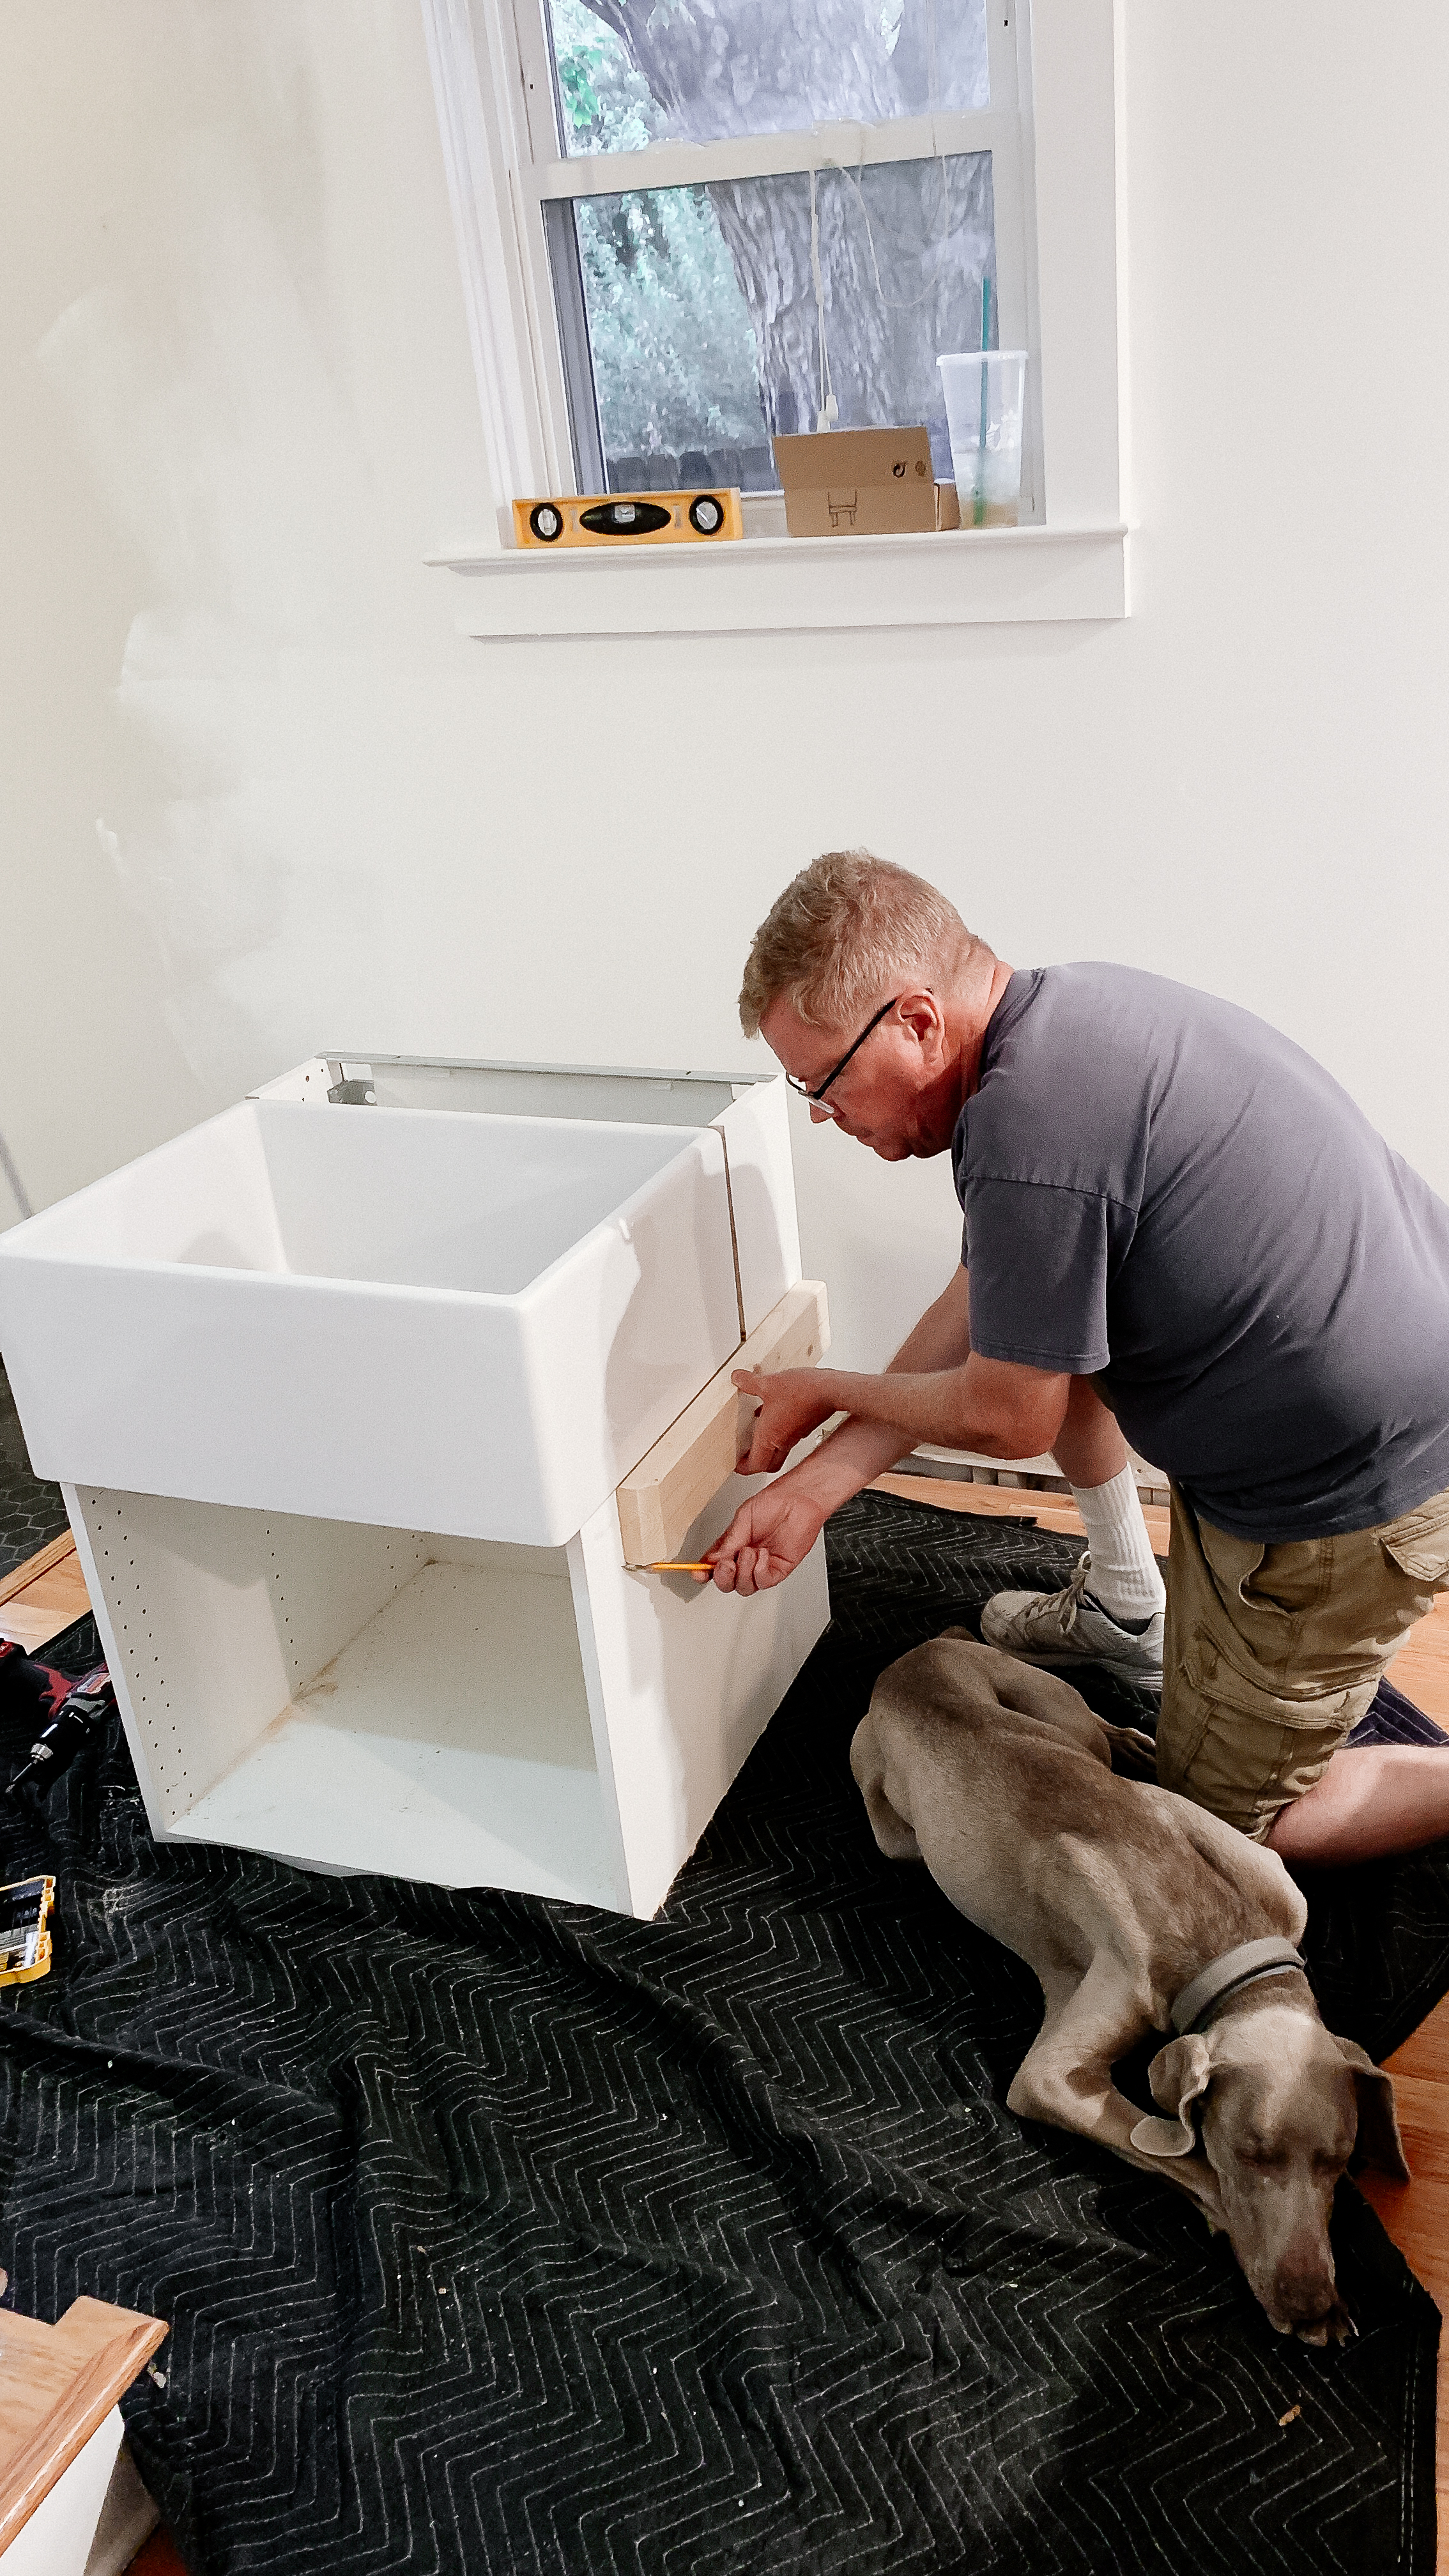
We also ended up needing to modify the sink cabinet, as I mistakingly thought you would be able to fit a 24″ sink into a 24″ sink cabinet. This is not true apparently… Luckily my dad was able to save the day by simply cutting out a portion on each side of the upper part of the sink cabinet that would allow our 24″ sink to puzzle piece perfectly into the 24″ cabinet box. In addition, since we were installing a VERY HEAVY undermount sink, we needed to install additional support into the sink cabinet that would help to carry the weight of the sink. (I’ll link to one of the videos I watched that discusses how to do this down at the bottom).
Lastly, remember how I mentioned Ikea didn’t make anything smaller than a 12″ cabinet? Well our design had a 6″ gap next to the stove. So we ended up purchasing a 12″ cabinet, then using an Ikea Hack I found online to cut it down to the width we needed. (I then had to order a custom door for it).
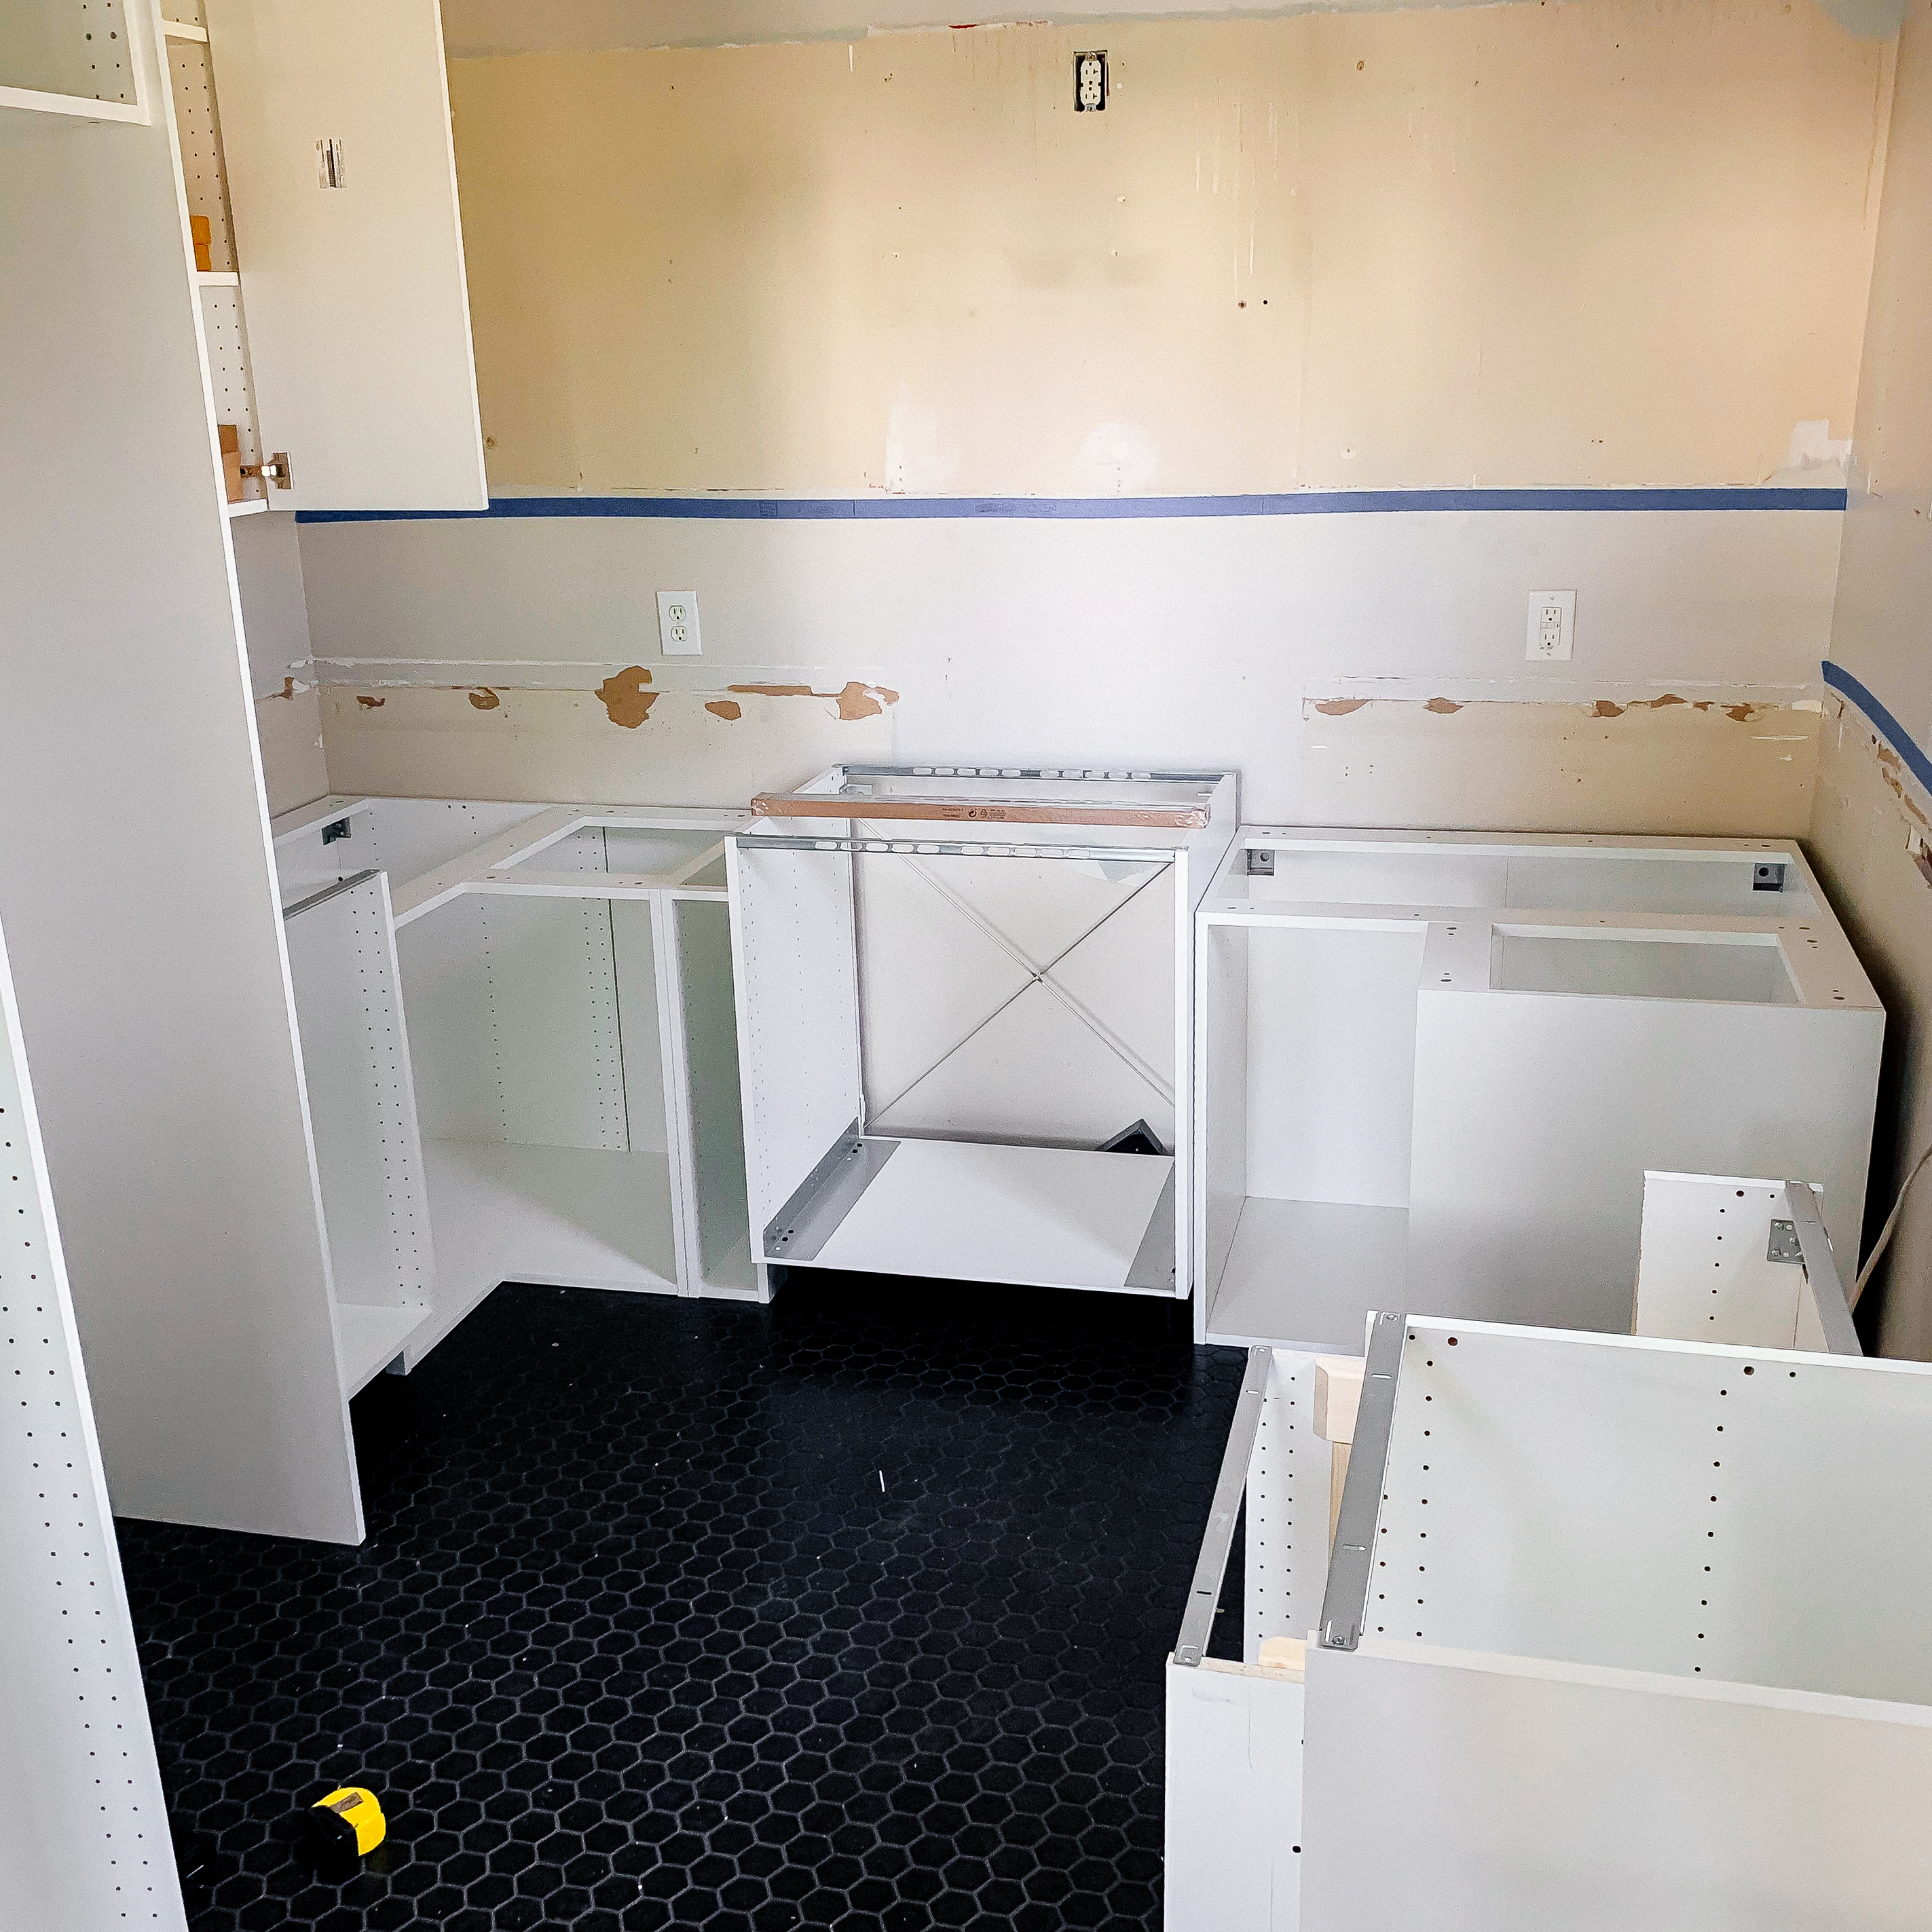
One unique aspect of the Ikea cabinets that I hadn’t considered prior to installing ours, was that these base cabinets traditionally mount via a metal rail that you attach to your wall that you then essentially hang the cabinets off of. The legs are actually only attached to the cabinets *after* the cabinet is installed.
While this helps ensure your cabinets all sit level with one another, it does rely a bit on the fact that you have somewhat straight walls to hang them off of…. we have an old house and as previously mentioned, nothing is straight, nothing is square, and our walls wave around enough to be fans at a football game. So we had a *really* challenging time installing these cabinets into our space.
But you don’t have to have this happen to you! Because only *after* we went through all this pain did I discover a better way we could have installed these cabinets which I’ll link to with the video links at the bottom for you. I highly recommend using this alt method if you have an older home.
Tools & Supplies
Tools
- A Good Long Level
- A nice laser level is also incredibly helpful to make sure you have everything level as you go around the room.
- A Decent Electric Drill/Driver
- A Nicer Allen Wrench Set
- You don’t *need* one of these as Ikea give you a little one to use, but a nice one will make your life way easier and your finger hurt way less after building all the cabinets you’ll need to assemble.
- OPTIONAL: A Table Saw, Chop Saw & Hand Saw (or Oscillating Saw)
- You’ll only need these things if you plan to modify your cabinets in any of the ways we did. You’ll need a table saw to cut down a larger cabinet to a smaller width, you’ll need a chop saw to cut down the wood you’ll need to use to reinforce the sink cabinet for the under mount sink, and you’ll need a small hand saw or oscillating saw if you need to modify a 24″ in sink cabinet to fit a 24″ farmhouse sink.
Supplies
- Ikea Cabinet Boxes & Attaching Hardware
- Luckily, when you come to the store with your design Ikea figures out ALL OF THIS for you. You literally just hand them your design and they bring you a cart with every cabinet, nut, screw, bolt, rod, shelf, etc you need to make the design you gave them.
- OPTIONAL: Liquid Nails & Lumber to reinforce the sink cabinet.
YouTube EDU
OK let’s start with some of the video I found most helpful in general about installing an ikea kitchen, then I’ll share some of the ones that demonstrate the hacks we used.
This first one does a really good just for just giving you a general feel for how these Ikea kitchen are built and come together.
This next video is actually part of a VERY DETAILED series of videos that walks you through every step of building an Ikea kitchen. He also shows you how to build cabinet boxes to set your cabinet bases on so that you don’t have to hang them off the wall, which can be problematic in older homes like I mentioned above.
Here’s the “Ikea Hack” we used to cut down our 12″ cabinet into a 6″ cabinet:
Towards about the 5min mark, this video shows you the same method we used to install extra support for our under mount sink:
Don’t Forget To Pin This Post & Subscribe!
Want to keep getting more DIY home decor inspiration, thrifting tips & tricks, free art downloads, reading recommendations, and home renovation tutorials? Then don’t forget to pin this post for later so you can follow me on Pinterest and then subscribe to my blog so you can get links to my newest content as soon as it hits the blog!
2 thoughts on “Ikea Cabinet Box Install”