One of the design elements I was most excited for when I started researching older kitchens from the 1920s was the use of wood countertops. So I went full Kadie and researched absolutely everything I could about installing and owning real wood countertops.
Here’s what I found:
- To start with I was excited to discover that wood countertops are actually one of the cheapest non-laminate countertop options available on the market. So they are an excellent choice for those renovating a kitchen on a tight budget…. like us…
- The quality of the wood you use is important, and the kind of wood you use can help your countertops hold up better in the long term. Woods like walnut tend to be a much harder wood that can withstand much more use and abuse than a softer wood like pine for instance.
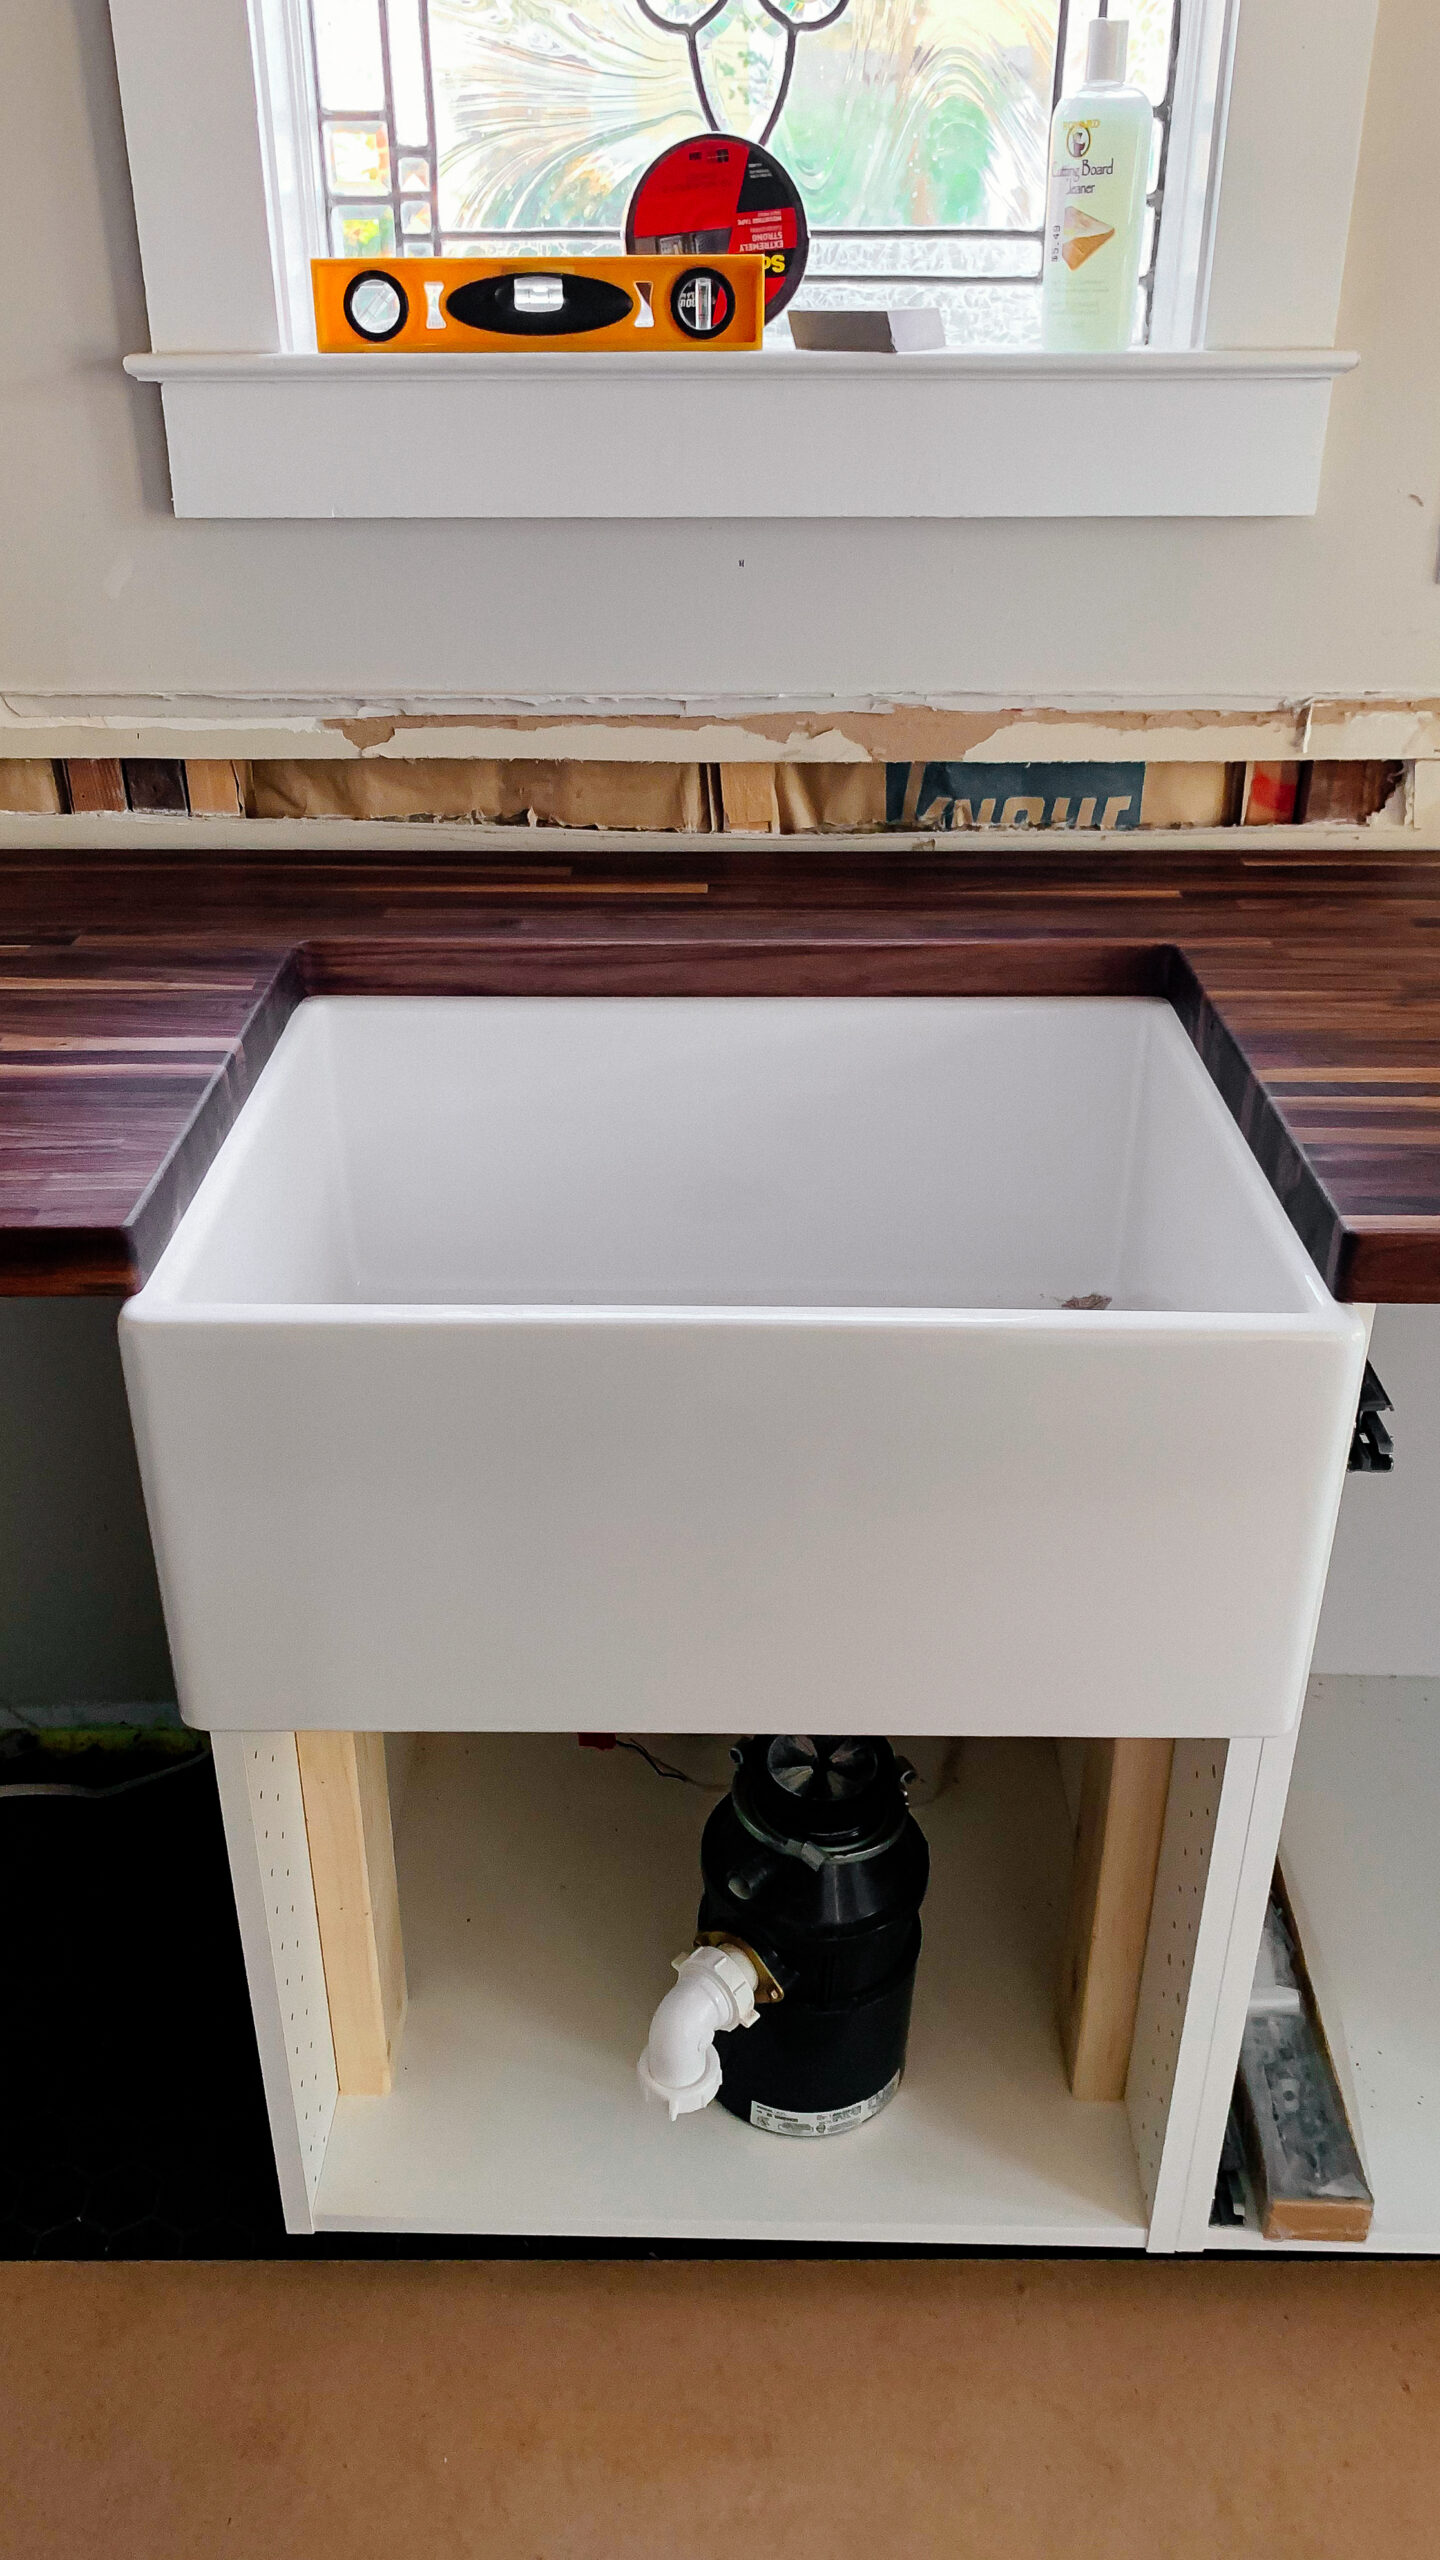
- Not all wood countertops are solid wood. Some are actually much more similar to traditional laminate counter tops, where the insides are actually a composite material and only the outside features a wood veneer. (Some of the Ikea wood countertops are like this) Which makes them problematic for using with features like an undermount sink for instance, where the interior of the countertop will be easily seen. So keep that in mind.
- You countertops will need time to acclimate to your home before you install them. Often these countertops are sitting out in a non-climate controlled warehouse soaking up heat or cold, drying out or being filled with moisture depending on the humidity in the air. So if you were to immediately install those same countertops in your kitchen, the wood might begin to warp, bend and twist as a reaction to its new surroundings. To avoid that, you’ll want to let your new countertops sit in your home for at least a week or so before installing them in order to give the wood time to acclimate to the air and humidity levels in your home.
- There is a lot of debate and personal preference on how to treat and care for wood countertops. The most low maintenance option is to seal them with some sort of sealant. (Sort of same way you’d seal wood floors to protect them), Waterlox is a very popular option for this. However, while this option offers the most protection, it doesn’t allow you to use your butcher block countertops as a food safe cutting board anymore, and it also doesn’t allow you to sand out any possible defects that may appear as time goes on. It can also make your countertops very shiny. The second option takes a bit more upkeep and requires the user to periodically condition their countertops with a food grad mineral oil on a semi regular basis. This treatment allows the countertop to still be utilized as a food safe cutting surface and allows the owner to have the option to sand out any imperfections periodically between conditioning treatments.
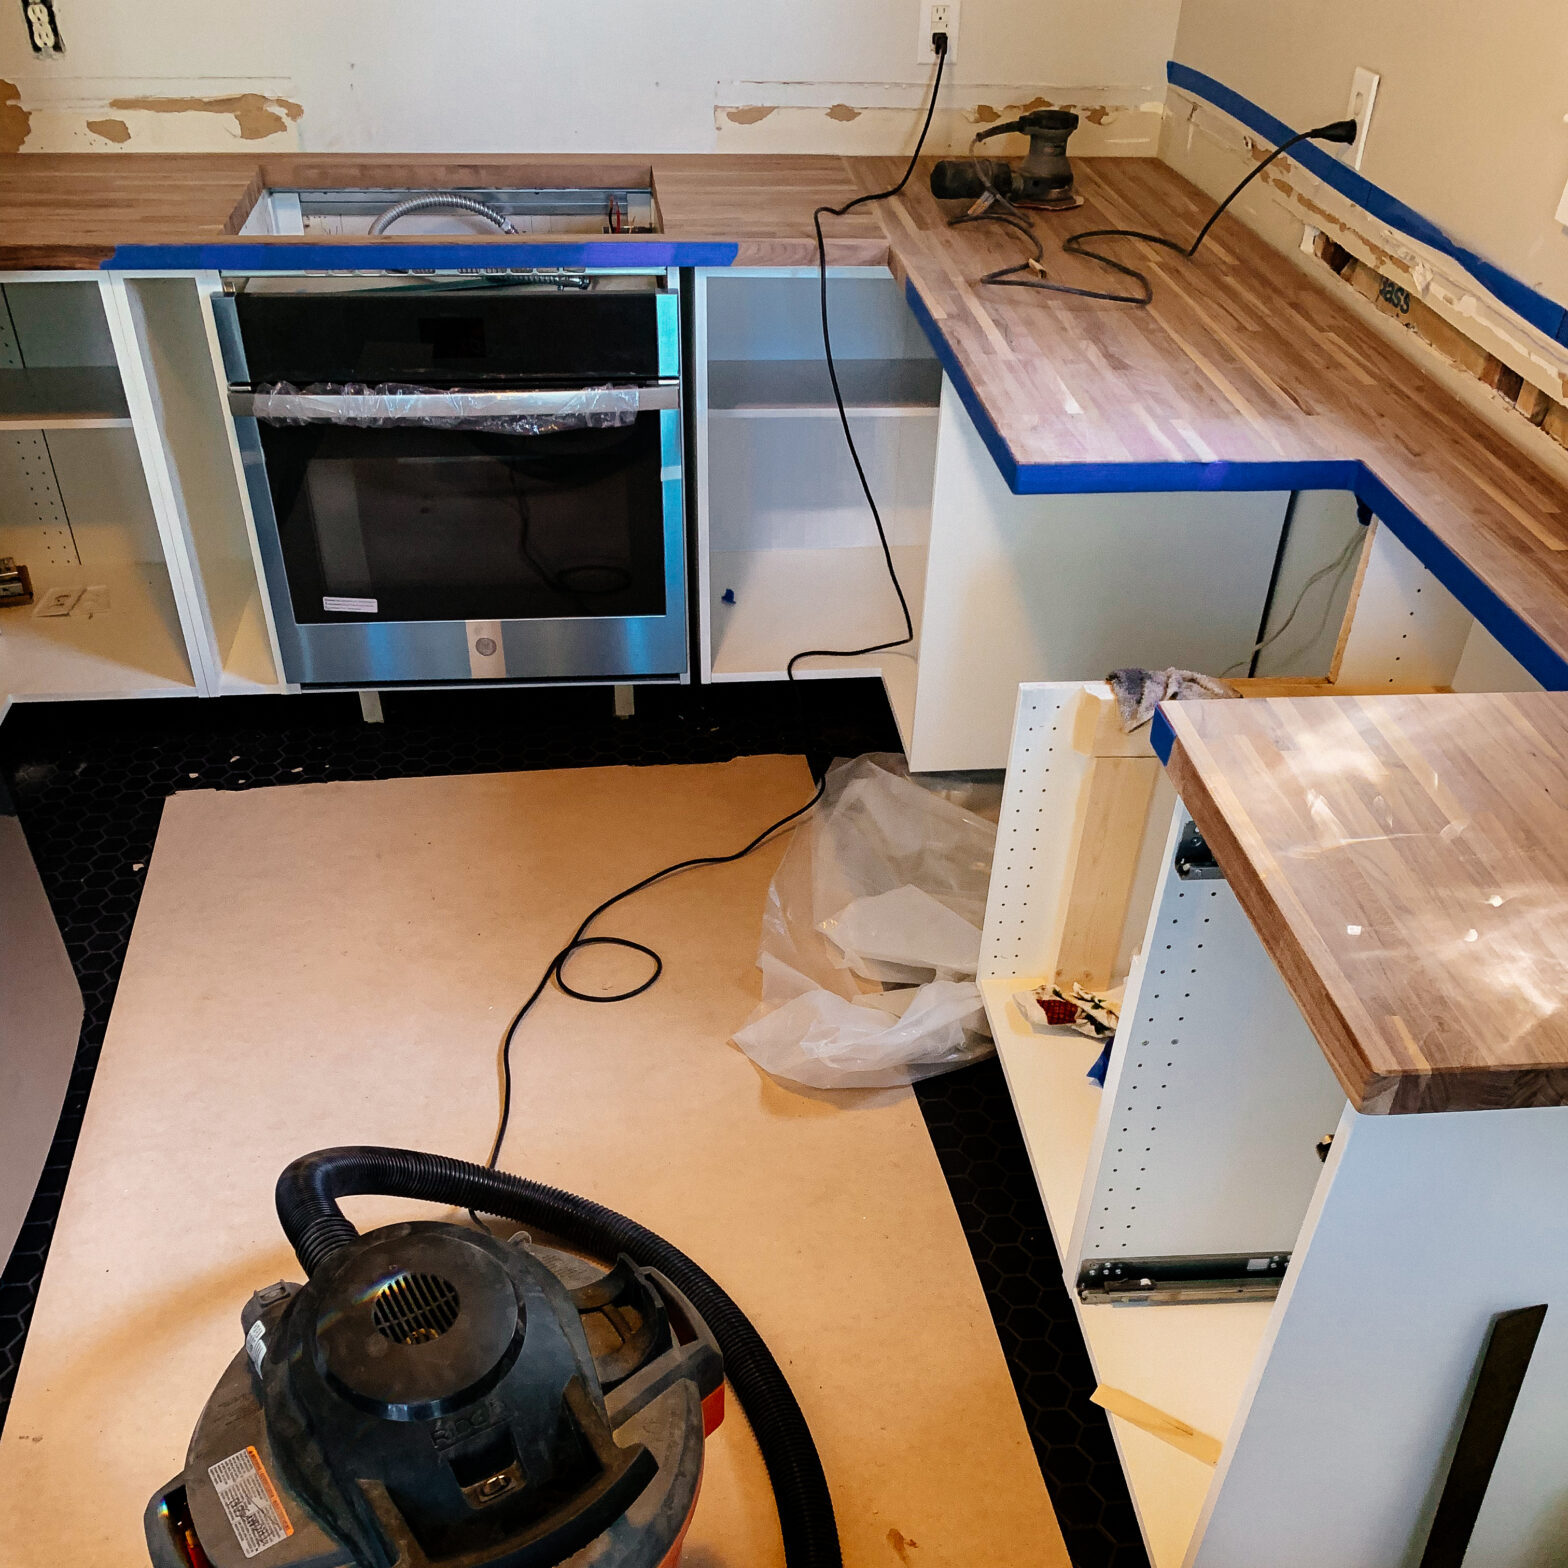
- When choosing your countertop, be aware that oiling/sealing them will usually change the color drastically. (You can see what I mean by comparing the image at the top of this post of the raw butcher block right after we installed it, to what it looks like in the image below after being oiled).
We ended up purchasing Walnut countertops from Lumber Liquidators, as I had read a string of very good reviews on the quality of the wood and workmanship of their countertops. They also run semi regular sales on their butcher block countertop offerings for those looking to save a bit on their order. They even gave me money back after our countertops went on sale a few days after we purchased ours, so customer service with them was great.
Based on my research, we decided to keep our countertops unfinished and simply treat them regularly with Howard’s Butcher Block Conditioner. Which I prefer as it also features natural waxes in the ingredients along with the food grad mineral oil, which helps to protect our wood from water damage, especially the area surrounding our undermount sink. (Also, when I when I say “regularly treat them”, I mean like once a quarter. I don’t condition them daily, weekly or even monthly. So it isn’t *that* much upkeep.)
I *did* however choose to apply several coats of protective polyurethane on the UNDERSIDE of the countertops where the new dishwasher would be installed and around the underside of the sink since I would not be able to regularly treat these areas with oil and I wanted them to be protected from any possible heat, water or steam they may come in contact with.

We also chose to do what are called “butt joints” on our corners were the boards meet, vs a more complex miter style joint. Personally I feel like the butt joint looks a bit more classic and it also helped us save a bit on money by needing a shorter cut of wood for the middle back section.
To be honest, the most terrifying part of all this was simply cutting the wood itself and removing the section for the undermount sink, in order to install it into the space. (You try cutting into a $500 piece of wood and see how it feels lol) Luckily, we have a close friend who is a professional woodworker (Huy Huynh over at Alabama Woodworker, click here to check out his very very cool YouTube channel or Insta Feed) who very kindly came over with all his fancy tools and knowledge to lend us a hand.
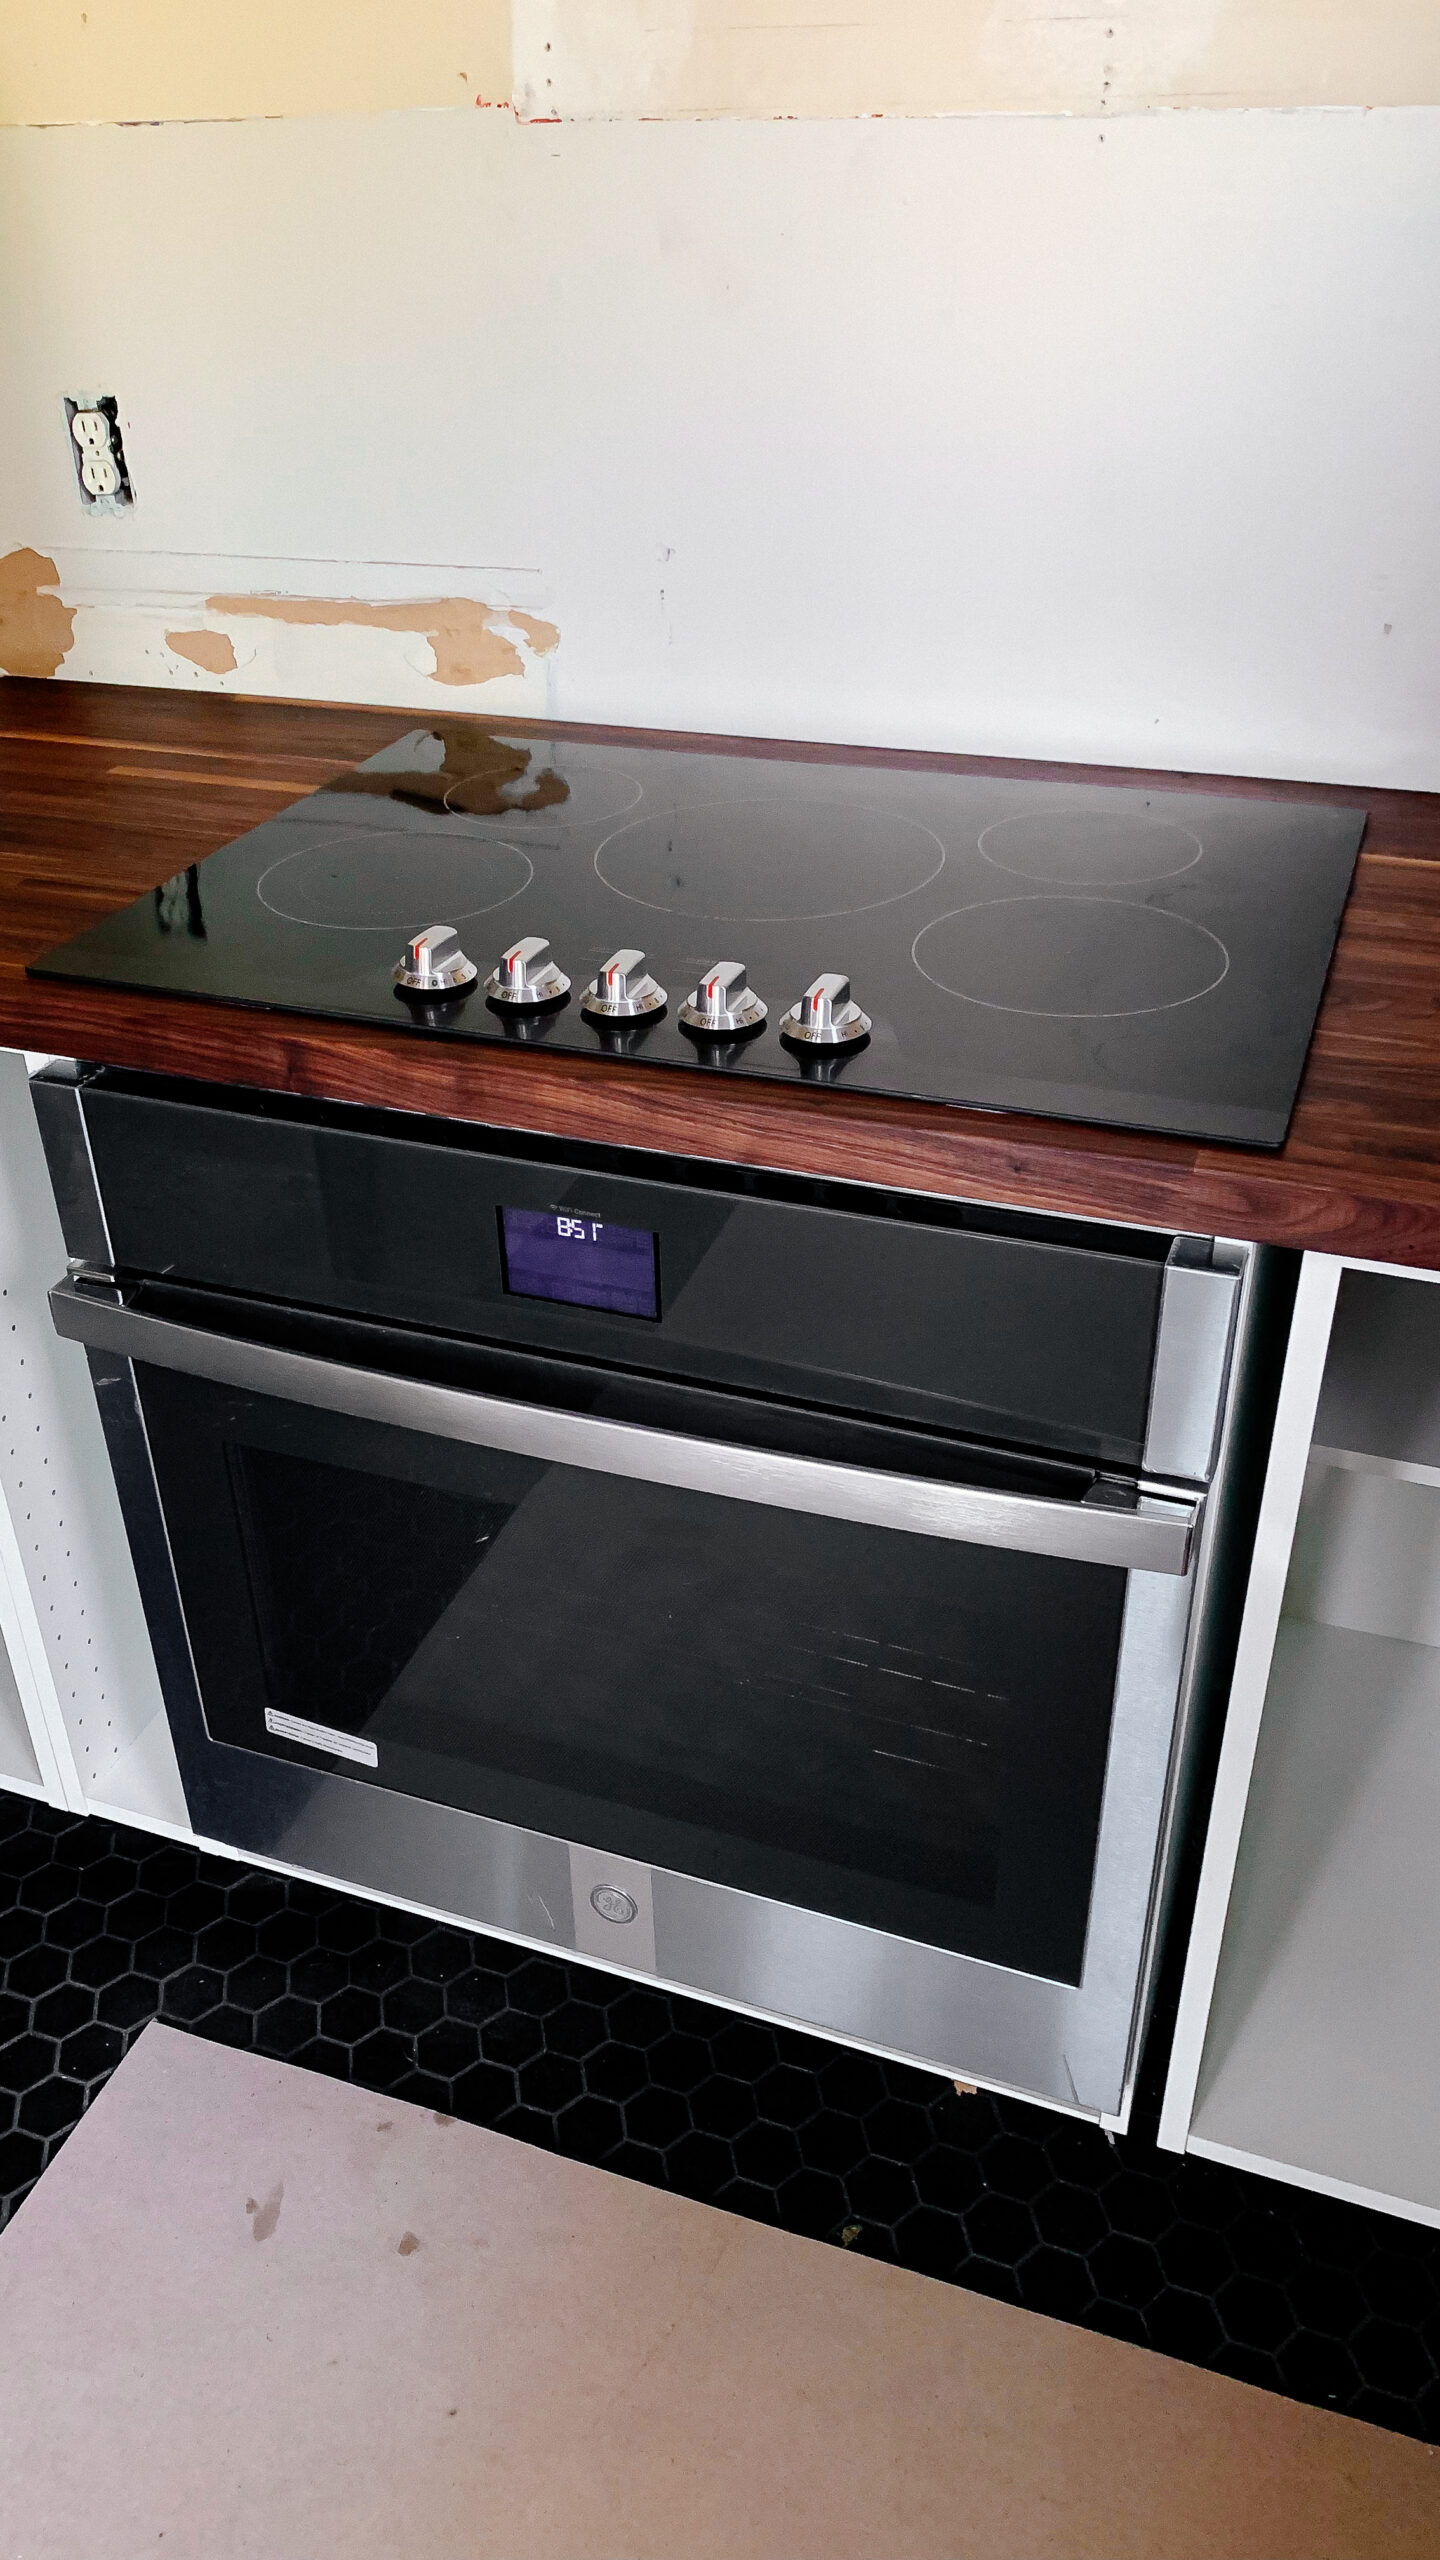
The other thing I’ll touch on really quickly (even though it’s a bit of a tangent from the butcher block countertop discussion) is the fact that we went with a wall oven and cooktop, vs a single range unit. This was something I was adamant about wanting, as I loathe when food falls down into the gap between a range and the countertop. A cooktop basically eliminates that issue. Secondly, this allowed us to mix and match the oven we wanted with whatever cooktop we might want and have the option to swap things out down the line. So for instance, whenever we can afford to install gas to the house, we’ll be able to swap out just the cooktop for a gas one, while leaving the electric oven.
By the way, I was able to find this cooktop (it was removed without ever even being turned on or used from a model home), and the exact wall oven we wanted, brand new in the box but for less than half the price of purchasing them new from the store, on FB marketplace. Have I mentioned how much I love FB marketplace?
And since we’re on the subject of appliances, one final thing I’ll mention is that before deciding if butcher block countertops are for you, you may want to consider what type of dishwasher you have in your space, or if you can afford to update it, as butcher block countertops don’t typically hold up well to top venting dishwashers. While bottom venting dishwashers are a solid choice, we ended up updating our dishwasher to this ventless Bosch unit (which we adore and is the only appliance we splurged and paid full price for).
Unfortunately, I was so anxiety ridden over the whole countertop install, that I stayed away from the house that evening and only came home after everything was installed. So I don’t have any photos of the installation process. But, if you have any specific questions, write them up in the comment section below and I will pick Joe’s brain to get you an answer.
YouTube EDU
This video does a good job of breaking down the process we used, however we used pocket holes to join our countertops together in lieu of routing out holes for bolts.
Don’t Forget To Pin This Post & Subscribe!
Want to keep getting more DIY home decor inspiration, thrifting tips & tricks, free art downloads, reading recommendations, and home renovation tutorials? Then don’t forget to pin this post for later so you can follow me on Pinterest and then subscribe to my blog so you can get links to my newest content as soon as it hits the blog!
One thought on “Butcher Block Countertop Install”