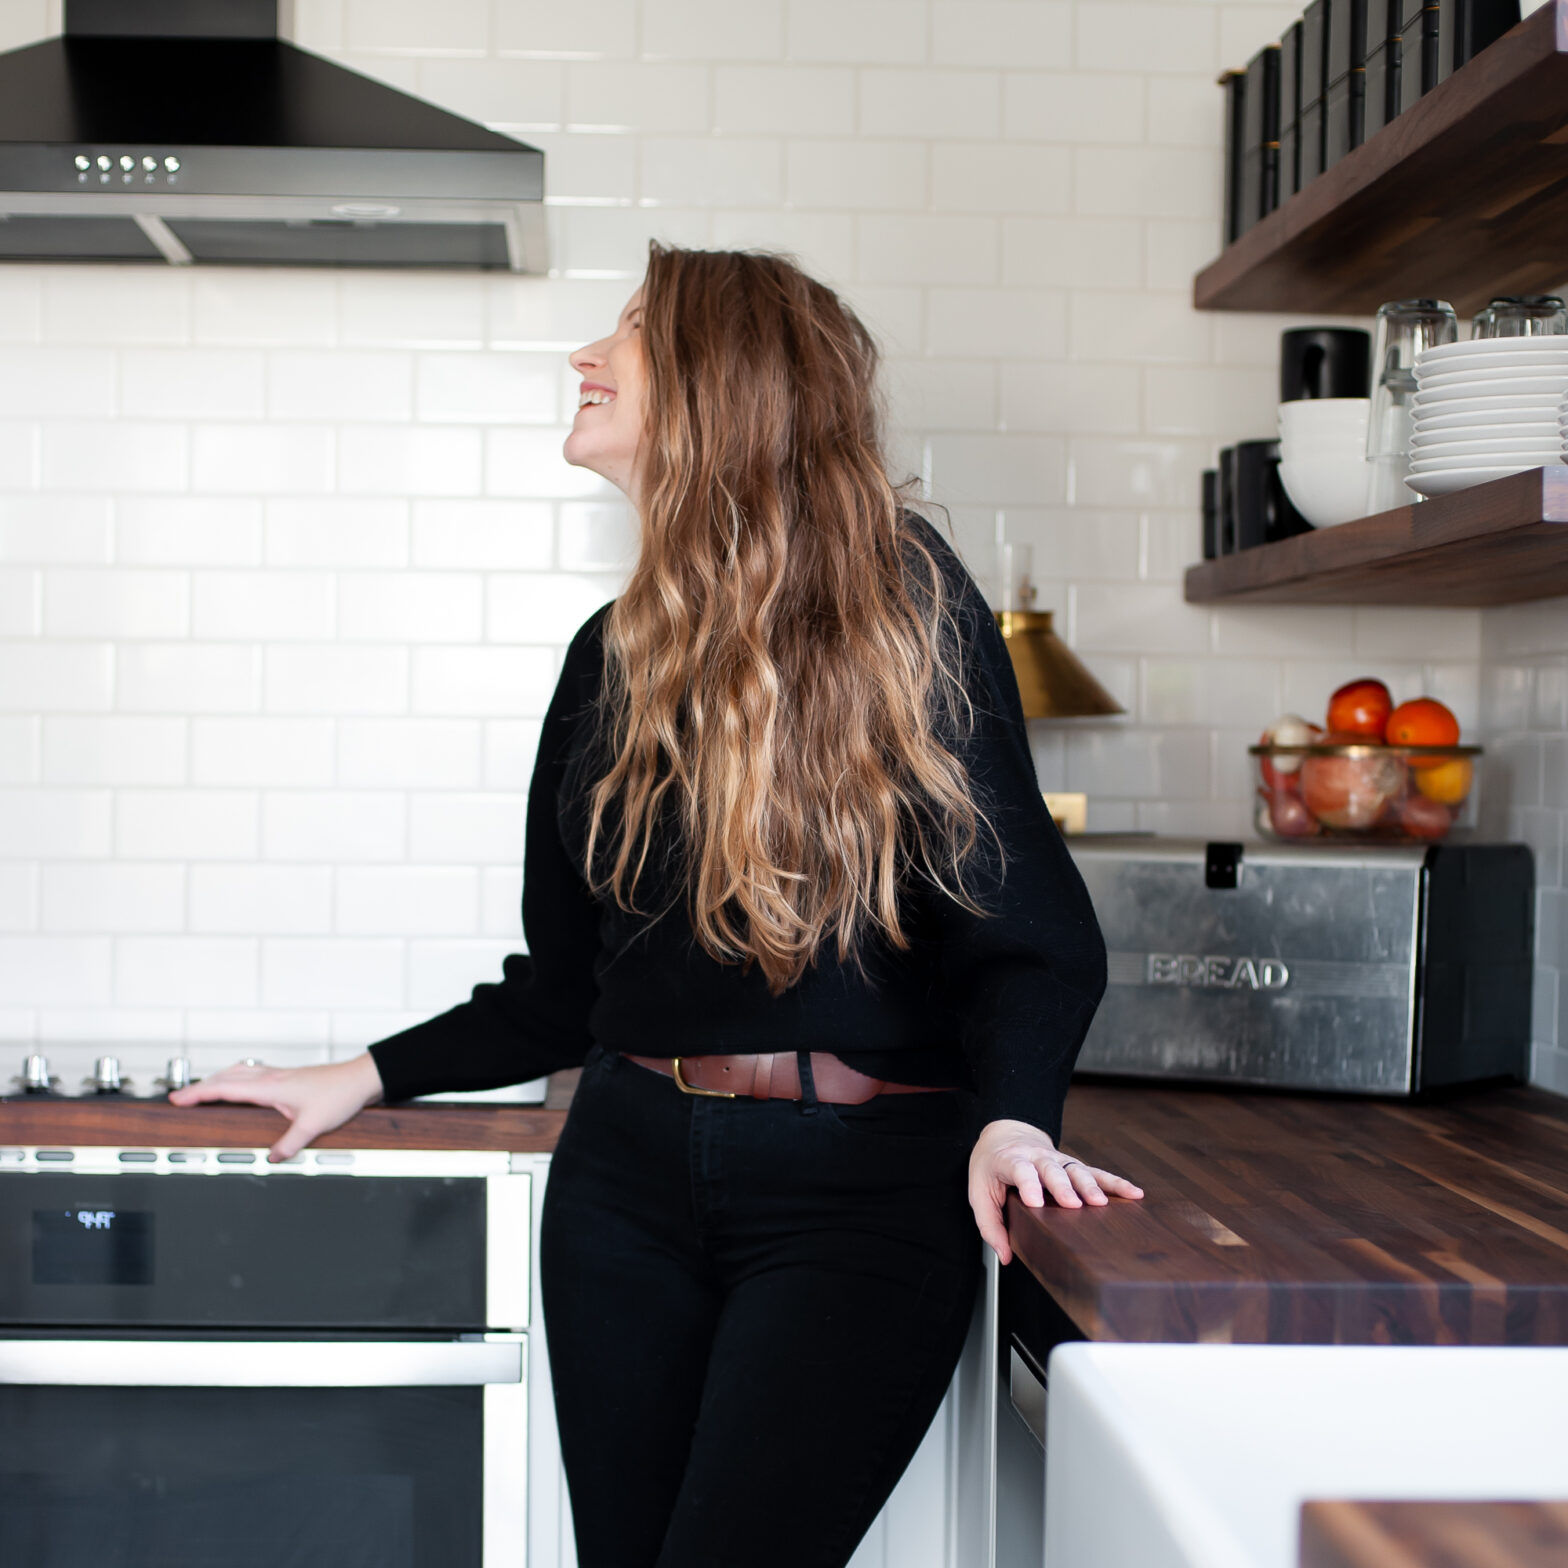
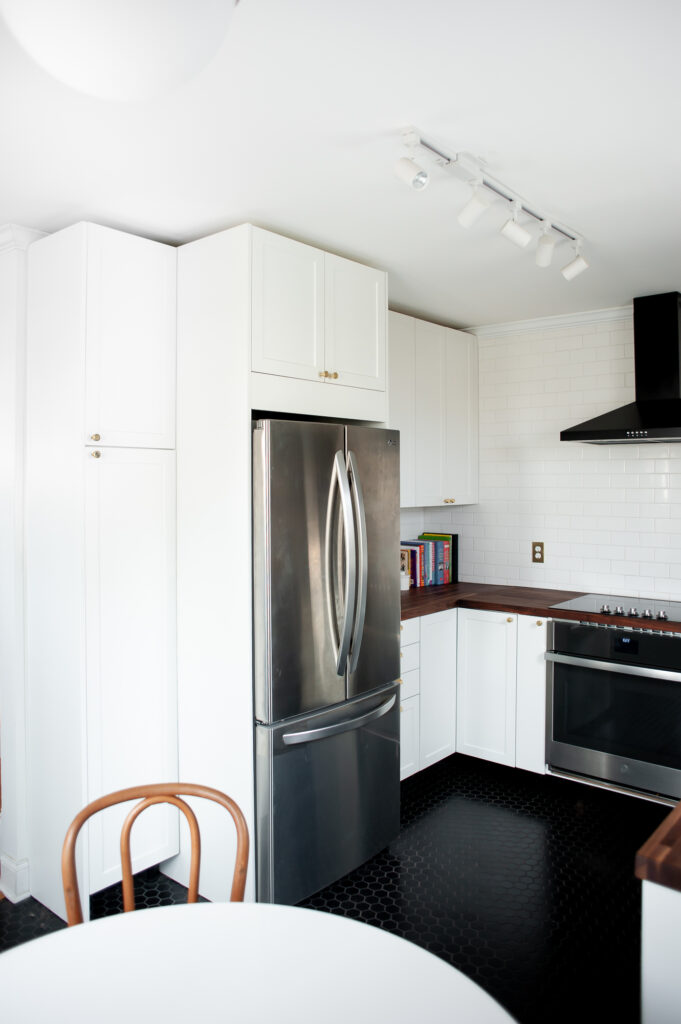
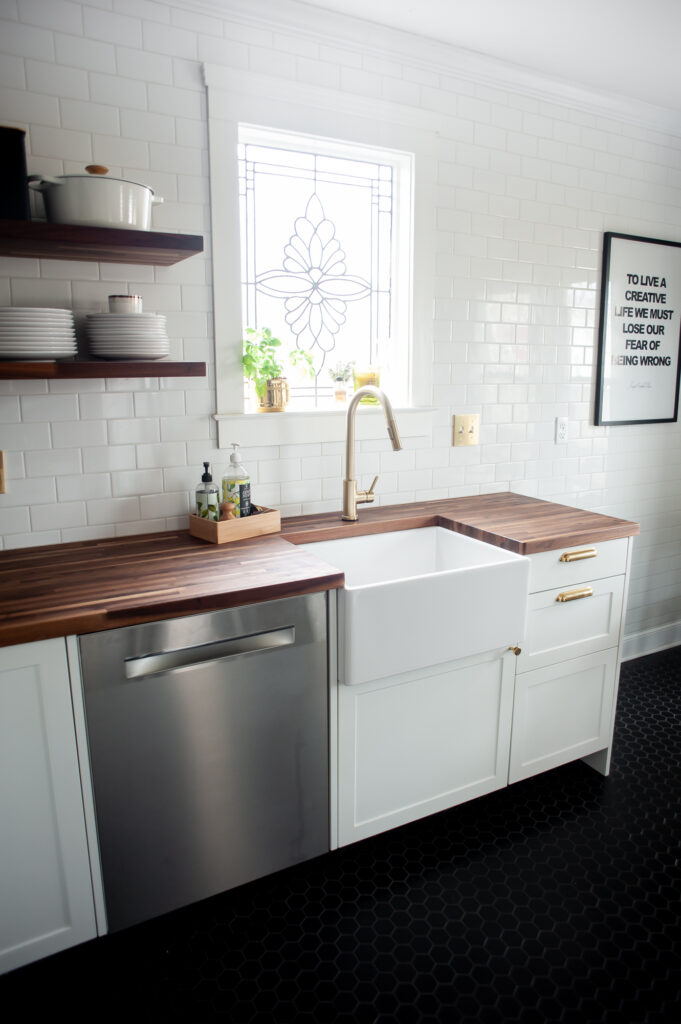
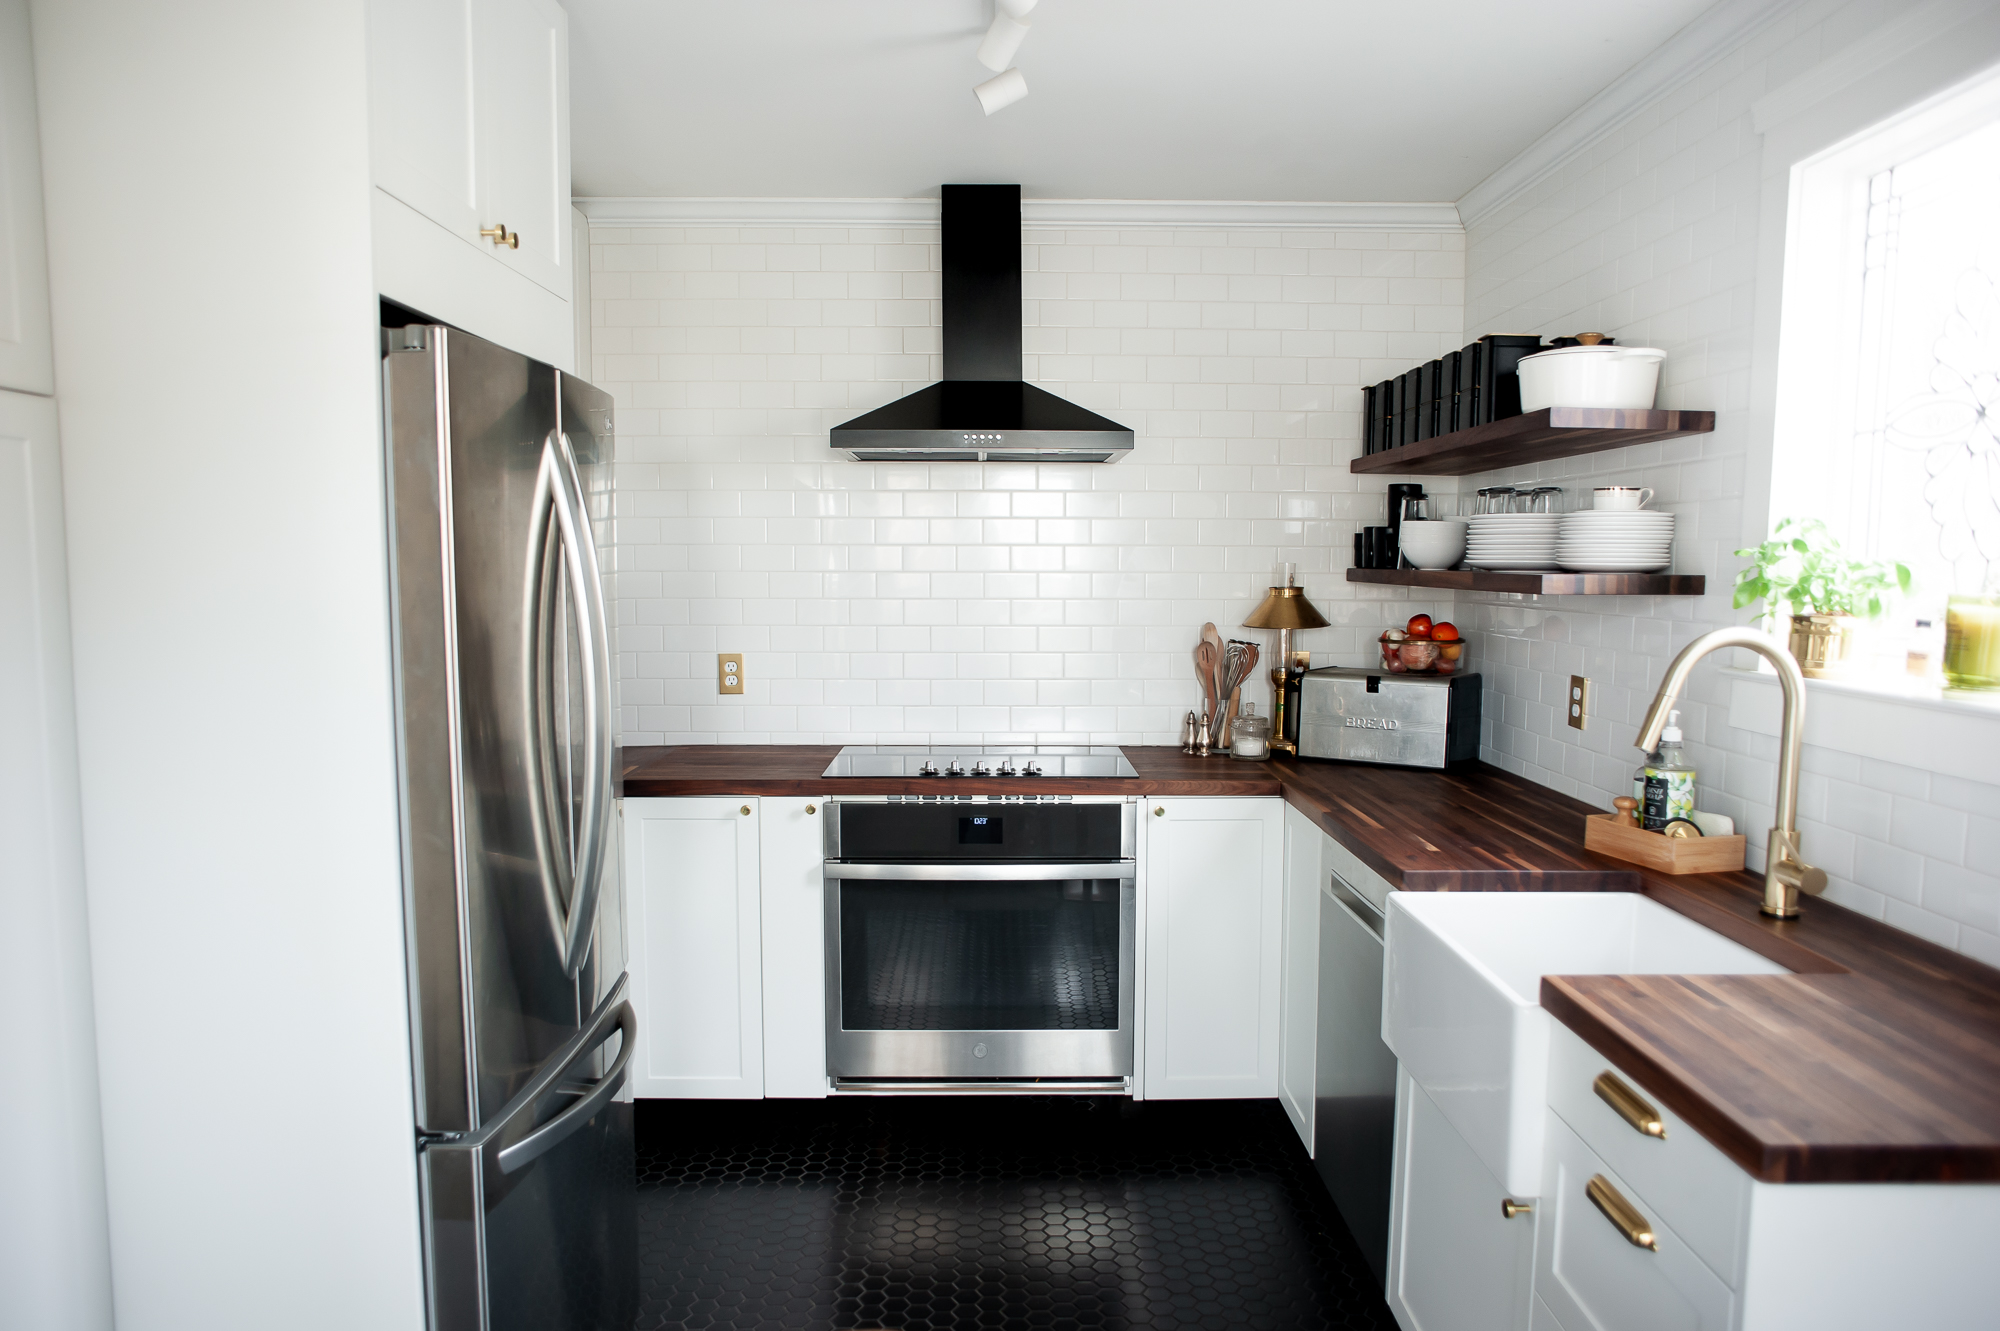
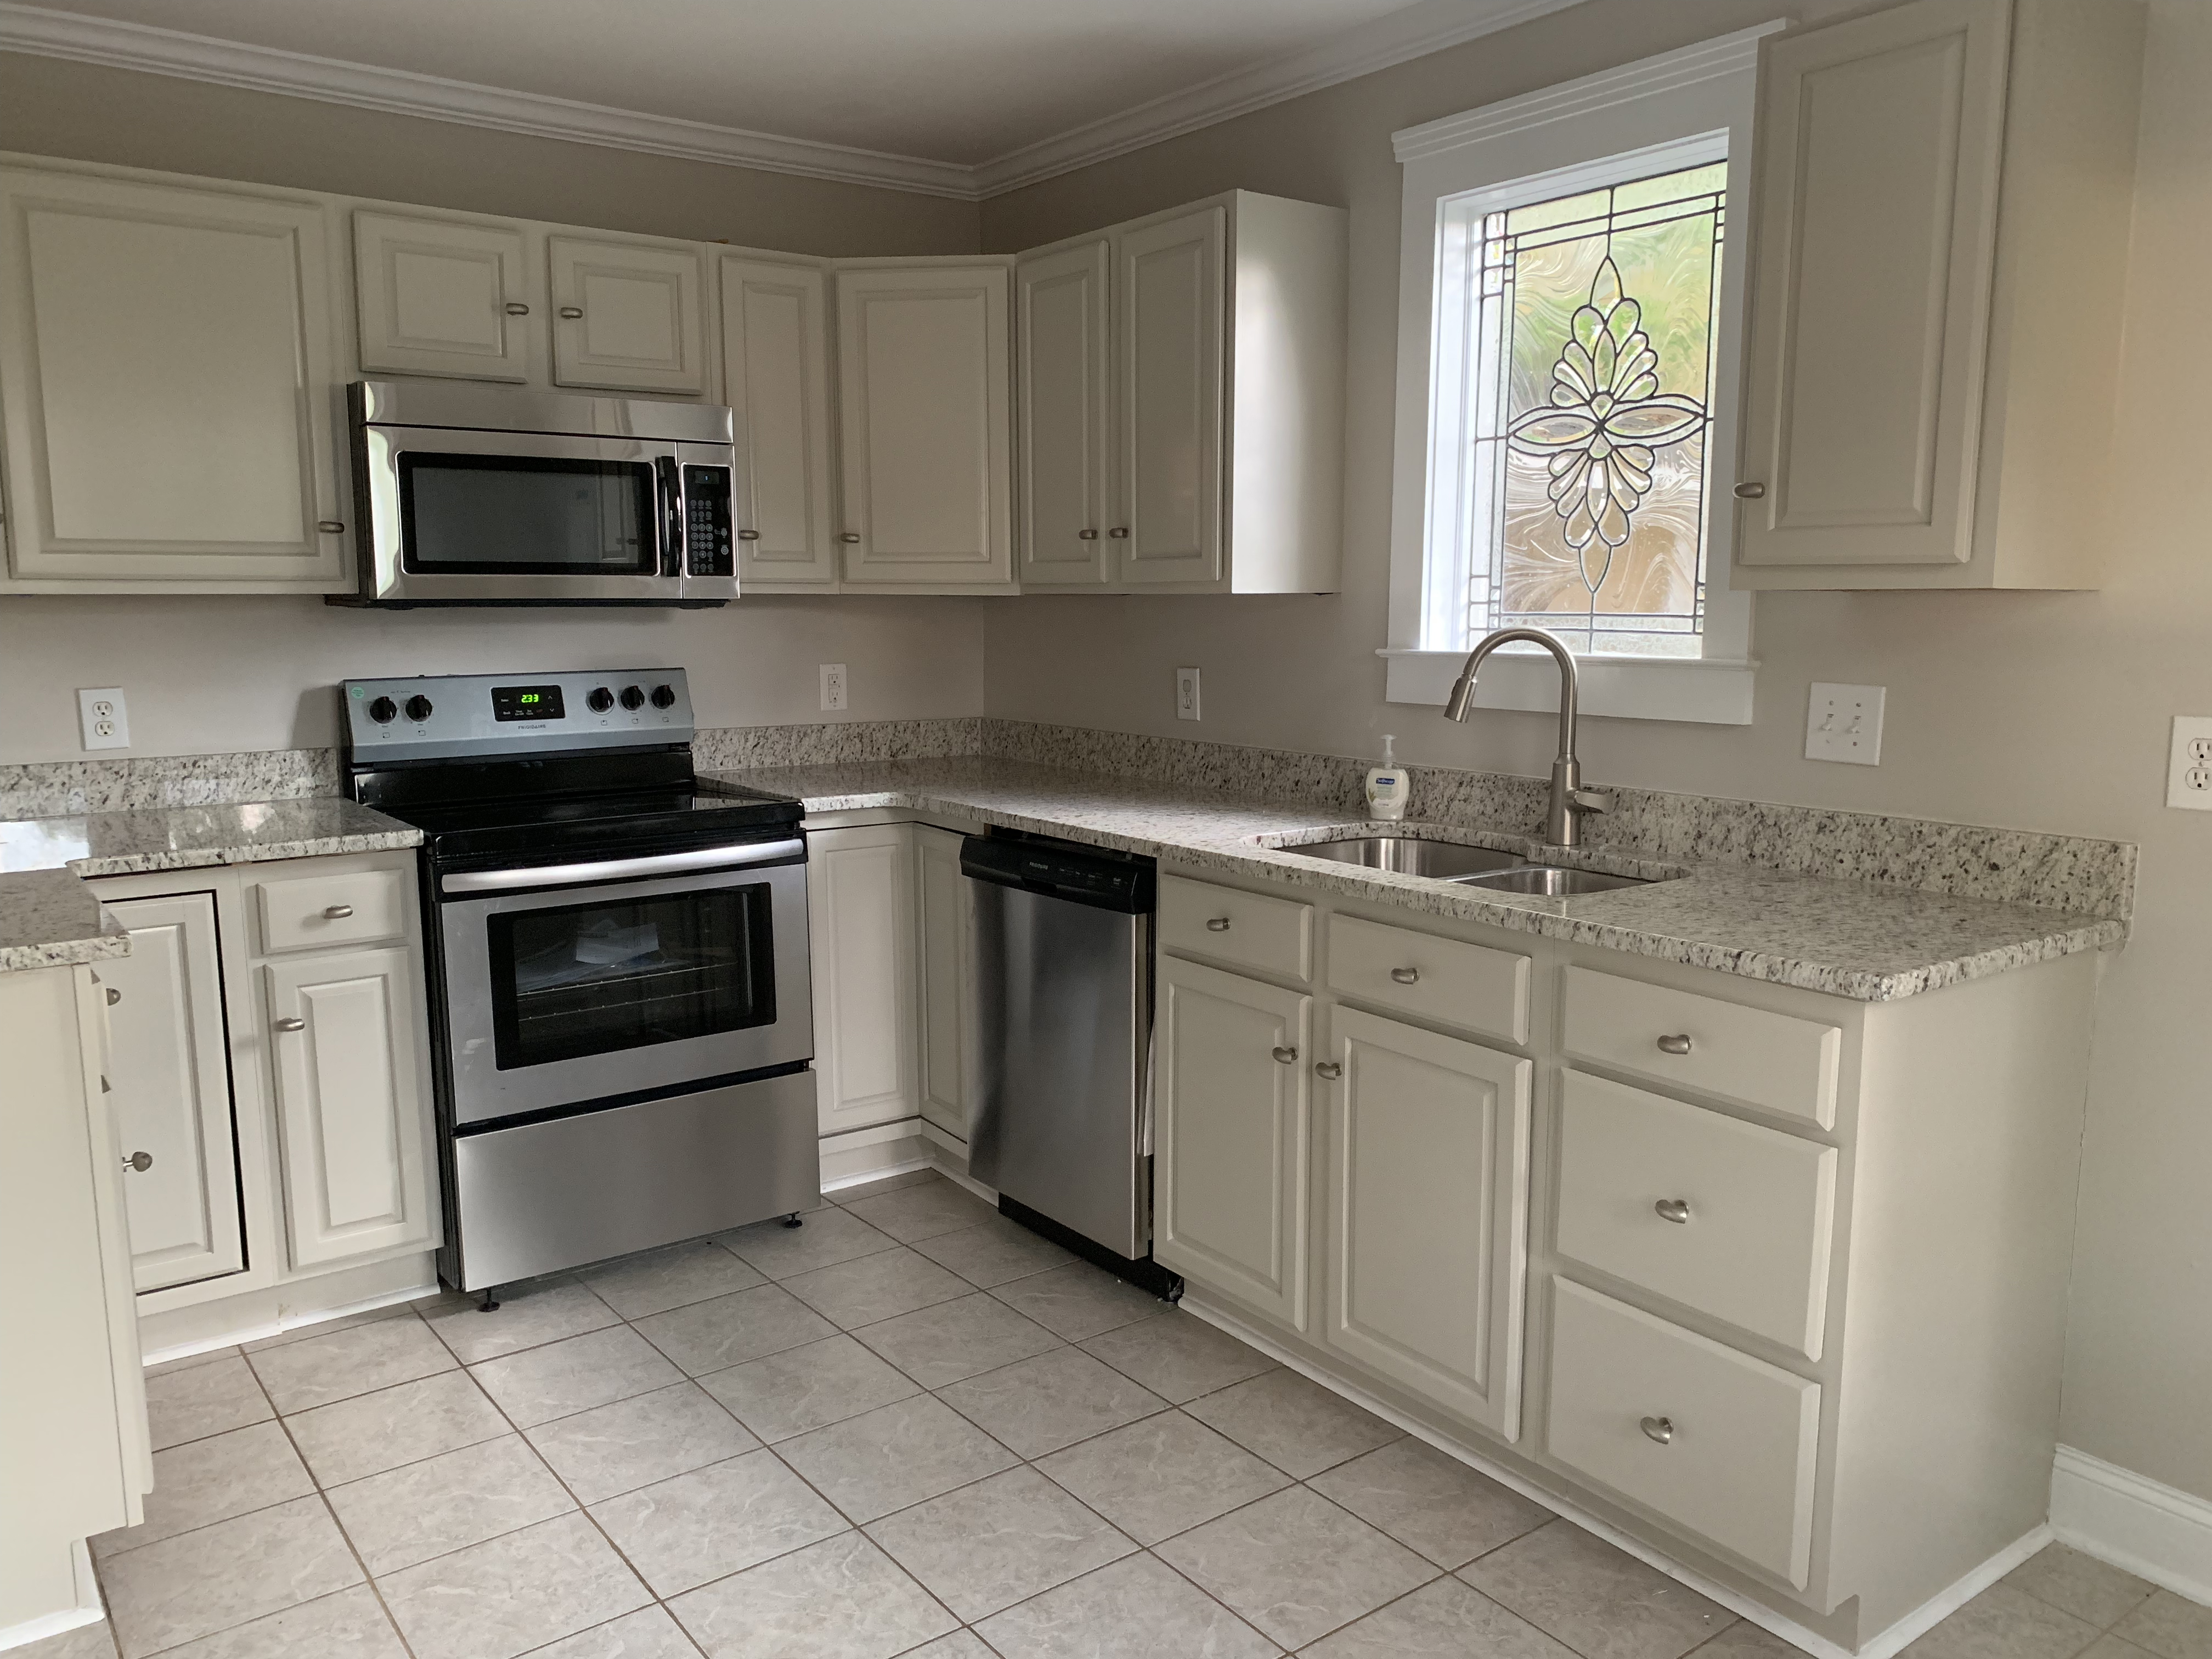
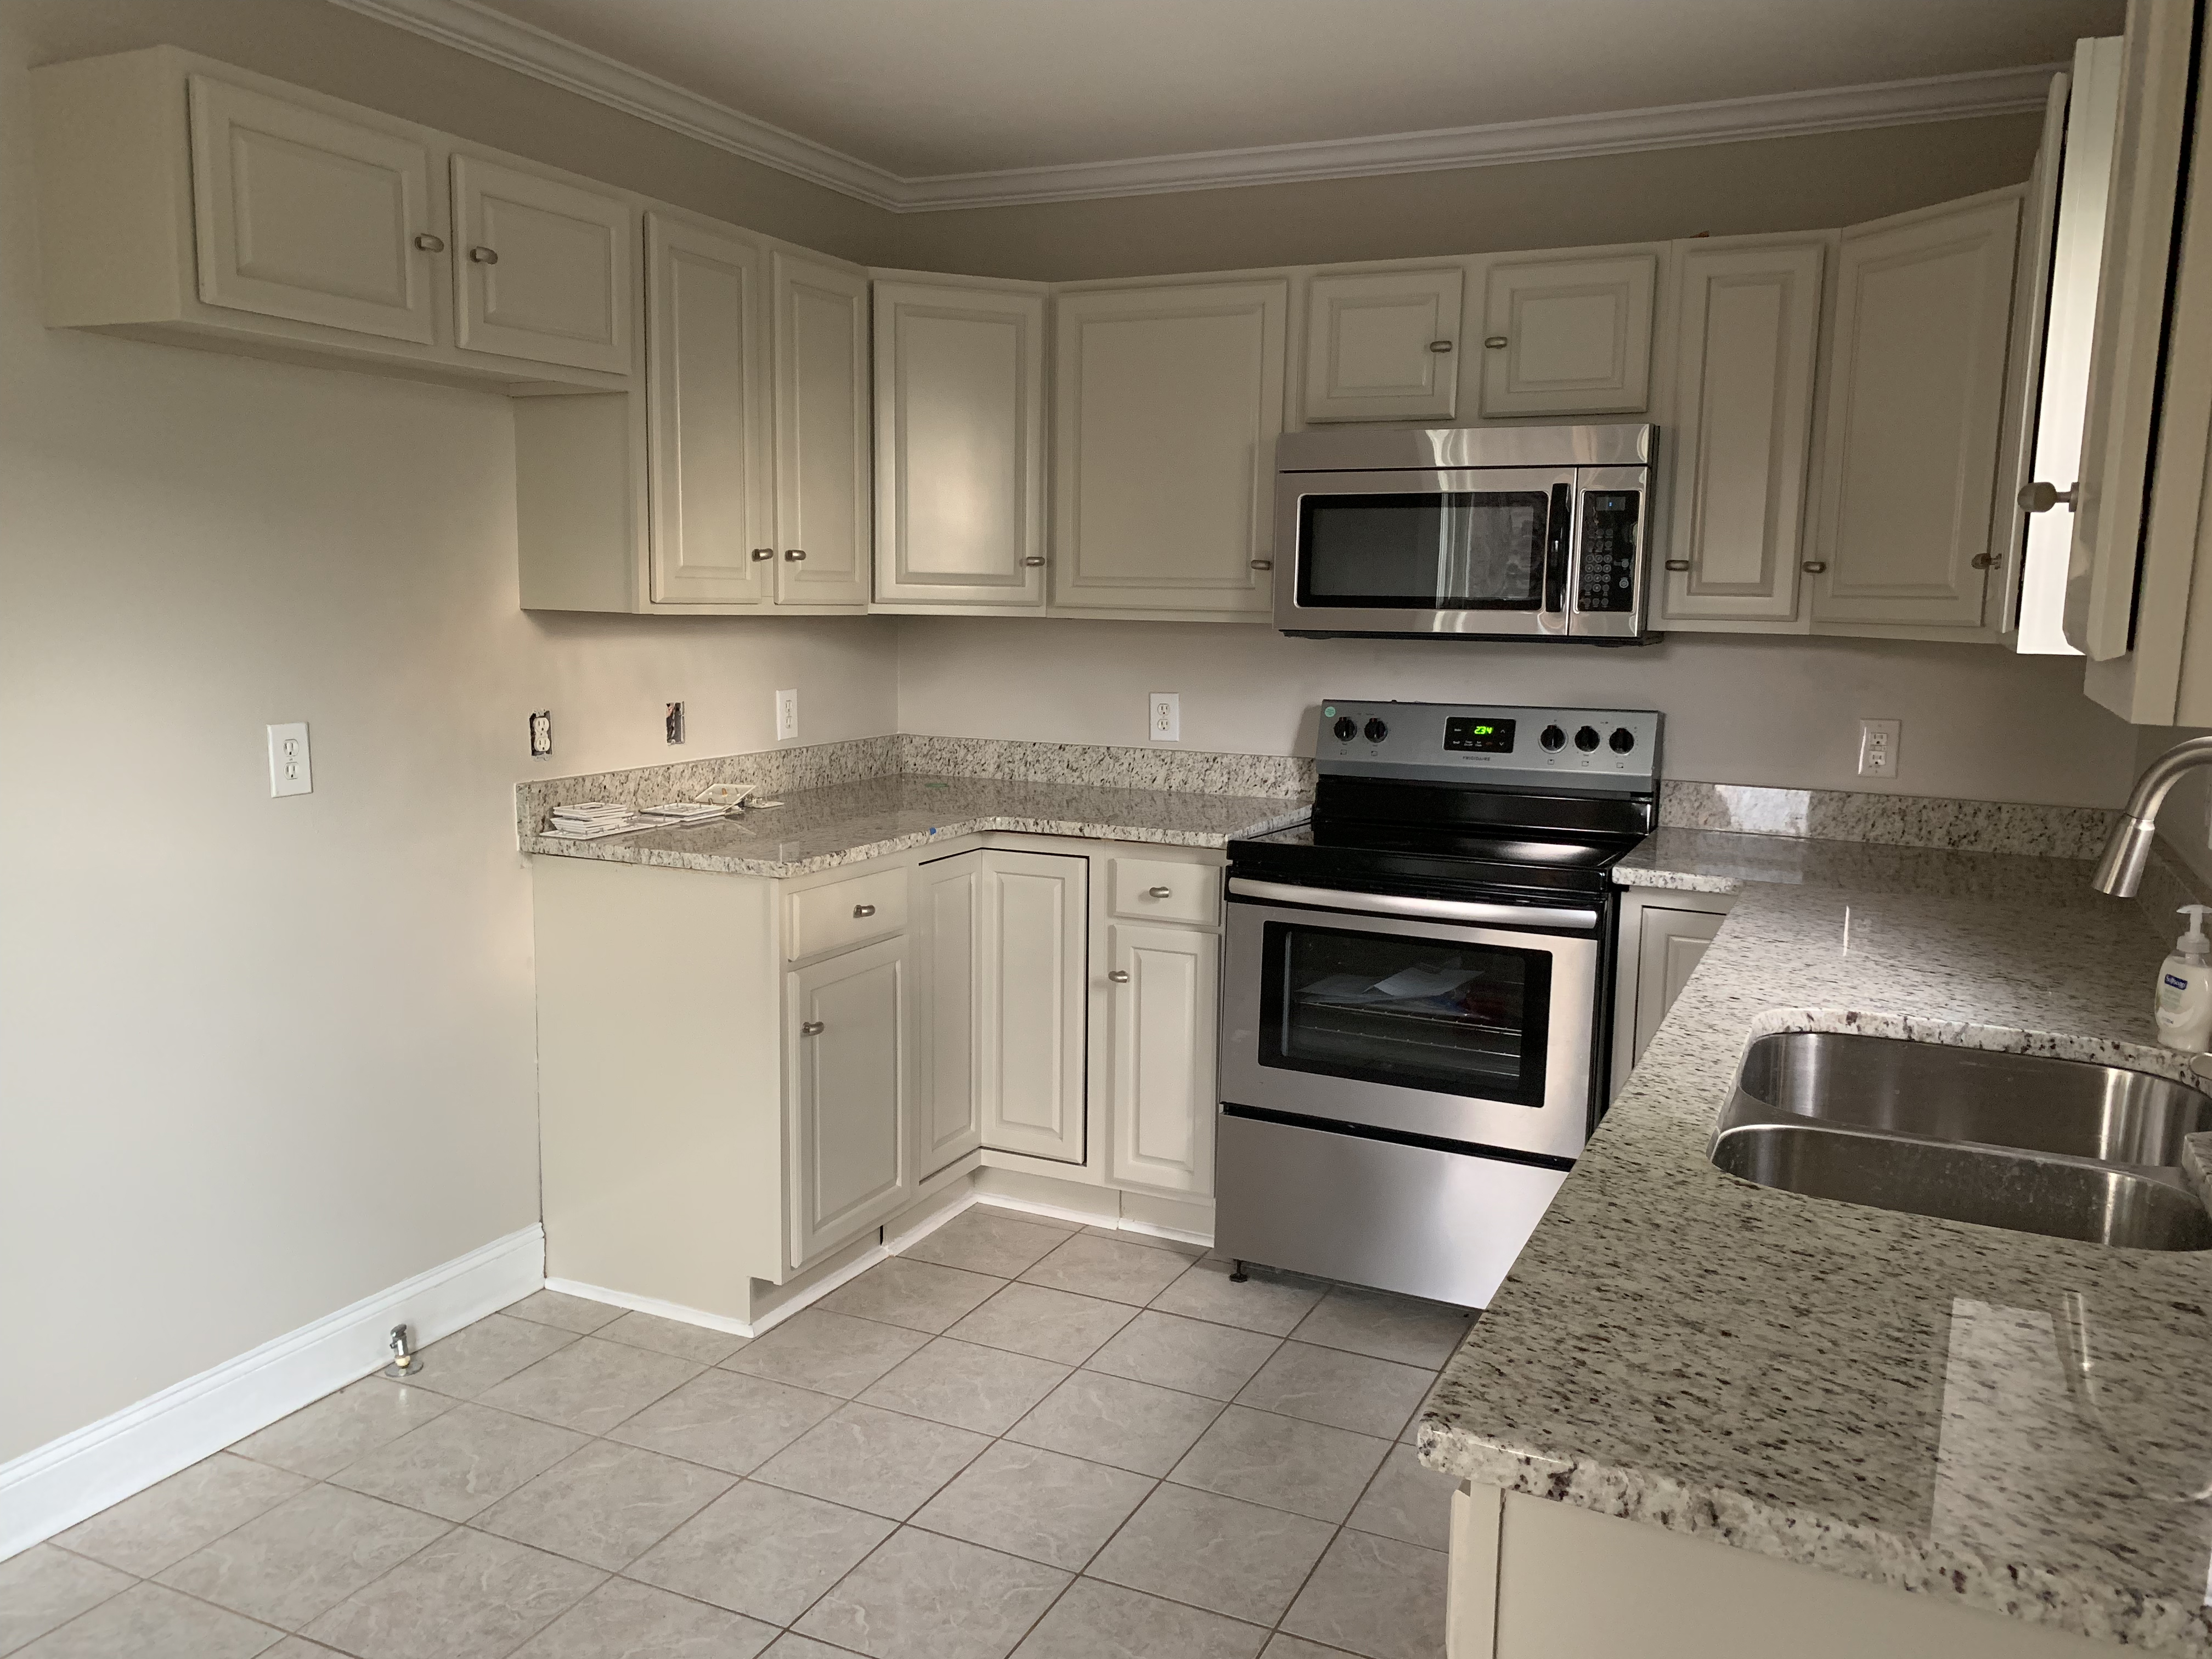
Welcome to our new and improved teeny tiny, kitchen! She may be small, but she’s finally rocking her new look and we love her! (I still can’t believe this room used to look like this can you!?). What is so satisfying to me about this update is how much better I feel like this kitchen design speaks to the history of our 1929 craftsman home, while still also managing to feel like a very modern space. It also seems much bigger in here to me without all the old upper cabinetry that used to be in this space. But most importantly, THE SINK IS NOW CENTERED UNDER THE WINDOW. (I should know, because I made Joe check daily as we were going along just to make 1000% sure every step of the way lol).
Now, if you’re just here for the pretty pictures, enjoy! If you want all the nitty gritty details, we’ll chat some more after we take a short photo intermission…
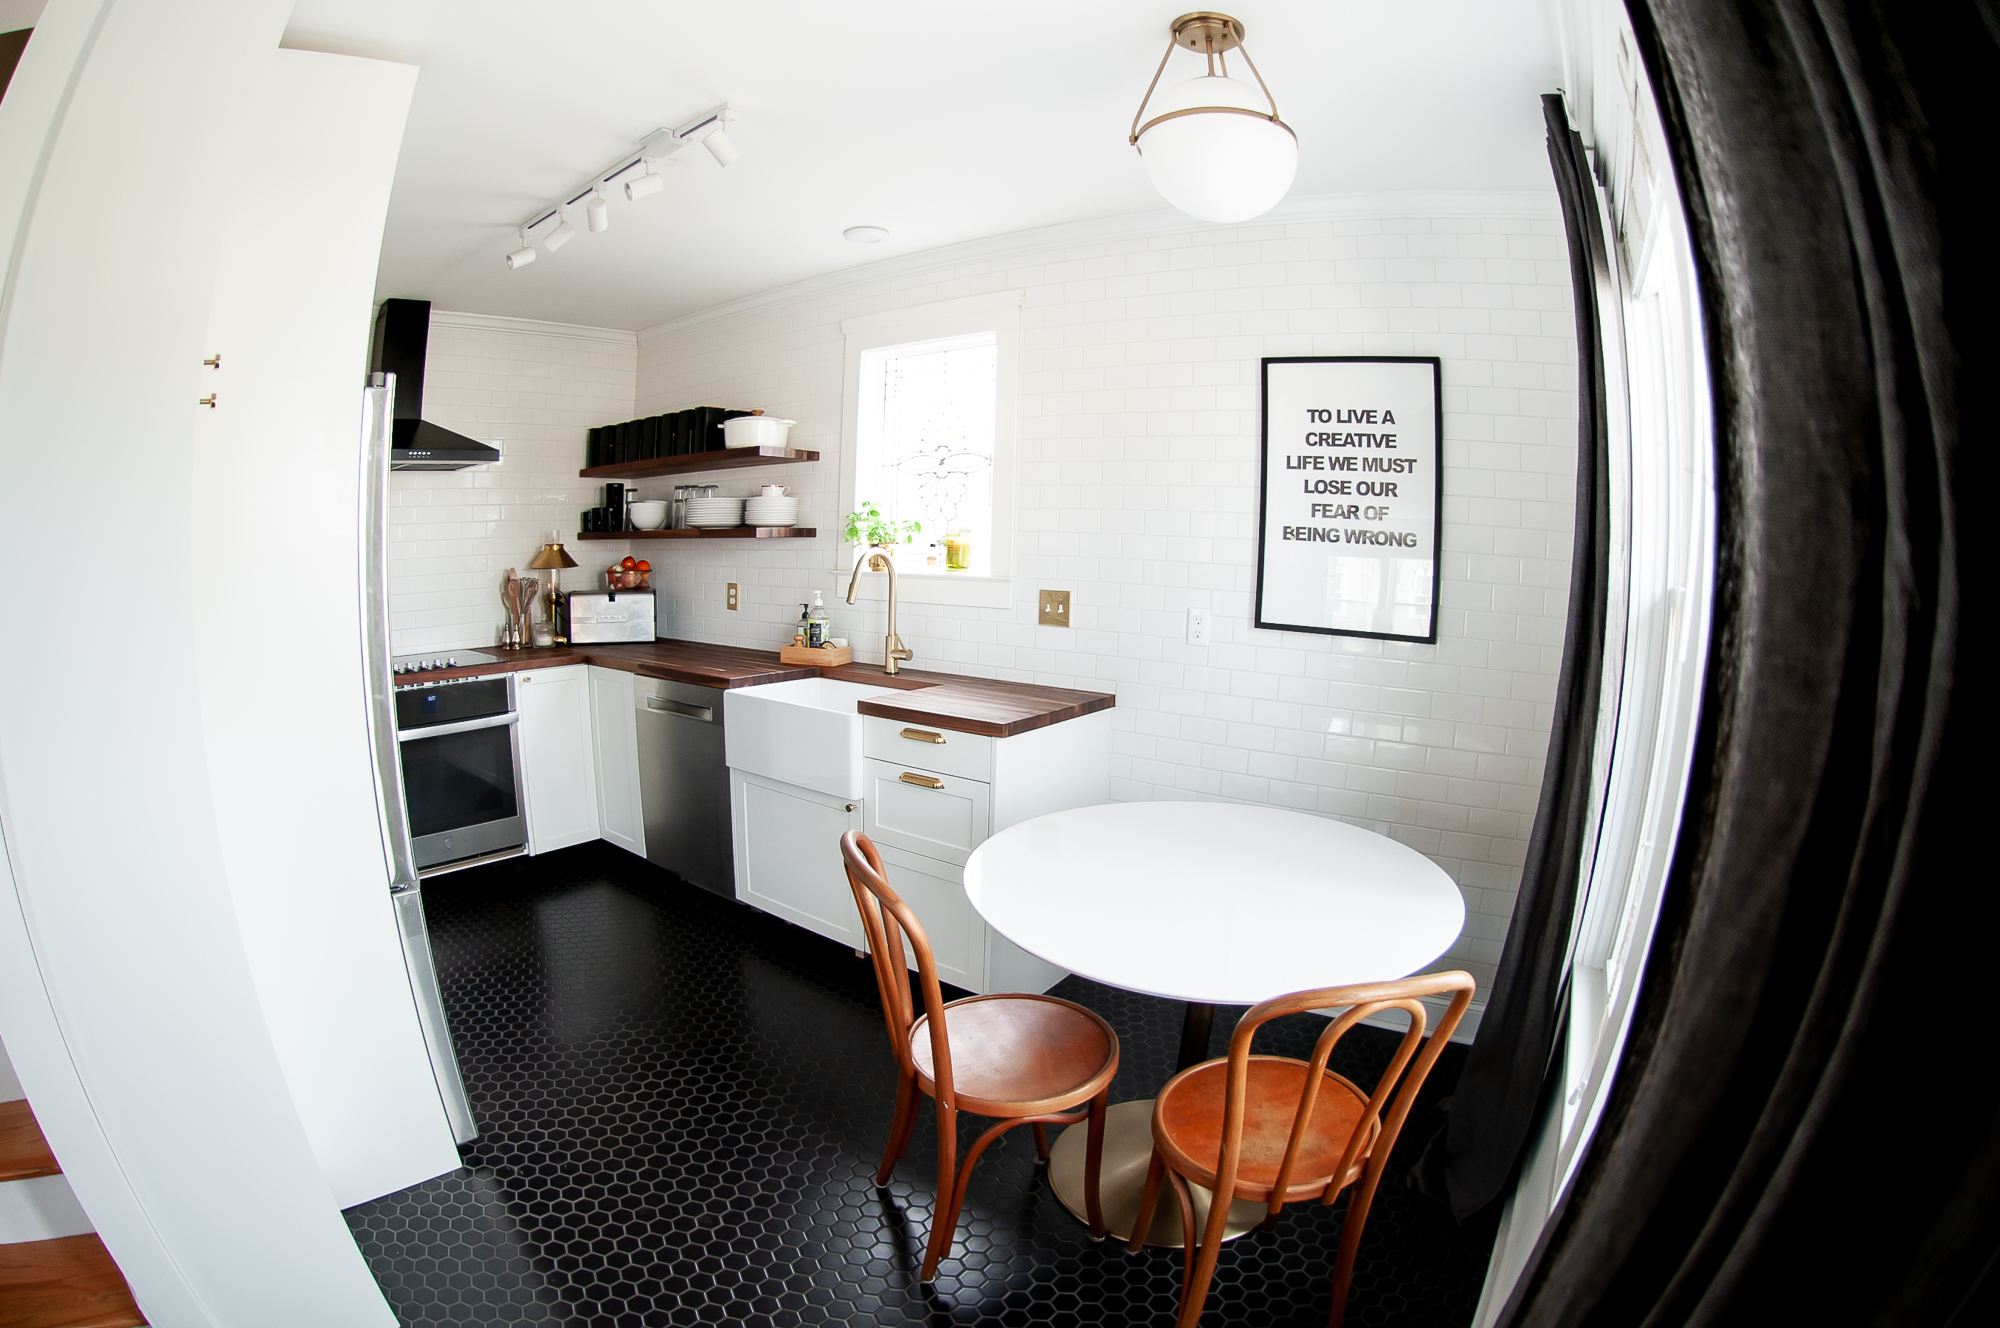
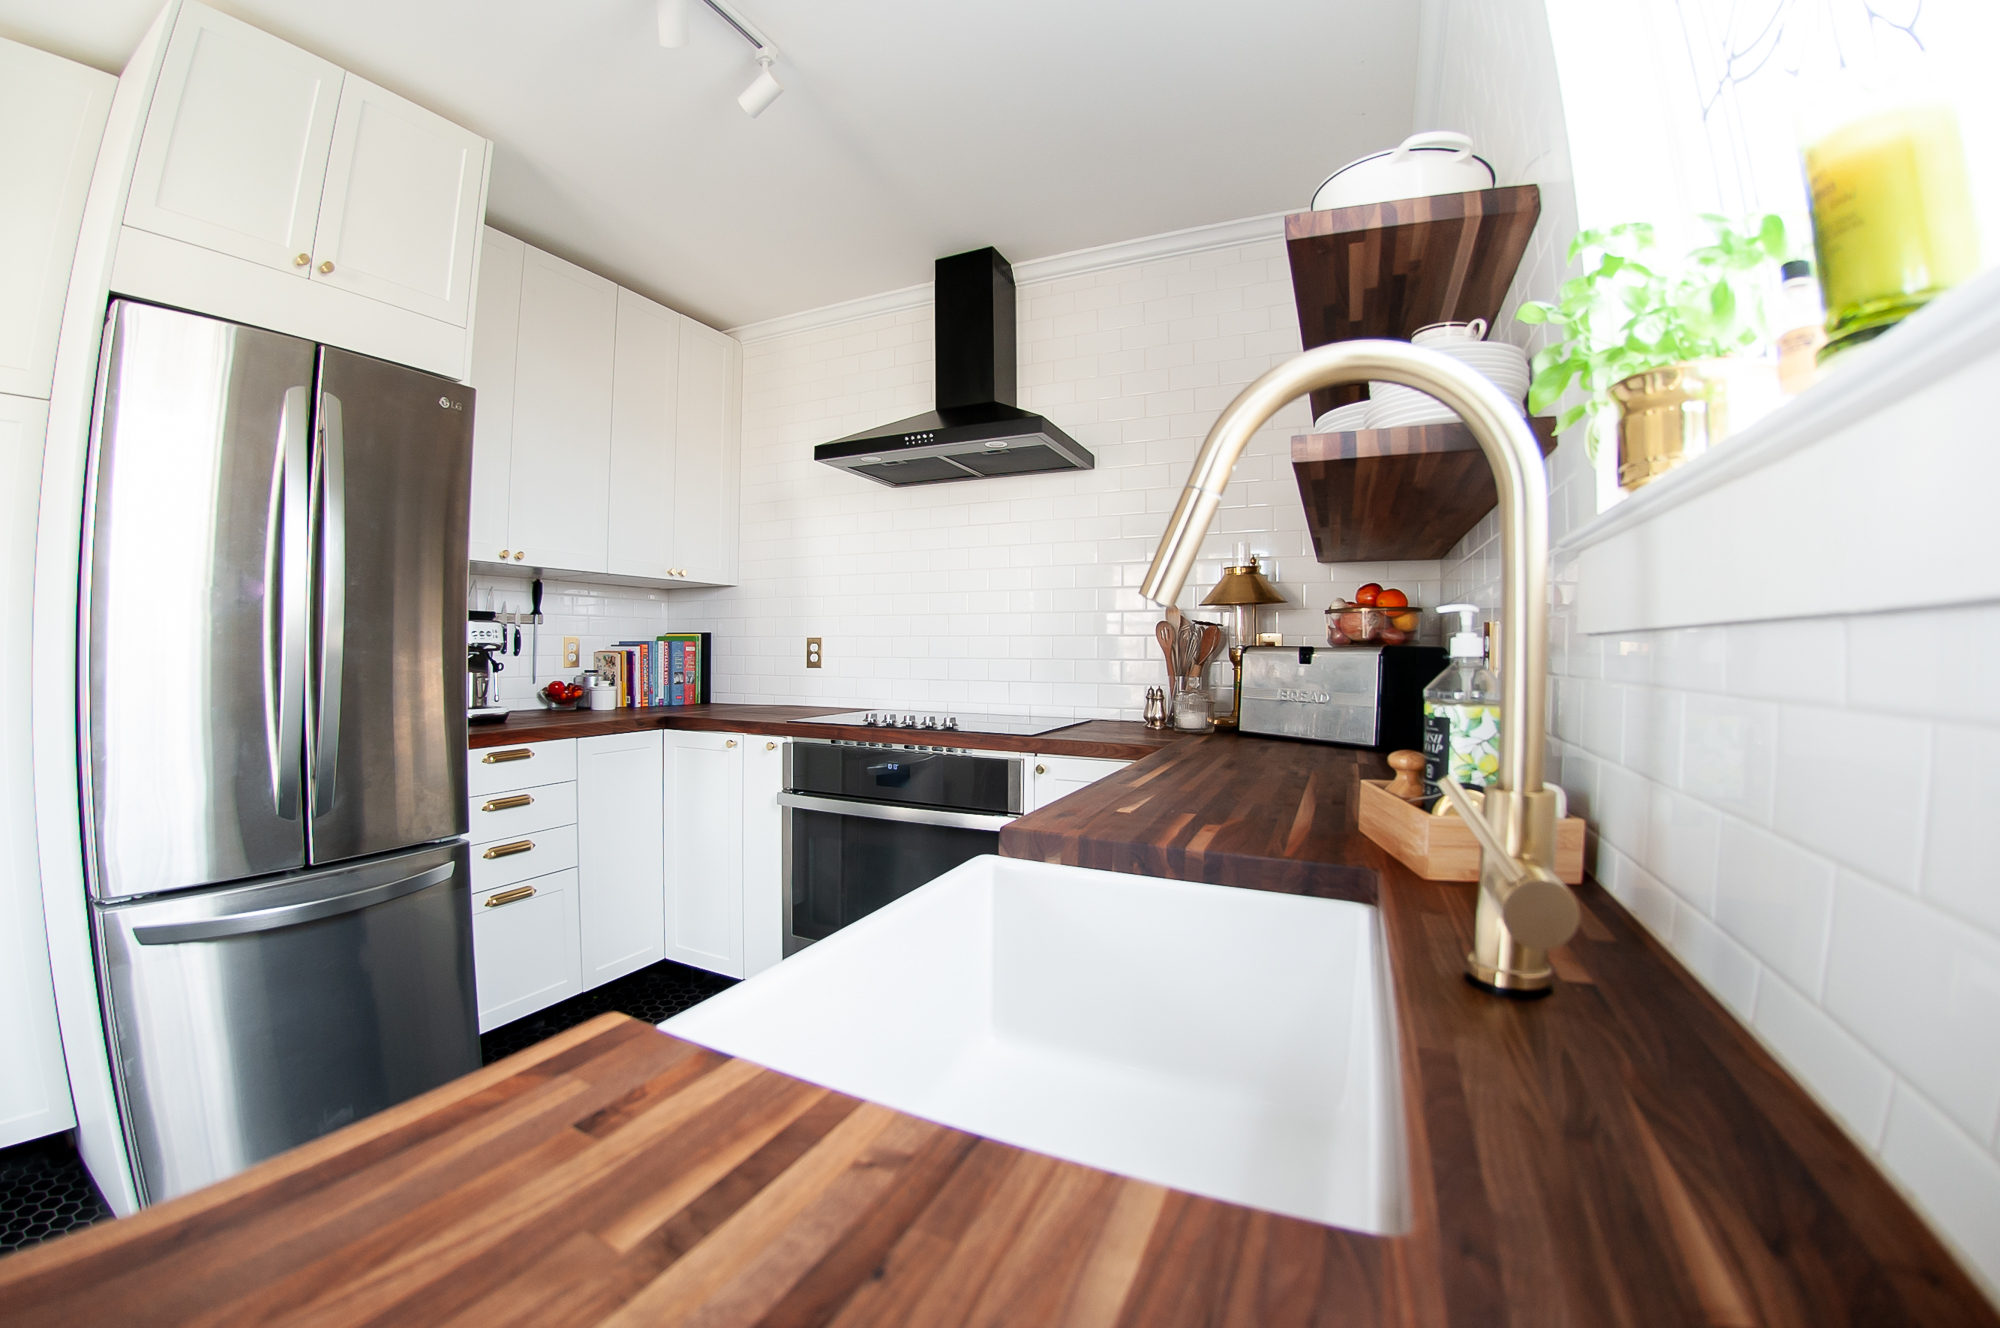
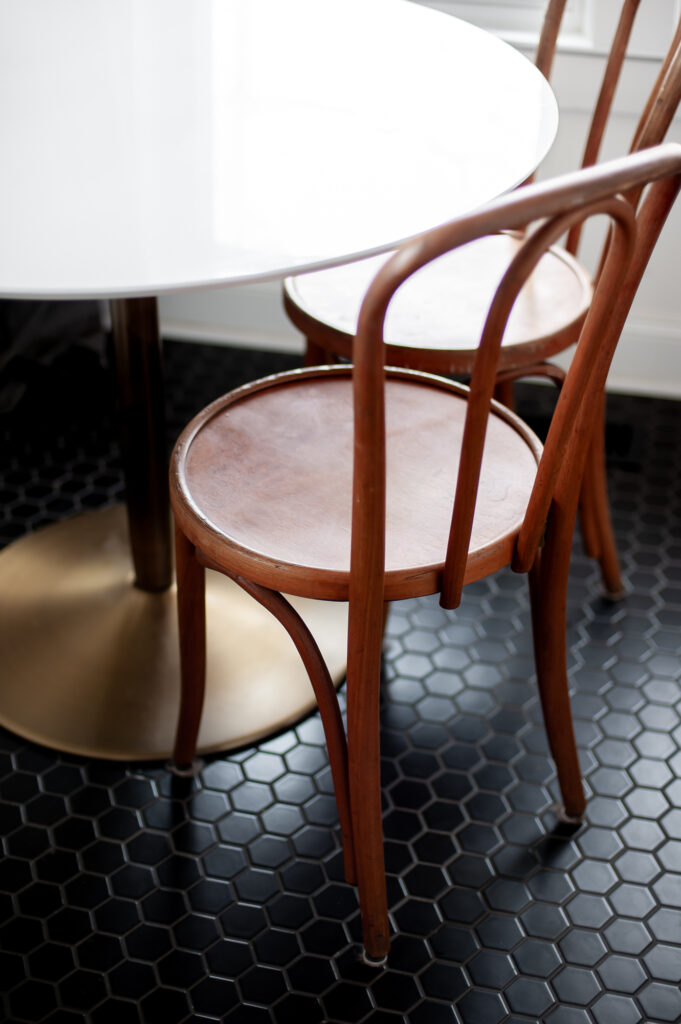
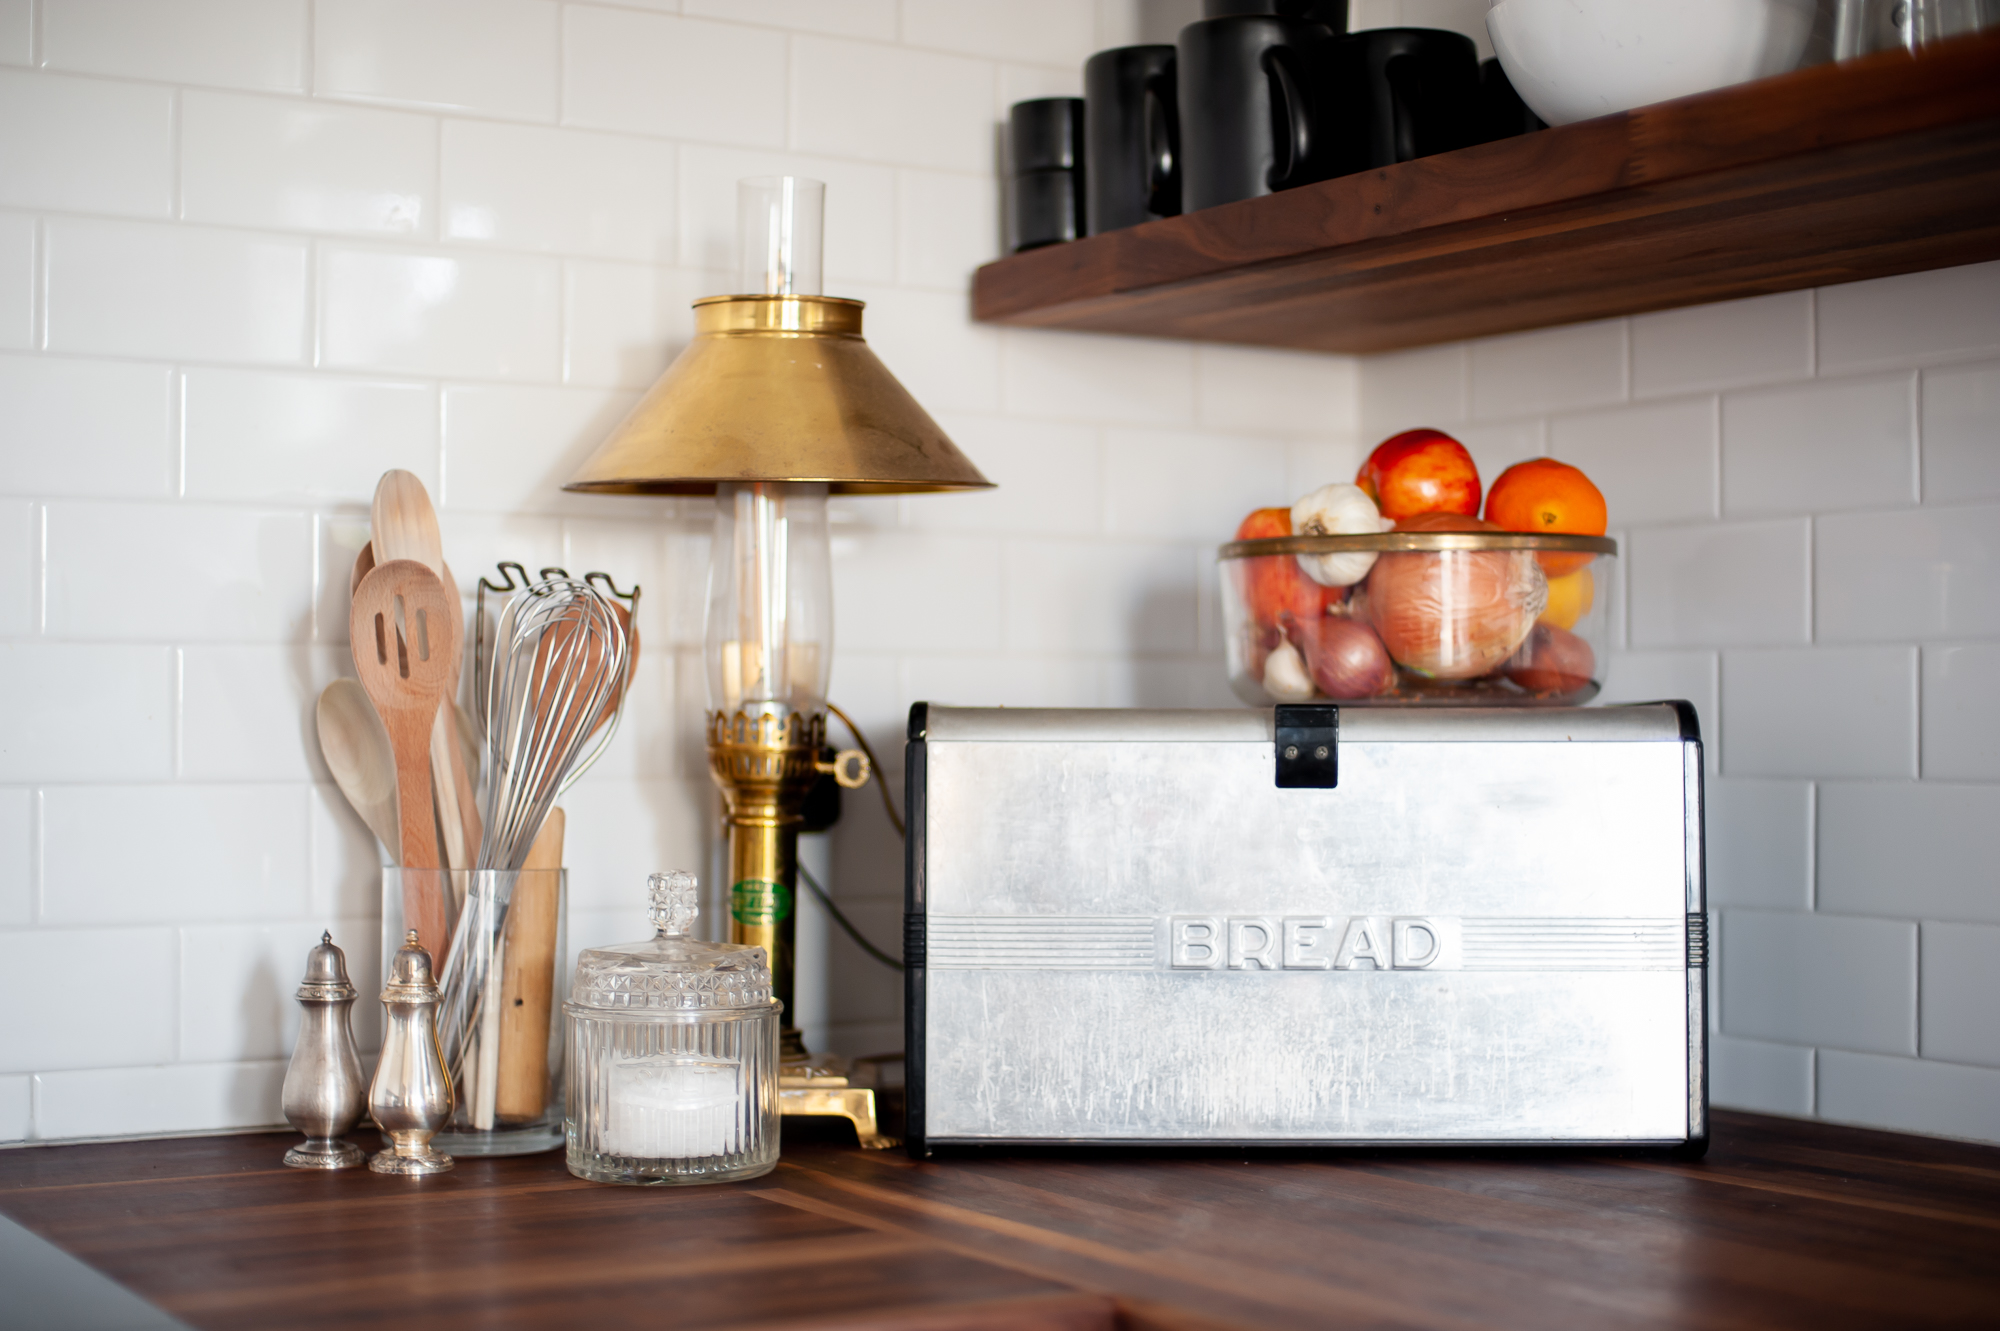

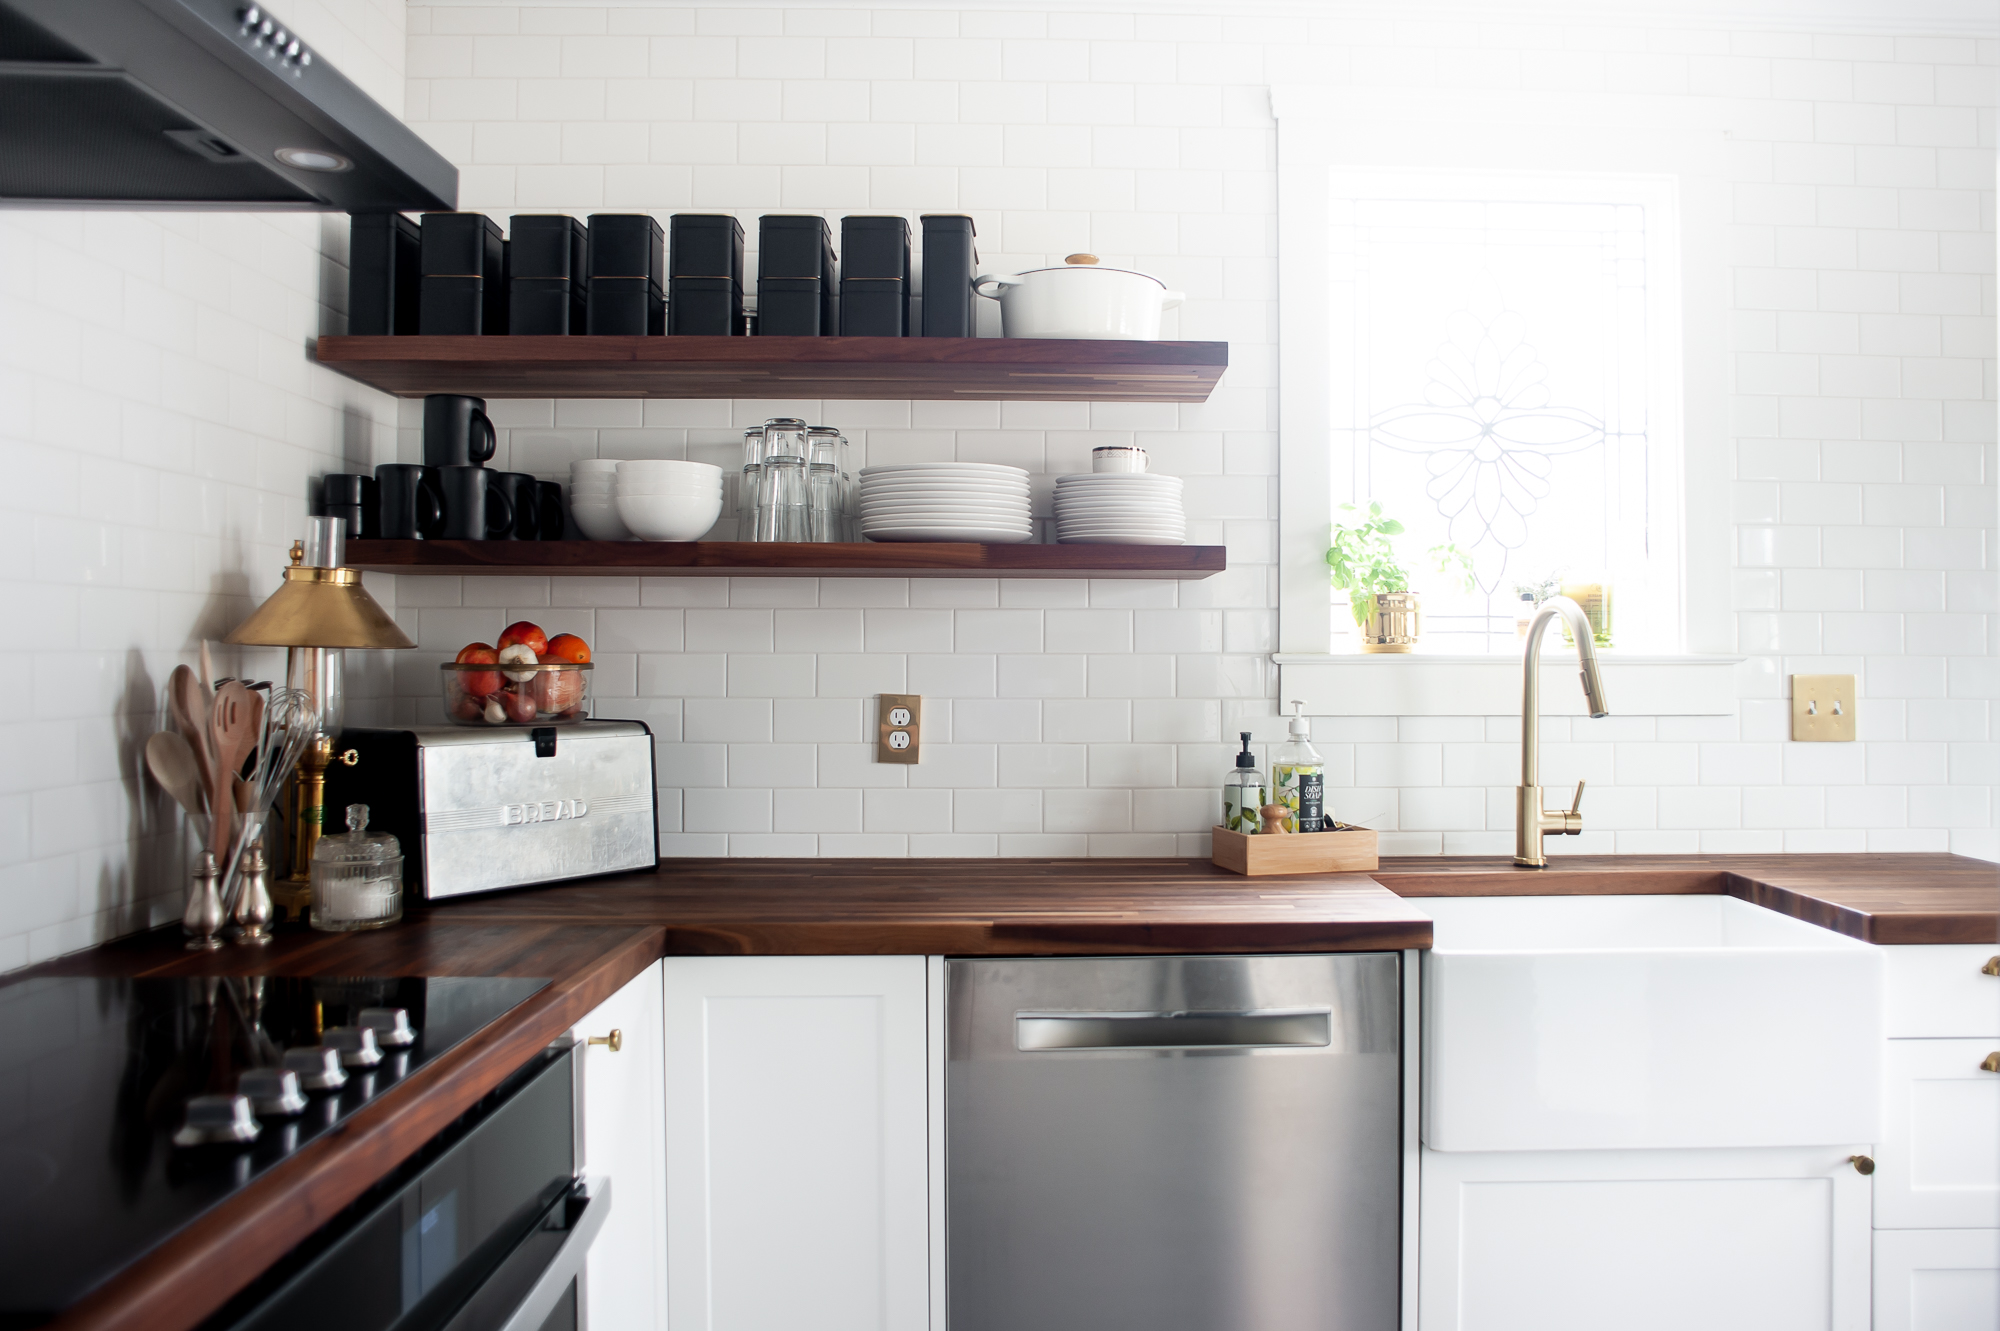
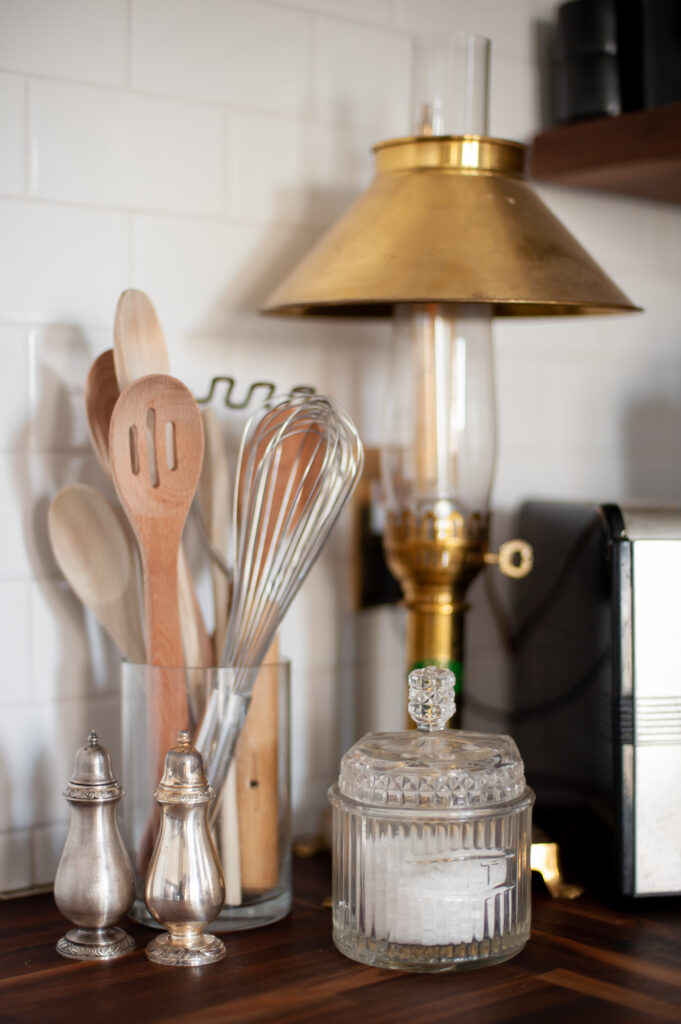
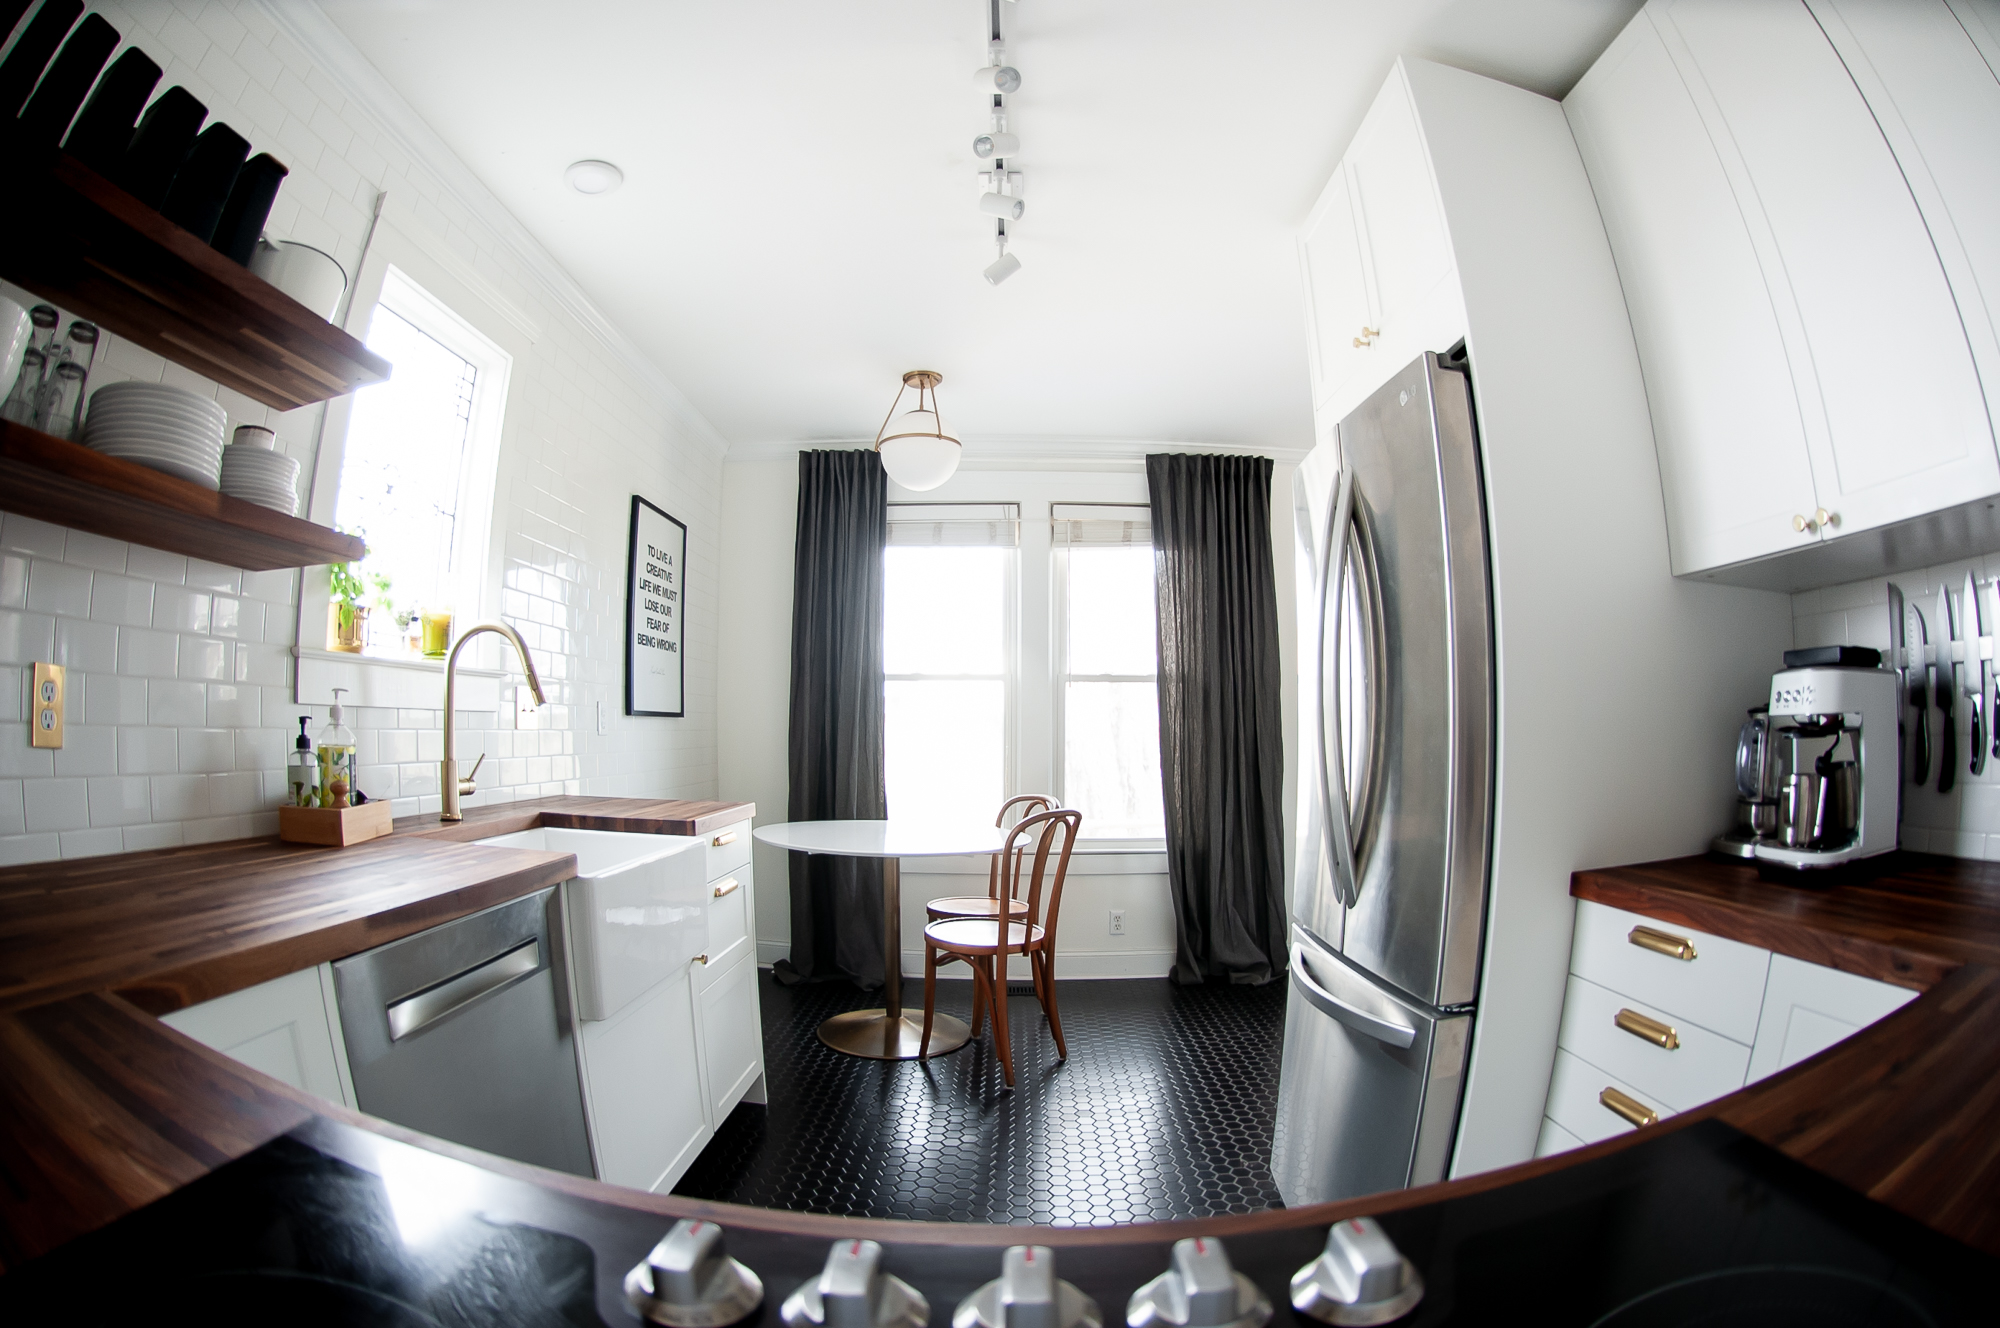
Isn’t she beautiful!? Sometimes I go in here and just stare at her and make happy cooing noises.
Thanks for stopping by photo only peeps!
Ok, now that the photo only folks are gone, we can get into the nitty gritty details lol… Let’s start off by recapping what all we did in this space. (I’ll link to all the previous blog articles I’ve already written that break down each of the steps in more detail along the way in case you want more information about a particular subject.)
To Recap, Here’s What We Did
Demo’d The Old Kitchen
We started off by demoing the old kitchen, selling off all the original cabinetry and appliances on craigslist / FB Marketplace and then ripping up the old tile floors.
Made Structural, Plumbing & Electrical Updates
After ripping up the tile, we spent a few days leveling the worst parts of the floor with a self leveling compound. Then Joe had to spend time rerouting the plumbing for the refrigerator to be housed inside the wall, instead of coming up from the floor, so that the fridge could sit back closer against the wall. As for electrical, we knew the tall skinny pantry in the new layout was going to block the original light switch for this room, luckily Joe was able to just flip the electrical for the switch to be on the other side of the wall instead (easily accessible as you enter/exit the kitchen). While he was at it, he also ran new electrical from that same switch up into the attic to install an electrical box above where the new dining nook would be so we would be able to place a light fixture there.
Tile
After all the main structural, plumbing and electrical tasks were completed, we tiled and grouted the floor ourselves.
Cabinetry Install
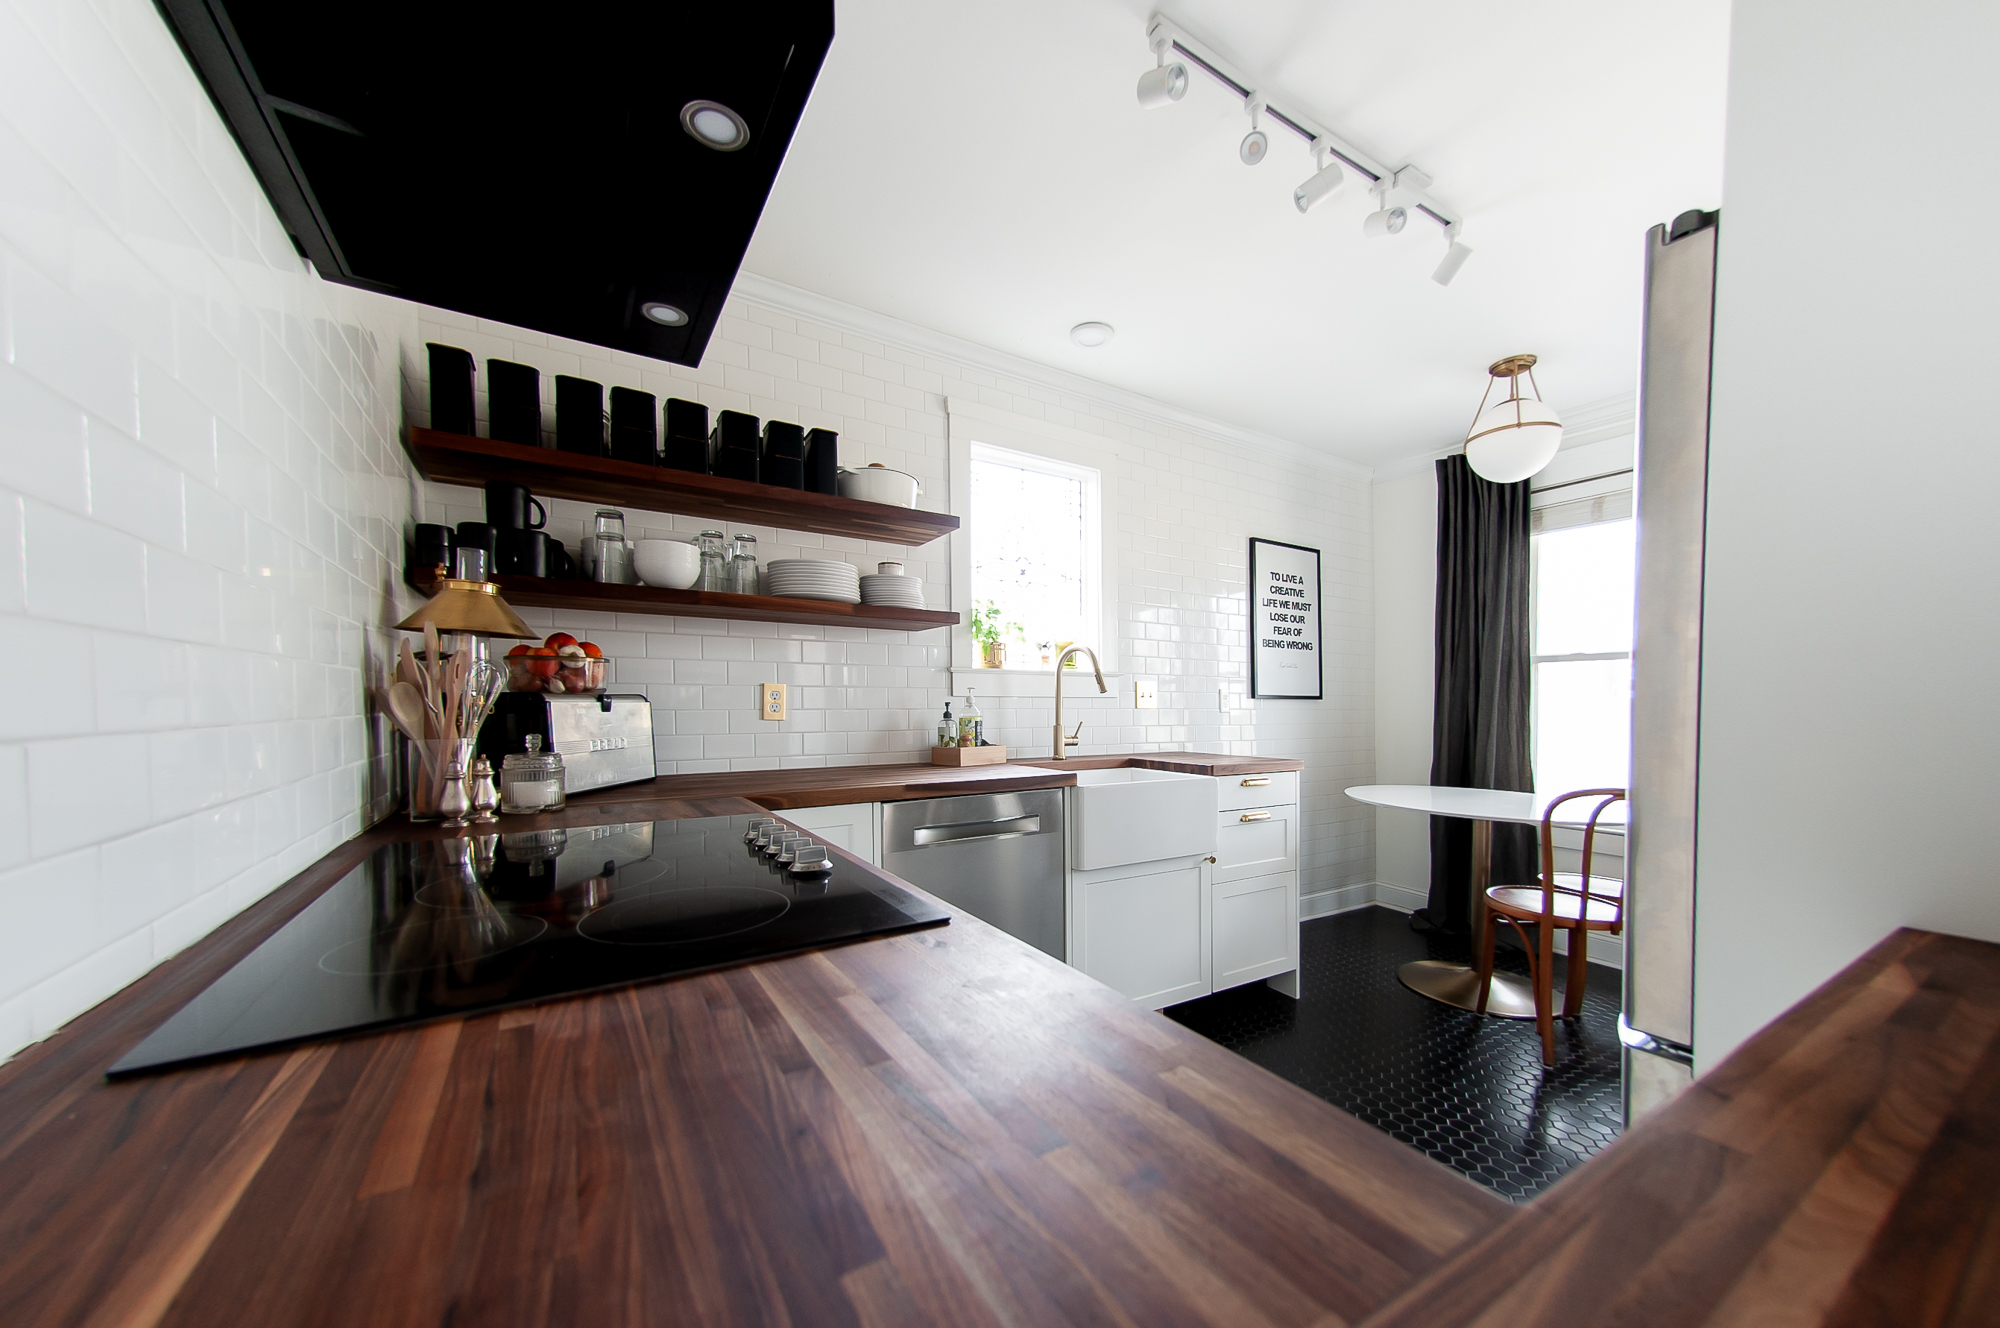
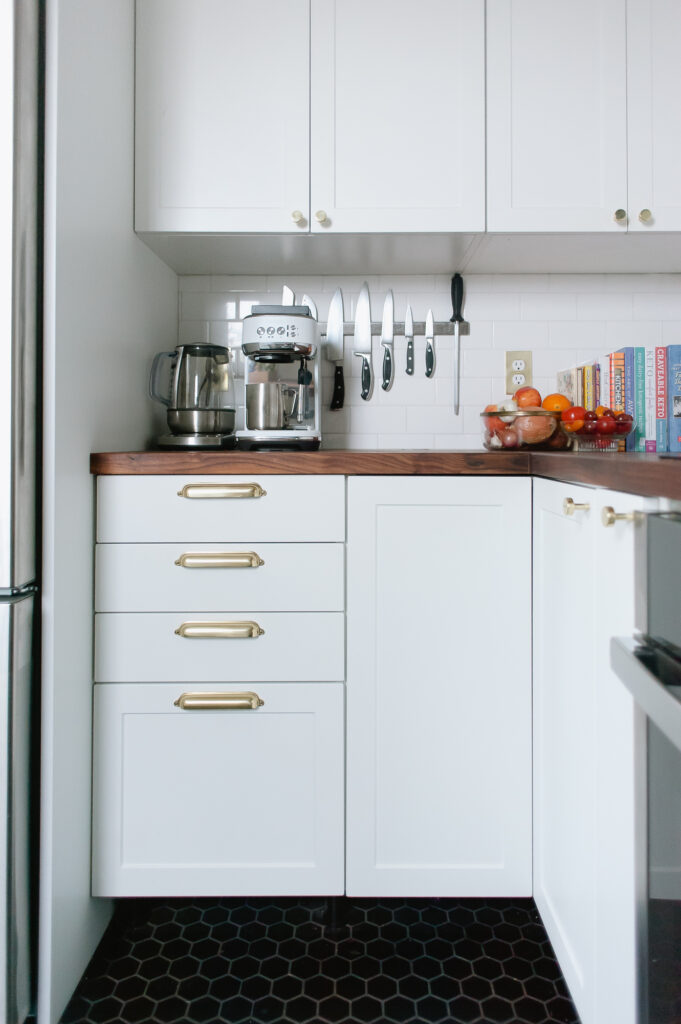
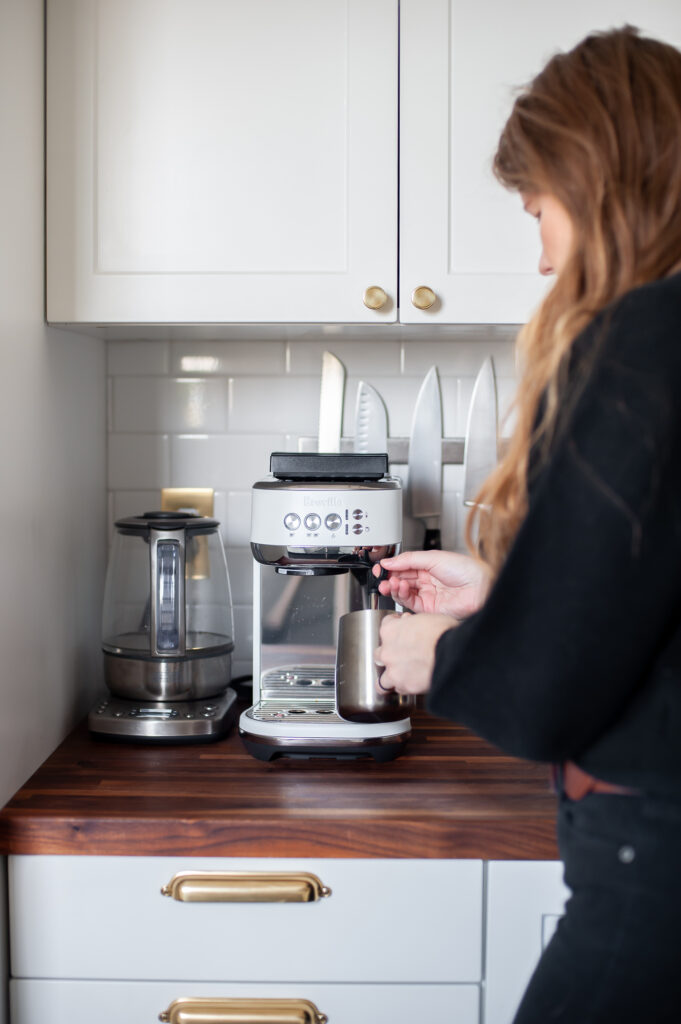
After the tile was done, we installed Ikea cabinet boxes that we upgraded visually with fronts and cover panels from a company called Semihandmade and brass hardware from Rejuvenation.
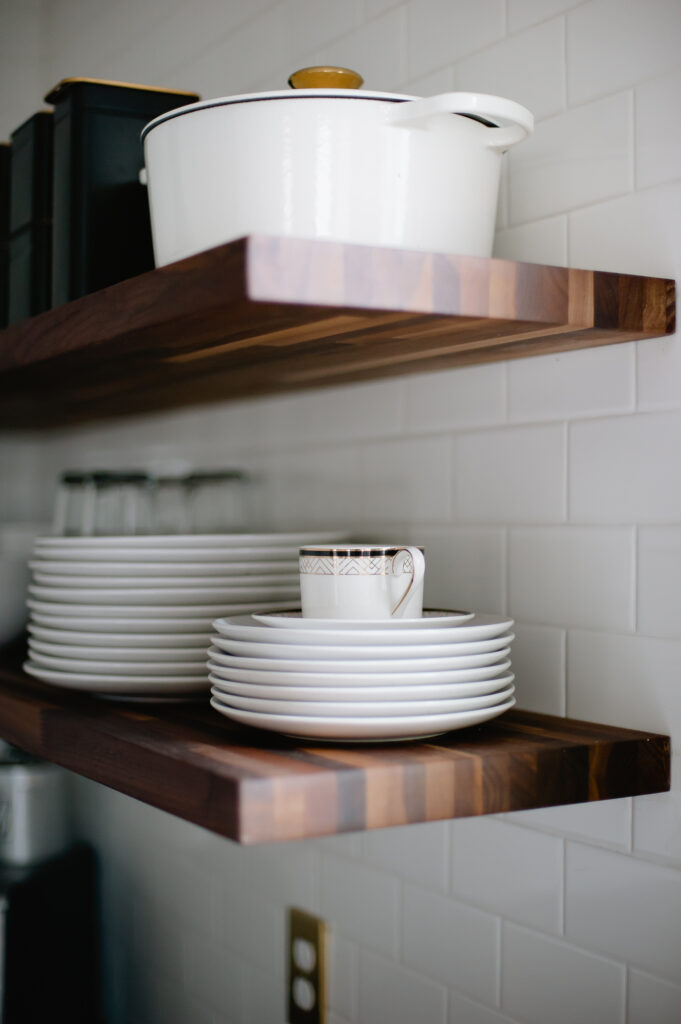
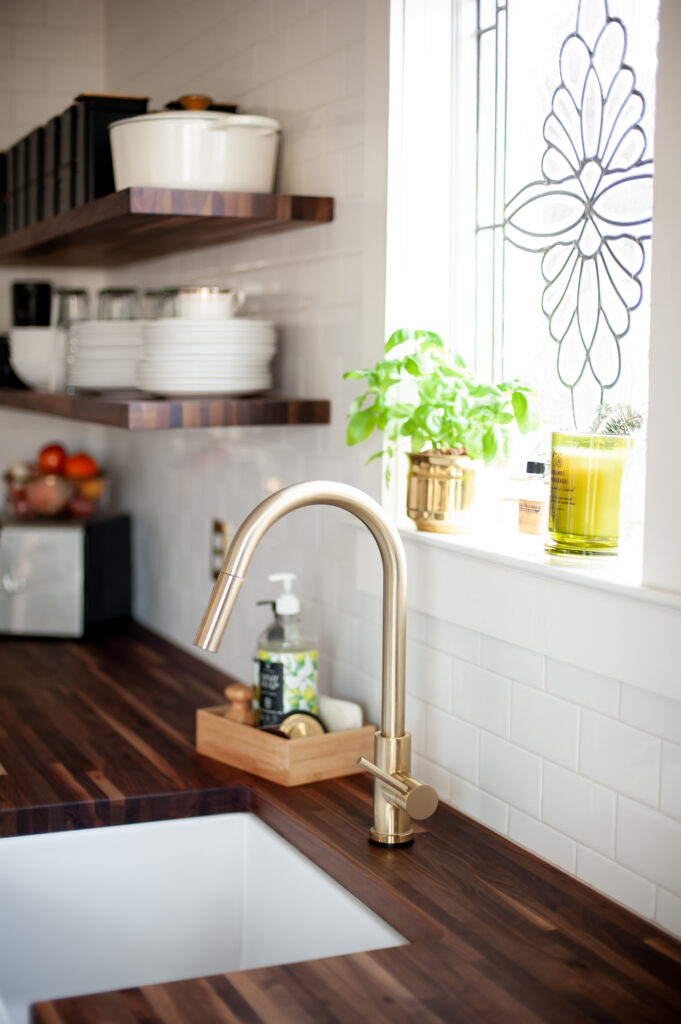
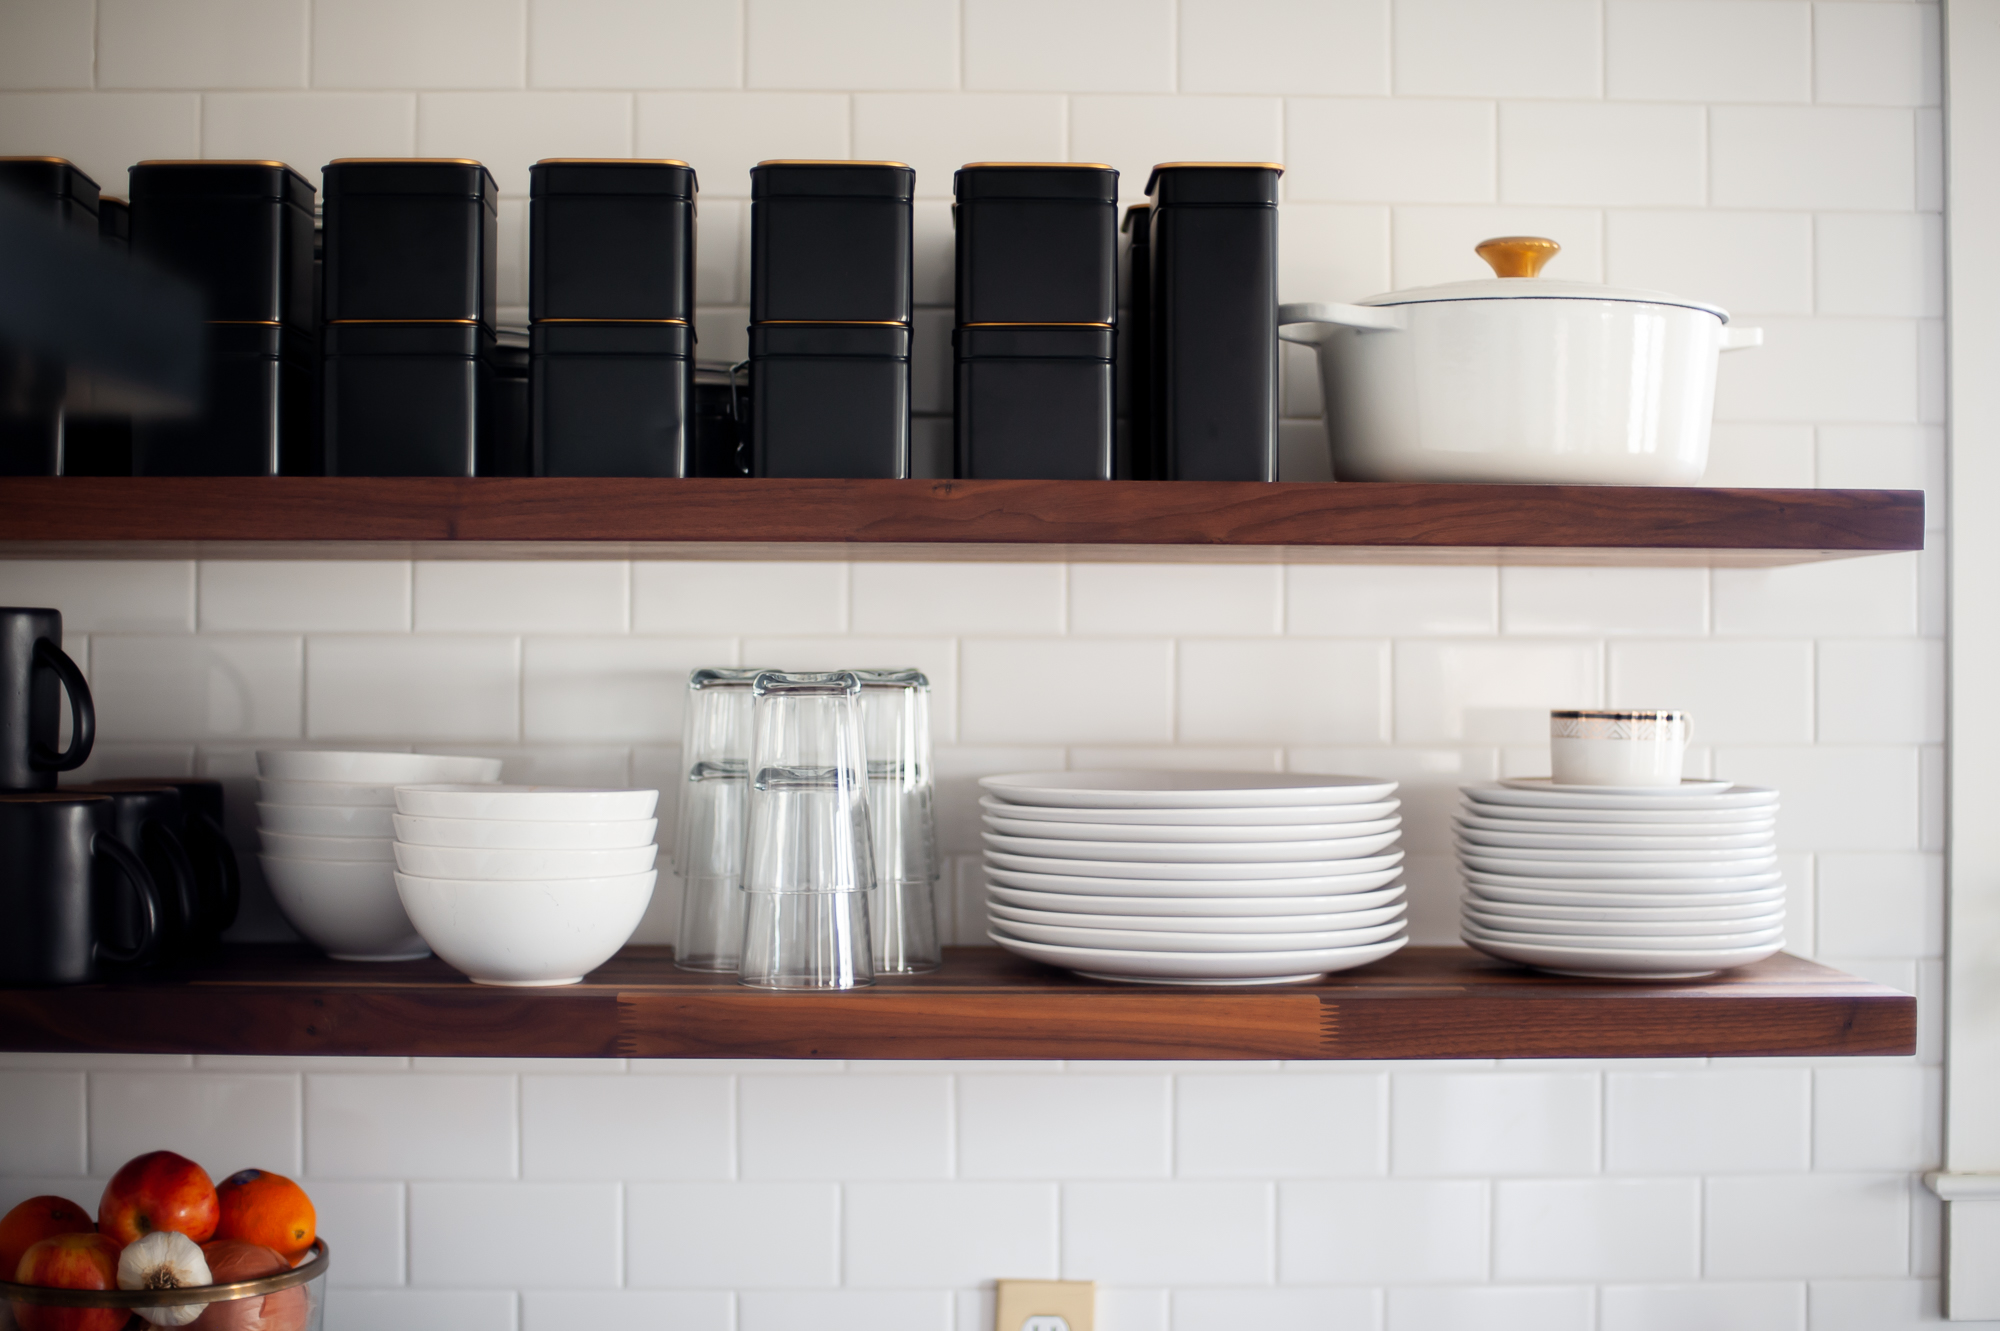
Countertops & Shelves
After the cabinetry was installed, we got to work installing the butcher block countertops and creating the floating shelfs out of the same materiel: American Walnut from Lumber Liquidators.
More Tile
Lastly, with a lot of help from Joe’s brother (who is a professional handy man and home builder) we installed several thousand white subway tiles from floor to ceiling all around the room and into the dining nook!


What Still Needs To Happen In Here
Baseboards/Kickboards Under Cabinets
Let’s address the elephant in the room and talk about the fact that THERE ARE NO BASEBOARDS UNDER THE CABINETS YET. Is this some cool new trend we’re trying out? No. Has a bunch of random stuff rolled under there never to be seen again? Yup. We just simply haven’t had a chance to install them yet due to covid and the limitations that has put on the tools (and extra pairs of helping hands) we have access to currently. But rest assured, there will be baseboards… eventually.
Decor
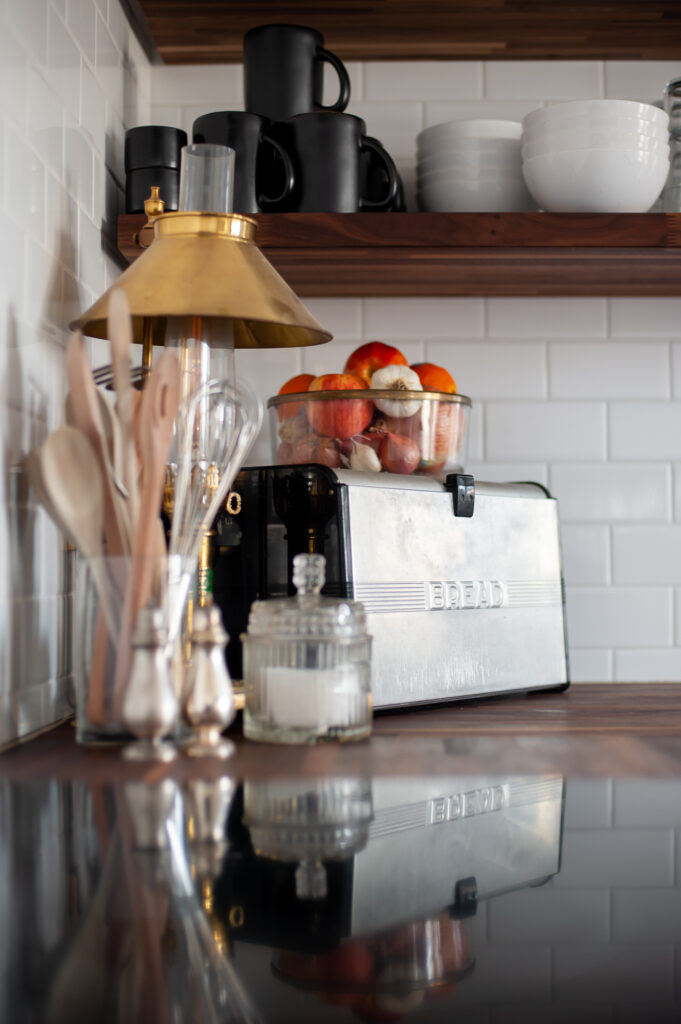
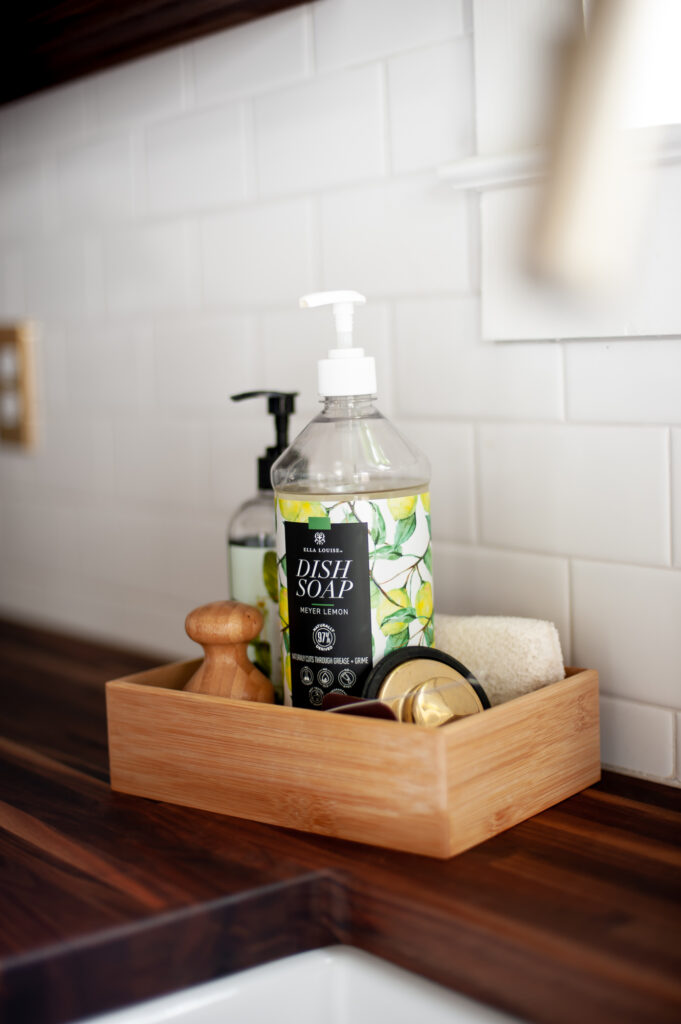
While I LOVE the base layer of patterns and textures we’ve got going in this space. There are a few key decor elements that this space is still missing for me. It looks good as is, it just doesn’t feel quite *done* yet to me. For example, I’d like to find a good rug for this space and maybe upgrade the art on the walls a bit.
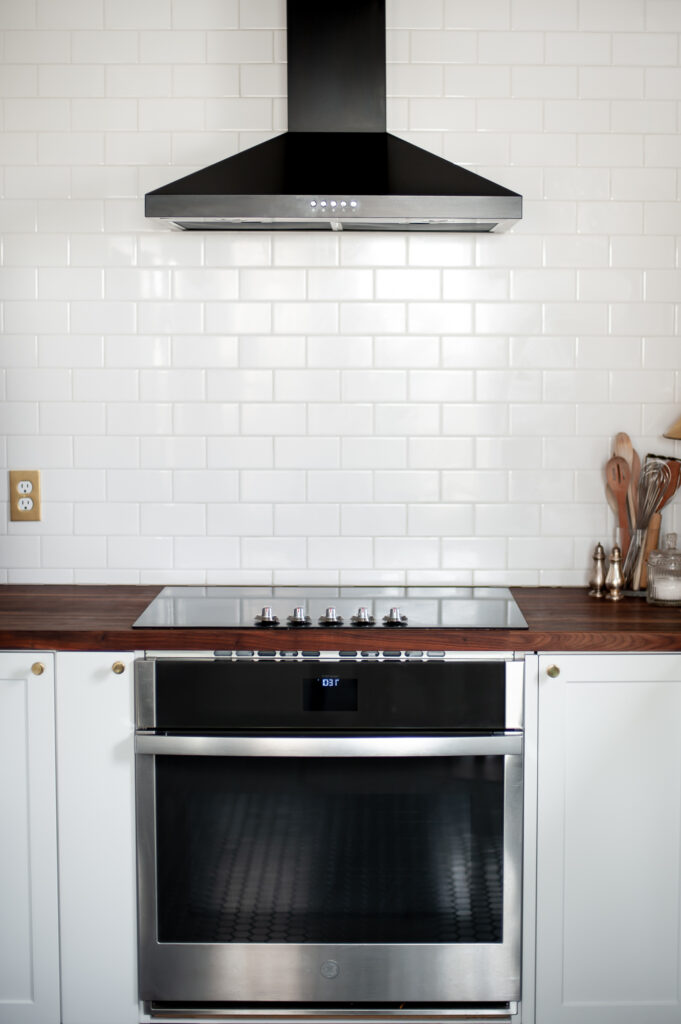
Commission Custom Metal Piece For Under Oven
For whatever reason, after installing the oven in our Ikea base cabinet, we realized that there was a small gap between the bottom of the oven and the bottom of the cabinet. So currently the plan is to commission a local craftsperson to make us a custom size piece of metal to install under the oven to fill the gap… eventually…
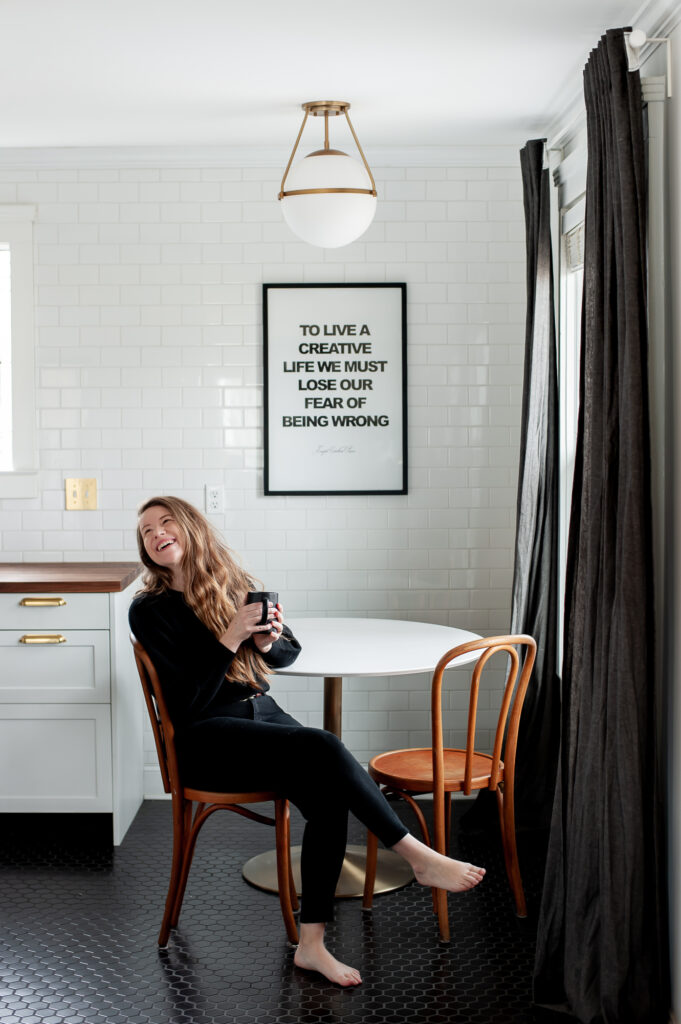
Buffet Bench Seating In The Dining Nook
The biggest thing we have left to tackle in this space is the built in bench seat we’ll be installing in the dining nook to help us maximize seating space and create a bit more storage in this area for us. We’ve dragged our feet on this as we still haven’t nailed down exactly how we want to go about building it.
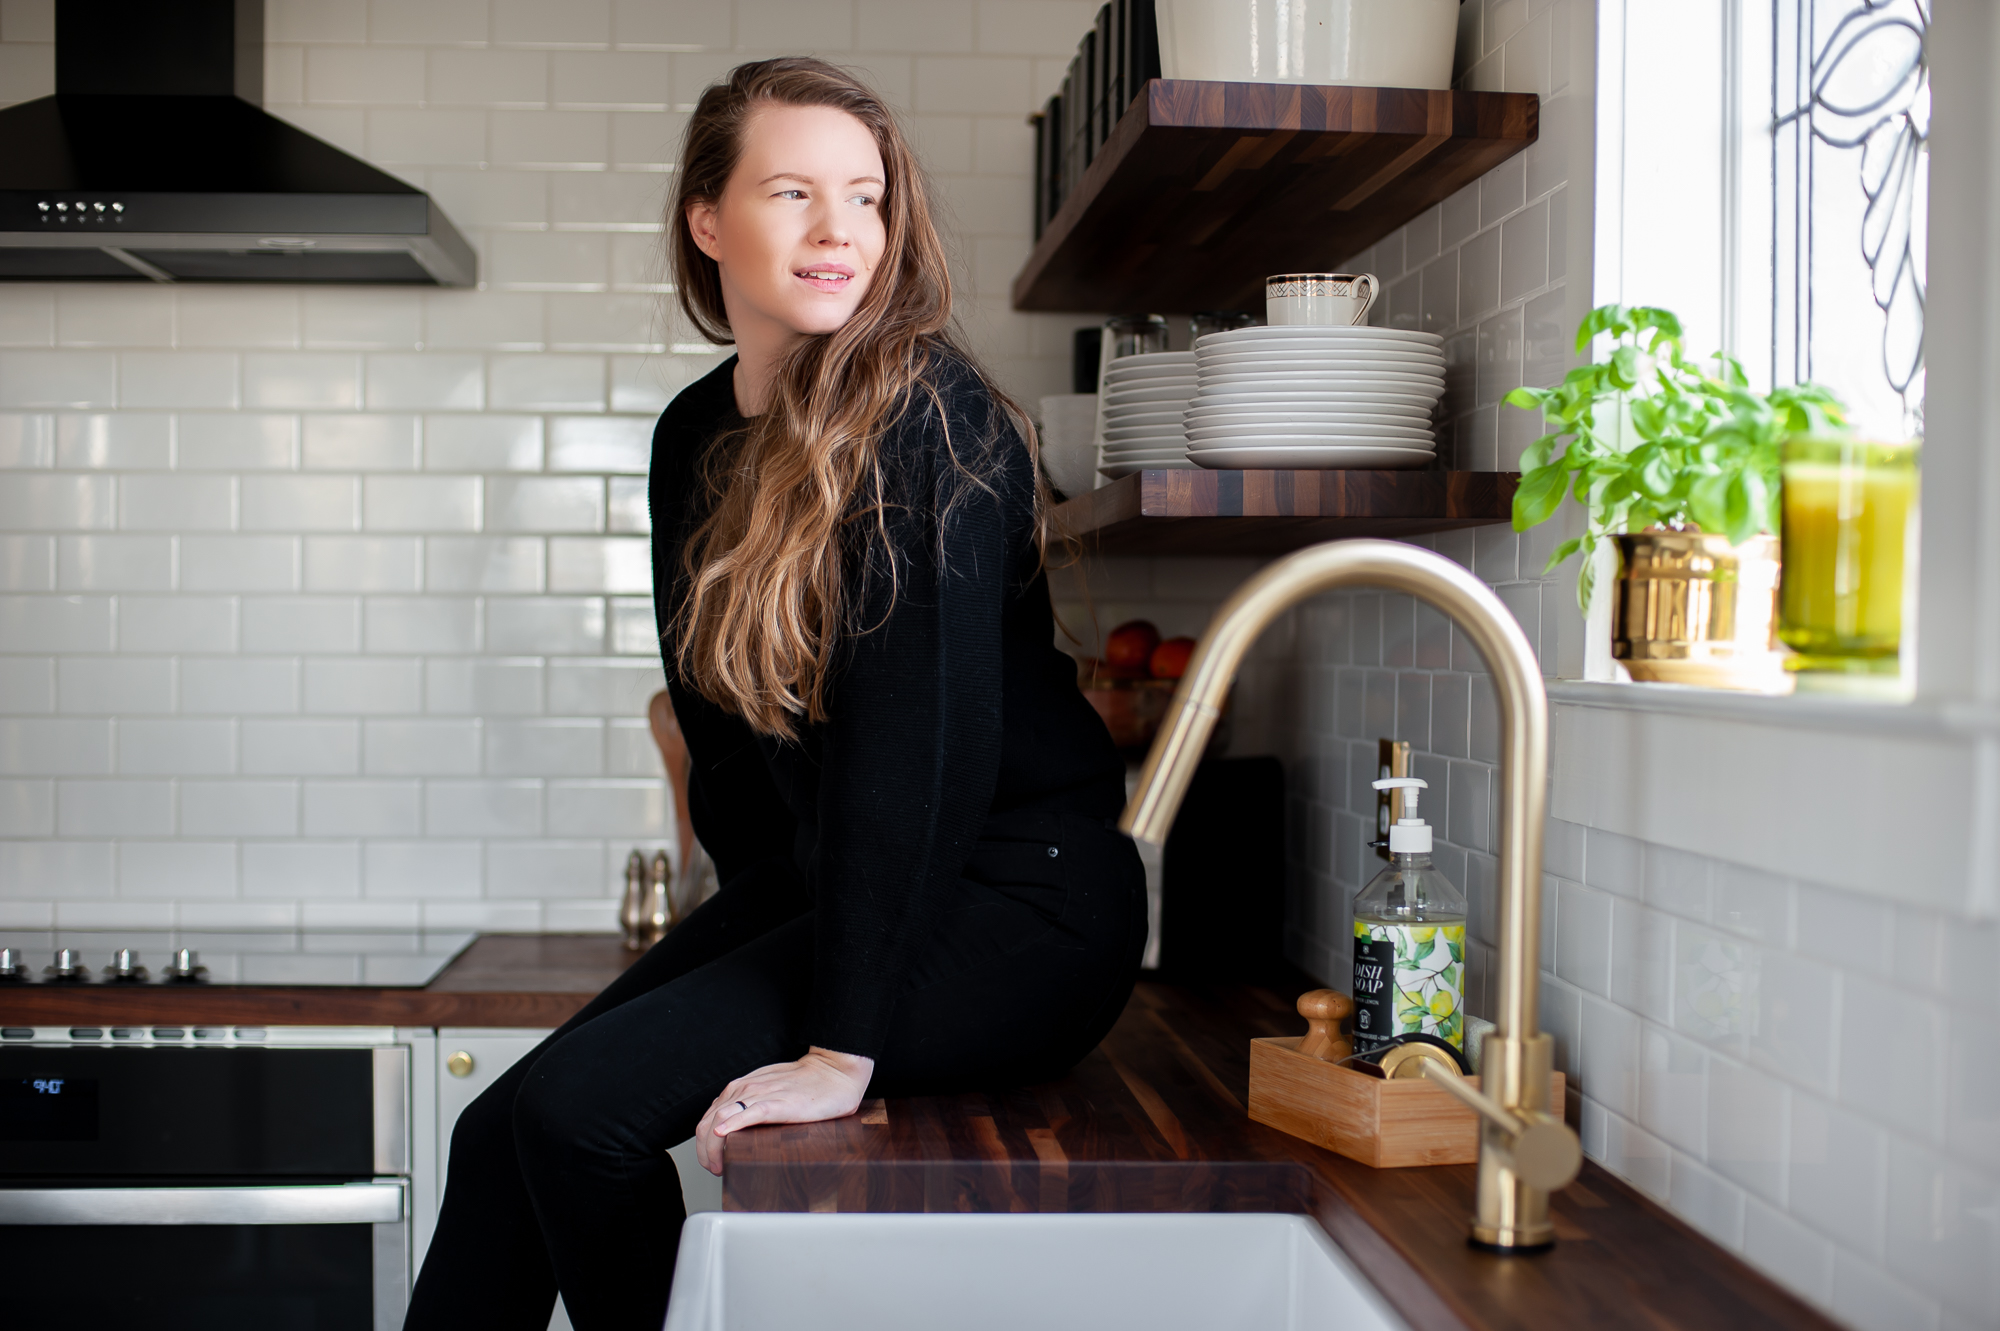
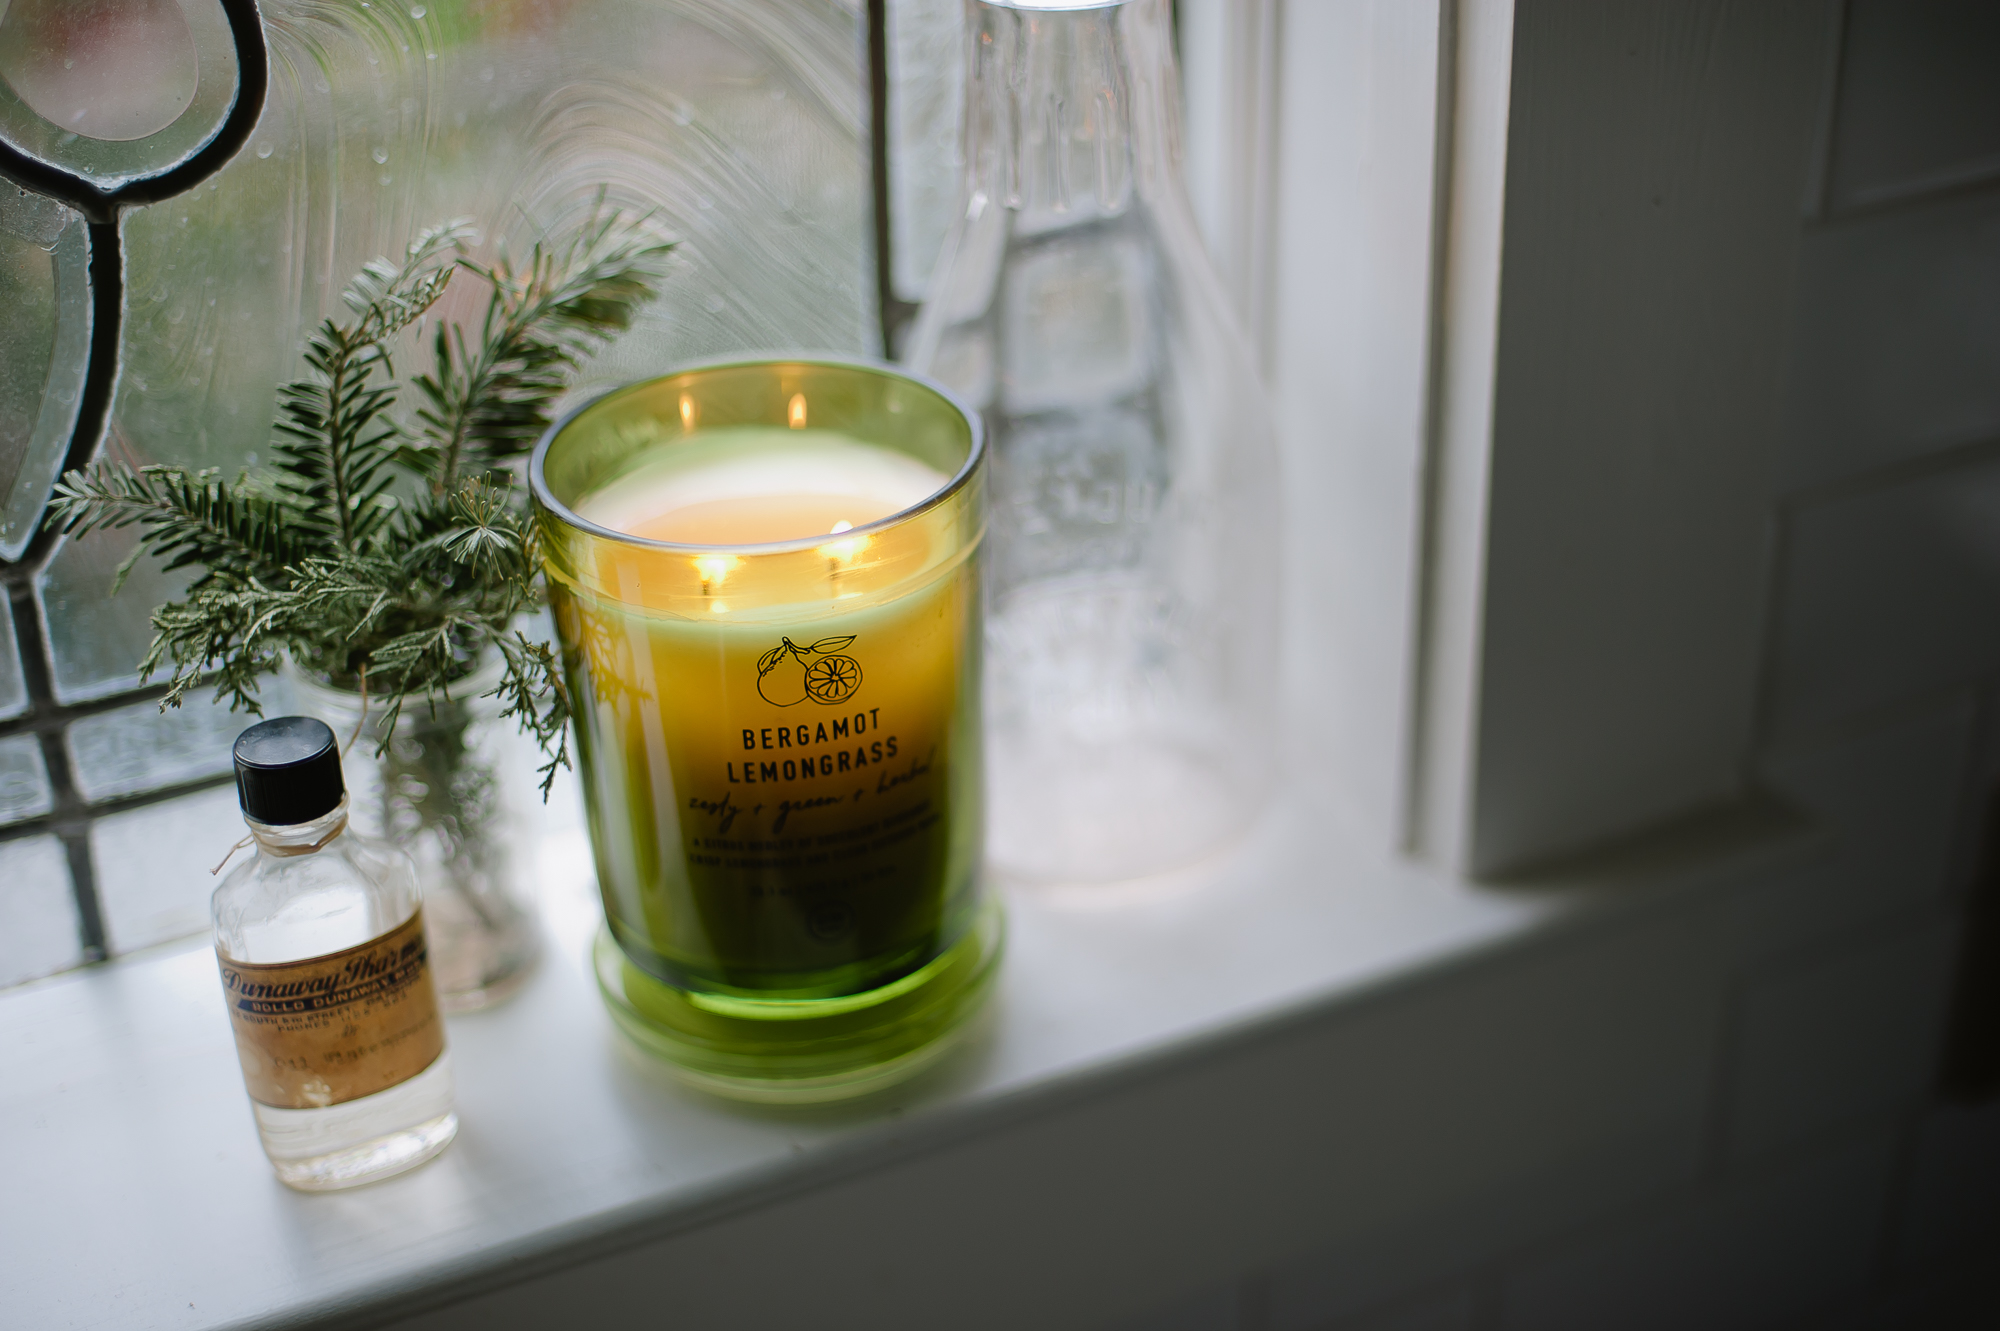
New Window Behind Sink.
Before anyone gets upset, yes I know that VERY MANY PEOPLE LOVE THE DECORATIVE WINDOW IN OUR KITCHEN. It’s the first thing a lot of people comment on lol… However it’s not original to the house, was most likely added sometime in the 90s, and just isn’t my cup of tea. Additionally, the window DOES NOT OPEN. Which, to me, is a problem in a kitchen where you might want to let out smoke, or possibly cooking fumes in a hurry. The current cut glass also diminishes the amount of natural light that can get through the tiny window. So as soon as we save up our pennies, this window behind the sink will be getting replaced with a more period appropriate casement window or the like.
Finally Some Before & Afters – Because Why Not
Lastly, just so we can fully appreciate the dramatic change to this space, here’s a few before/after comparison sliders! (Why are these so satisfying?) I can’t get over how much brighter this kitchen is now! I’d almost forgotten how dark this space used to be.


Stay tuned for a follow up post with a full cost/budget breakdown for this project and all the product links your heart could desire!
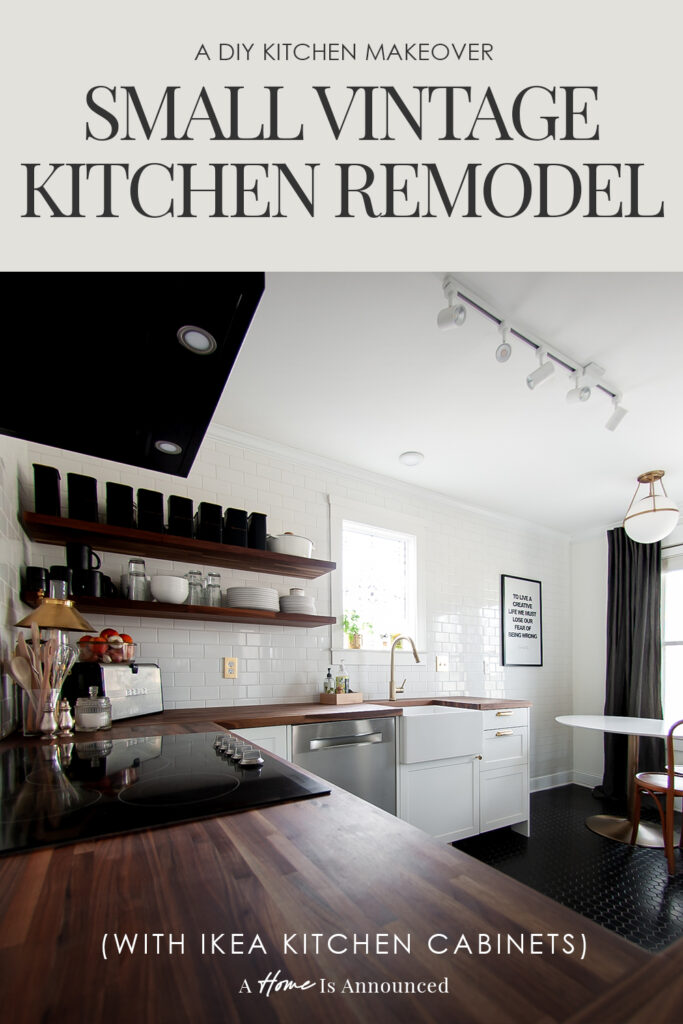
Don’t Forget To Pin This Post & Subscribe!
Want to keep getting more DIY home decor inspiration, thrifting tips & tricks, free art downloads, reading recommendations, and home renovation tutorials? Then don’t forget to pin this post for later so you can follow me on Pinterest and then subscribe to my blog so you can get links to my newest content as soon as it hits the blog!
2 thoughts on “Our Tiny Mixed Metals, Black, White & Wood Kitchen”