Have you ever wanted to design a bathroom whose inspiration you’d describe as an old english gentleman’s club meets a cabinet of curiosities with a dash of art deco glamor and a good helping of craftsman charm? No? Just me? Cool…. keep reading if you want to see how that played out lol…
*This blog post contains affiliate links, meaning that if you purchase any of the items using the links I provide I, as the author of this website, will receive a very very small commission from that sale. This is a great way to help support your favorite bloggers at no cost to you. Think of it like a tip jar that costs you nothing!
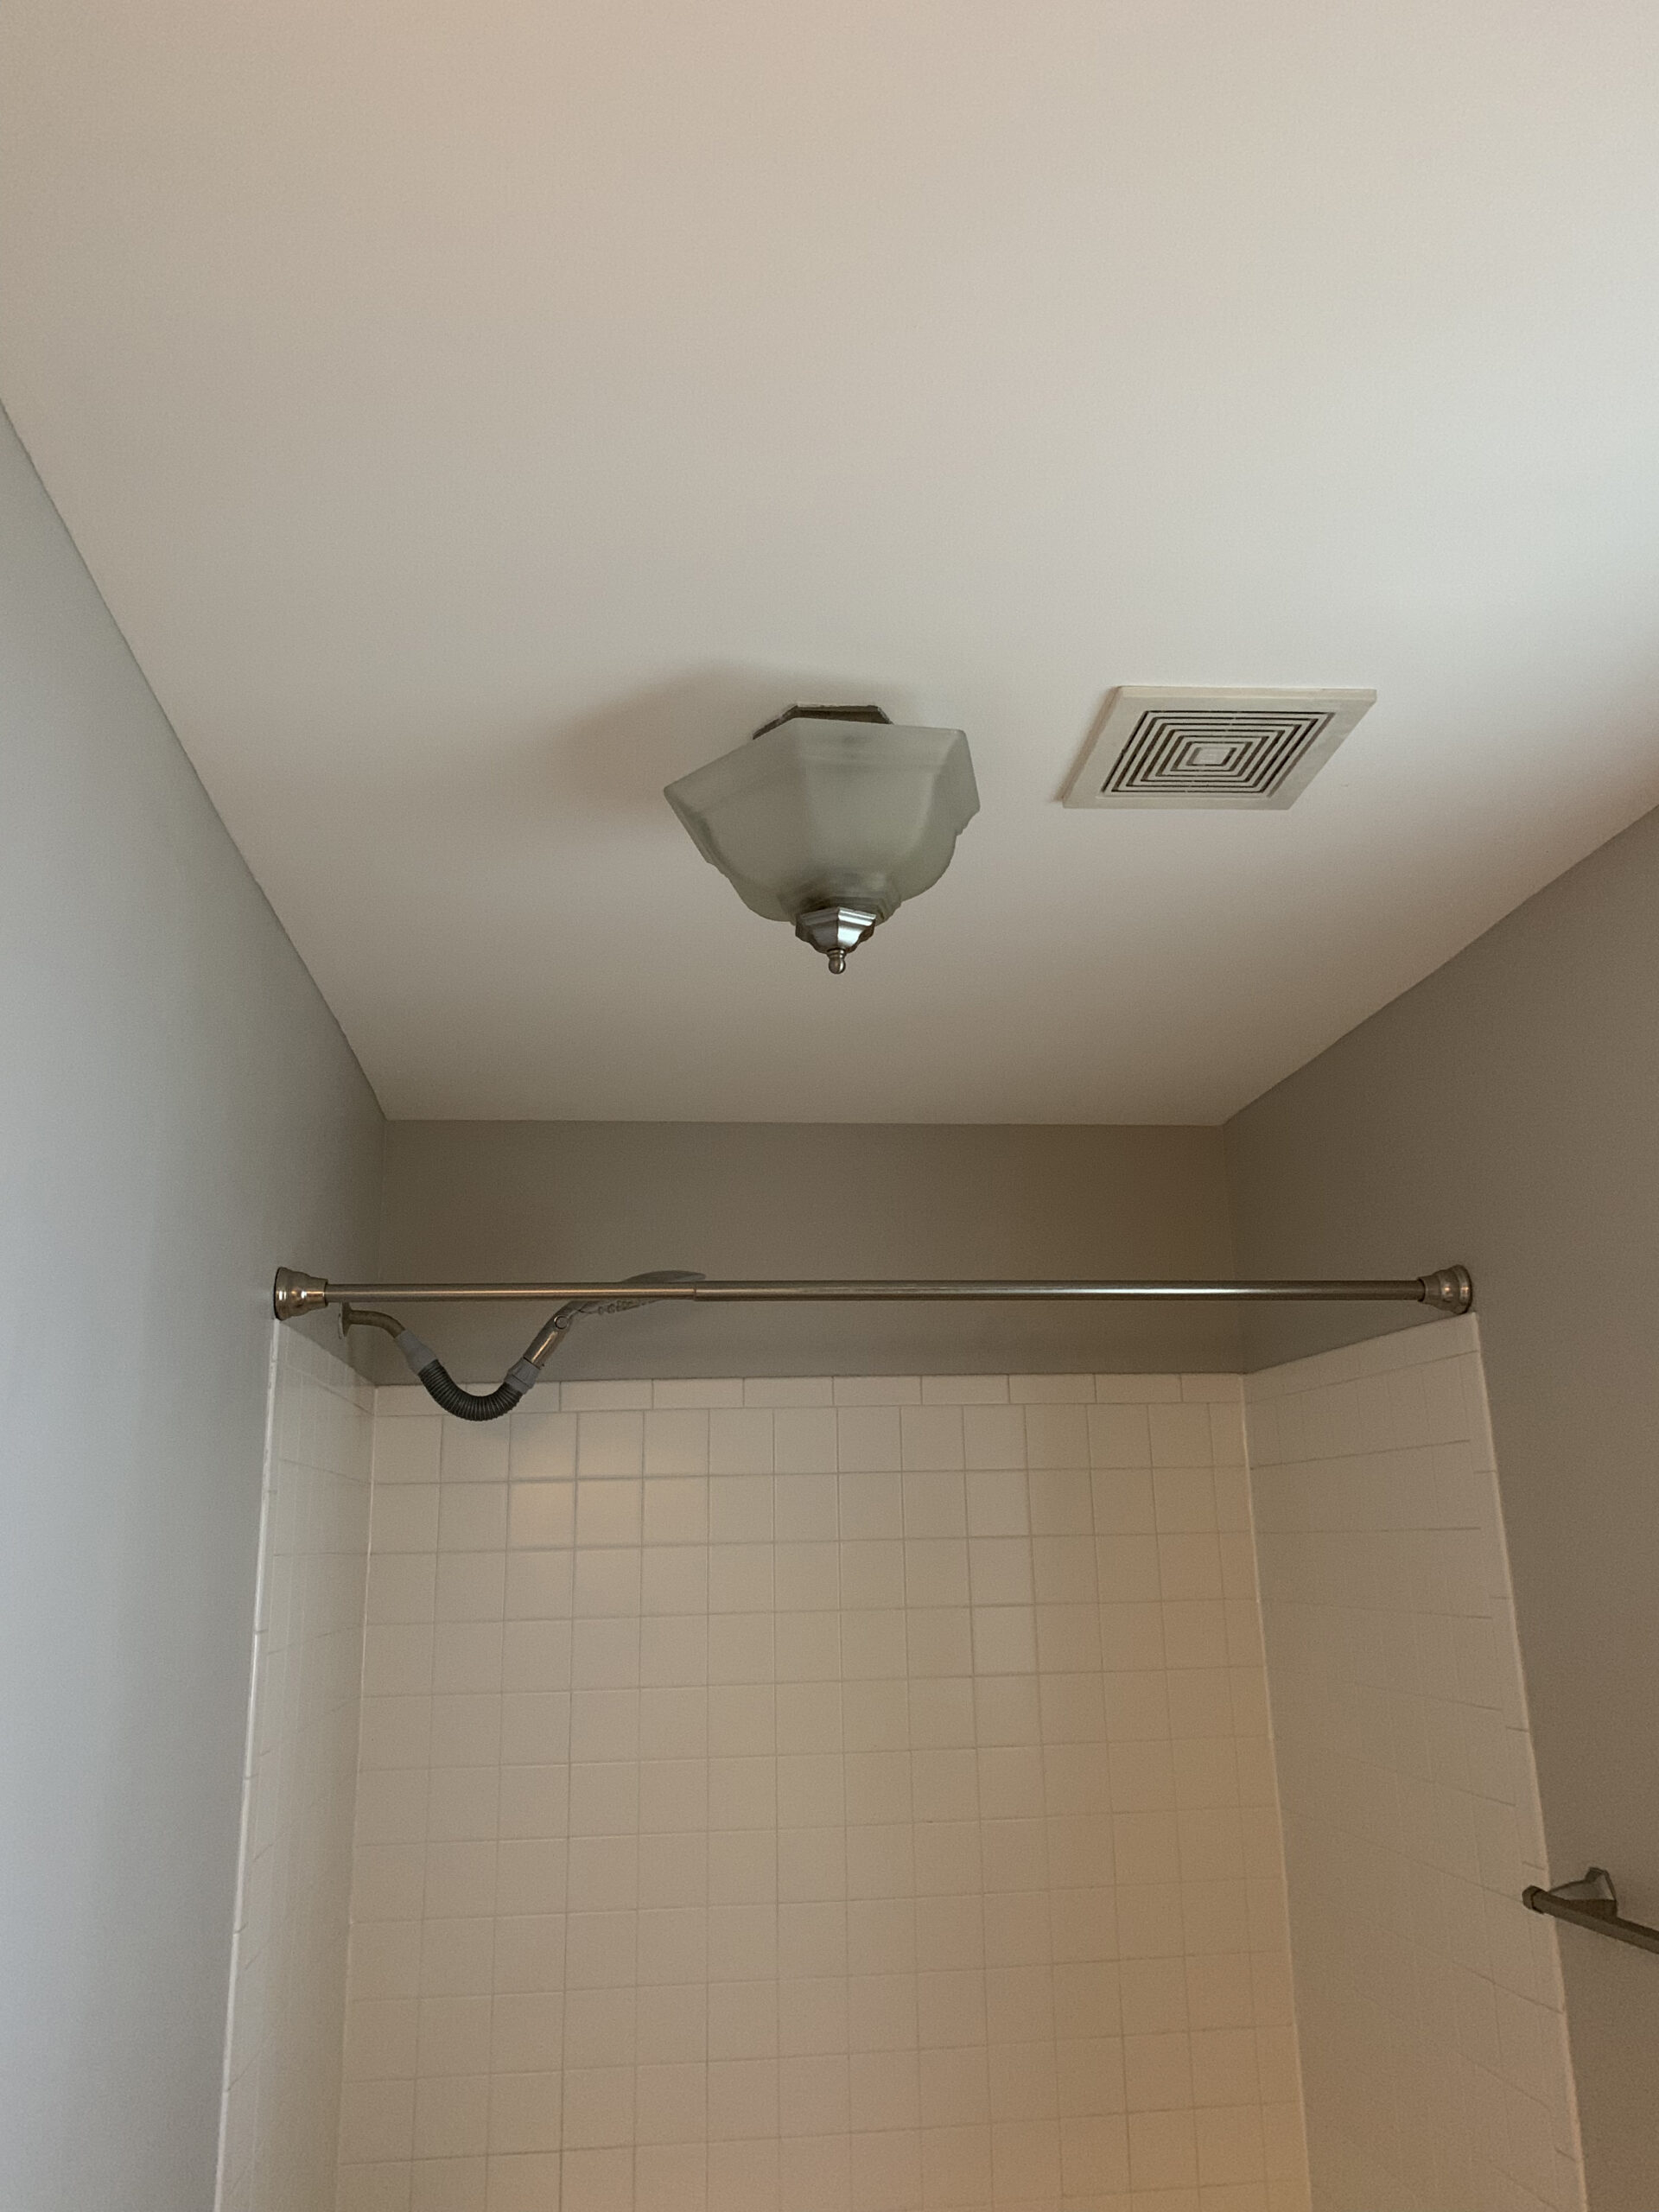
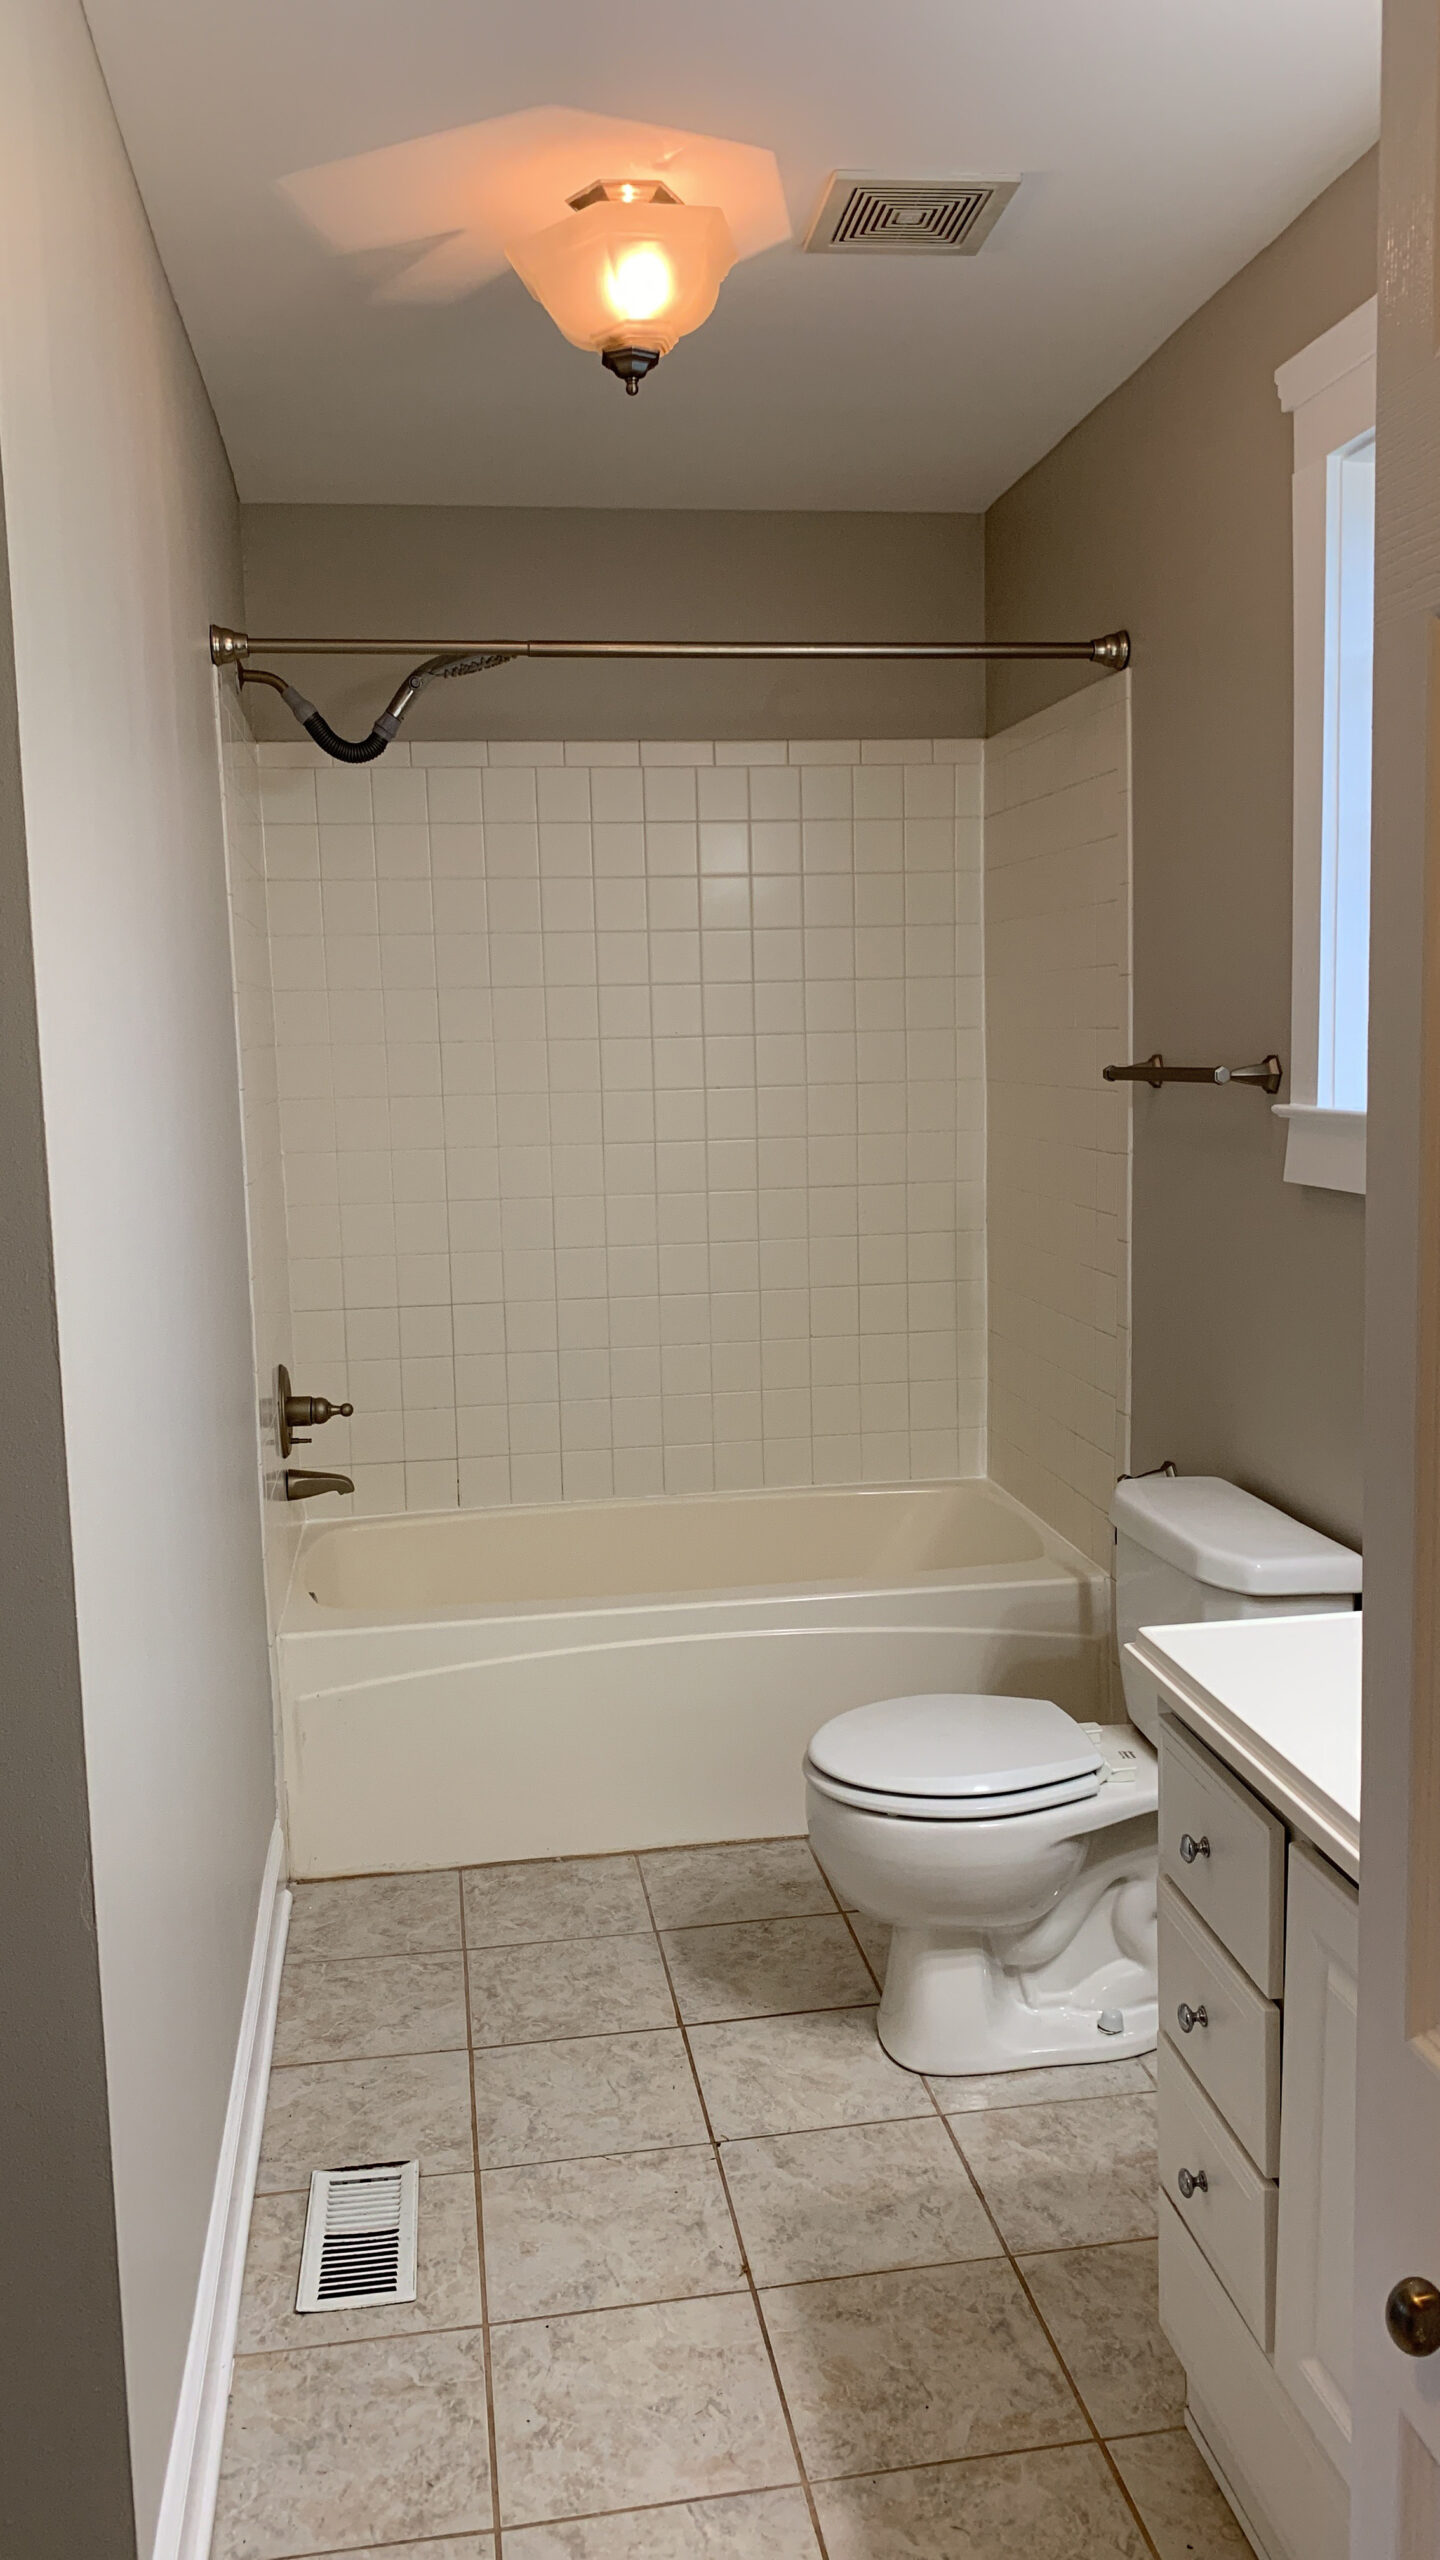
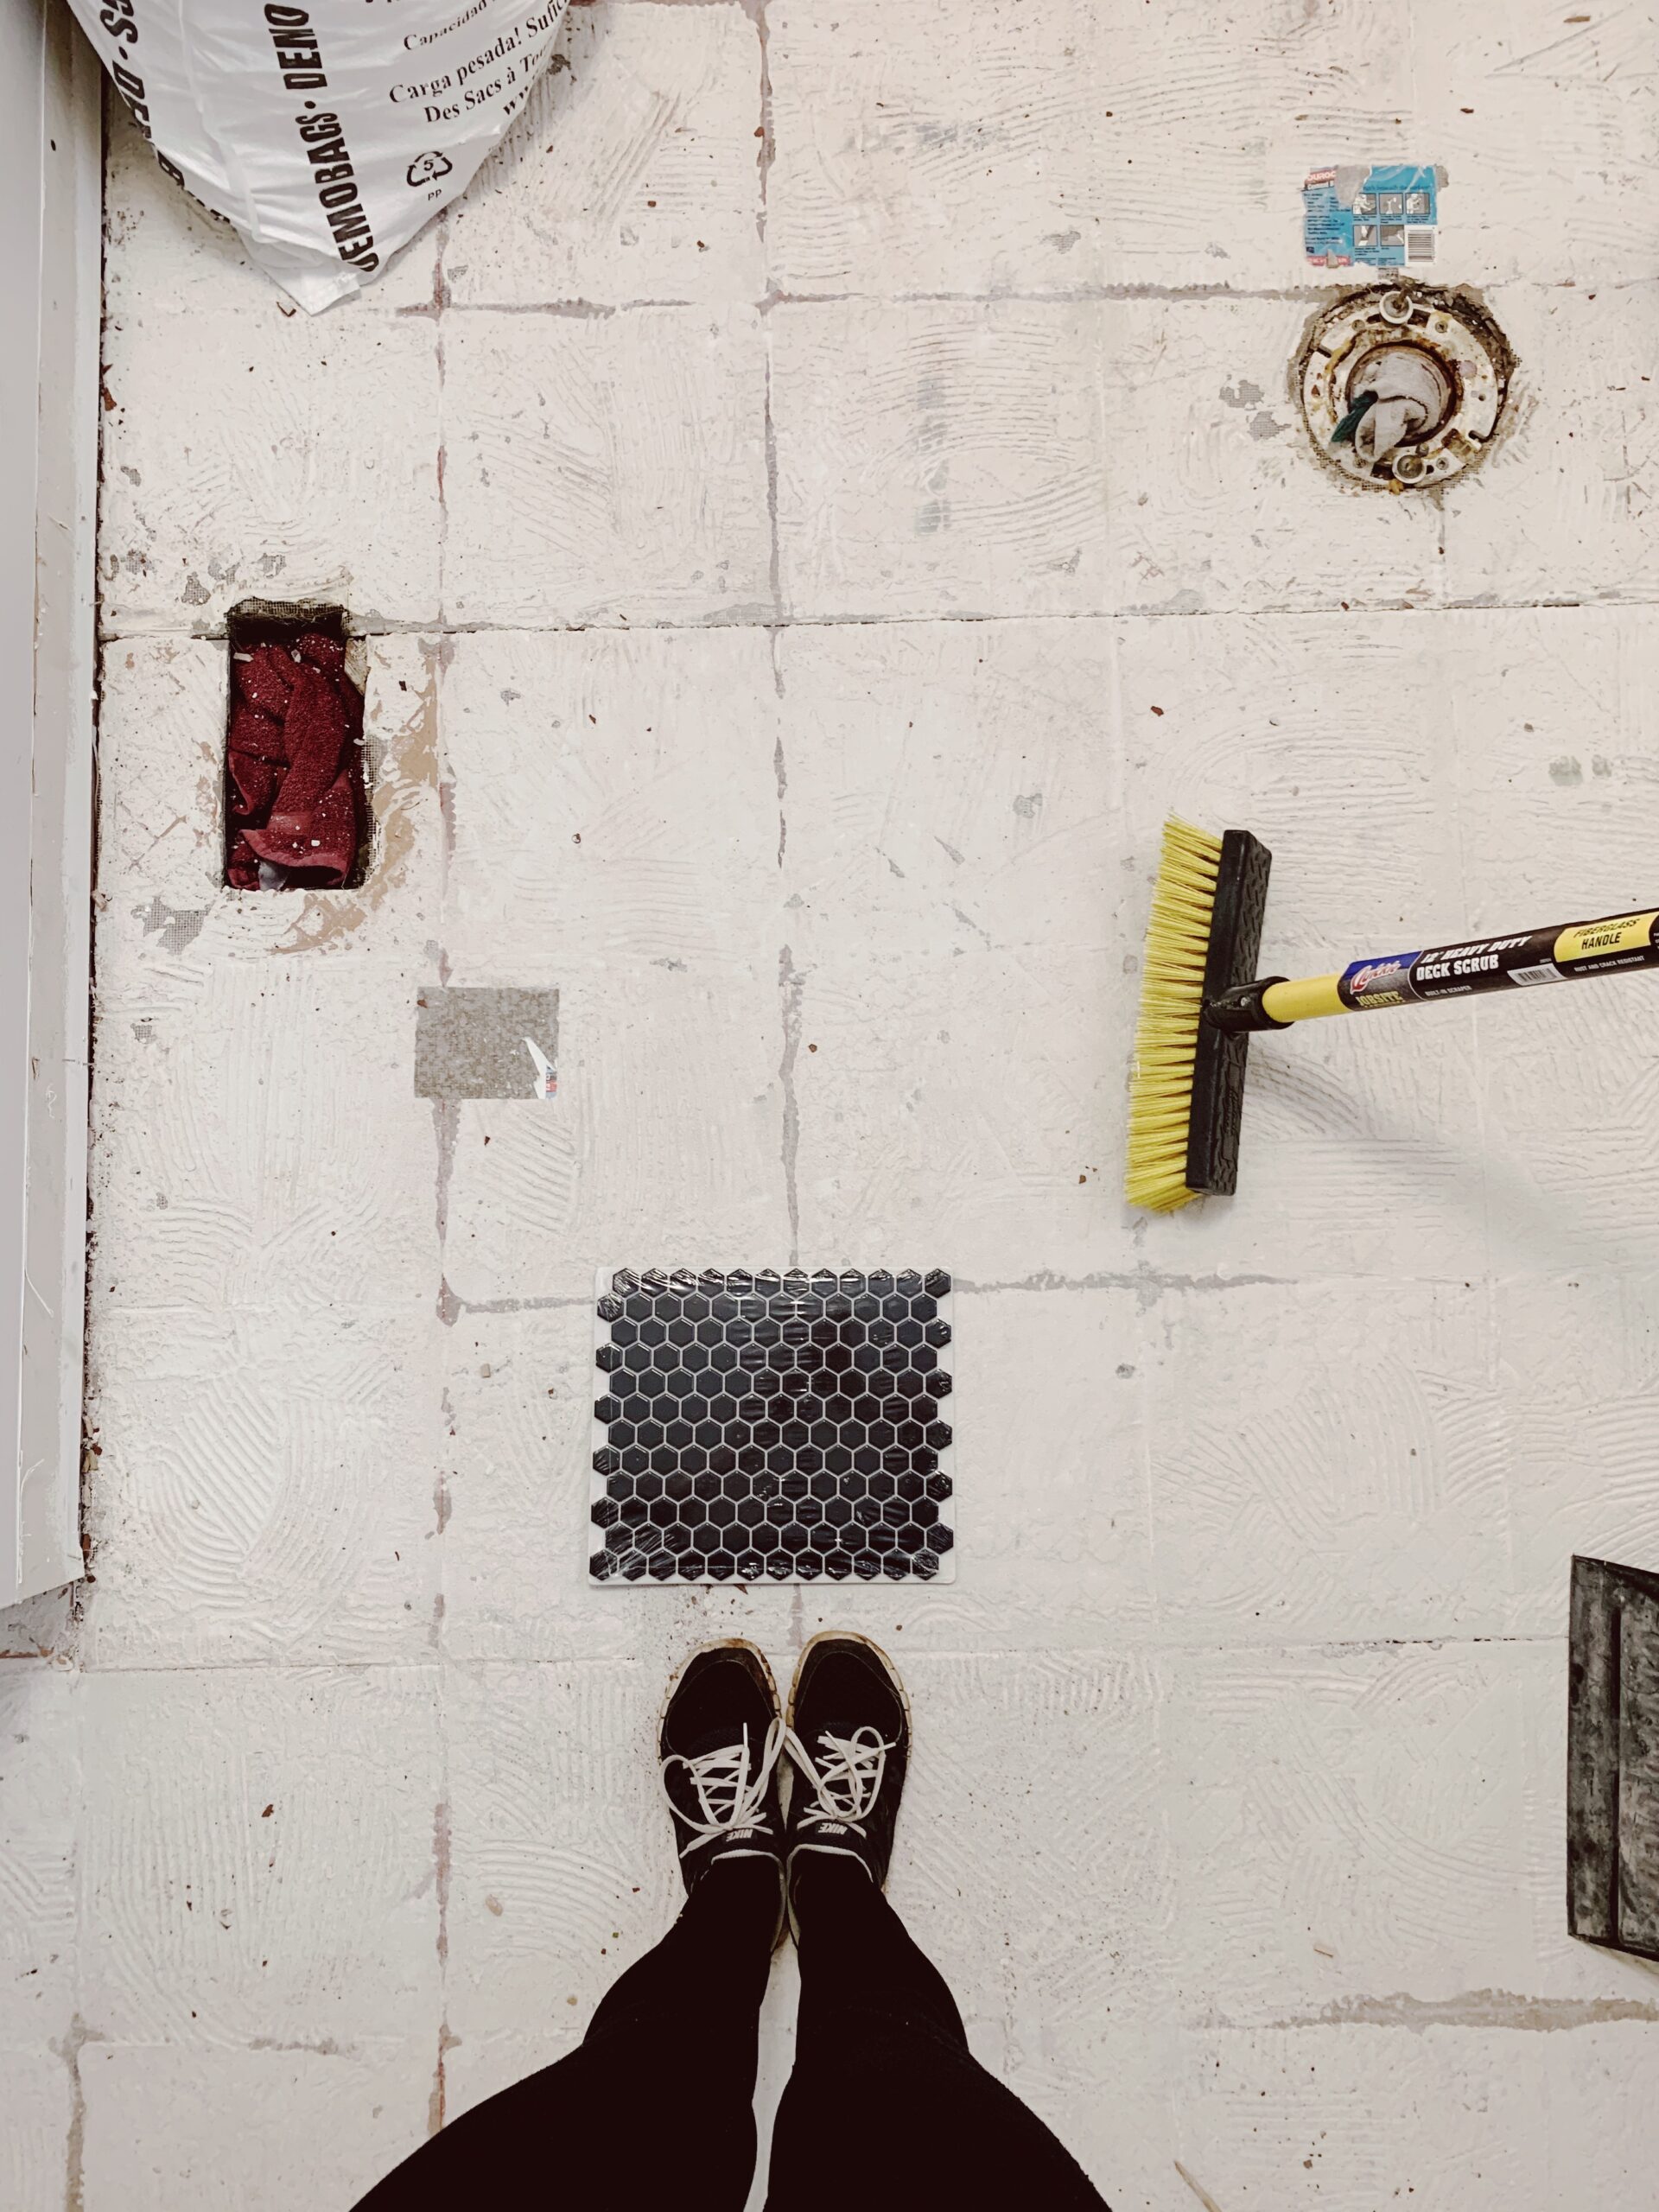
The Before
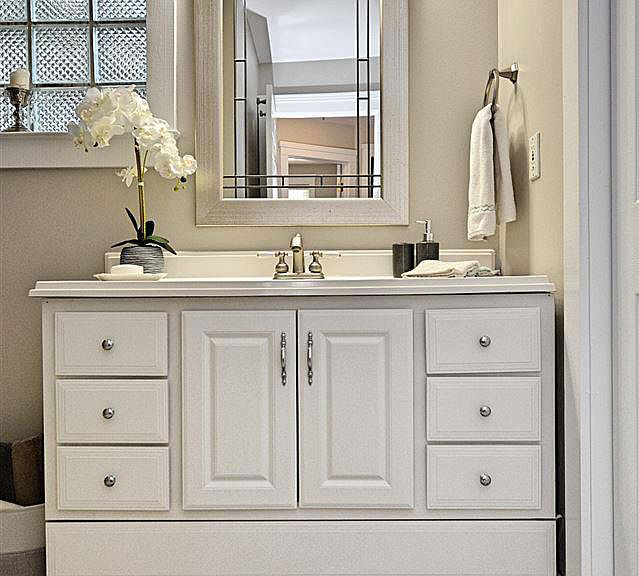
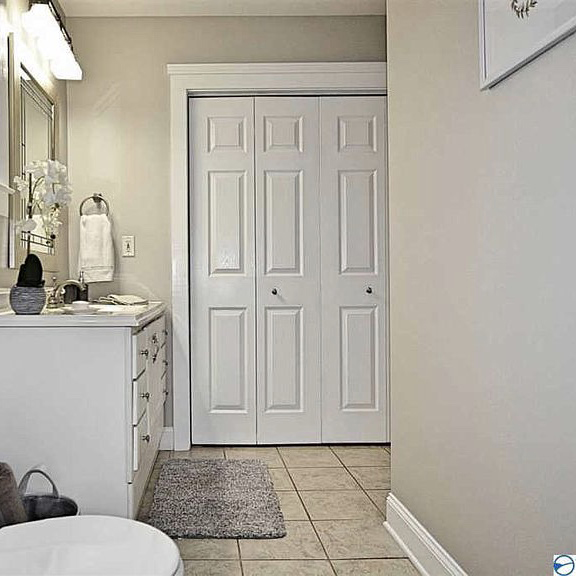
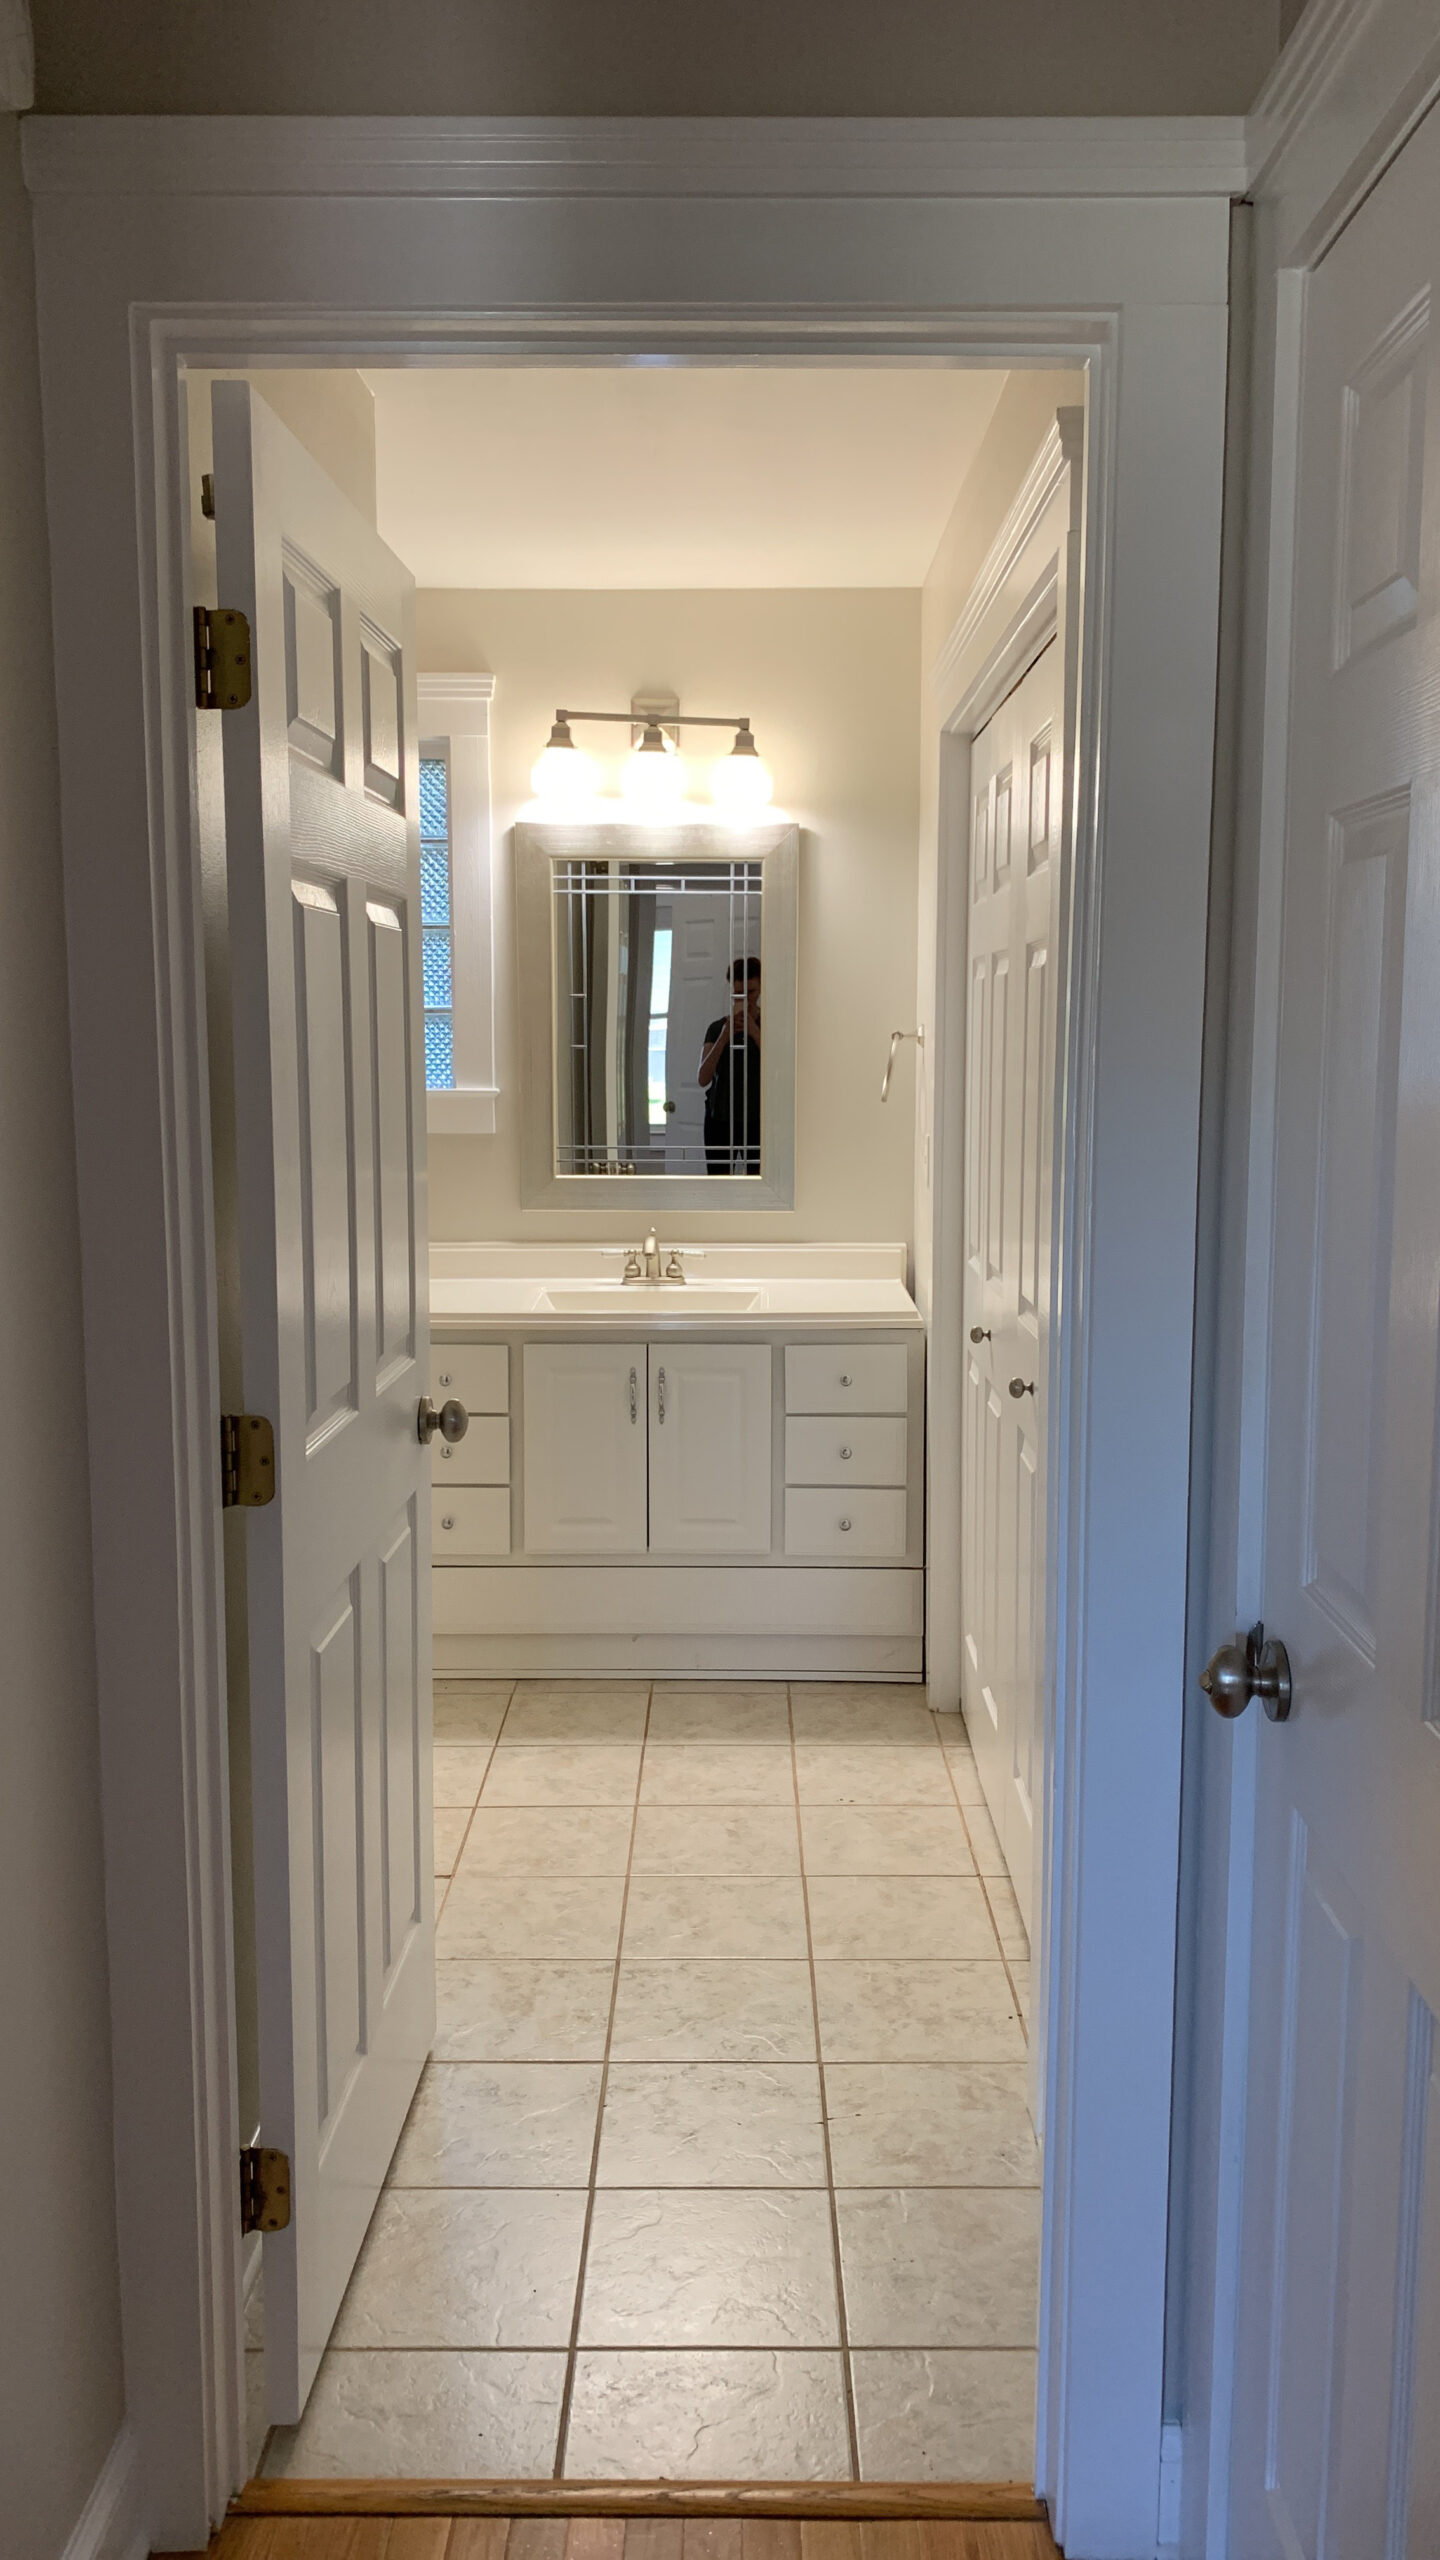
When we bought this house in 2019, there were two rooms I just couldn’t stand and immediately tore apart the moment we moved in: the kitchen (the renovation of which you can check out here) and the downstairs guest bathroom/laundry closest. Here’s the before with all its early 2000s, quick flip, builder-grade goodness. And I ask you, does this look like the bathroom that should be in a home built in 1928? No… no it does not.


I was so eager to update this space that I actually tore out and sold all the original fixtures on FB Marketplace a month or so after we moved into the house.
Unfortunately, right after tearing out the original vanity/sink in preparation for our quick budget friendly bathroom facelift, the project got thrown to the back-burner so we could focus on getting the kitchen completed. (Because when you have to choose between getting your only kitchen completed and getting your extra guest bathroom done, you pick kitchen). And then Covid hit…
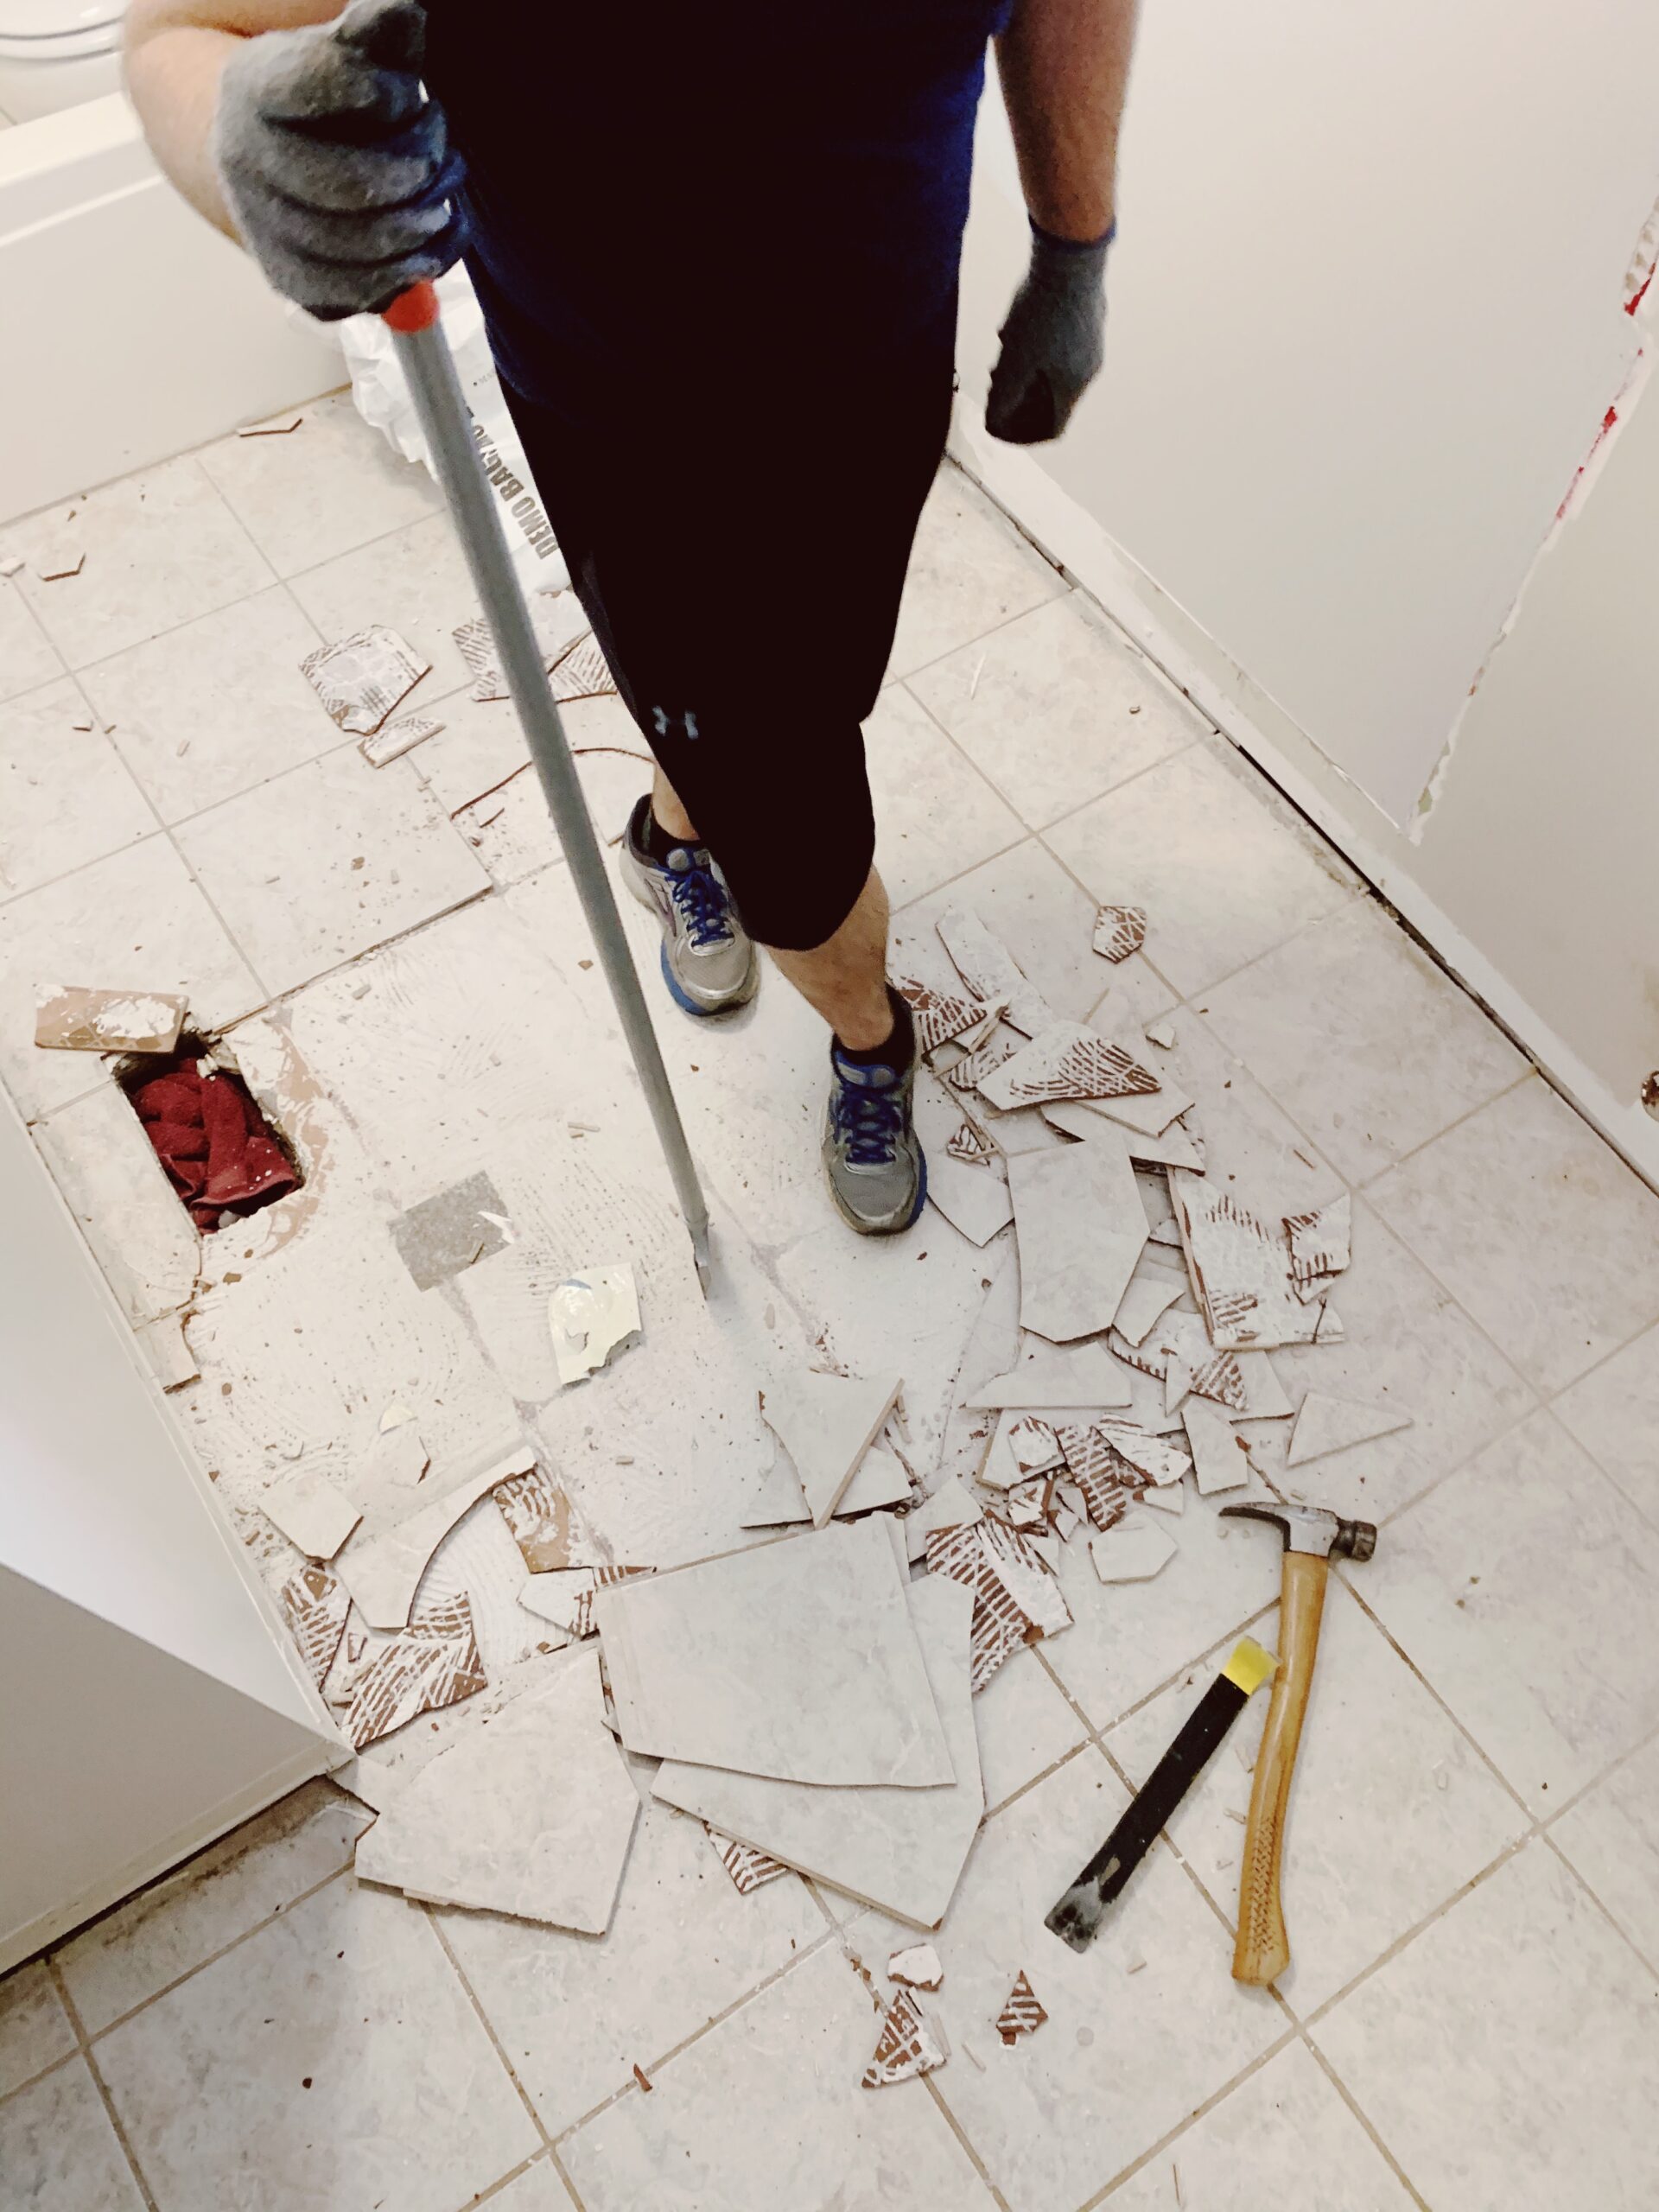
Eventually, when other people got to the point they were feverishly baking loaves of bread, I decided, for better or worse, that since we were stuck in our house, we may as well demo the bathroom and get to work.
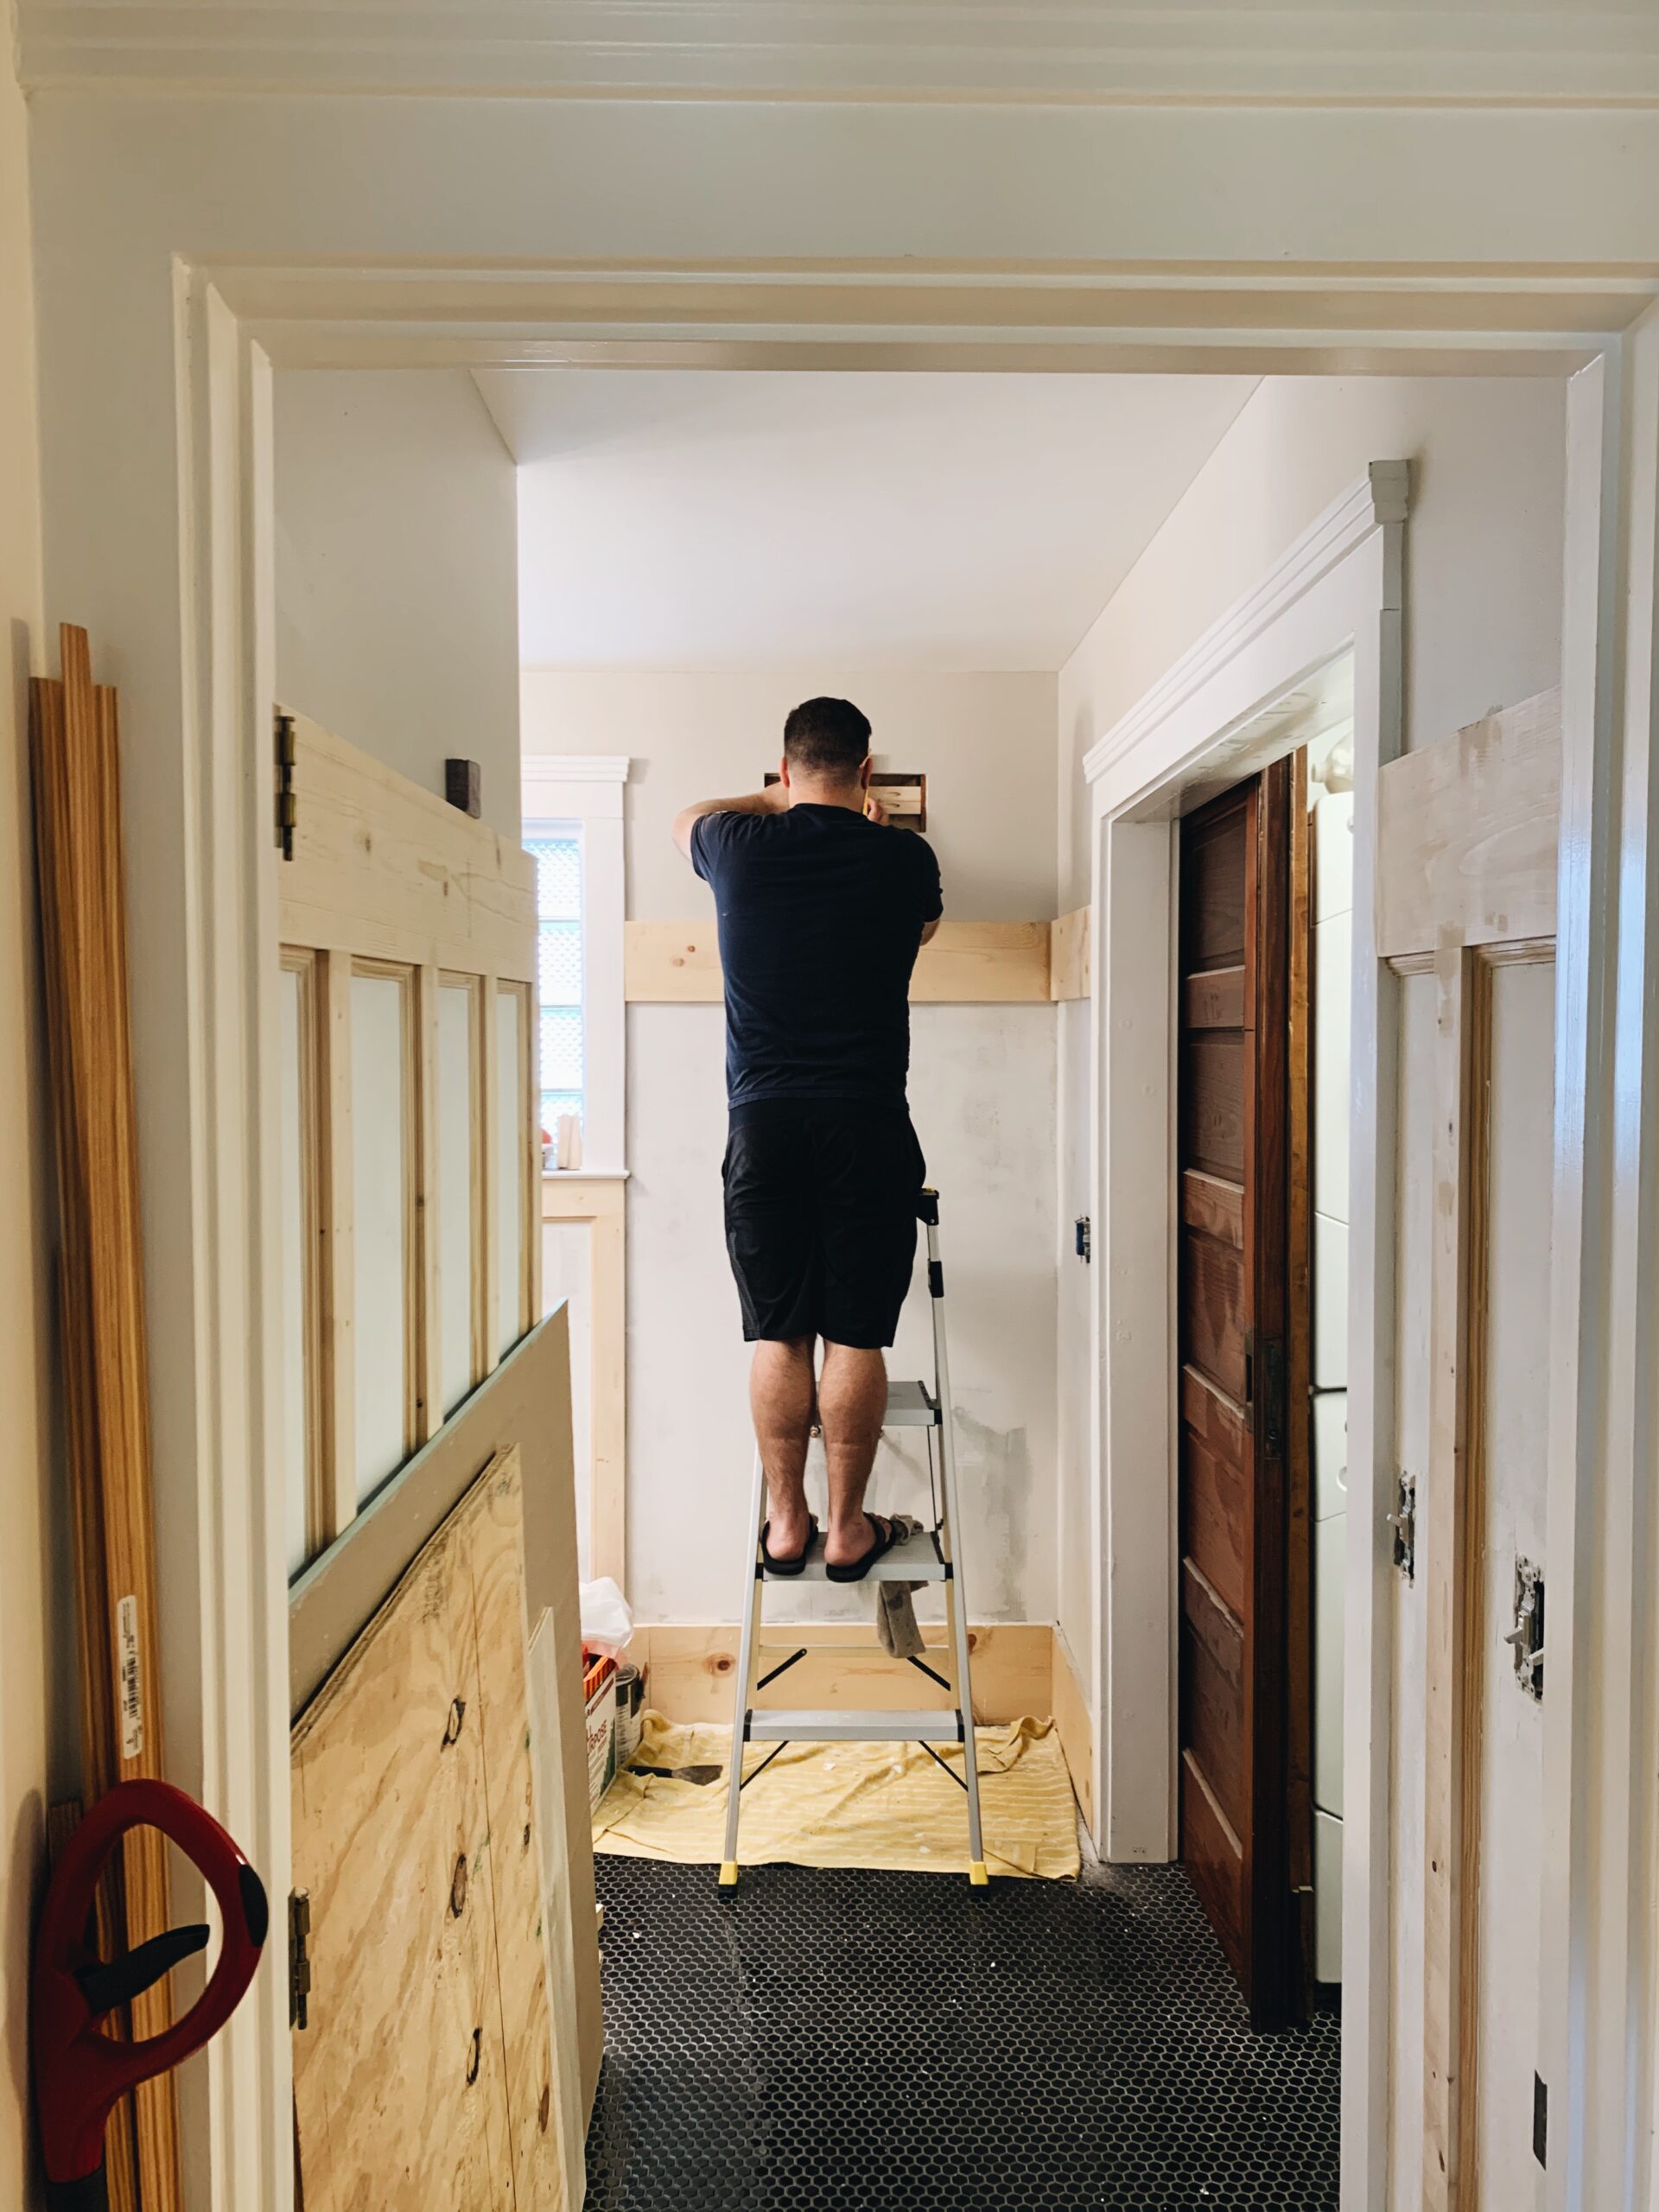
The Renovation
I’m not going to break down our reno process too much in this post as I plan to create several follow-up posts breaking down each of the many projects we tackled during this reno. (Not to mention this post would turn into EVEN MORE of a novel than it already is if I did.) But as a “quick” summary here’s a running list of the work done in here to give you an idea of the scope of work we completed in this space (all of this was DIY’d by us btw unless otherwise noted):
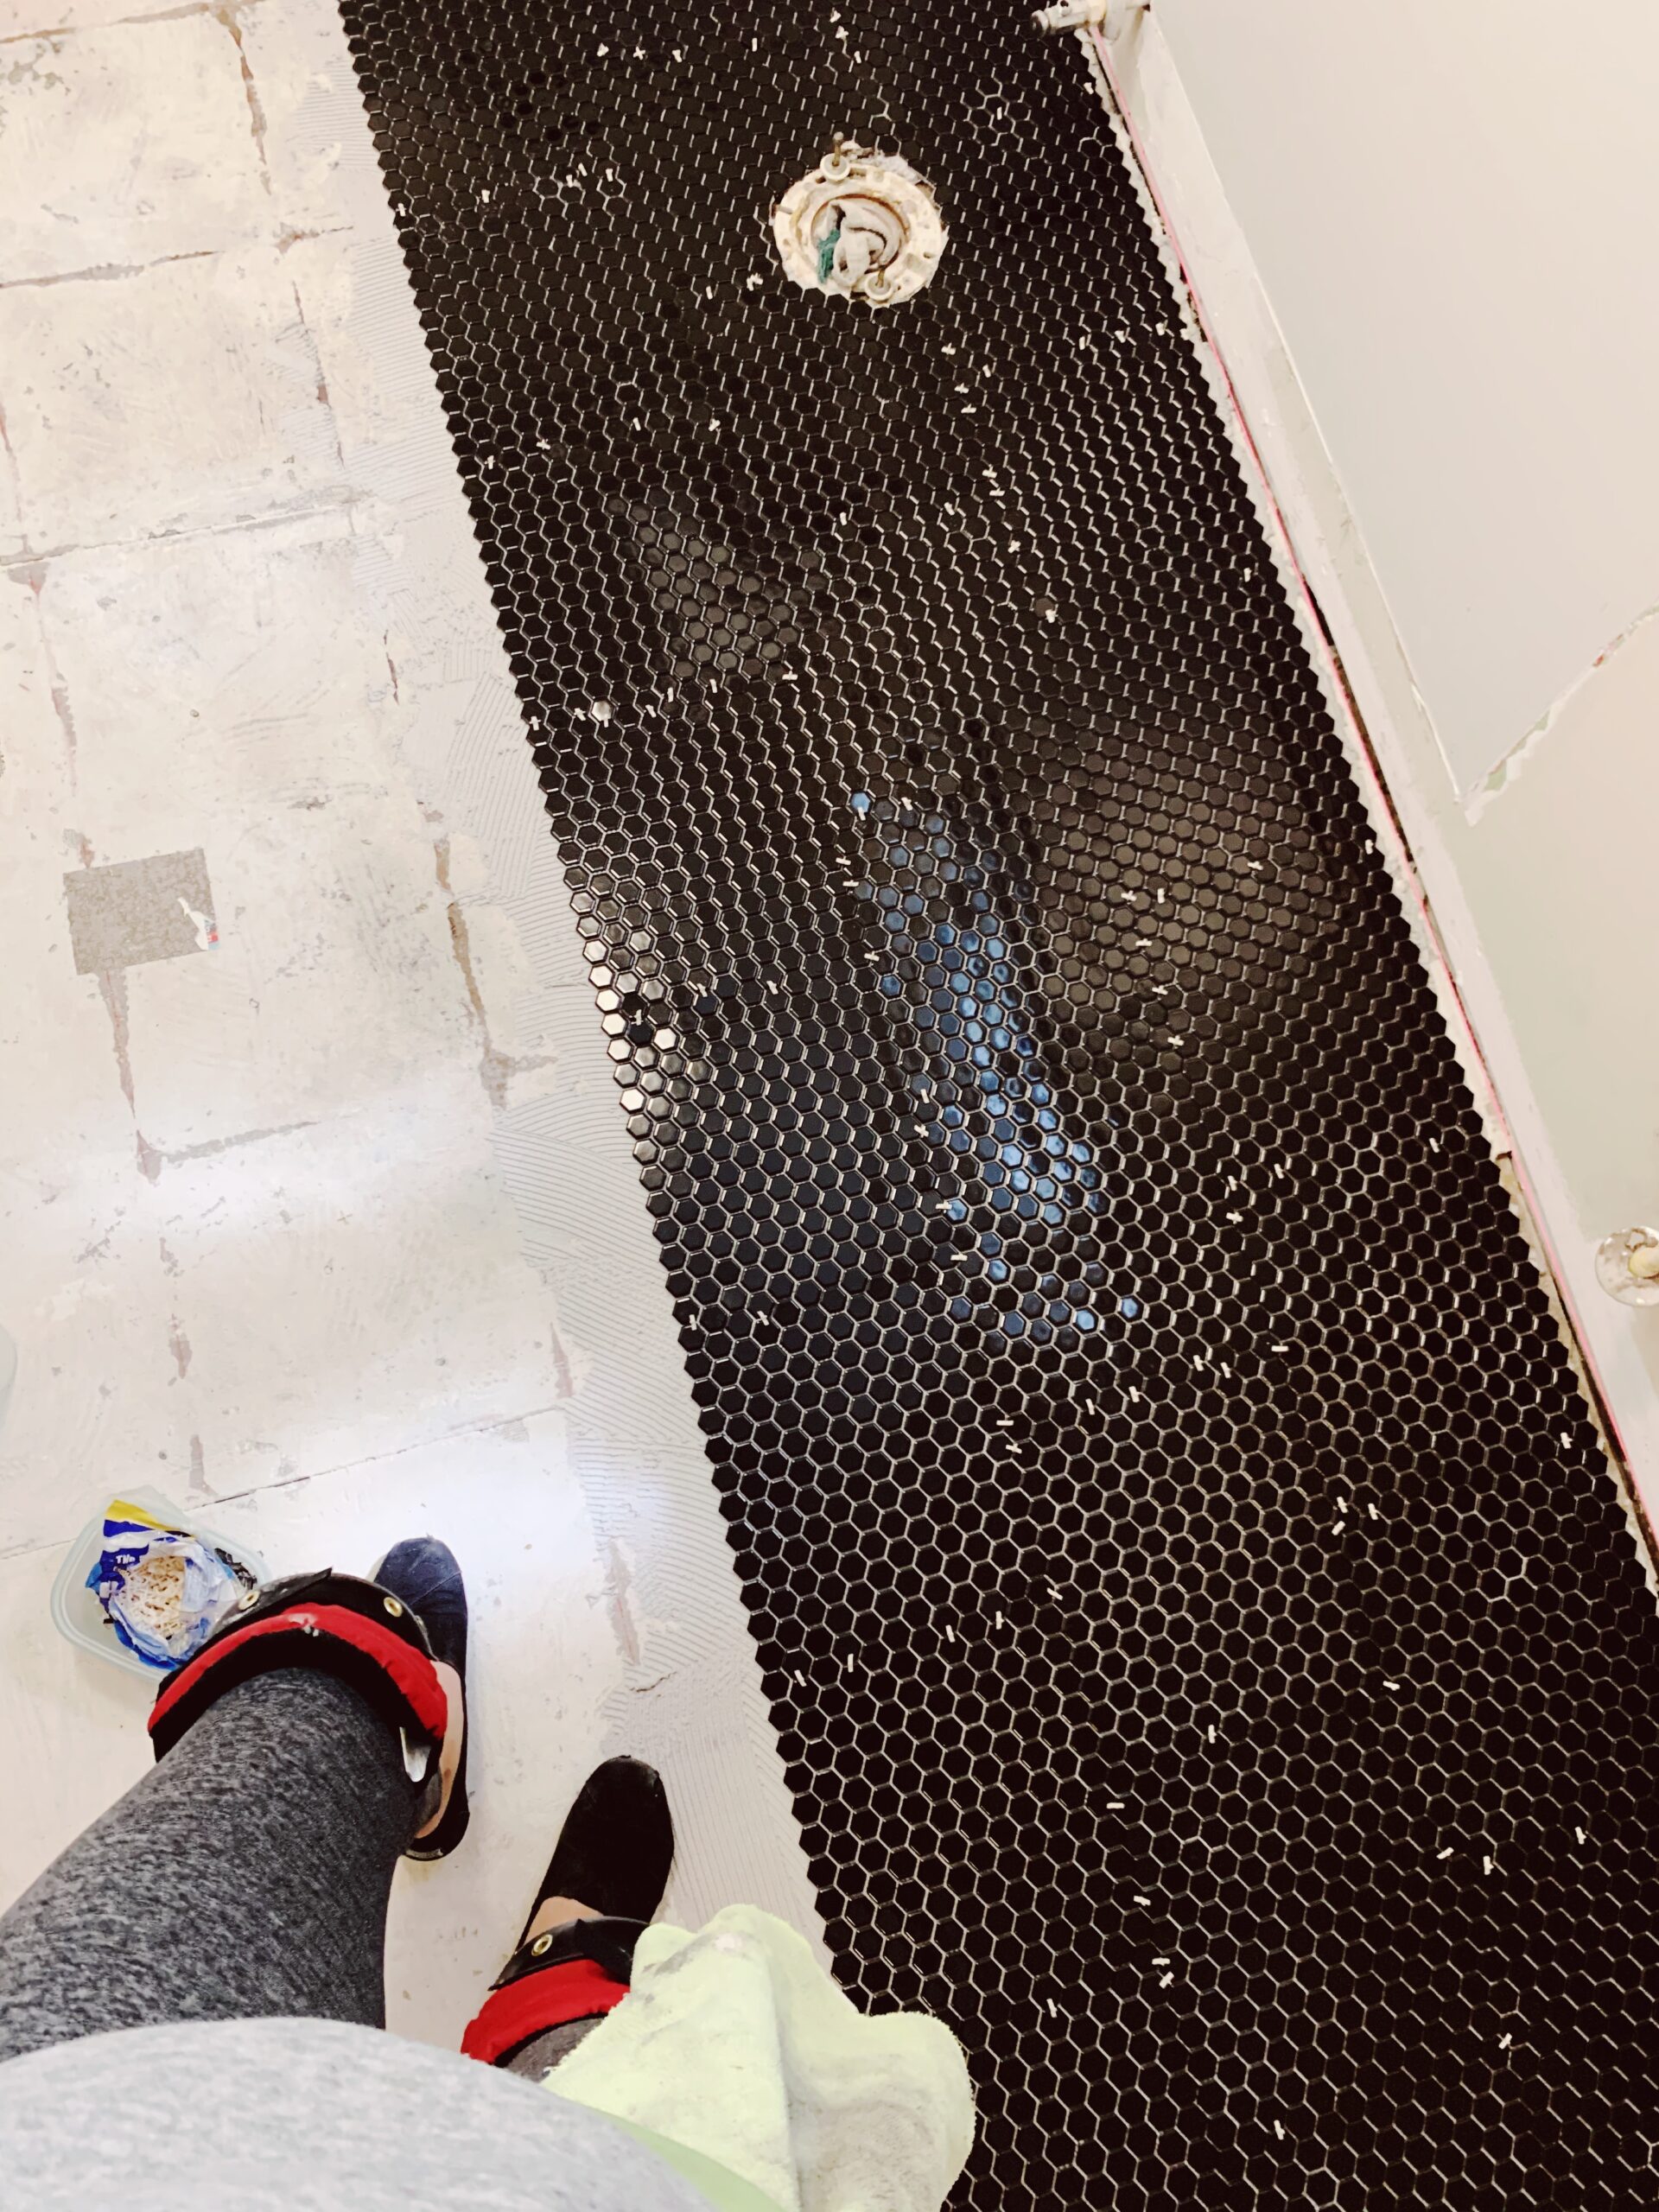
- Removed the existing cracked and broken floor tile.
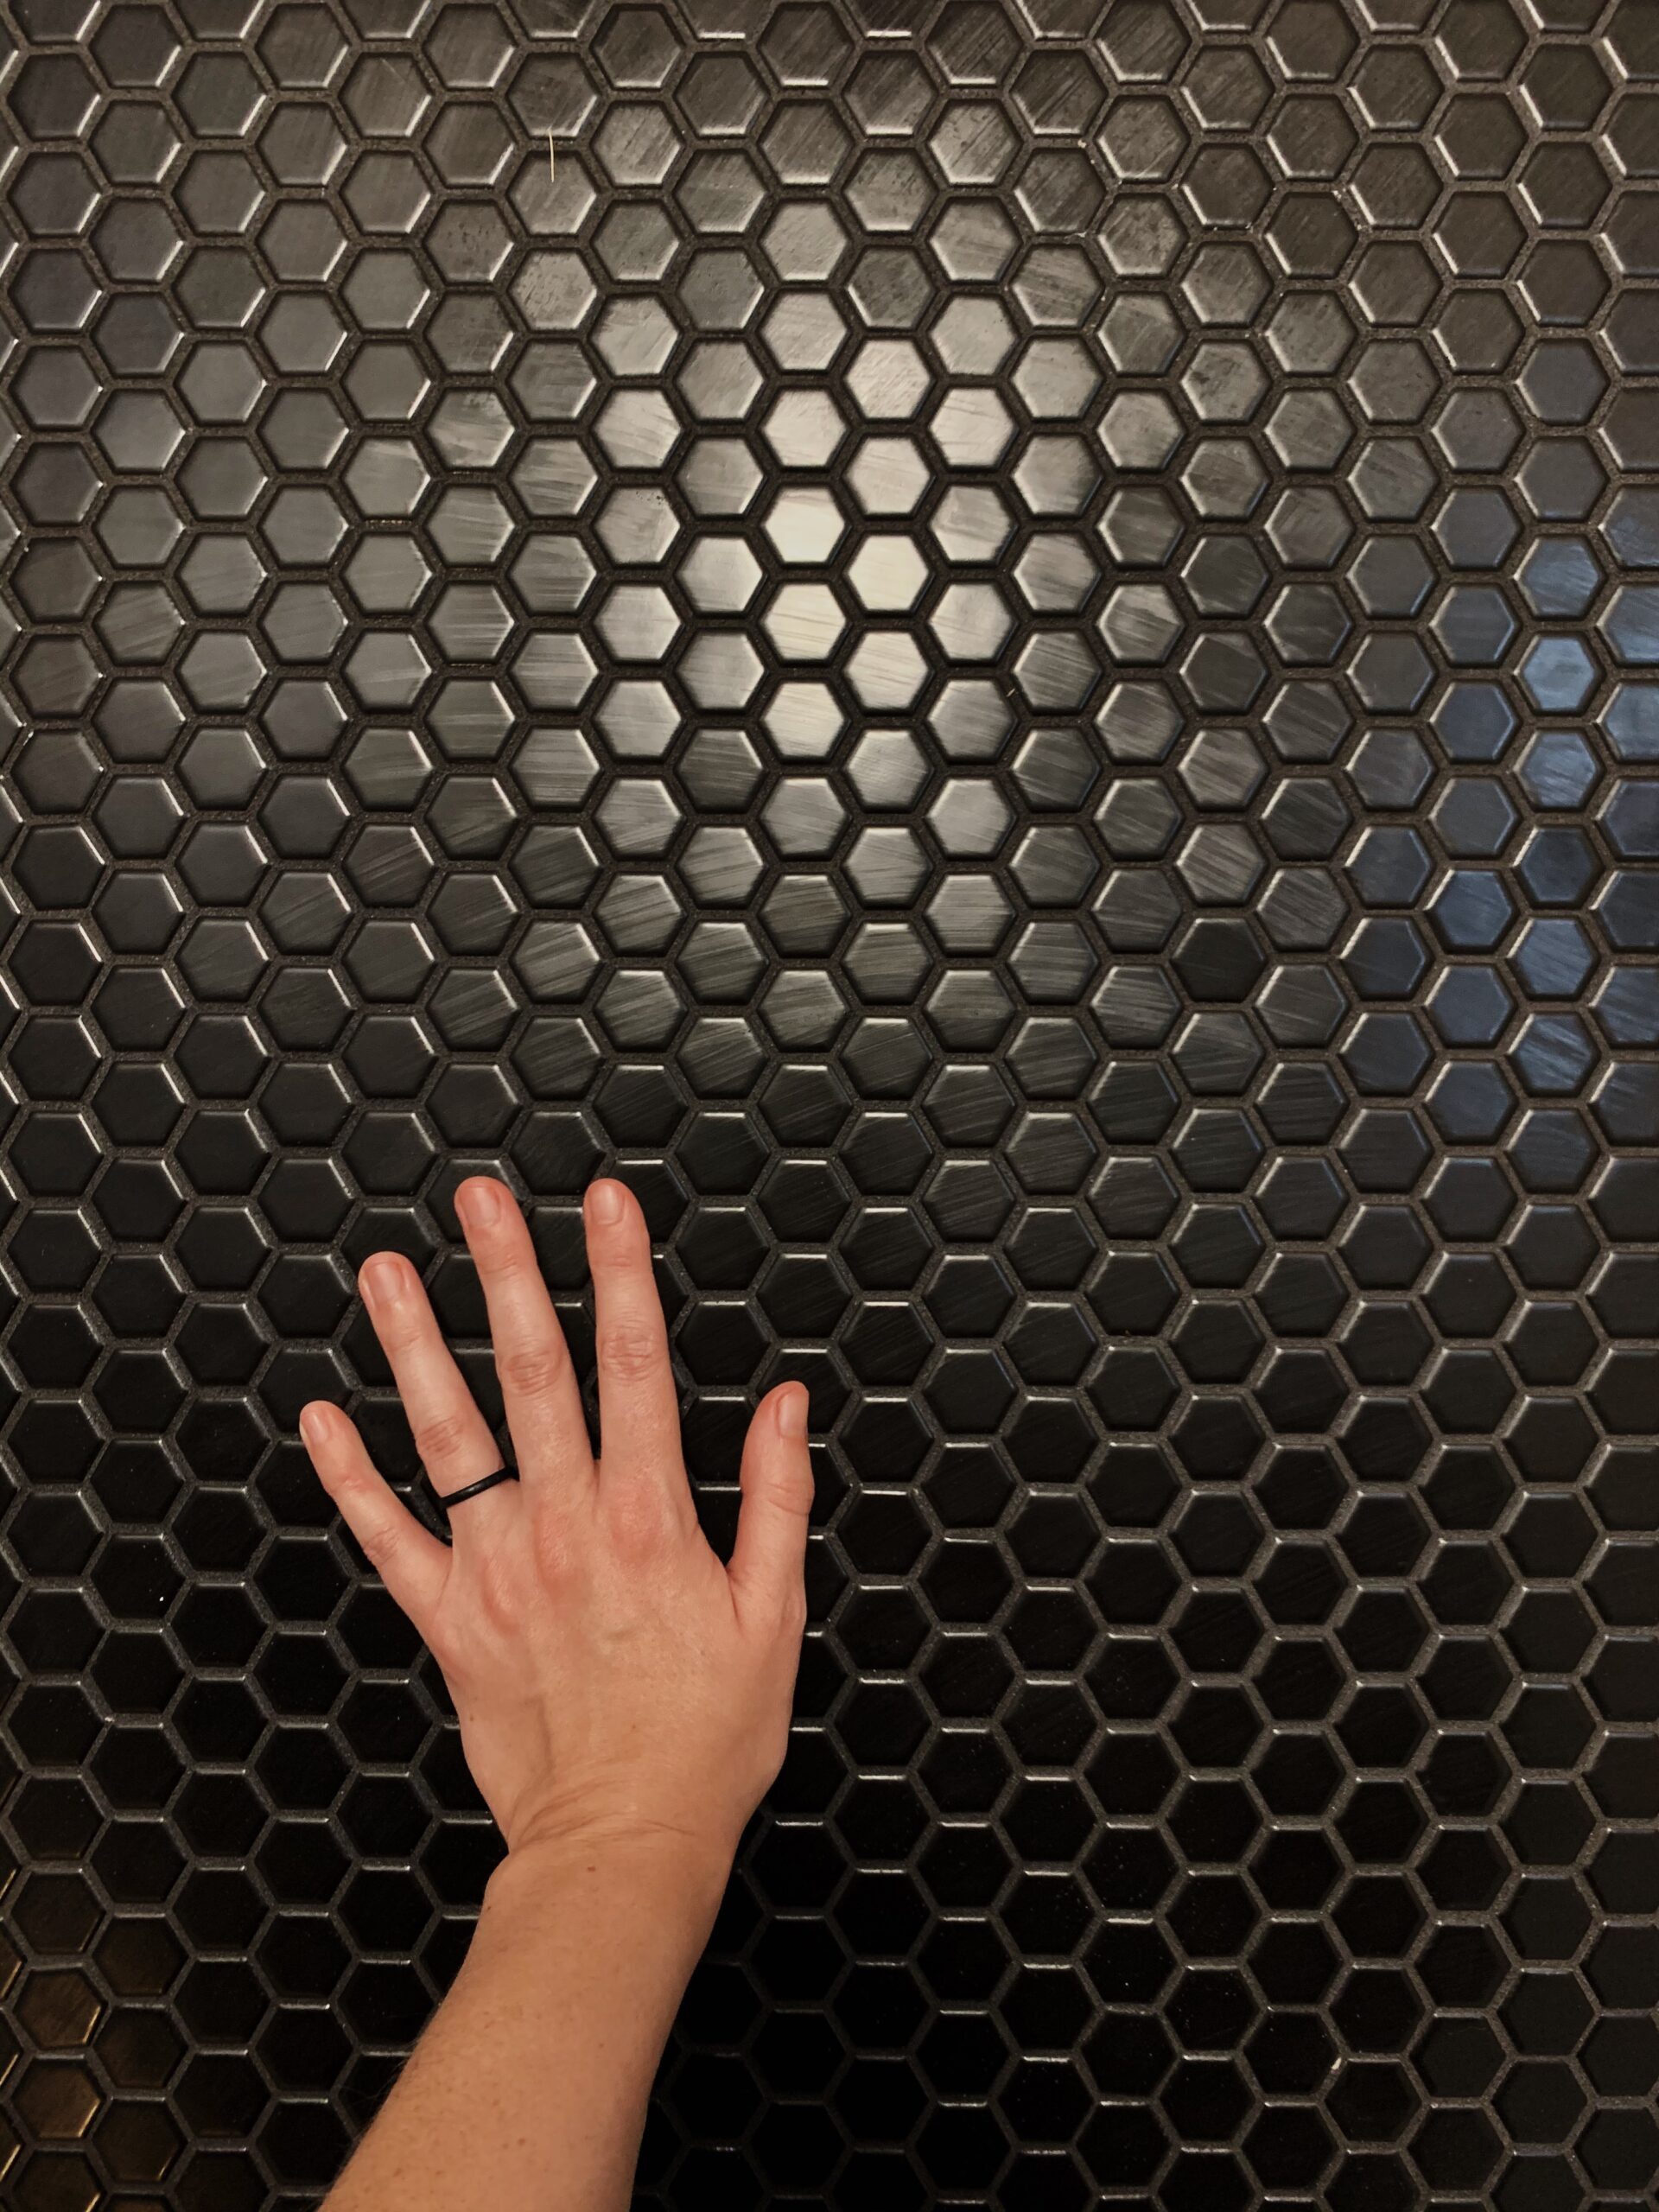
- Laid down new black mini-hex floor penny tiles.
- Grouted floor with a black grout.
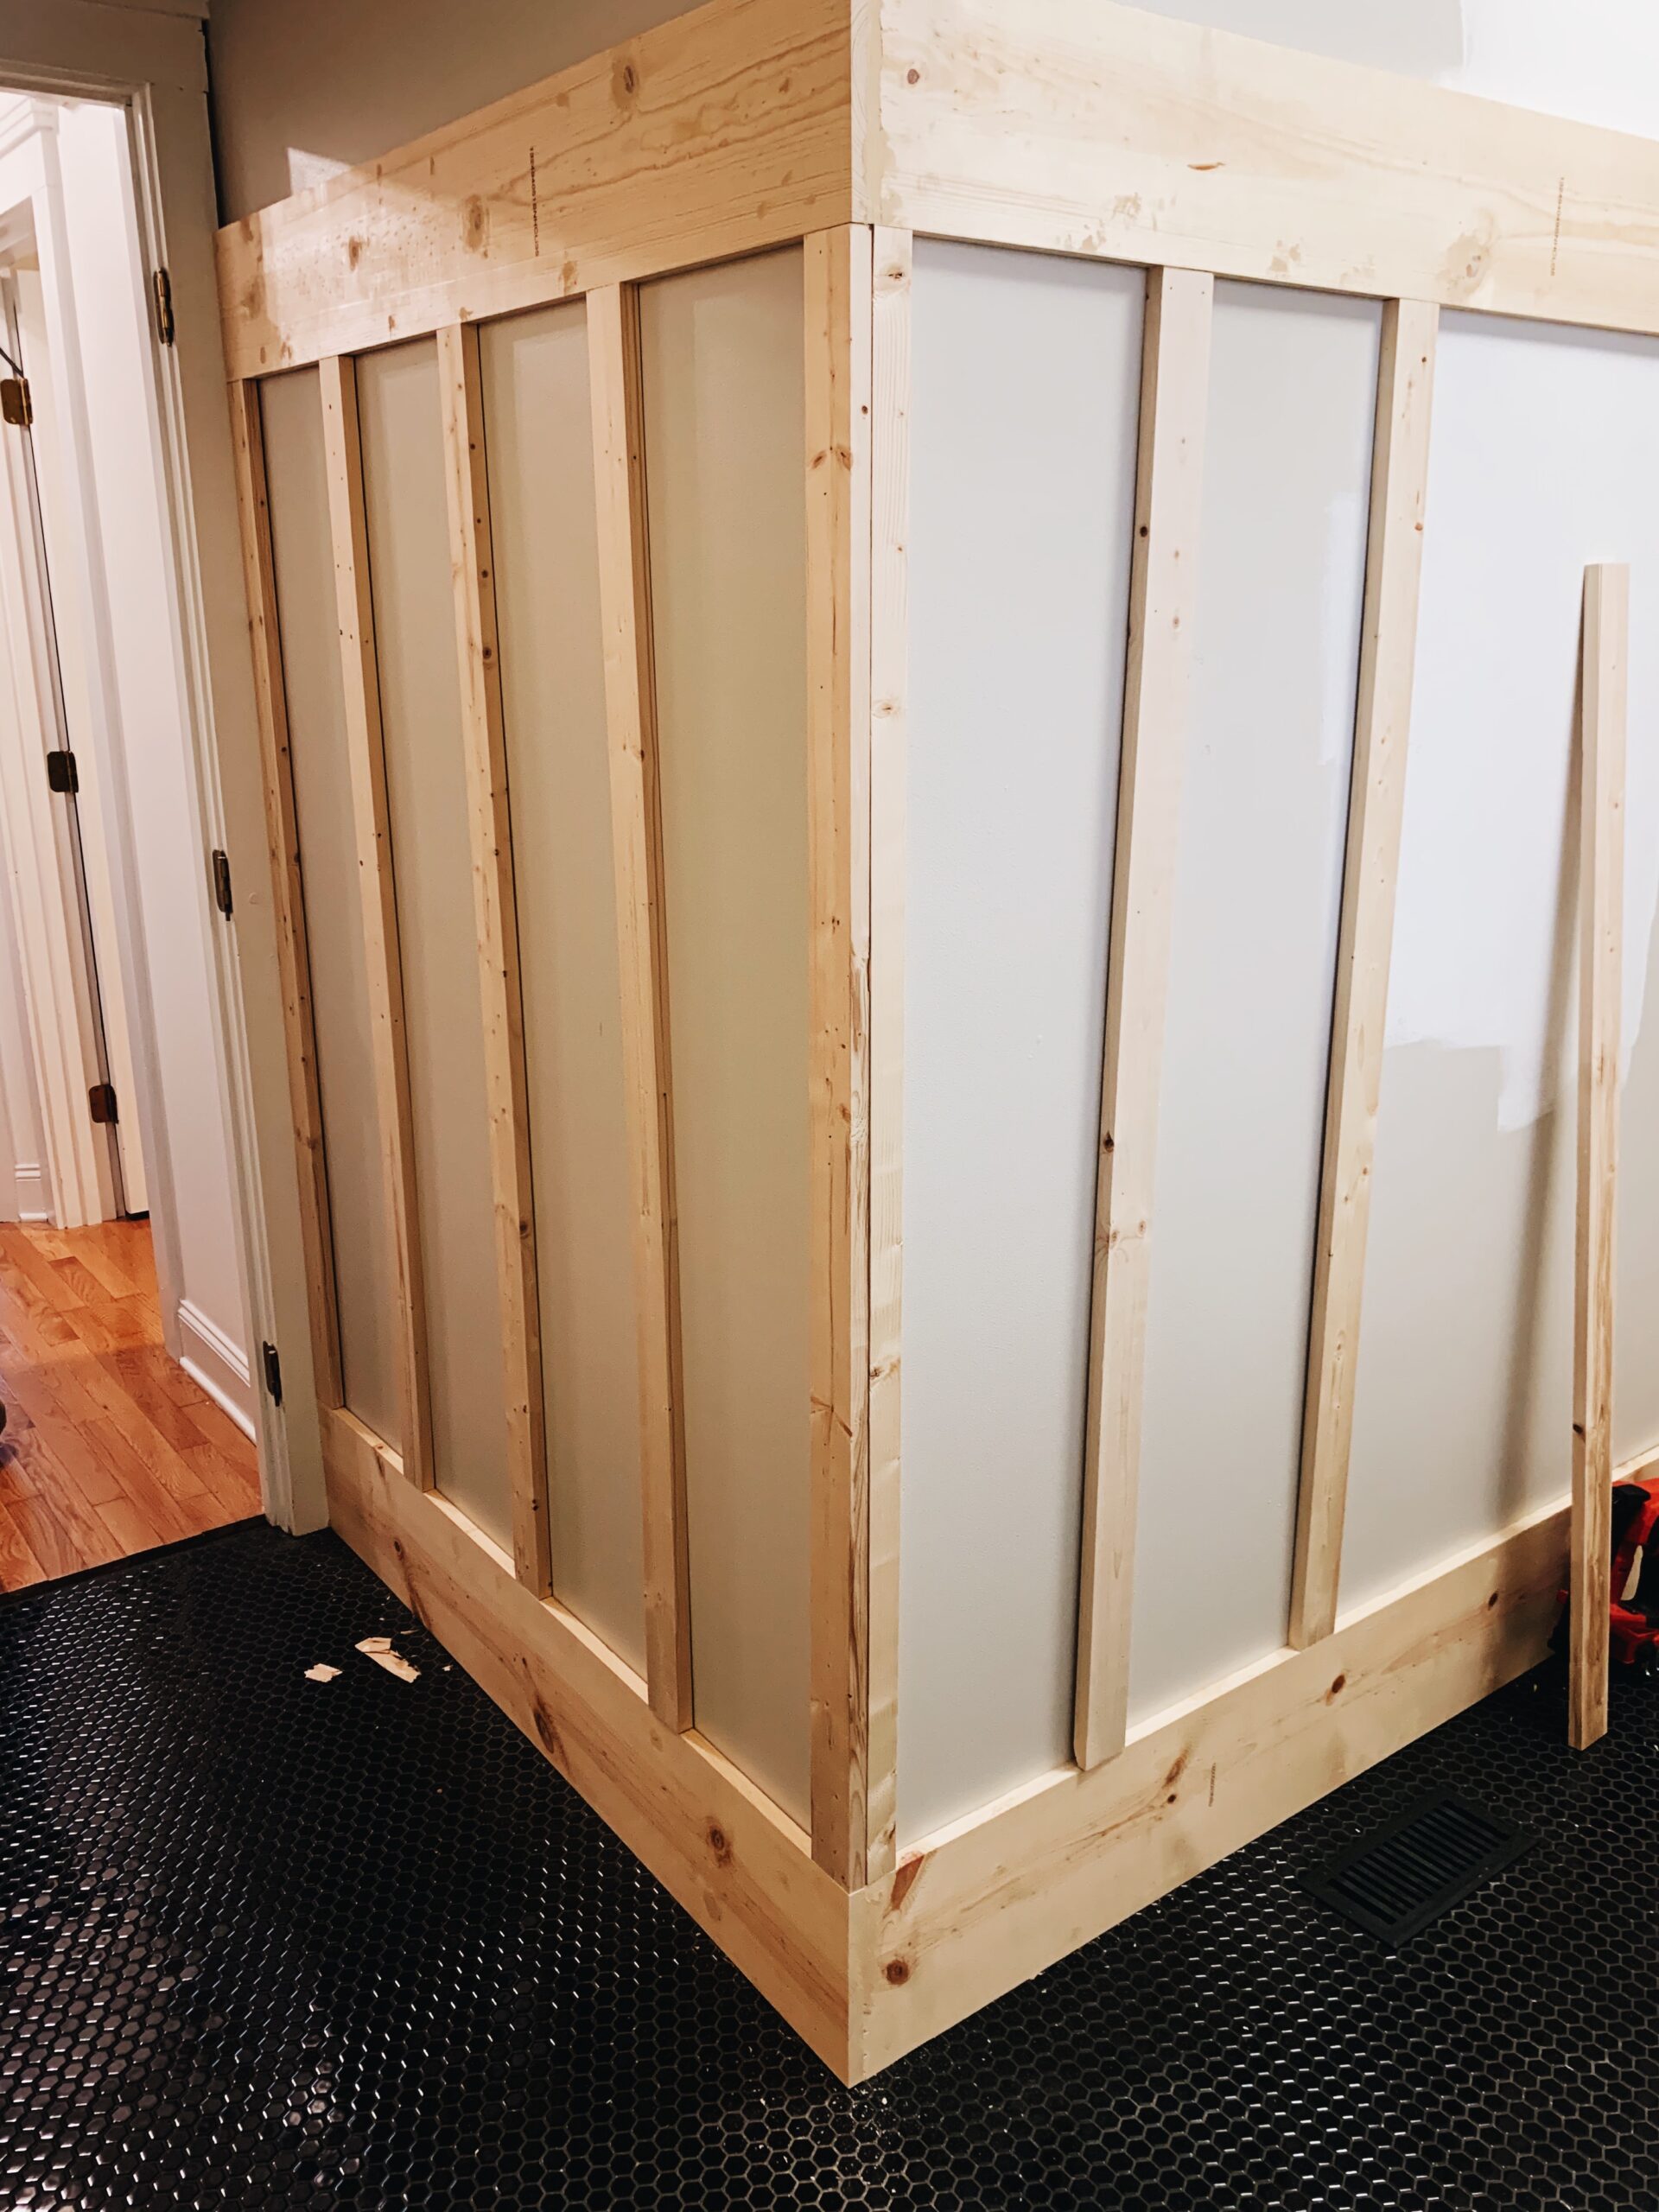
- Applied wall mouldings around the entire room with inset trim details and extra tall chunky new baseboards.
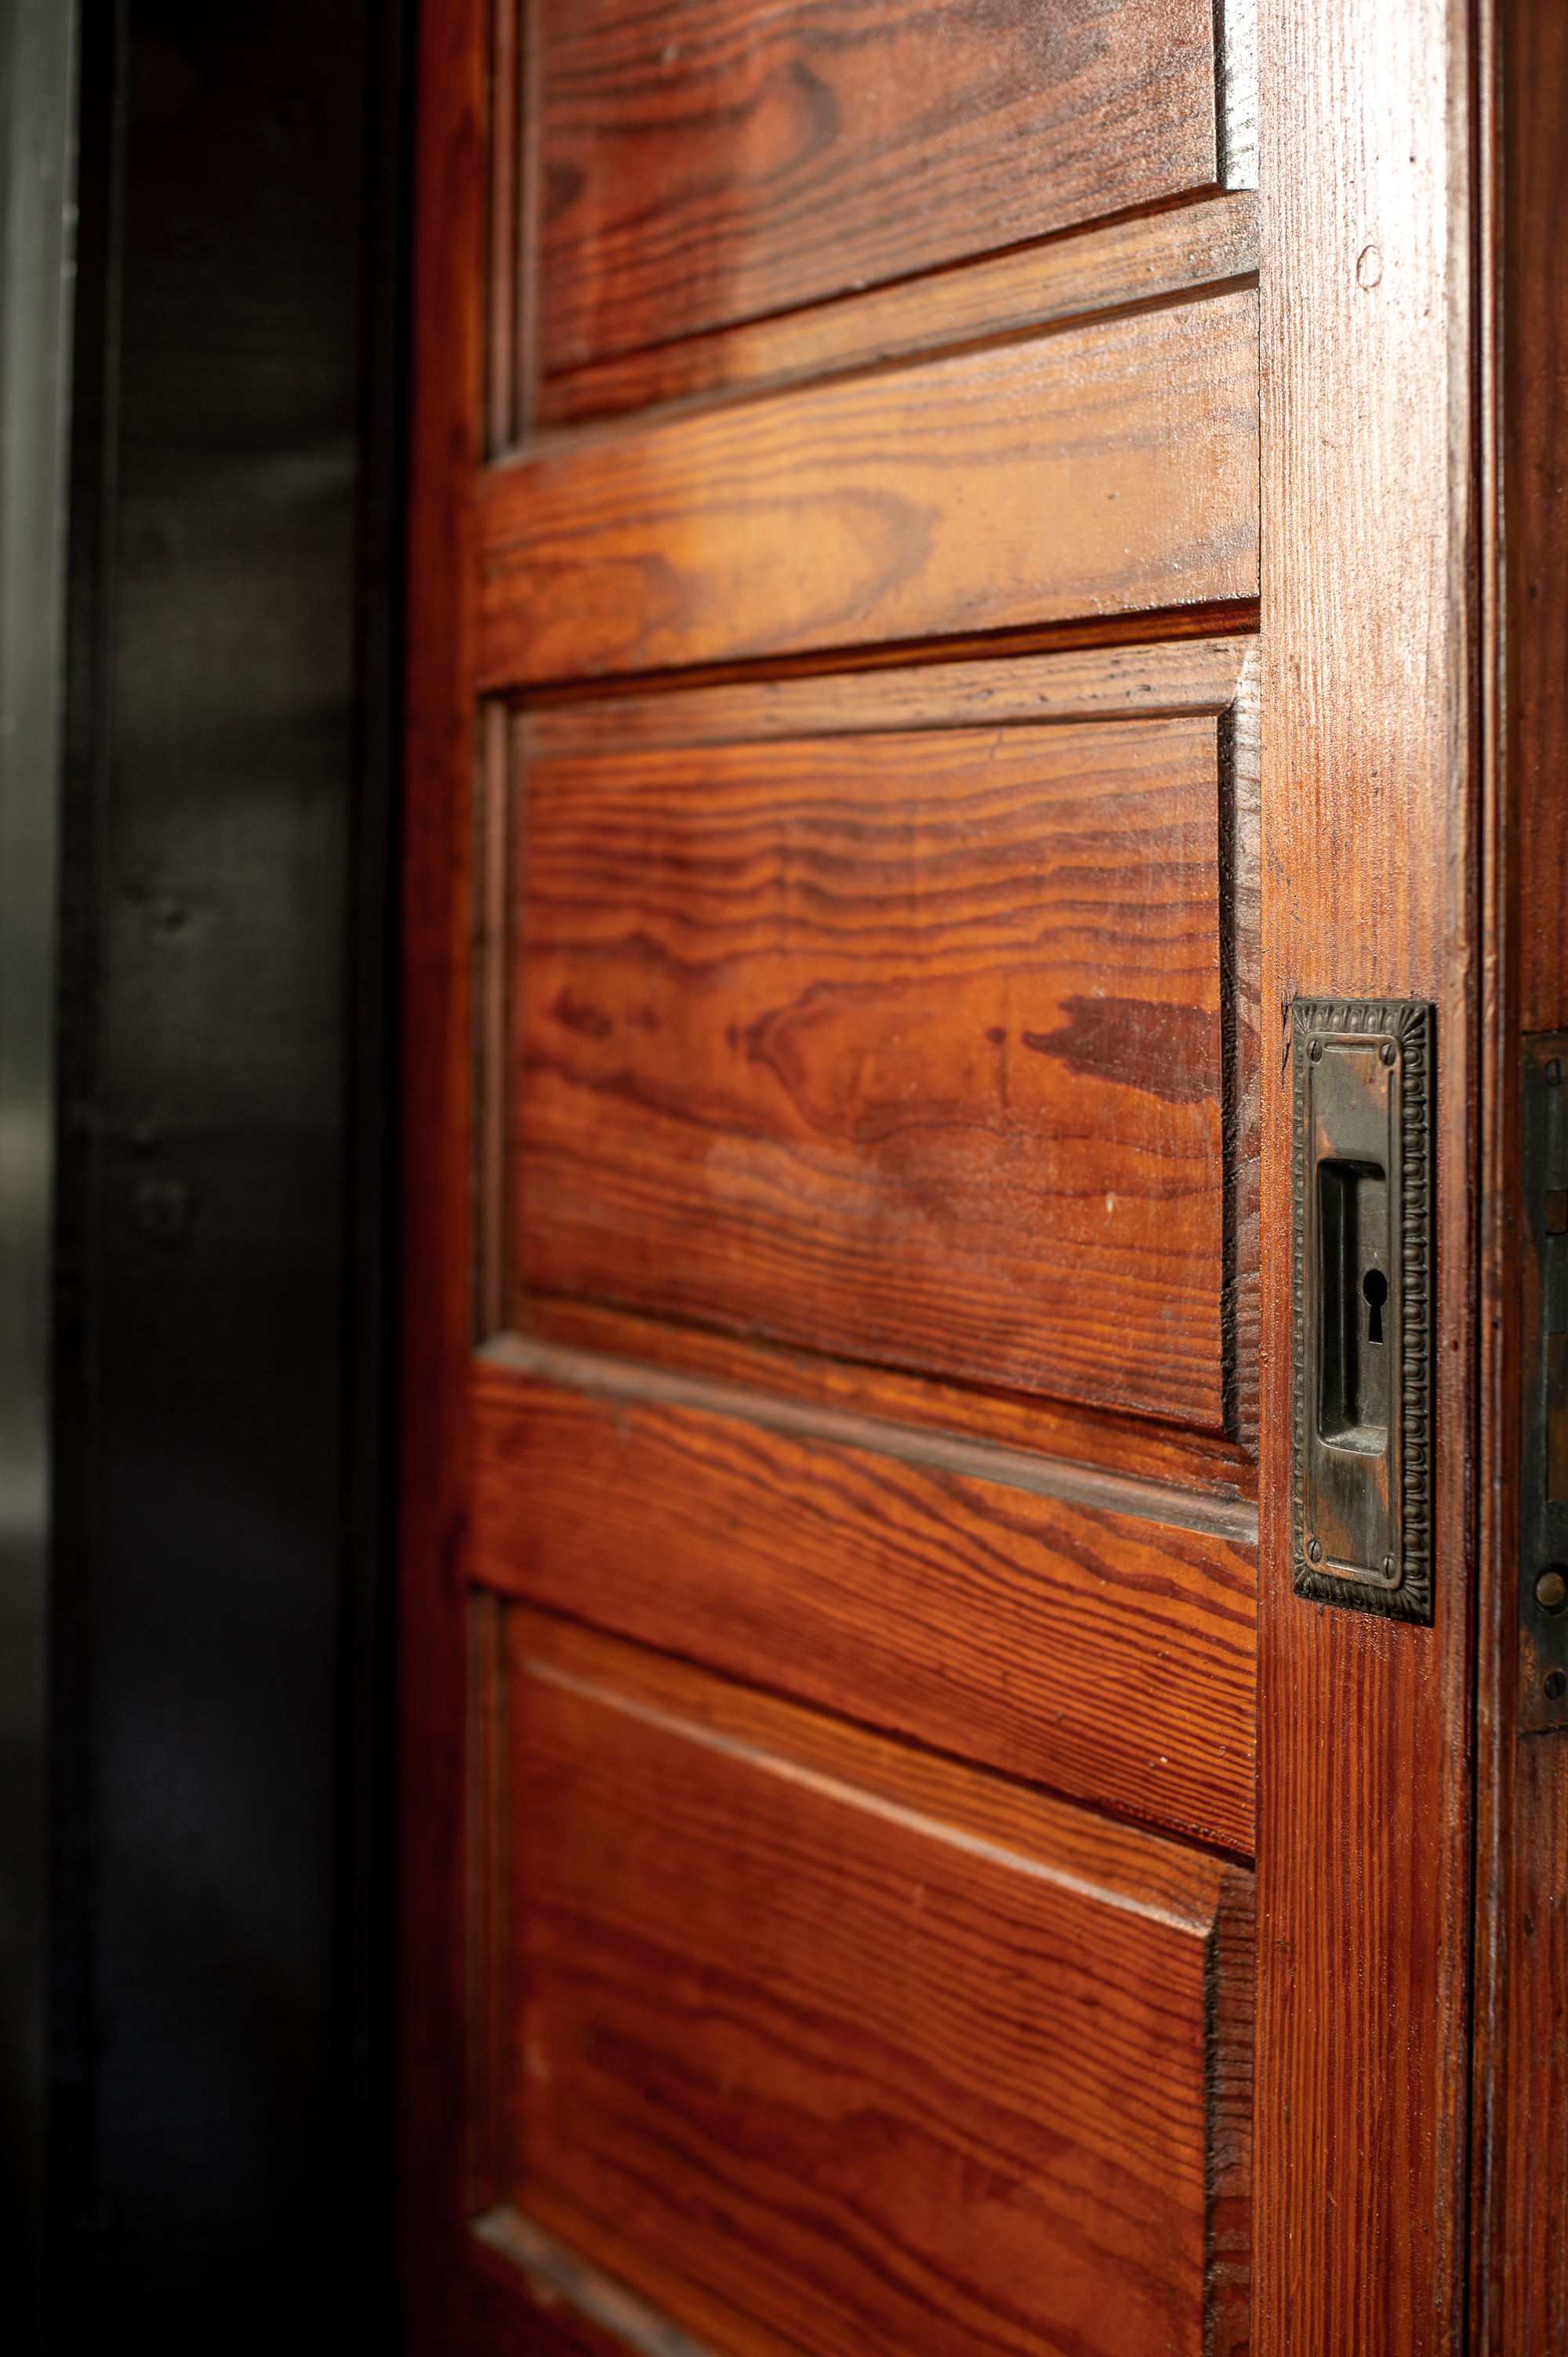
- Replaced the existing bi-fold closet doors with a set of antique pocket doors I found for an incredible deal on Facebook marketplace. ($75 FOR THE PAIR!!! What?)
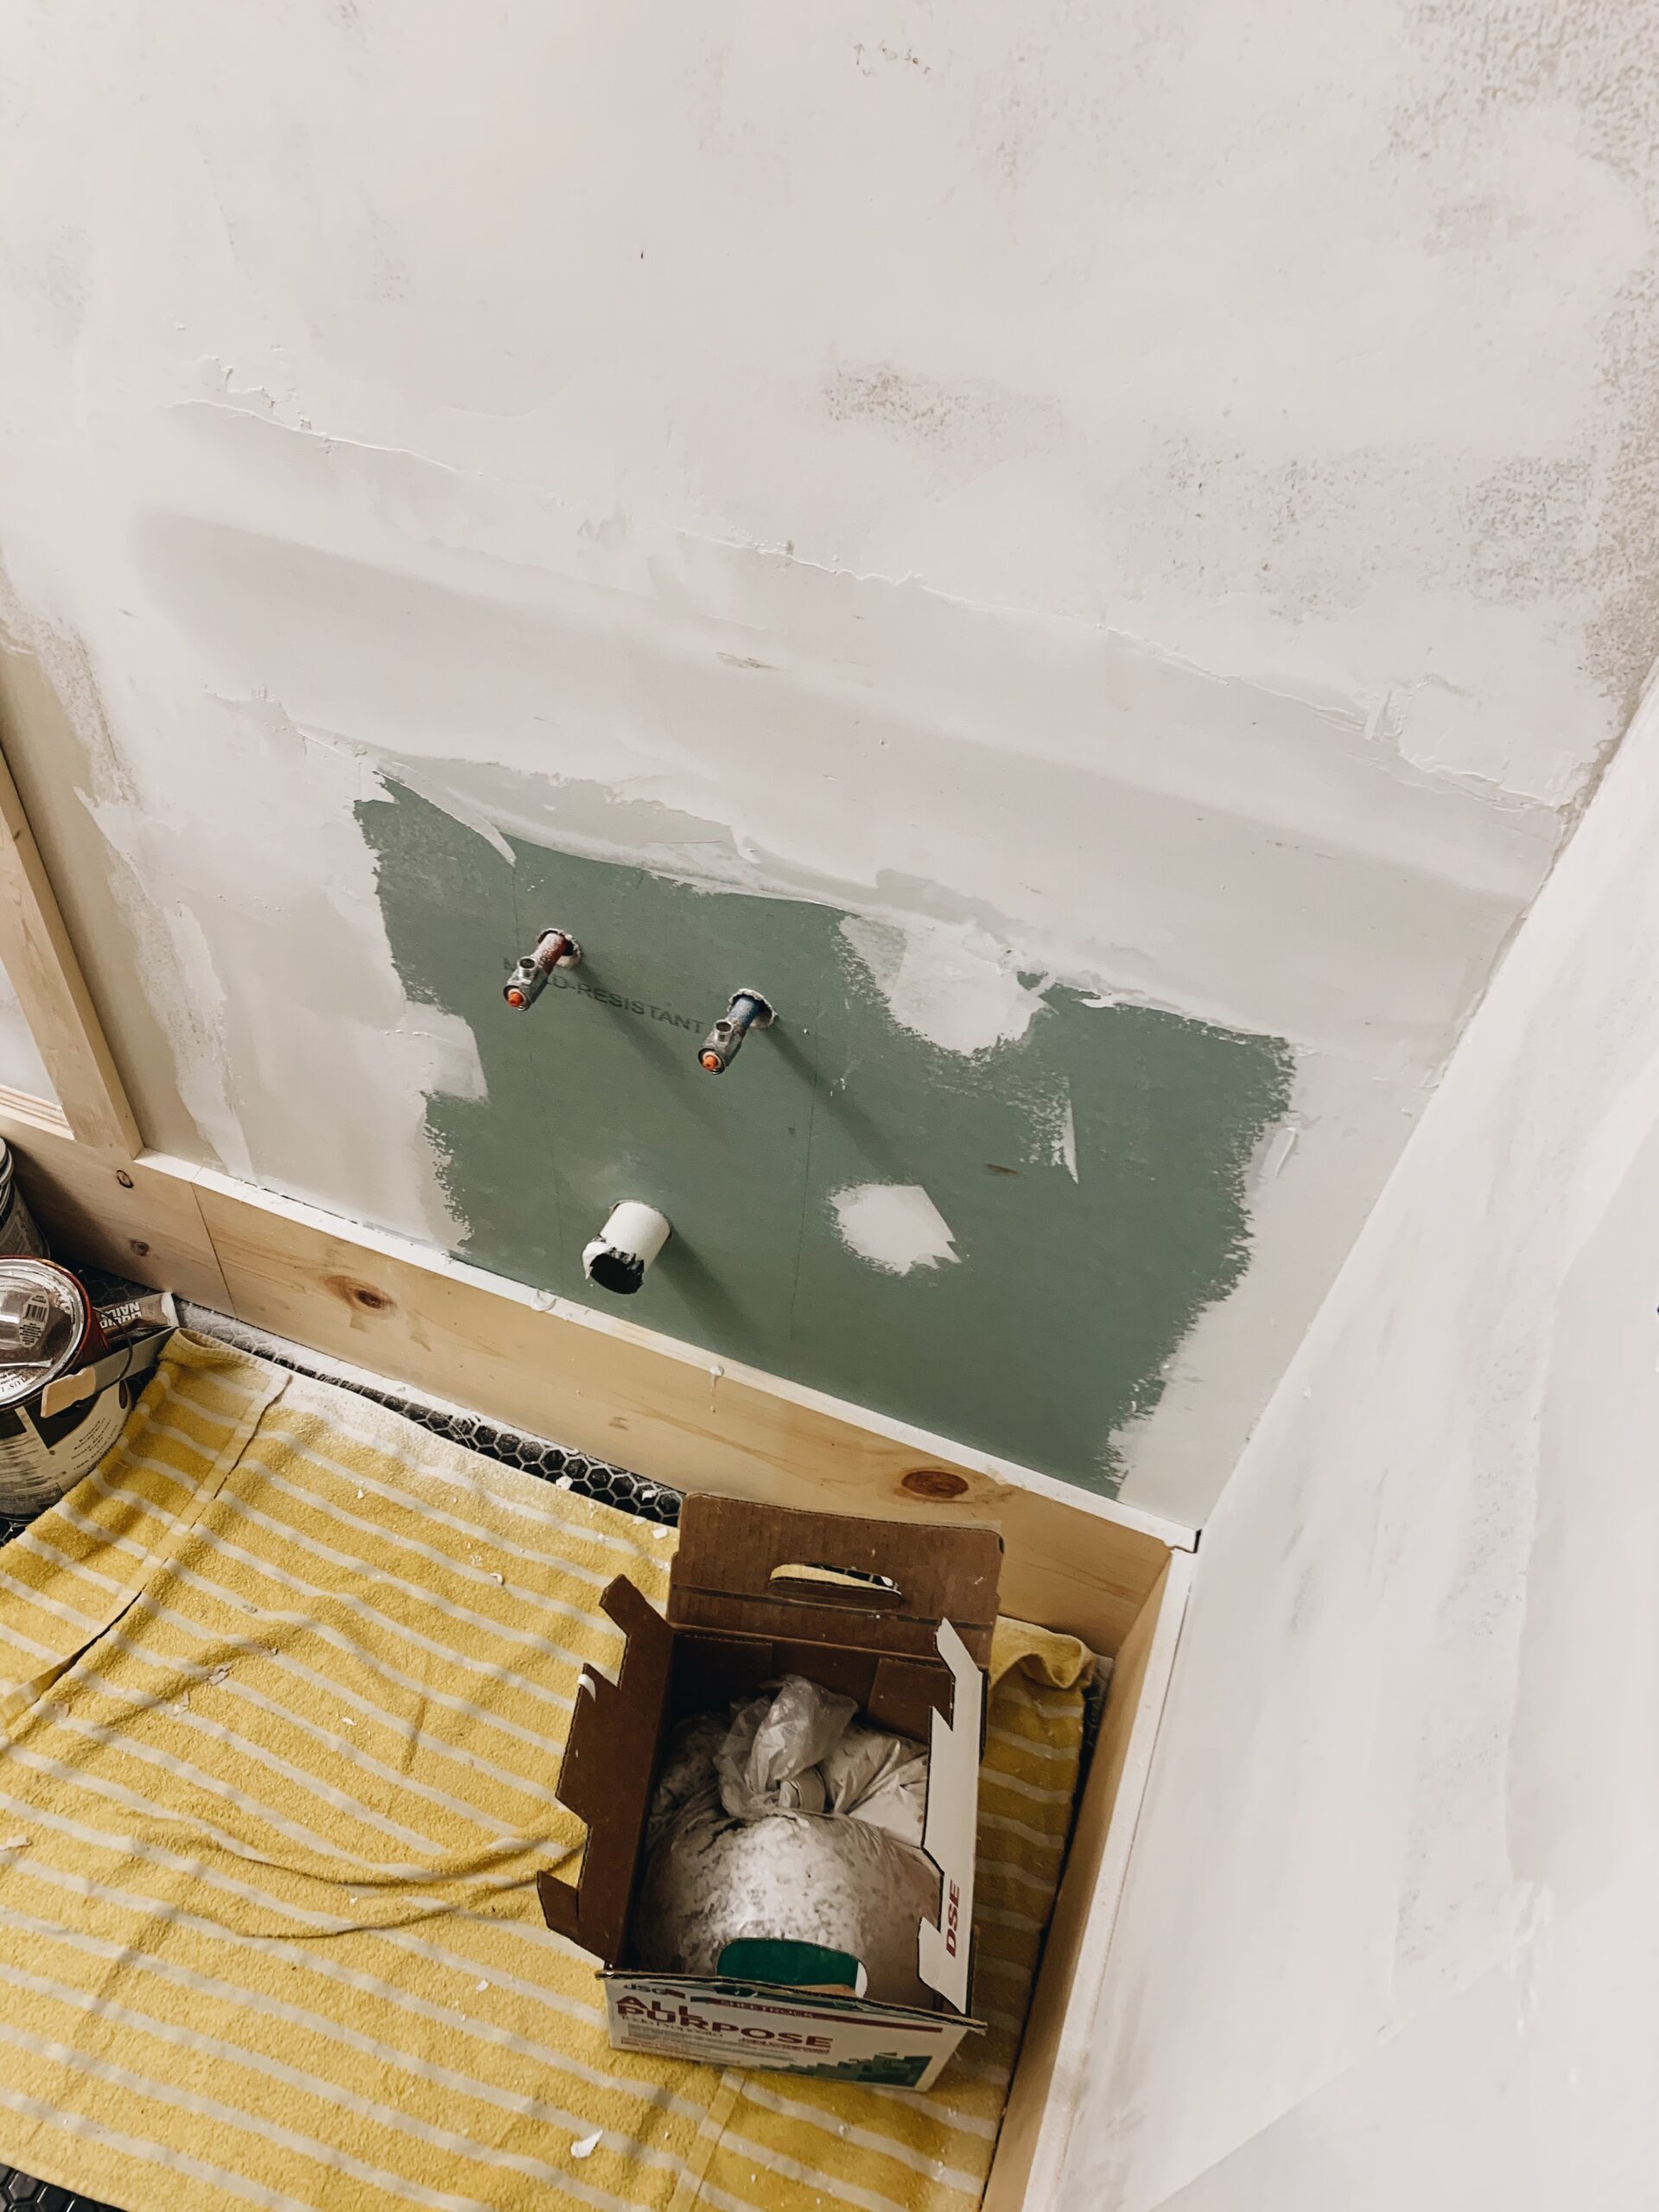
- Hired a plumber to move the existing plumbing for the sink. (We needed to recenter it on the wall where our sink was going and update it to be more appropriate for a console style sink).
- Moved the wiring for the junction box for the vanity light over a bit in order to better center it above where the new sink would be going.
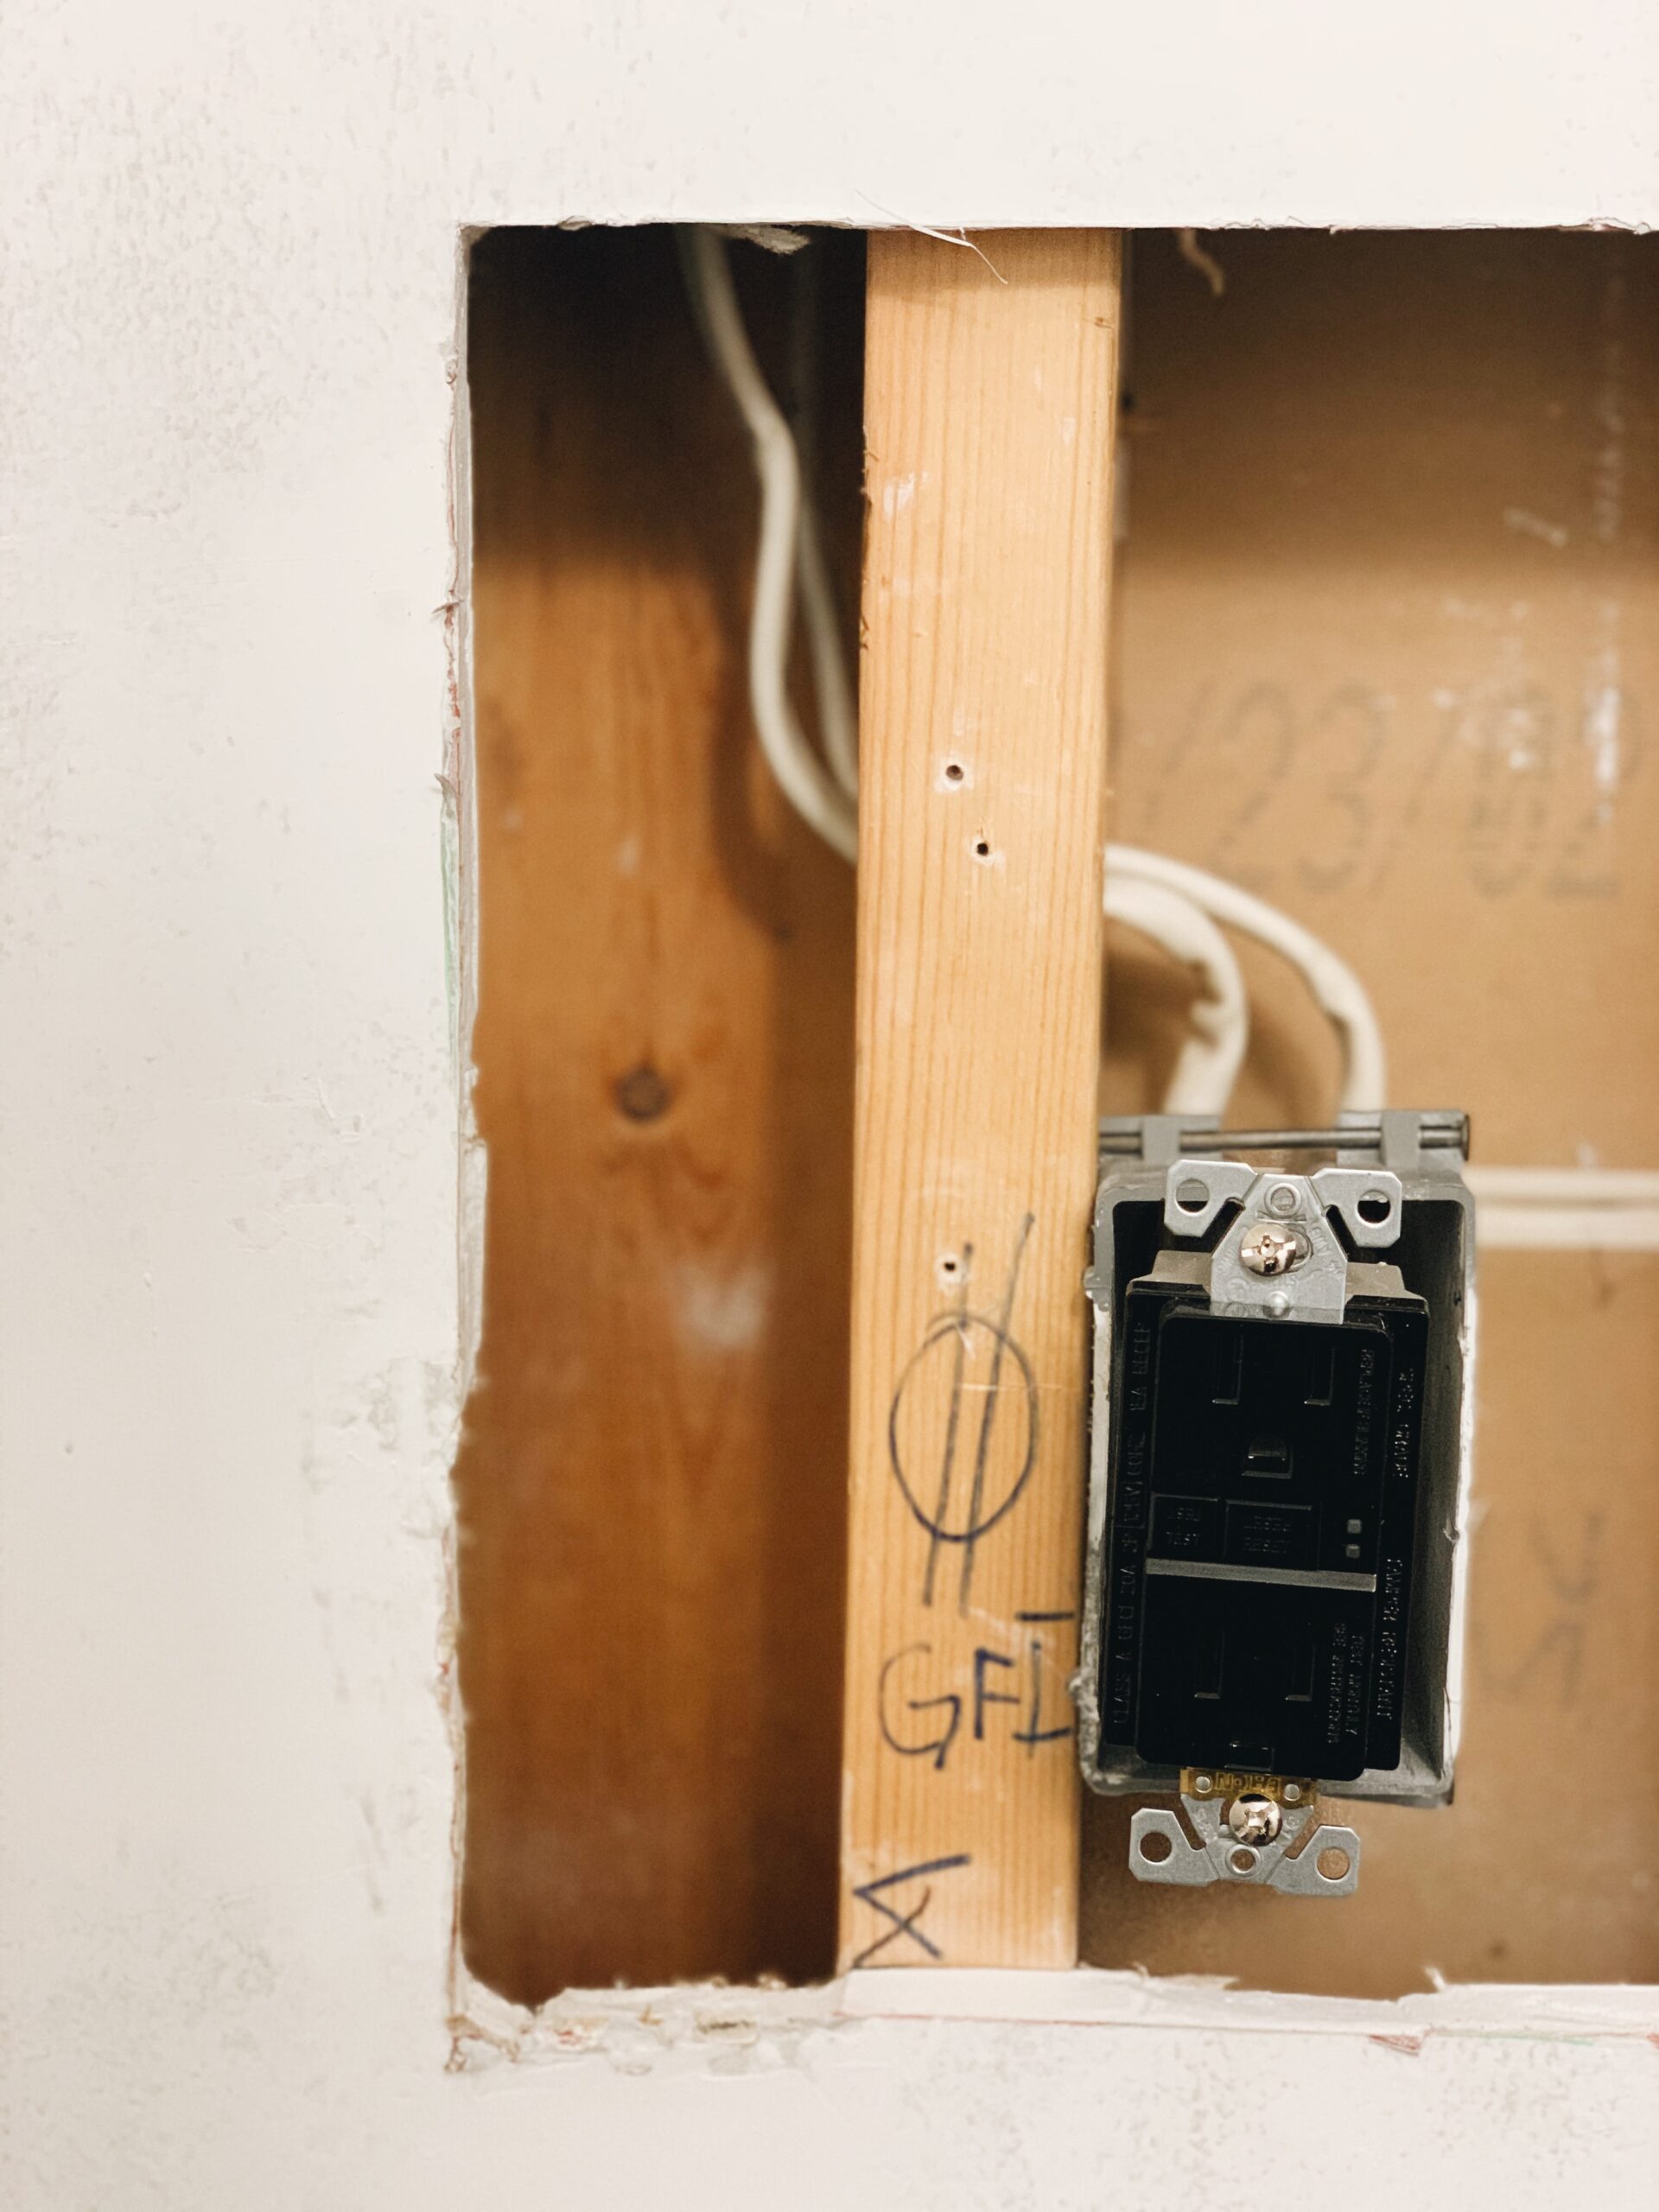
- Moved the wiring for the plug next to the sink over a tad so it wouldn’t run into our trim work.
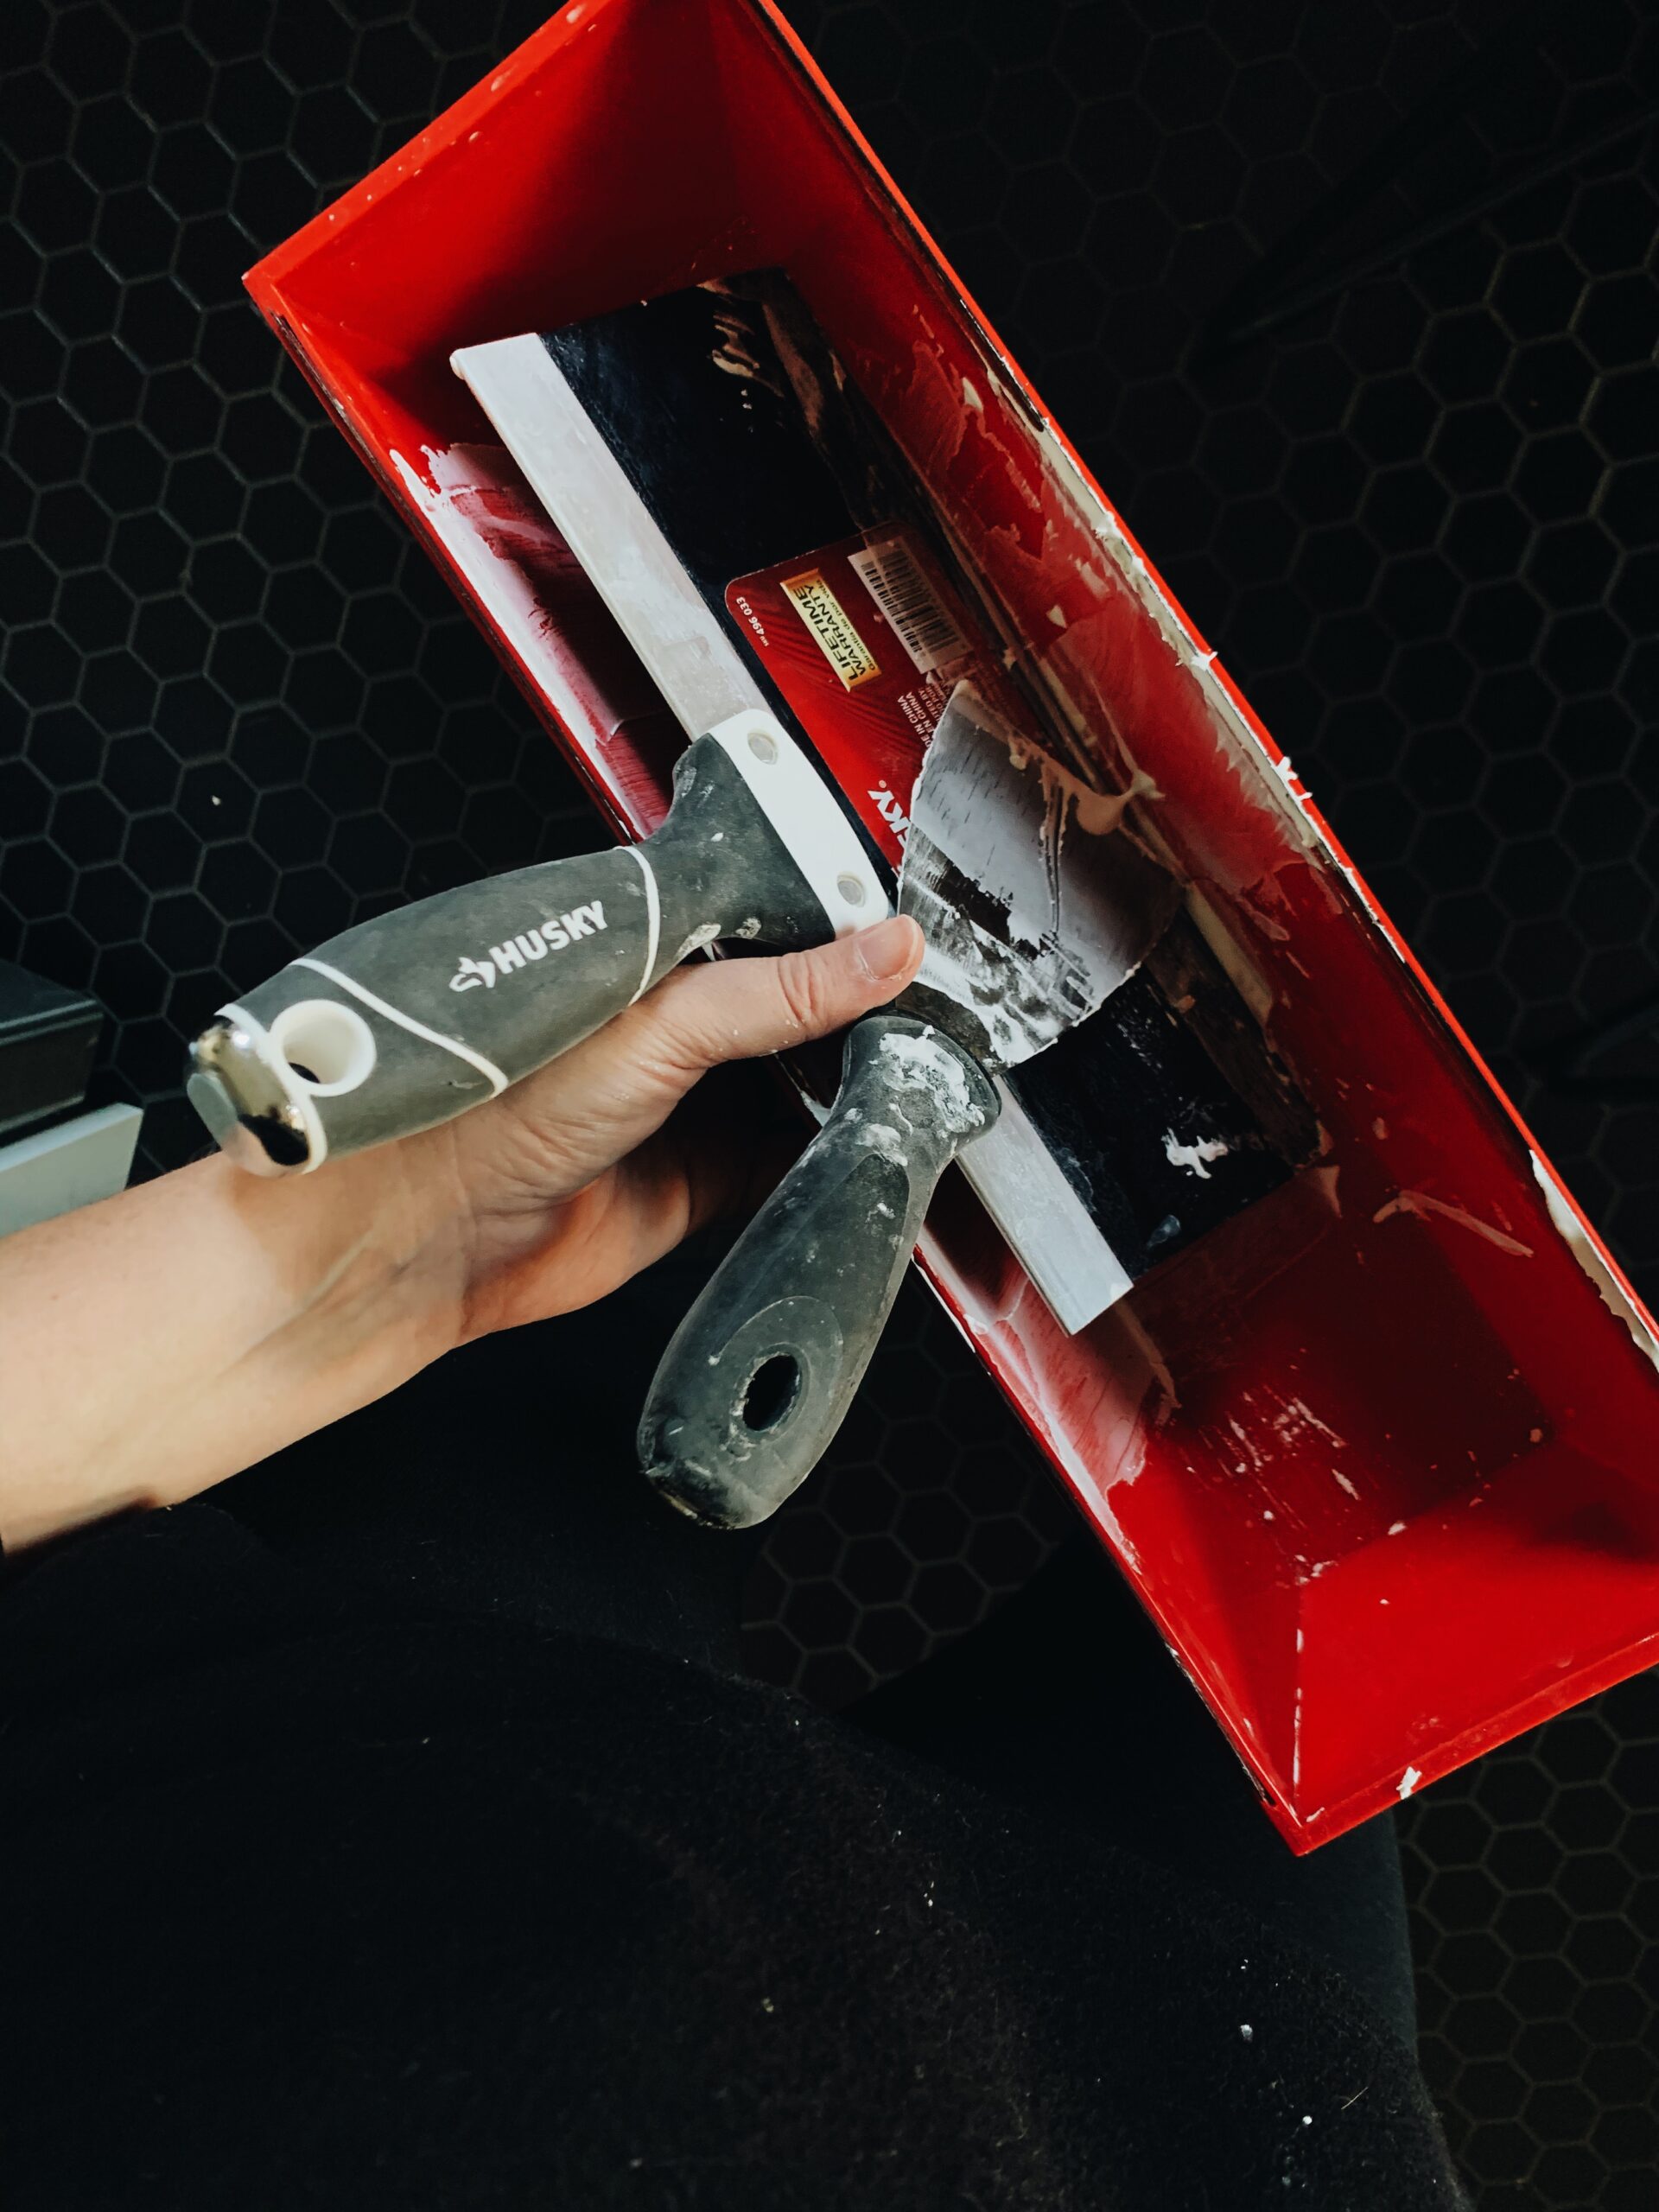
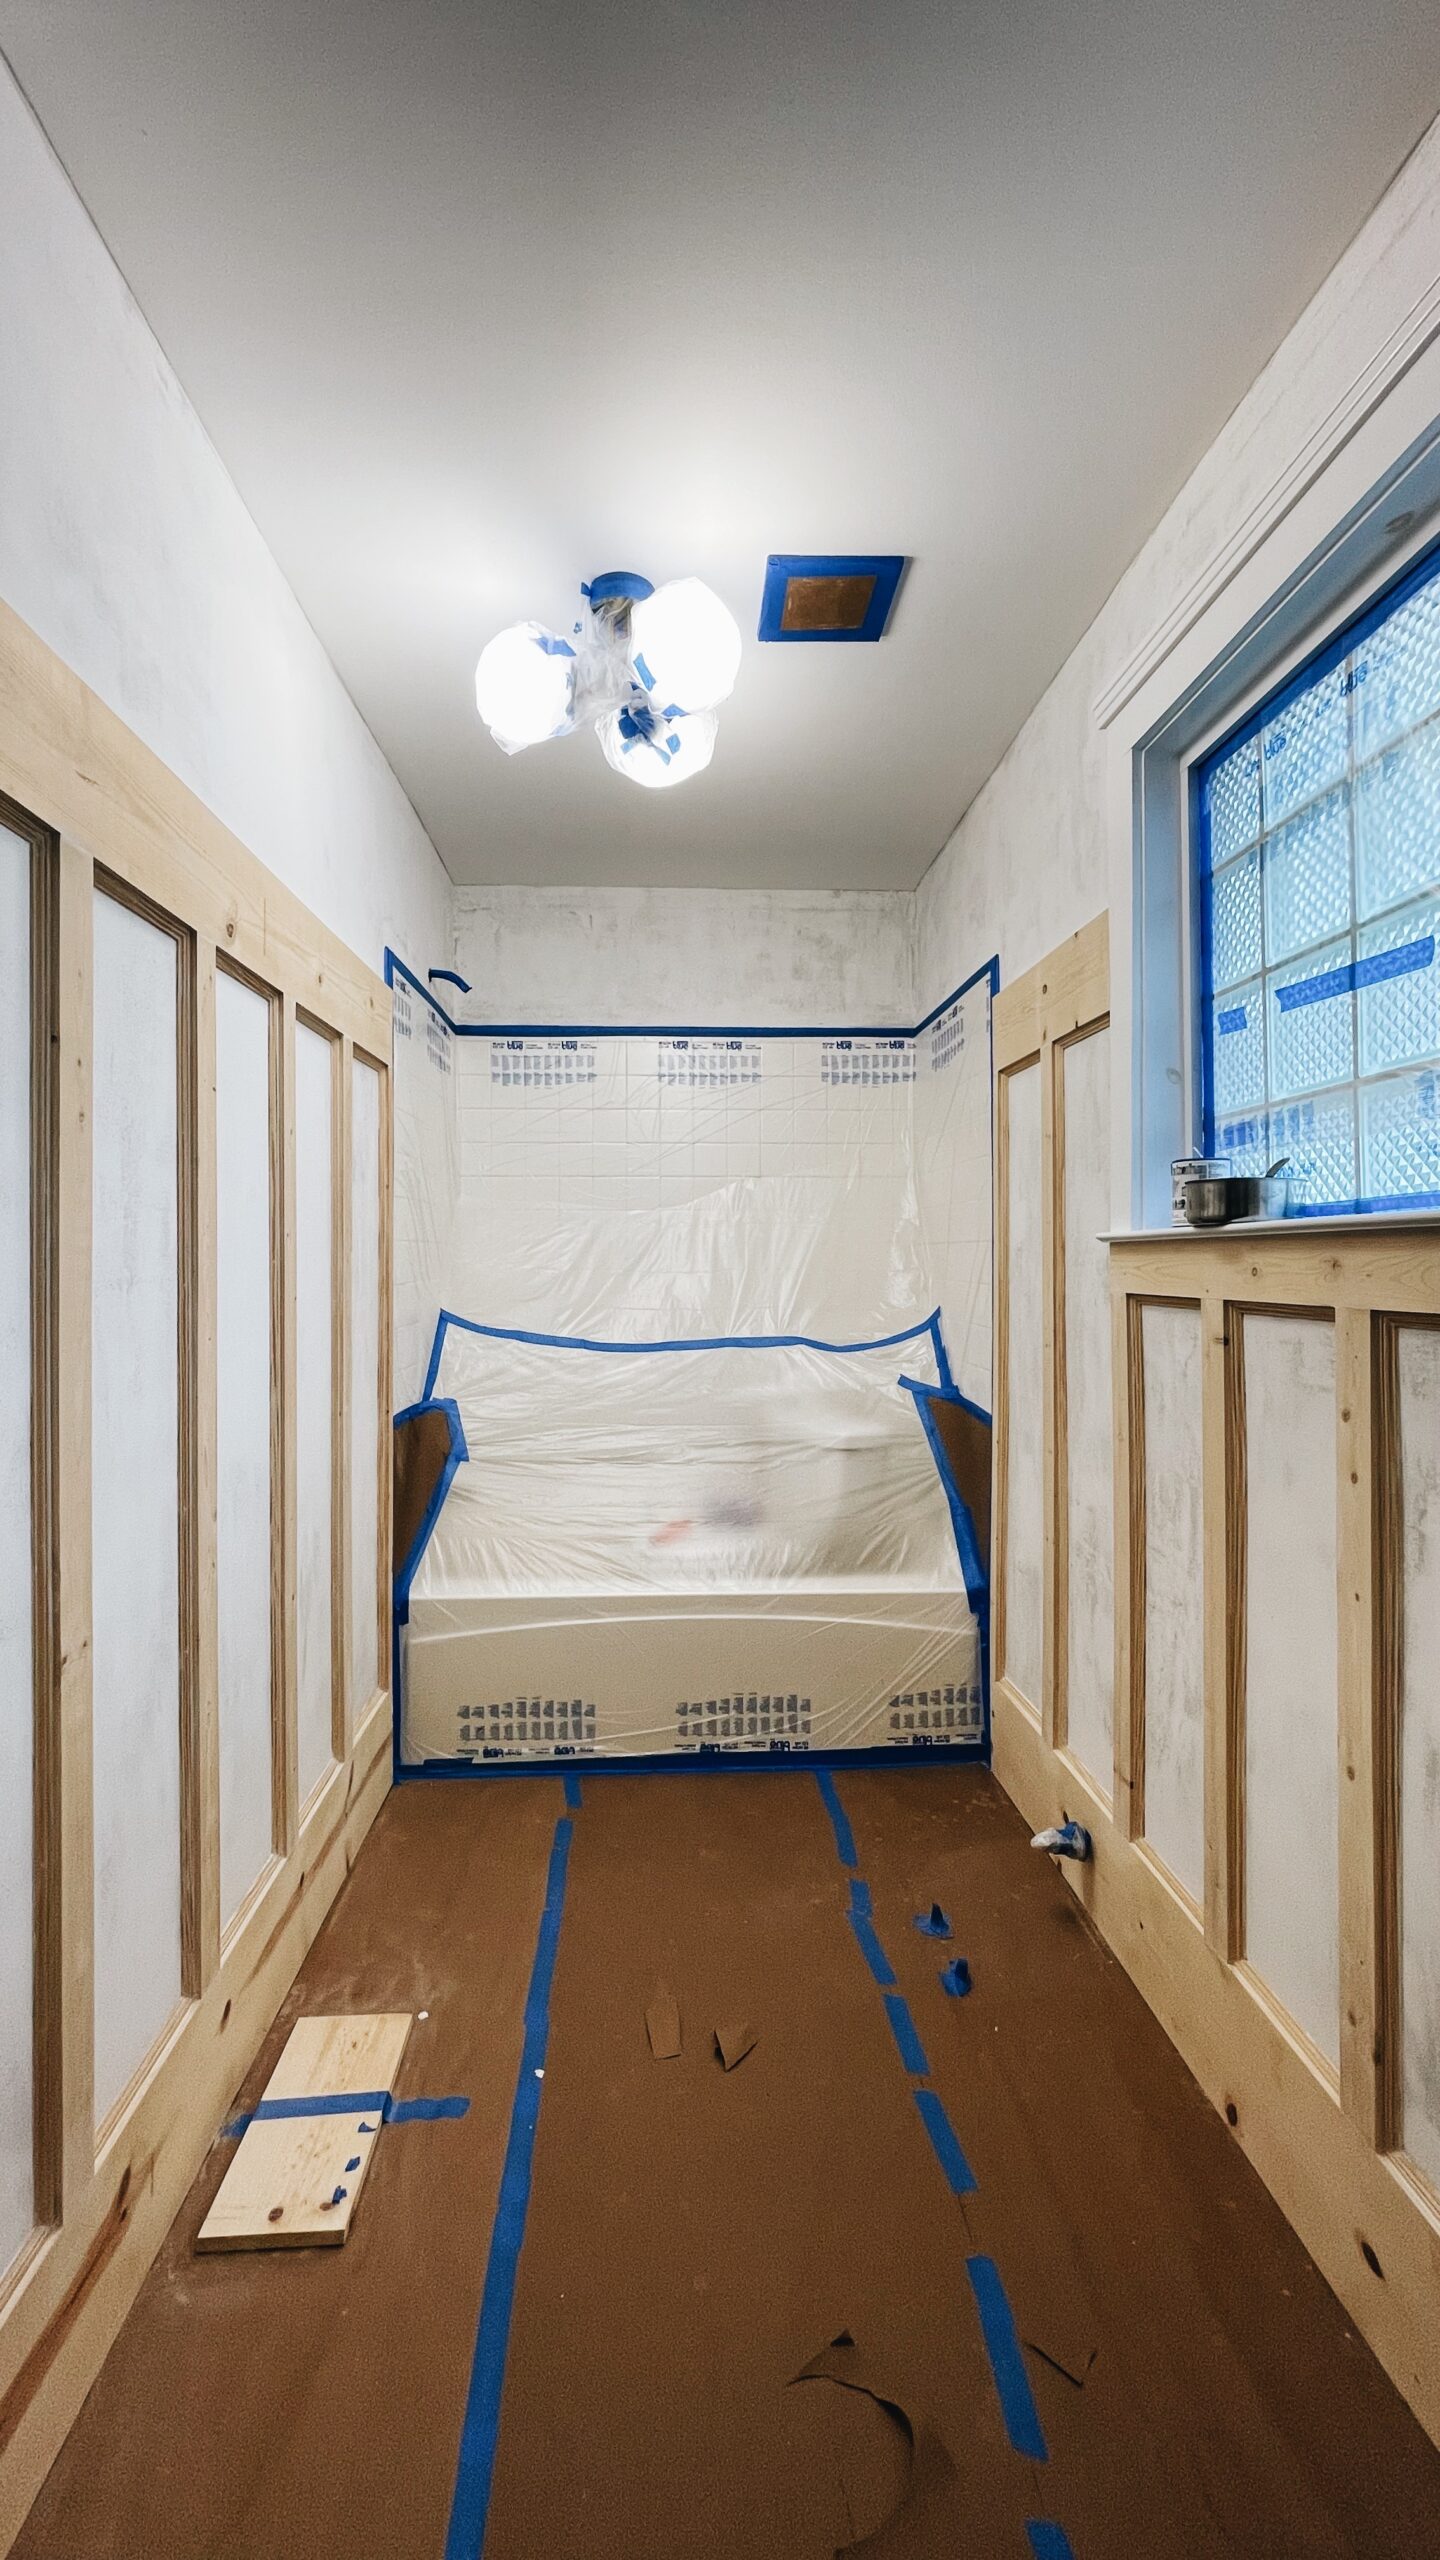
- Skim coated all the walls to knock down the existing wall texture a bit and smooth them out.
- Sanded all the walls for approximately one million years until desired texture was achieved.
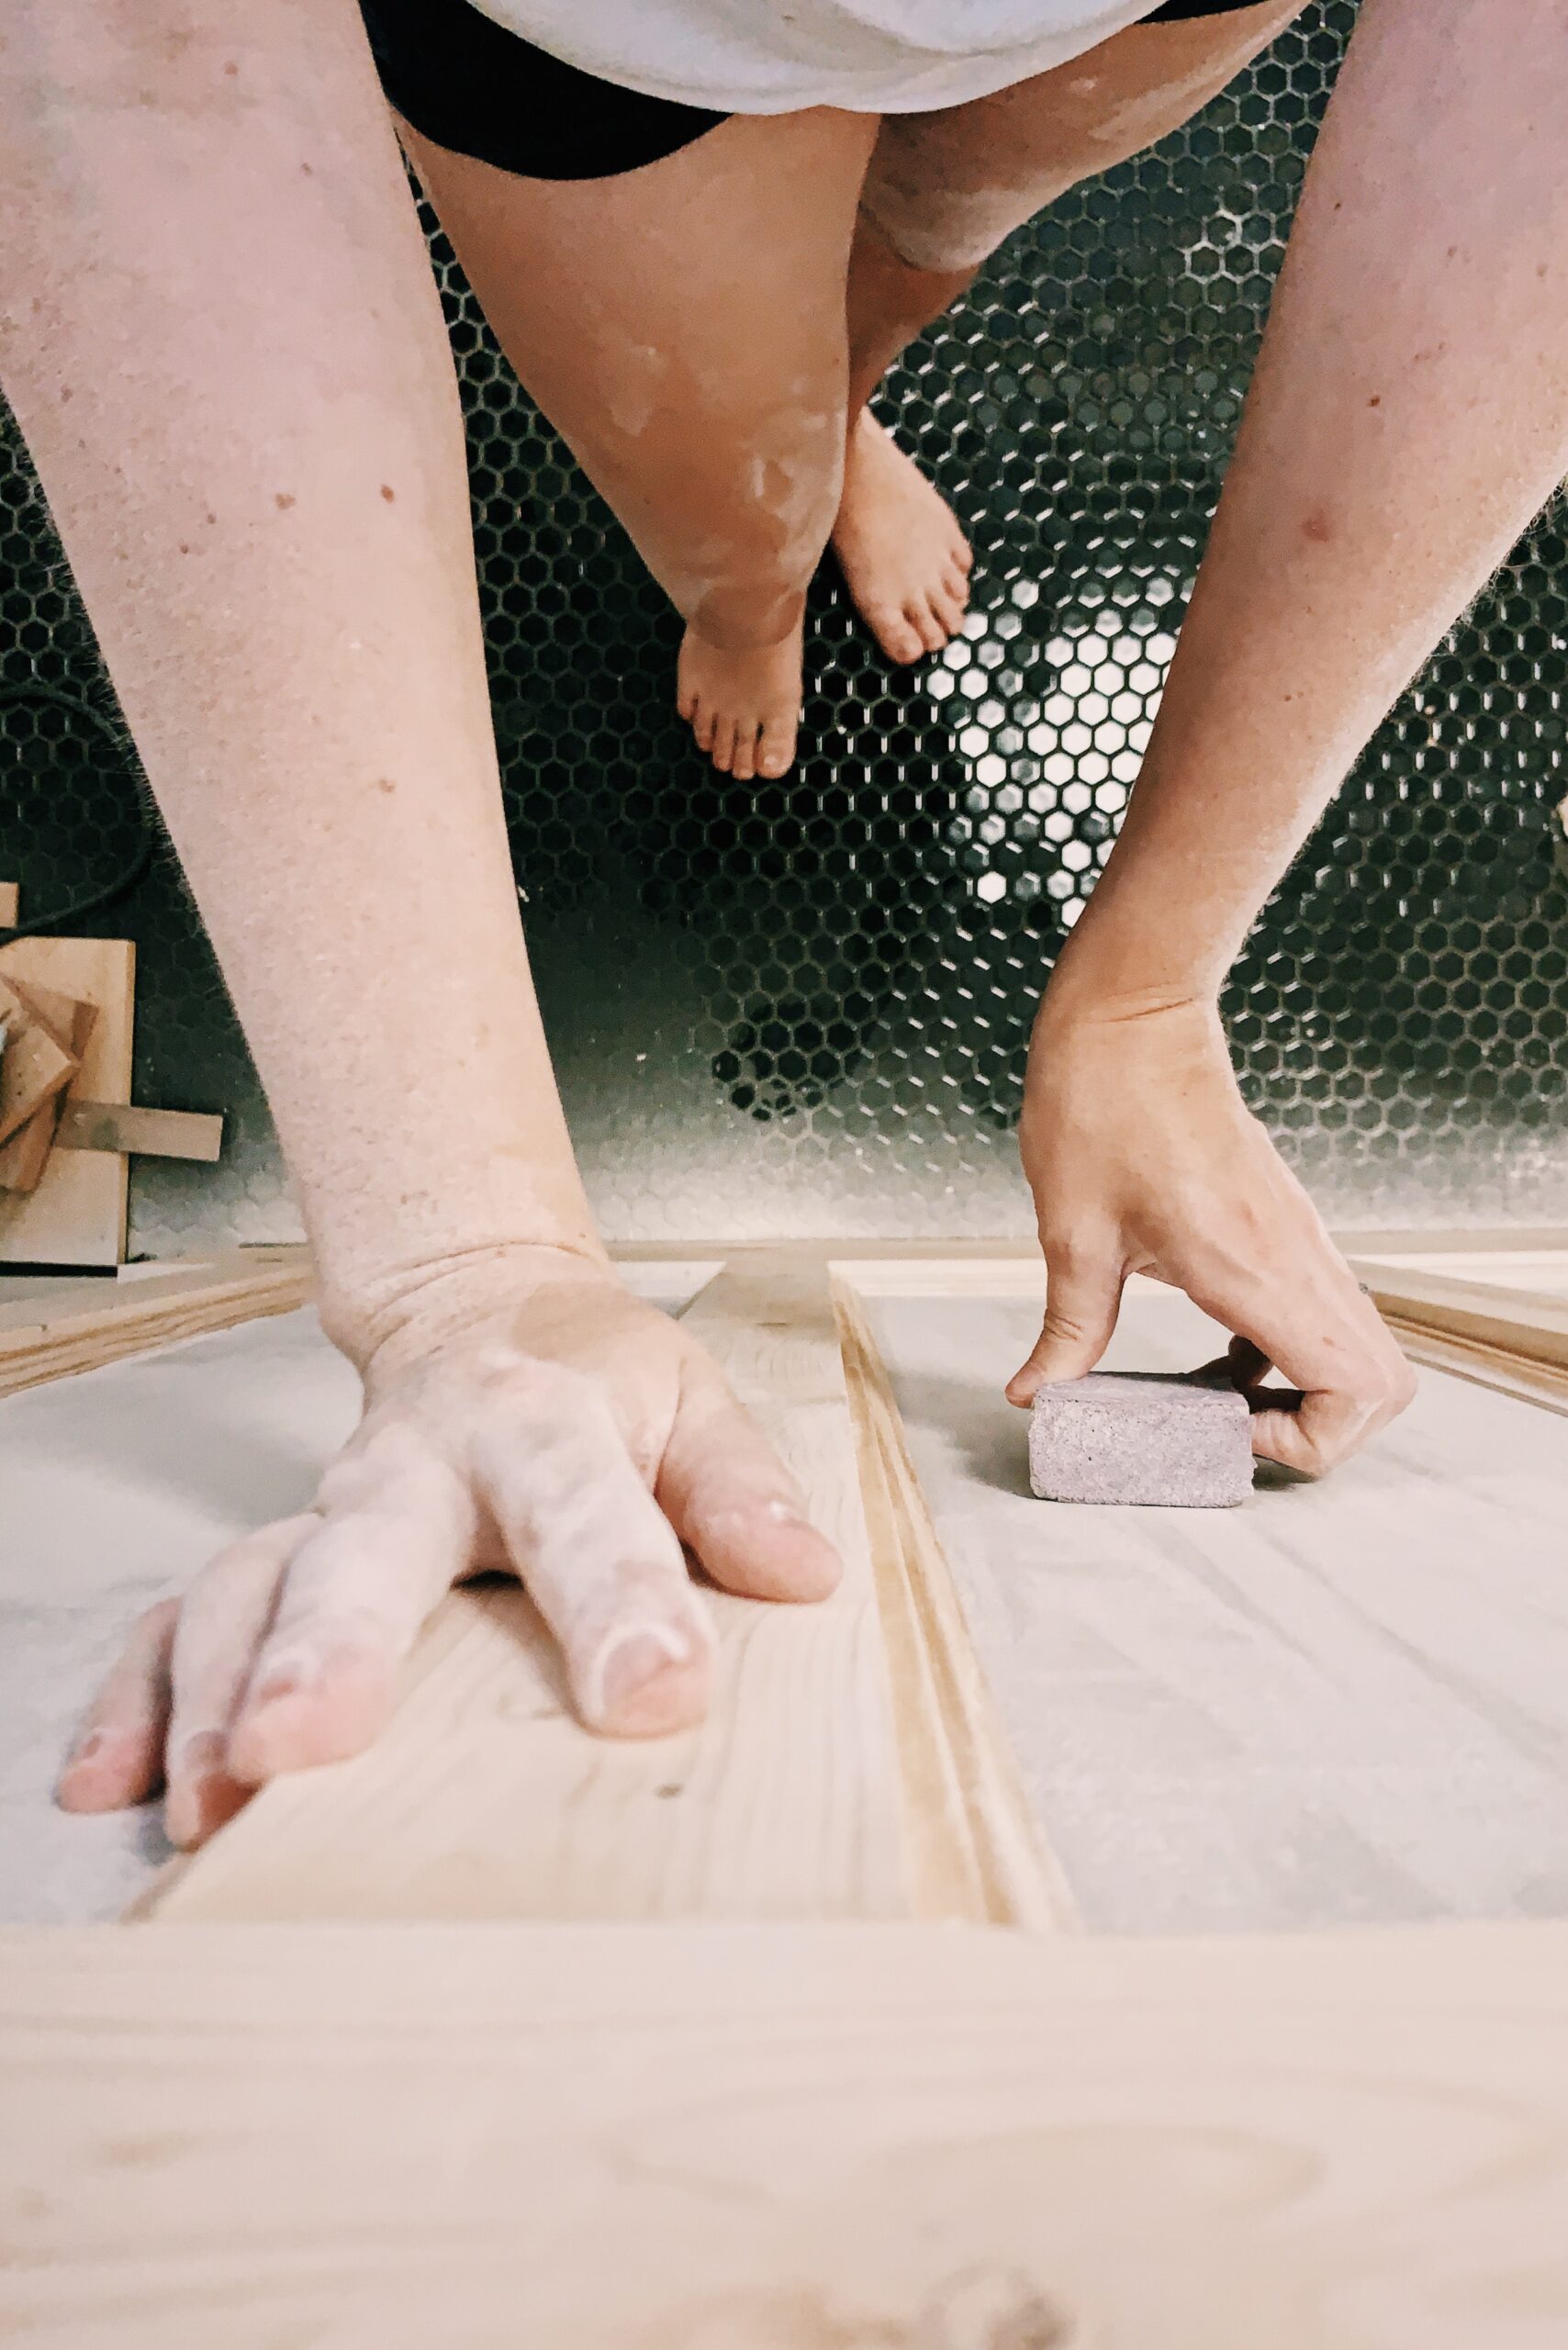
- Wood filled, caulked and sanded all trim work in preparation for paint.
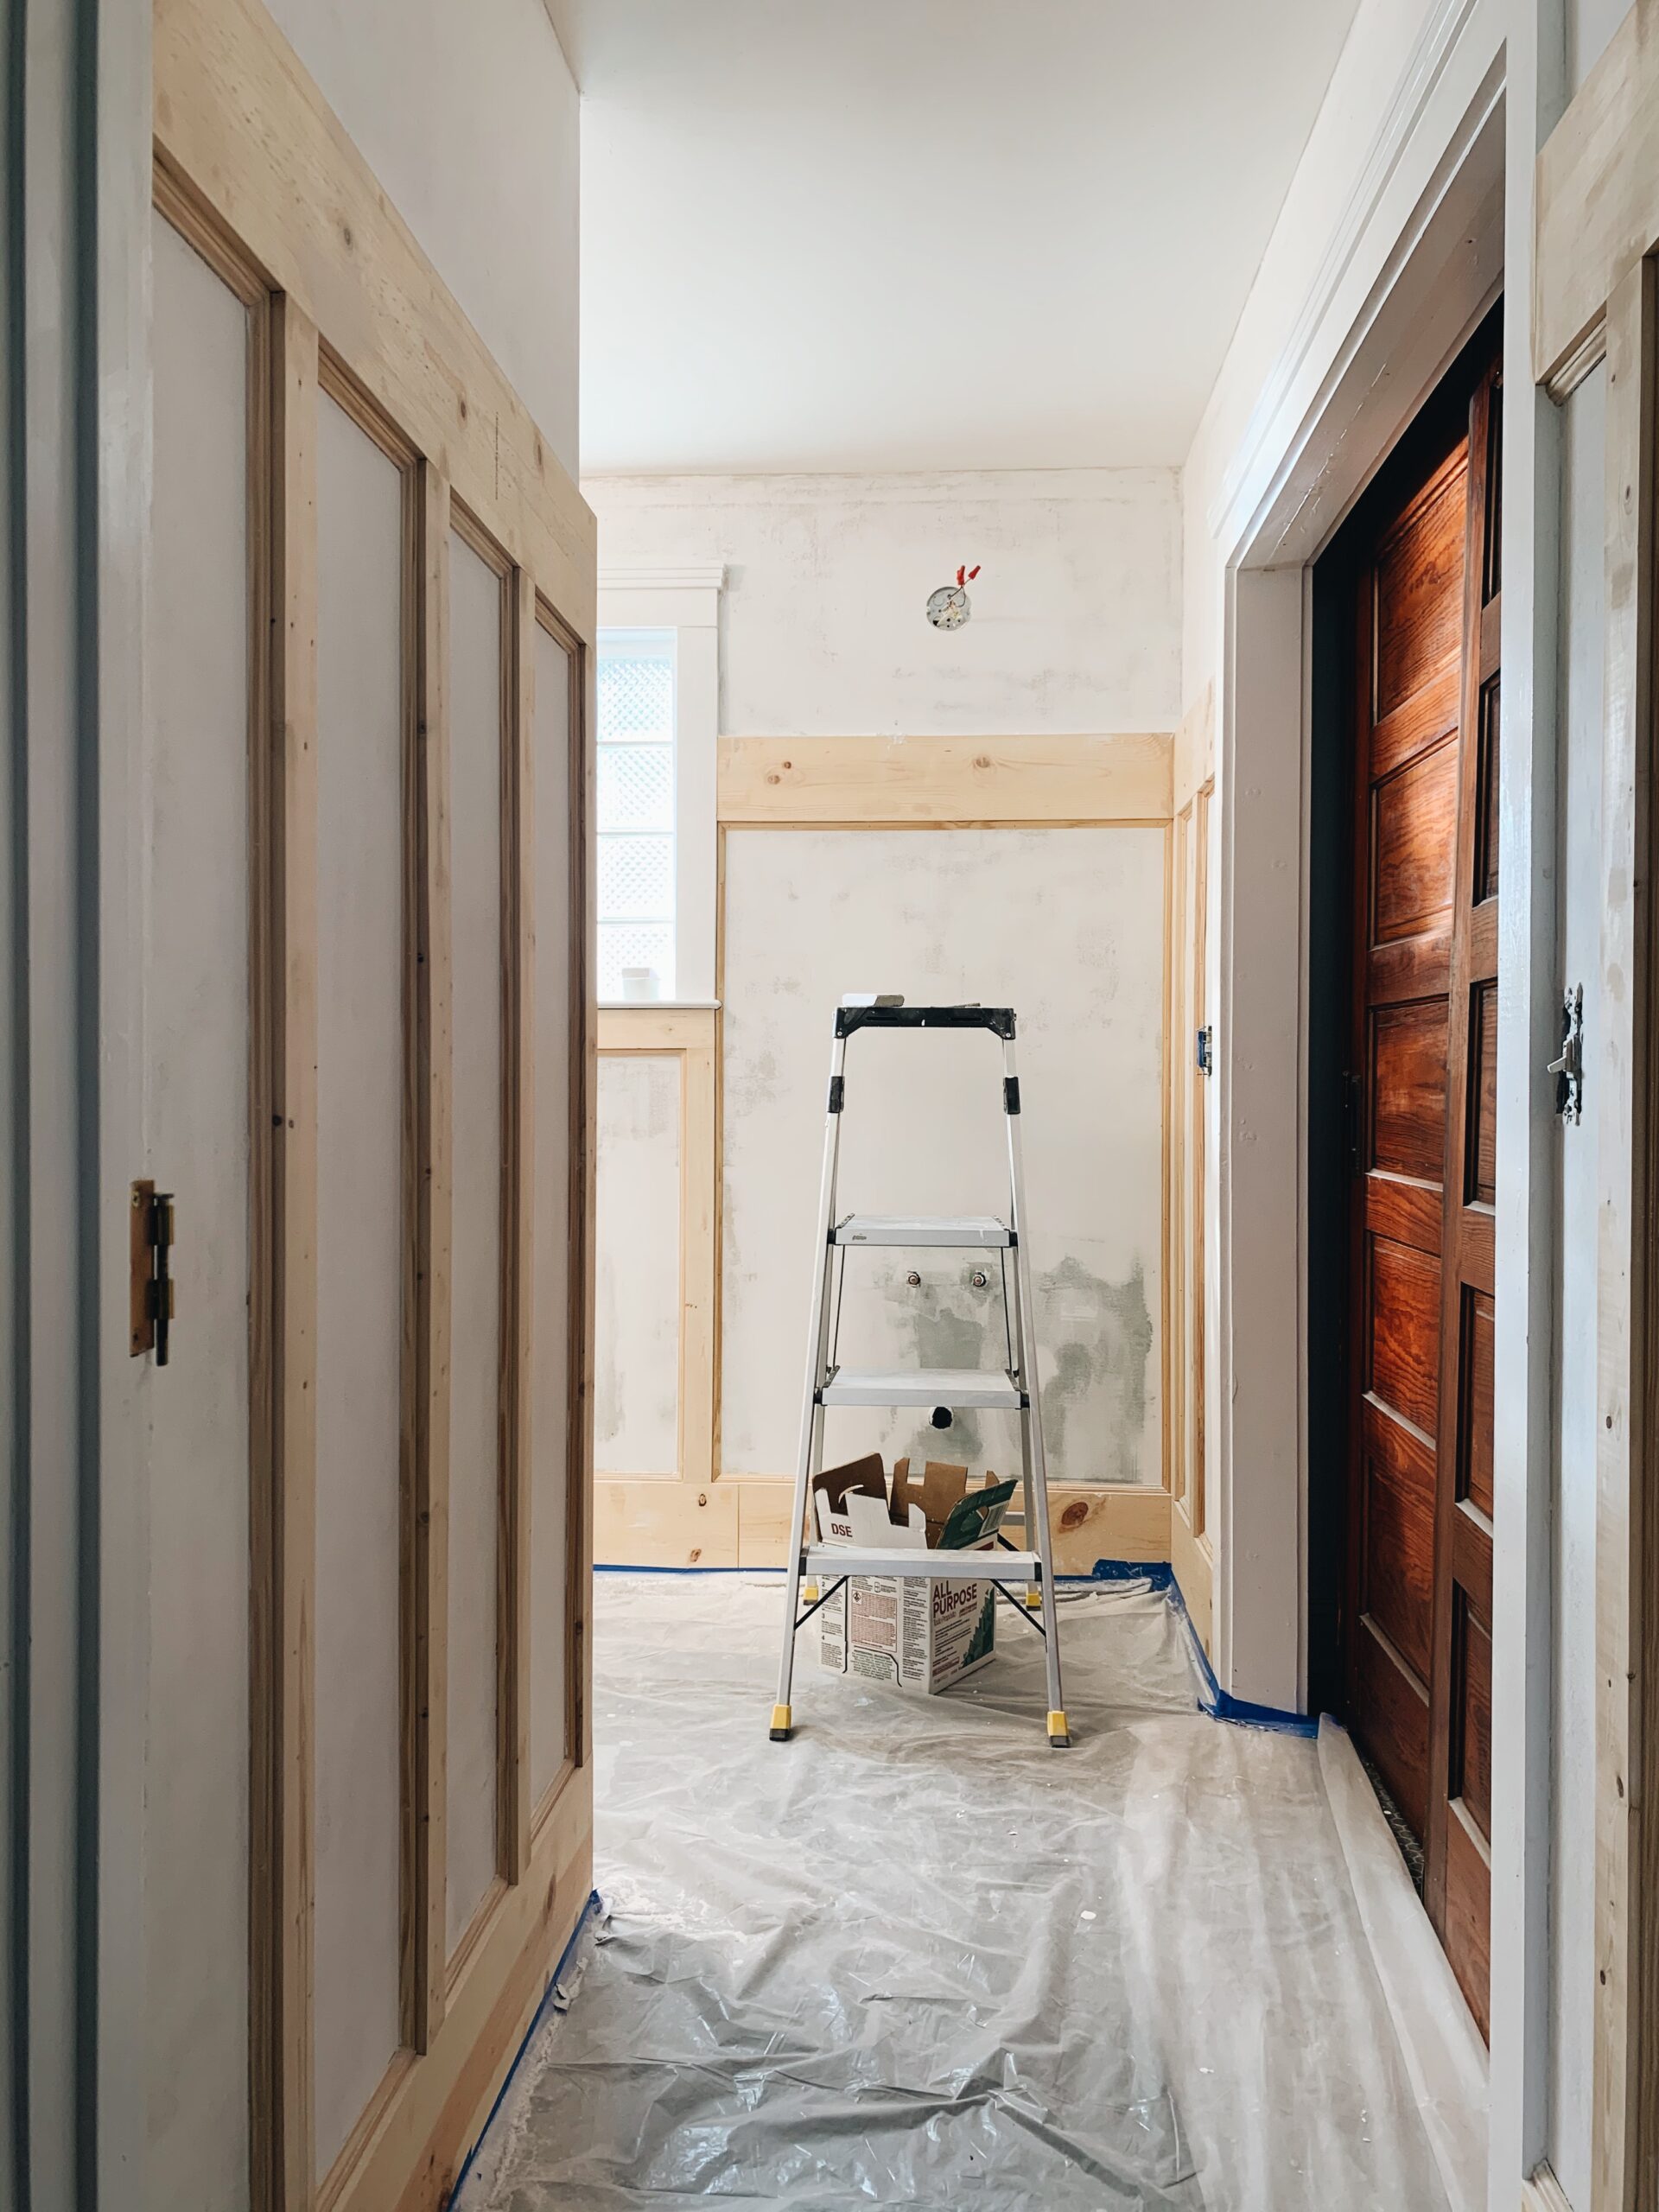
At this point, we just completely stalled out and lost all steam as the world become overwhelming and we didn’t have the mental energy to deal with the project anymore. And so there it sat, with 95% of the bulk of the work done for more than 6 months…
That’s when I got a call from my sister asking if her and her family could come for a visit this summer. Now the countdown was on to finally get this guest bathroom finished in time for their visit (or to get it to the point of being functional for them to use during their stay at the very least… because at this point, it still didn’t have a working, toilet, sink or shower). So back to work we went:
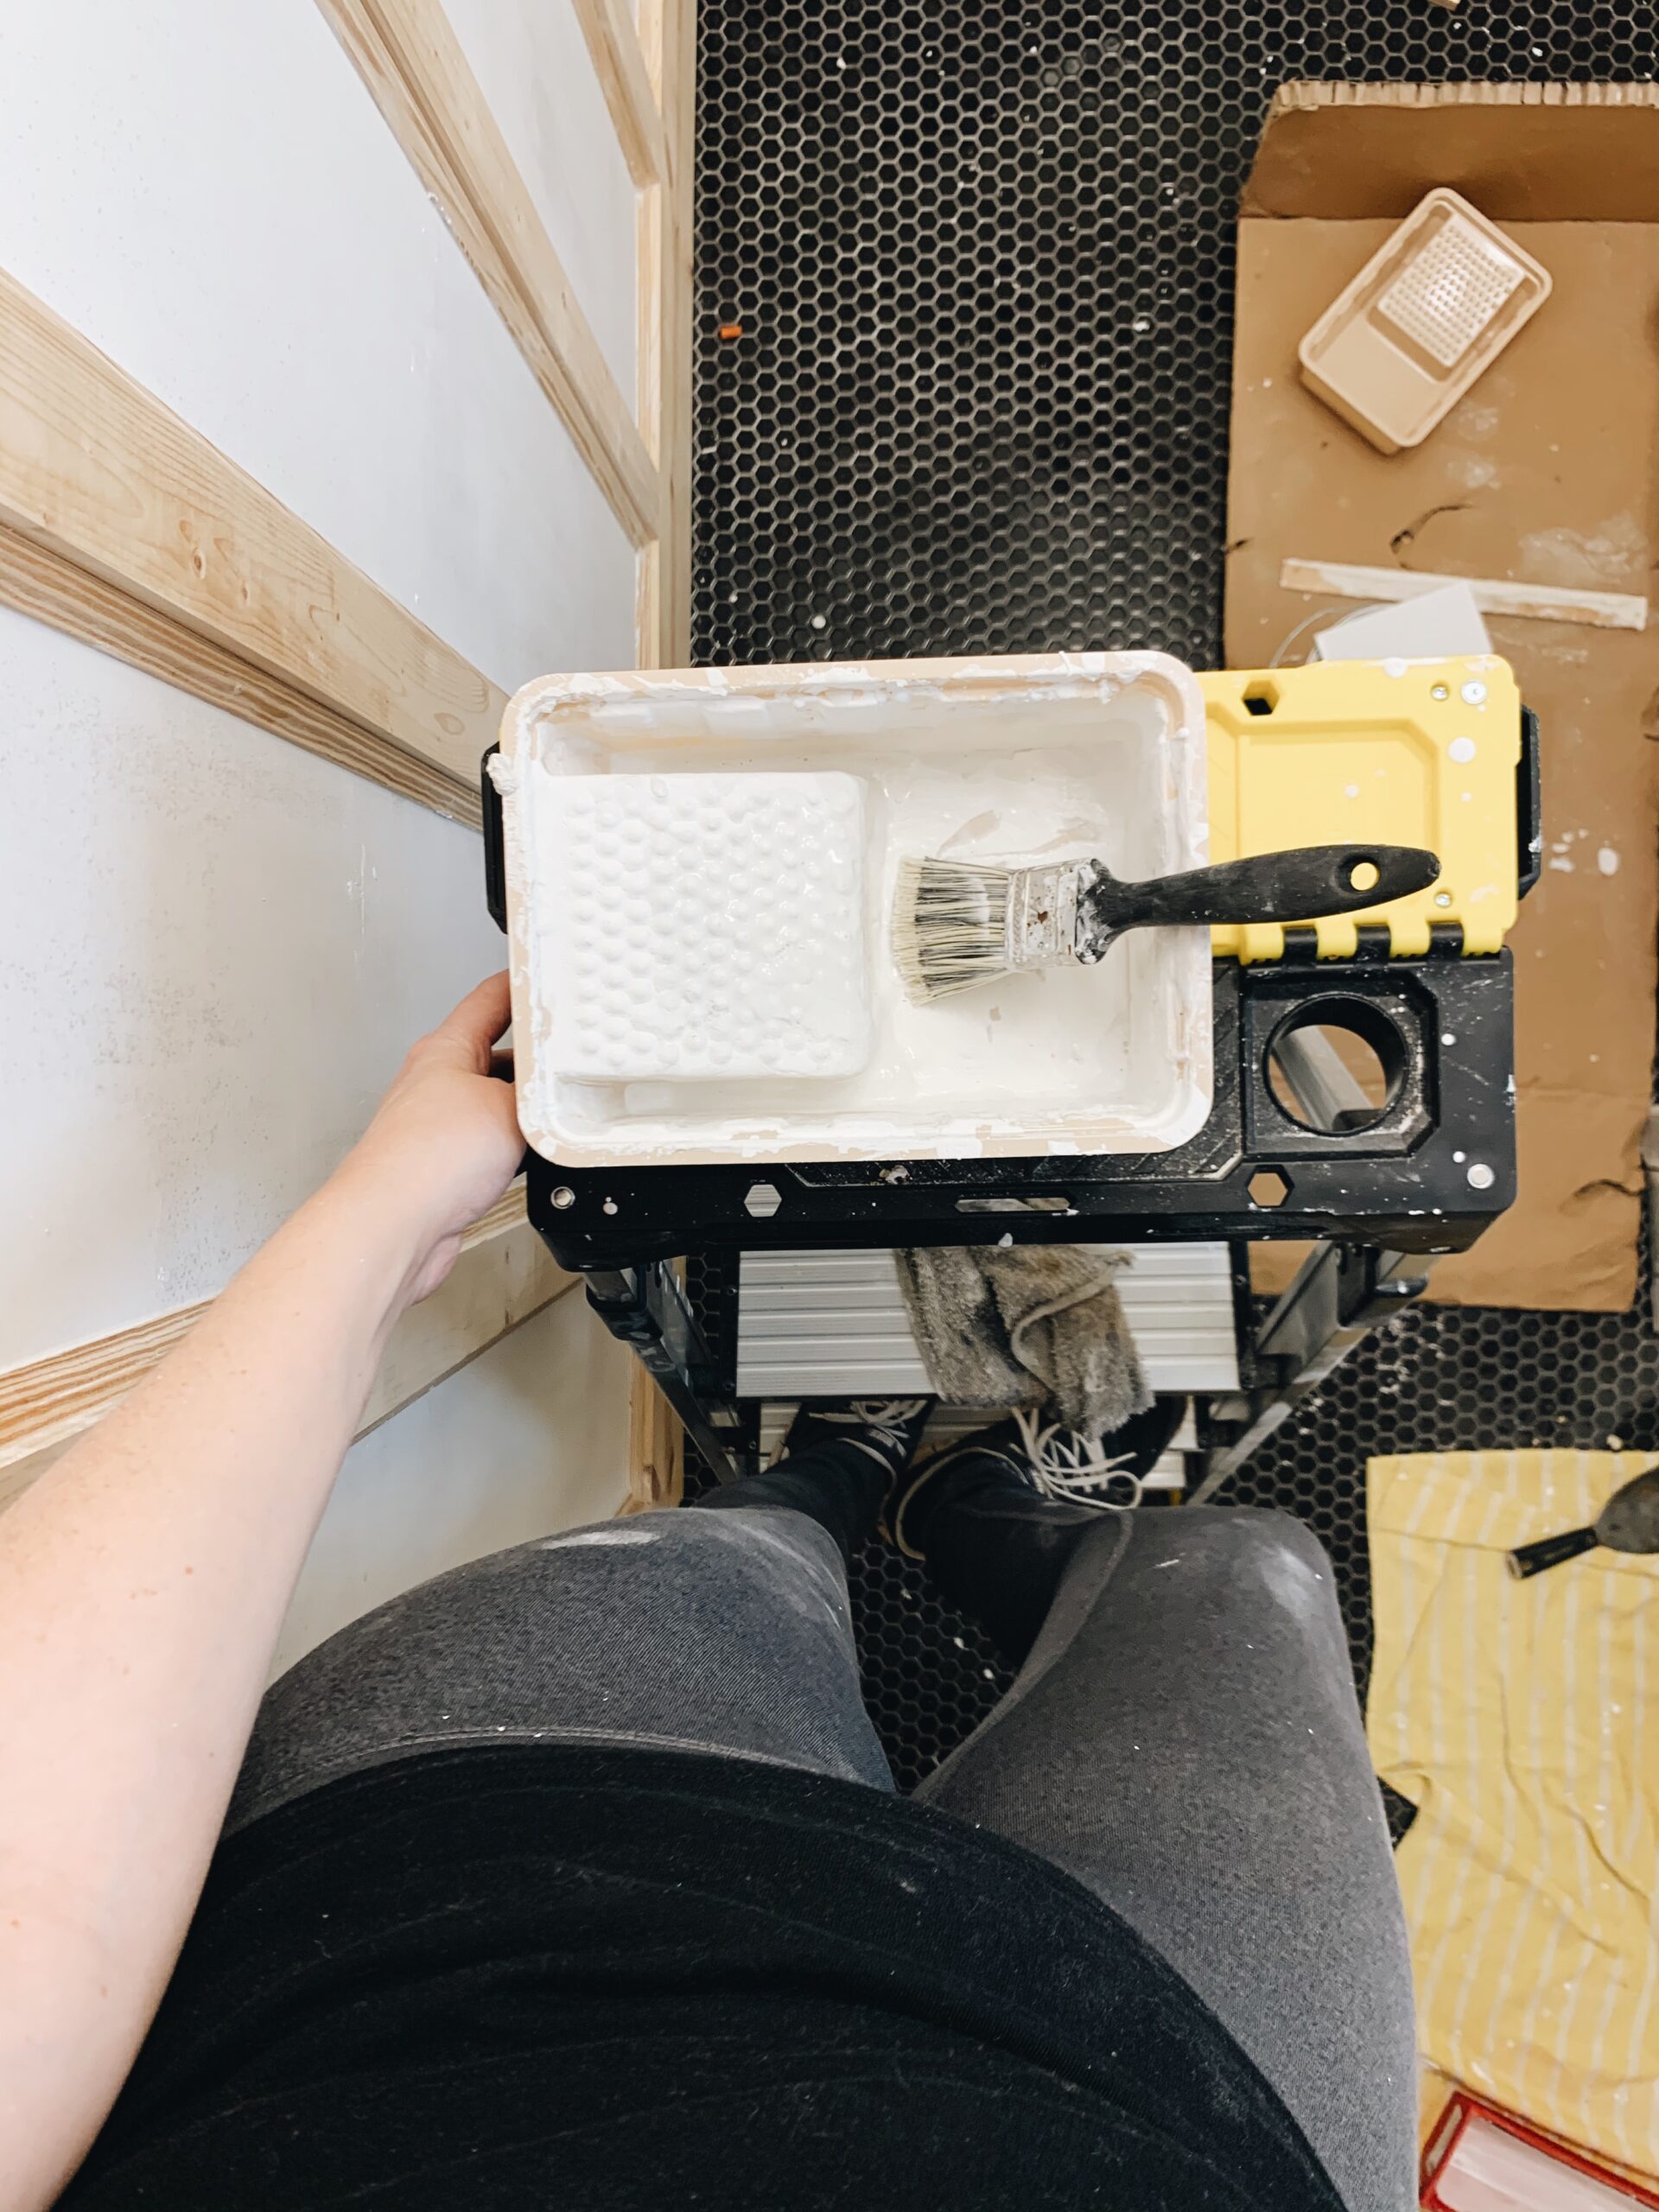
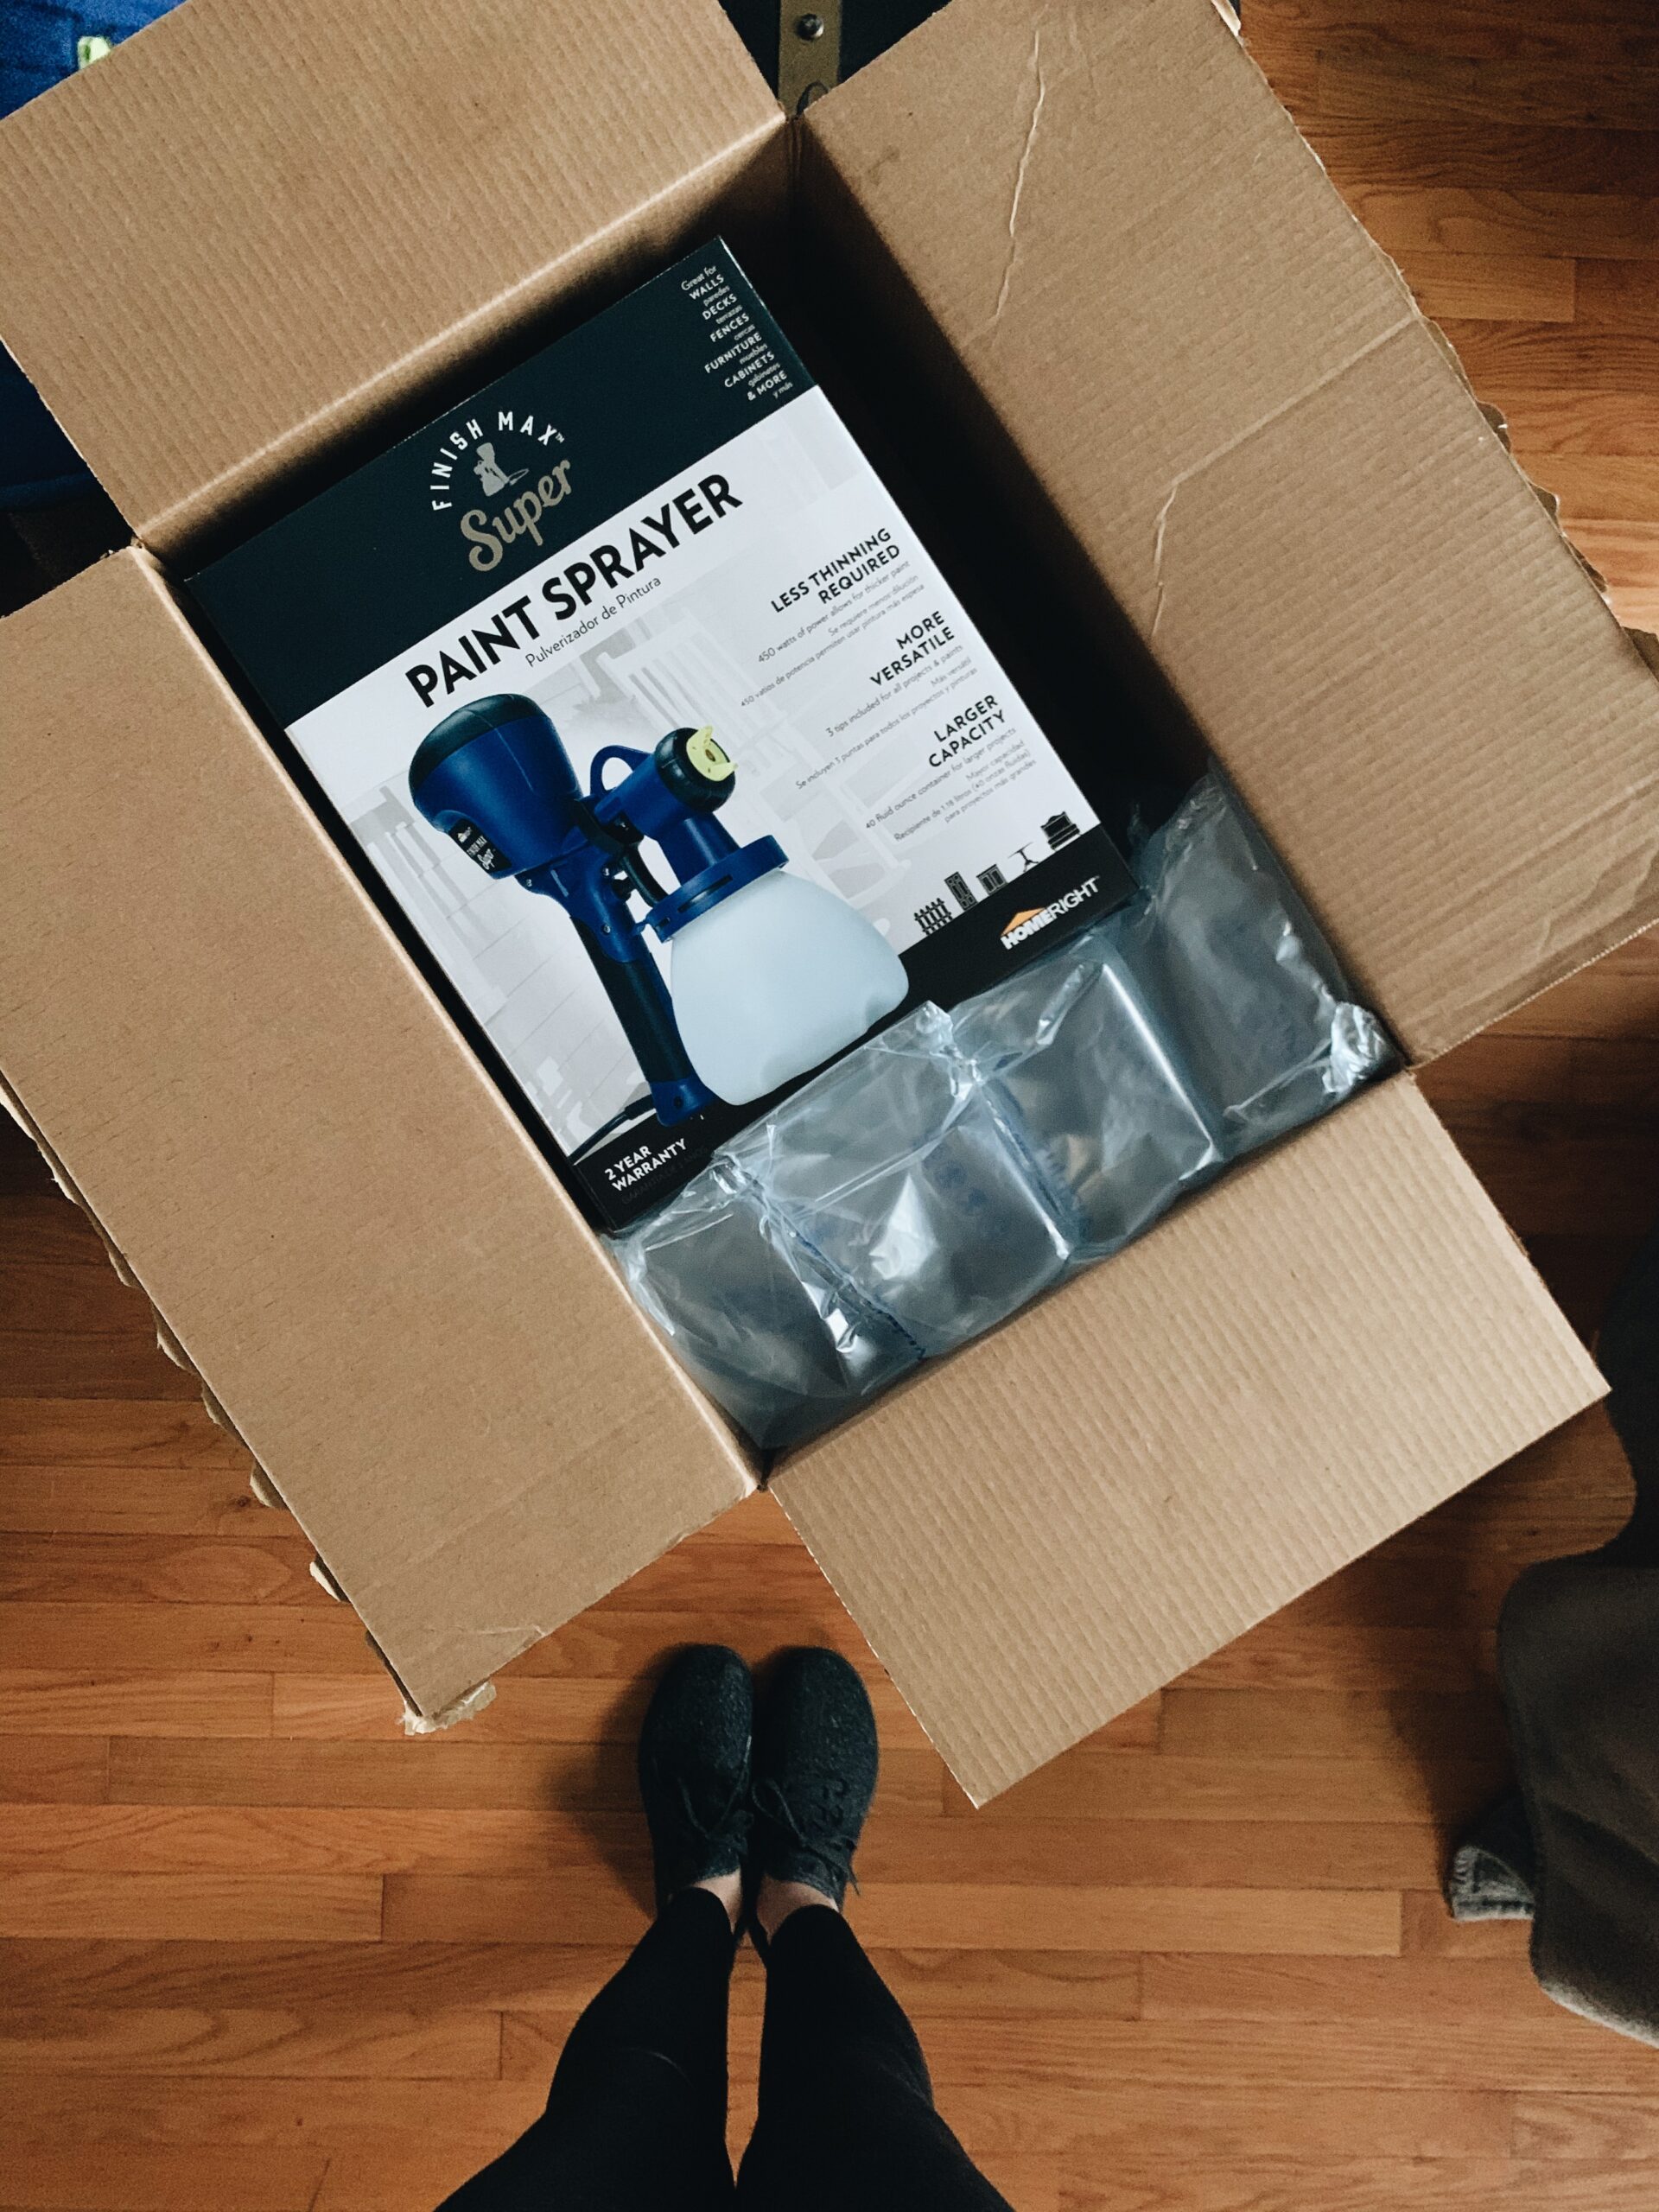
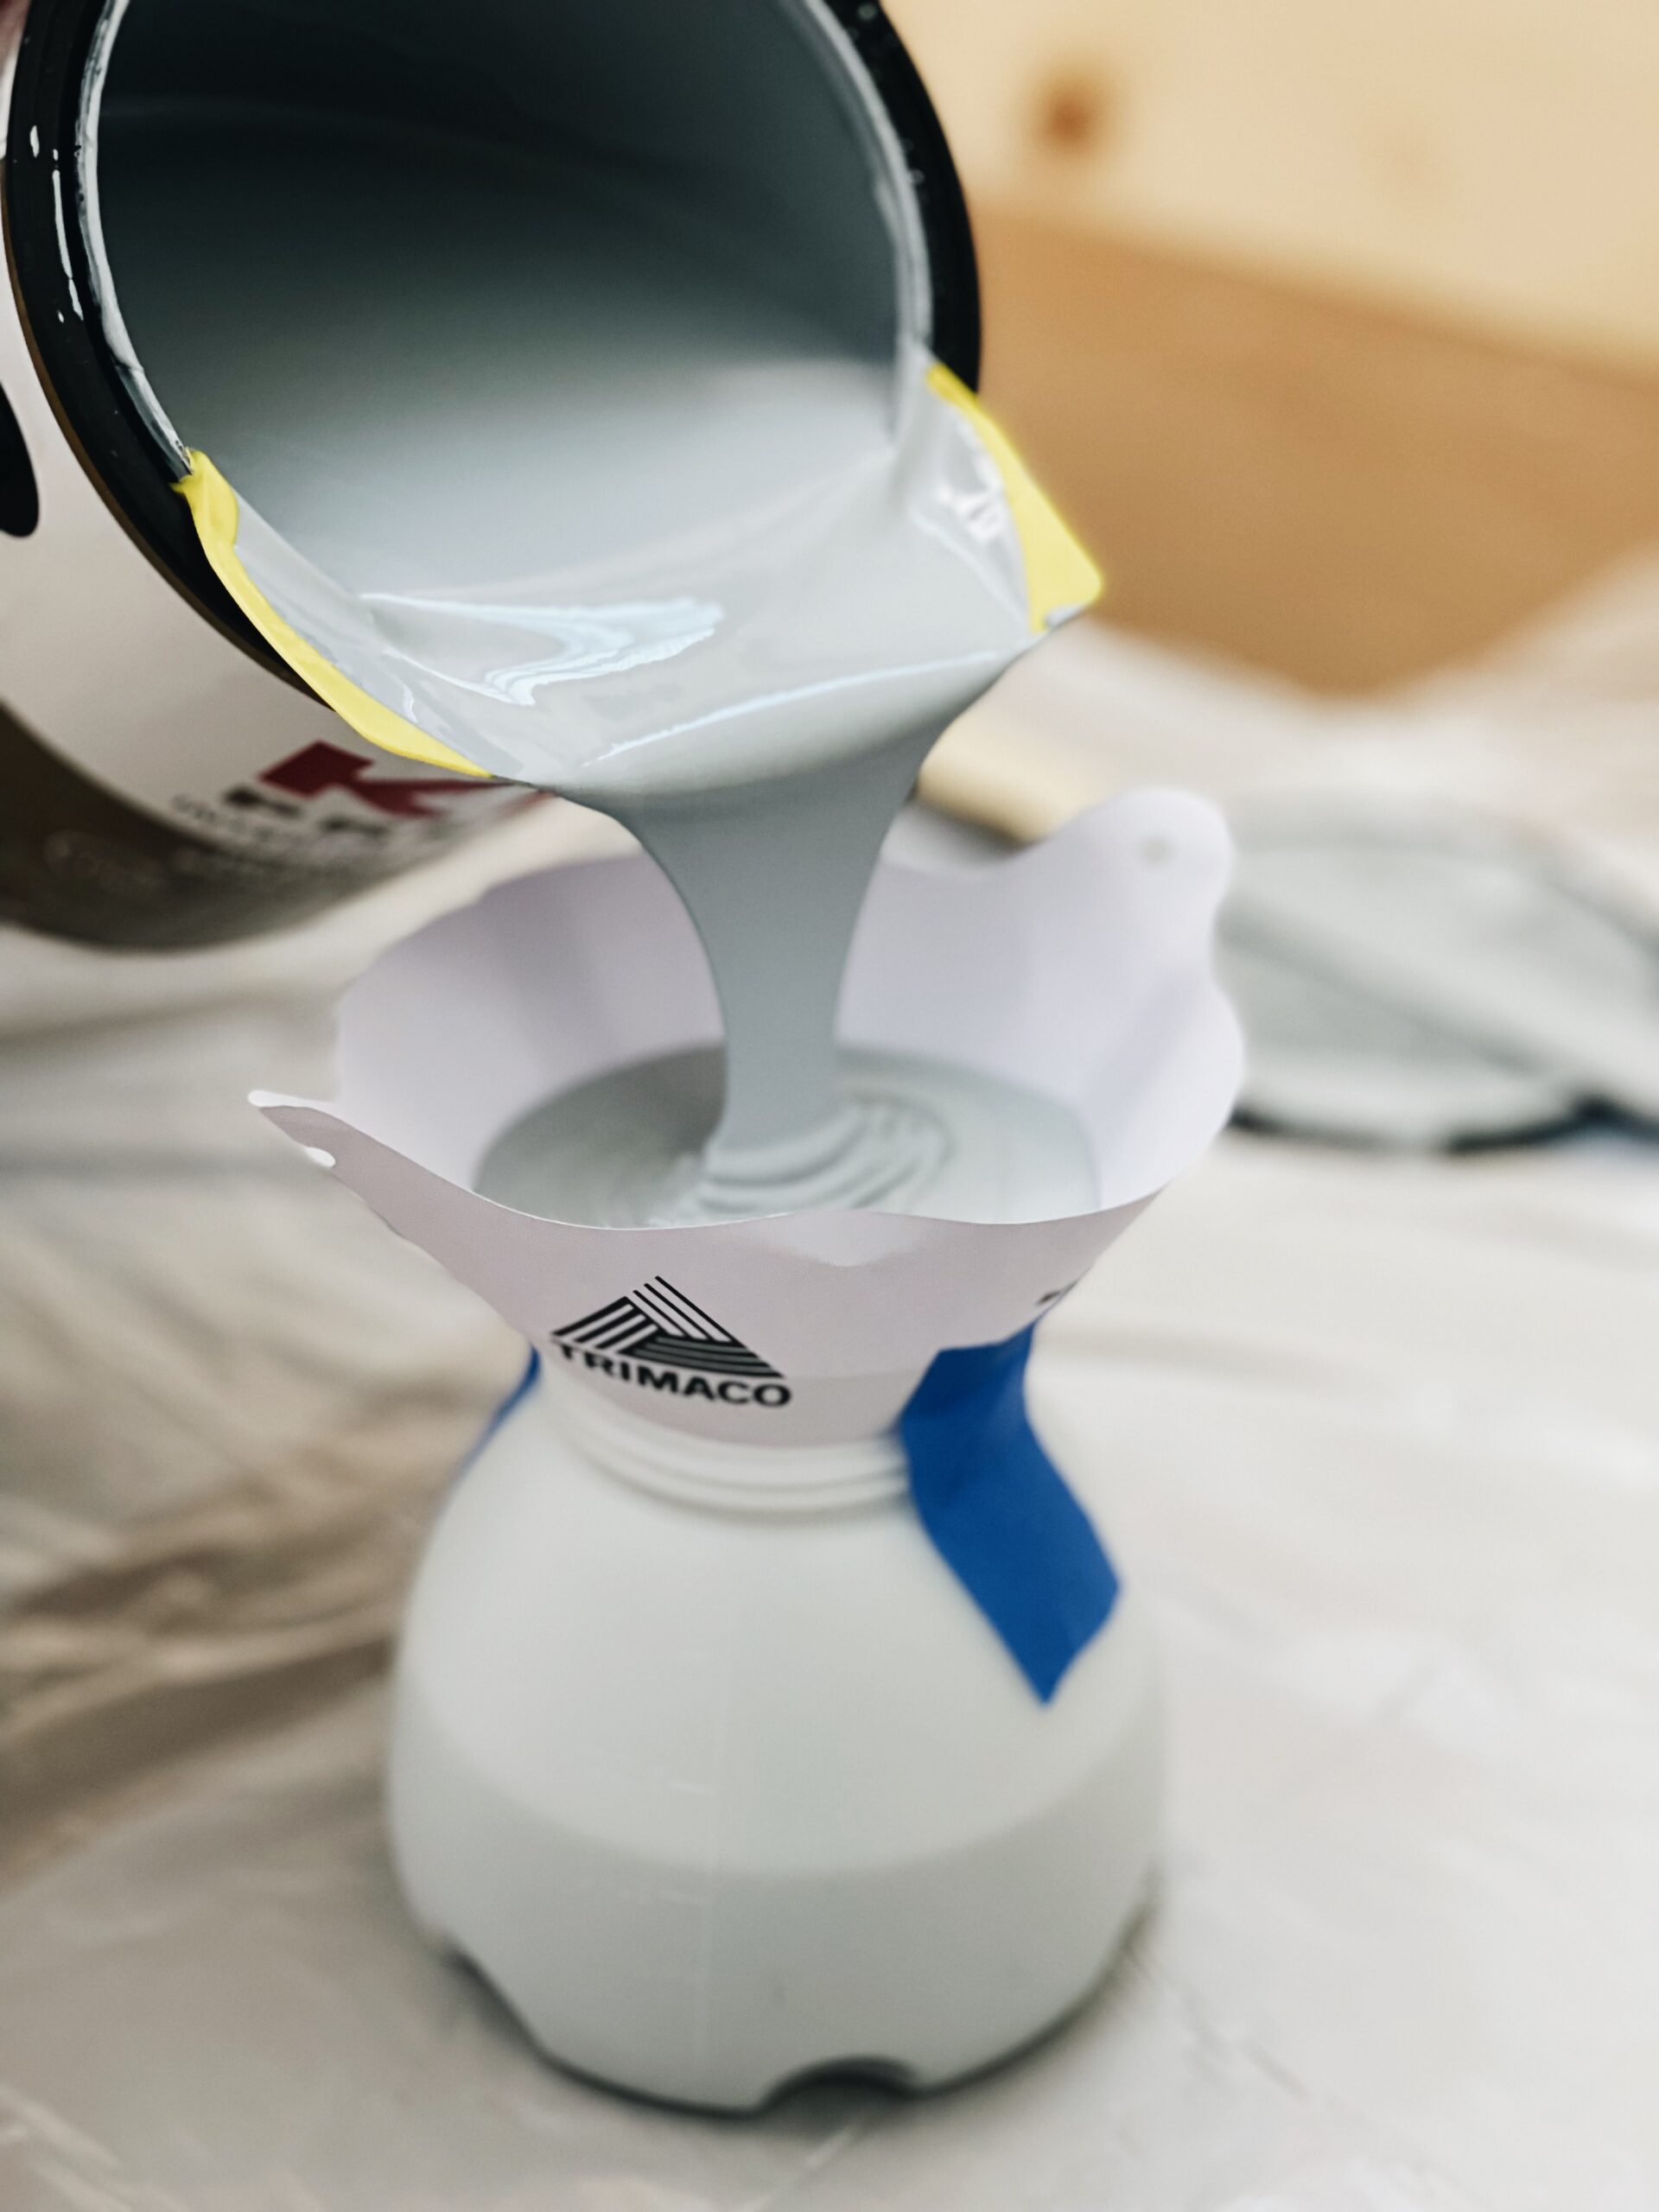
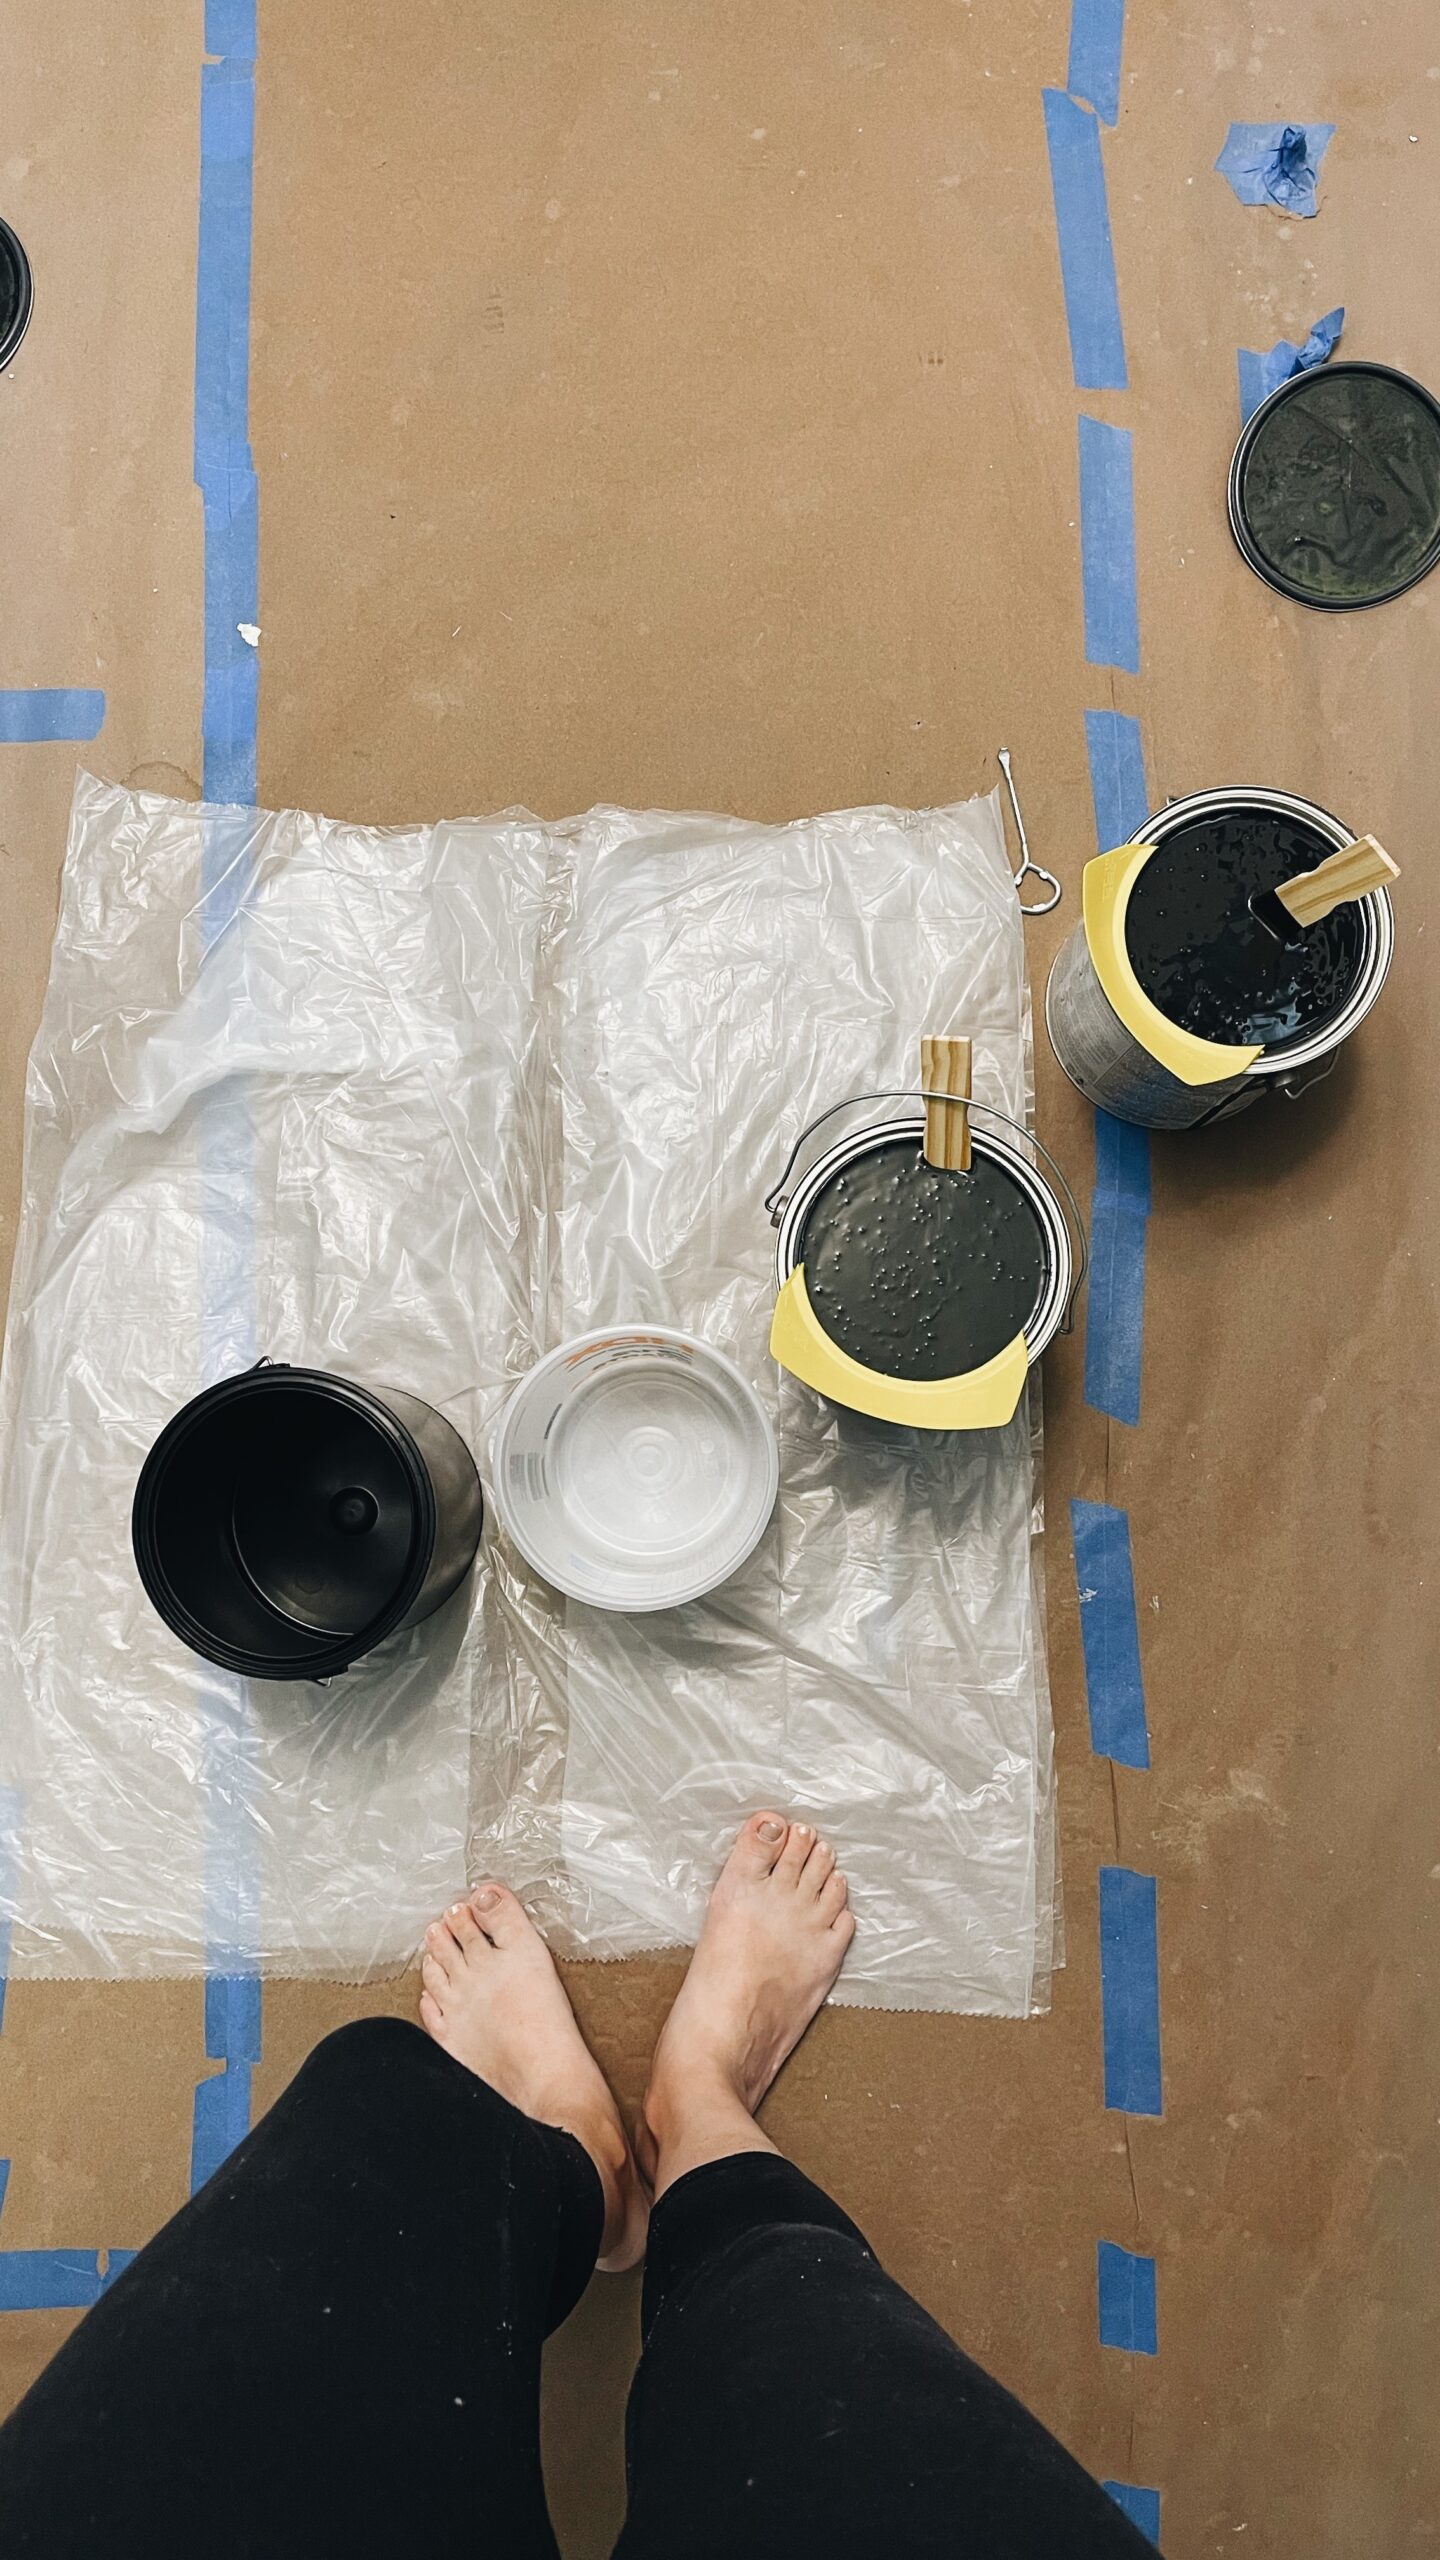
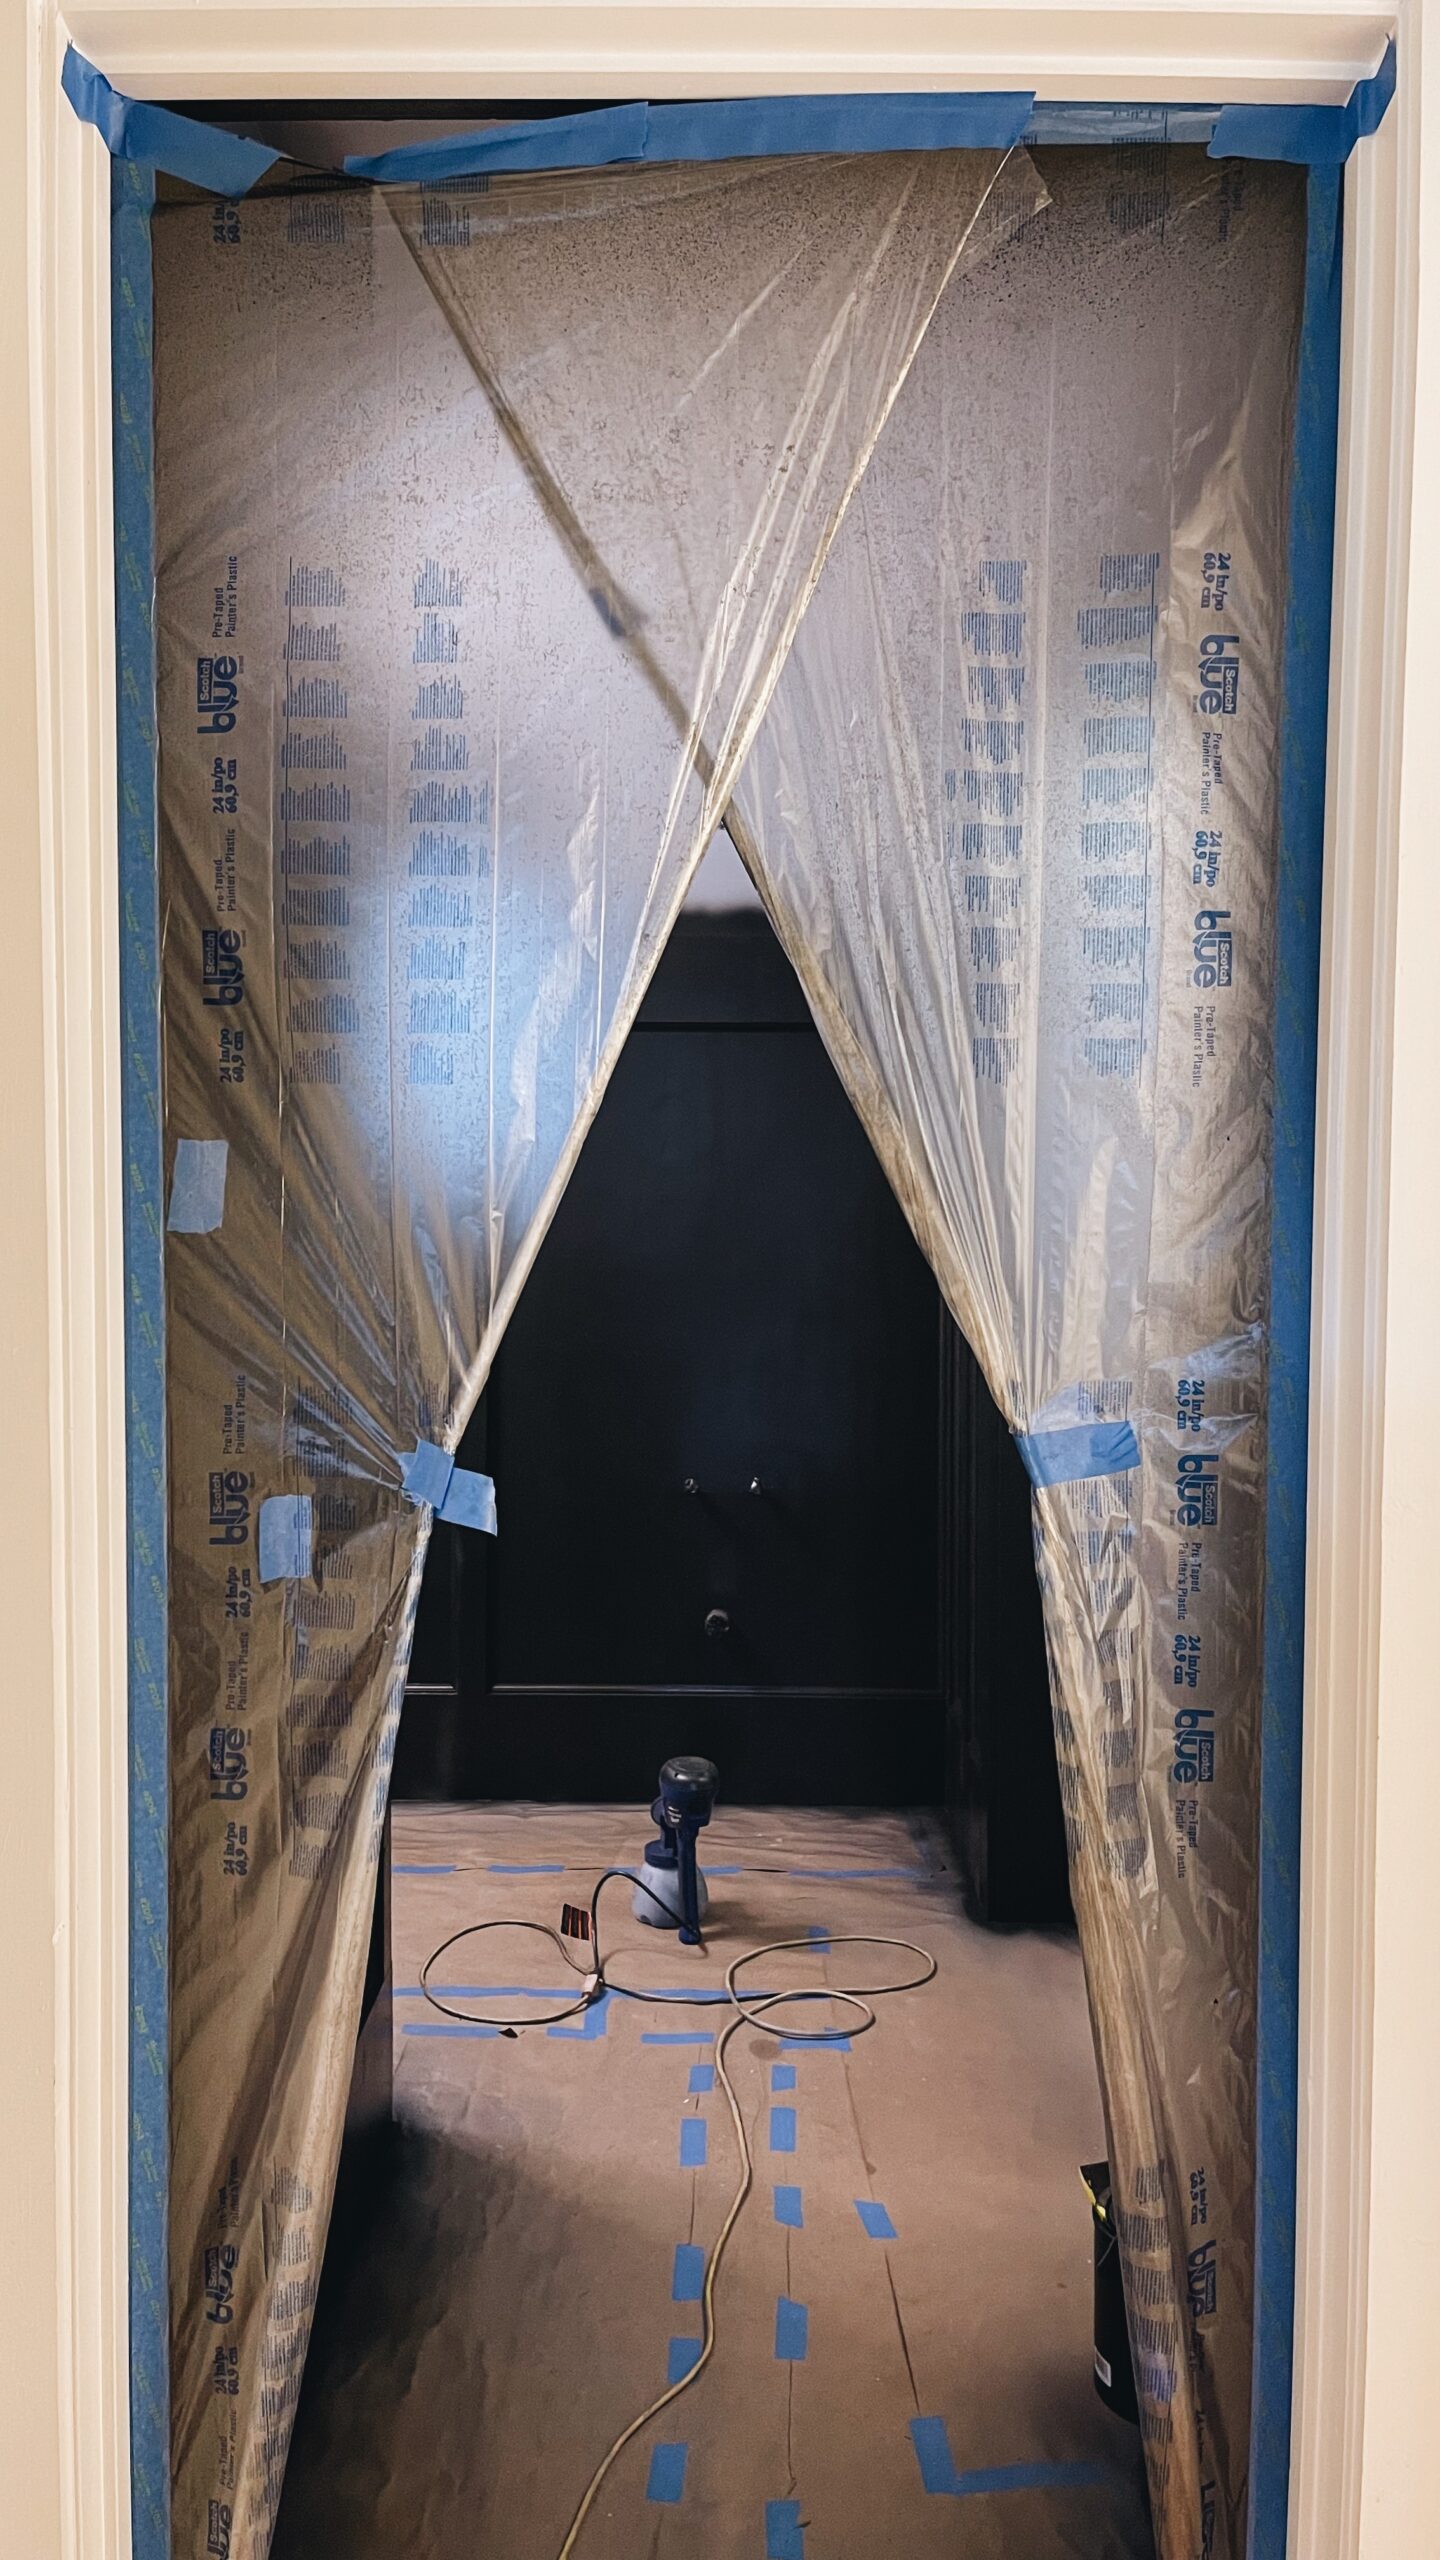
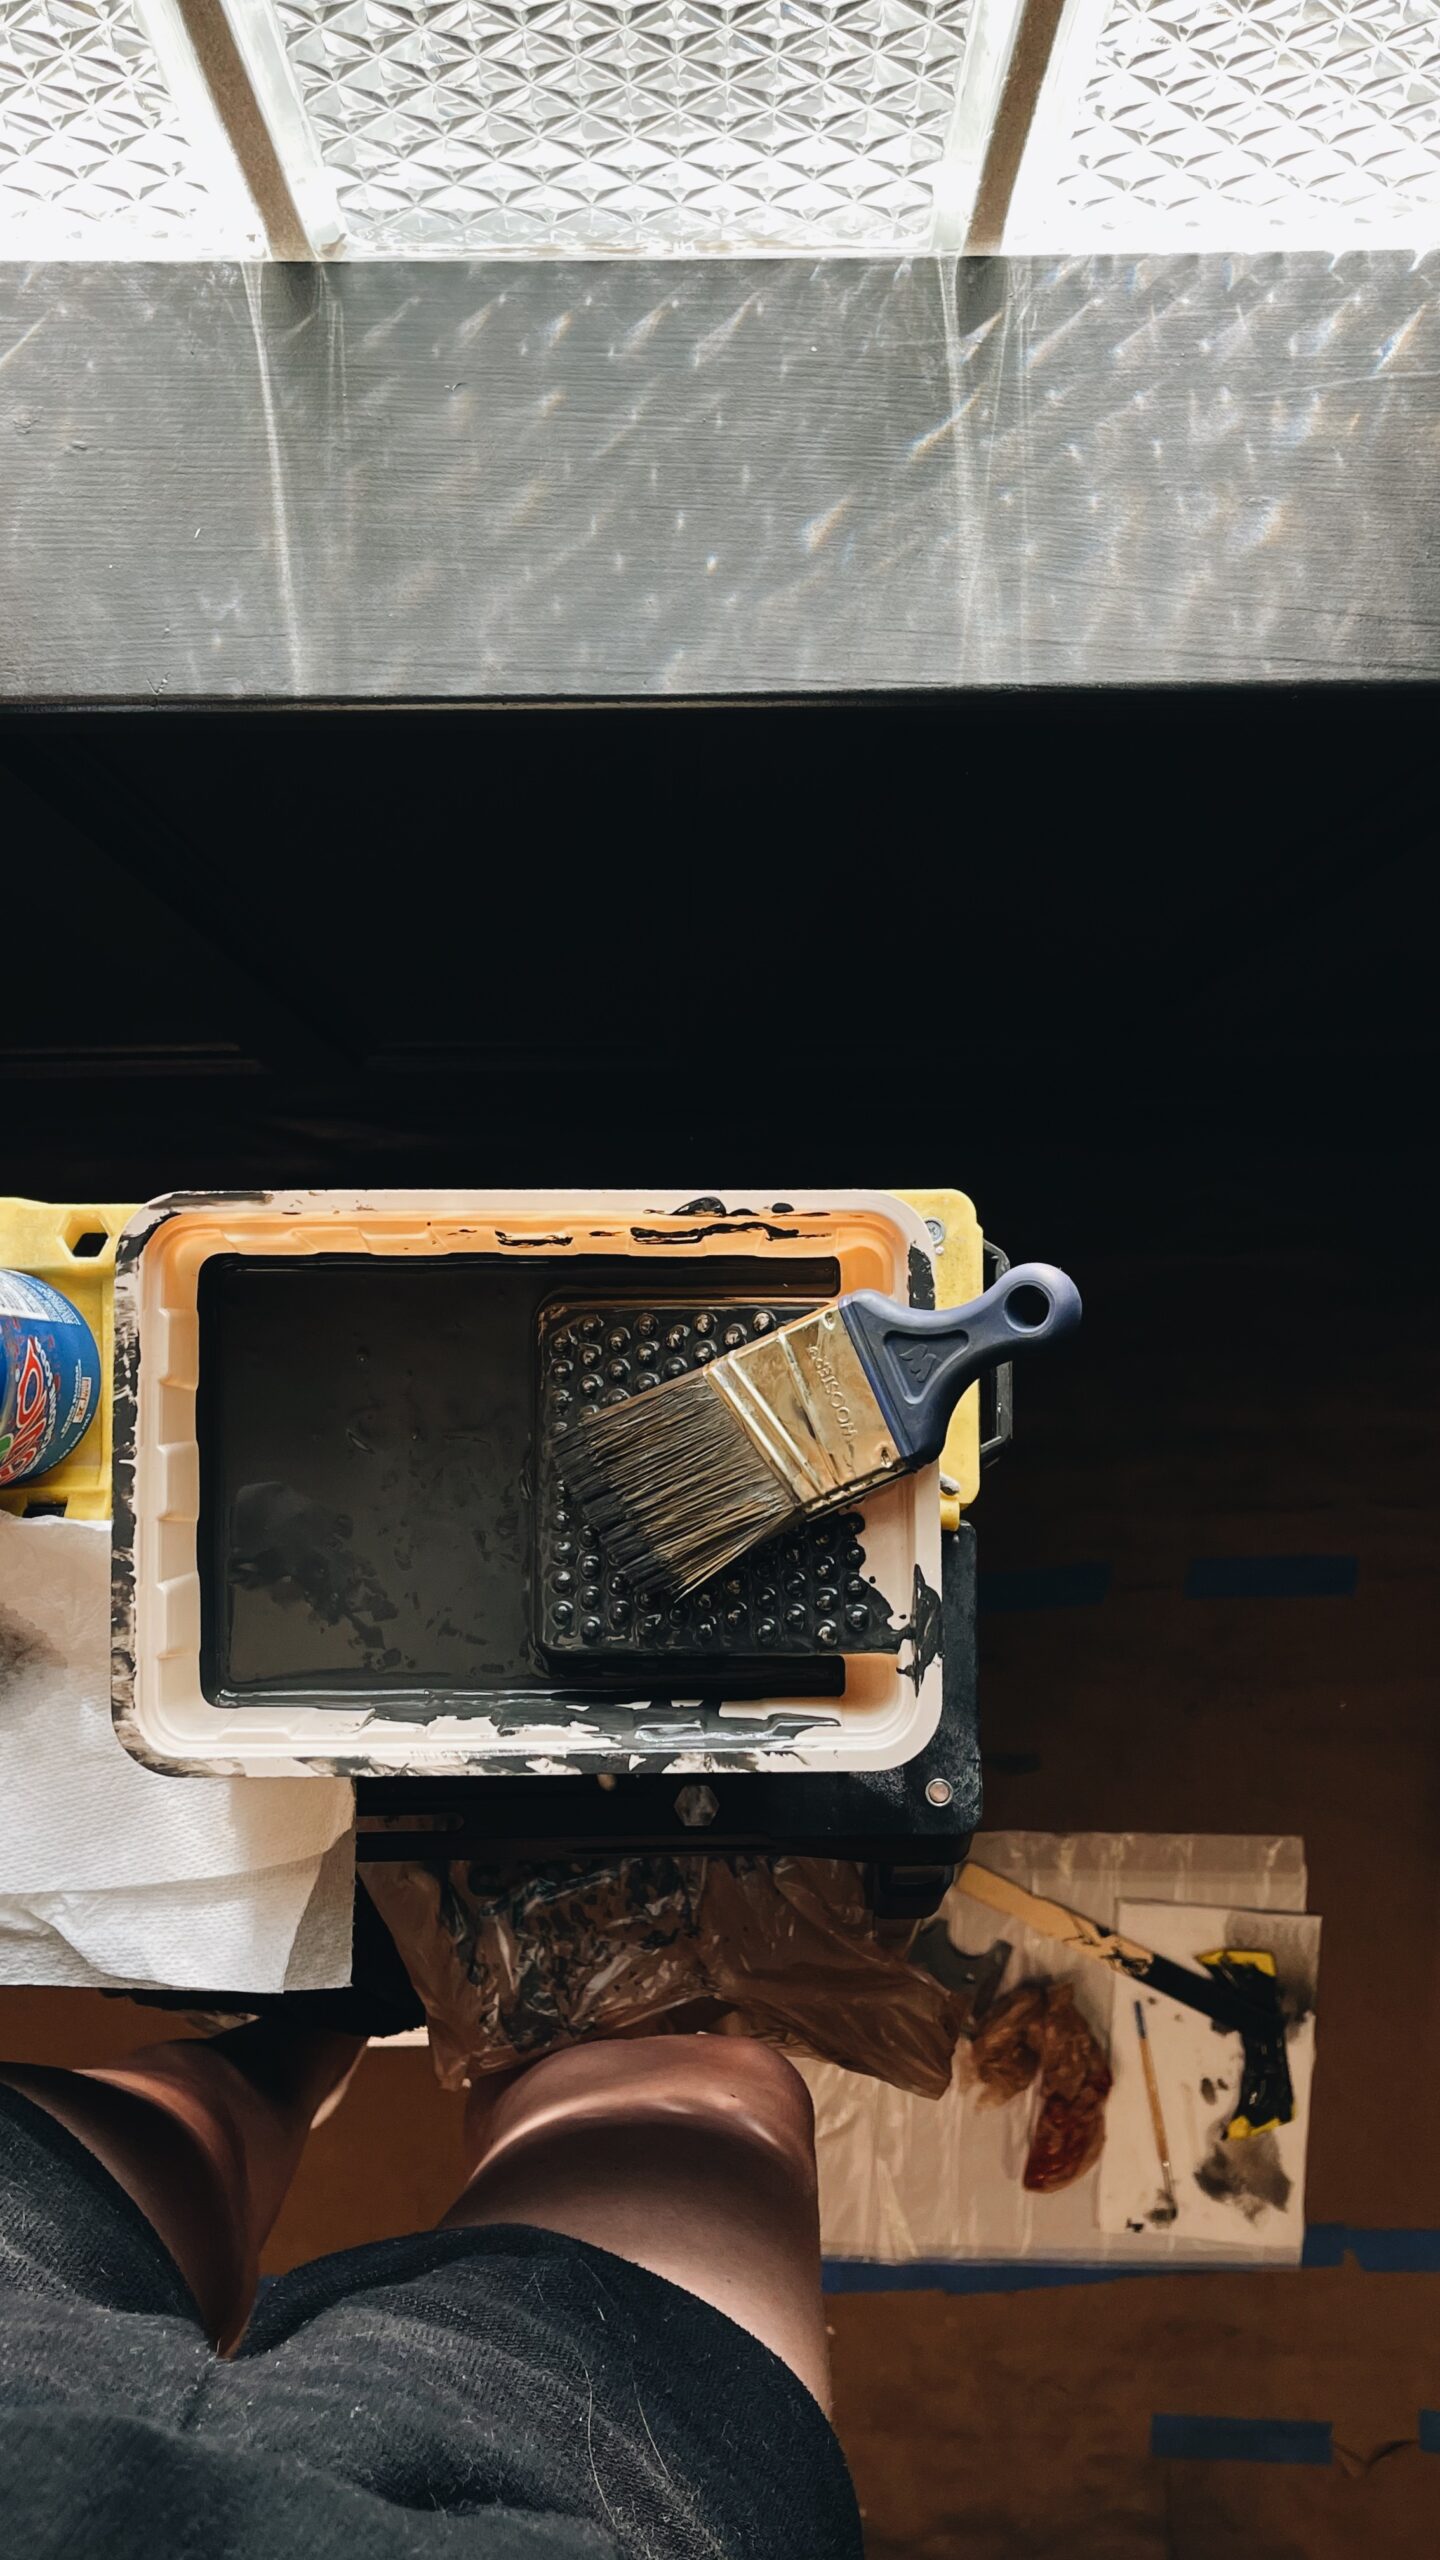
- To get the best finish possible on all our trim work we had worked so hard on, we purchased a small paint sprayer for this project and started off by priming everything with a tinted primer.
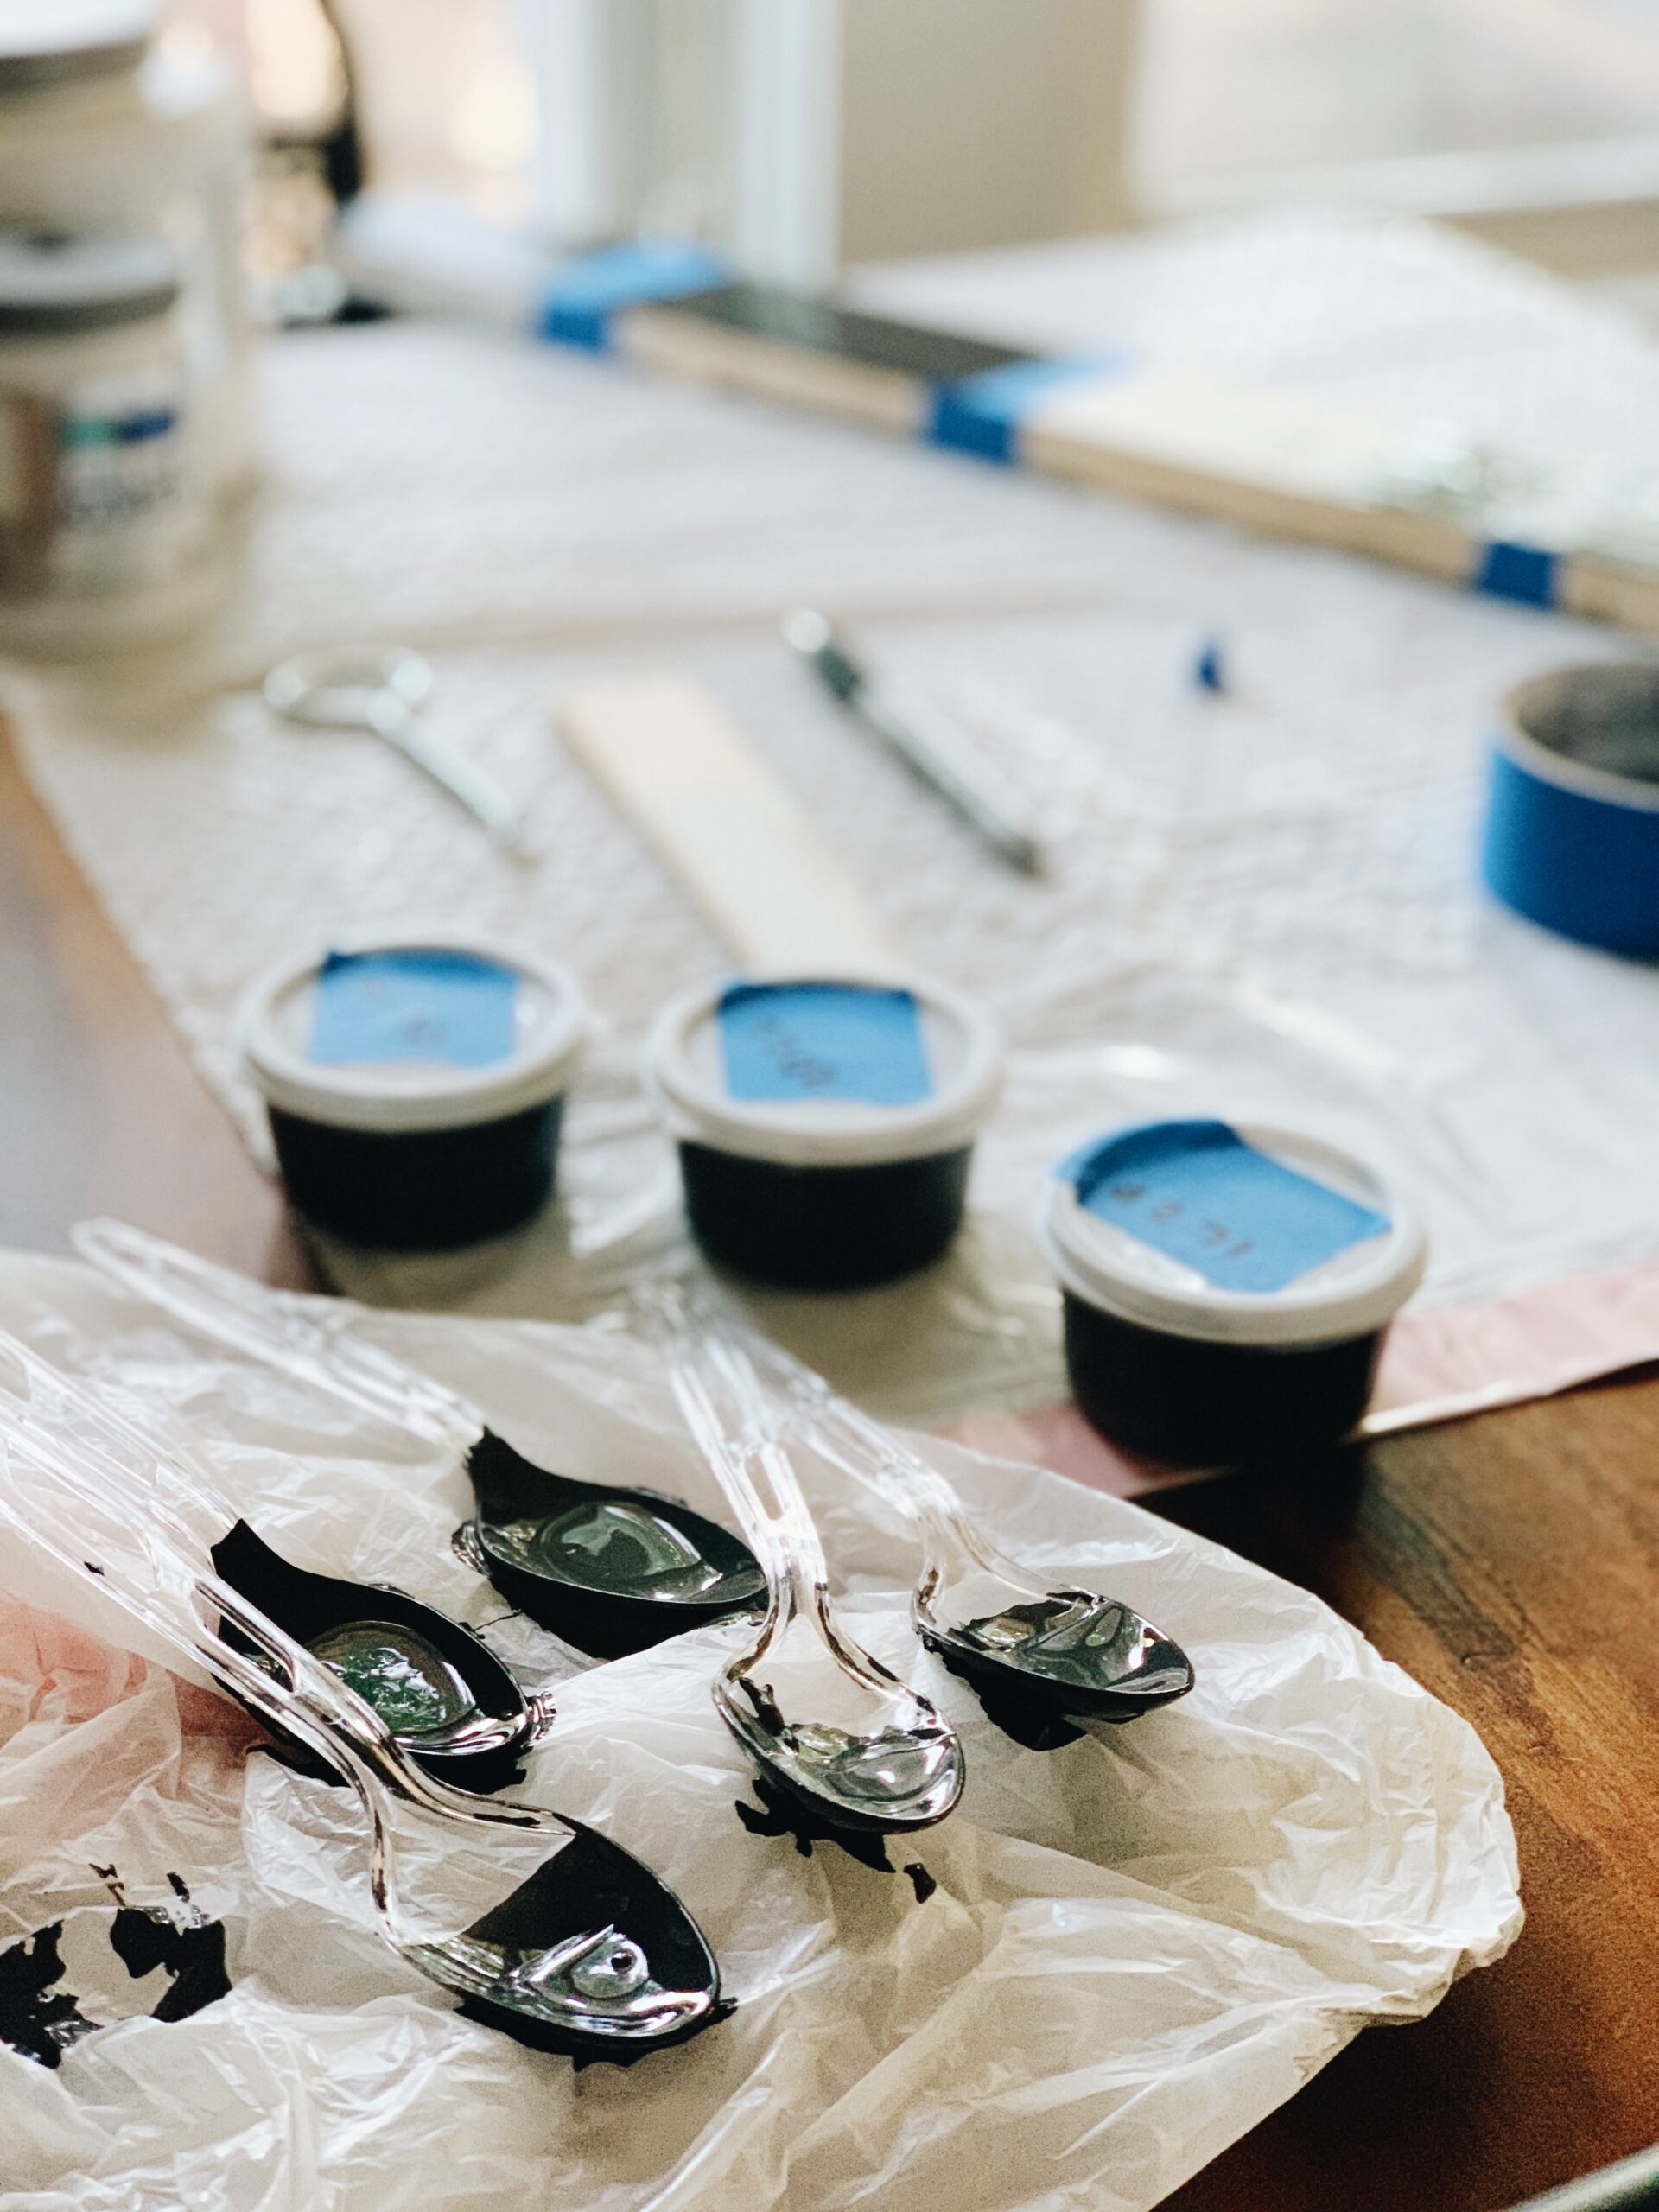
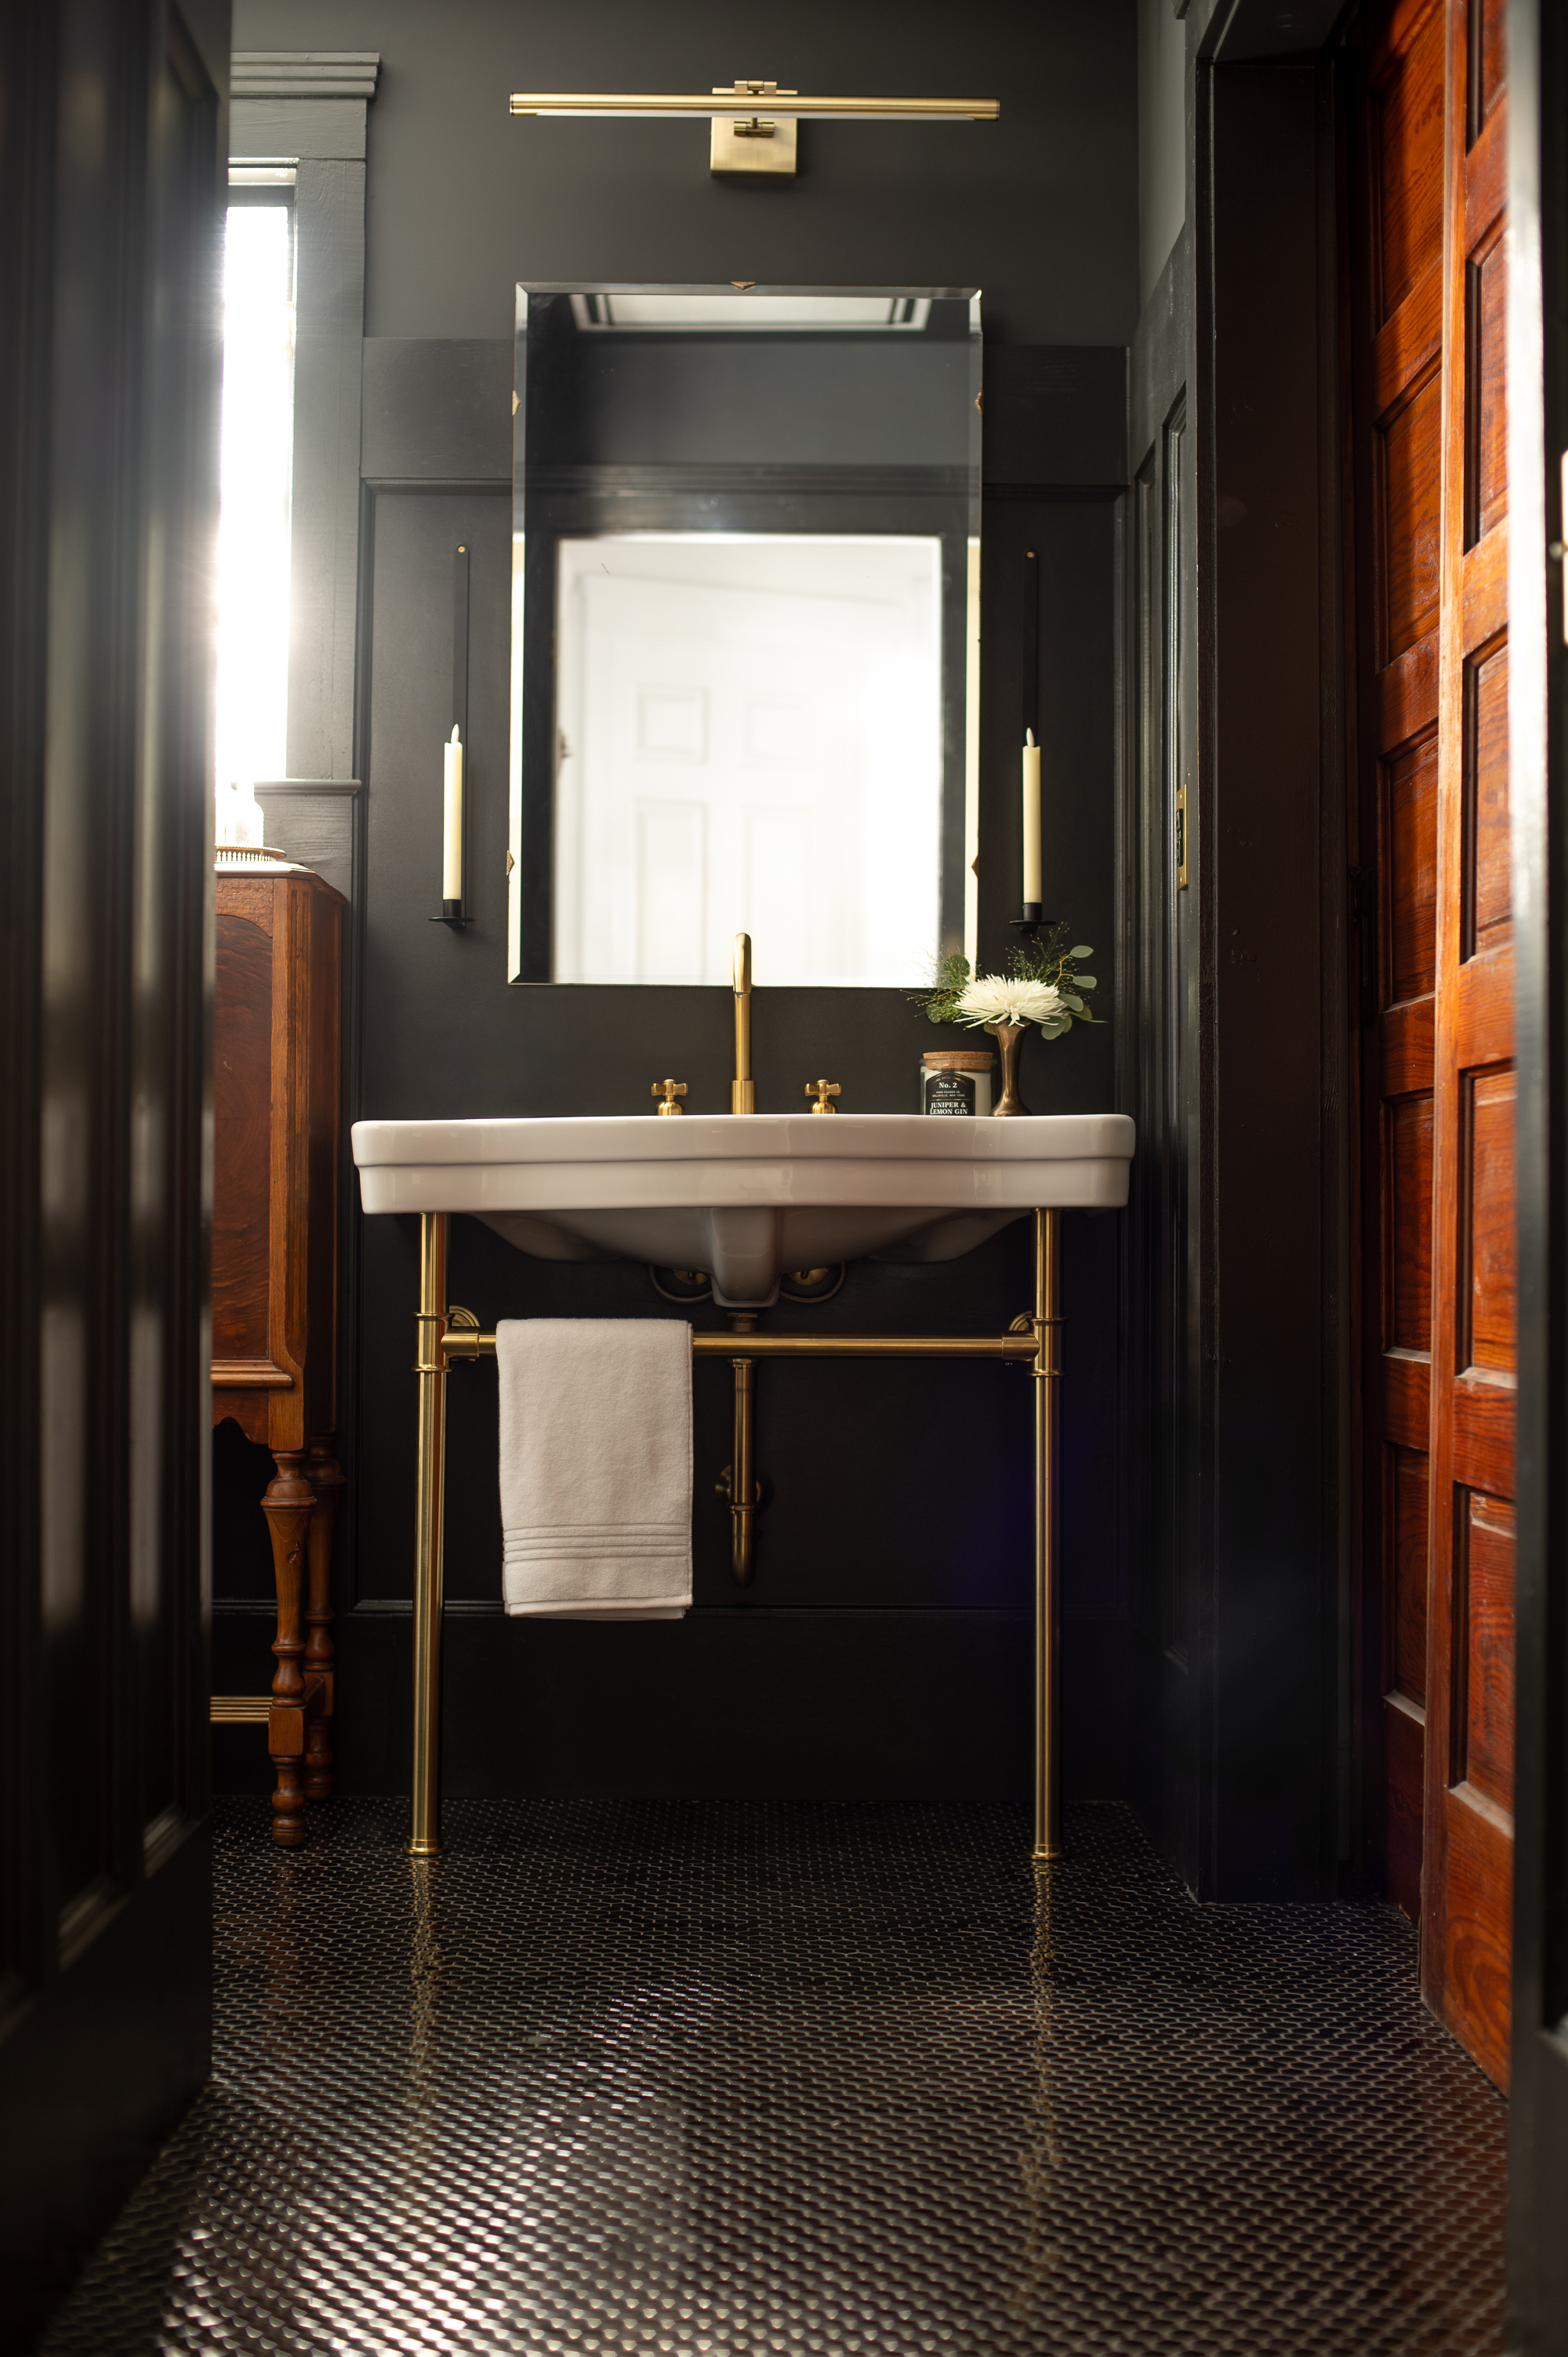
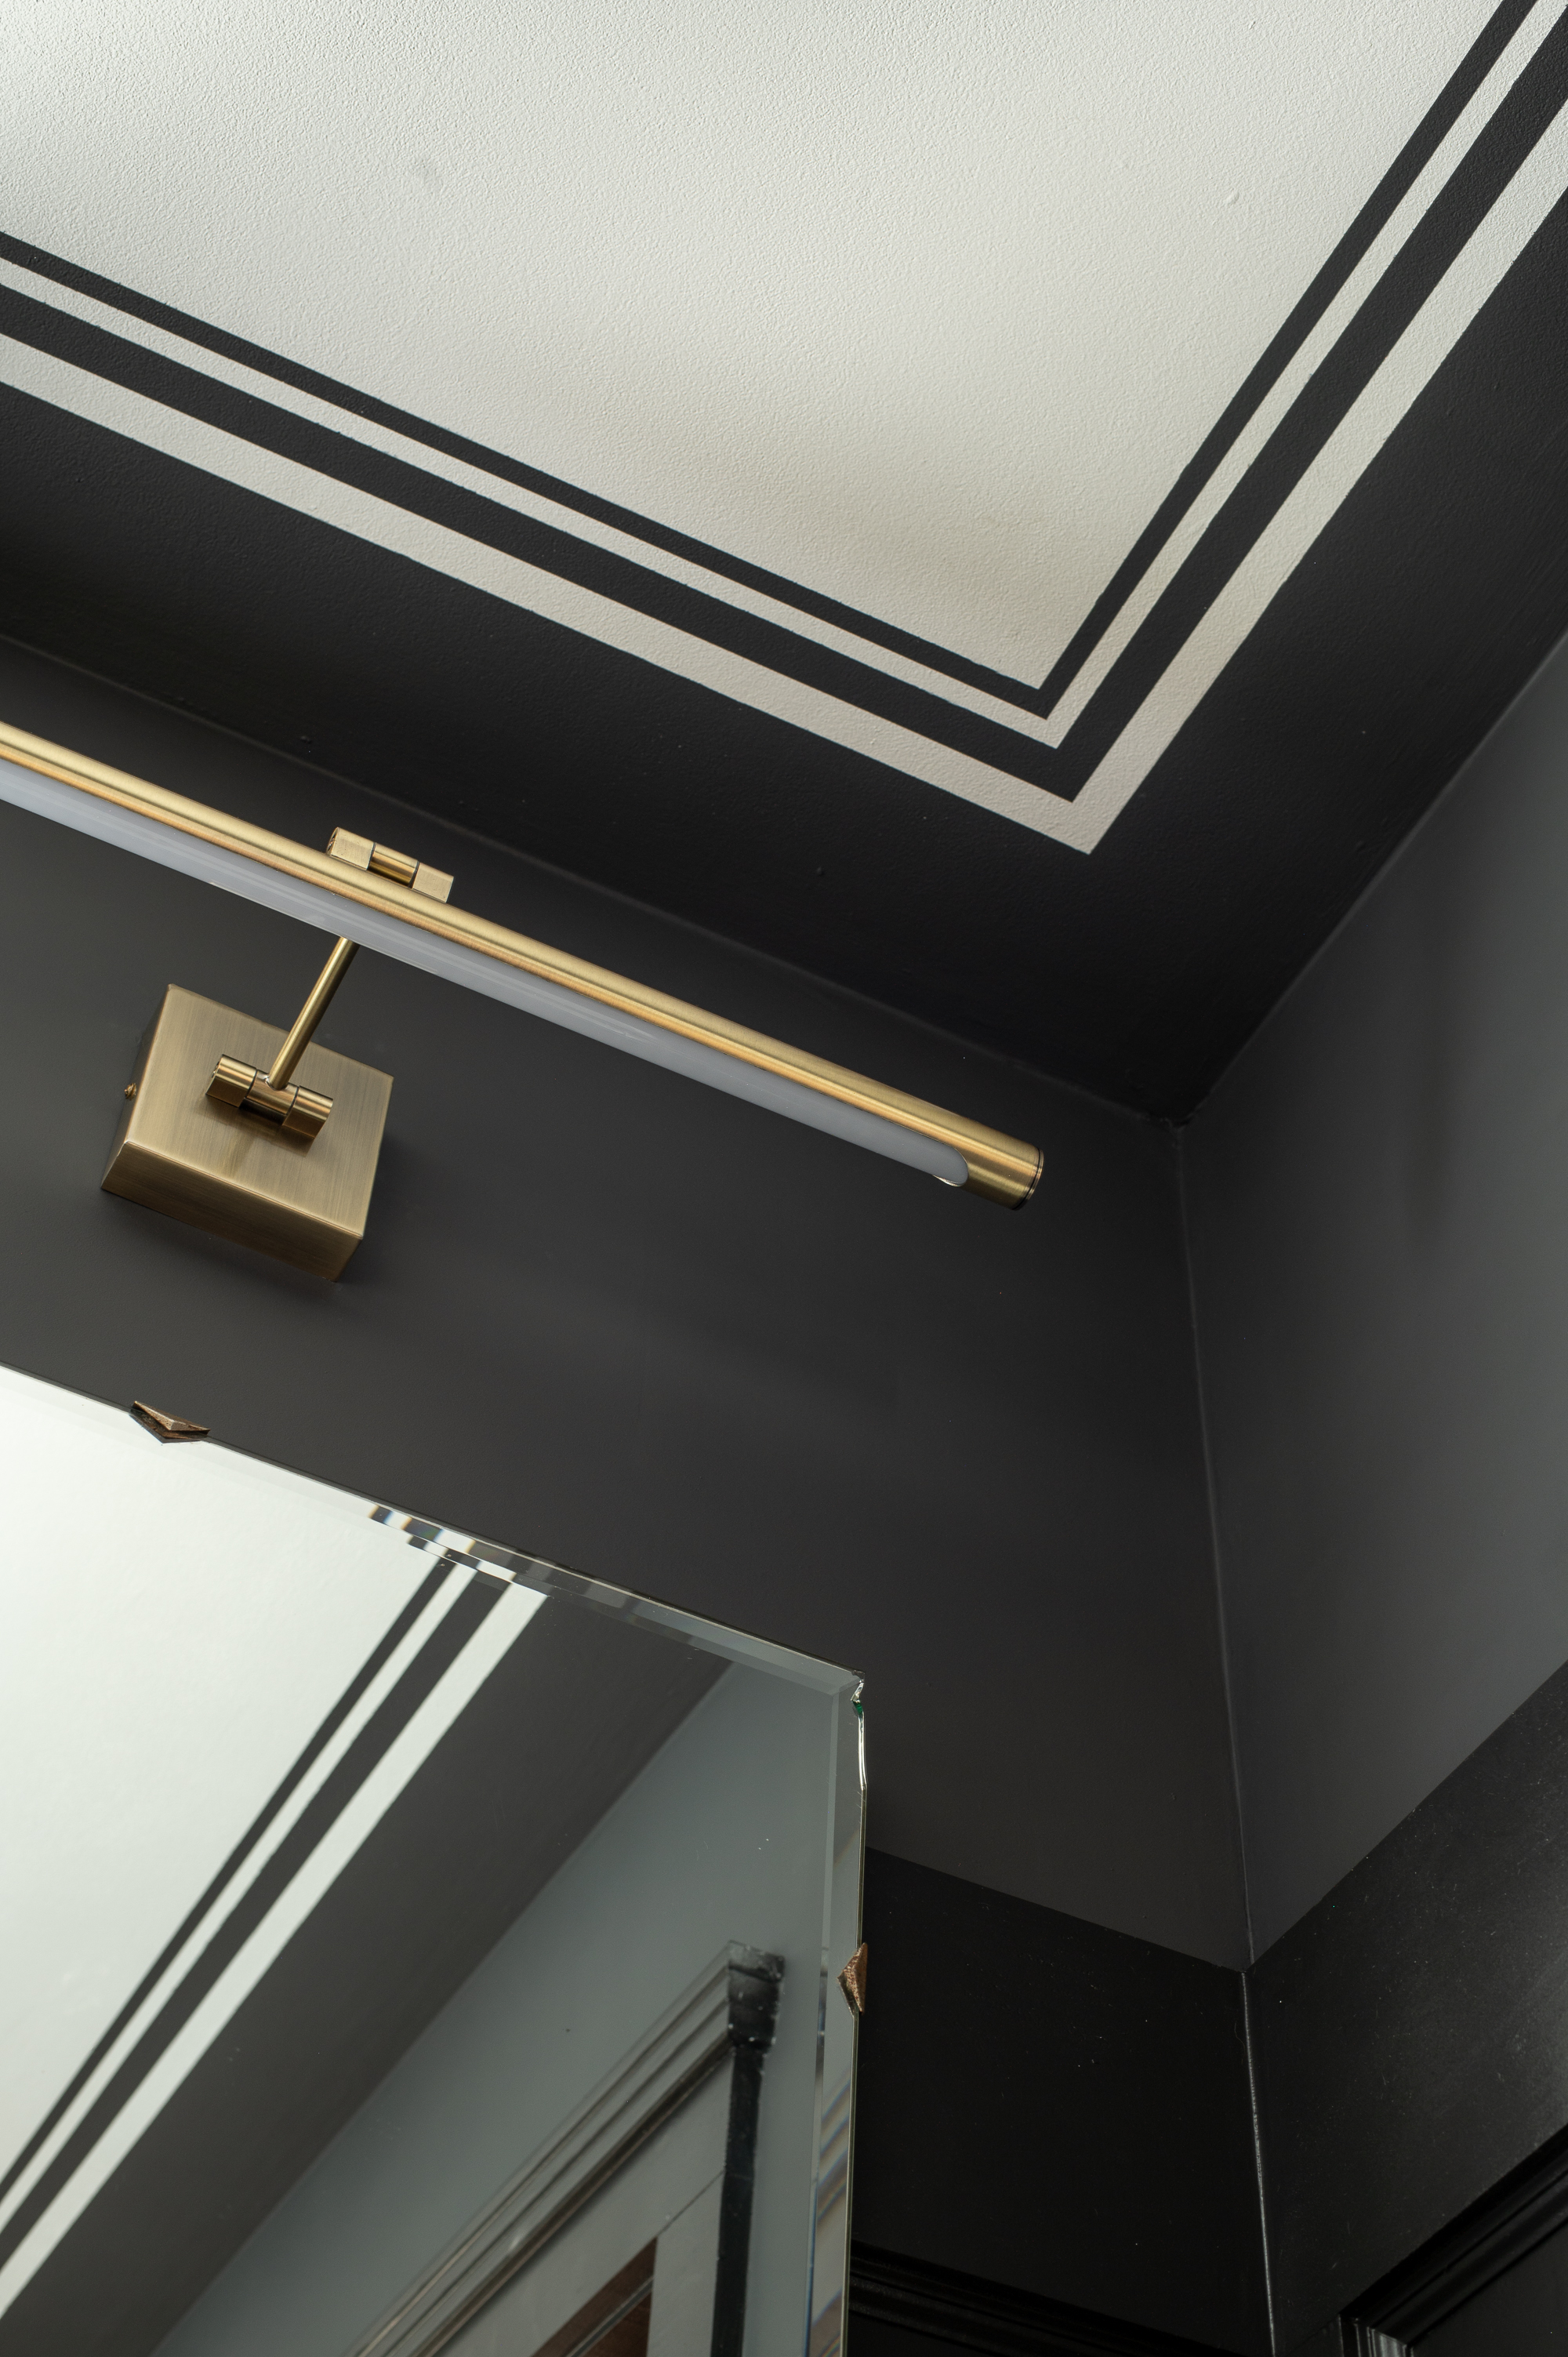
- We then sprayed the new trim work and all the existing mouldings with a custom color I created by mixing together 2 parts of Sherwin Williams Black Magic, with 1 part Sherwin Williams Iron Ore in a Semi-Gloss finish. (Basically I want a very neutral deep deep charcoal that wasn’t totally black and couldn’t find one, in the end this mixture gave me the perfect neutral or *oh so slightly warm* “off black” I was looking for.)
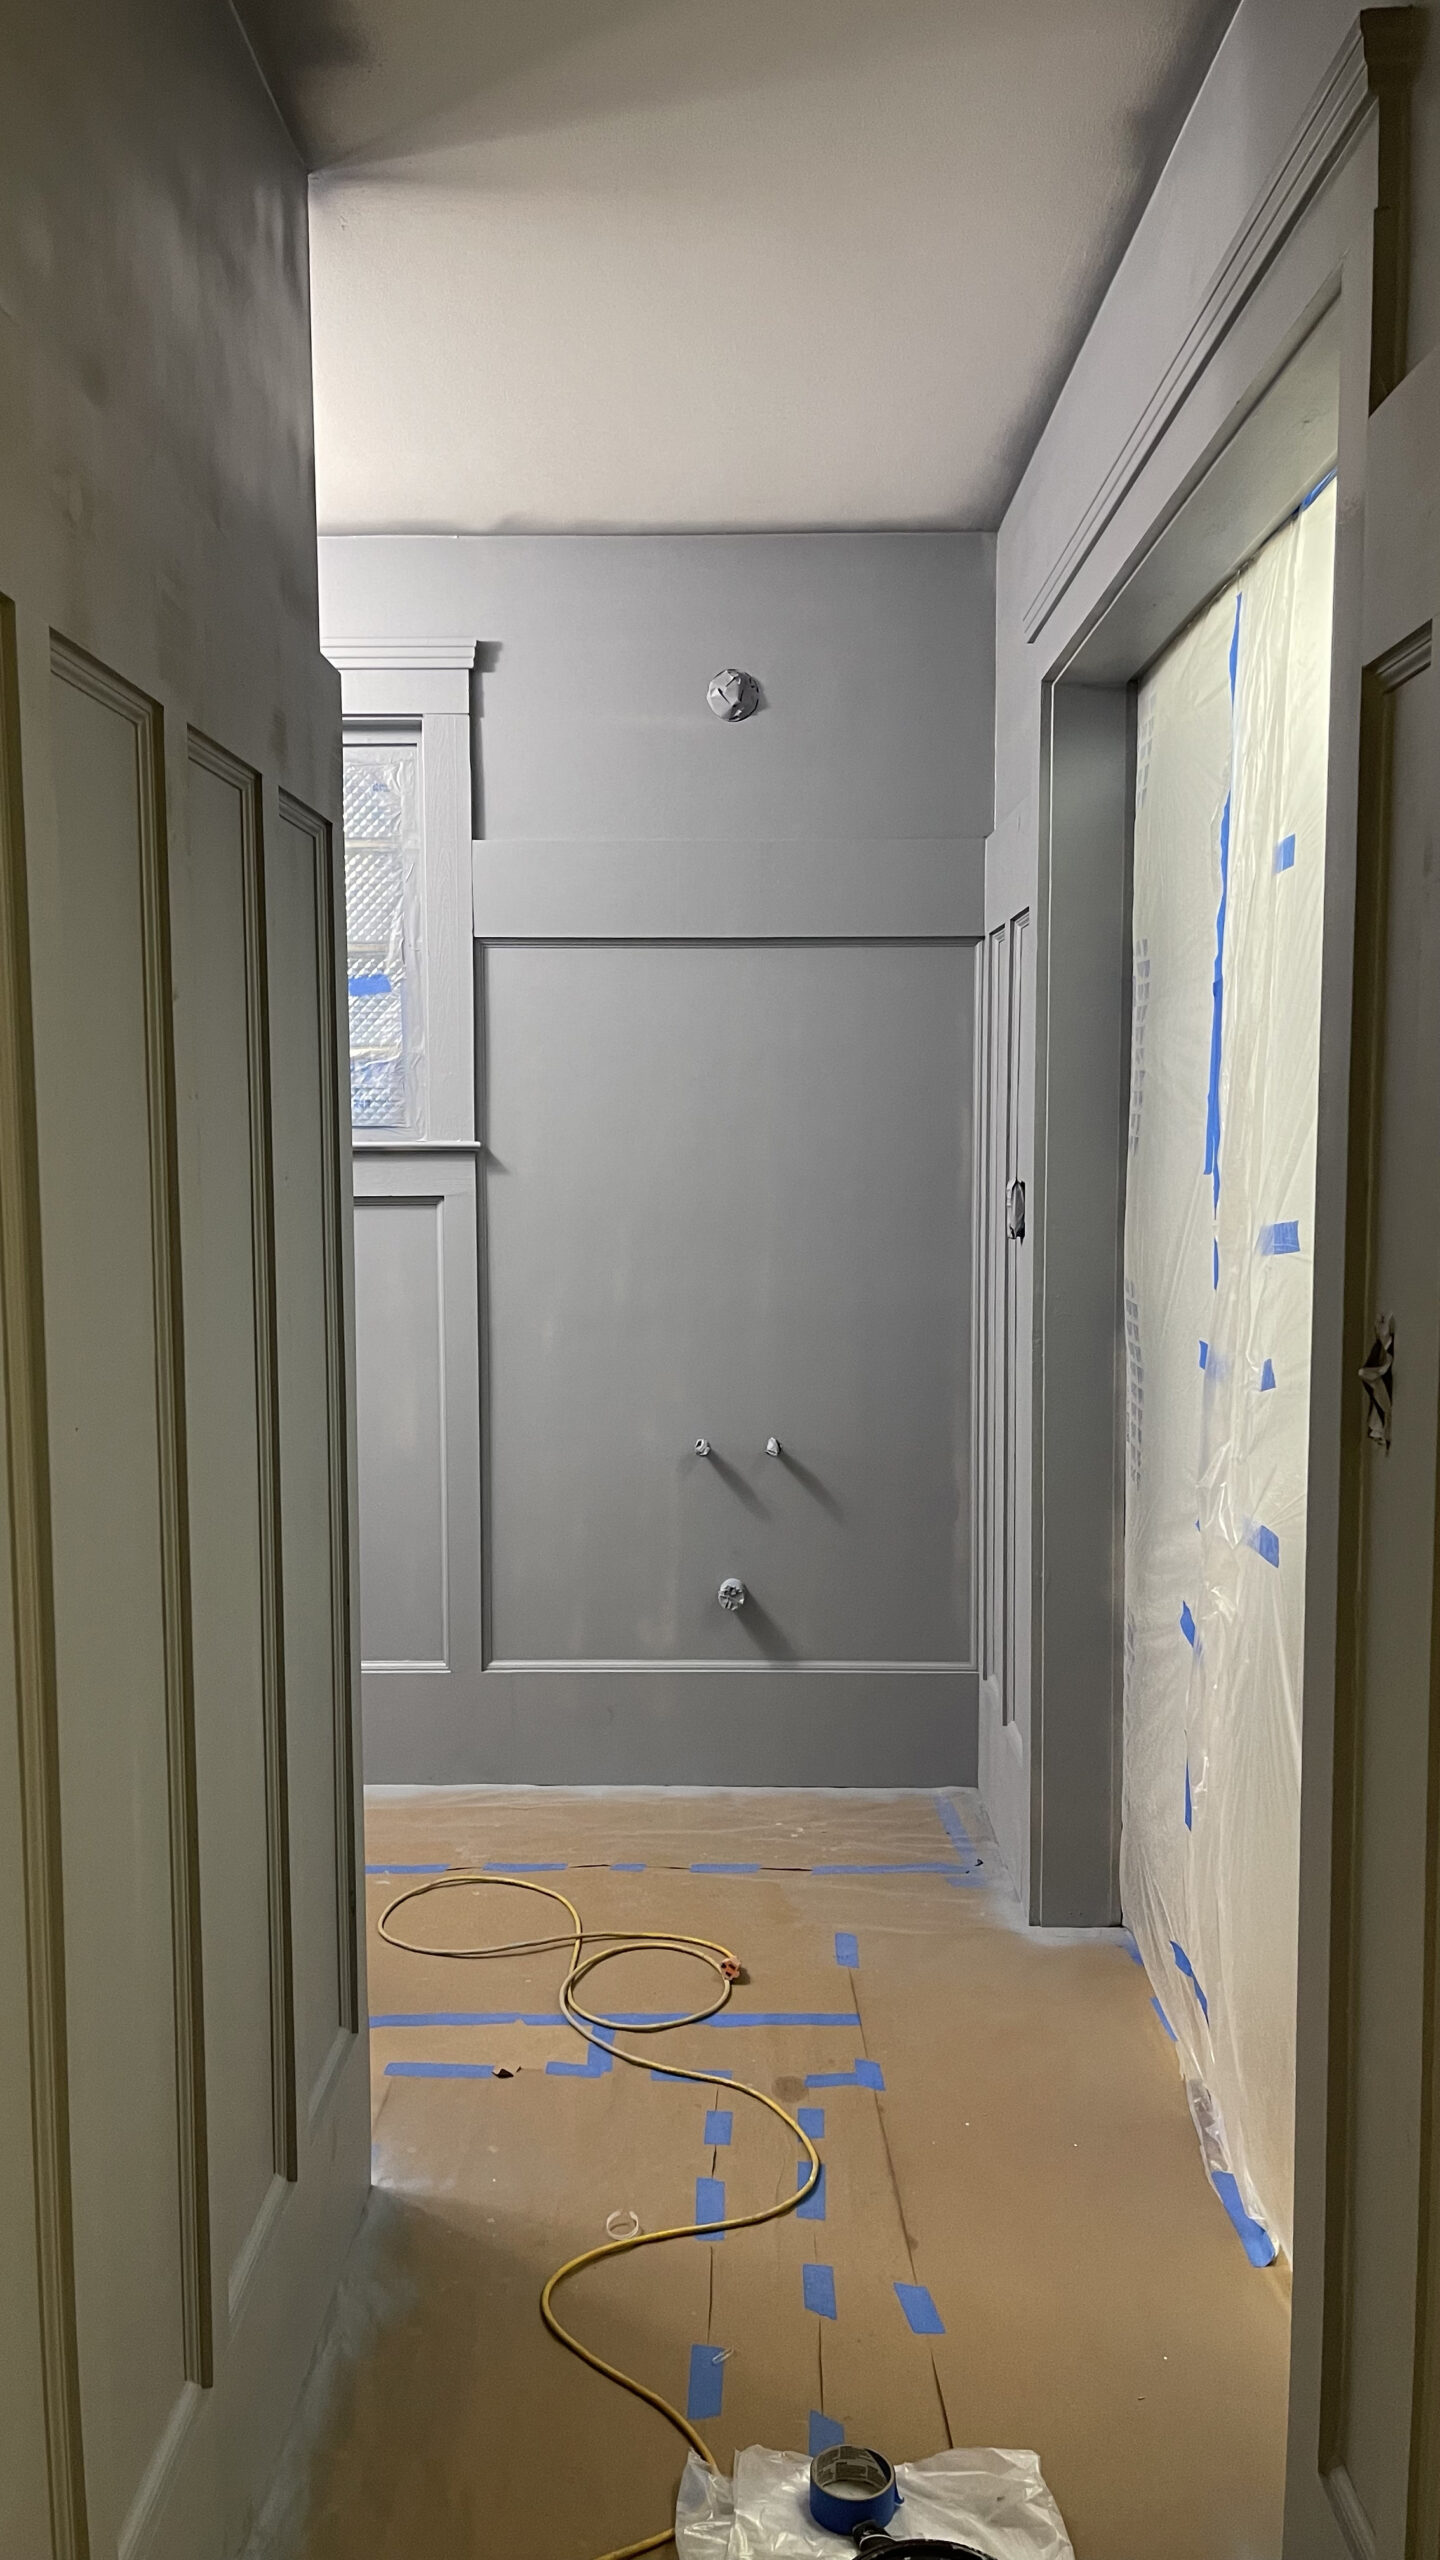
- For the top third of the wall I wanted to roll on a different color, I decided to go for a subtle tone on tone by painting it in the lighter of the two shades I had mixed together to create my custom color, Iron Ore. To increase the contrast between the two I used a flat finish (luckily Sherwin Williams has bathroom-approved flat finish paint!).
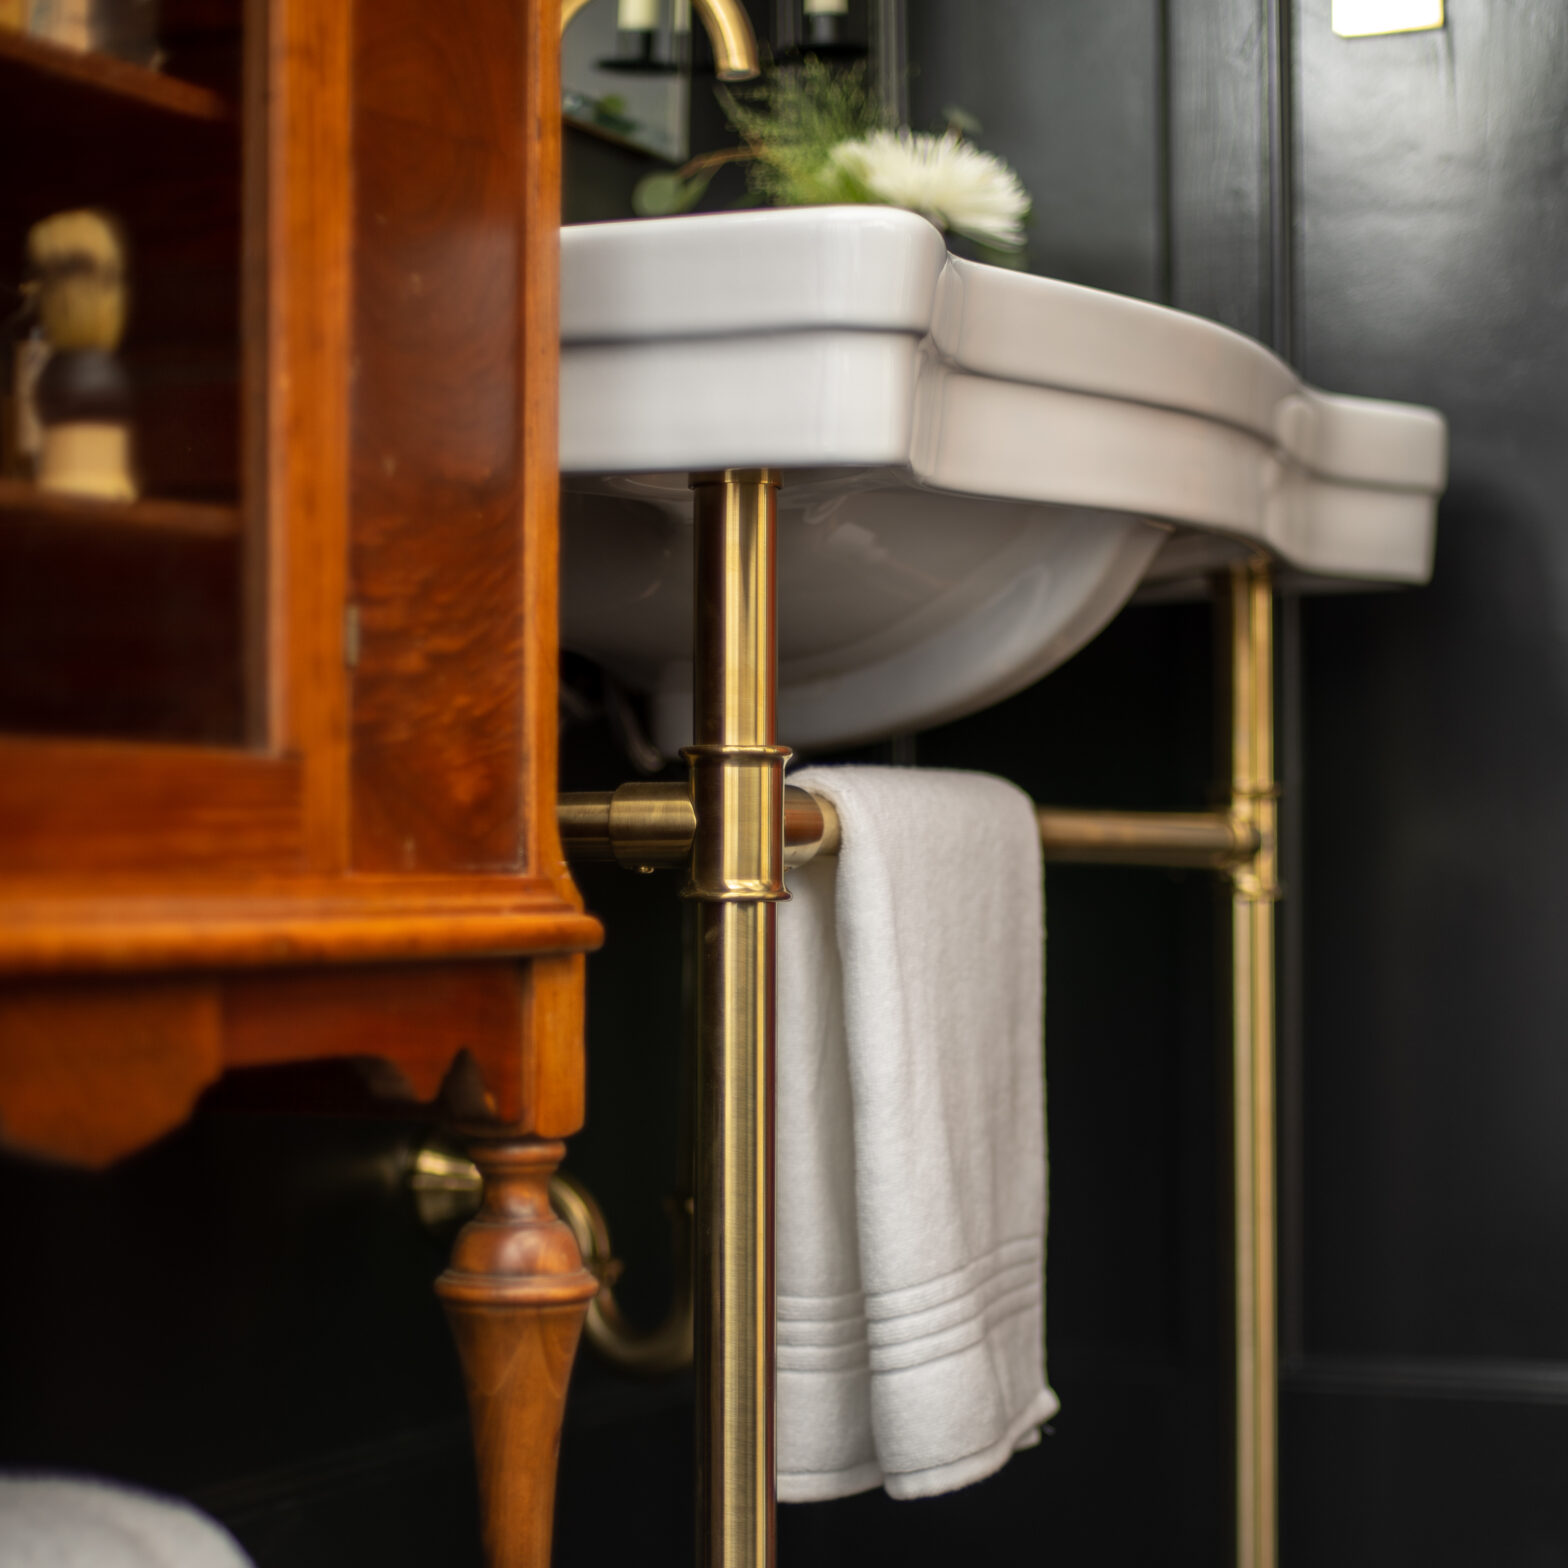
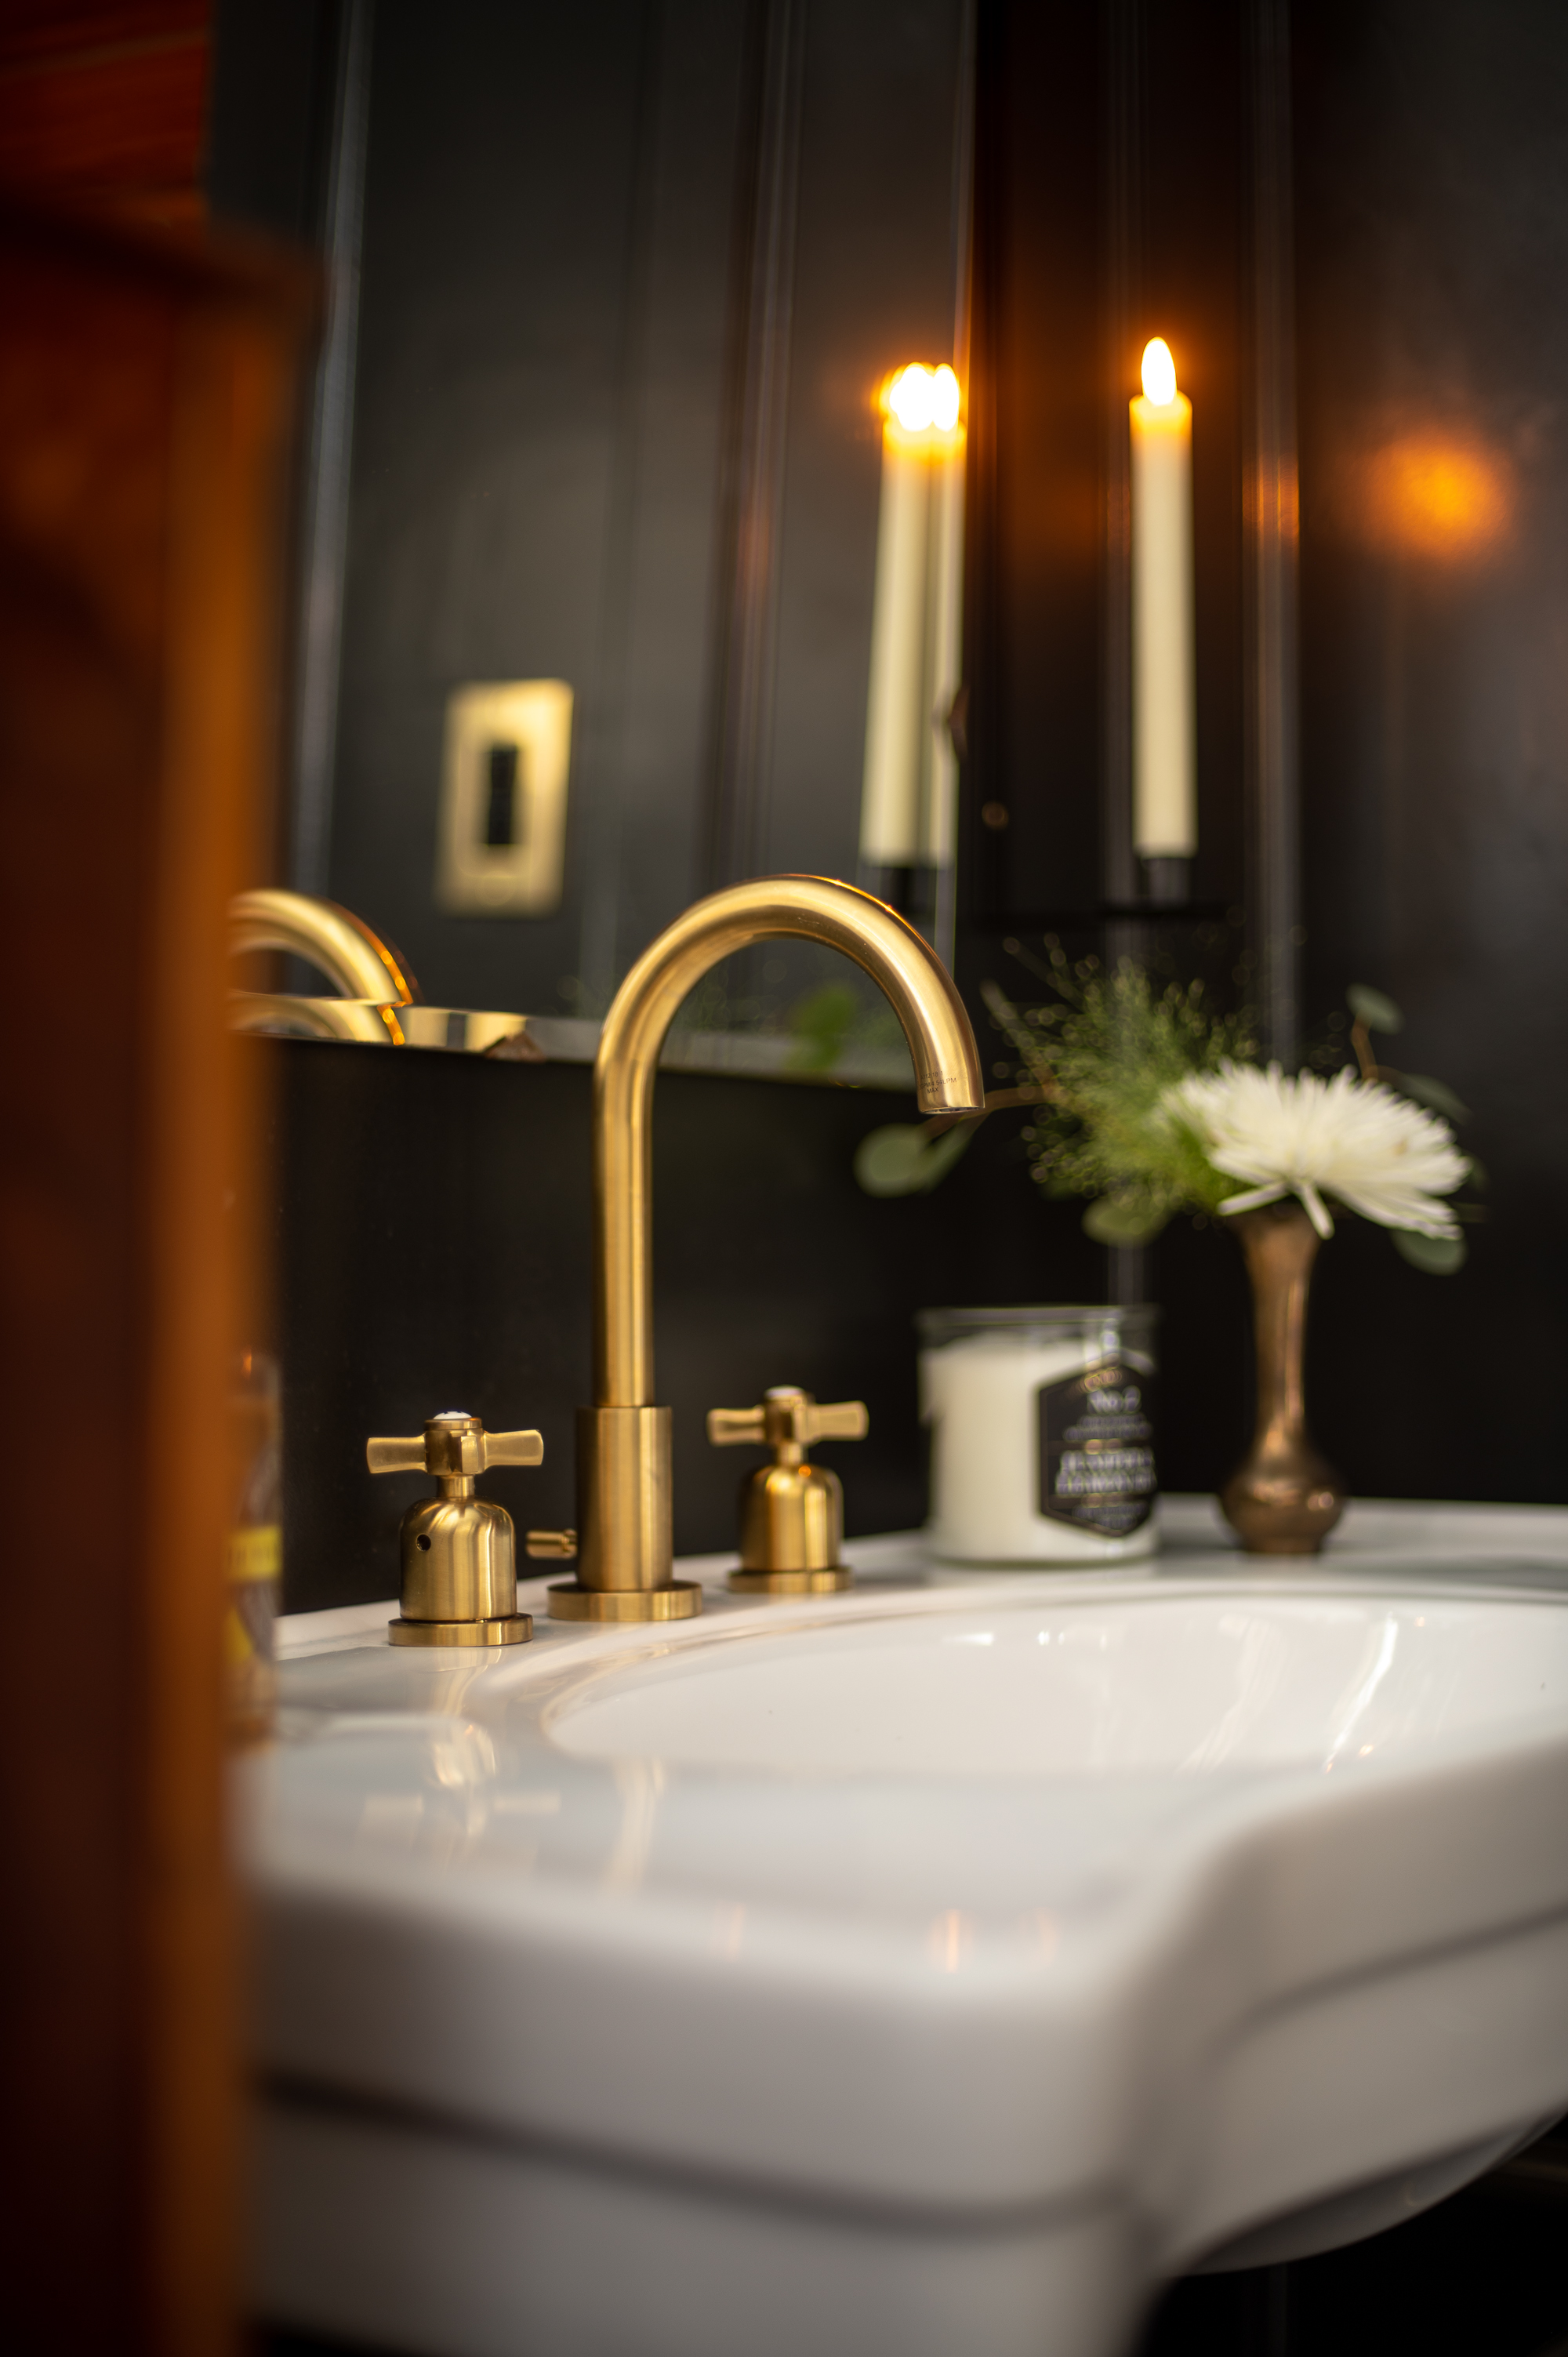
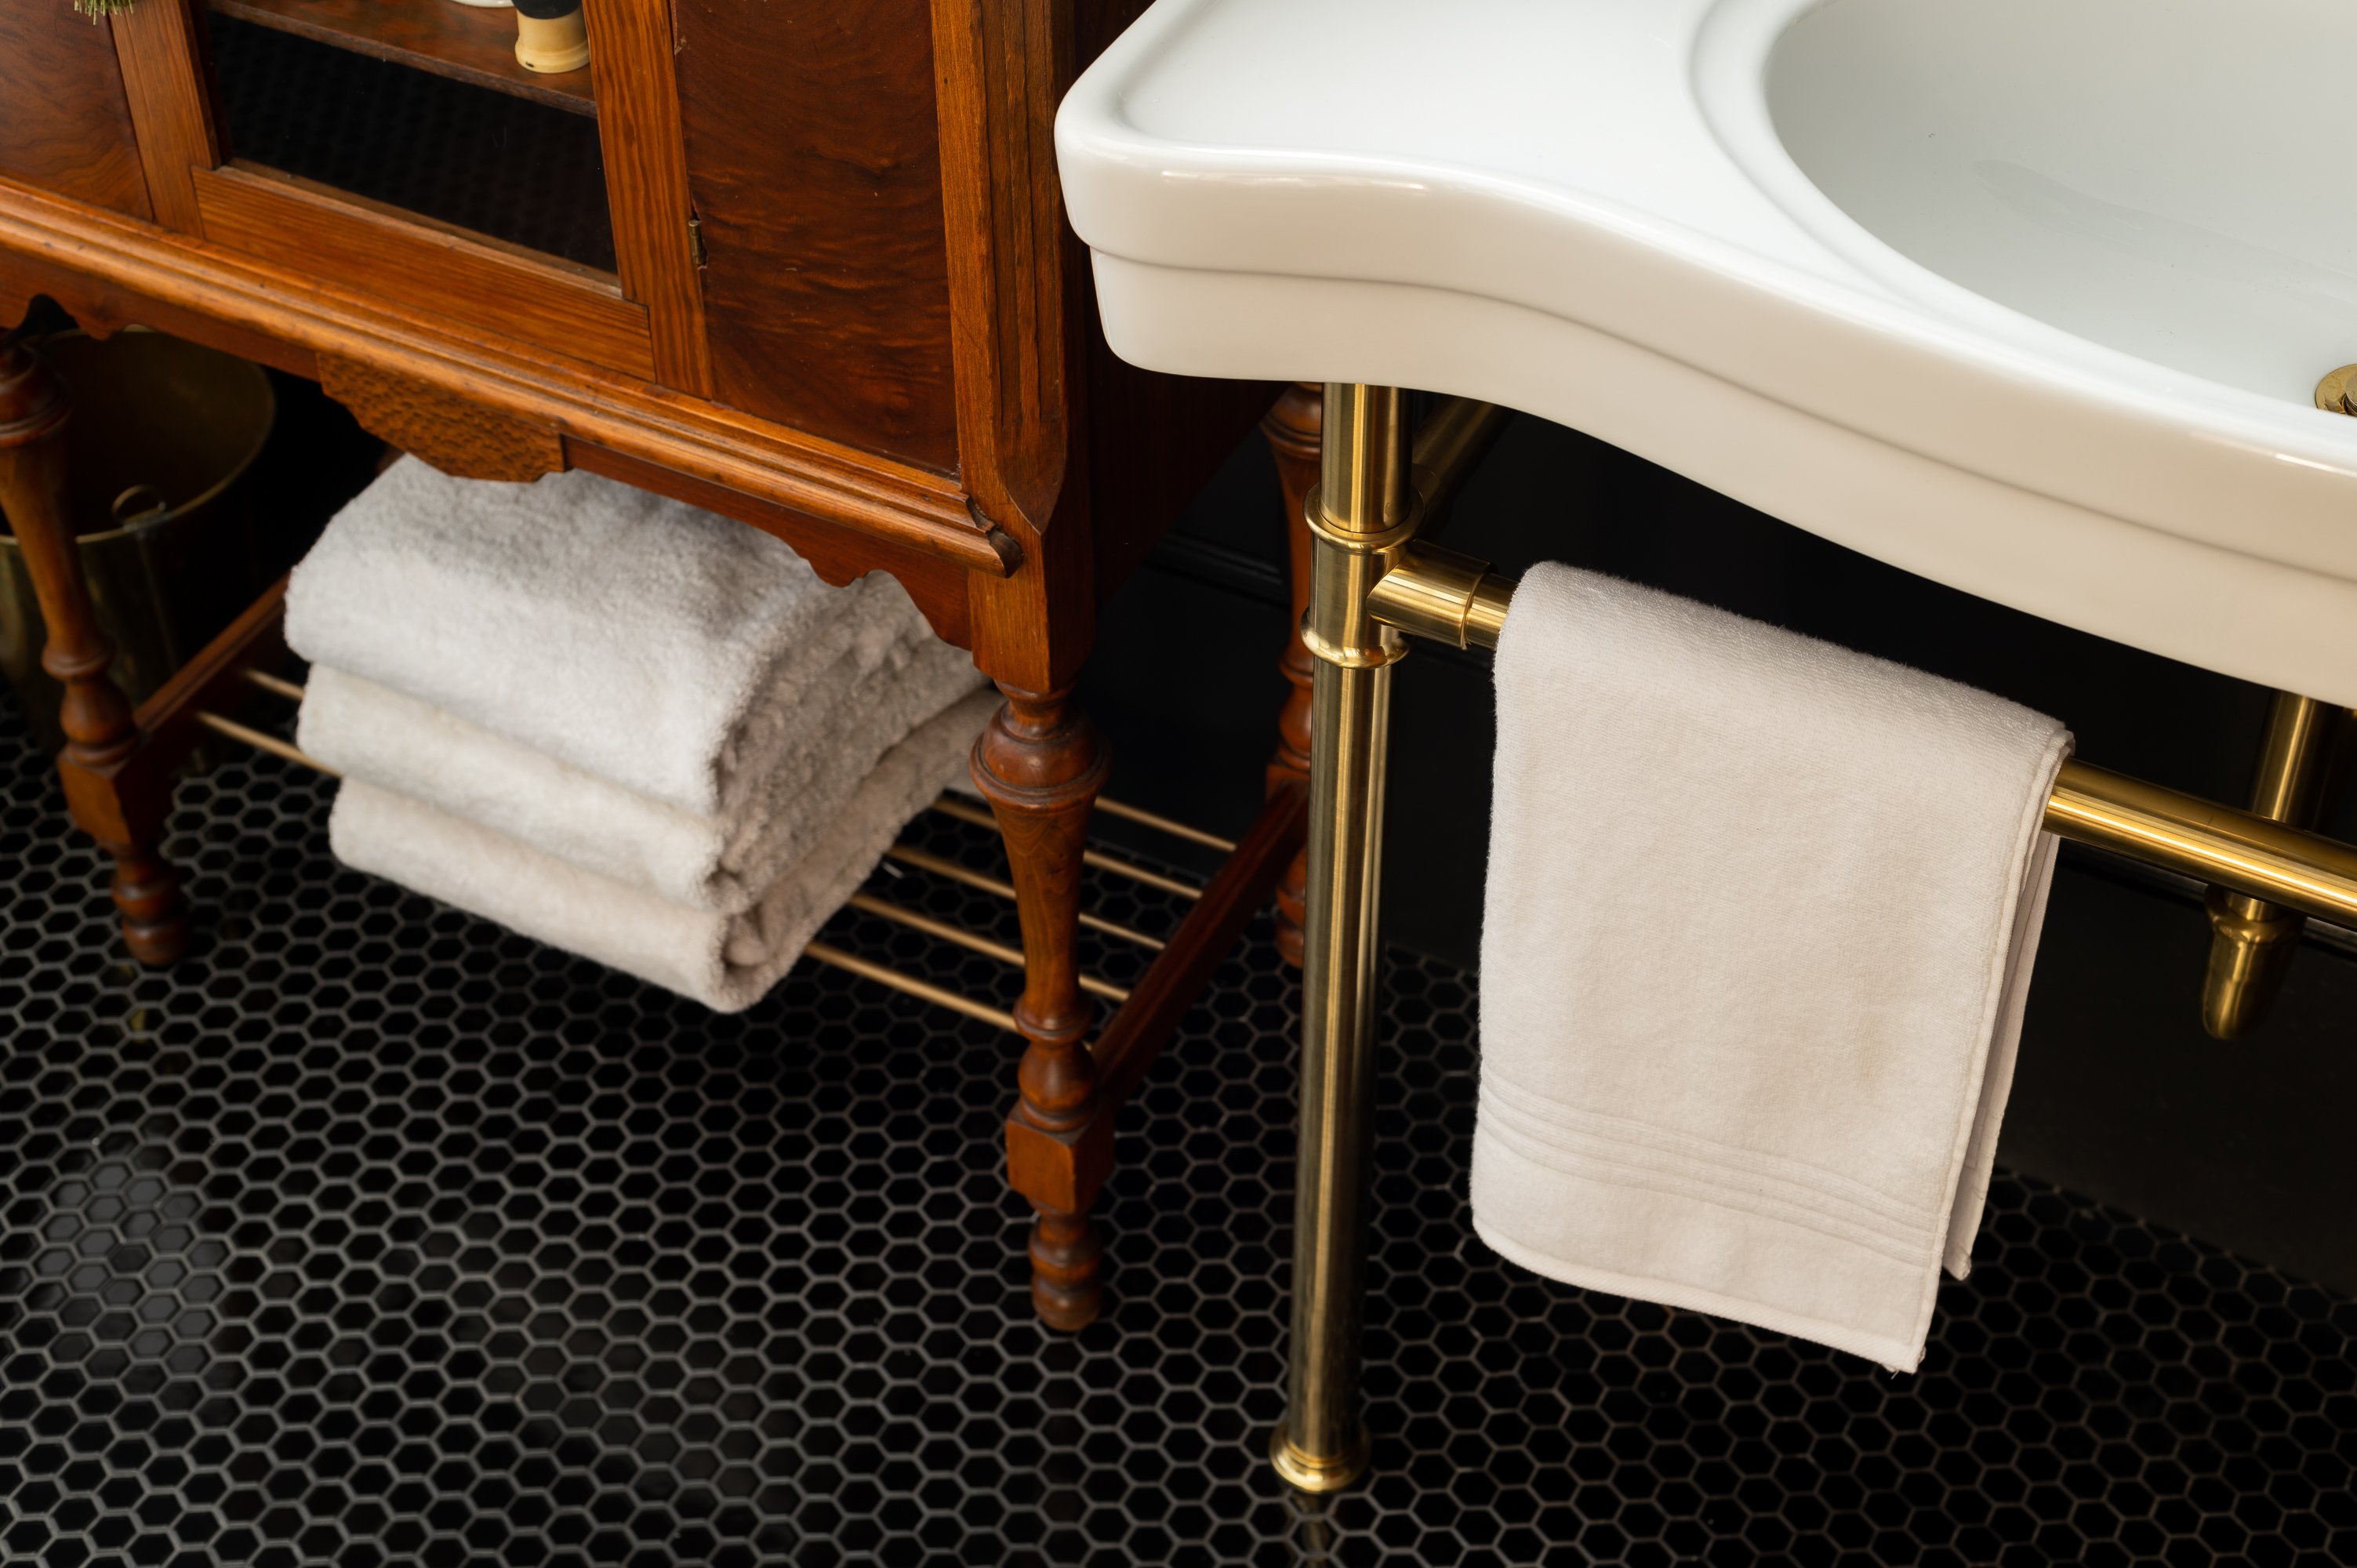
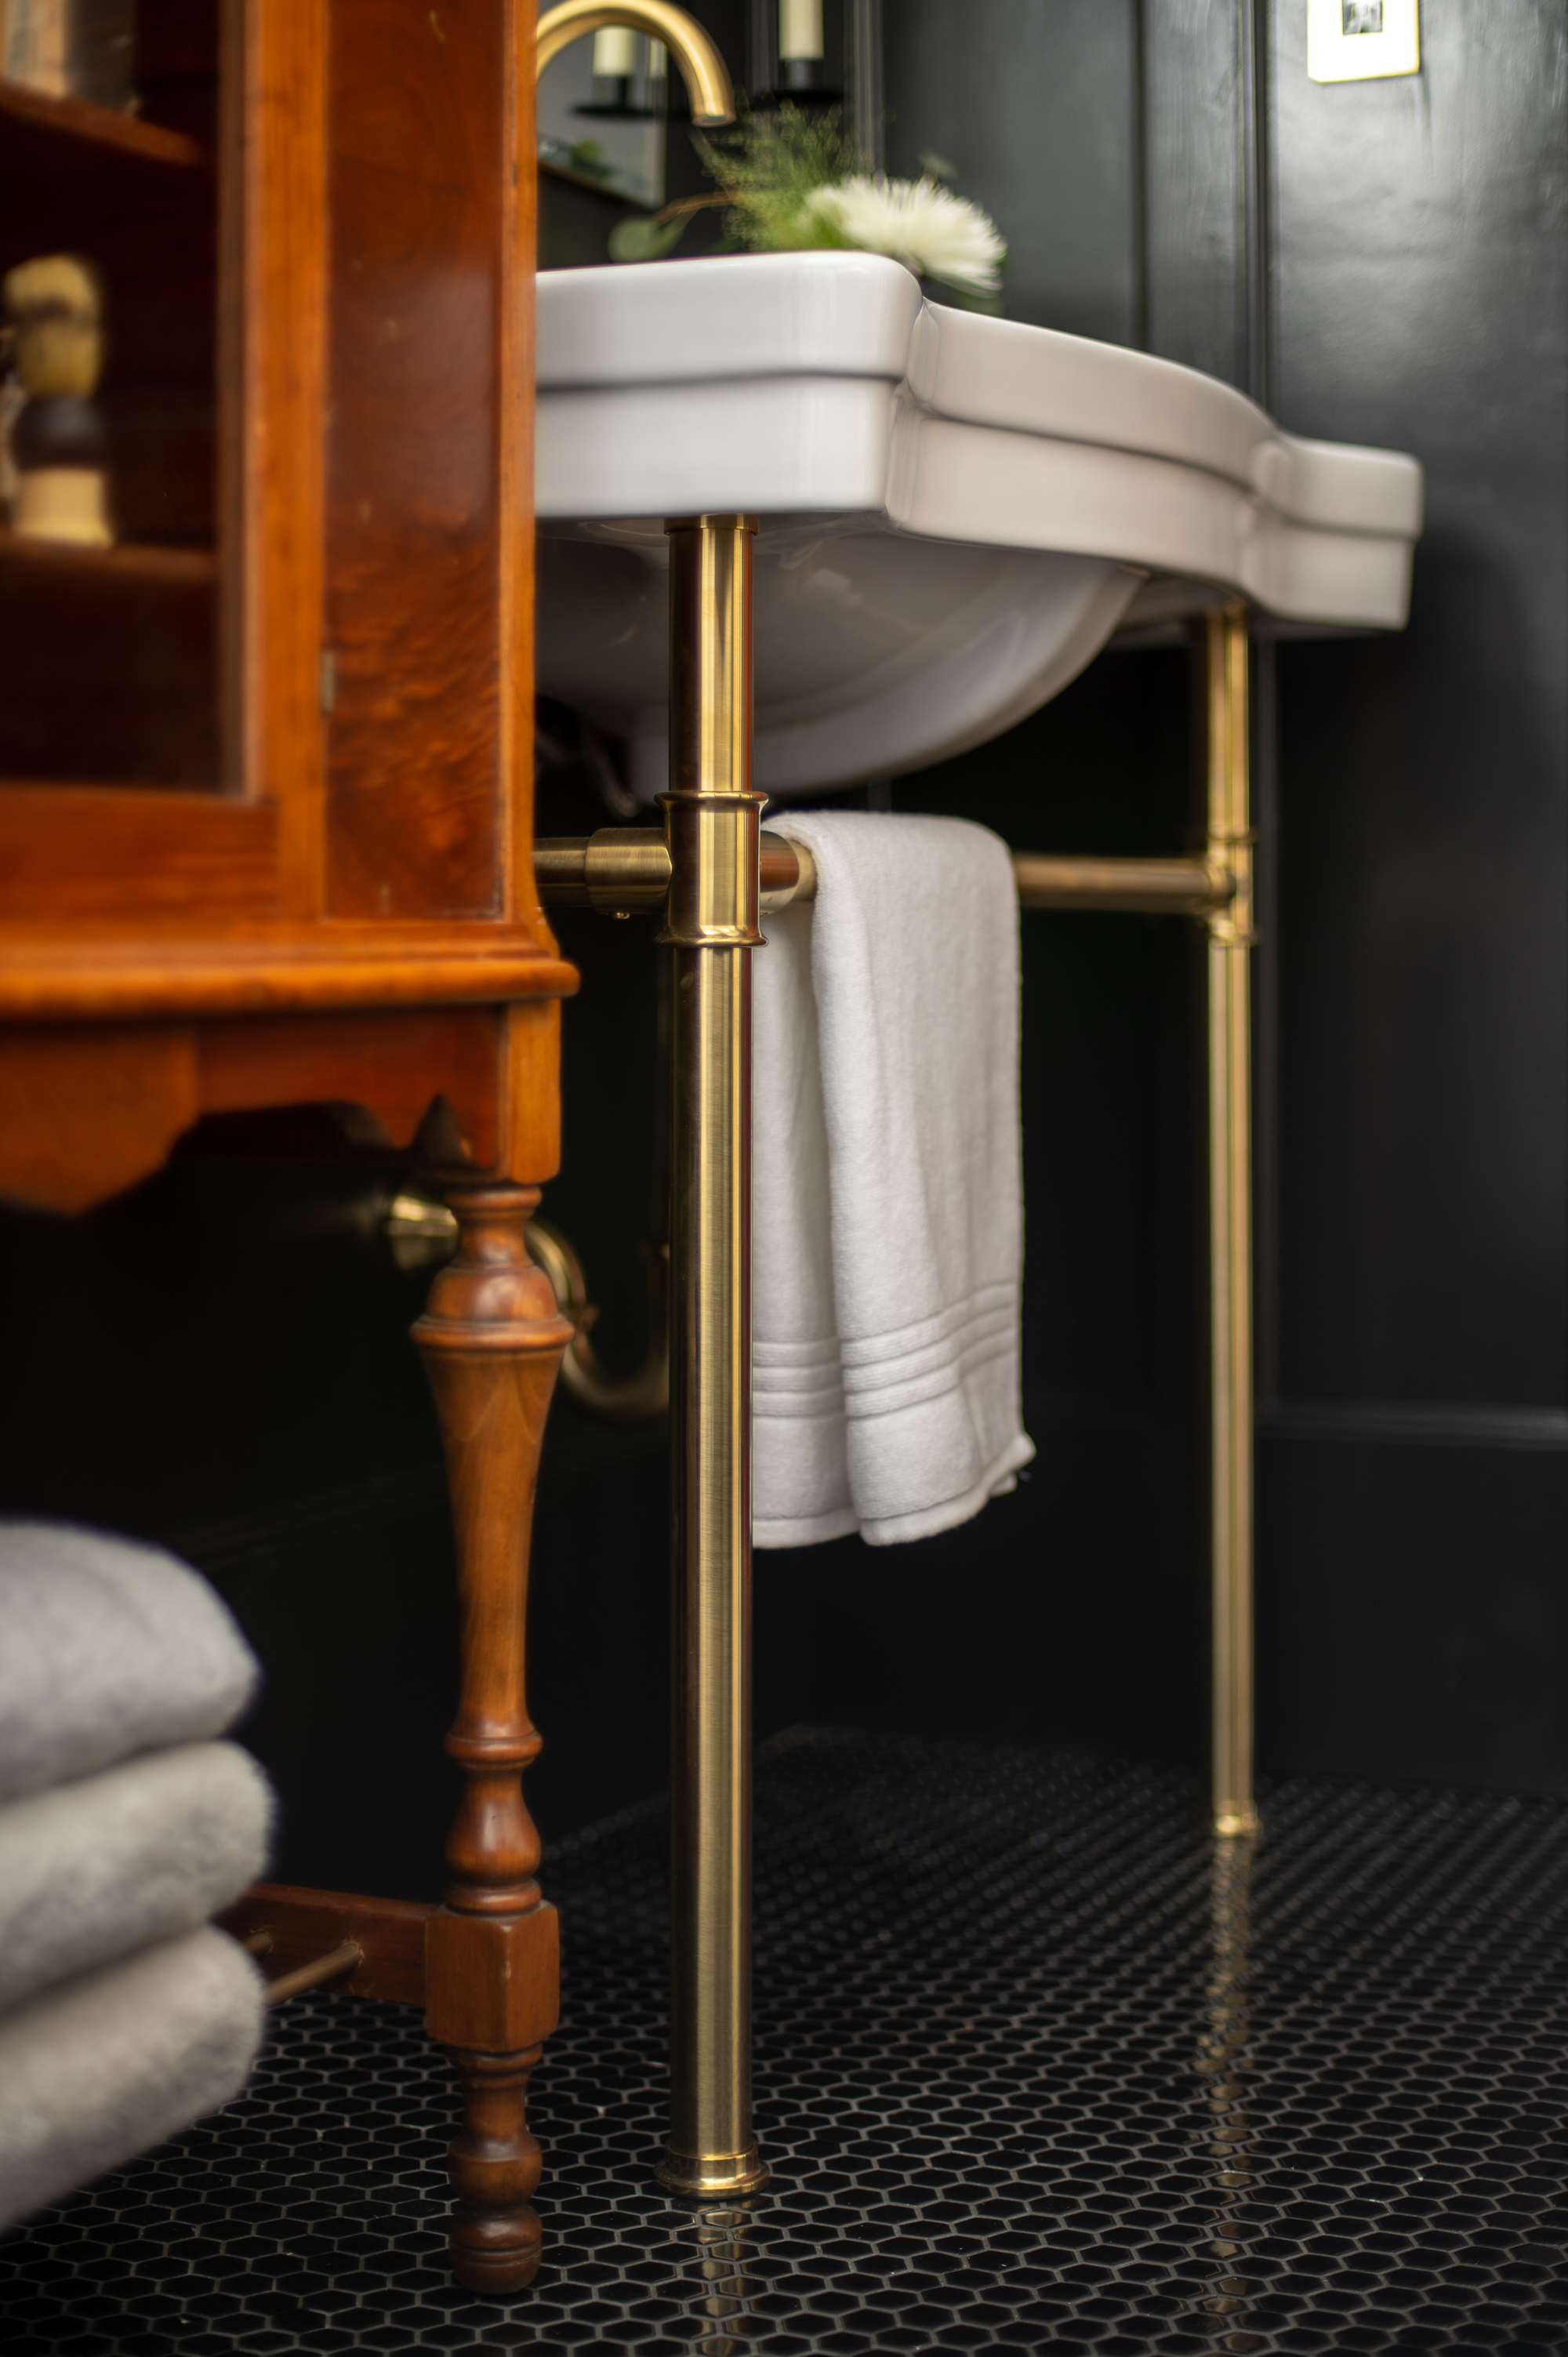
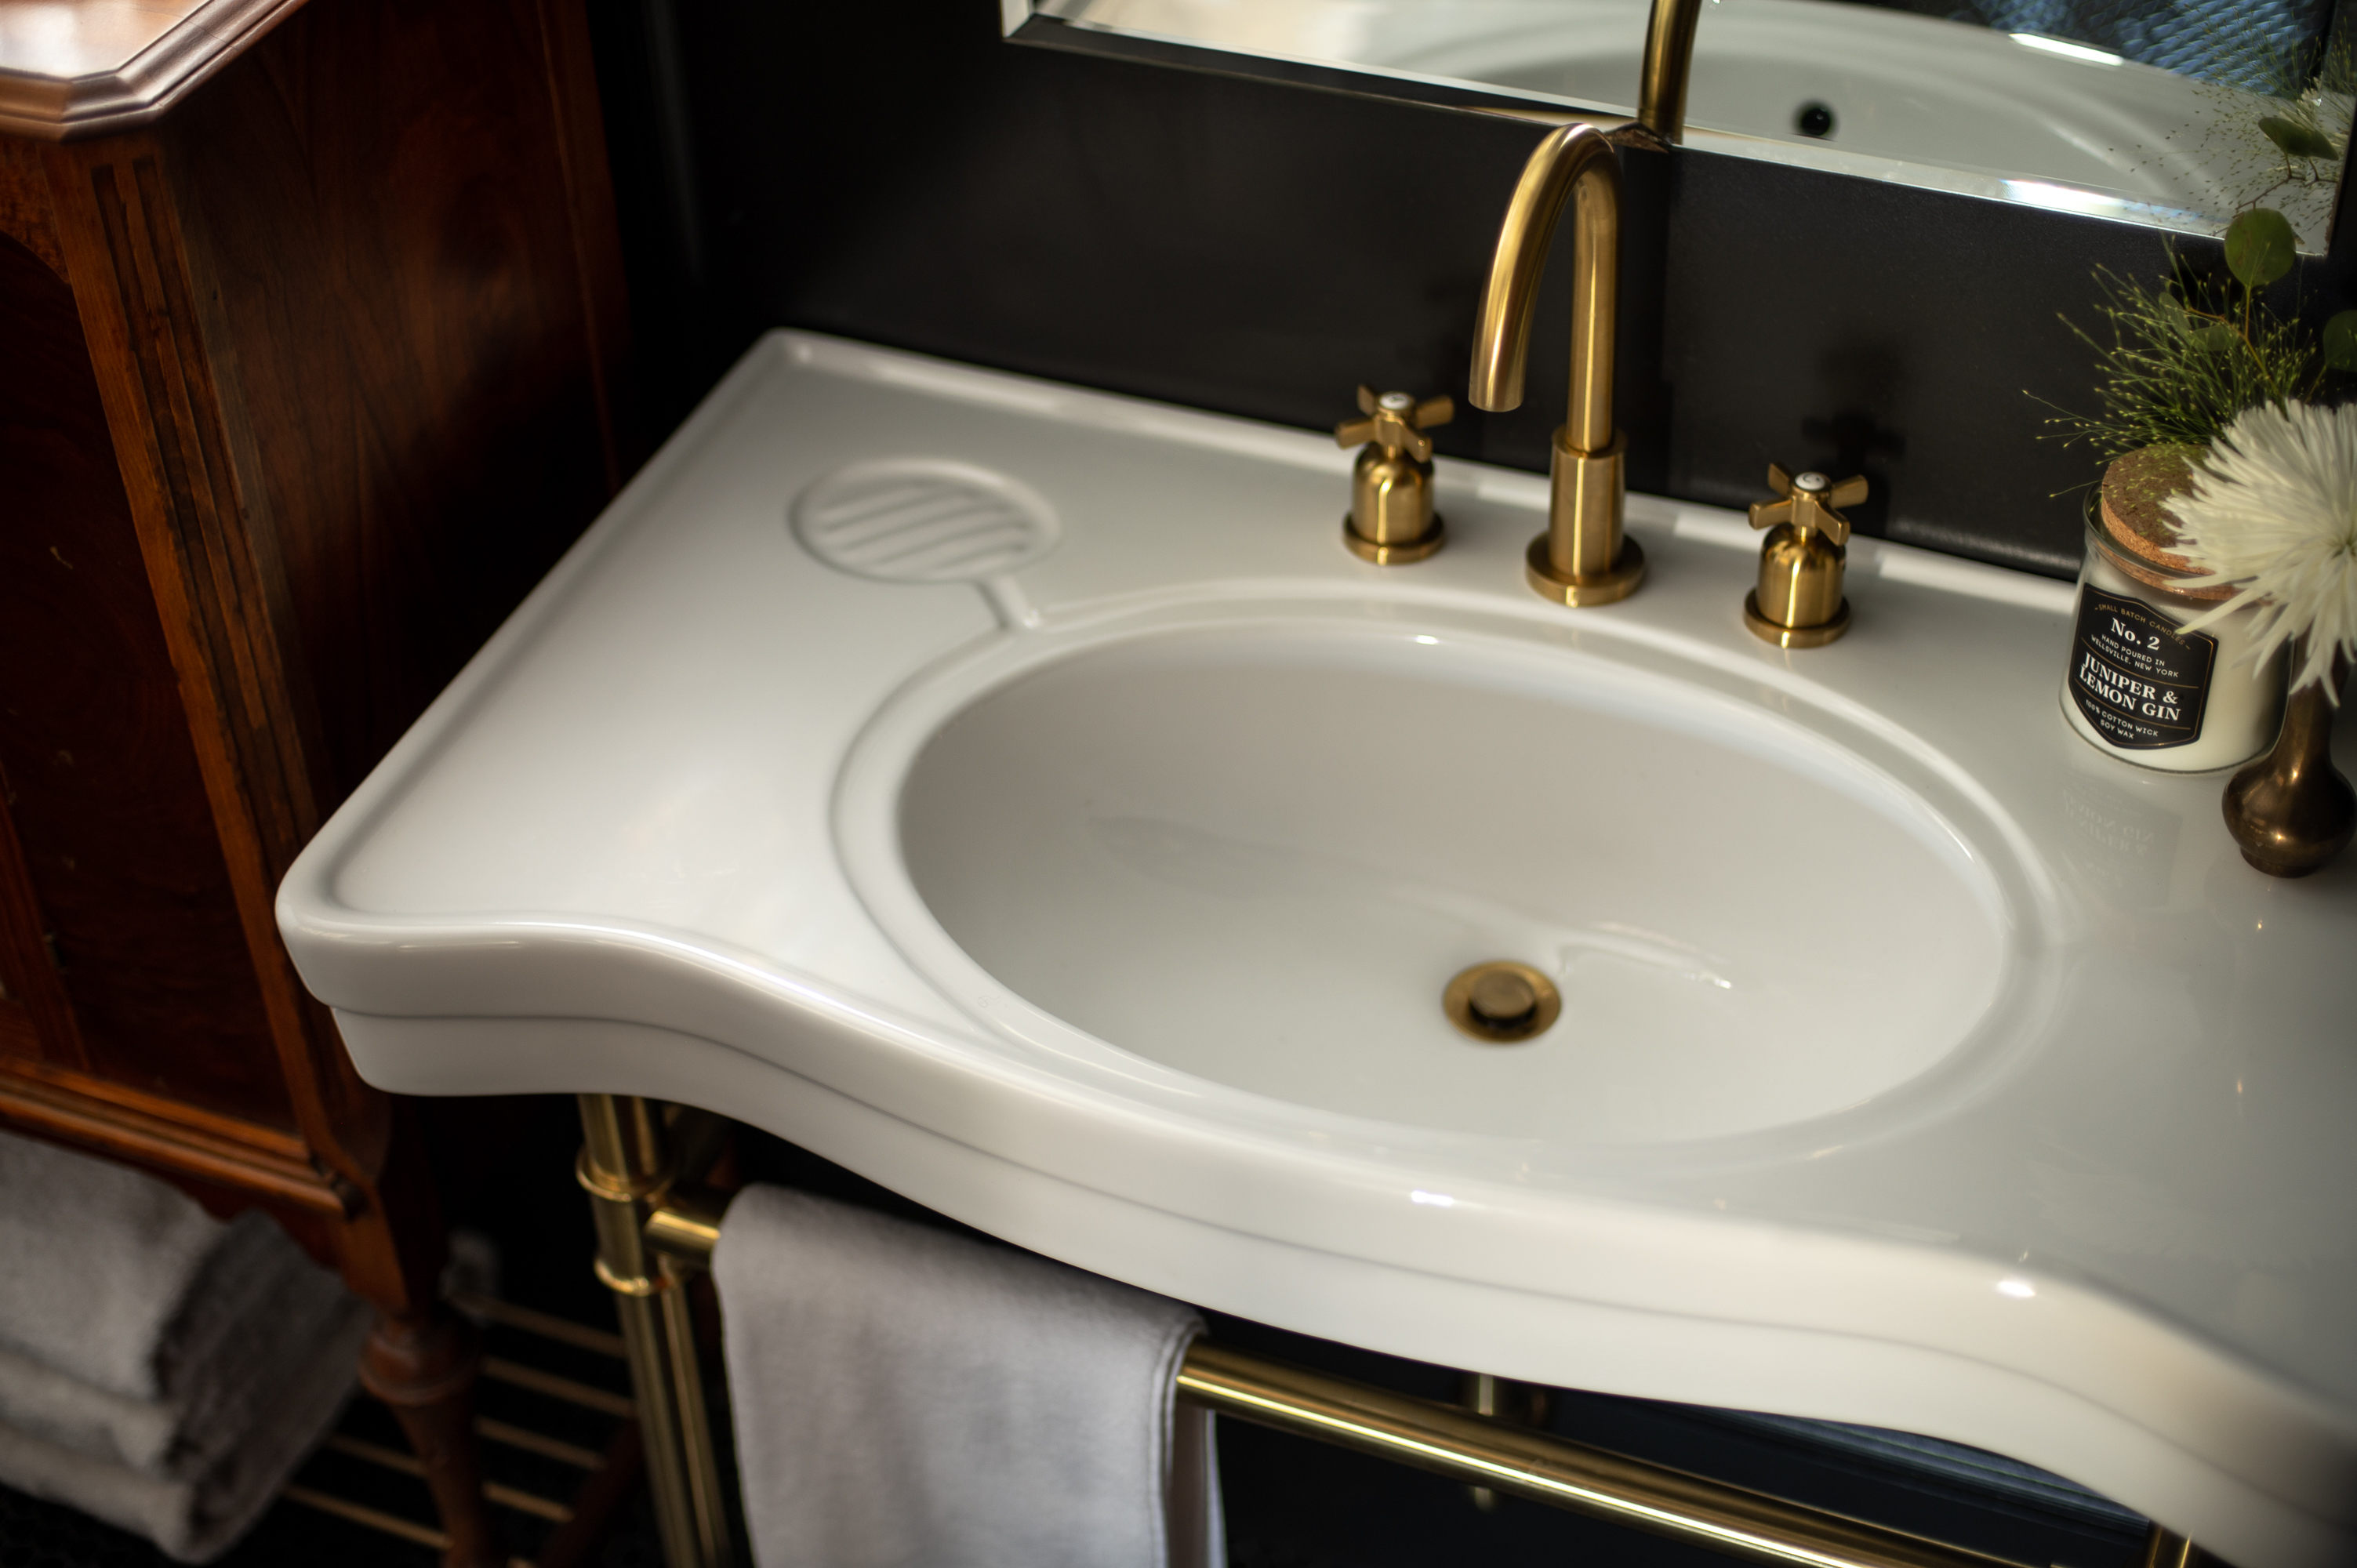
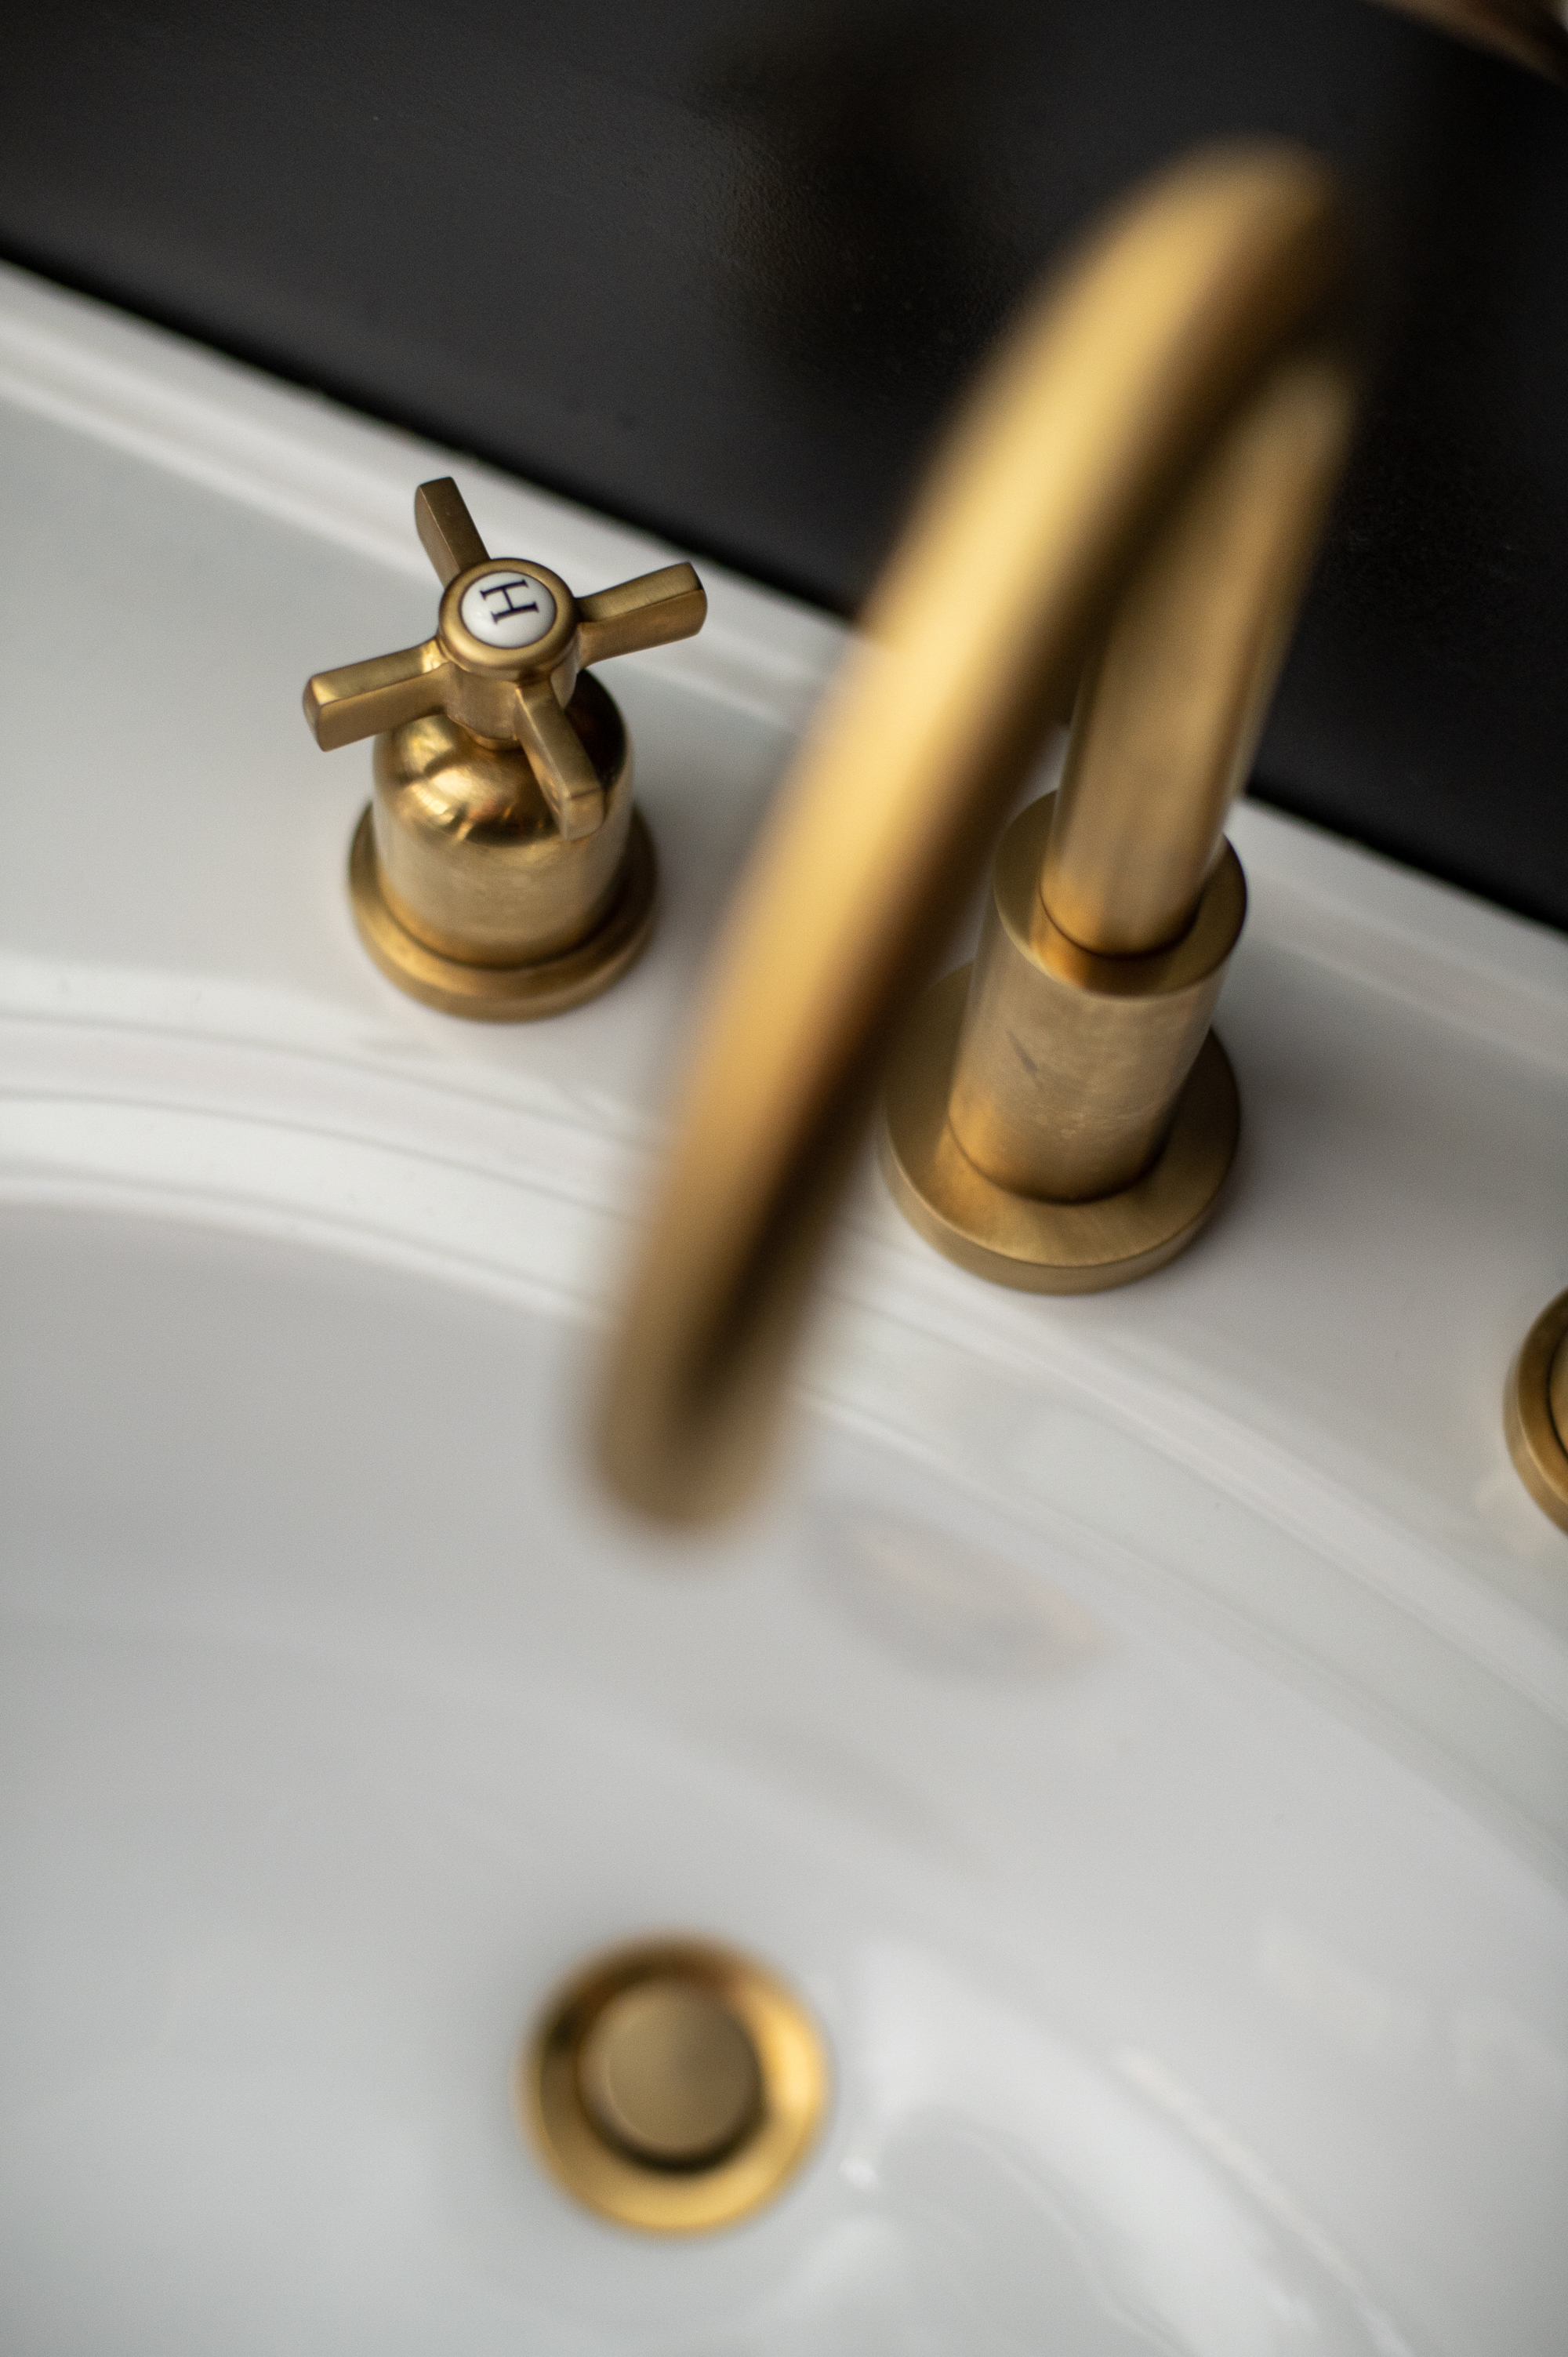
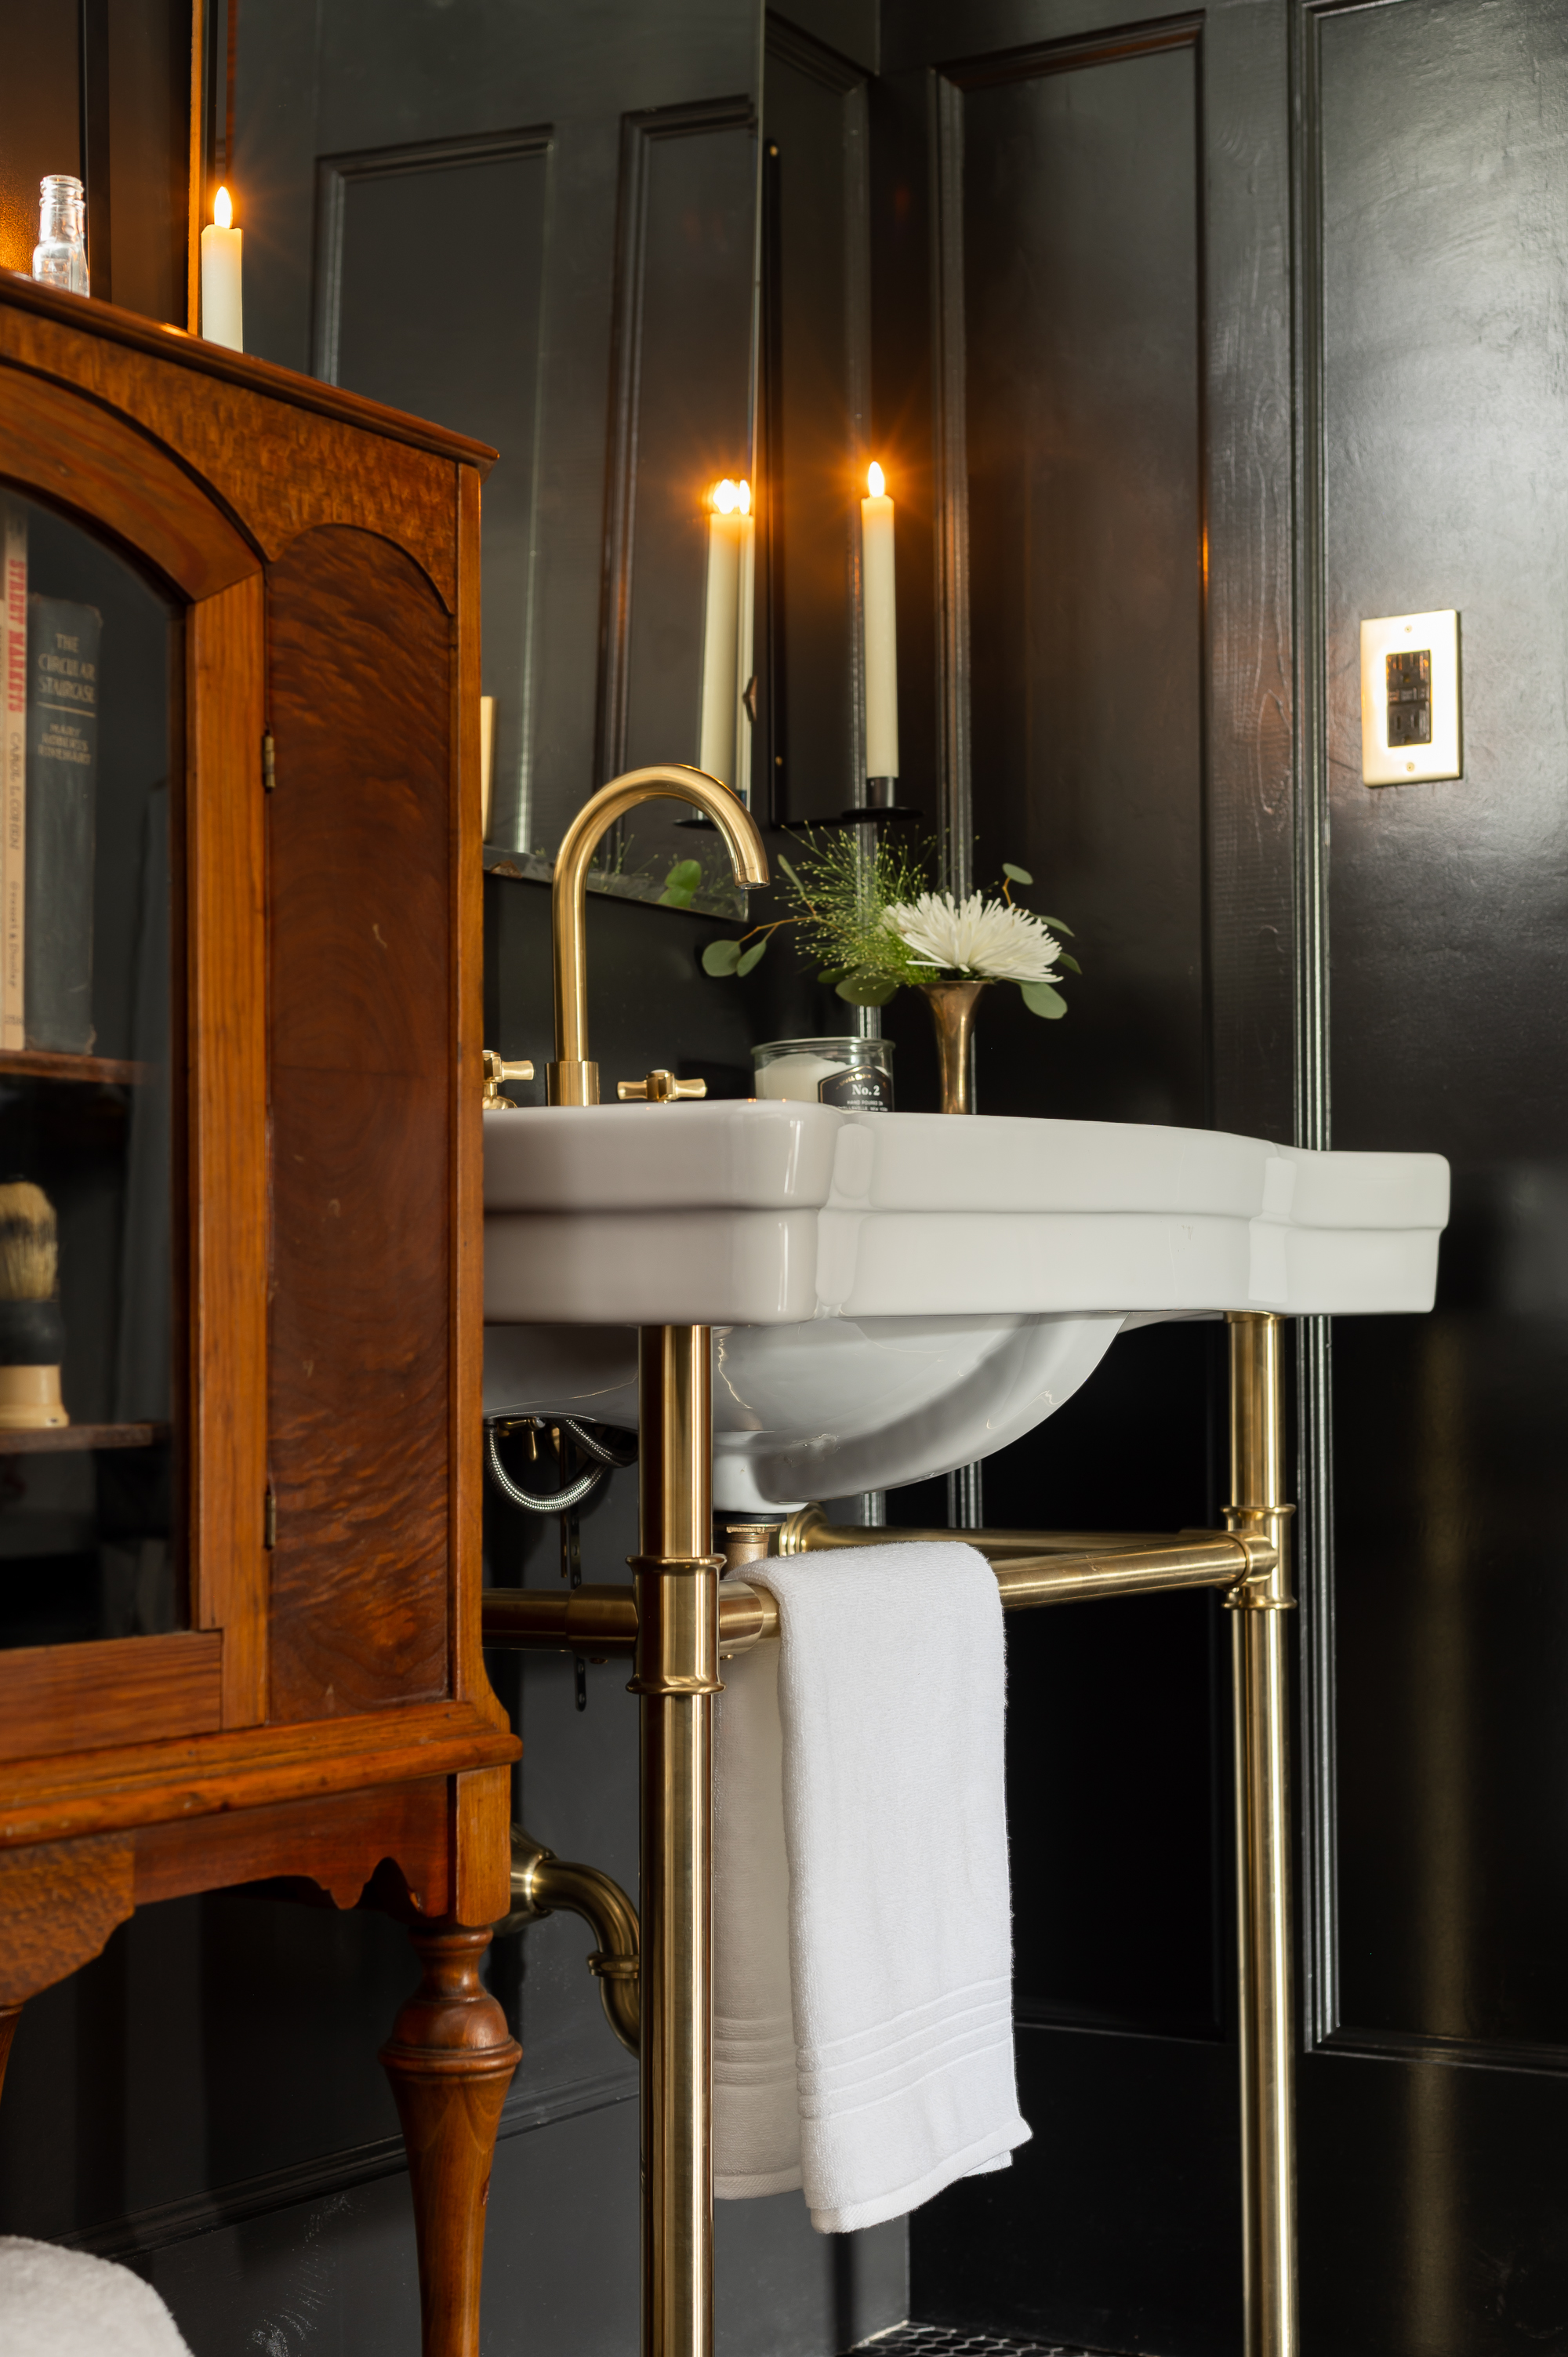
- We then called our plumber back to install the console sink and faucet for us. (This sink was a splurge for sure but I love it so so much and I feel like it really makes the room!). Unfortunately, the plumber informed us that he would not be able to install the new tub hardware as there was an existing leak (nothing damaging to the house just a constant drip into the tub basin) that would need to be dealt with first, but which would require us ripping up and replacing some tile in the shower to do so. Since we needed this bathroom usable ASAP, we decided to postpone that part of the project to a later date and deal with the drippy faucet and old hardware for now.
- Then we were finally able to reinstall the toilet back in the room and we had a working toilet, sink, and drippy shower trifecta!
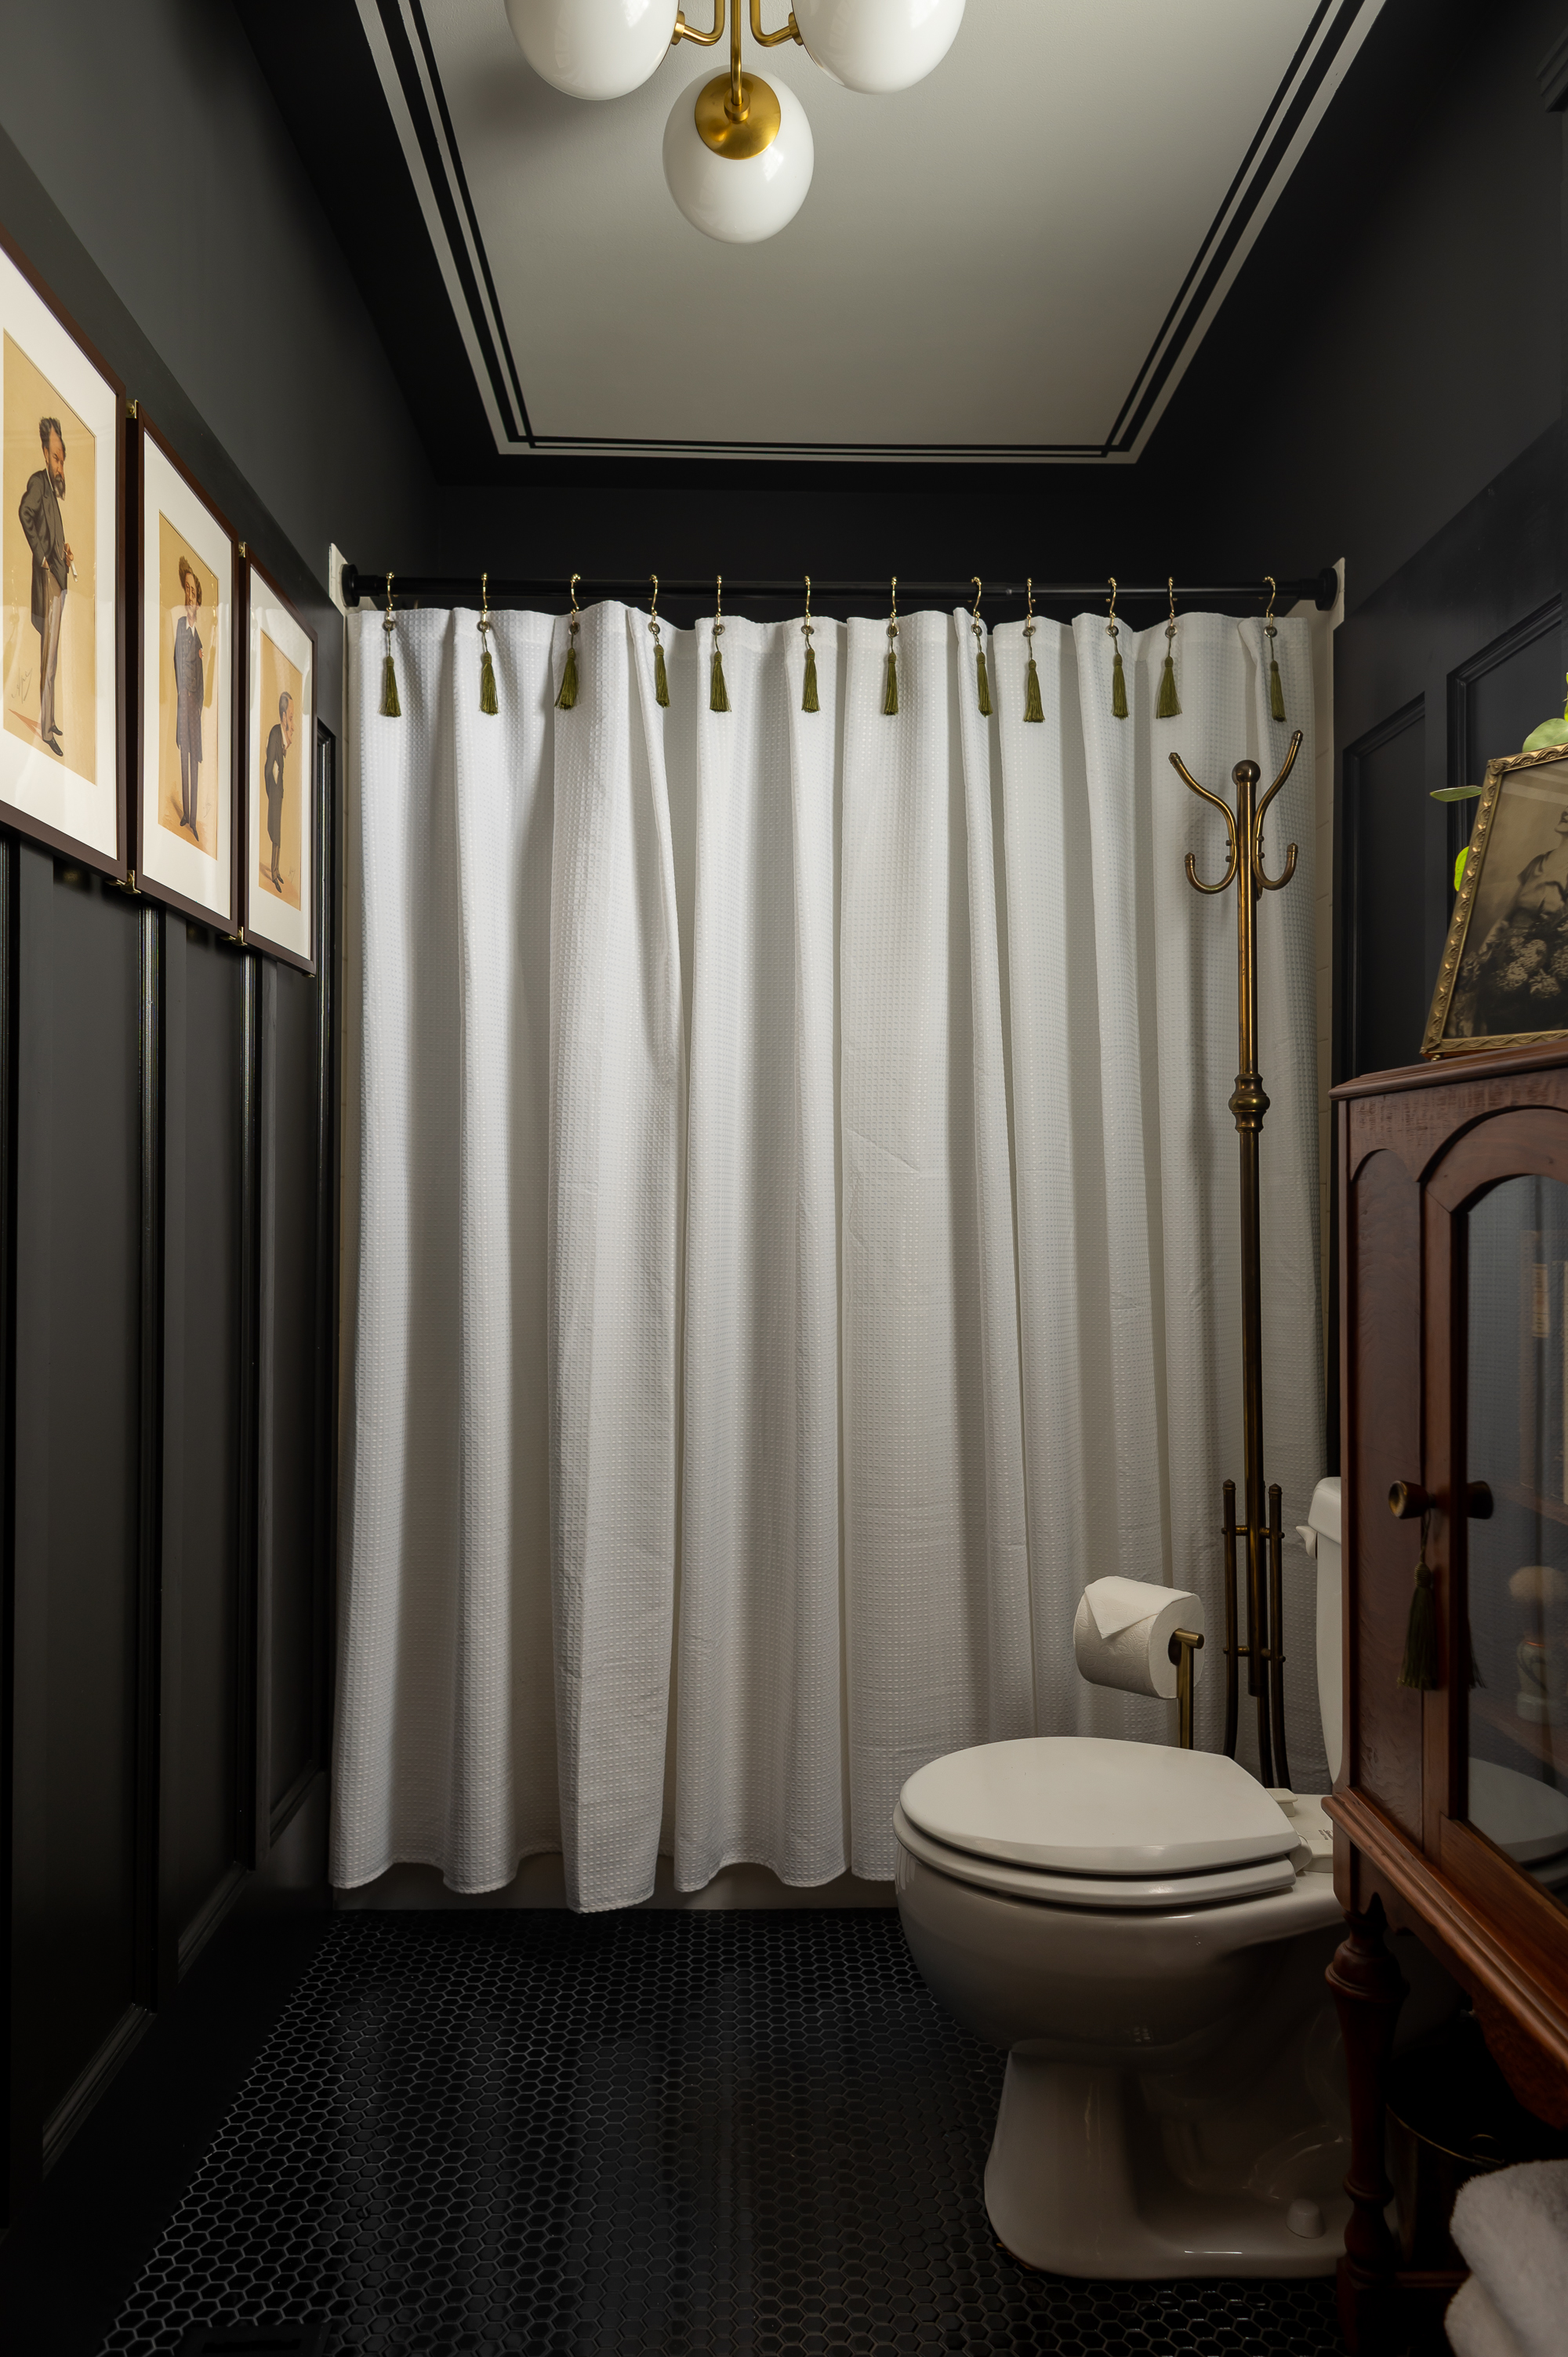
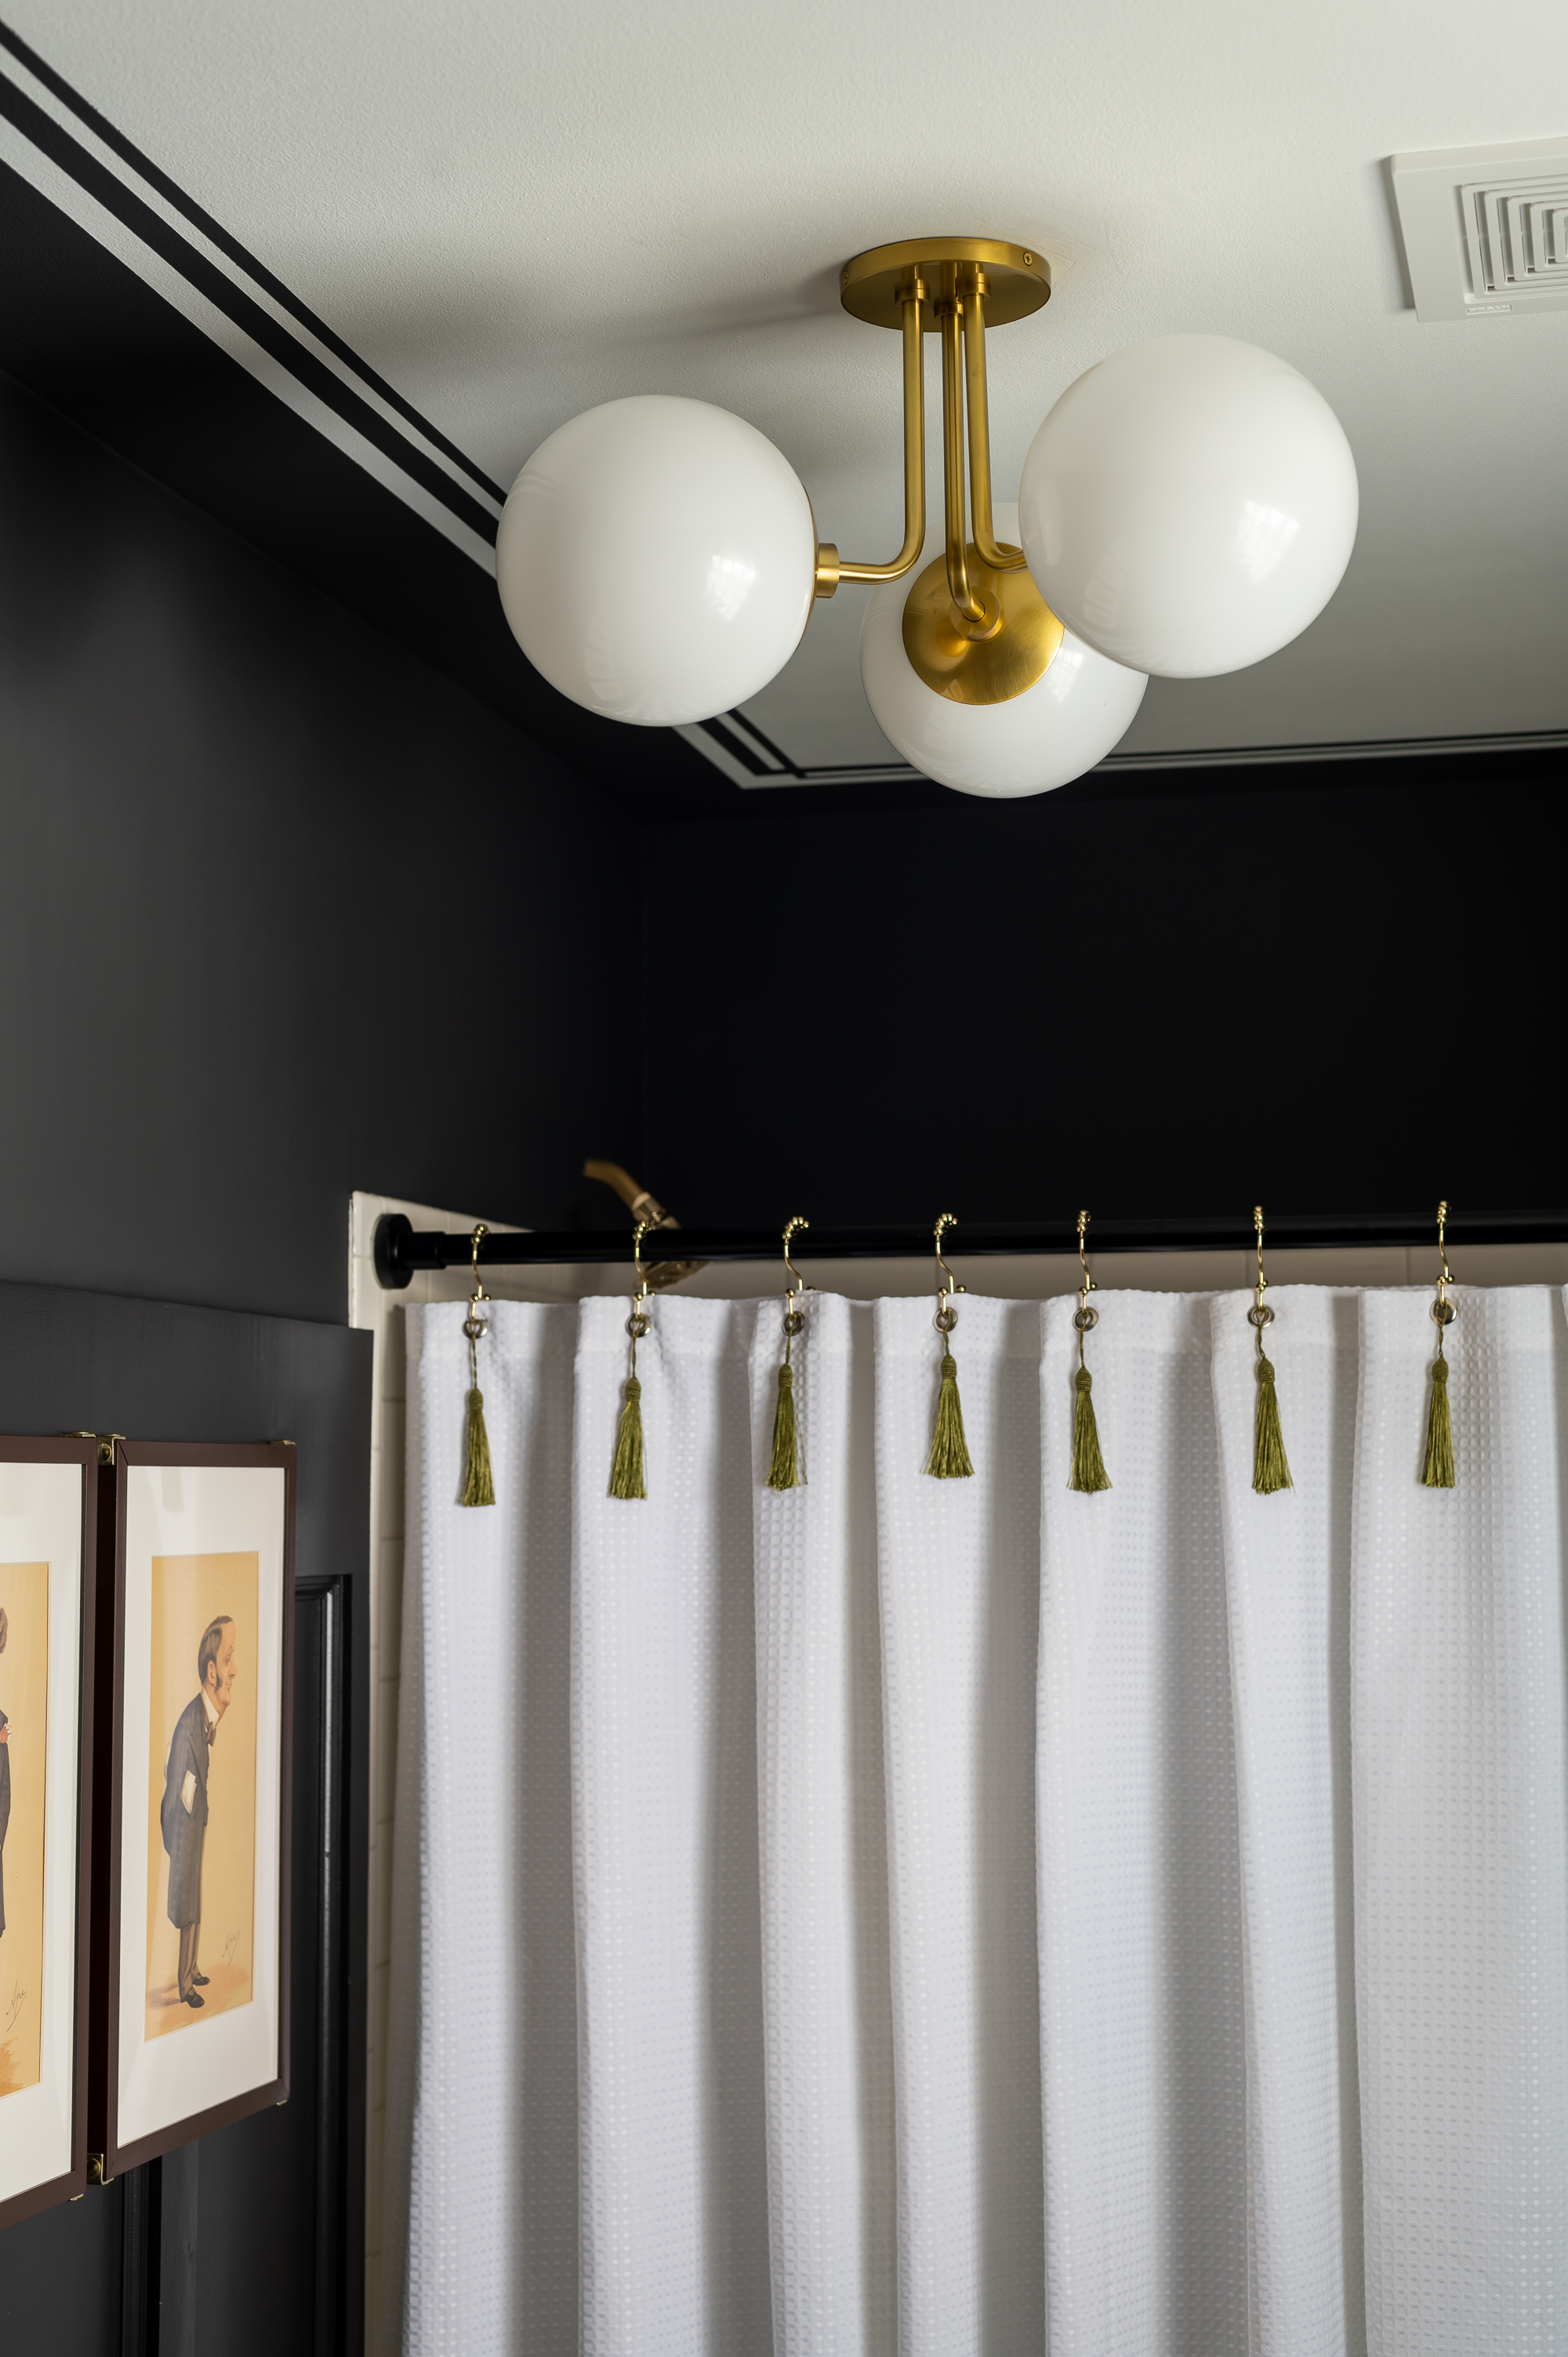
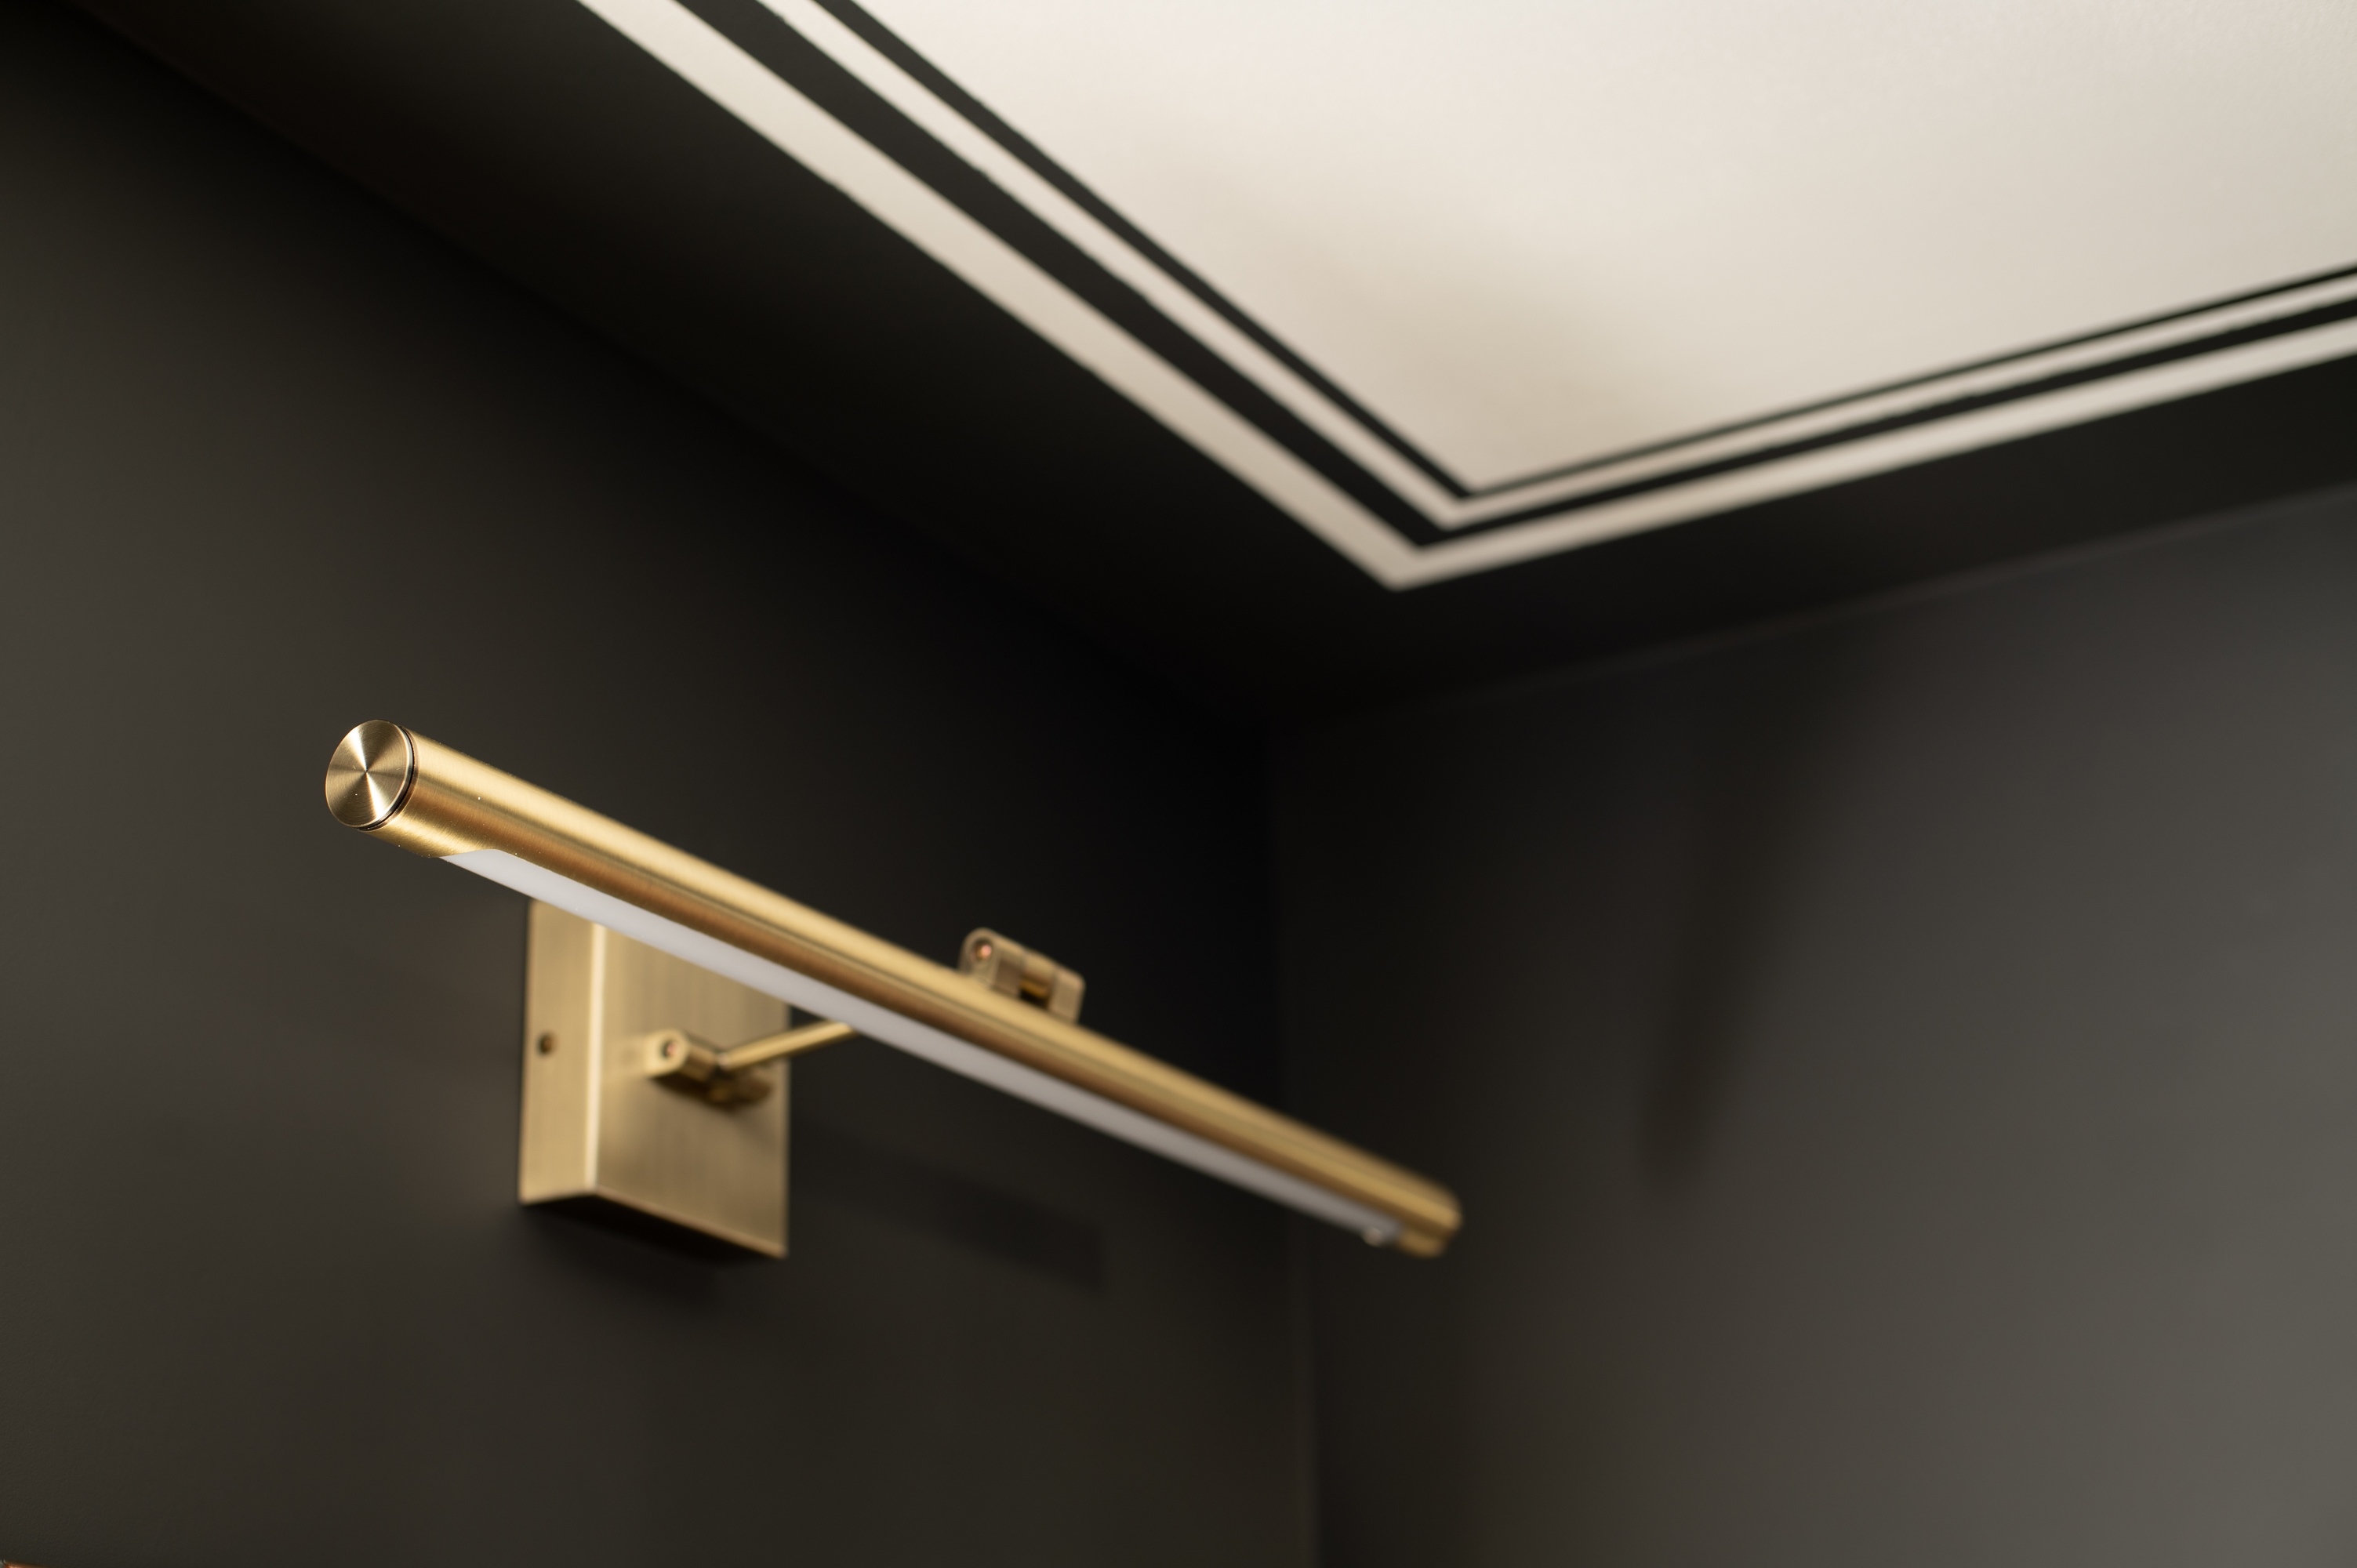
- Finally, the day they arrived, Joe was able to install all the new lighting and get the mirror hung.
What we didn’t have the chance to finish before they arrived was all the little final details and touches, like dealing with the ceiling, the window update we wanted to do and hanging artwork that we had planned for the space. So after their visit we got back to work yet again:
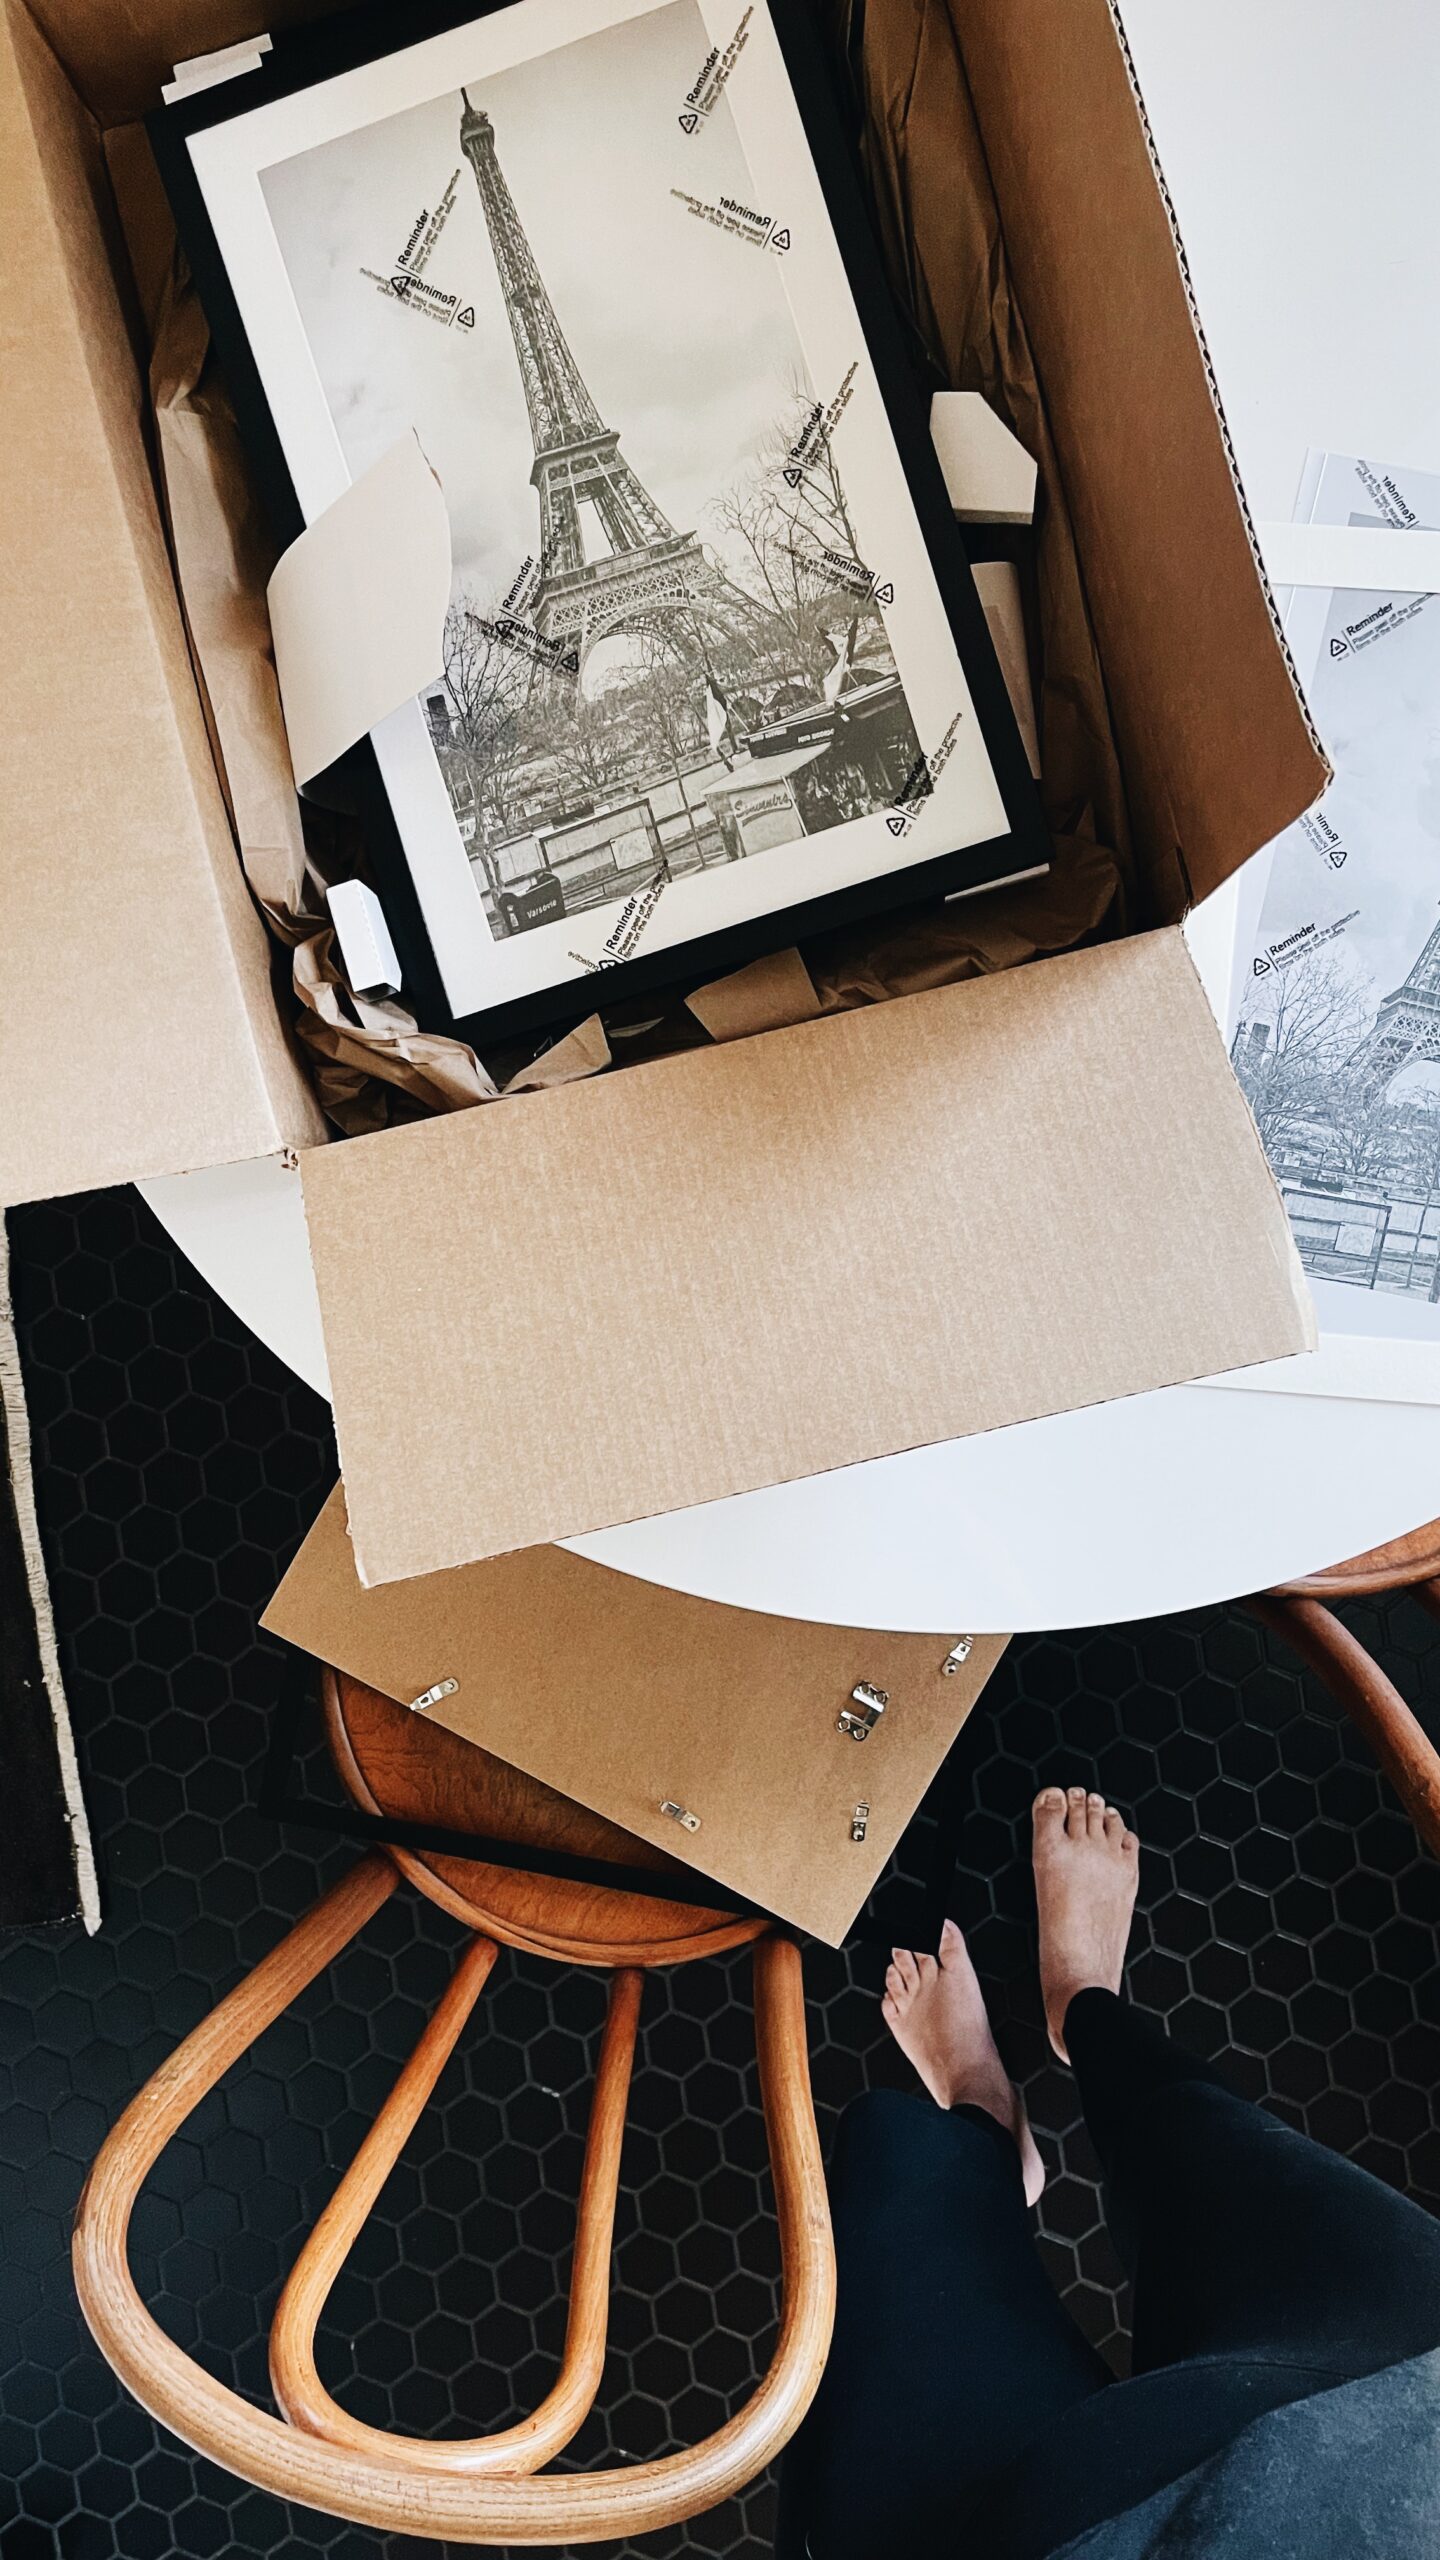
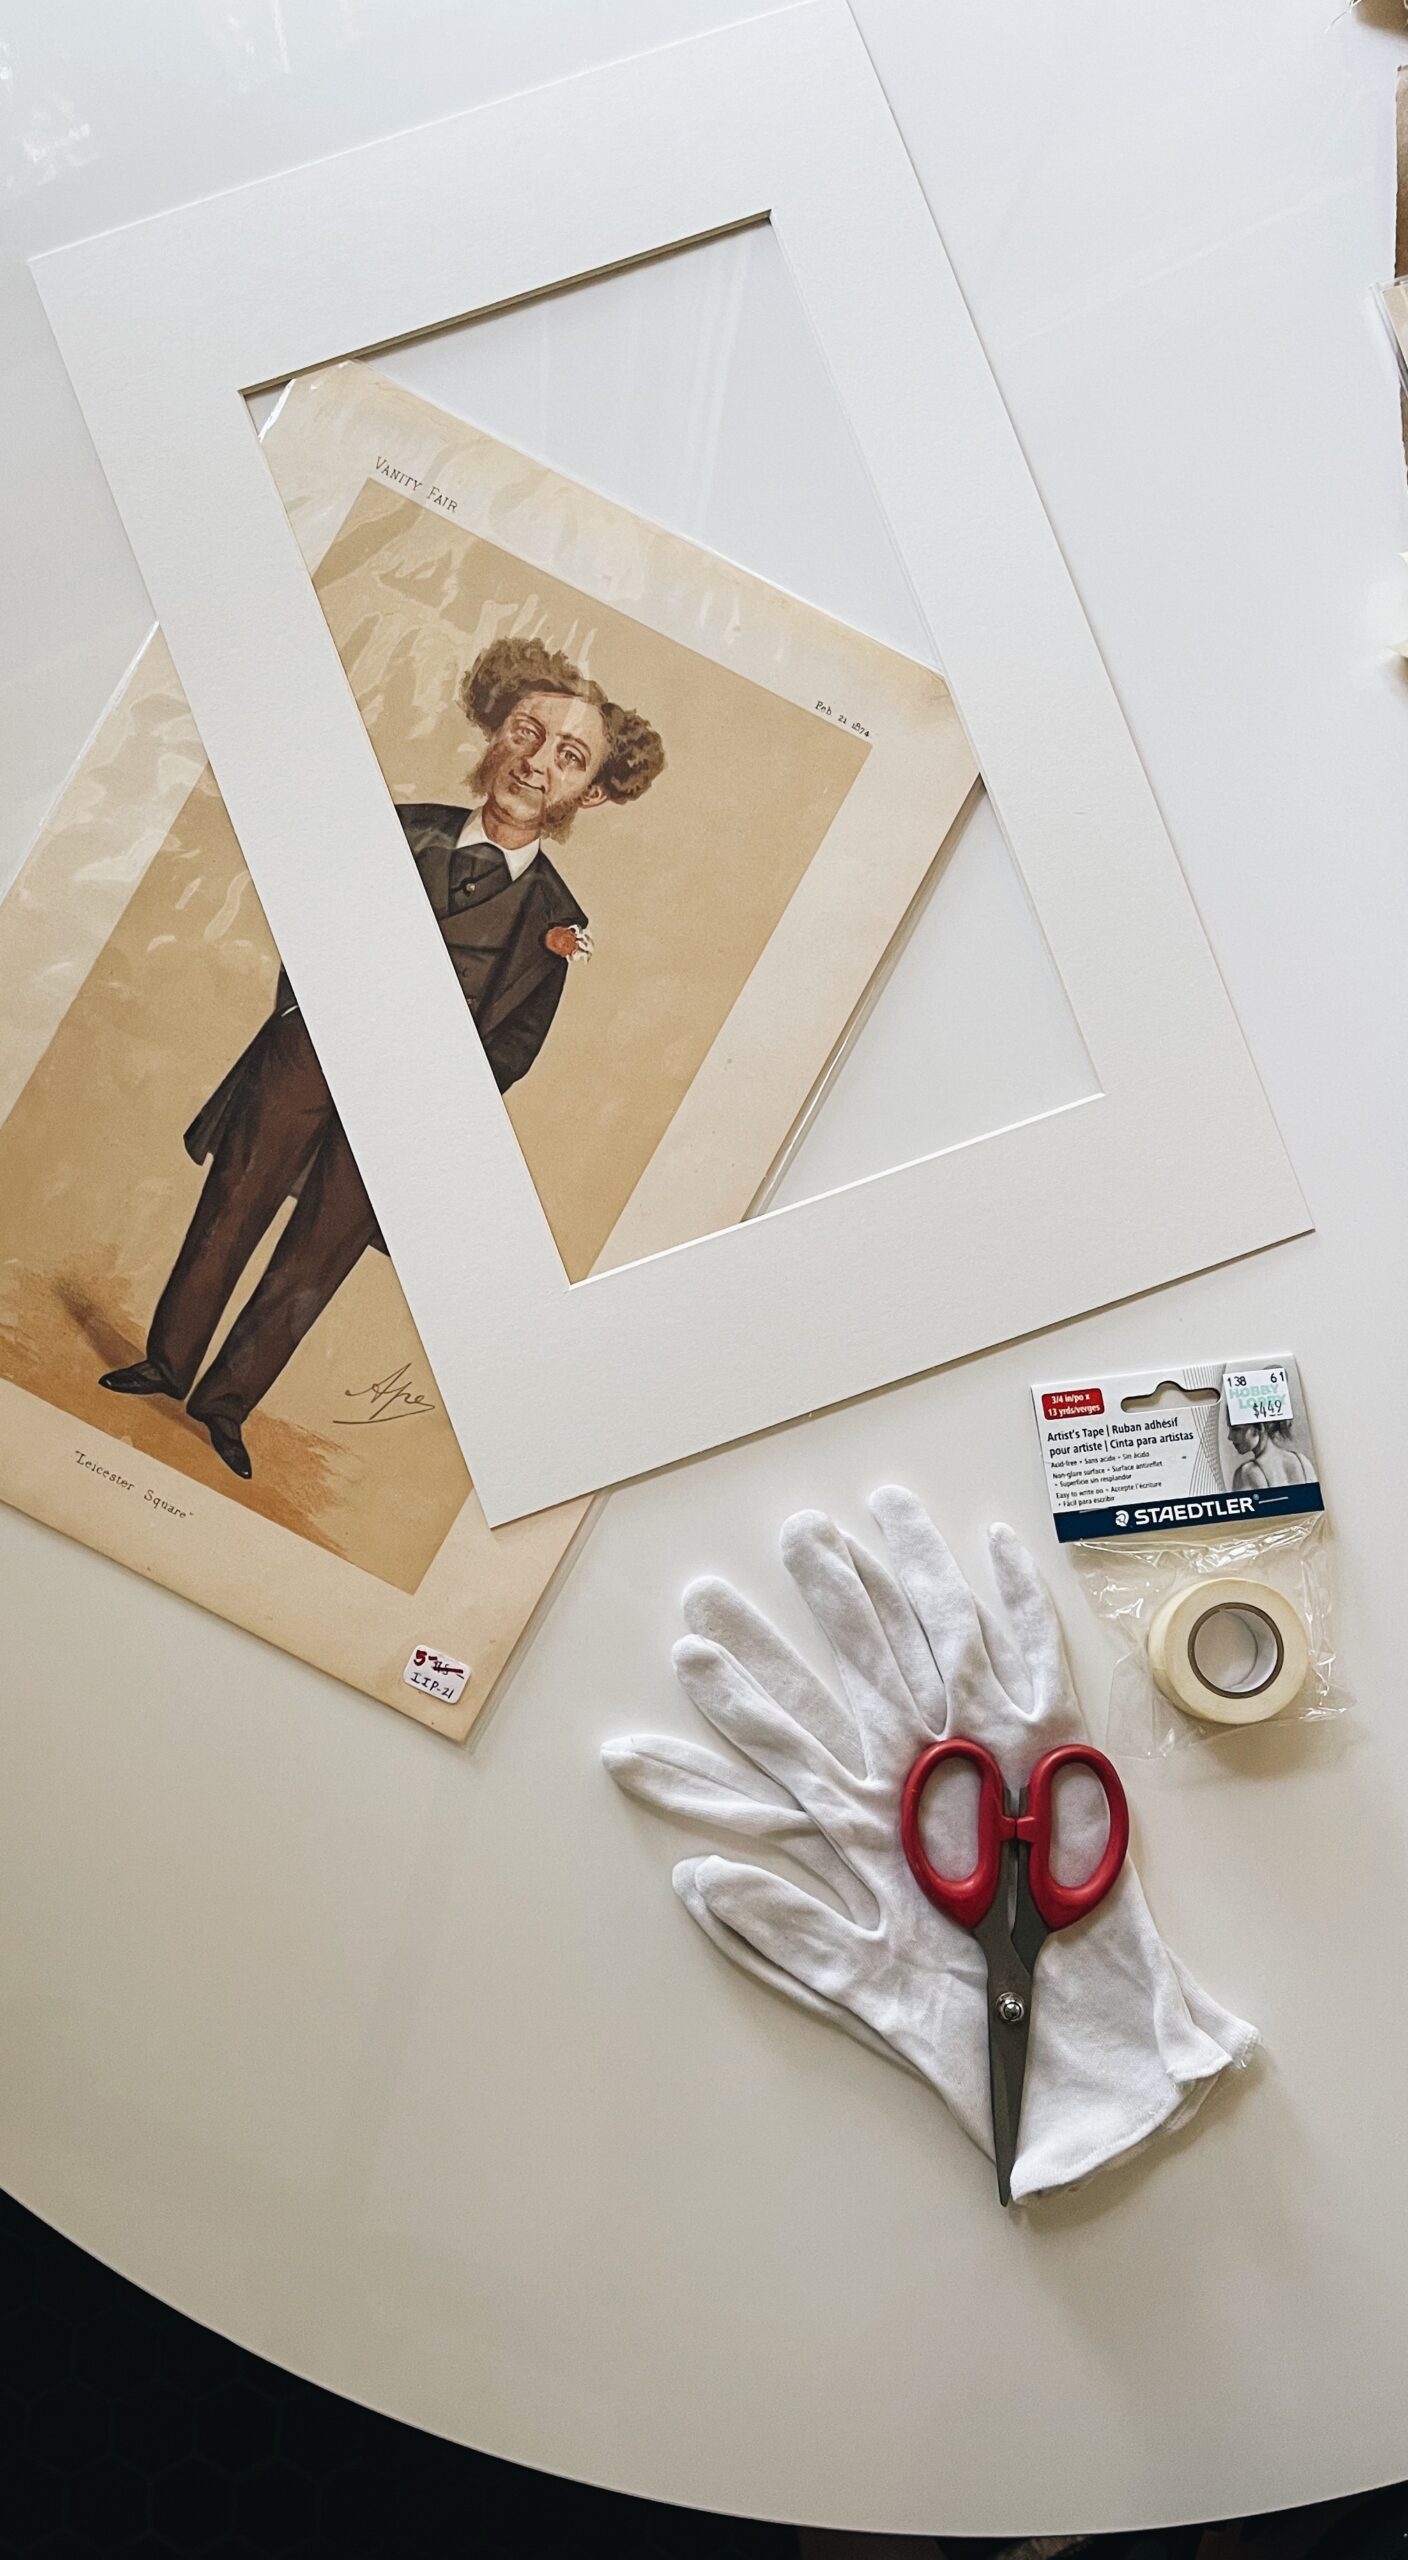
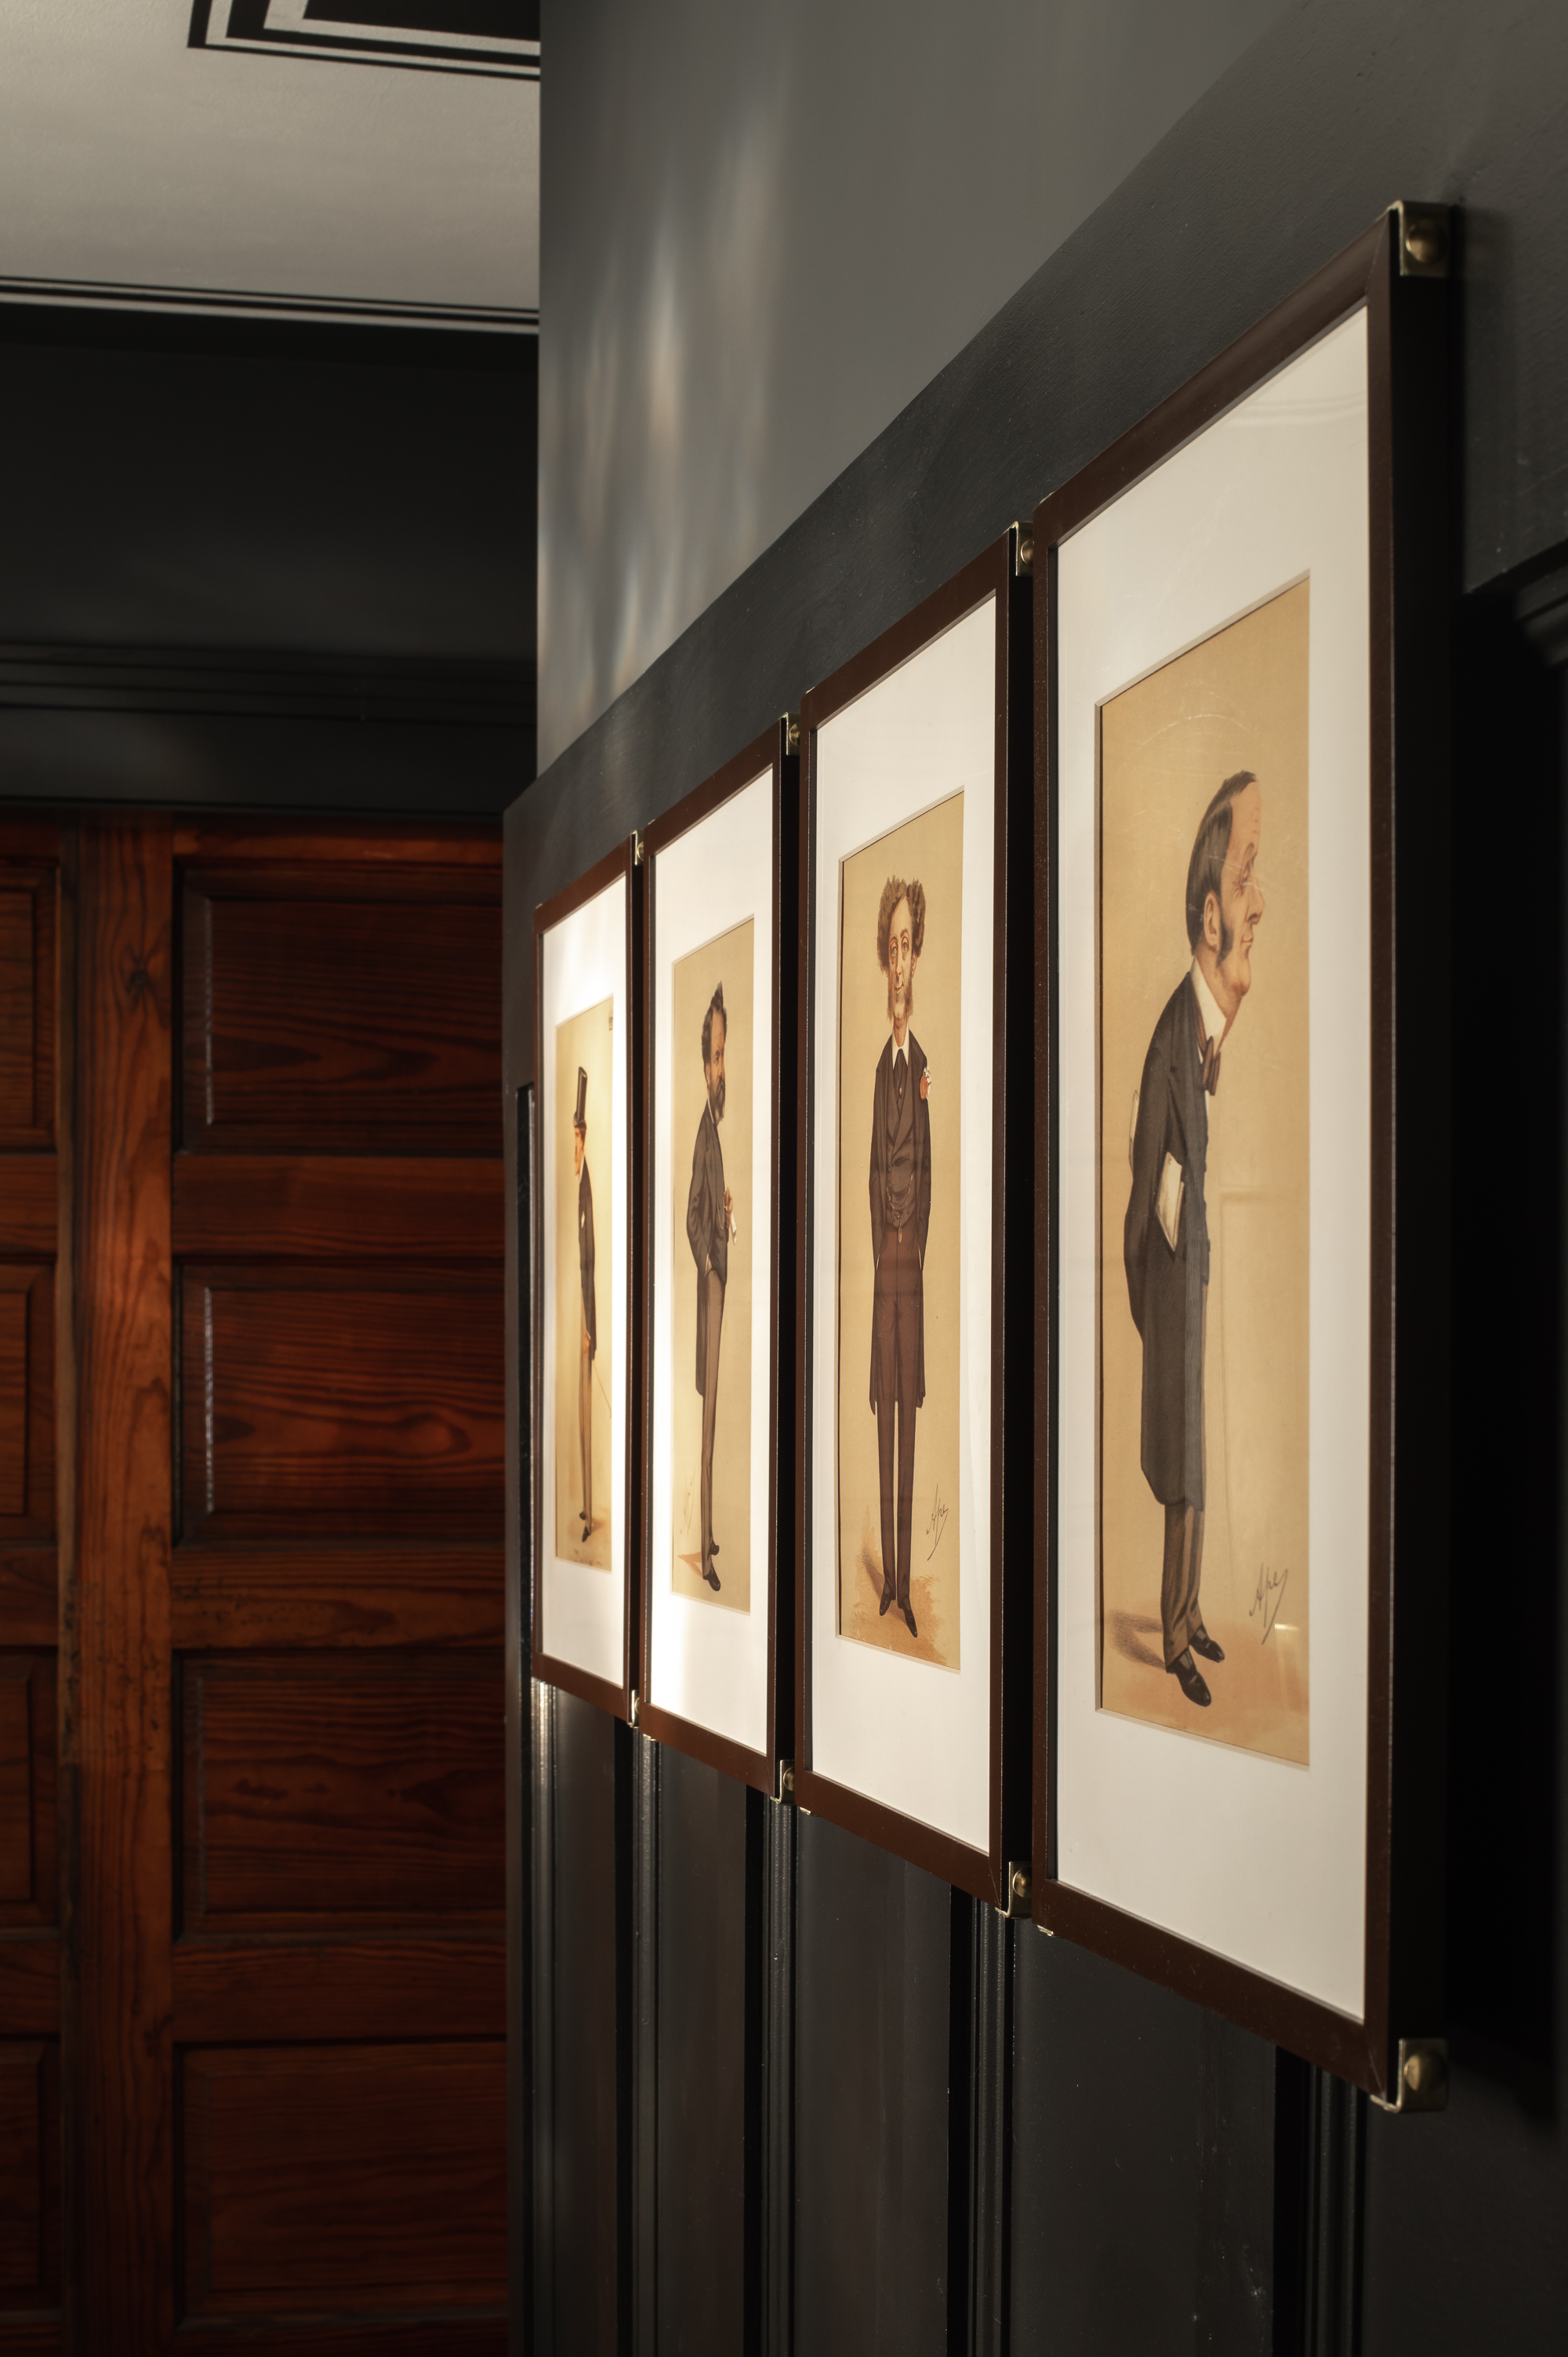
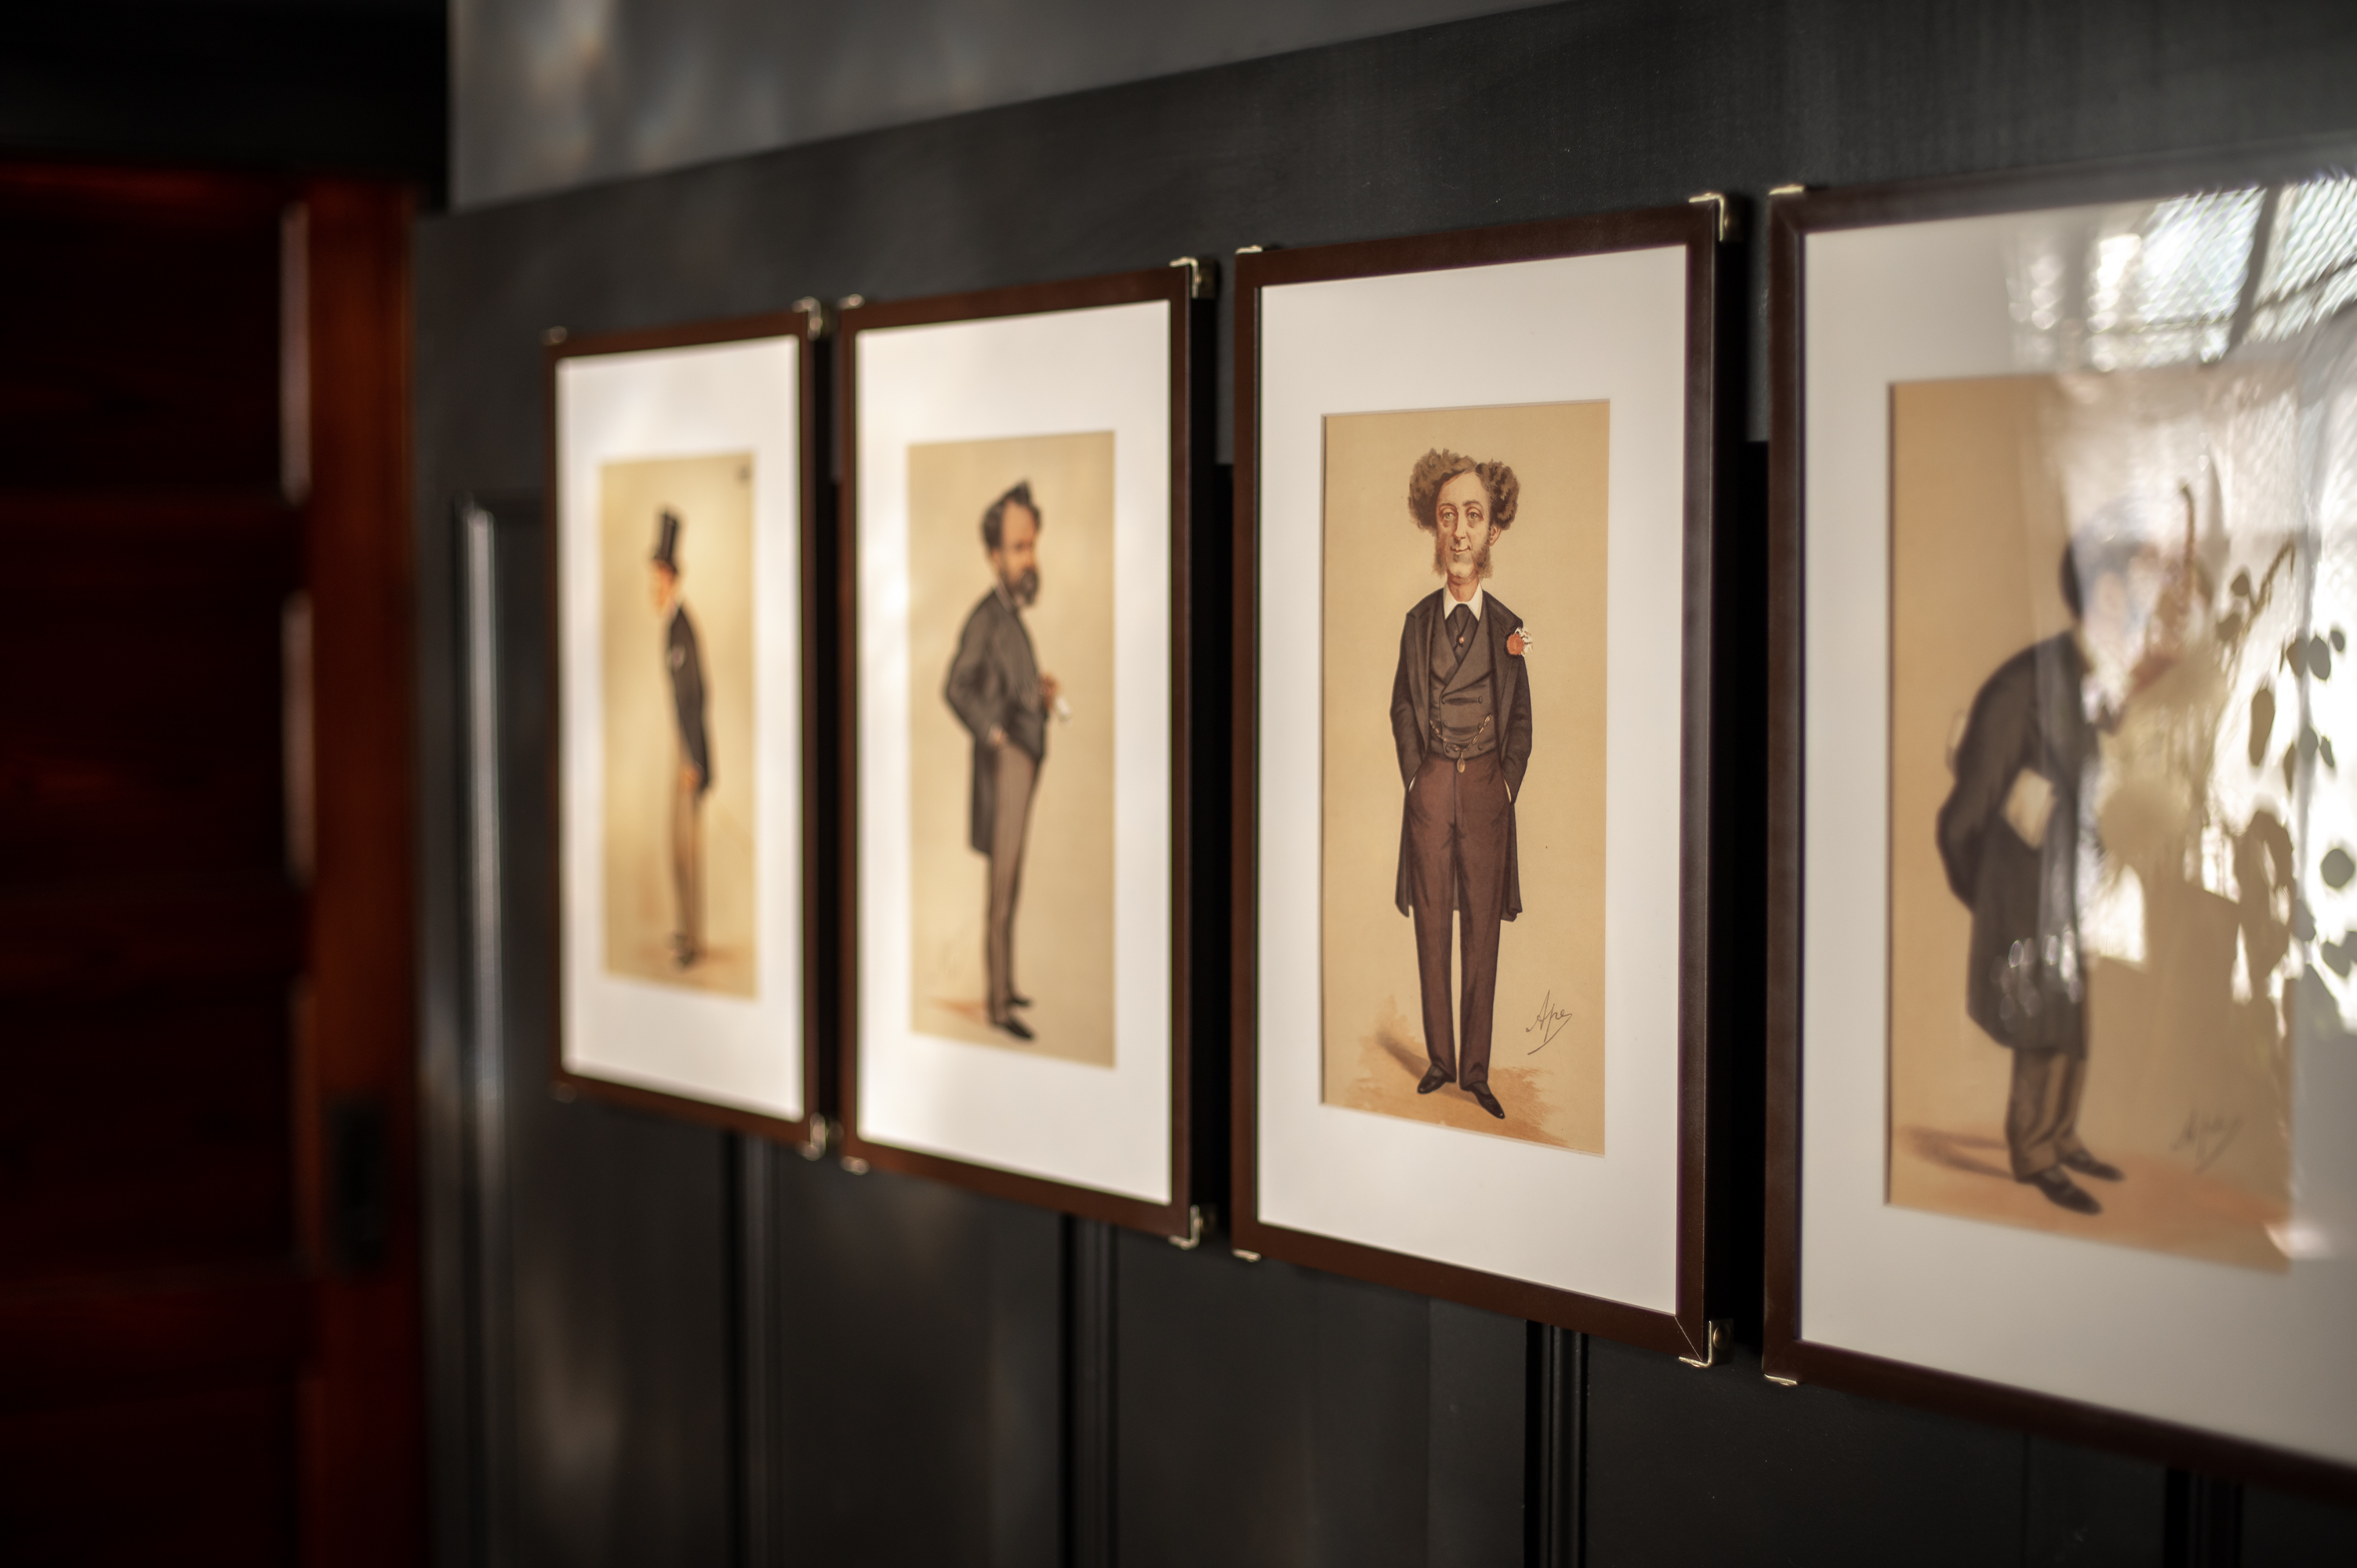
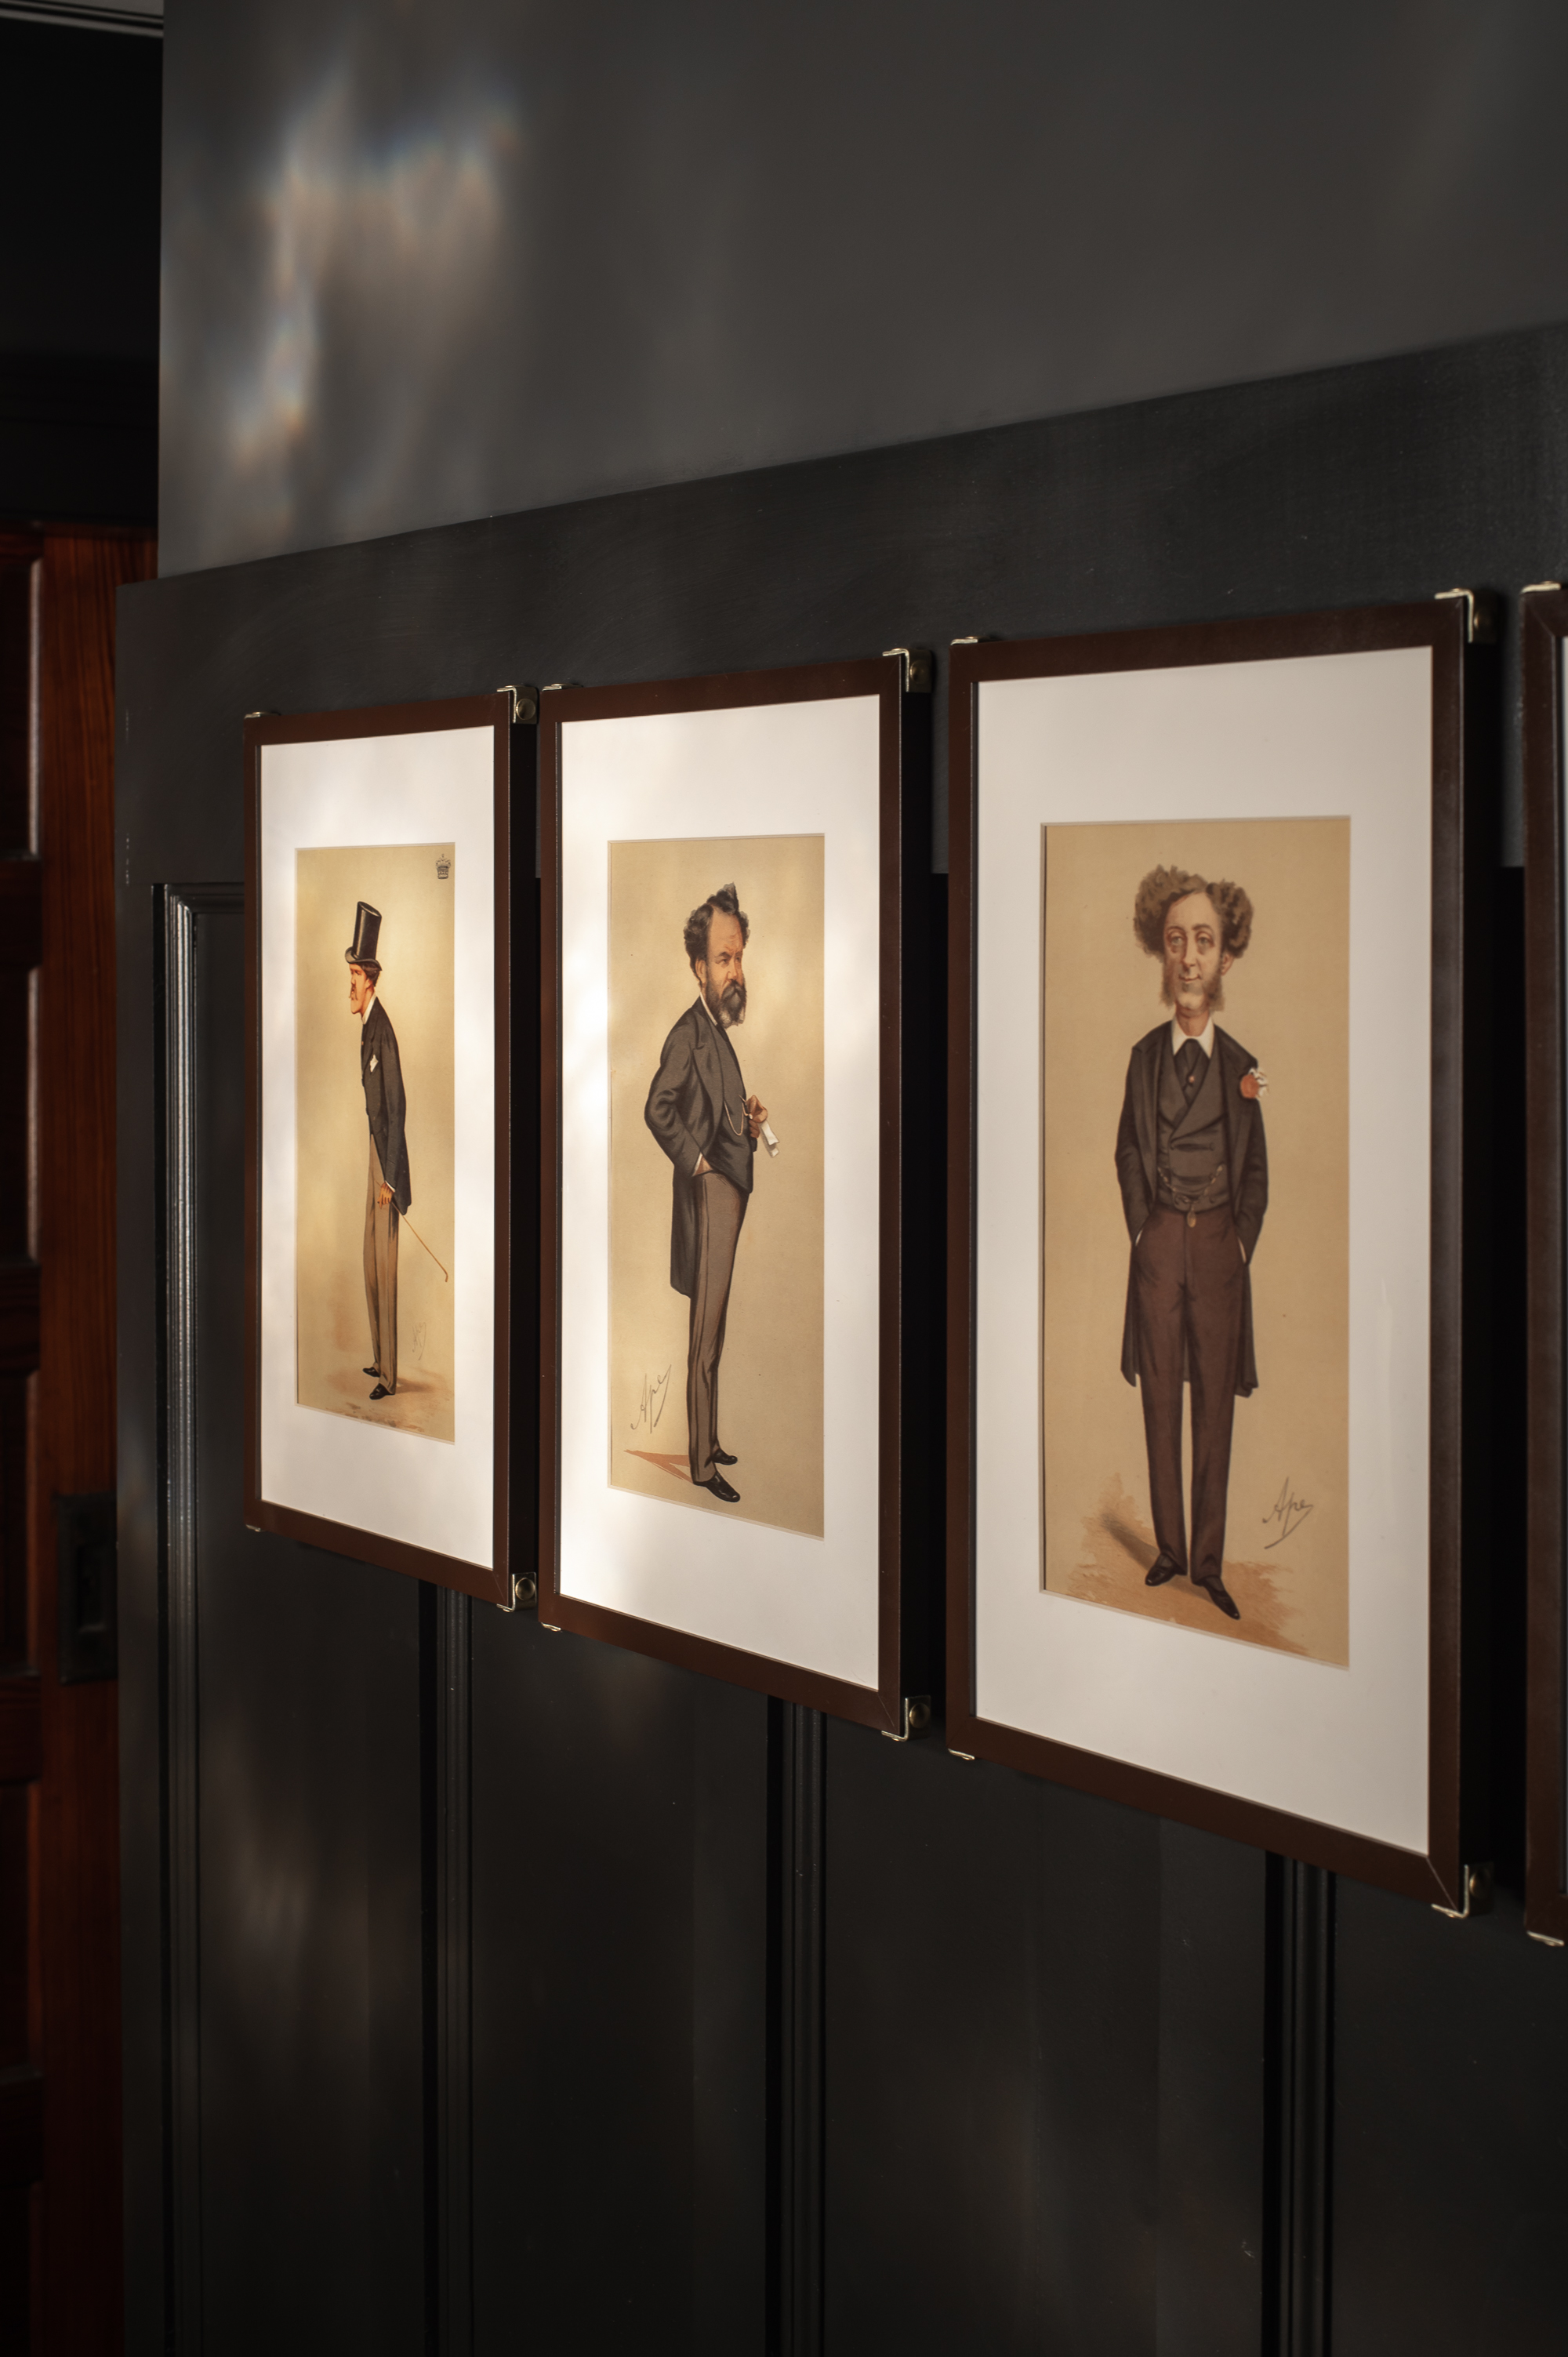
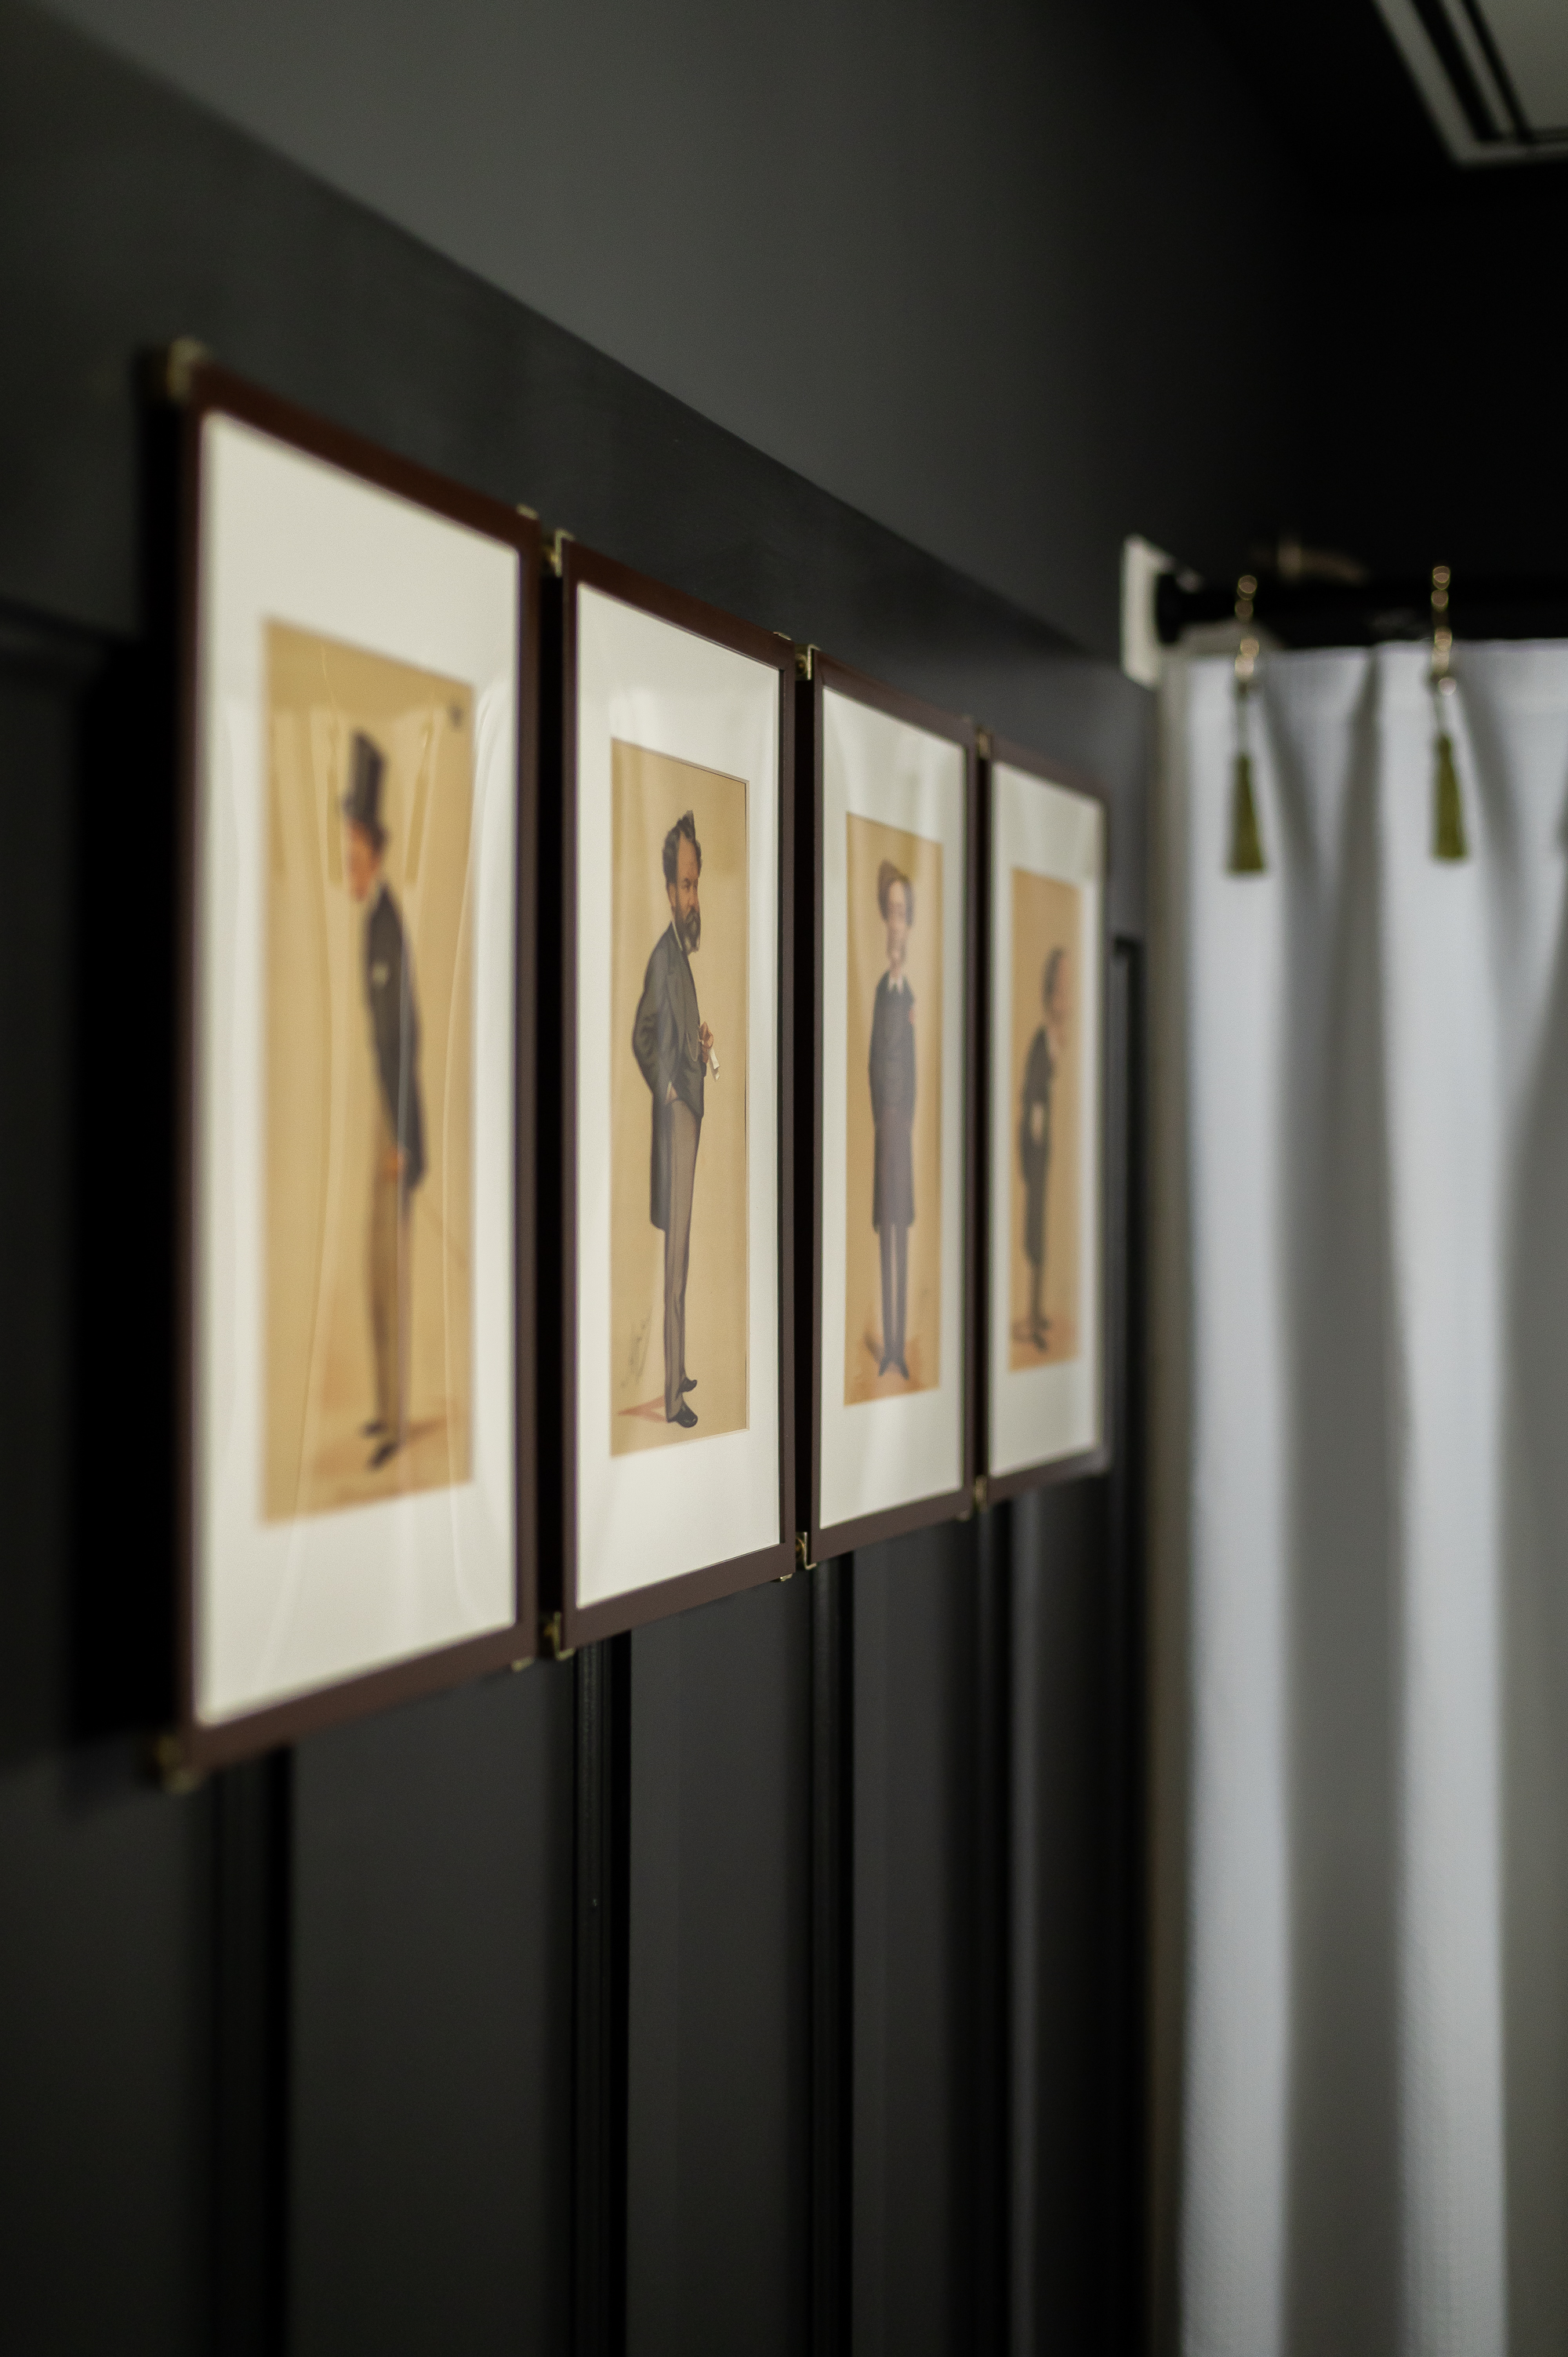
- I updated some cheap picture frames I found on the internet with some paint, brass hardware, and custom mat boards in order to display some vintage artwork I’d picked up at an antique store months ago and been hoarding for this project.
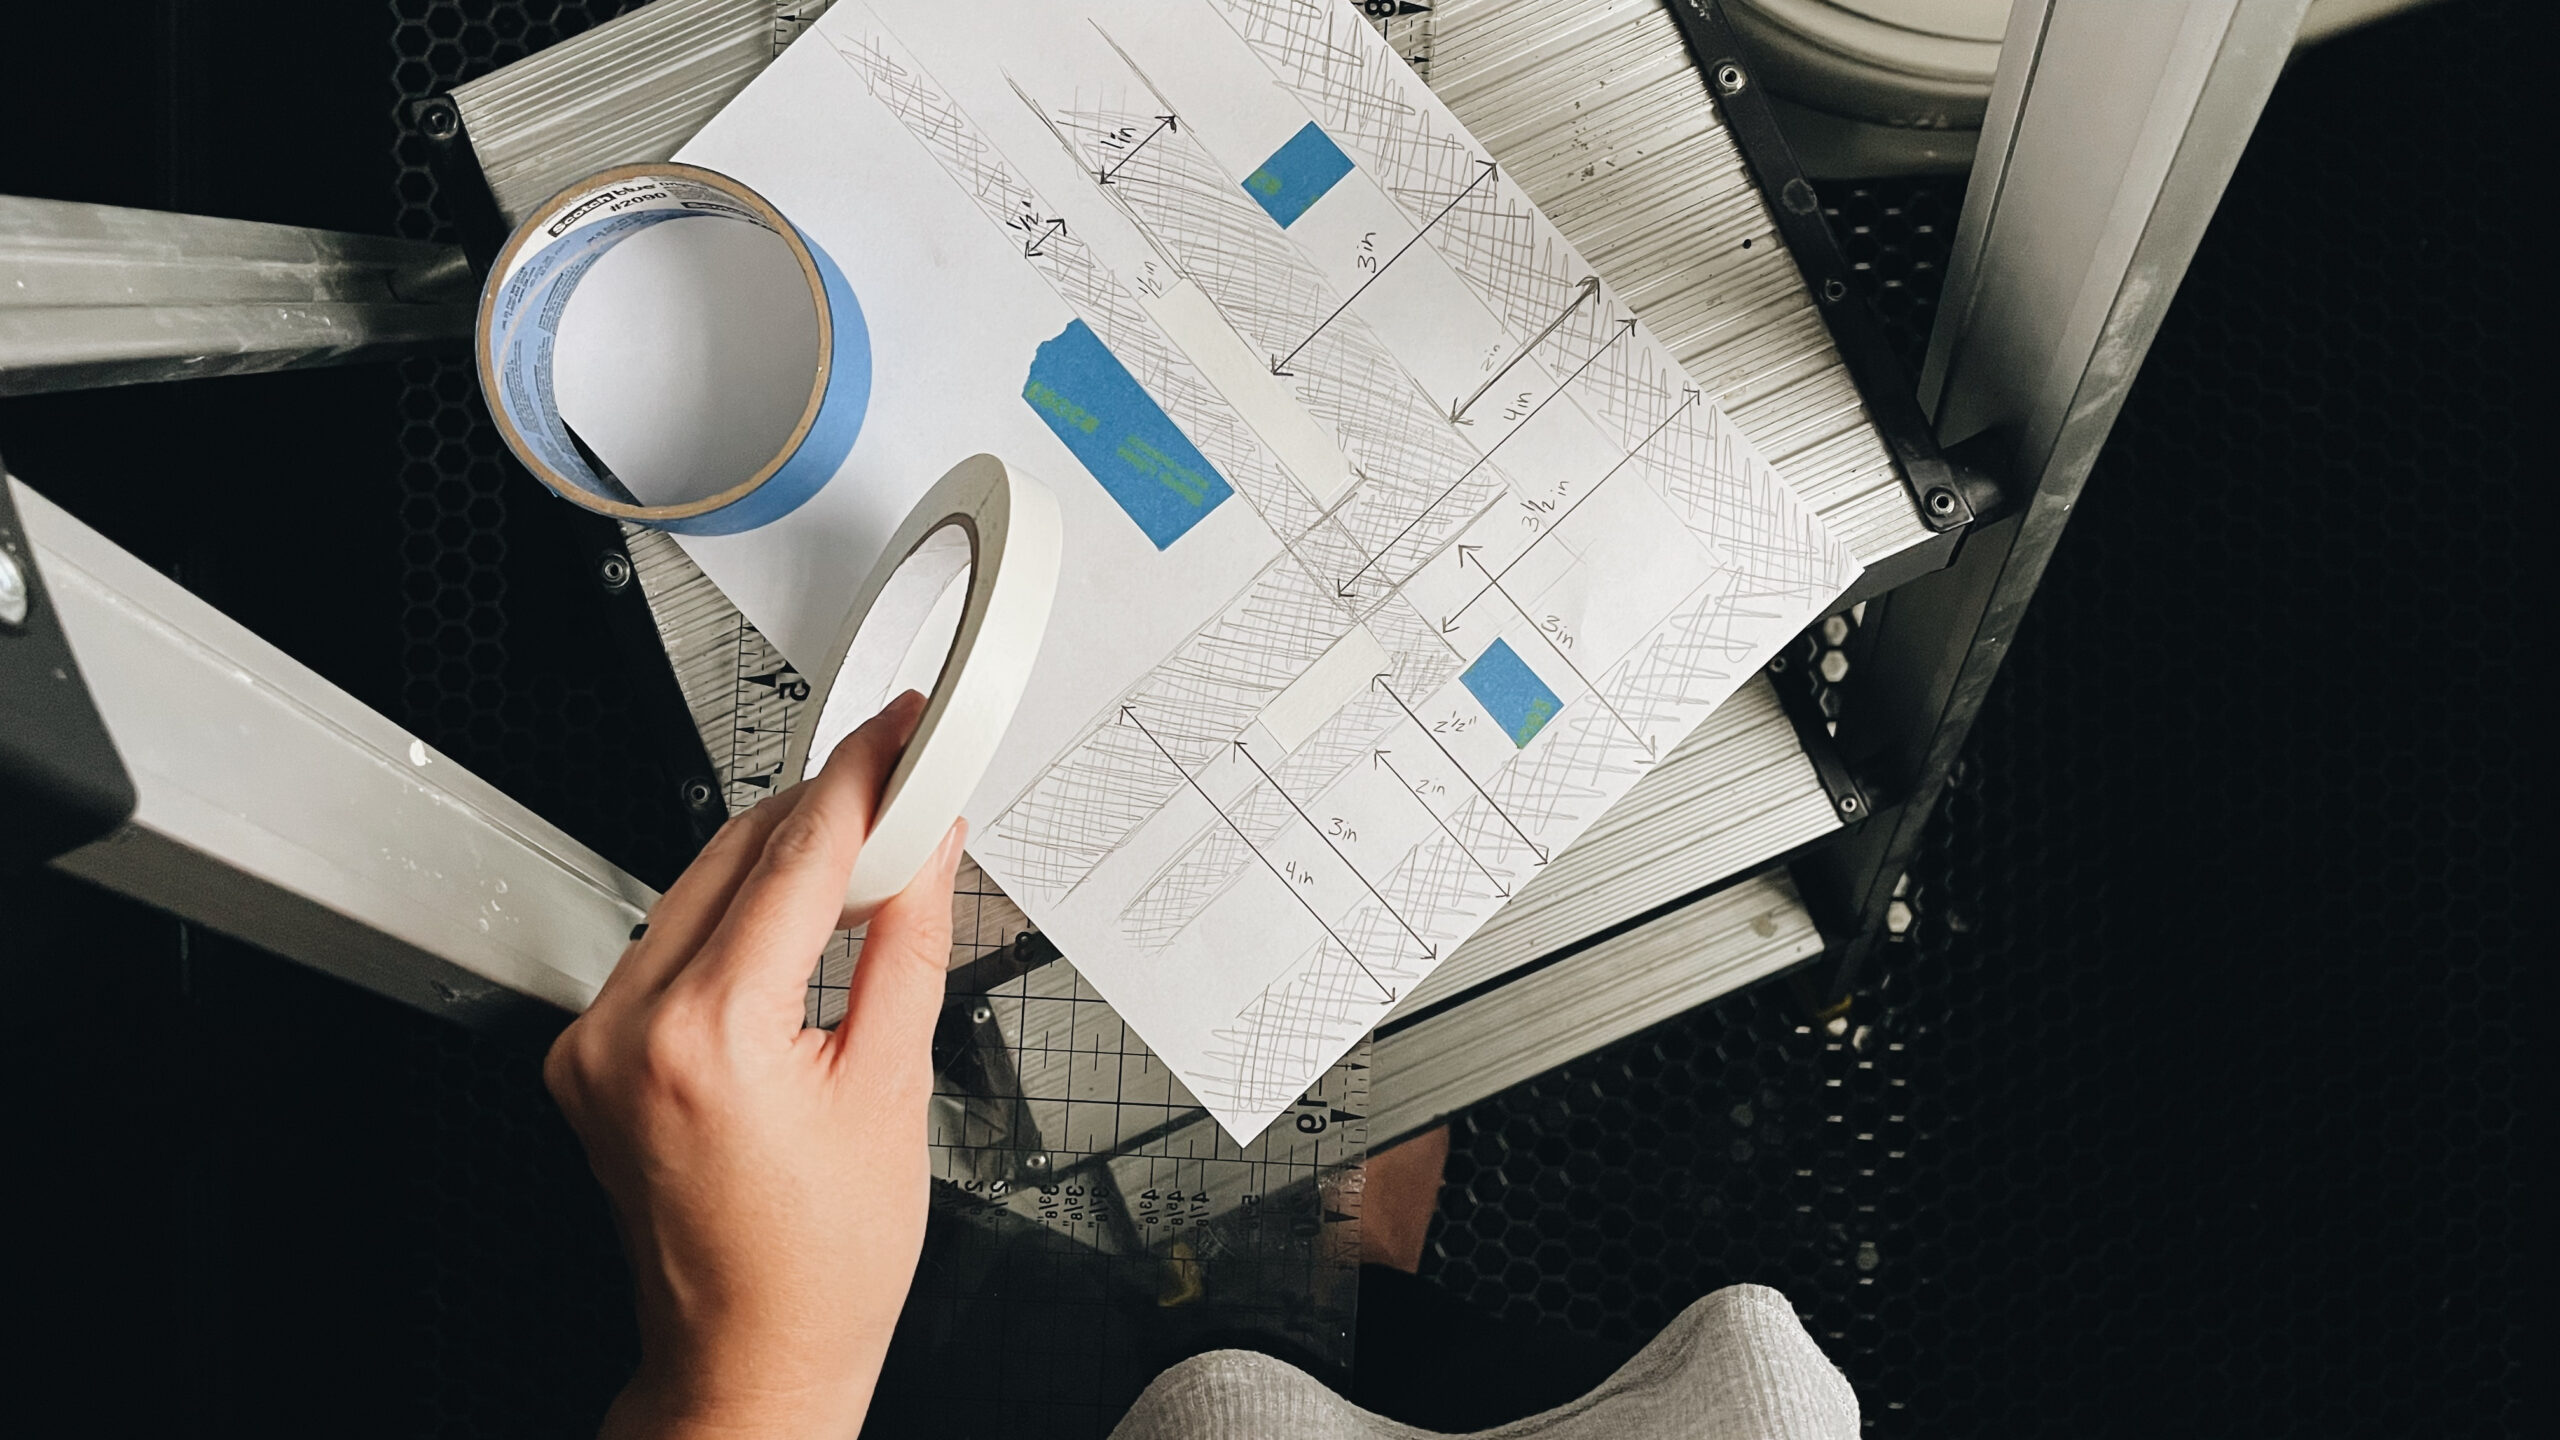
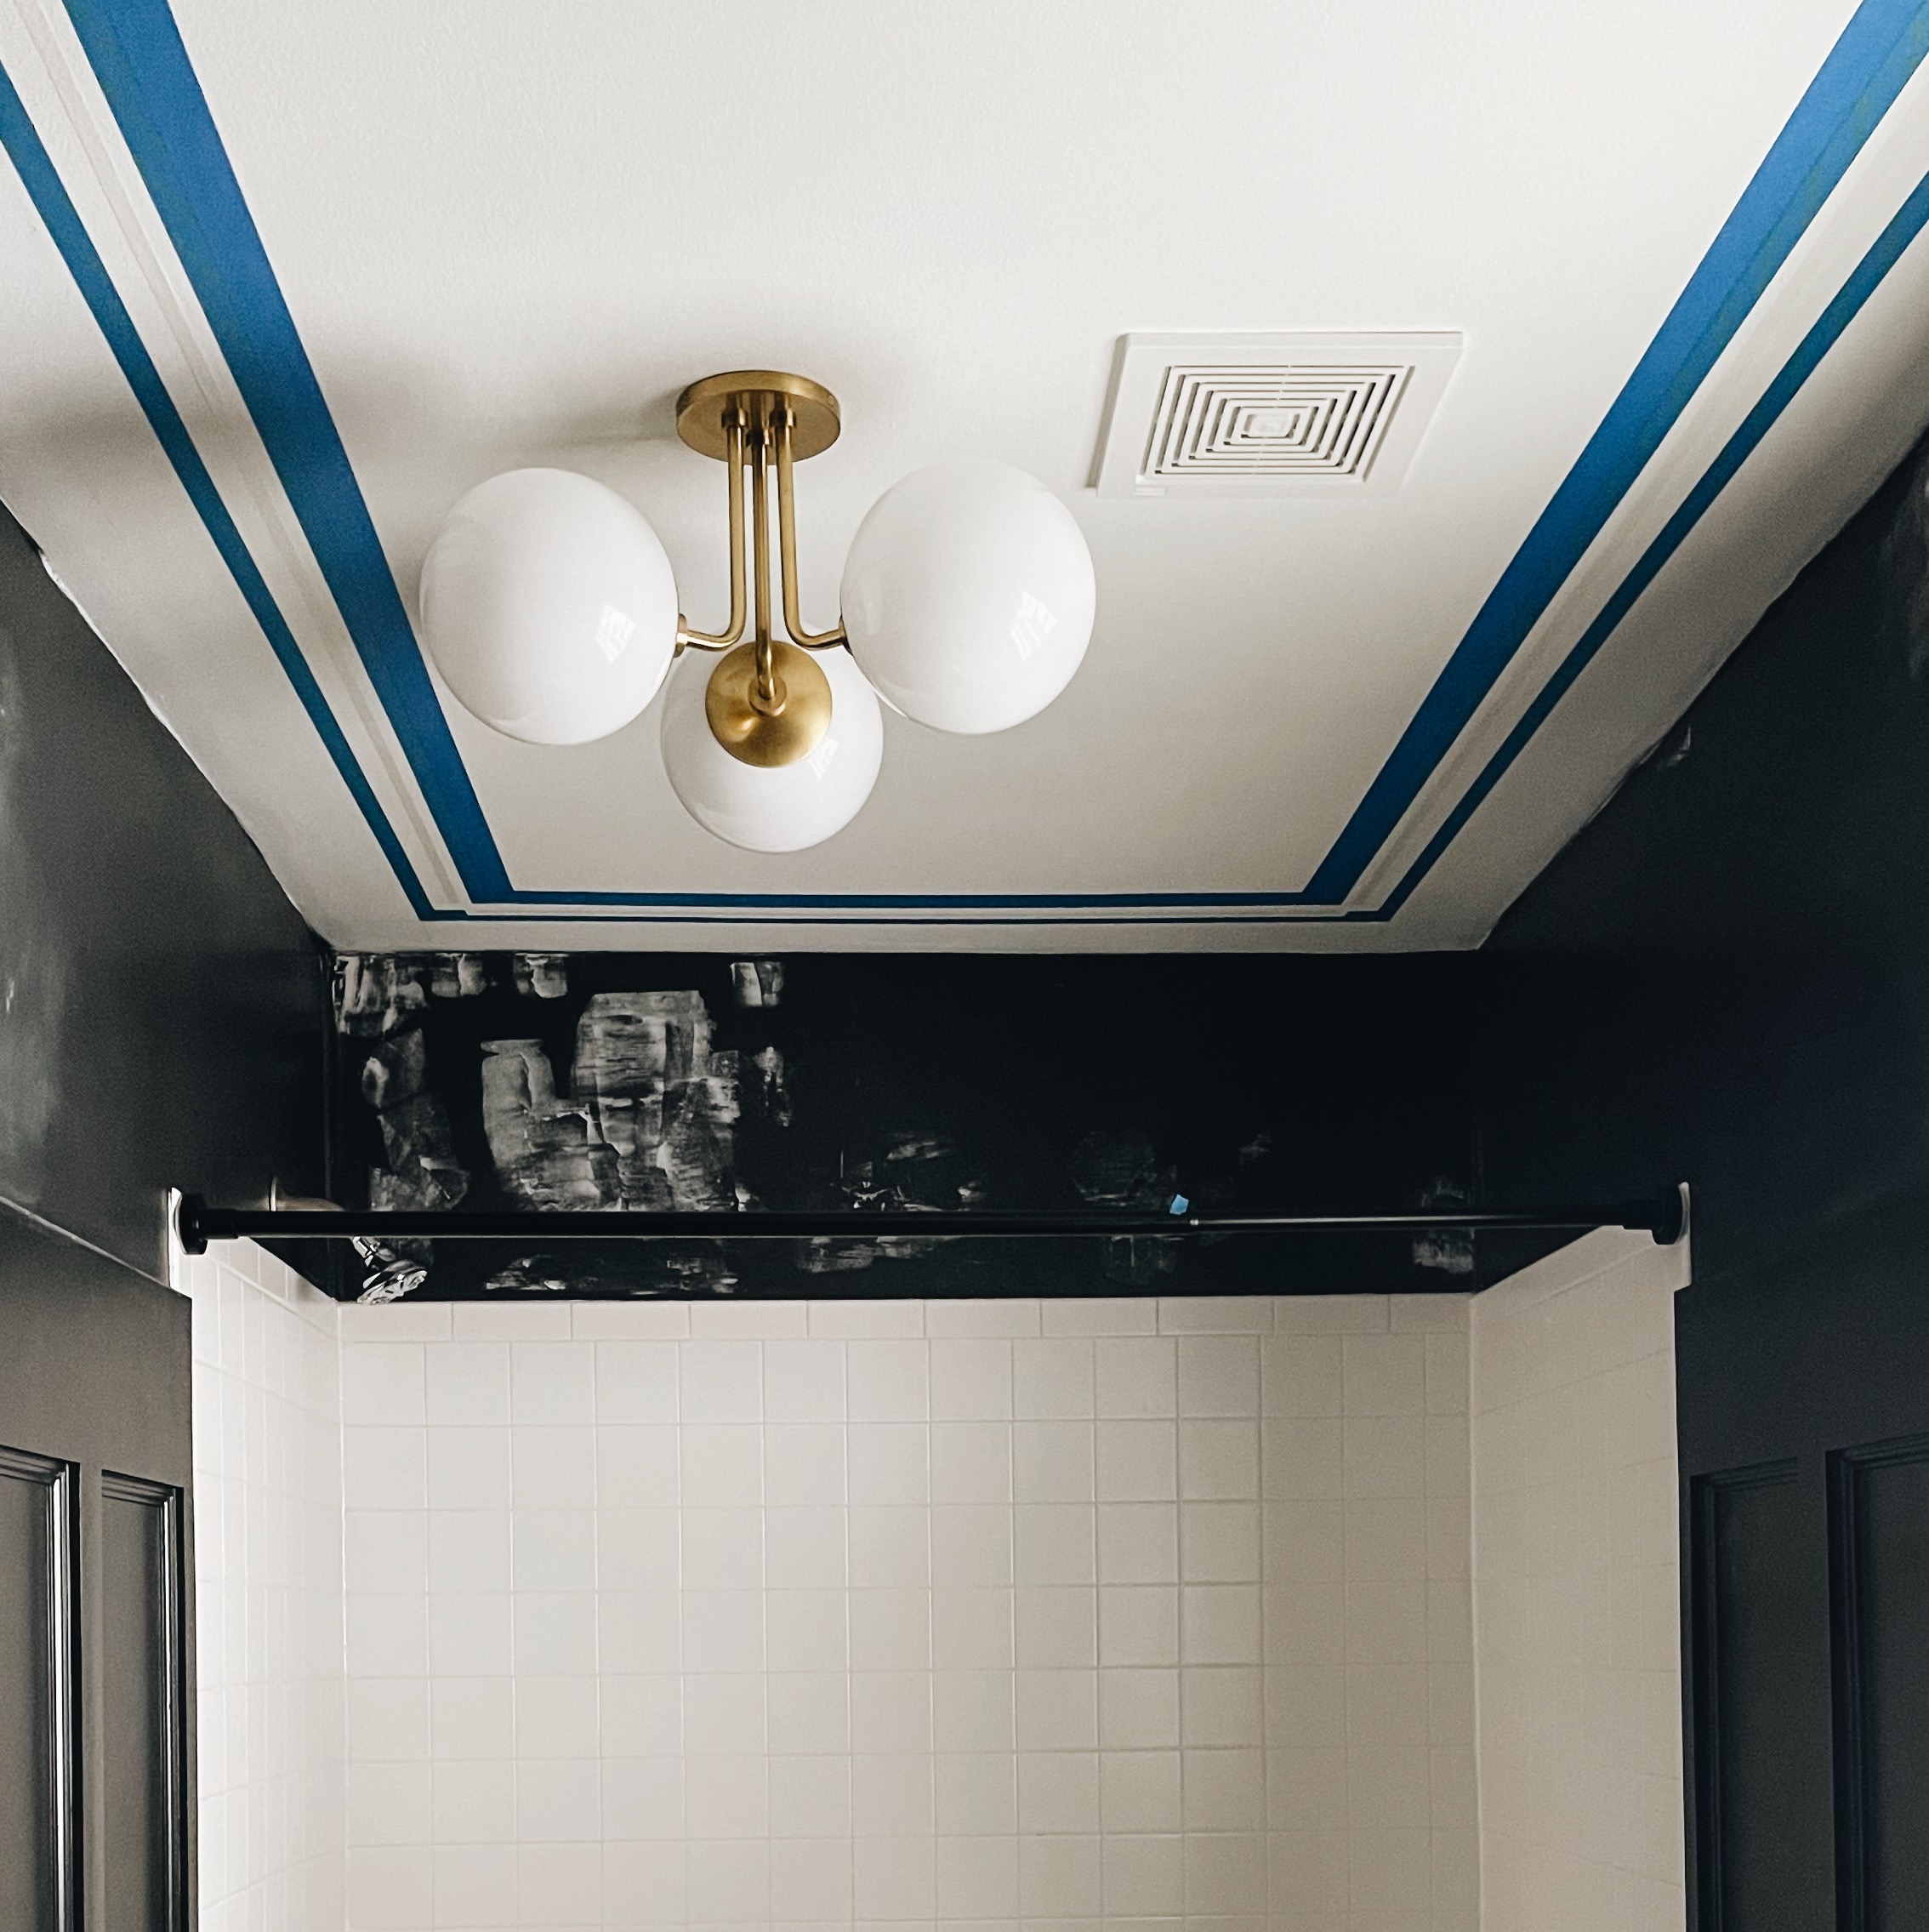
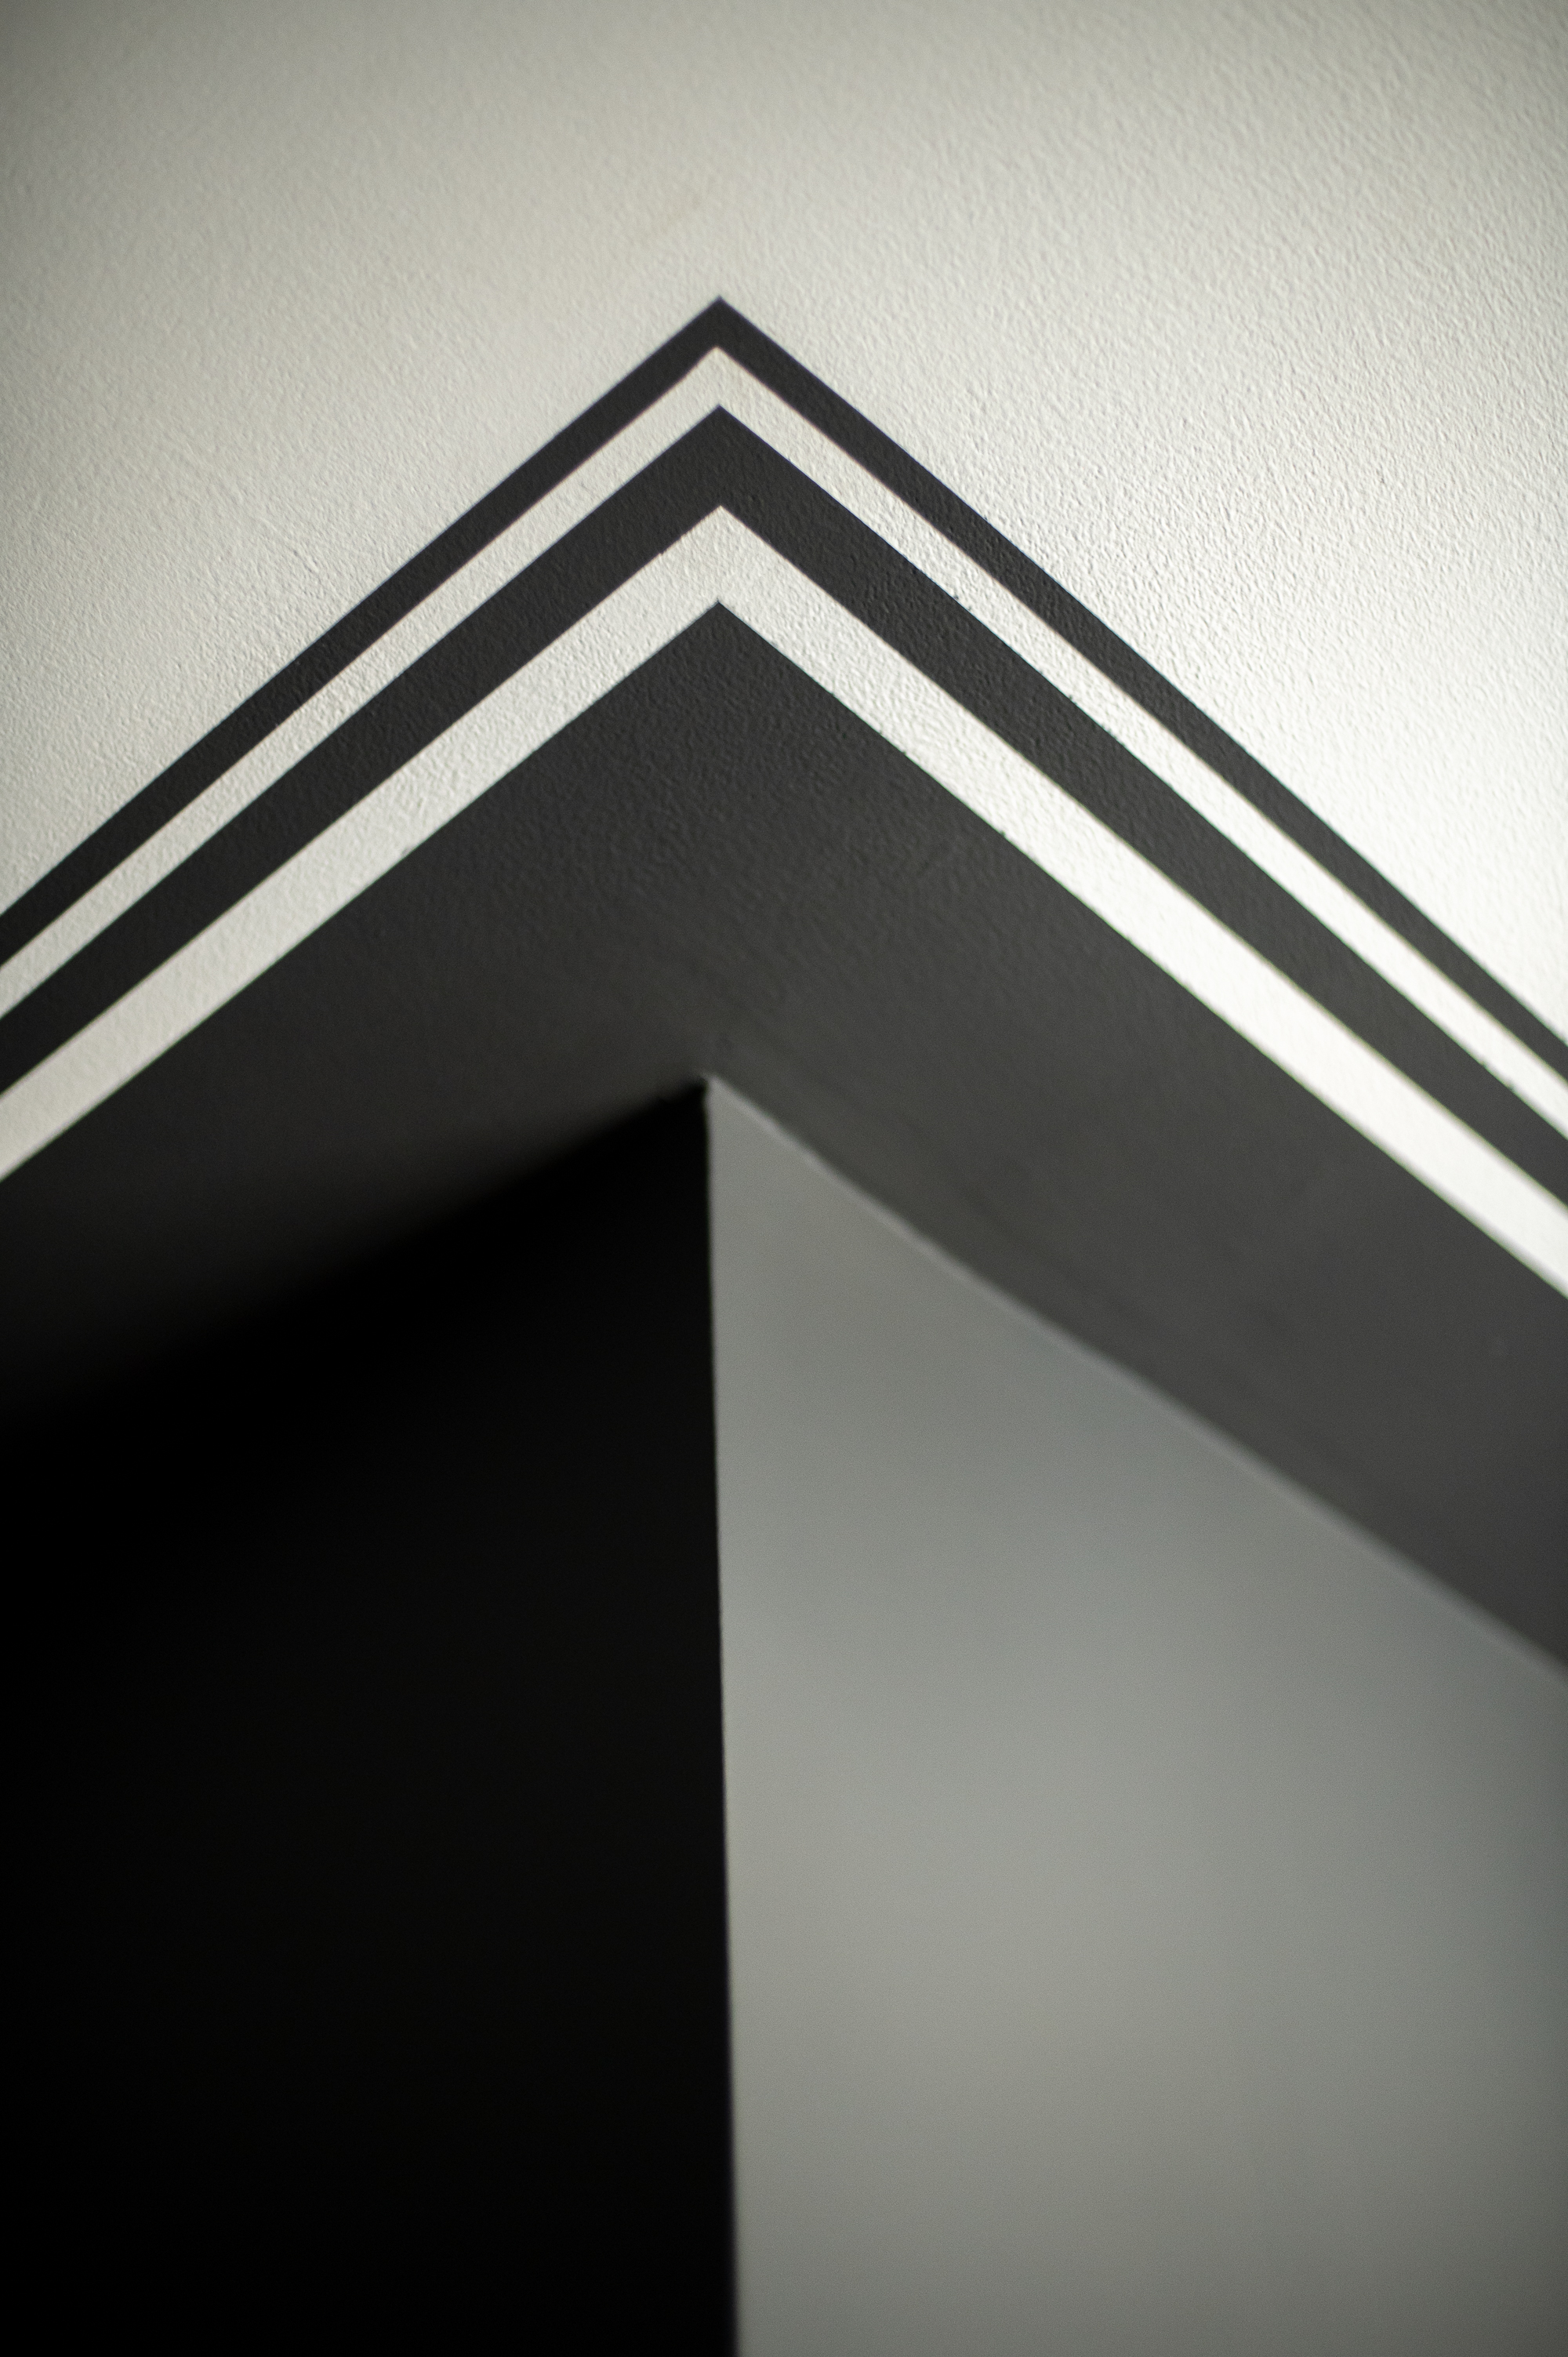
- Then I got the idea in my head to let the paint from the top third of the wall spill up onto the ceiling where I would then mimic a classic floor tile border pattern with paint! (Because why should the floor be the only place we can do these fun classic borders in a room!?) This… took a while… but came out better than I could have even imagined it would! (Click here for the full tutorial on that)
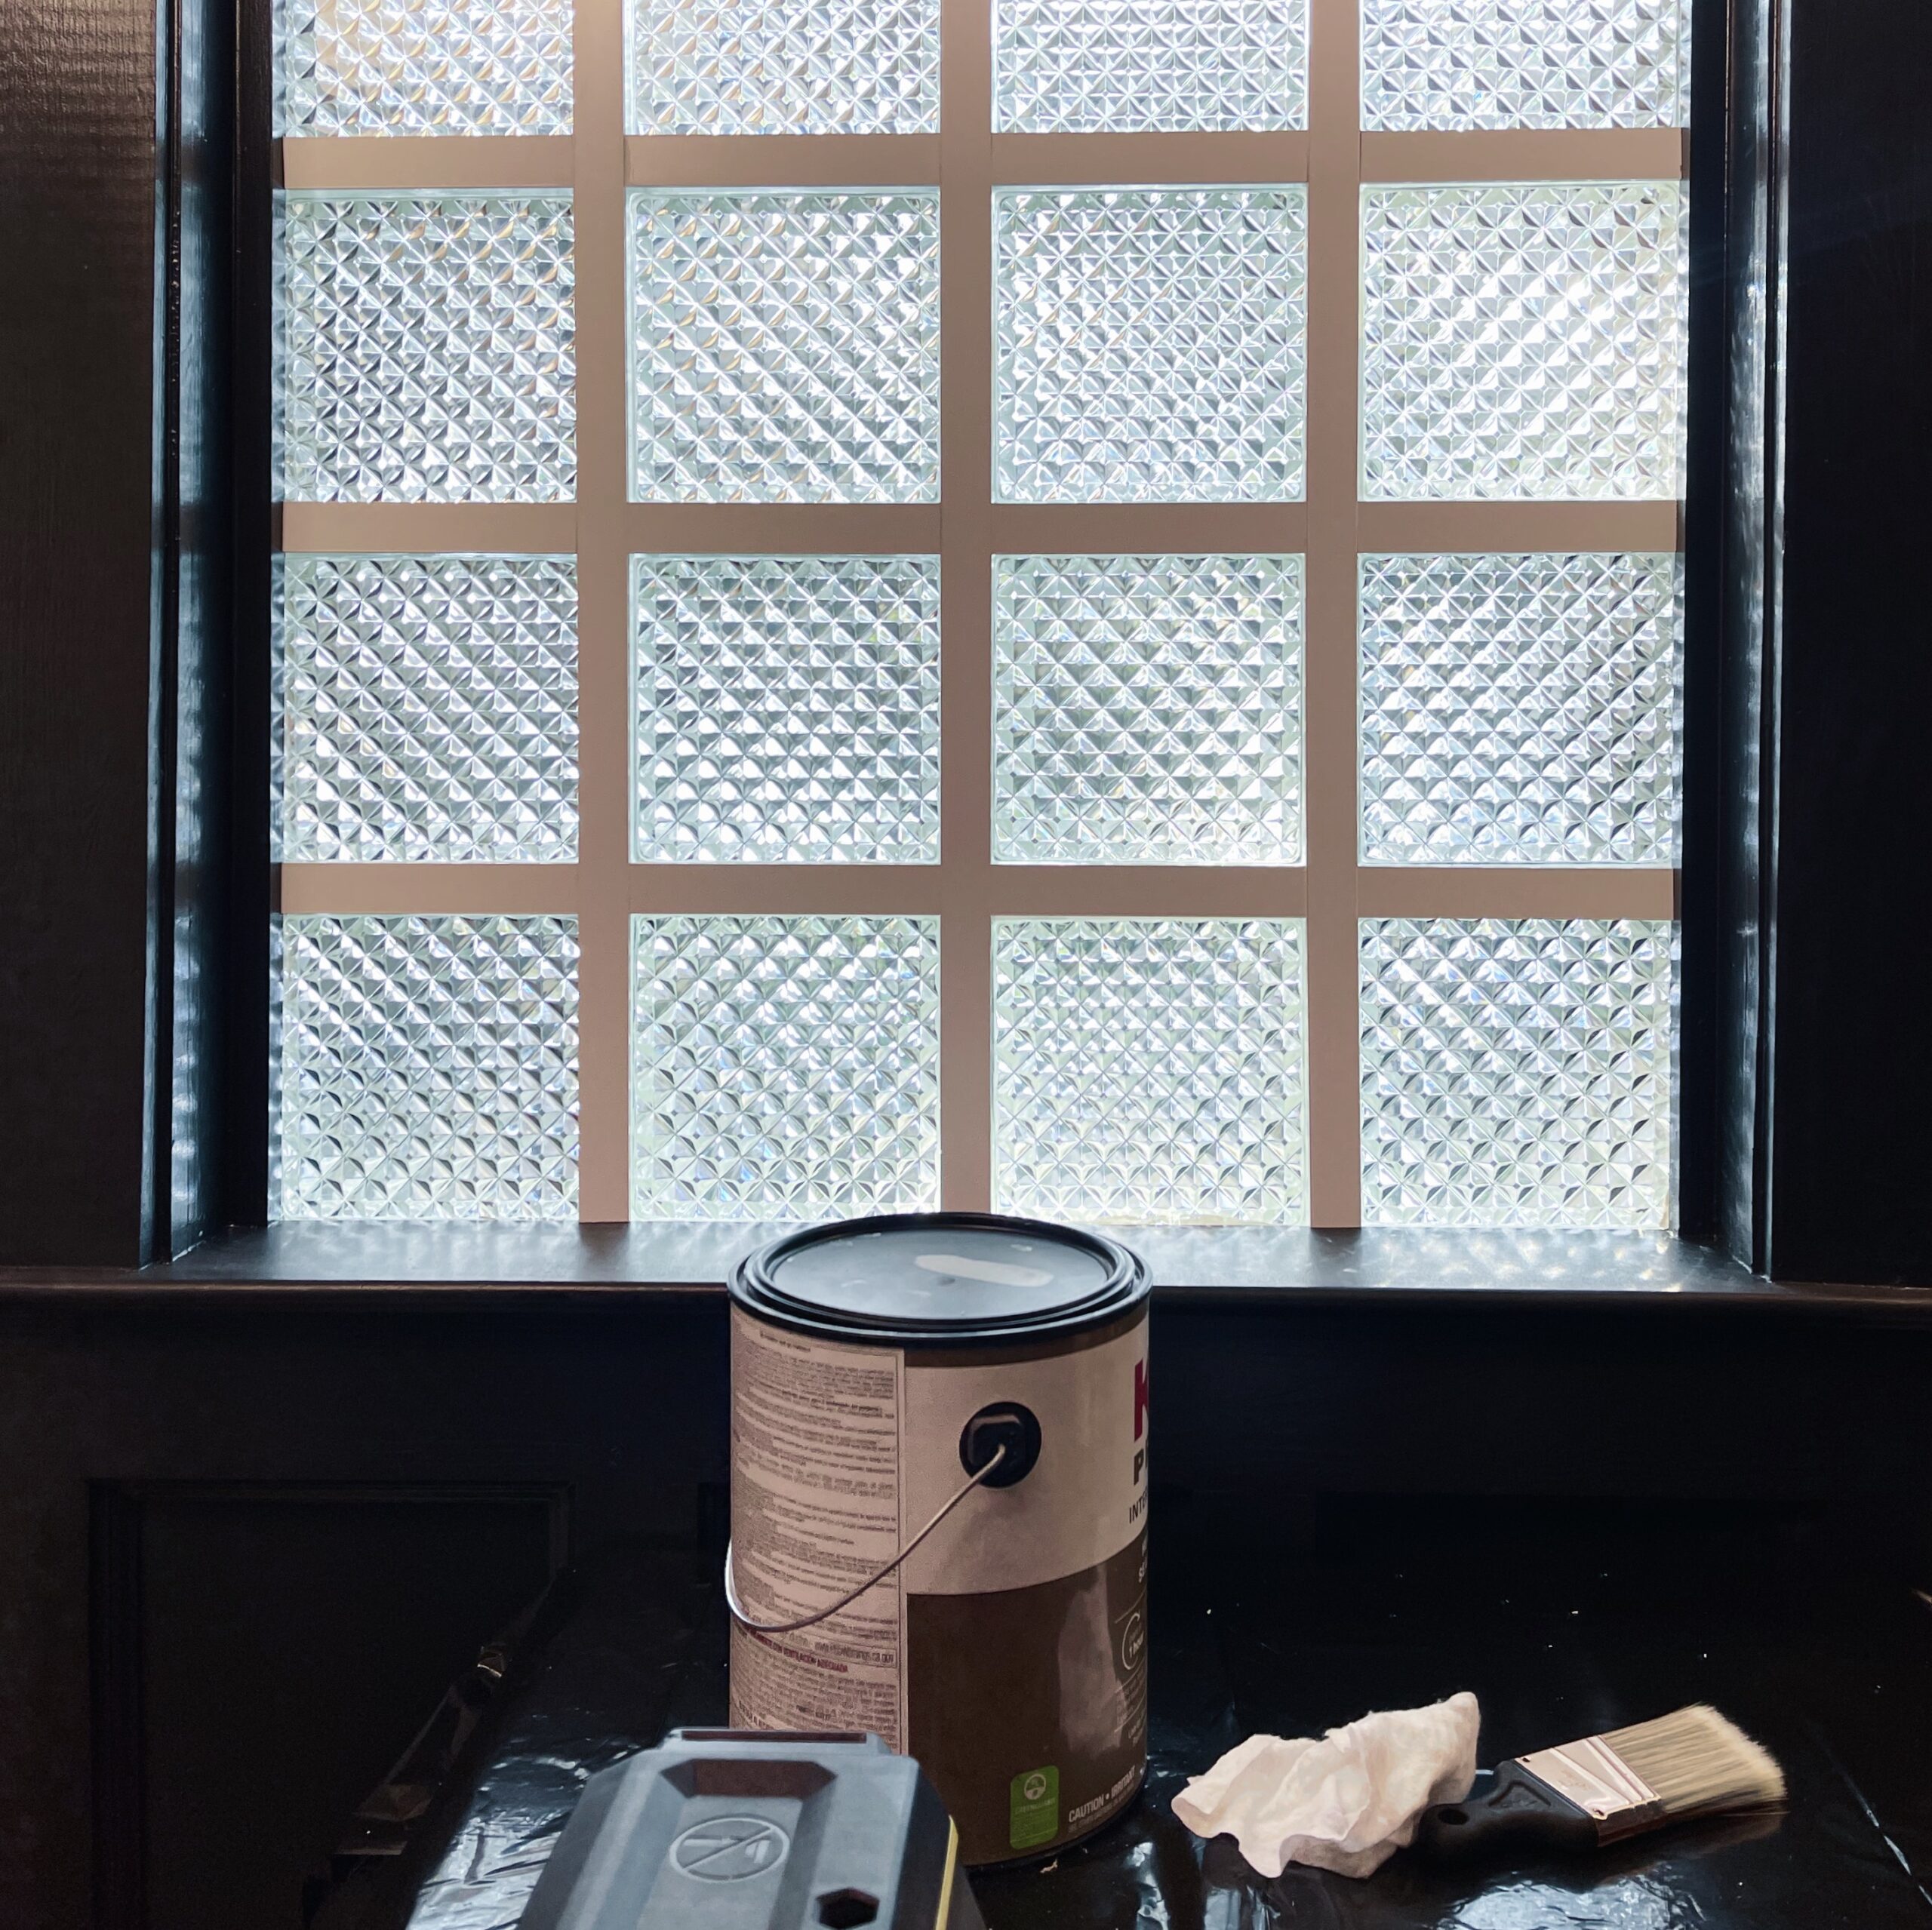
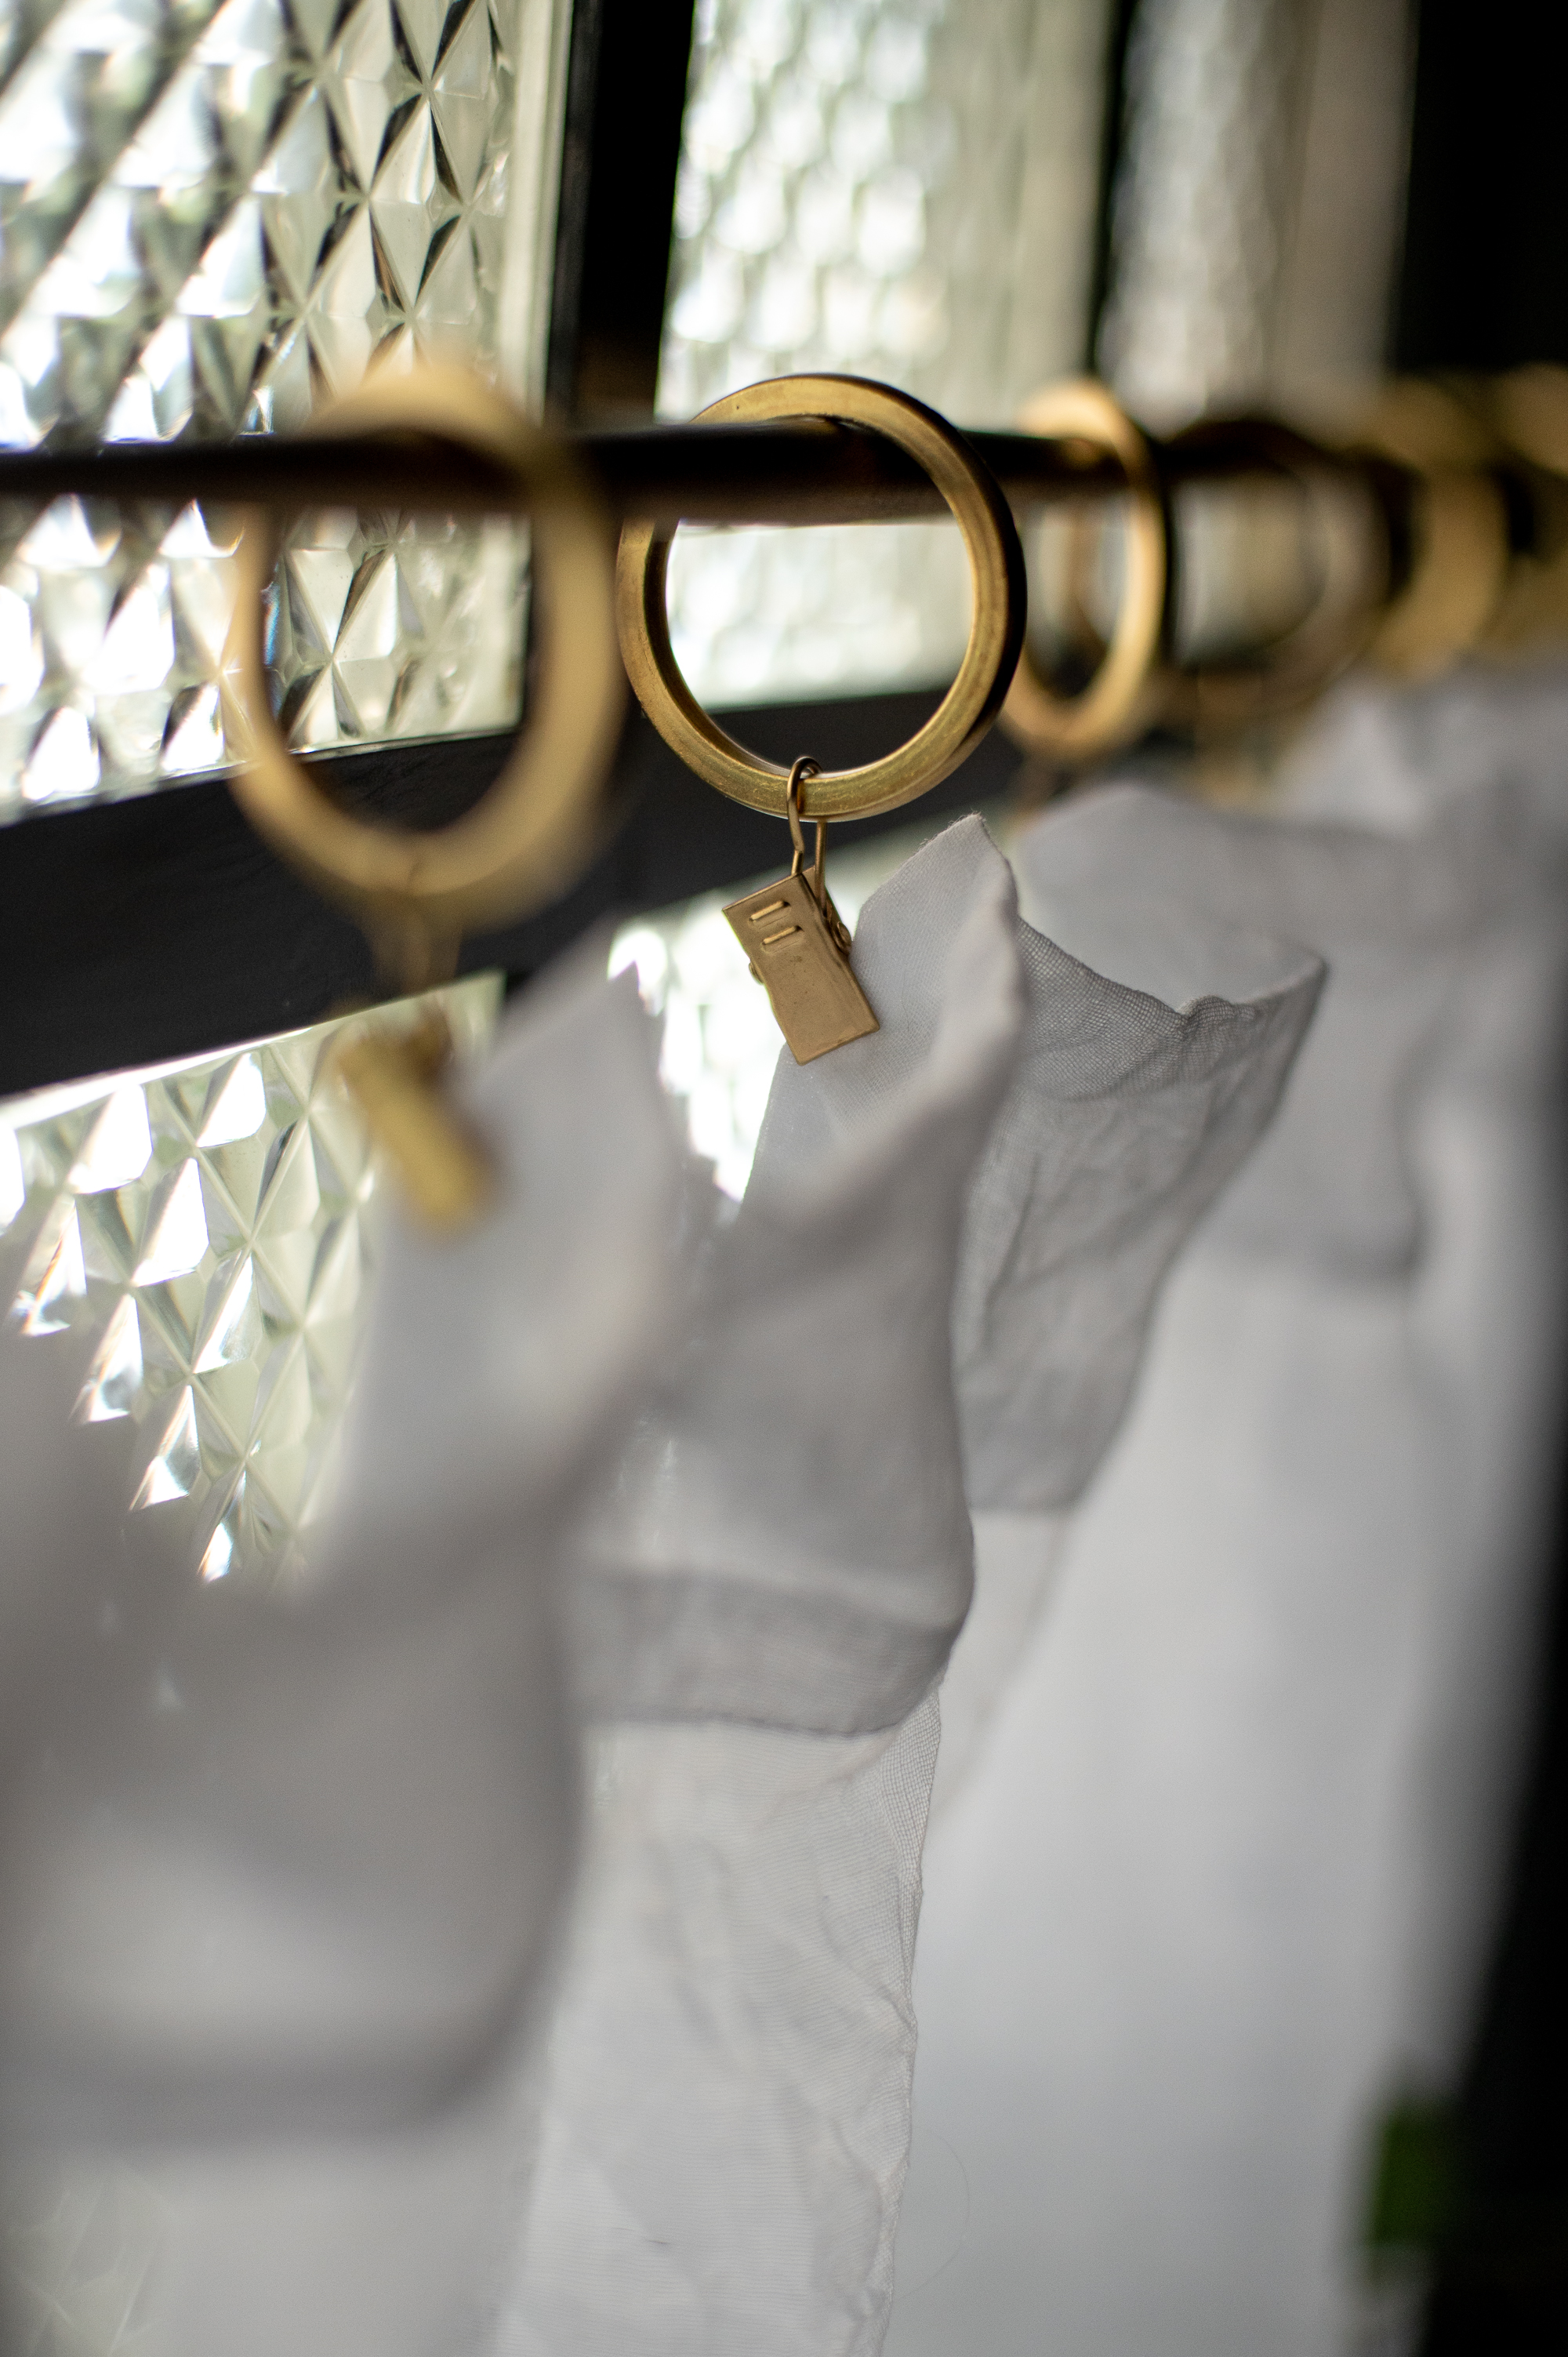
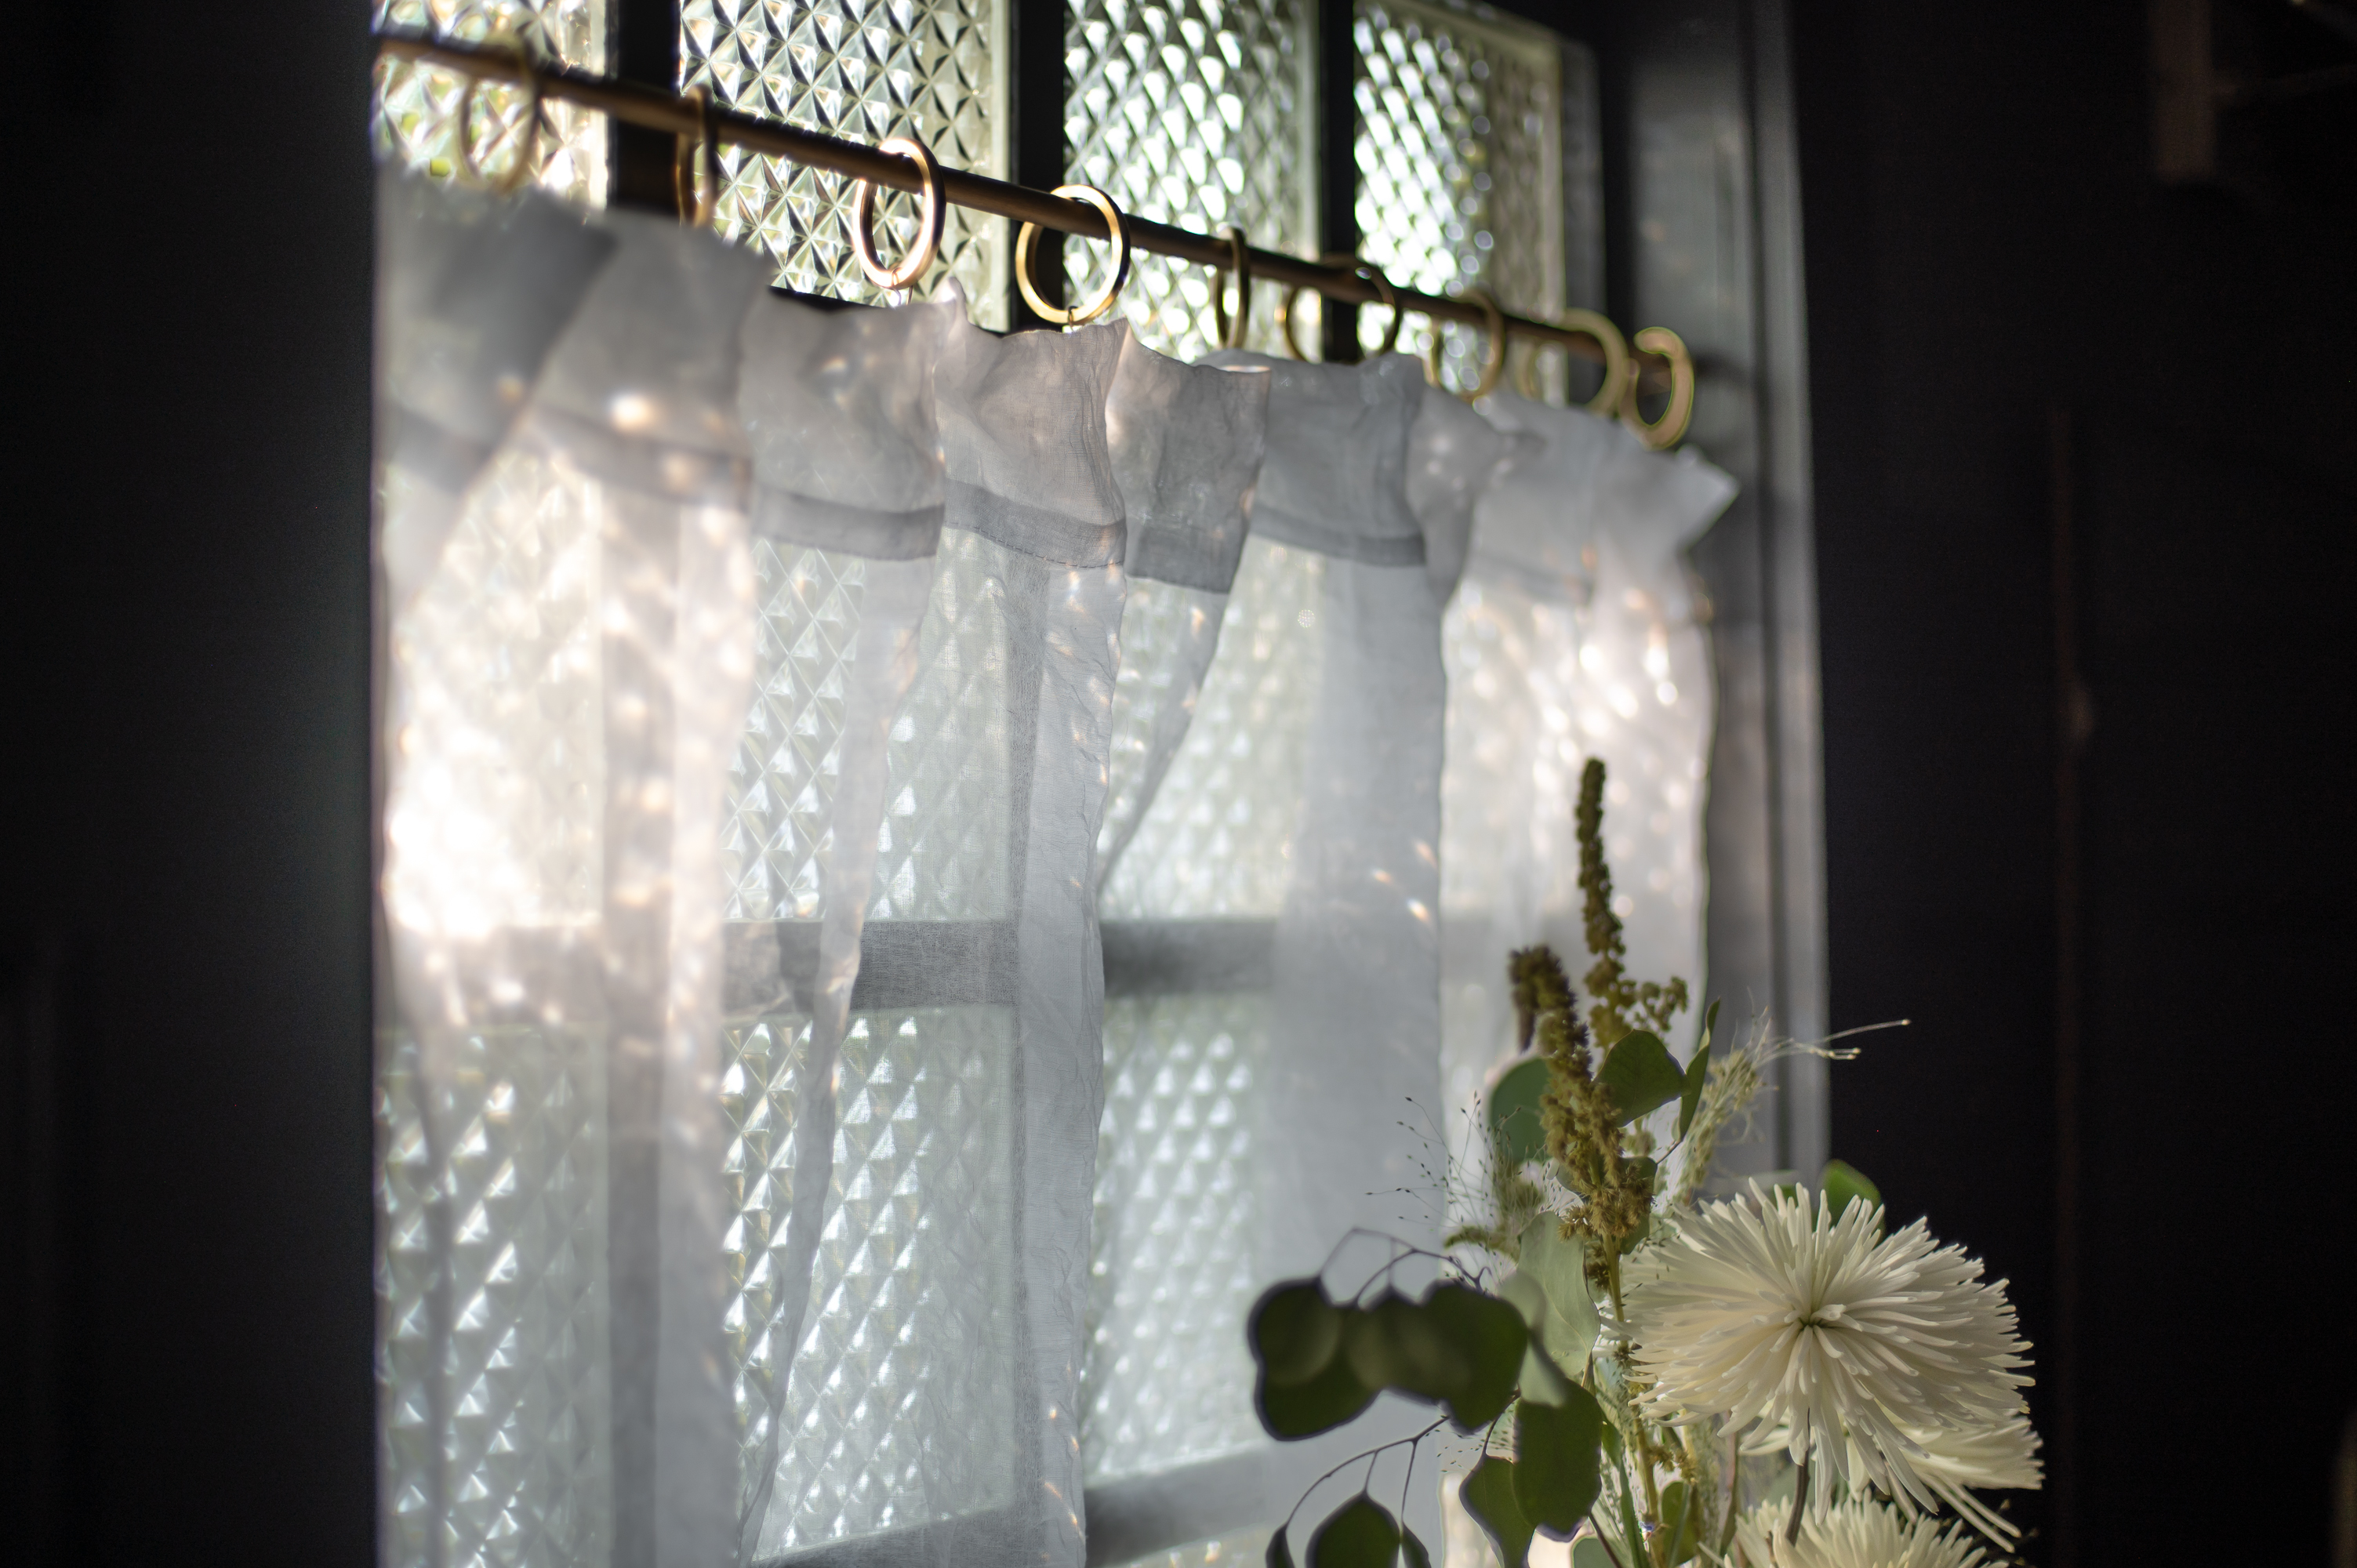
- We also needed to deal with the window in this room. At some point in our house’s past (which was built in 1928), someone decided to replace the original window in this space with a much smaller block glass window. Replacing the block glass window was unfortunately not in our budget right now. So to update it a bit, we trimmed out all the exposed masonry on the block glass and then painted it dark to match the rest of the trim in the space. (Click here for the full tutorial on that)
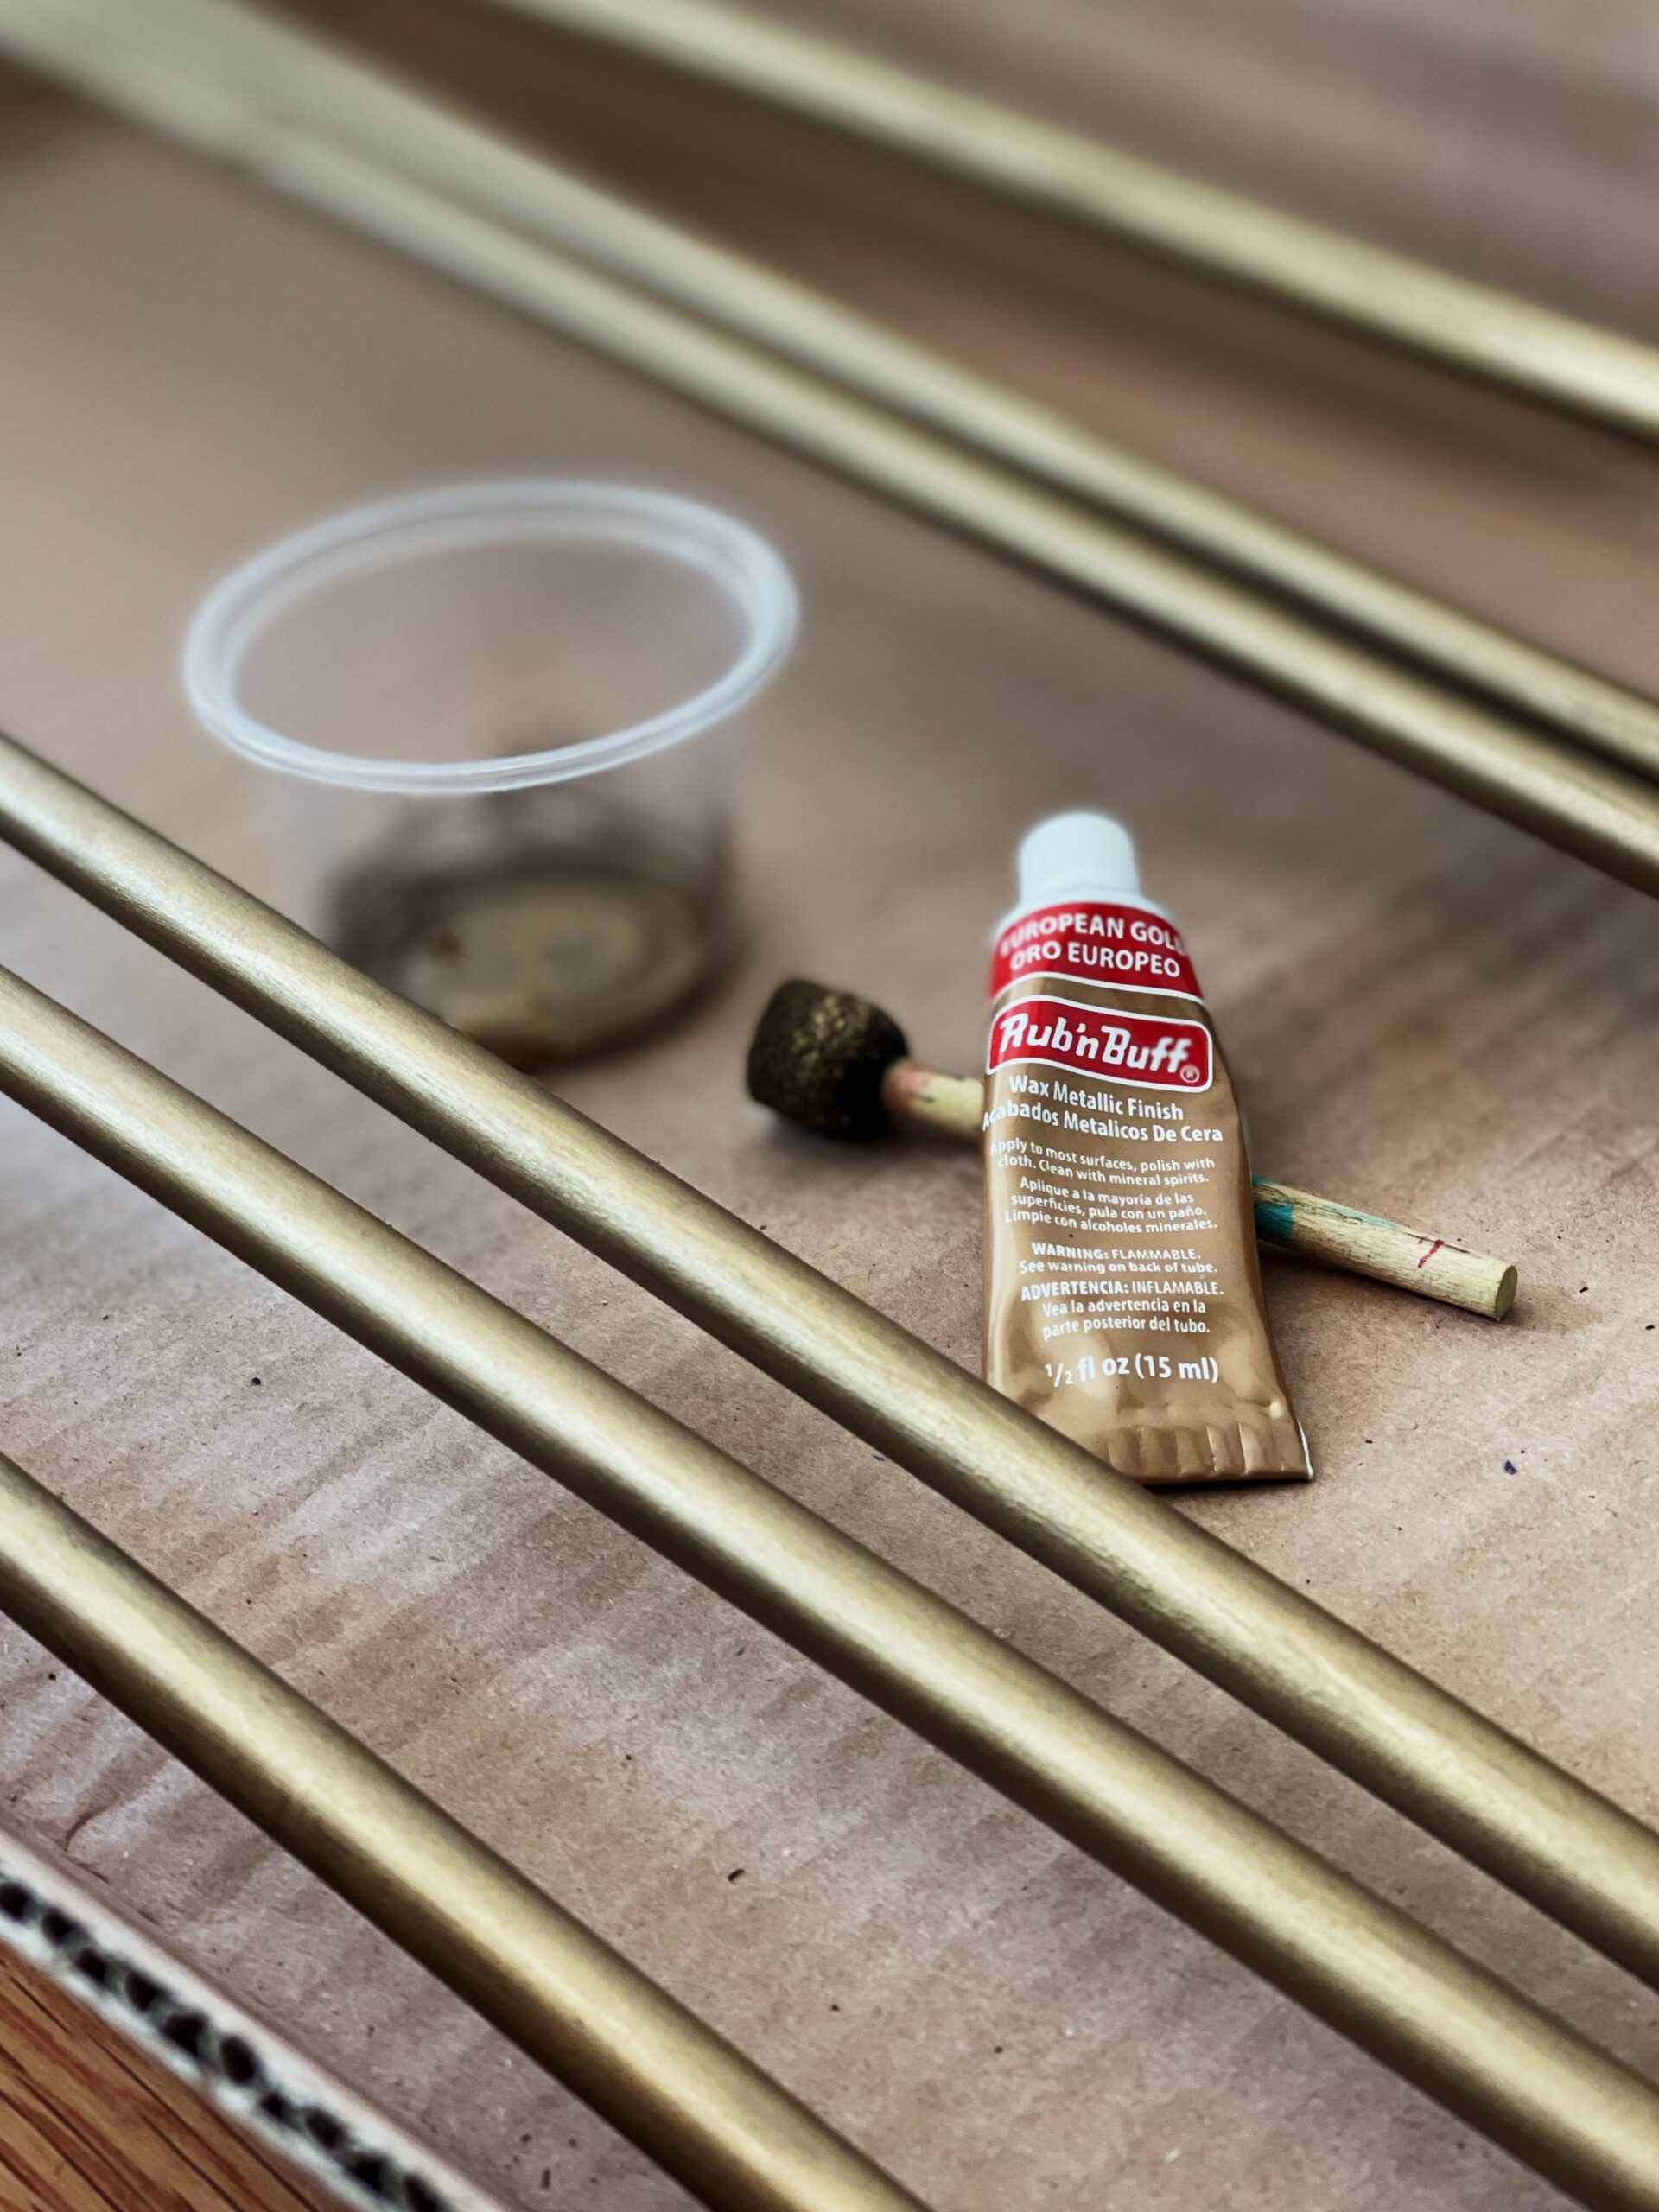
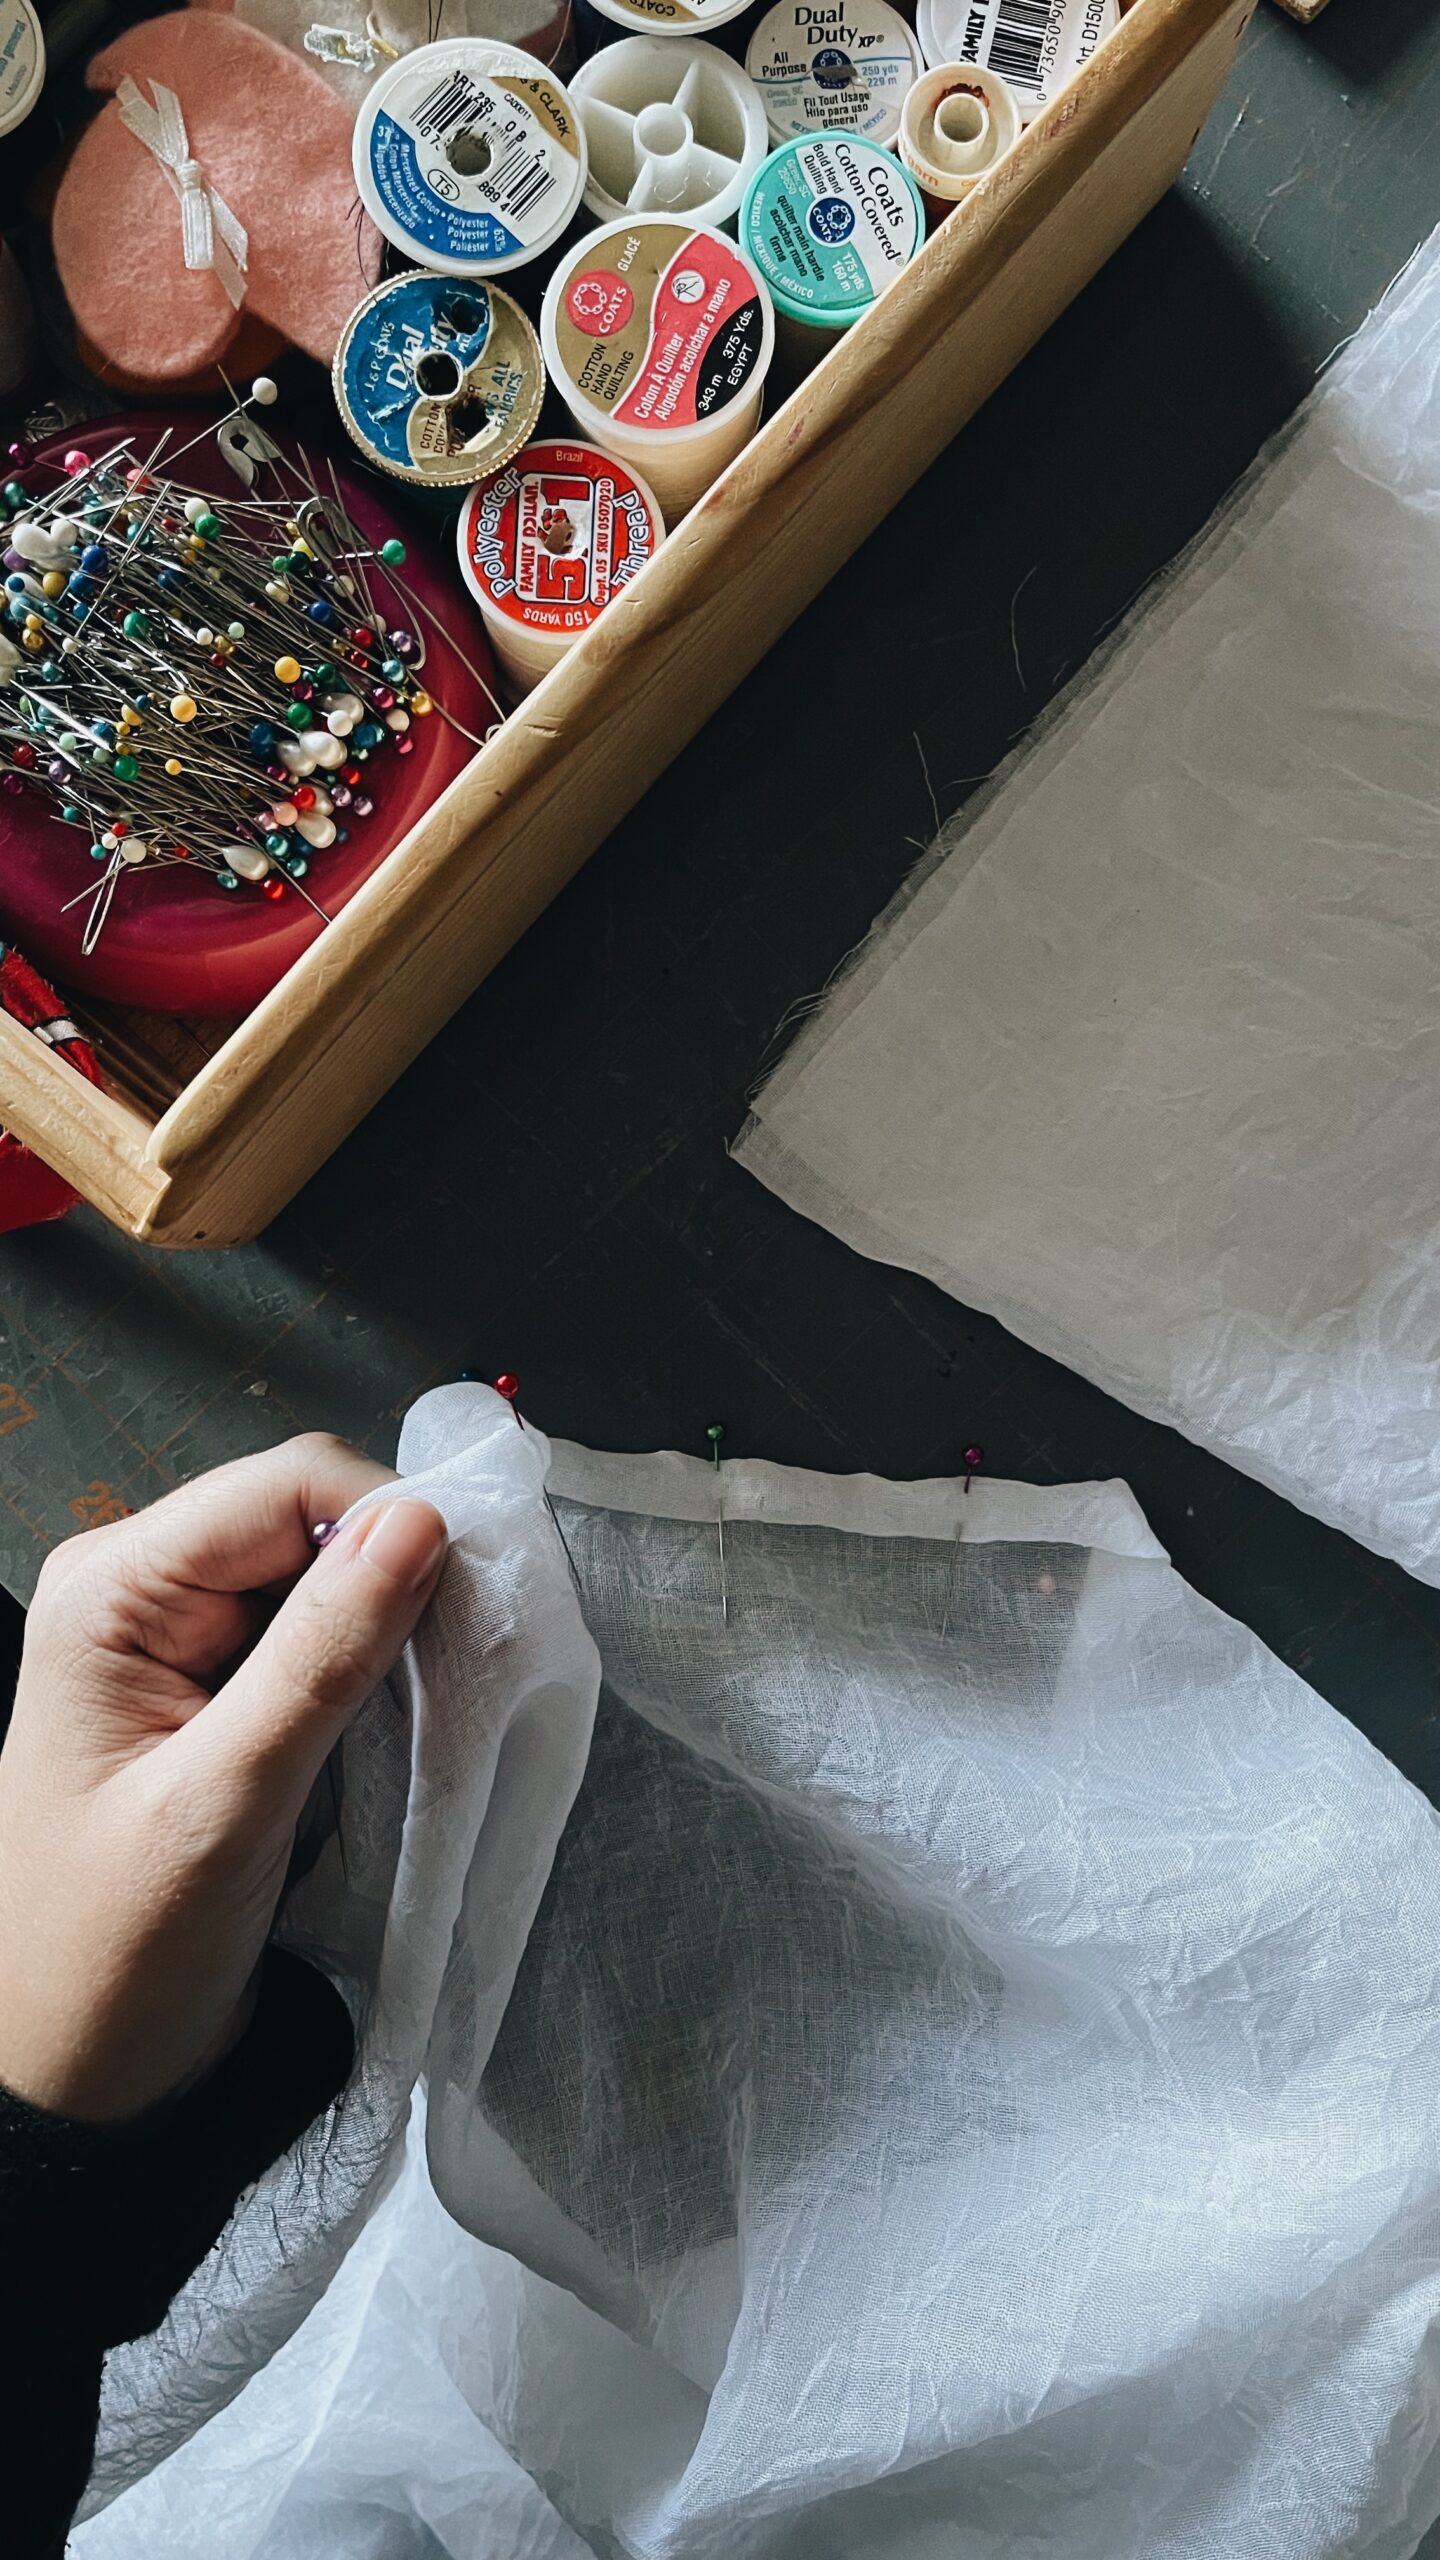
- As a finishing touch, I cut down a muslin curtain to length and hand sewed a little hem detail on the bottom. We then hung it from the window by a wooden dowel rod, that I’d painted with rub n’ buff to look brass, and hung it up with some brass curtain clips.
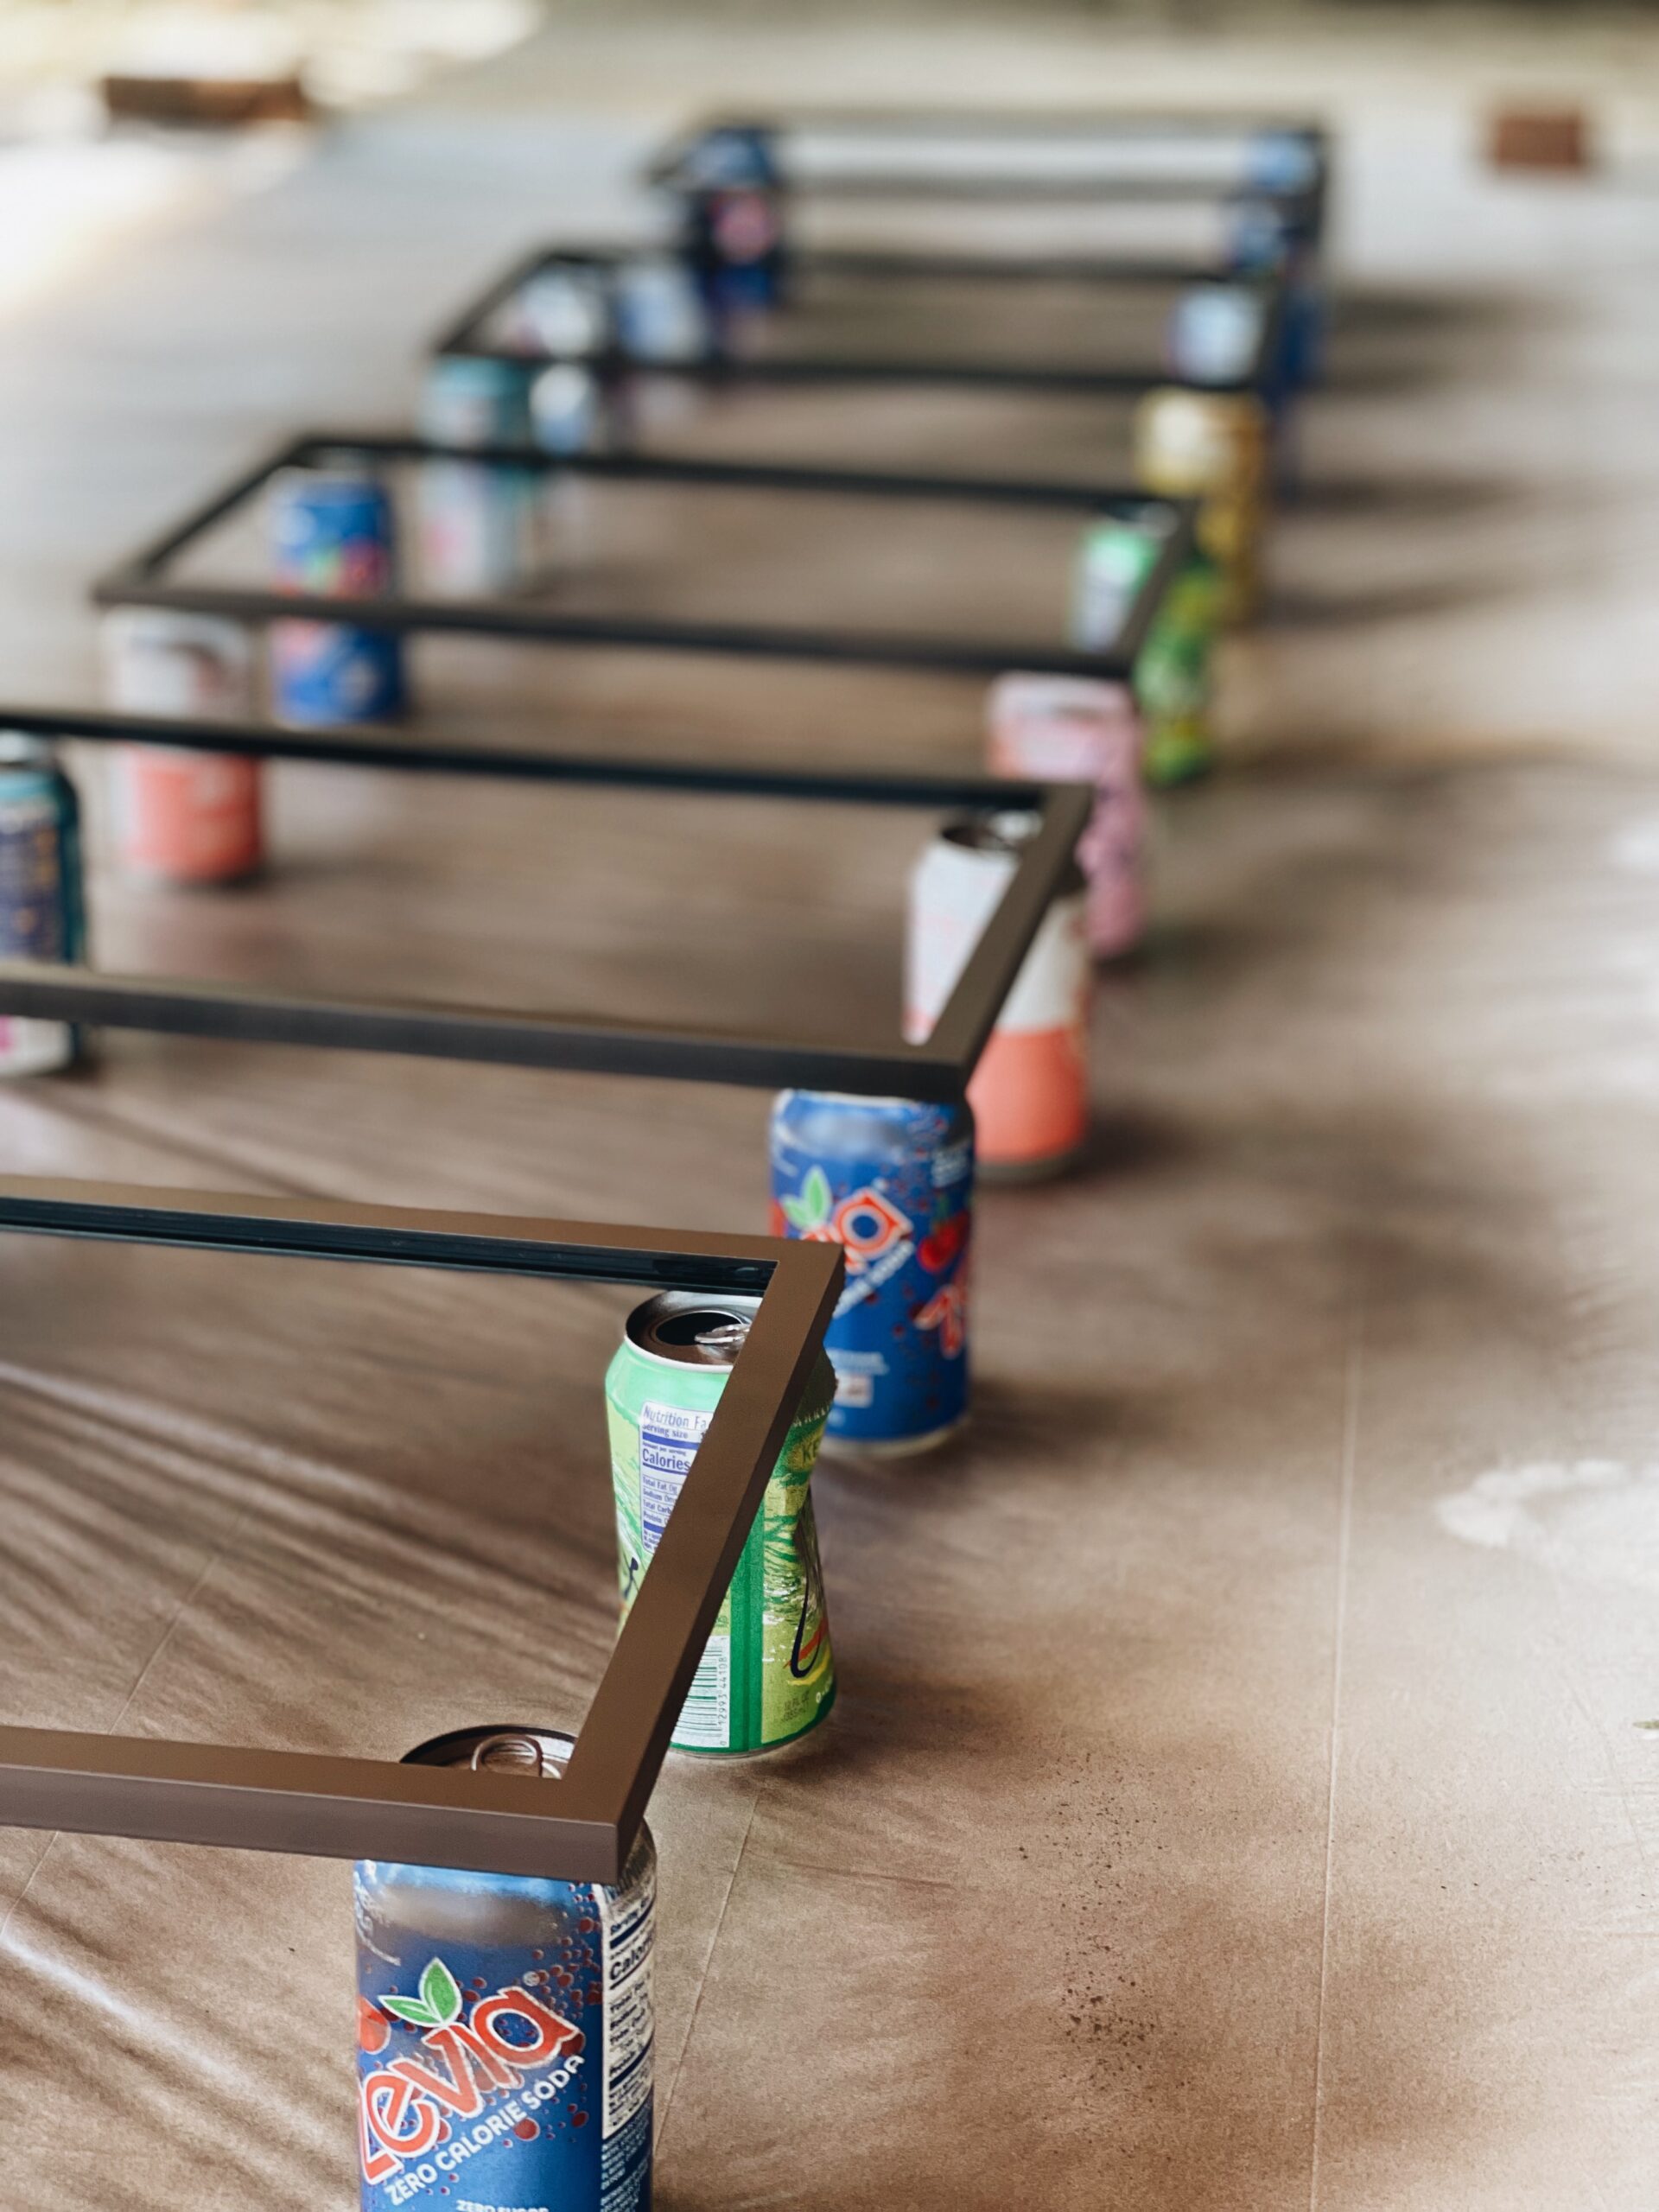
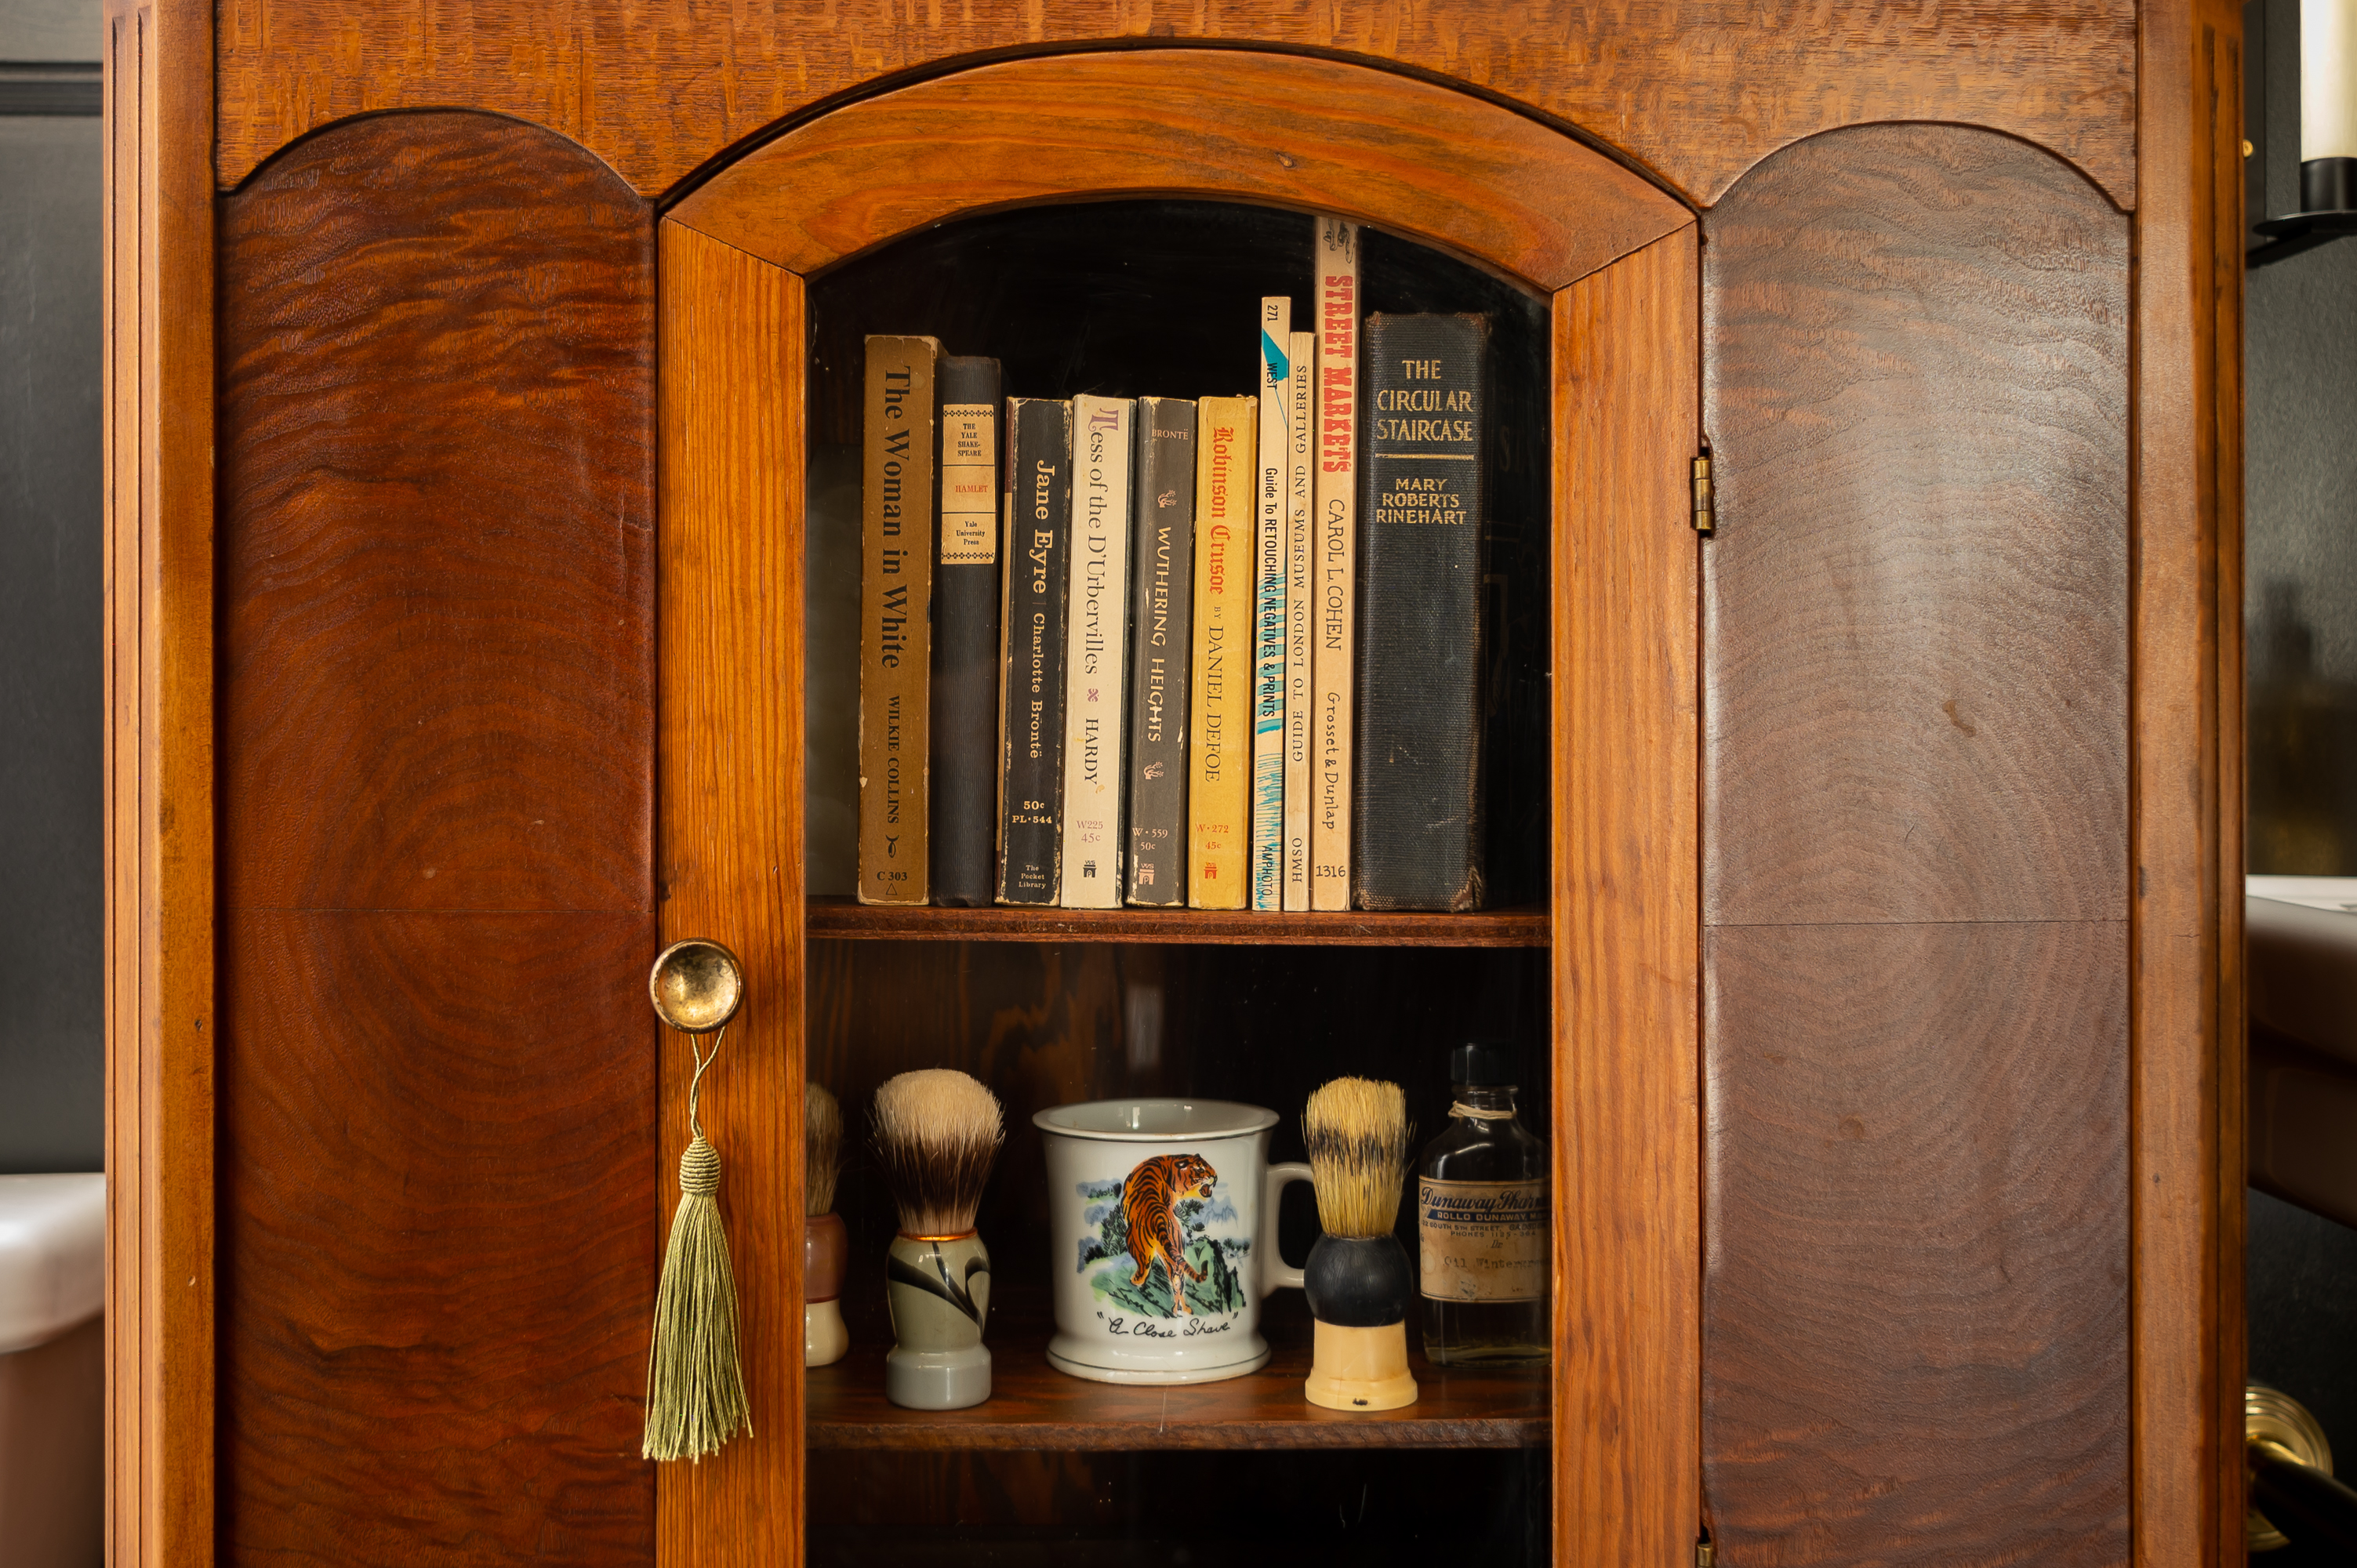
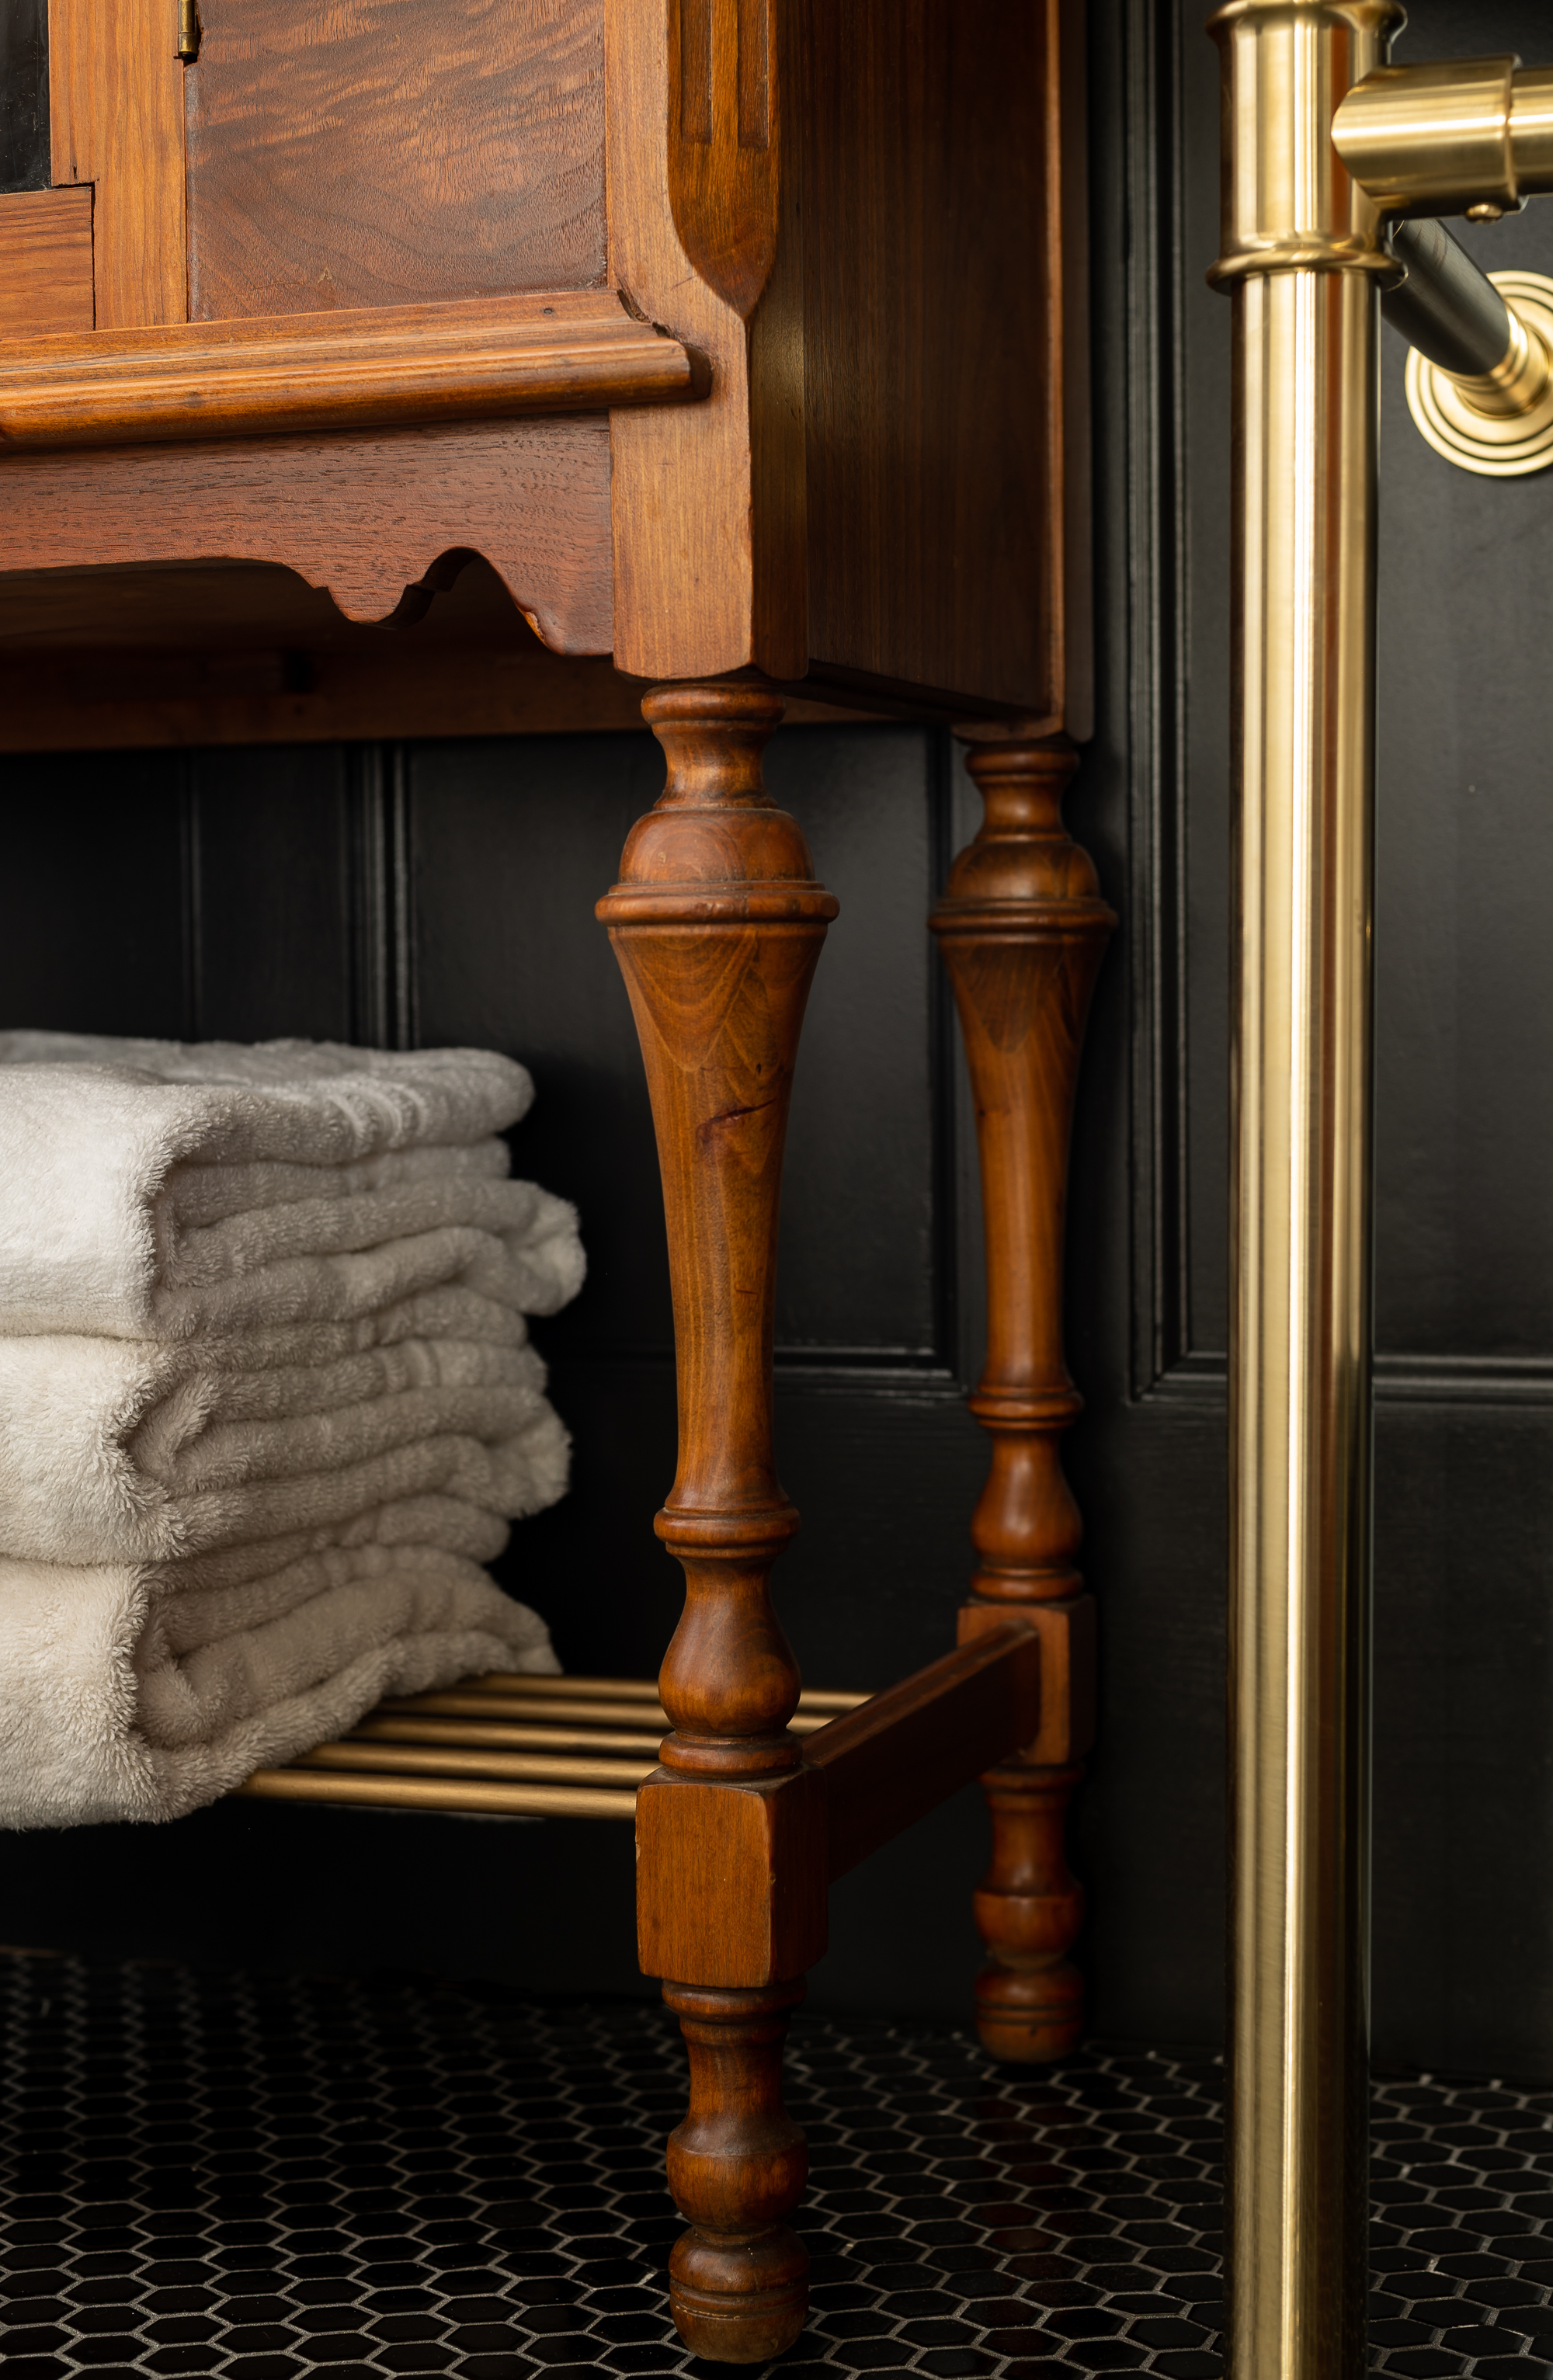
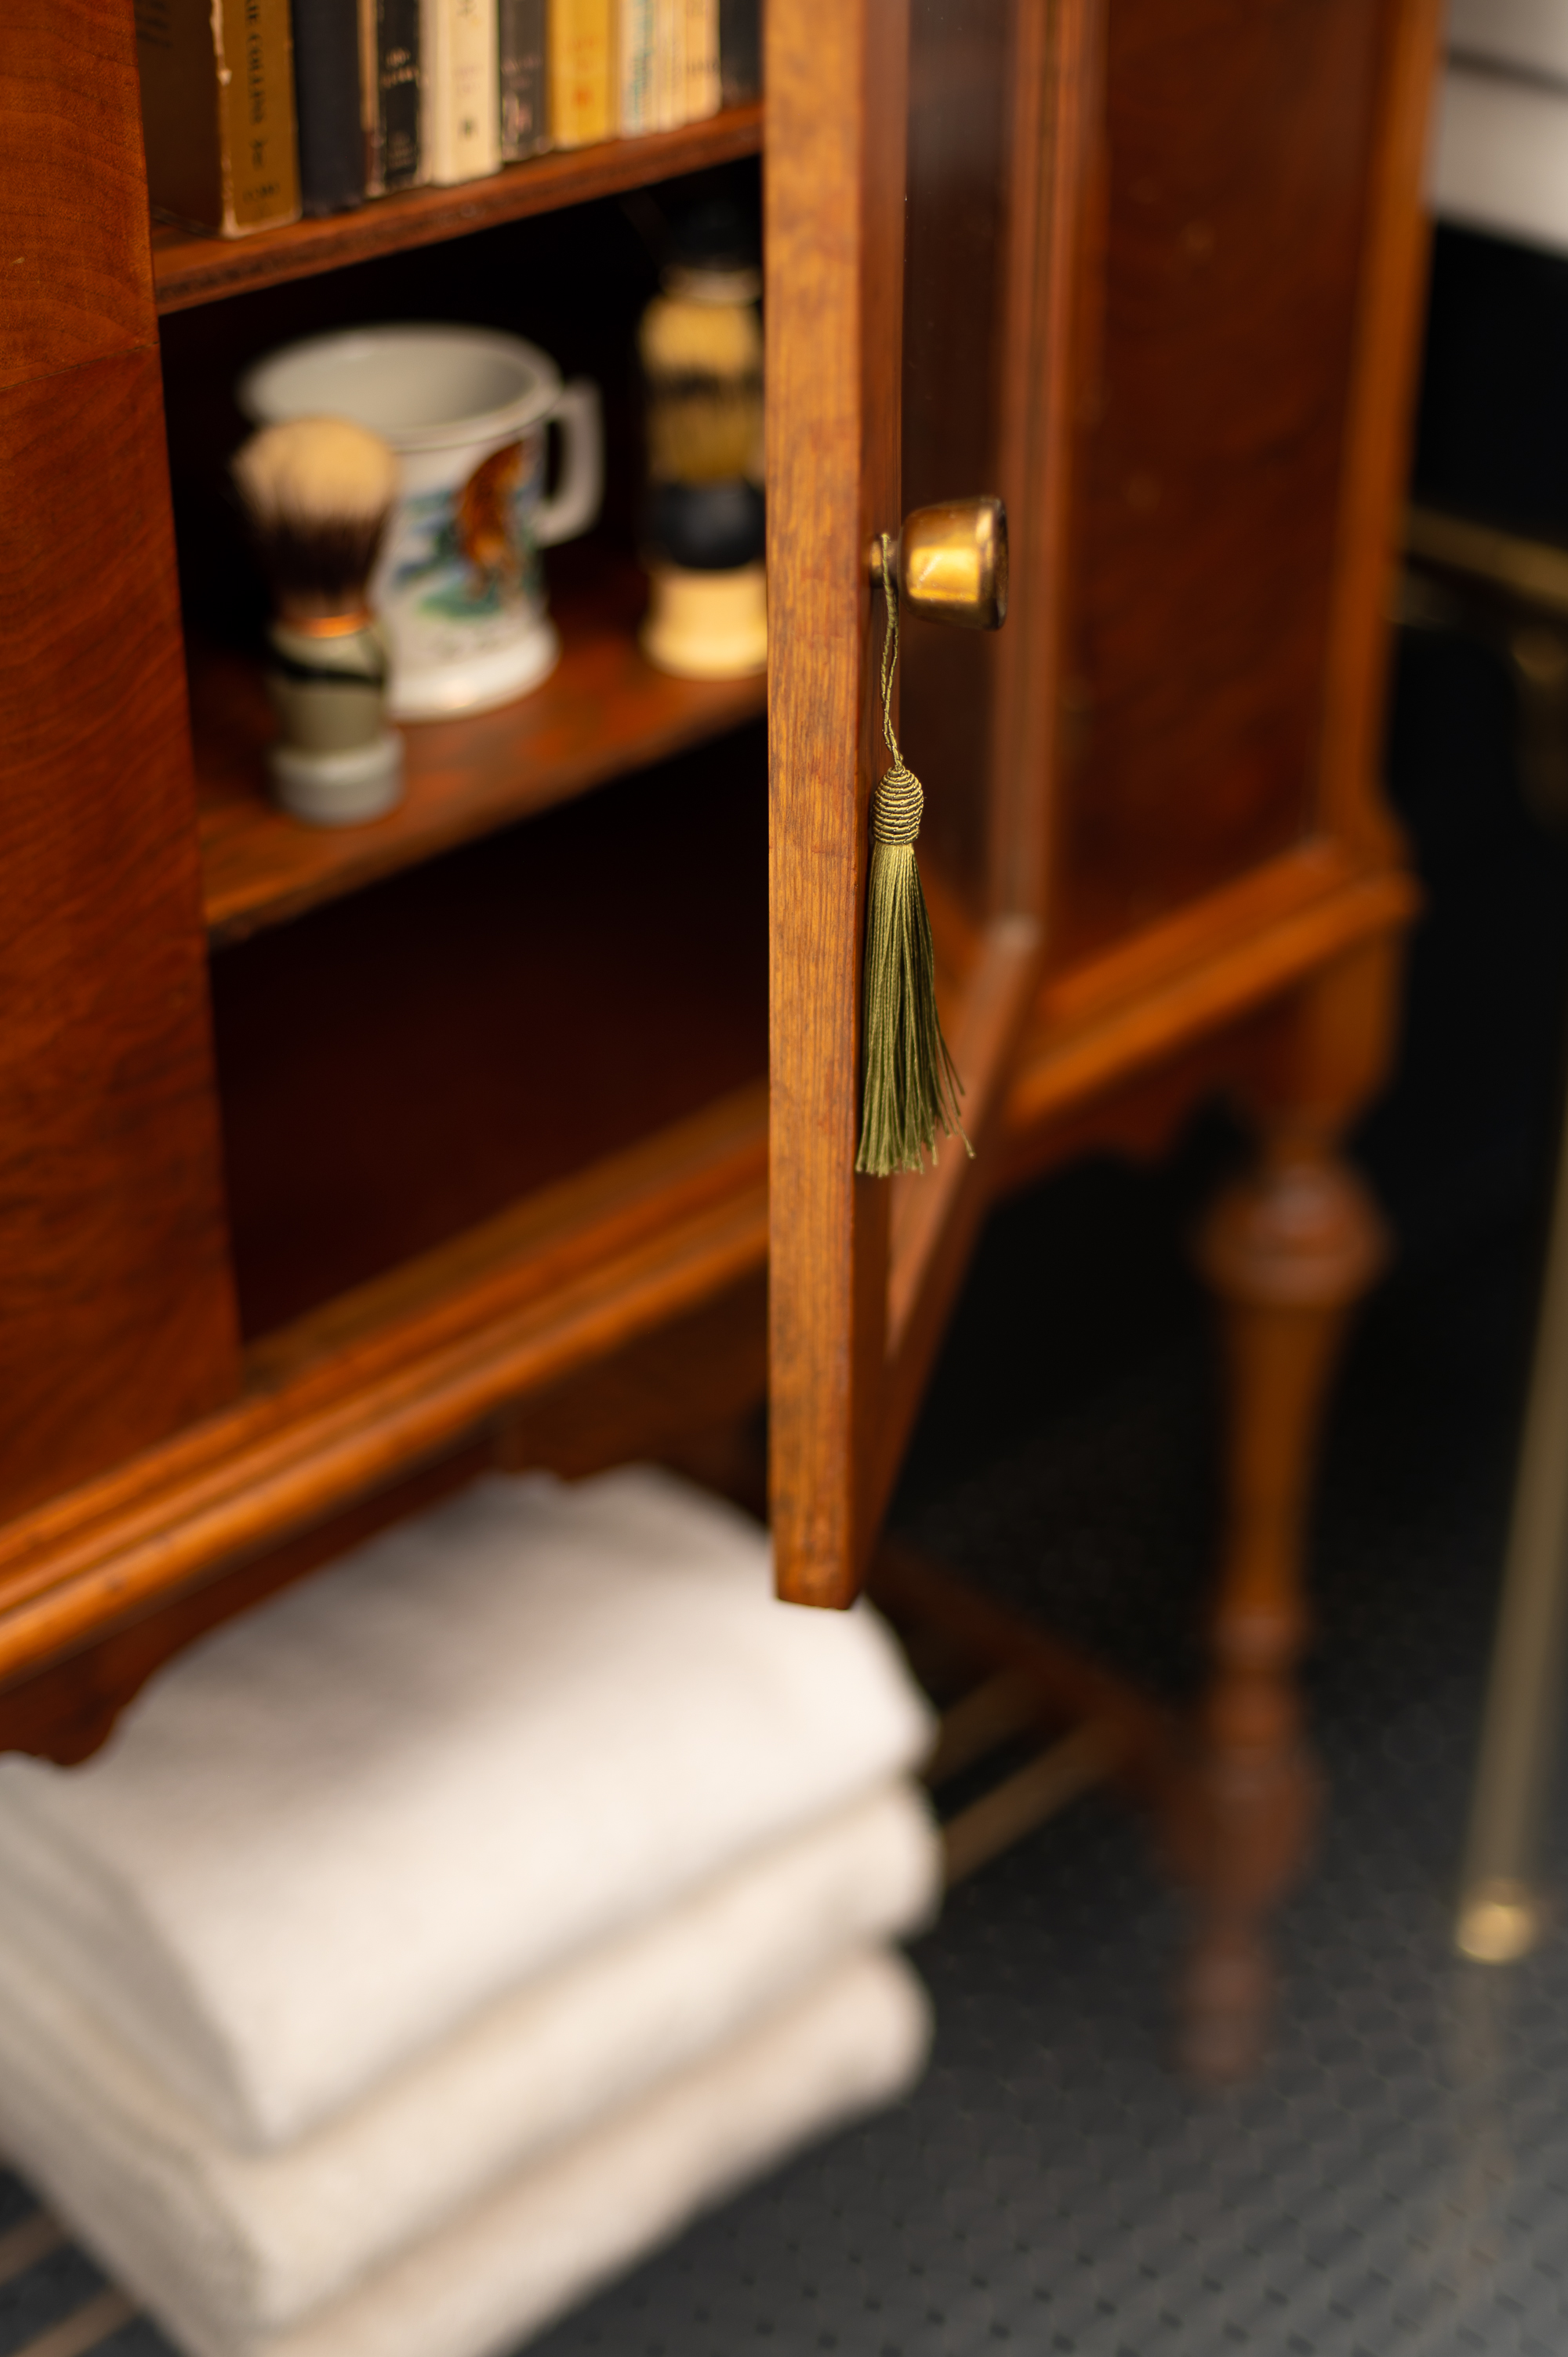
- The final element we created for this space was updating an old radio cabinet I found at an antique store (you have no idea how hard it is to find a tiny cabinet this size with a glass door, it took me over a year of searching to find this one!). Most of the work of converting it from just a radio into a usable cabinet with shelves, had been done prior to my purchasing it, but we decided to update it further by removing the decorative wooden cross bar from the bottom of the unit and replacing it with aluminum rods (that I again rub n’ buffed to look brass) to create a shelf for easy towel storage.
A few last notes on the decor for the space:
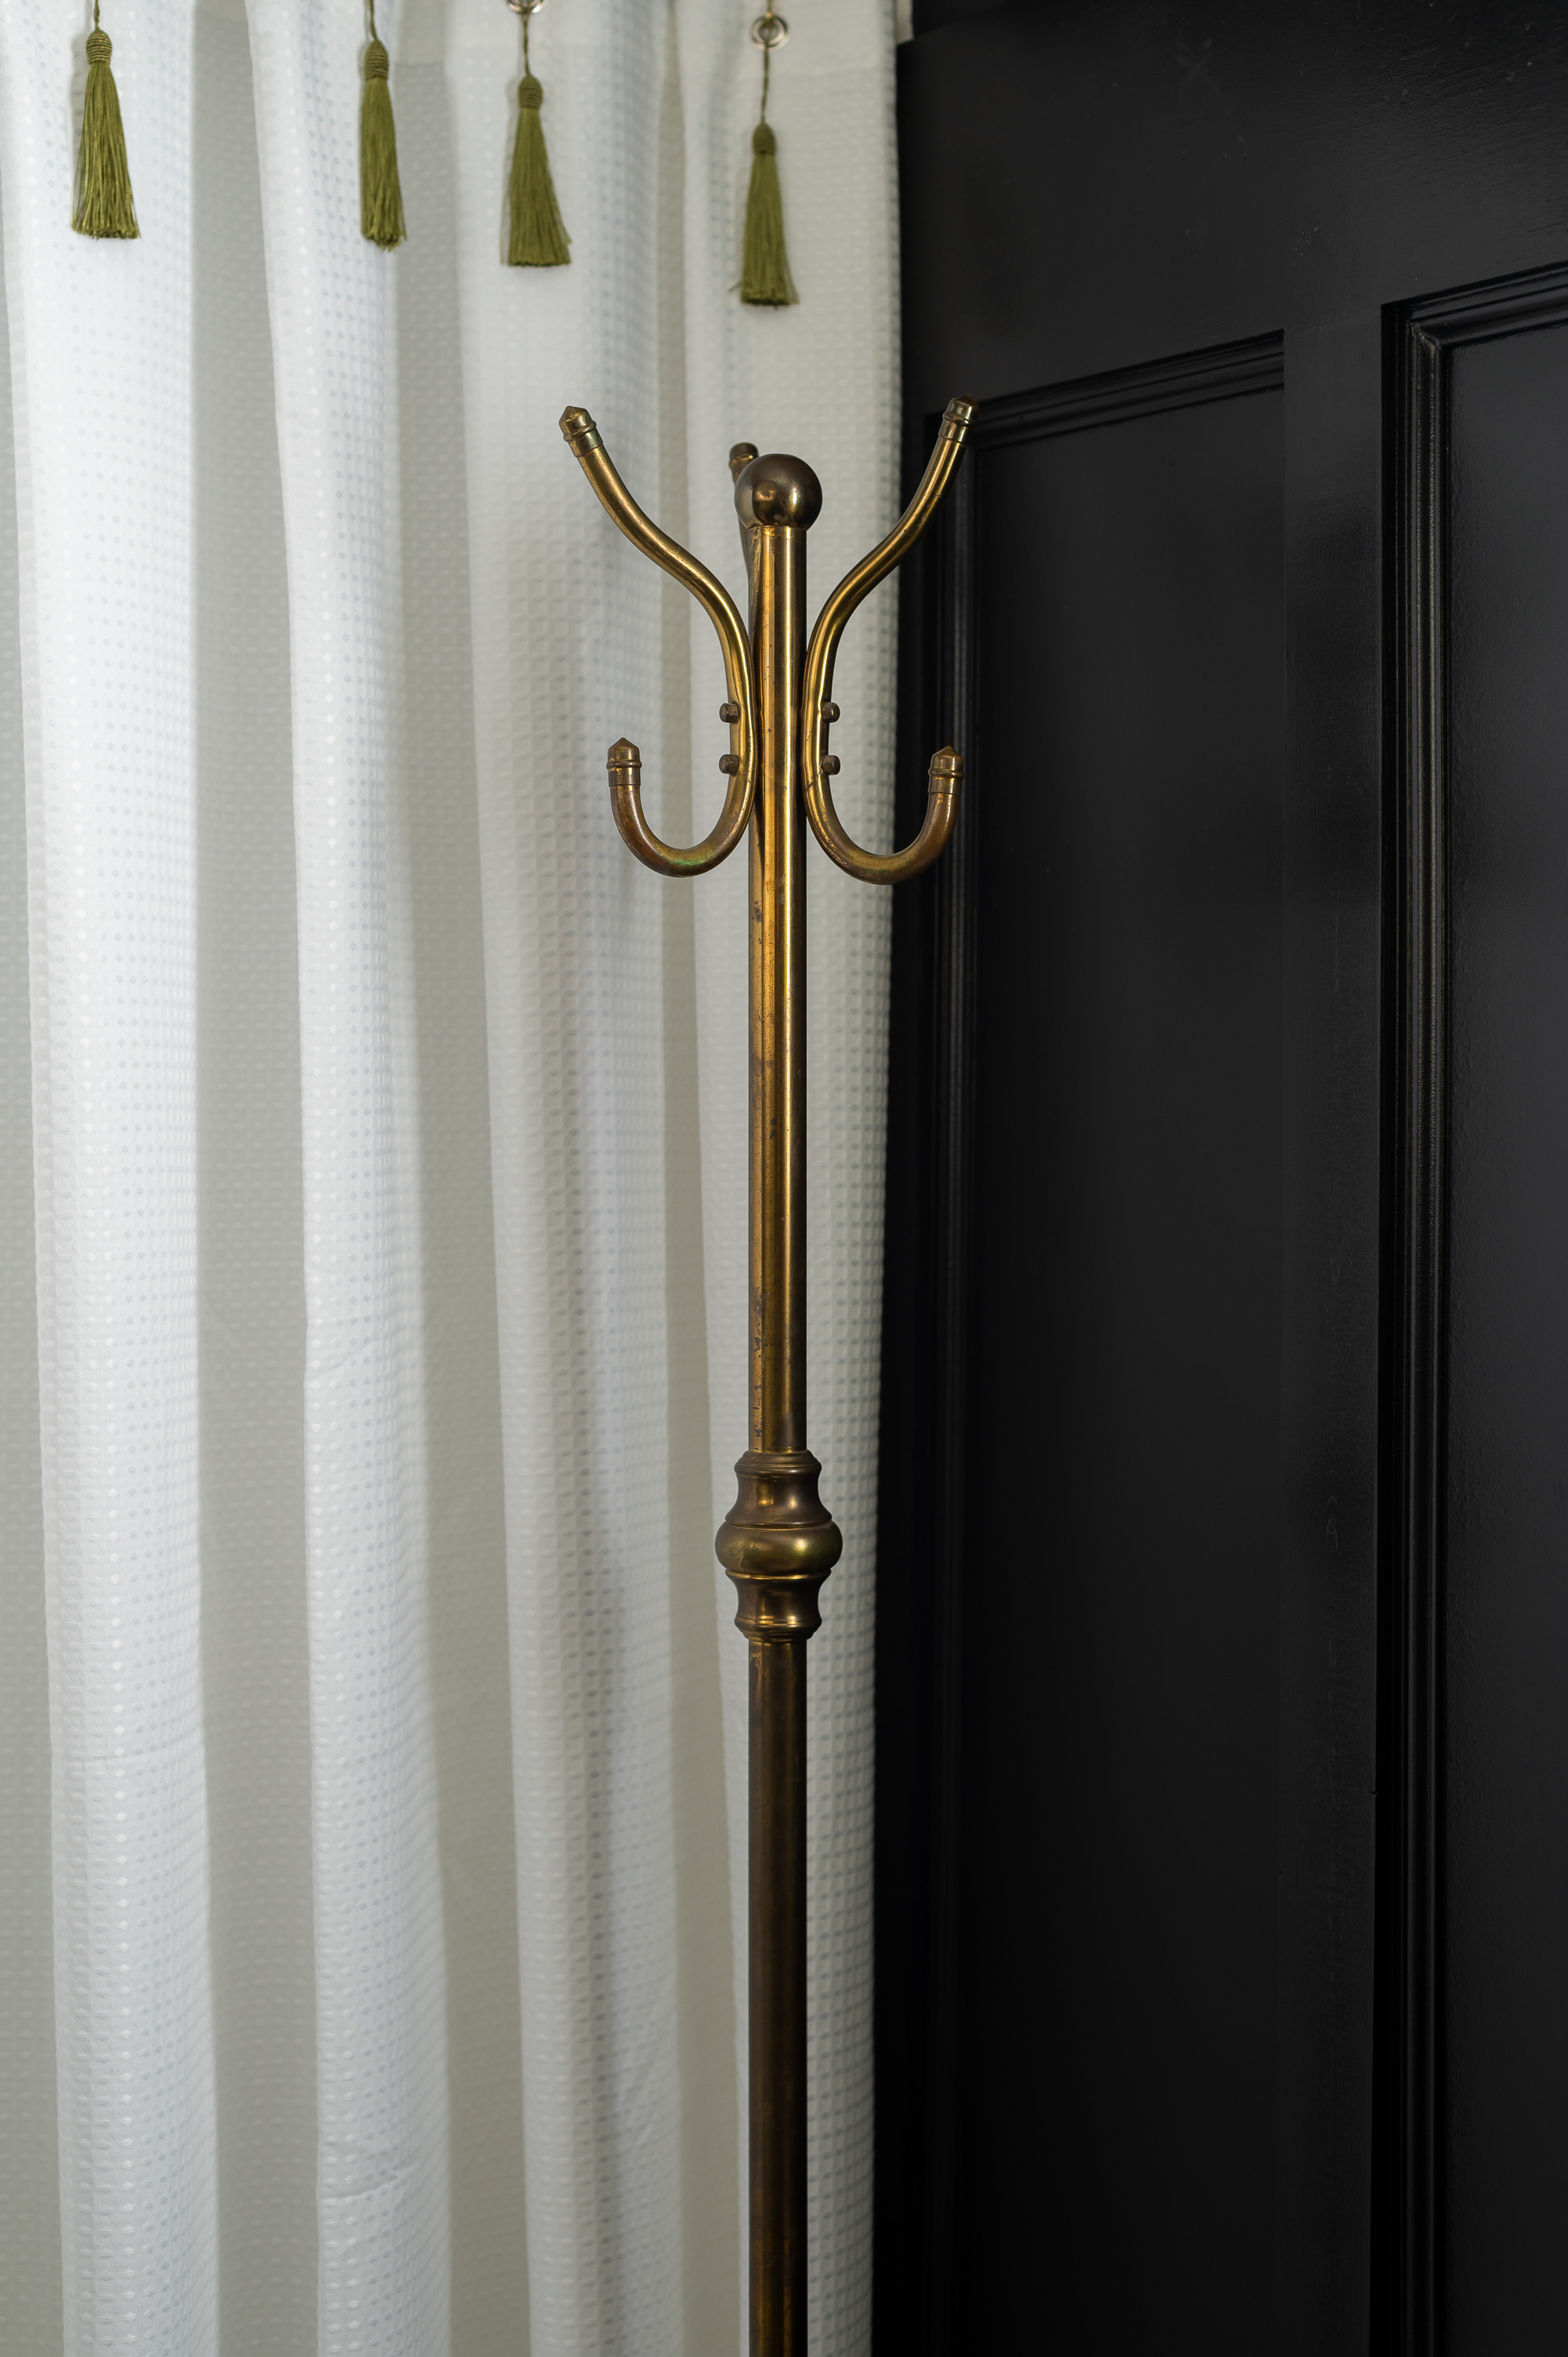
- Originally, I had planned on using some vintage brass and porcelain wall hooks I’d picked up in Paris in 2019 in this space for guests to have somewhere to hang up their wet towels. After taping them up on the wall, in a variety of locations around the room to test them out, nothing felt 100% right. Then, last week when I was out at a thrift shop, I stumbled upon the most perfect free-standing brass hat rack that I knew would be the PERFECT addition to the bathroom. And honestly that leads me to an important question… why aren’t we using more free-standing hat racks in bathrooms as towel hooks!?
- When we originally designed the lighting in this space we had planned for a much larger vintage mirror to go in this room, one I had found over a year ago just for this space. However, after having to change sink fixtures at the last minute for a variety of reasons, when we went to install the mirror we discovered that it no longer fit behind the new faucet. That left us scrambling at the last minute to find a new mirror the day my sister was due to arrive. Luckily, a local antique store had something similar to our original mirror that would work in the space. However, that meant that all the lighting we had designed was all a bit off now. So I decided to fill in some of the space with a pair of very simple black wall mounted candle sconces I found.
- To push the “Old British Gentleman’s Club” vibes, I decided to fill the cabinet with a little library of vintage books I’ve collected and old vintage shaving brushes and a shaving cup I purchased from a few of my favorite local antique stores in town.
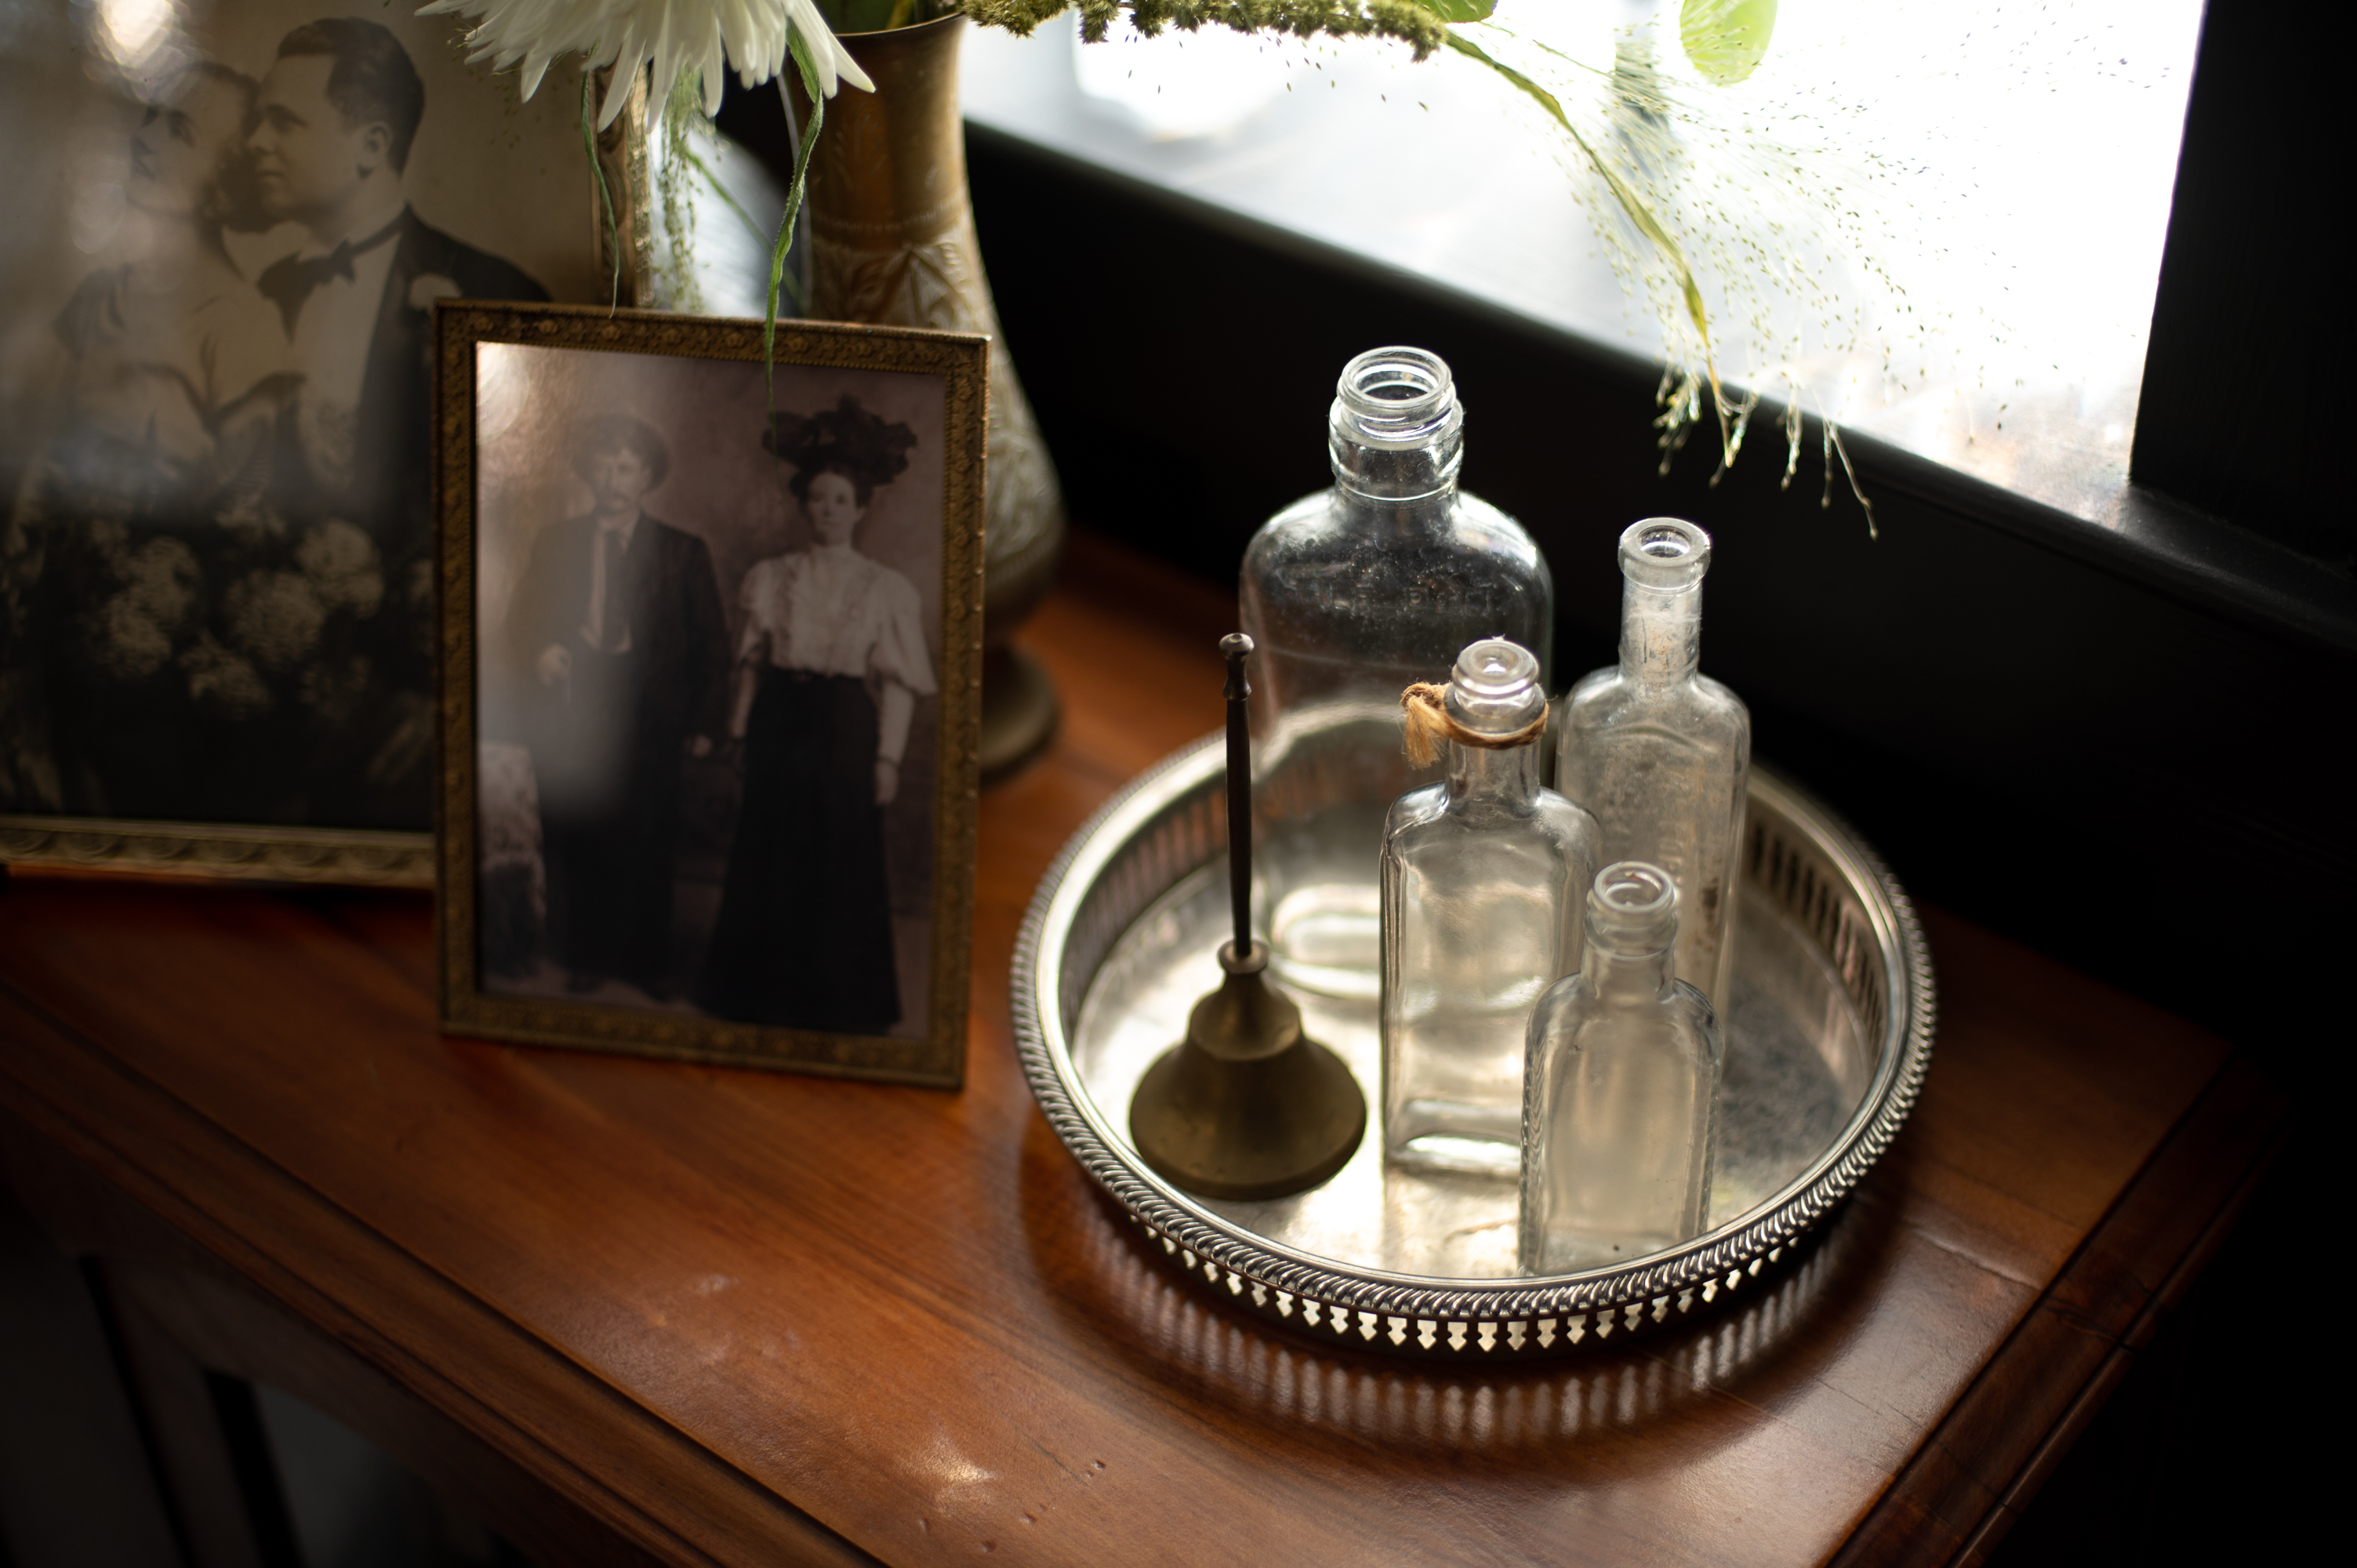
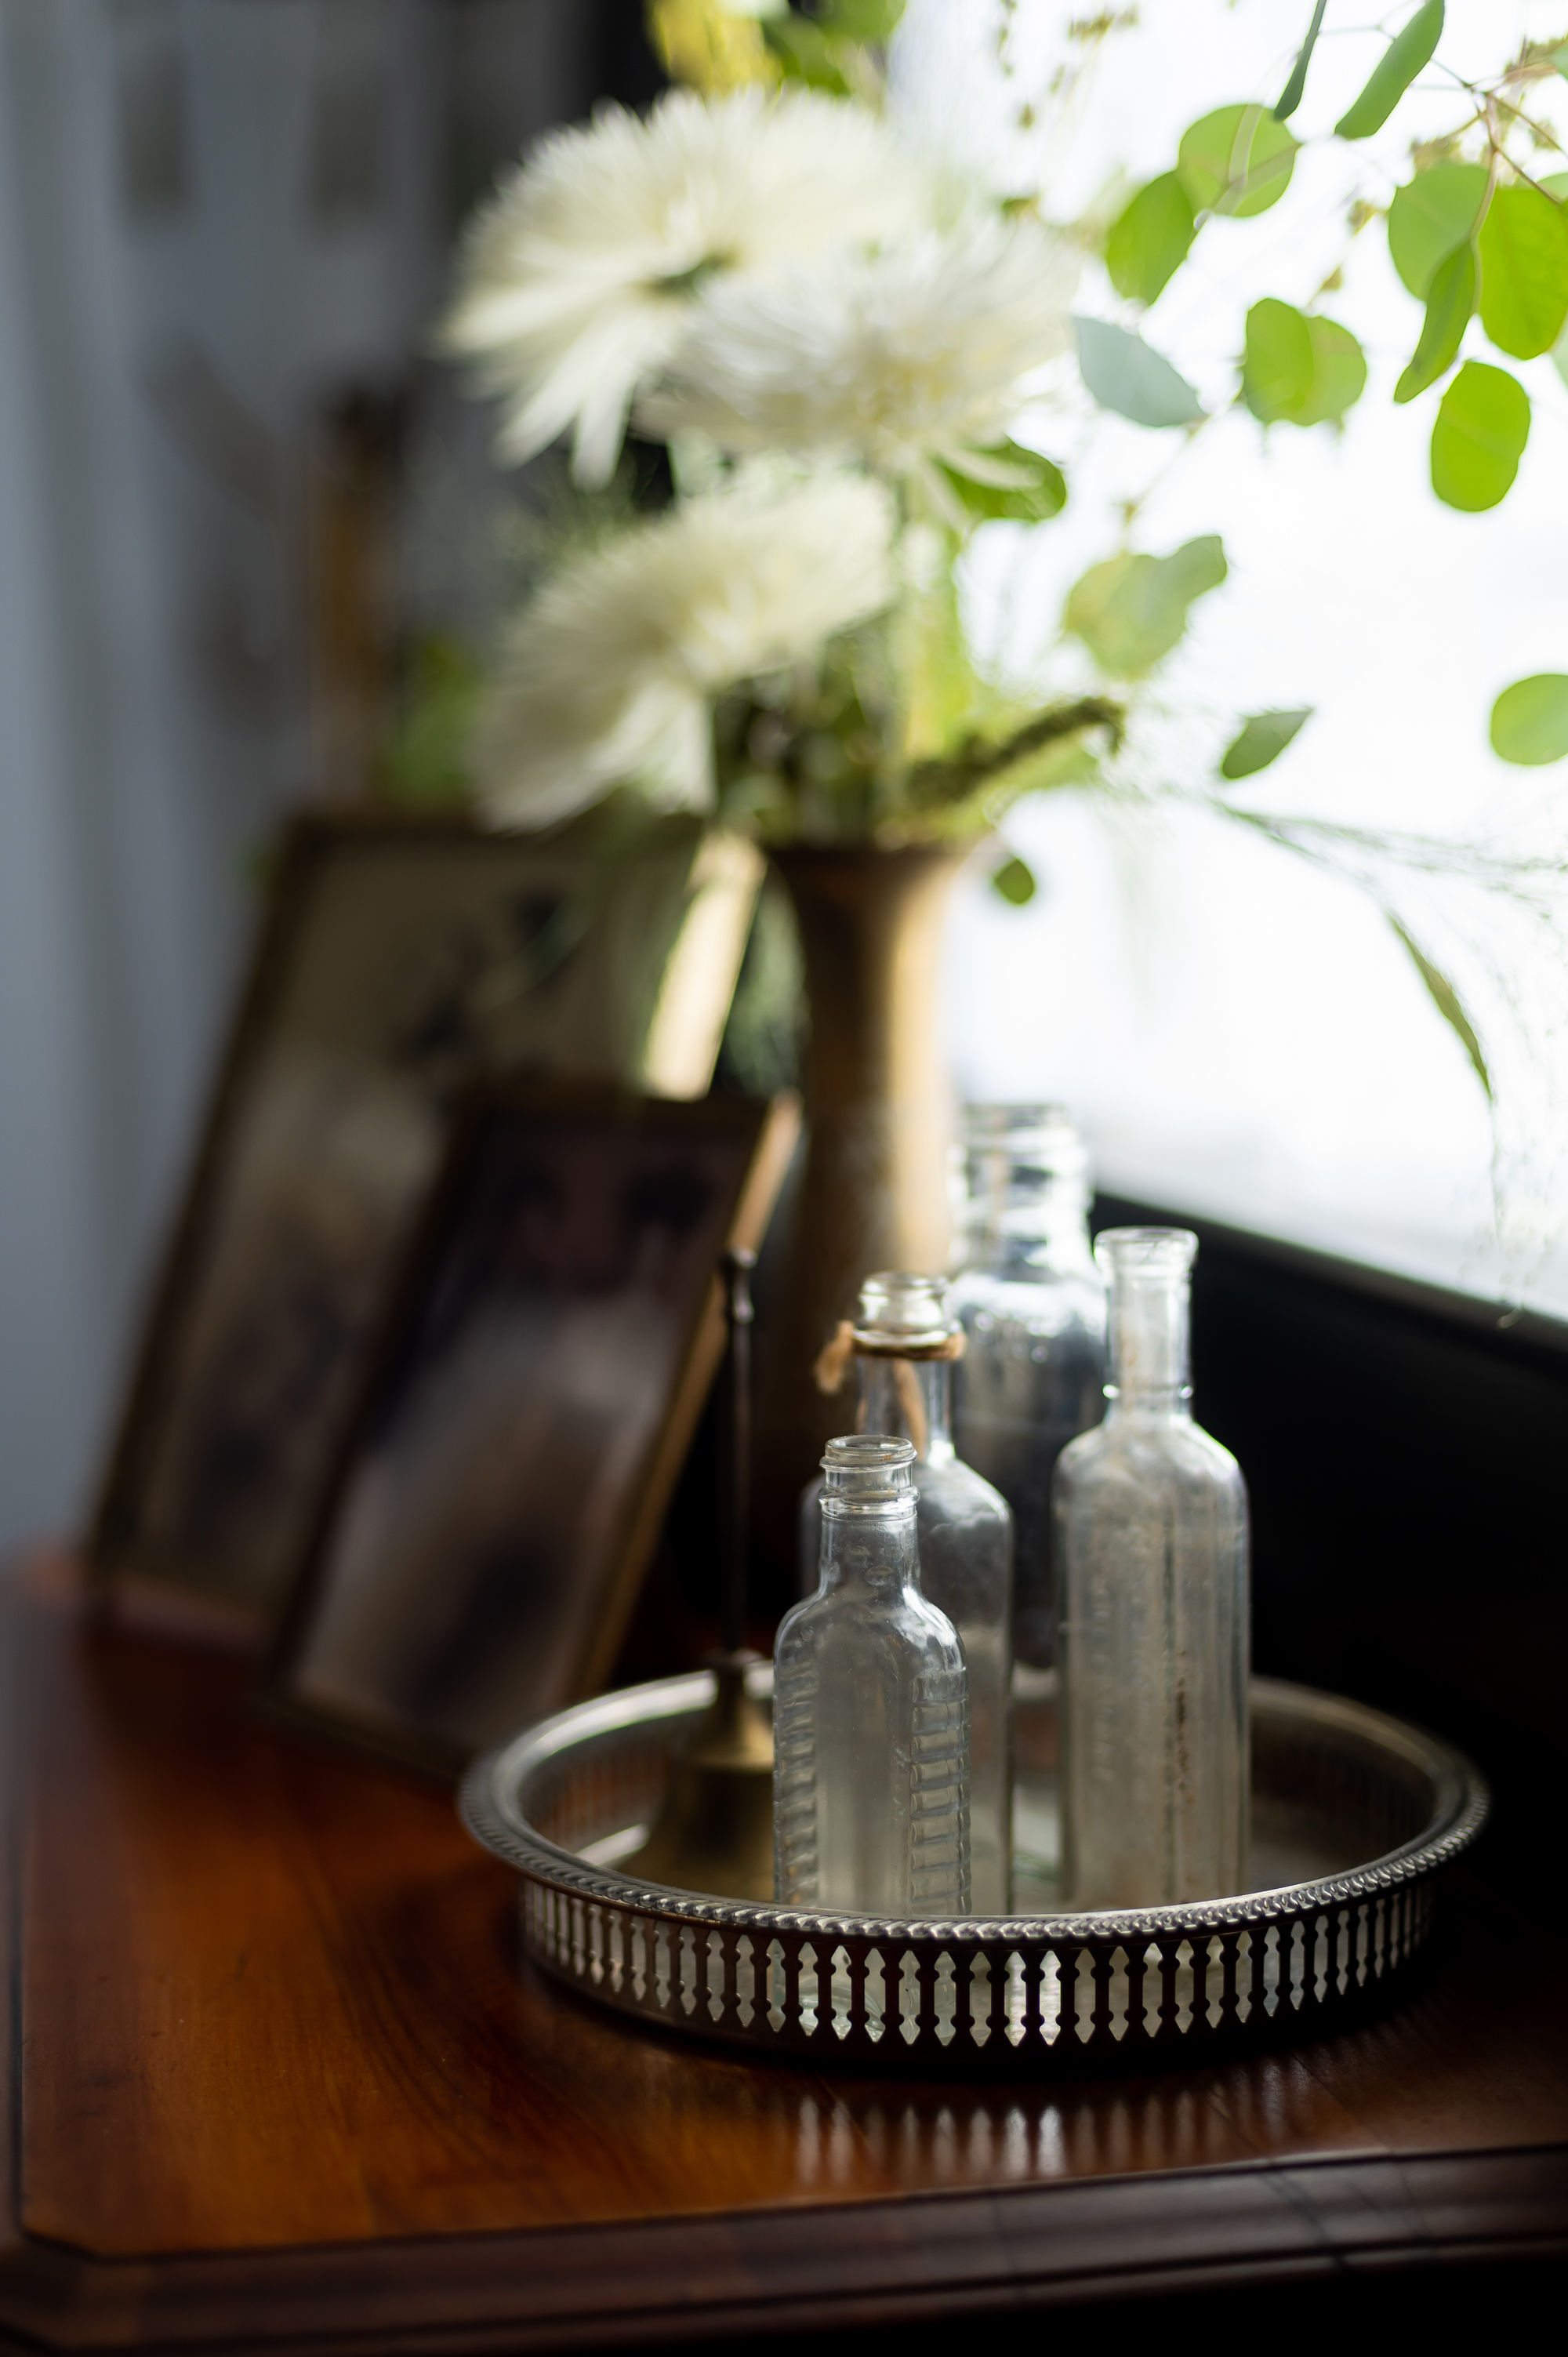
- On top of the cabinet I decorated with some old empty “apothecary” style glass bottles I had laying around, some old family photos I’d been given from my grandparents and metal platter I’d thrifted at some point.
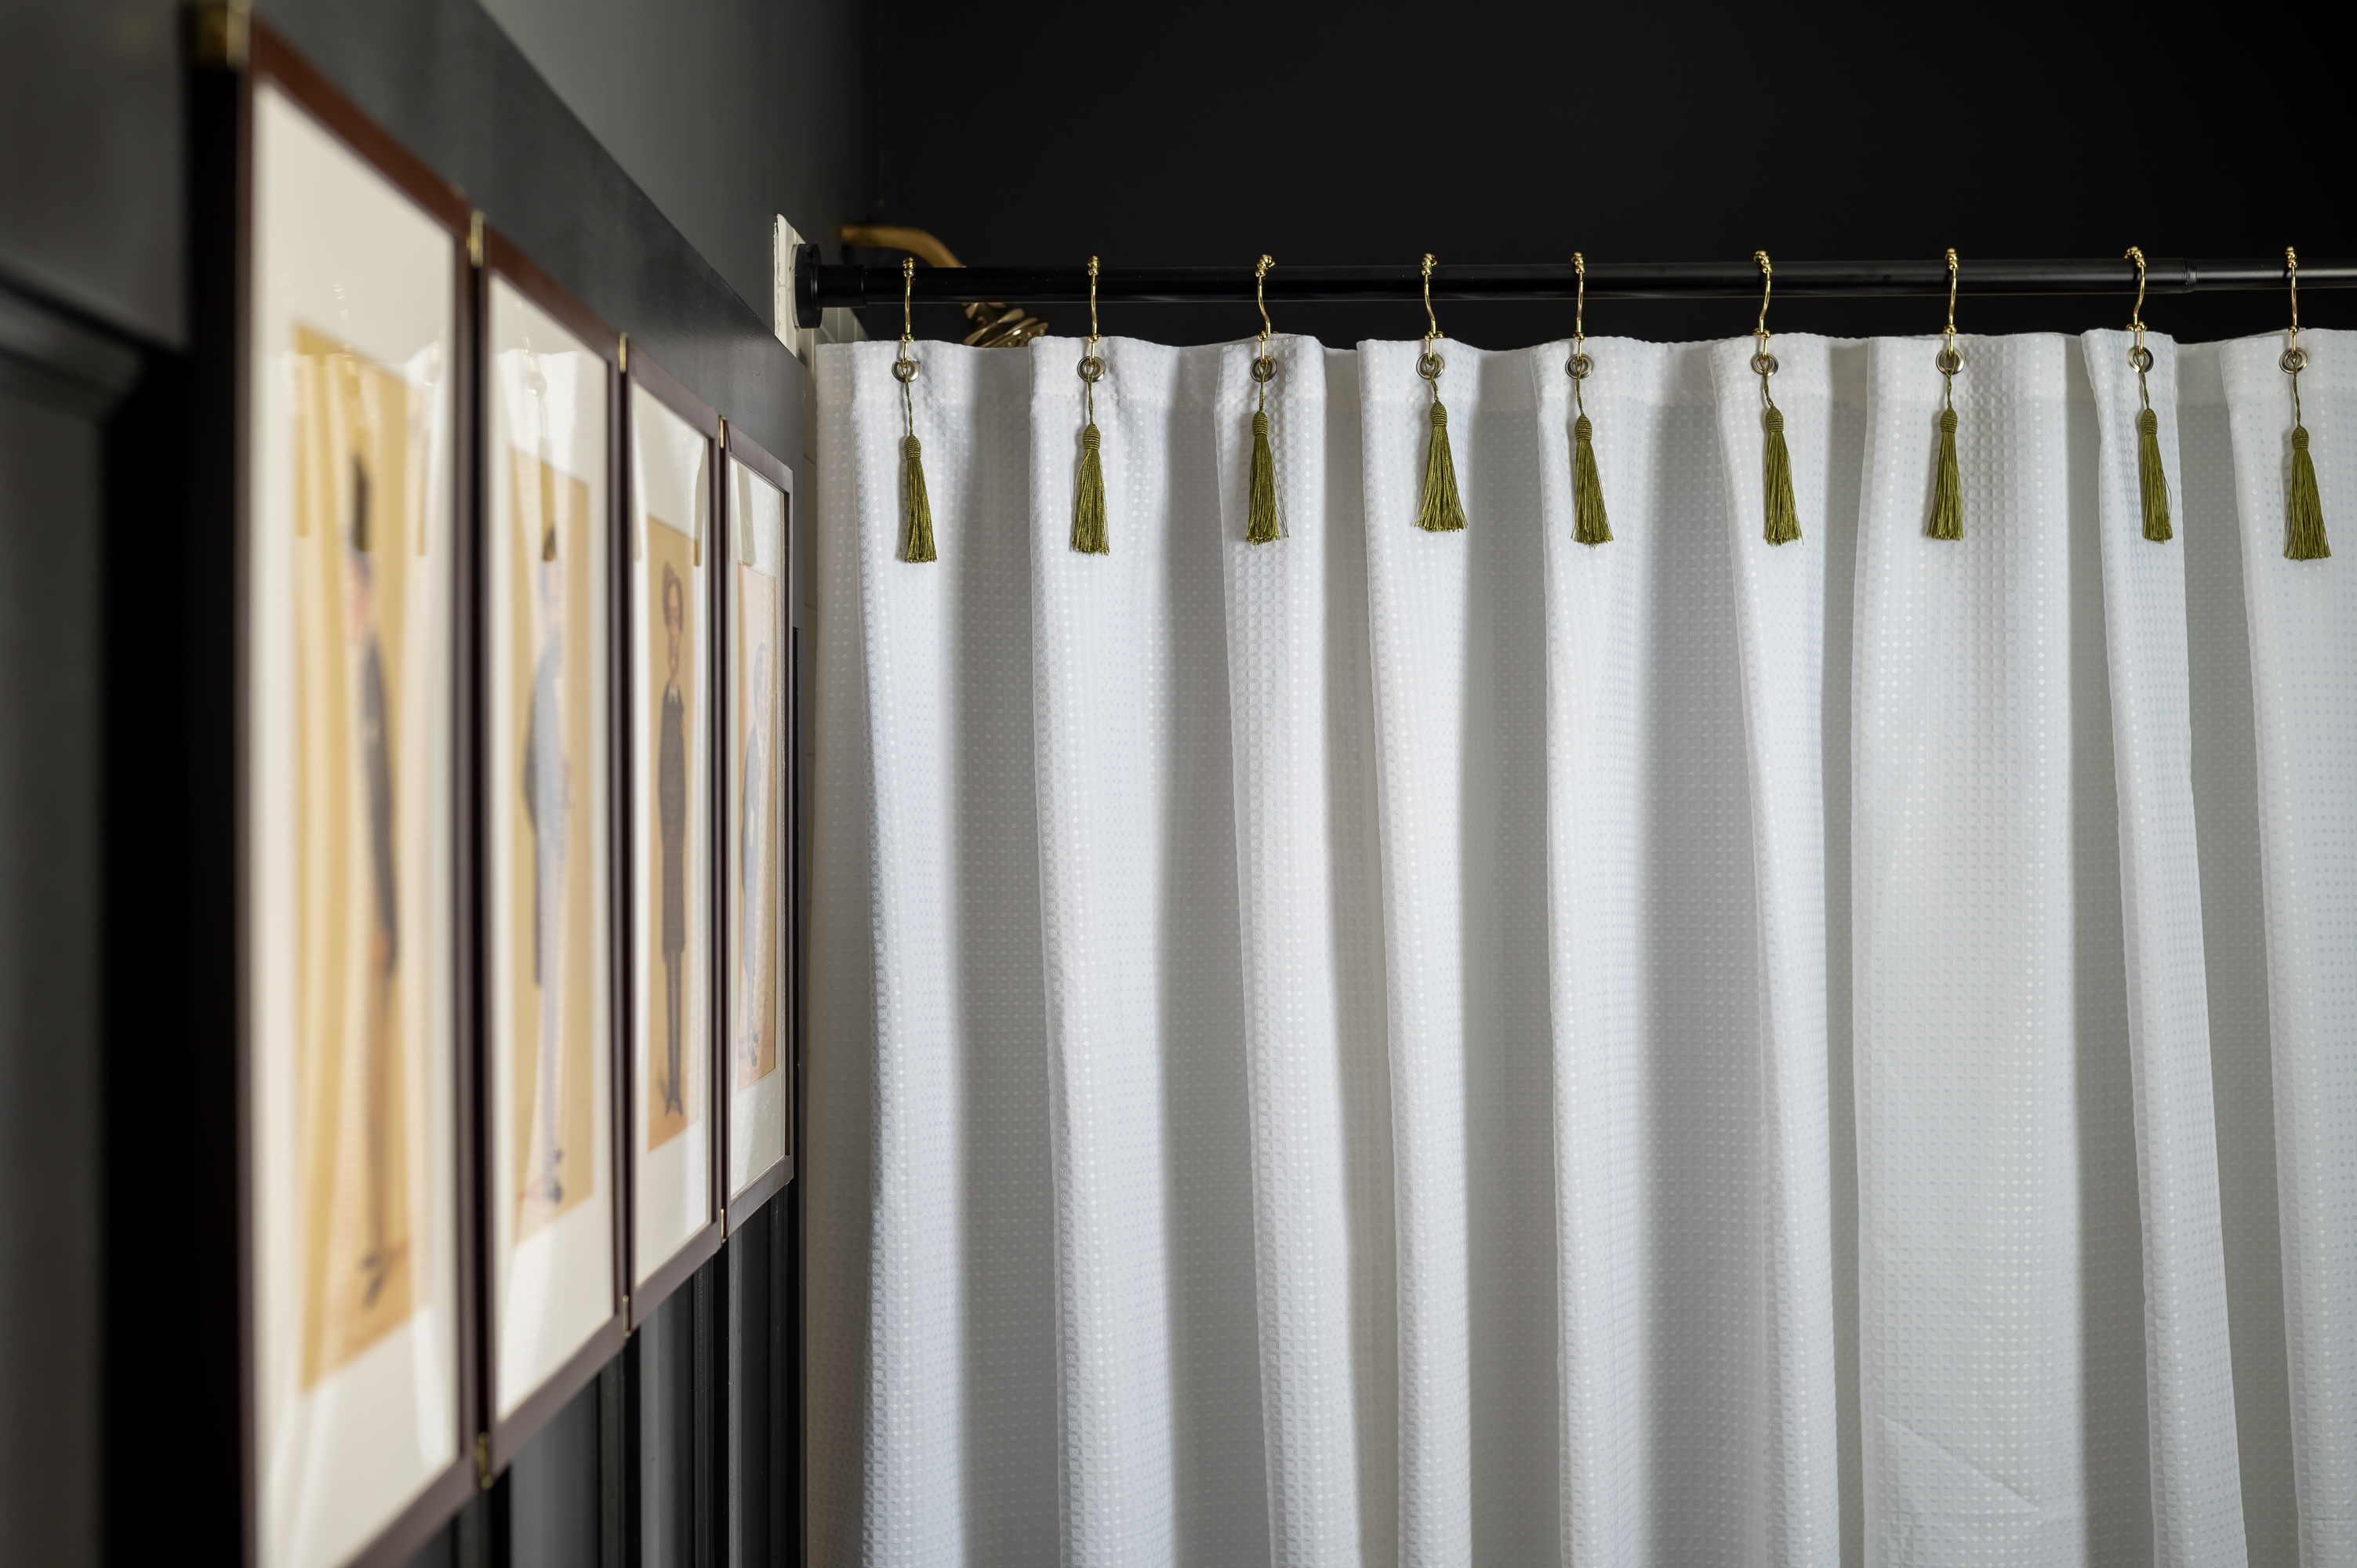
- To jazz up the plain white curtain a tad, I ordered a package of mossy green tassels off Amazon and just hung them individually from the shower curtain hooks. (Note: to get a fuller looking shower curtain, I hung up two curtains on this rod and not just one! That let me hook them on the rod in a way that gave me a faux pleated look!)
- Then some fresh flowers in two antique brass vases I thrifted finished off the space!
So without any further ado, let me finally, and after a WAY-too-long preamble, introduce our new bathroom. Bathroom meet world, world meet bathroom:
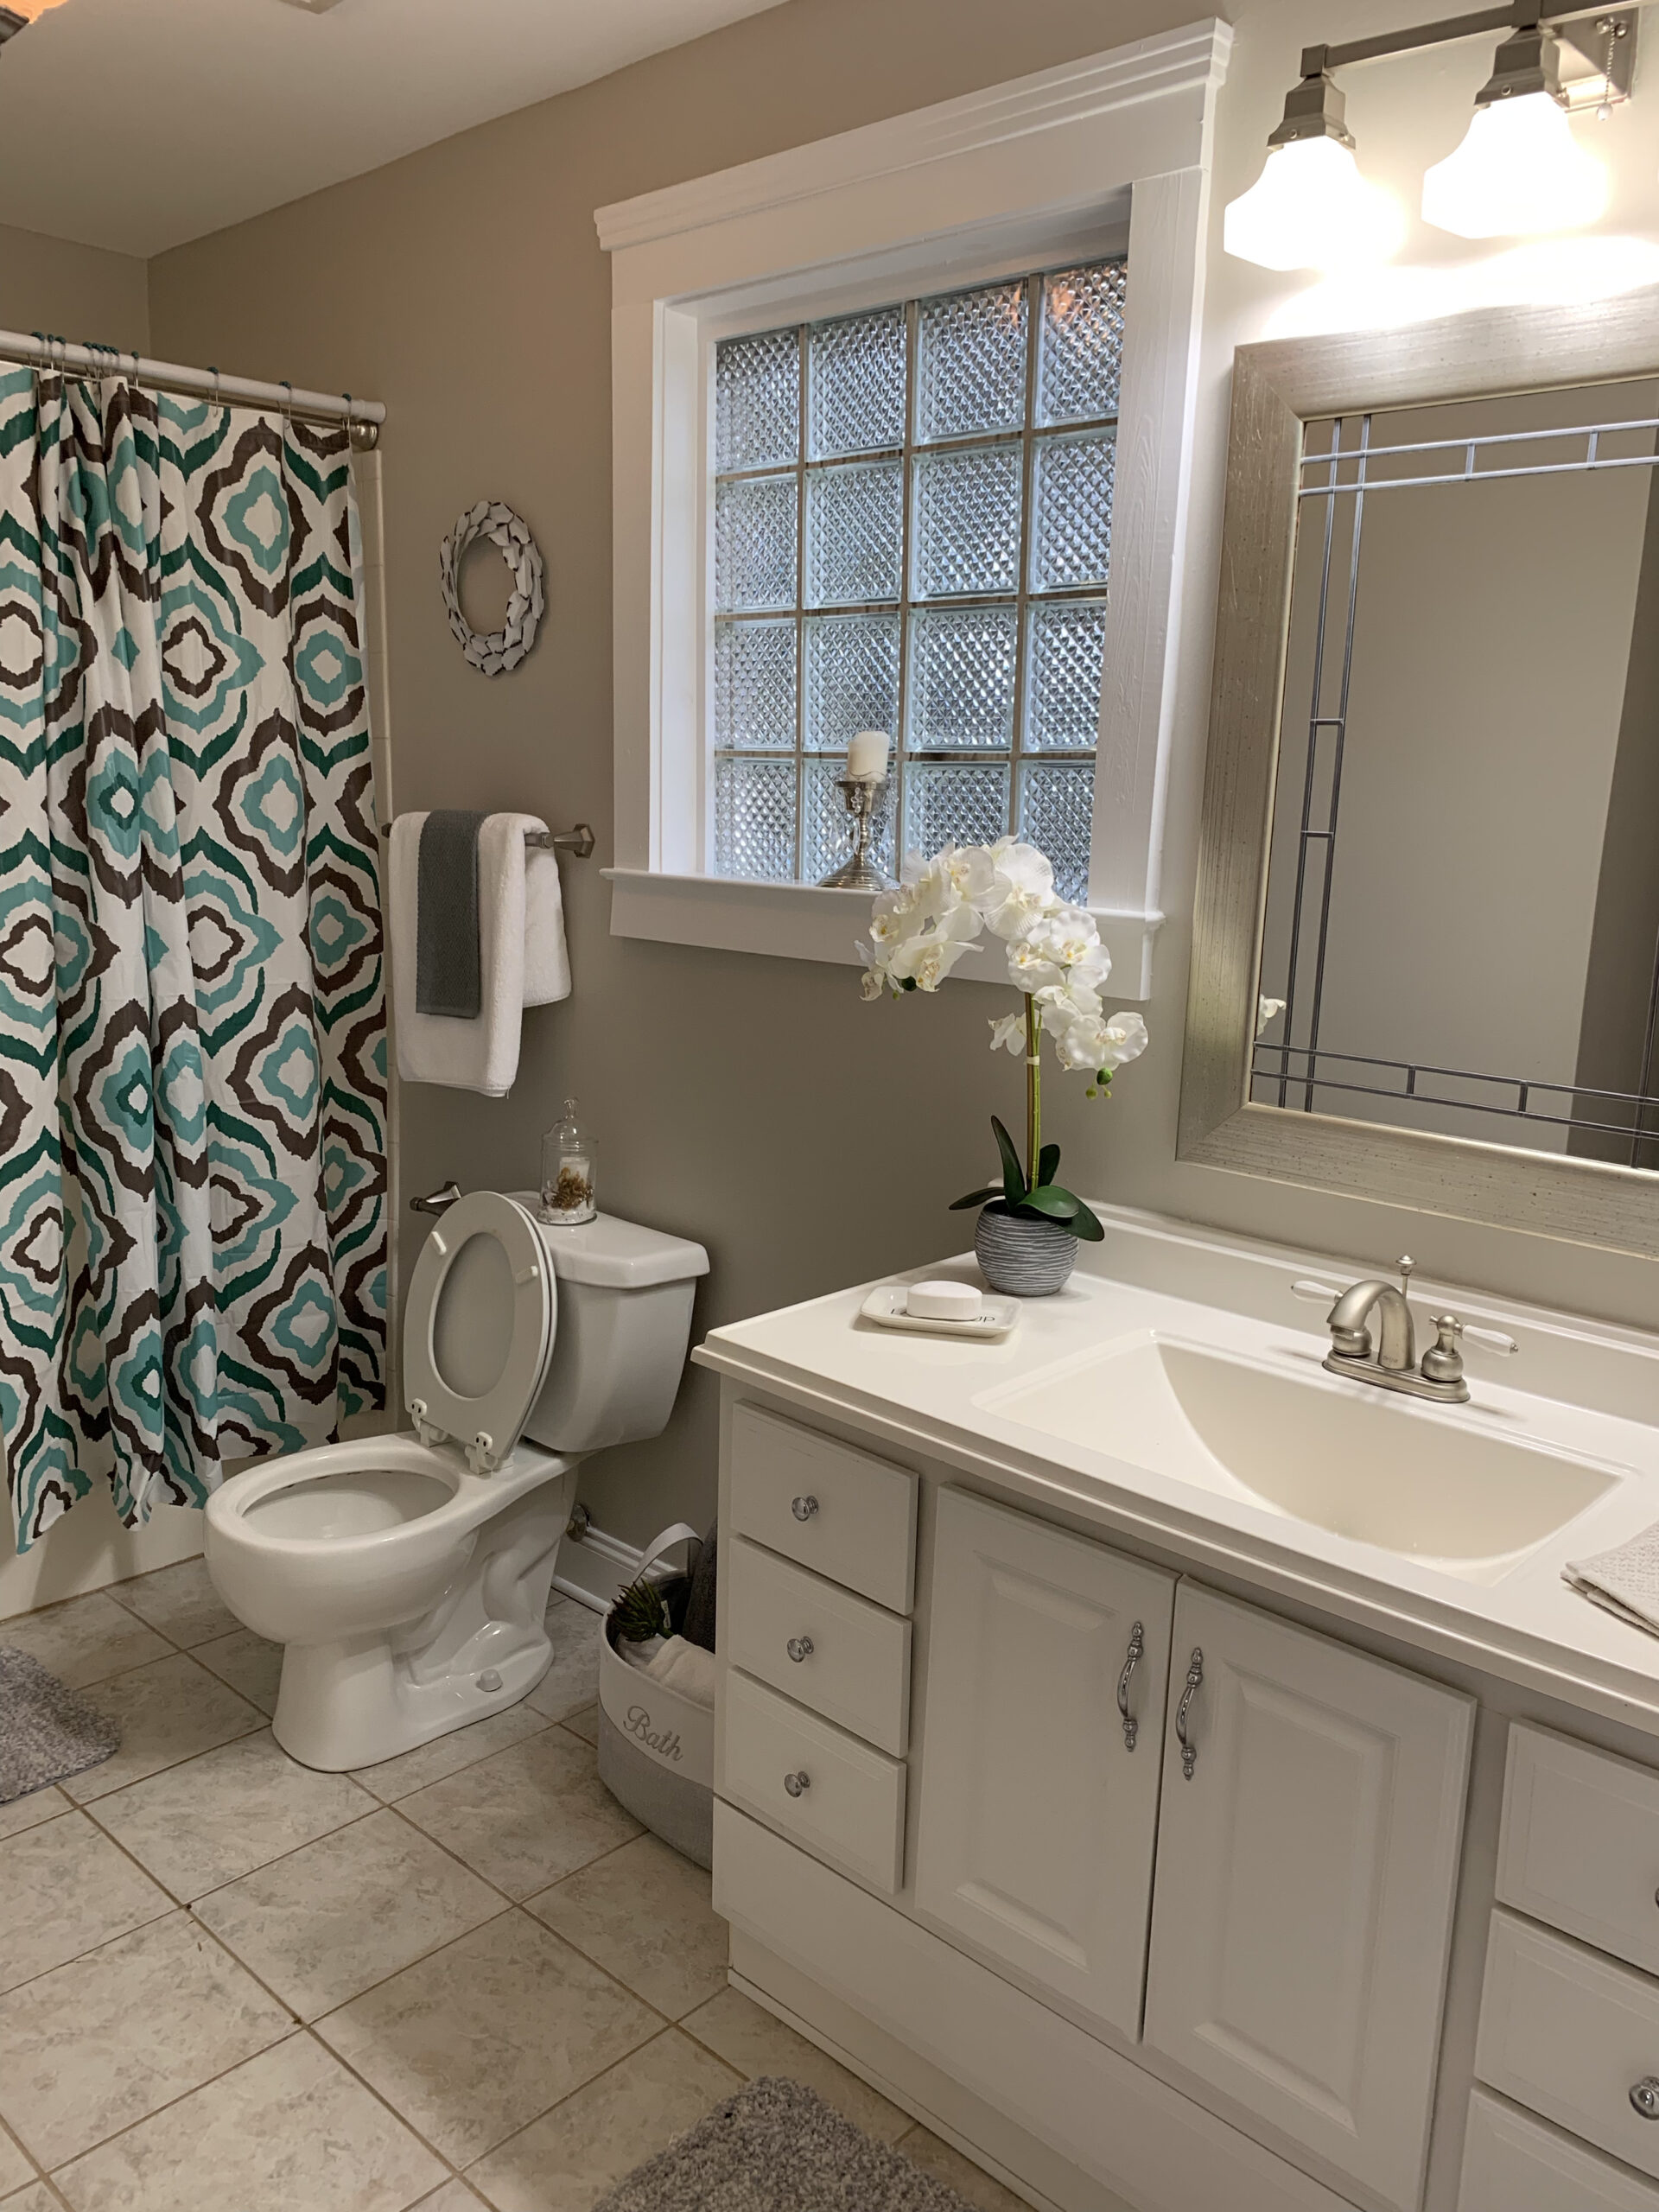
The After


I keep staring at these pictures thinking “oh what a pretty bathroom someone made that I got to photograph” then I remember “IT WAS US! WE MADE THIS!”
What I love most is that I feel like I was able to truly translate my weird old english gentleman’s club meets a cabinet of curiosities with a dash of art deco glamor and a good helping of craftsman charm inspo concept into reality! Like what a weird place to start, but what a cool place to end up? Which seems like a pretty cool slogan to live by if I do say so myself.
Shop This Post
While a large part of this room was thrifted or purchased from local antique shops, I’ll link what I can for you here!
My Most Requested Bathroom Links


Full List Of Links & All Sources
| Item | Brand / Details | Link |
| Floor Tile | Festival: Black Small Hex Polished Porcelain | LINK |
| Tile Grout | Mapei: FlexColor CQ Grout (Black) | LINK |
| Sink | Kingston Brass: Imperial Ceramic Console Sink | LINK |
| Sink Legs | Kingston Brass: Brushed Brass | LINK |
| Sink Faucet | Kingston Brass: Millennium (Brushed Brass) | LINK |
| Vanity Light | Joosenhouse: 24.4inches (Antique Bronze) | LINK |
| Battery Powered Candlesticks | GenSwin: Ivory | LINK |
| Black Strap Candle Scones | Mine are no longer sold but I link a similar option. | LINK |
| Semi-Flush Mount Room Light | Mitzi: Stella 3 Light Flush Mount (Aged Brass) | LINK |
| Shower Curtain | Barossa: 84Wx72L (White) Note: I used 2 to get a faux pleated look | LINK |
| Tassels For Curtain | Makhry: Army Green | LINK |
| Shower Curtain Hooks | Amazer: Polished Golden | LINK |
| Shower Curtain Rod | Briofox: Black | LINK |
| Wall Mounted Picture Frames | UpSimples: 11×17 – Pack Of Five (Black) | LINK |
| Brown Spray Paint For Frames | Rust-Oleum Universal: Espresso Brown (Satin) | LINK |
| Brass Corner Brackets For Frames | Everbilt: 3/4in Satin Brass Corner Brace (4-Pack) | LINK |
| Custom Matboards | Matboard & More: Off White | LINK |
| Vintage Art By | Leslie Ward (AKA Spy) | LINK |
| Muslin Curtain | Mine is no longer available but these are similar (I cut and hemmed mine to the desired length) | LINK |
| Brass Cafe Curtain Clips | Mine are no longer available, but these are better! | LINK |
| Toilet Paper Holder | KES: Brushed Brass | LINK |
| Paint On Wood Paneling | Sherwin William: Custom Color (Semi Gloss) 2 Parts Black Magic + 1 Part Iron Ore | |
| Paint On Wall & Ceiling | Sherwin Williams: Iron Ore (Flat) | |
| Rub N’ Buff Used To Update Rods | Rub N’ Buff: European Gold Note: This is often cheaper to get locally | LINK |
| Paint Sprayer | We have the Super Finish Max Version | LINK |
Like I said perviously, I’ll be following this post up with a few more posts that dig into each aspect of this project a bit more, breaking down each of the big DIY projects we tackled in this space in more detail, but feel free to let me know if you have any questions about anything so far in the comments below!
Don’t Forget To Pin This Post & Subscribe!
Want to keep getting more DIY home decor inspiration, thrifting tips & tricks, free art downloads, reading recommendations, and home renovation tutorials? Then don’t forget to pin this post for later so you can follow me on Pinterest and then subscribe to my blog so you can get links to my newest content as soon as it hits the blog!
This is the best bathroom makeover I’ve seen in a long time. Maybe ever. I’m so so so impressed! Every detail is well thought out and absolute perfection. I keep looking at the photos and seeing details I missed!! Did I mention I love it???
This is the most stunning bathroom I have ever seen. You guys did an incredible job!
” old english gentleman’s club meets a cabinet of curiosities with a dash of art deco glamor and a good helping of craftsman charm ” is exactly how i want to style my barbershop! You found the words for me ^^ I open it very soon but I still miss some firniture, like the cabinet you’ve got ! It’s so gorgeous ! Thanks for the inspiration 🙂
This bathroom is STUNNING!!! Thank you for sharing!