Thanksgiving is a big deal around our house. Partly because I love any excuse to host a large dinner party and cook an abundance of decadent, over-the-top food for my favorite people and partly because it means I get to create my yearly Thanksgiving tablescape!
While this year (out of an abundance of caution) our Thanksgiving will be a lot smaller than normal still, that isn’t going to stop me from setting a beautiful table.
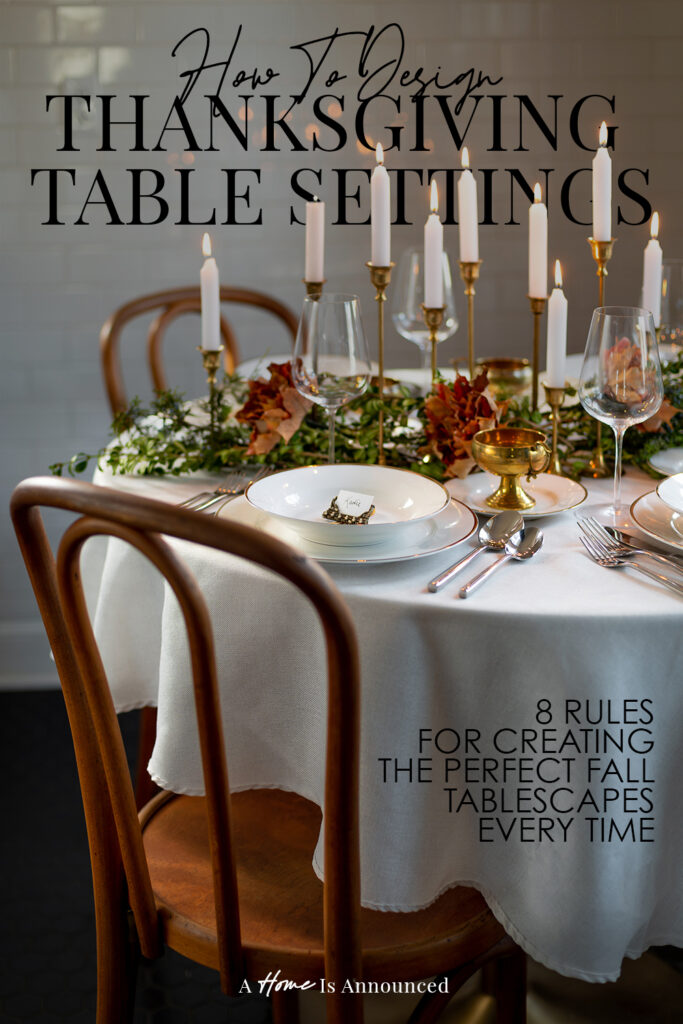
And after years of creating beautiful budget friendly tablescapes each holiday, I thought it might be fun to share all my best go-to tips for setting a formal tablescape!
*This blog post contains affiliate links, meaning that if you purchase any of the items using the links I provide I, as the author of this website, will receive a very very small commission from that sale. This is a great way to help support your favorite bloggers at no cost to you. Think of it like a tip jar that costs you nothing!
Break Out The “Fancy” Dishware
Storage space around our tiny historic home is scarce, but having a set of “Fancy” special occasion dishware is something I’ve come to truly value. It may seem frivolous, but there is something about pulling out the fancy china that invokes strong nostalgic memories for me of my grandmother pulling hers out of the hutch each year. I also love that they just seem to instantly set the day apart from any other regular day and make it feel like something special is happening.
Keep in mind that “fancy” doesn’t have to mean “expensive,” I found my set of special occasion dishware at a thrift store for $30. Is it the highest quality set ever made? No. Is it worth a lot of money? Also no. Does it look beautiful and make me happy every time I pull it out and make my table feel special? Yes, 100%.
Use ALL Of Your Flatware
Do you NEED a salad fork, a dinner fork, a soup spoon and a dinner spoon to eat Thanksgiving dinner with? Probably not. Does it make your table look hella fancy really quickly? Yep. And honestly, when else am I going to get to use ALL my flatware that I paid good money for if not on a special holiday occasion. Totally worth the extra dishes to me for the visual impact it provides.

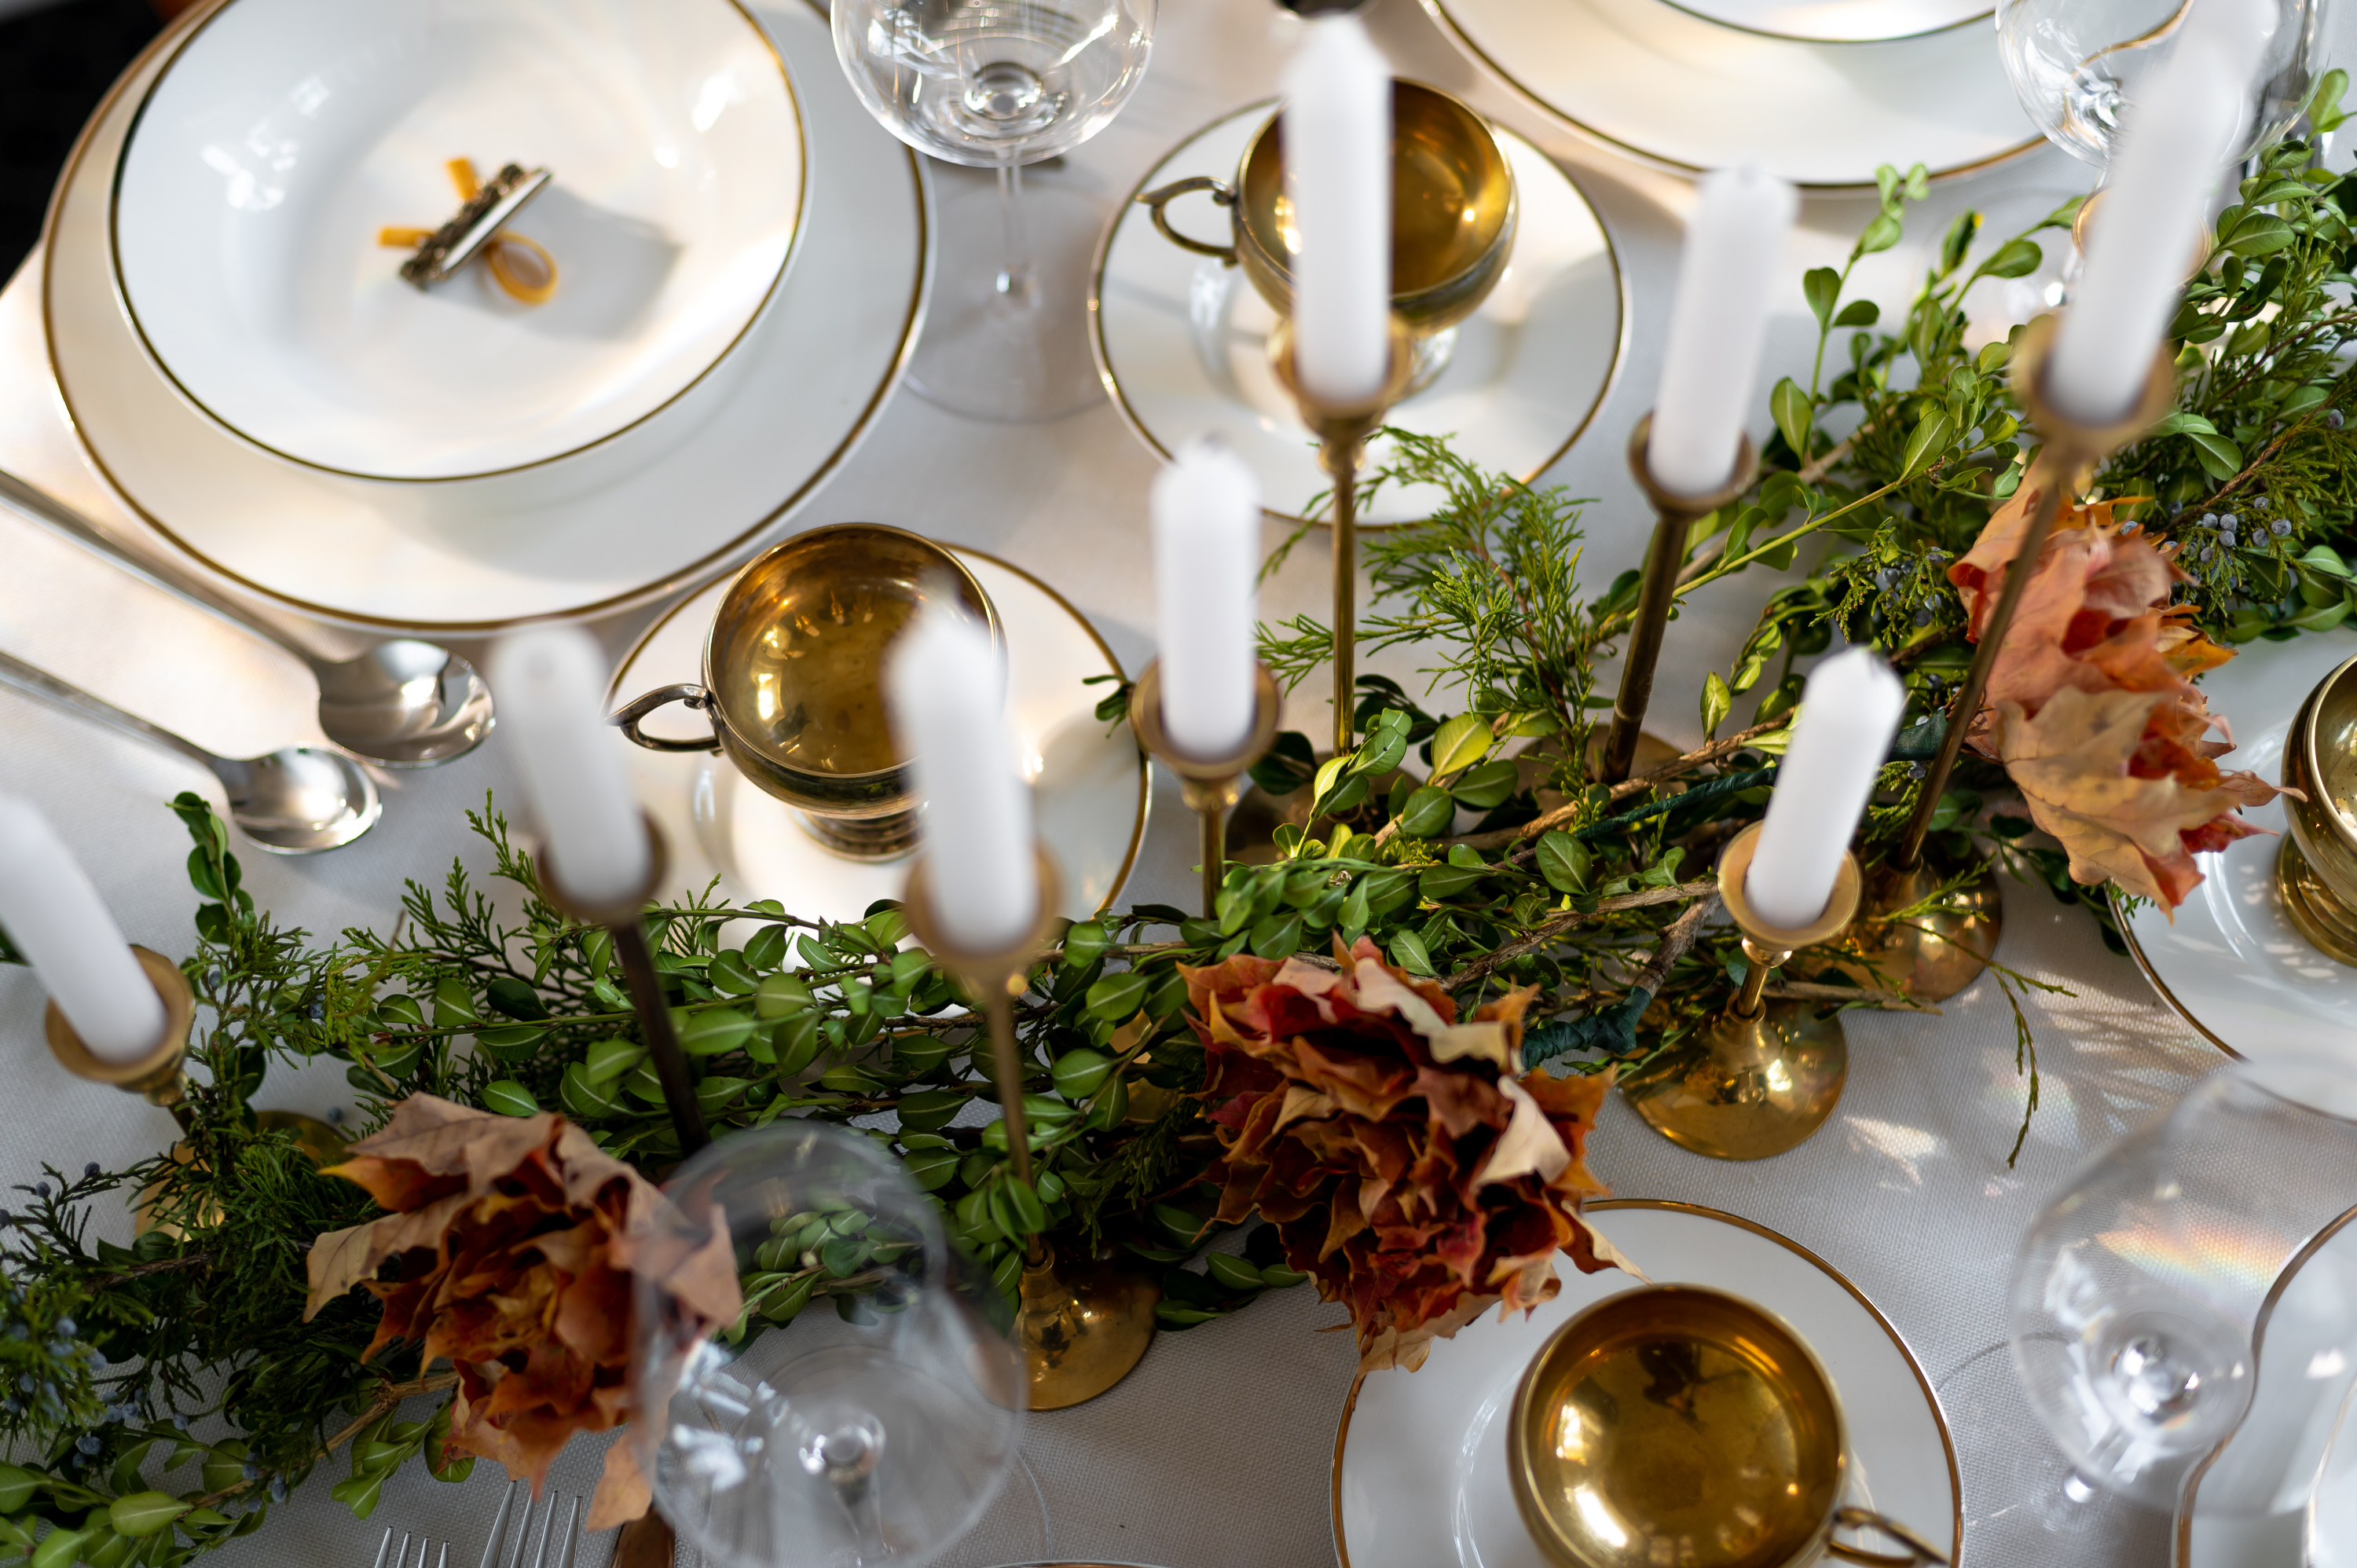
Forage For Some Simple Greenery
Take your tablescape to the next level by laying a sweep of fresh (or dried) foraged greenery across your table!
While you can always pick up greenery at your local grocery store or florist shop, I like to simply forage for mine outdoors for free! Just be sure to clean your greenery thoroughly before placing it on your table to ensure it’s free of any dirt or bugs! For this tablescape I used dried boughs of boxwood trimmings I had saved from the last time we trimmed our bushes outside and added in a few sprigs of fresh juniper I trimmed off a tree I found next to a dumpster the other day. (Beautiful foraged greens can lurk anywhere! Even next to dumpsters in parking lots!)
Add A Pop Of Seasonal Color
While our base greenery works for pretty much any special occasion tablescape, it’s always nice to add a few pops of seasonal color into your design to reflect the mood of the holiday you are currently celebrating.
Since I was designing a Thanksgiving tablescape, I decided to do this by layering in “flowers” I created out of freshly fallen fall leaves I collected out of my yard into my greenery for a subtle pop of fall ambience. (You can watch me break down how I made these HERE on my instagram stories).
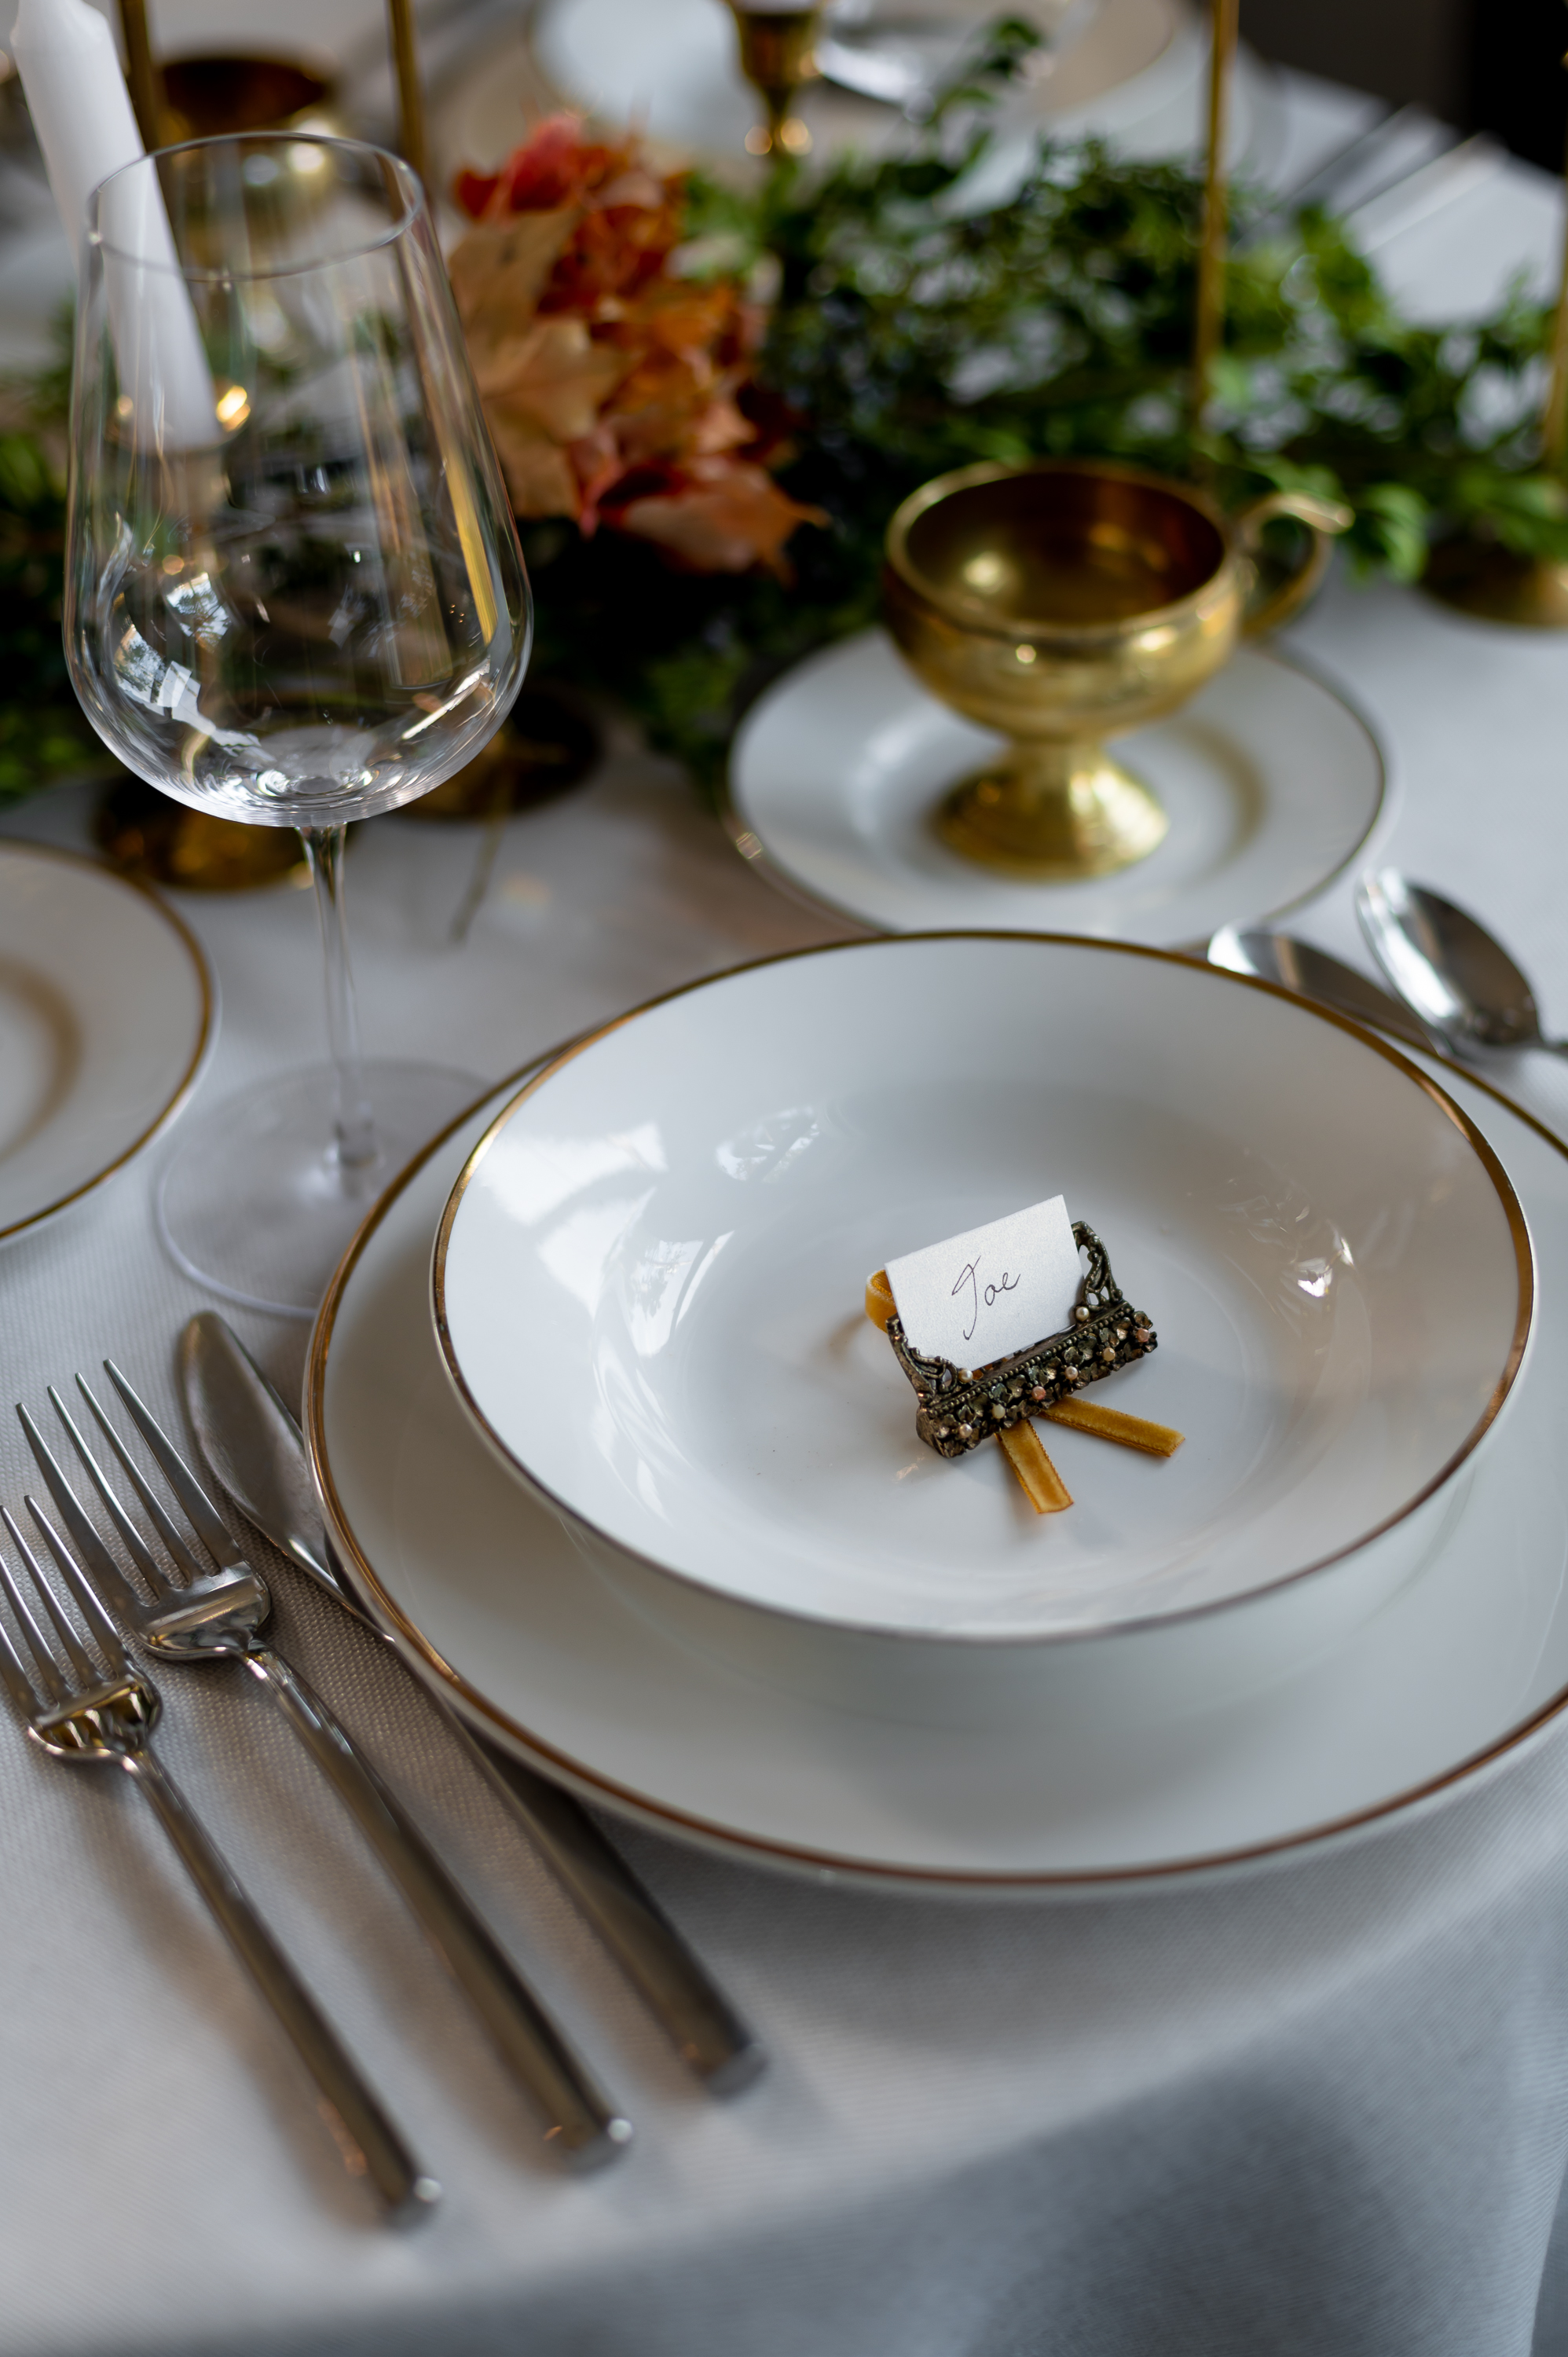
I also added a hint of those same fall colors to my place settings by laying a loop of warm yellowly velvet ribbon I found at an estate sale recently on each plate under the placecard. And while I didn’t have any on hand at the time, in a perfect world I’d also add in a colorful fabric napkin under each place setting to match my seasonal color scheme as well!


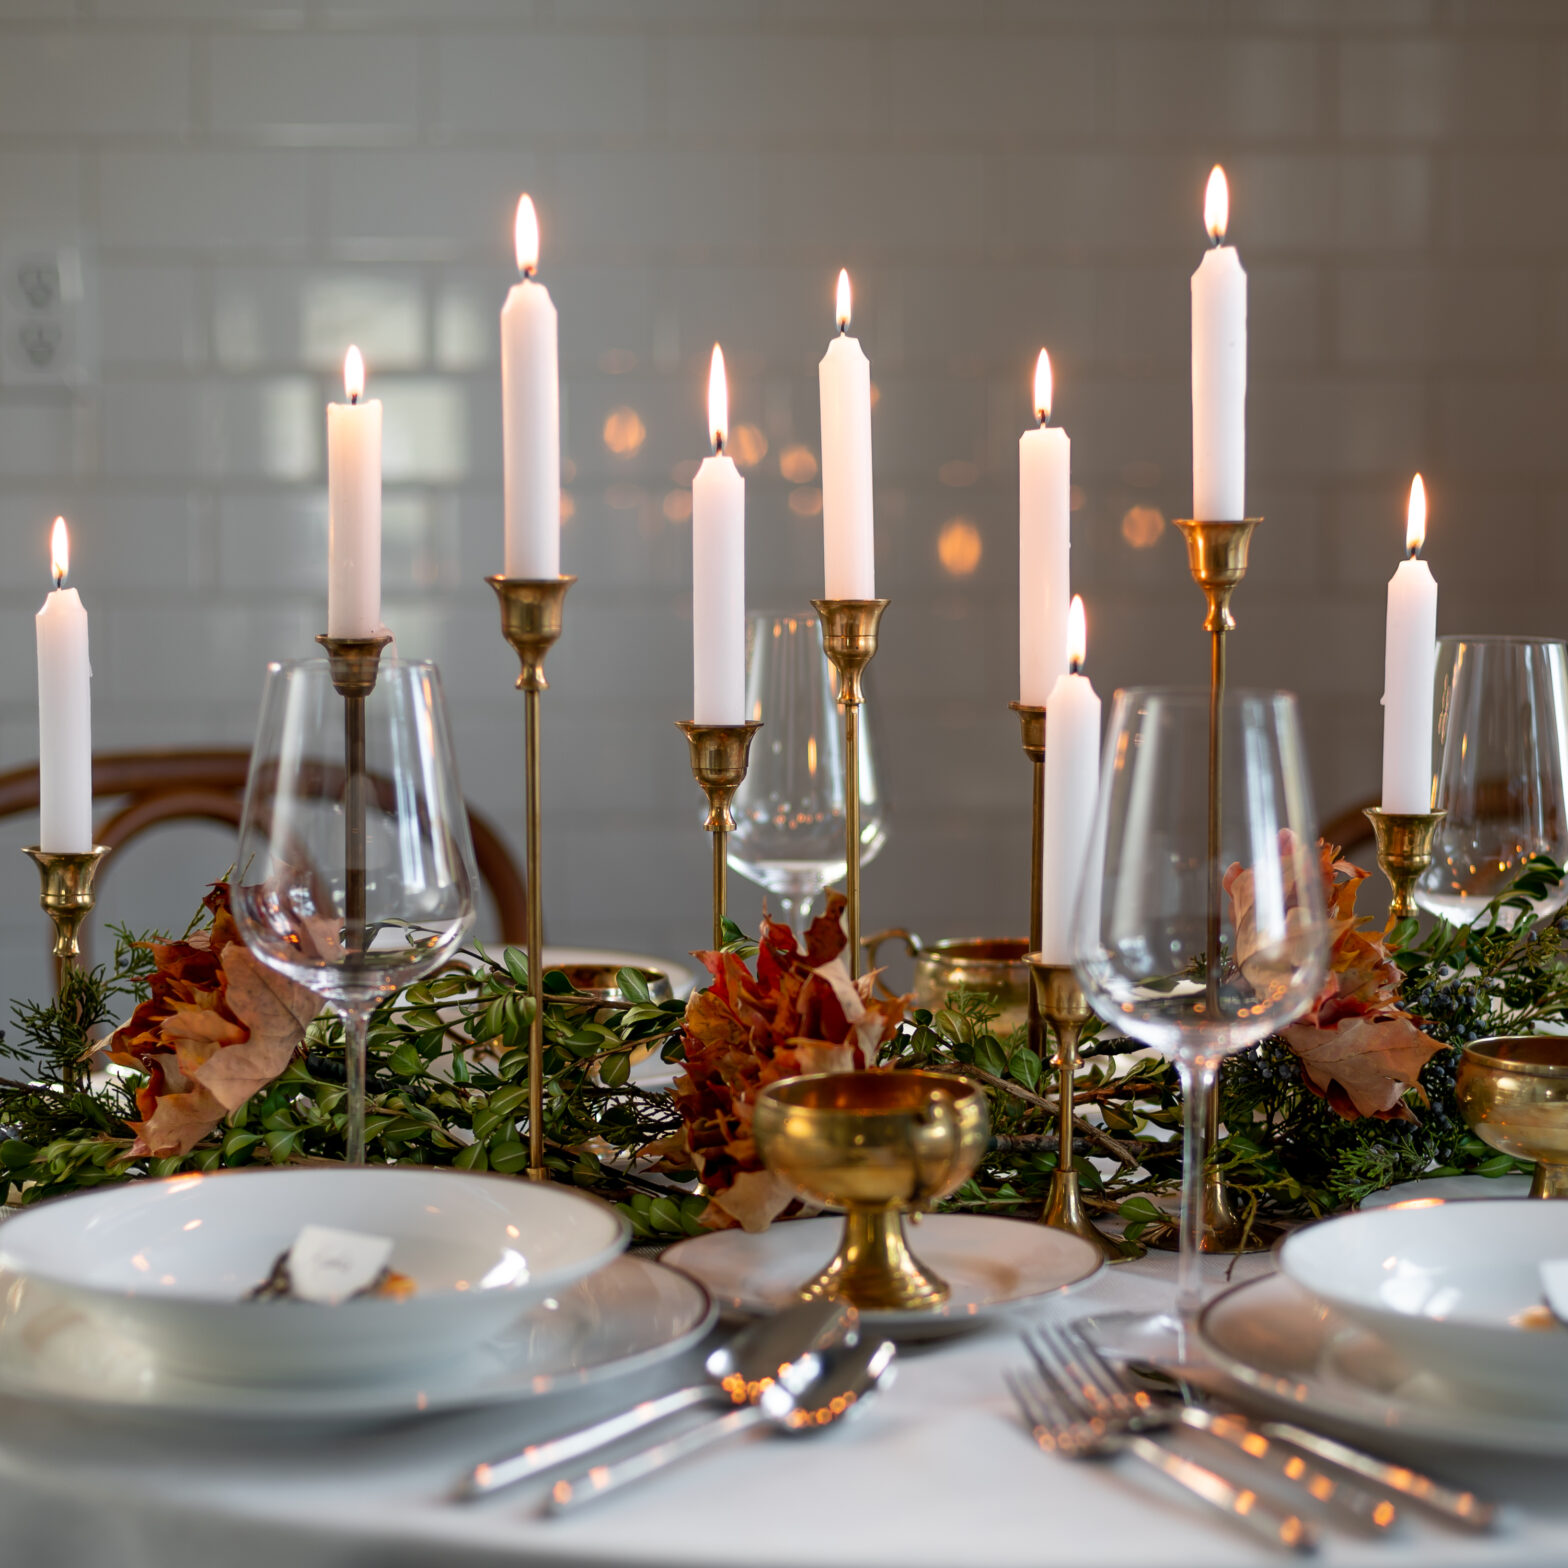
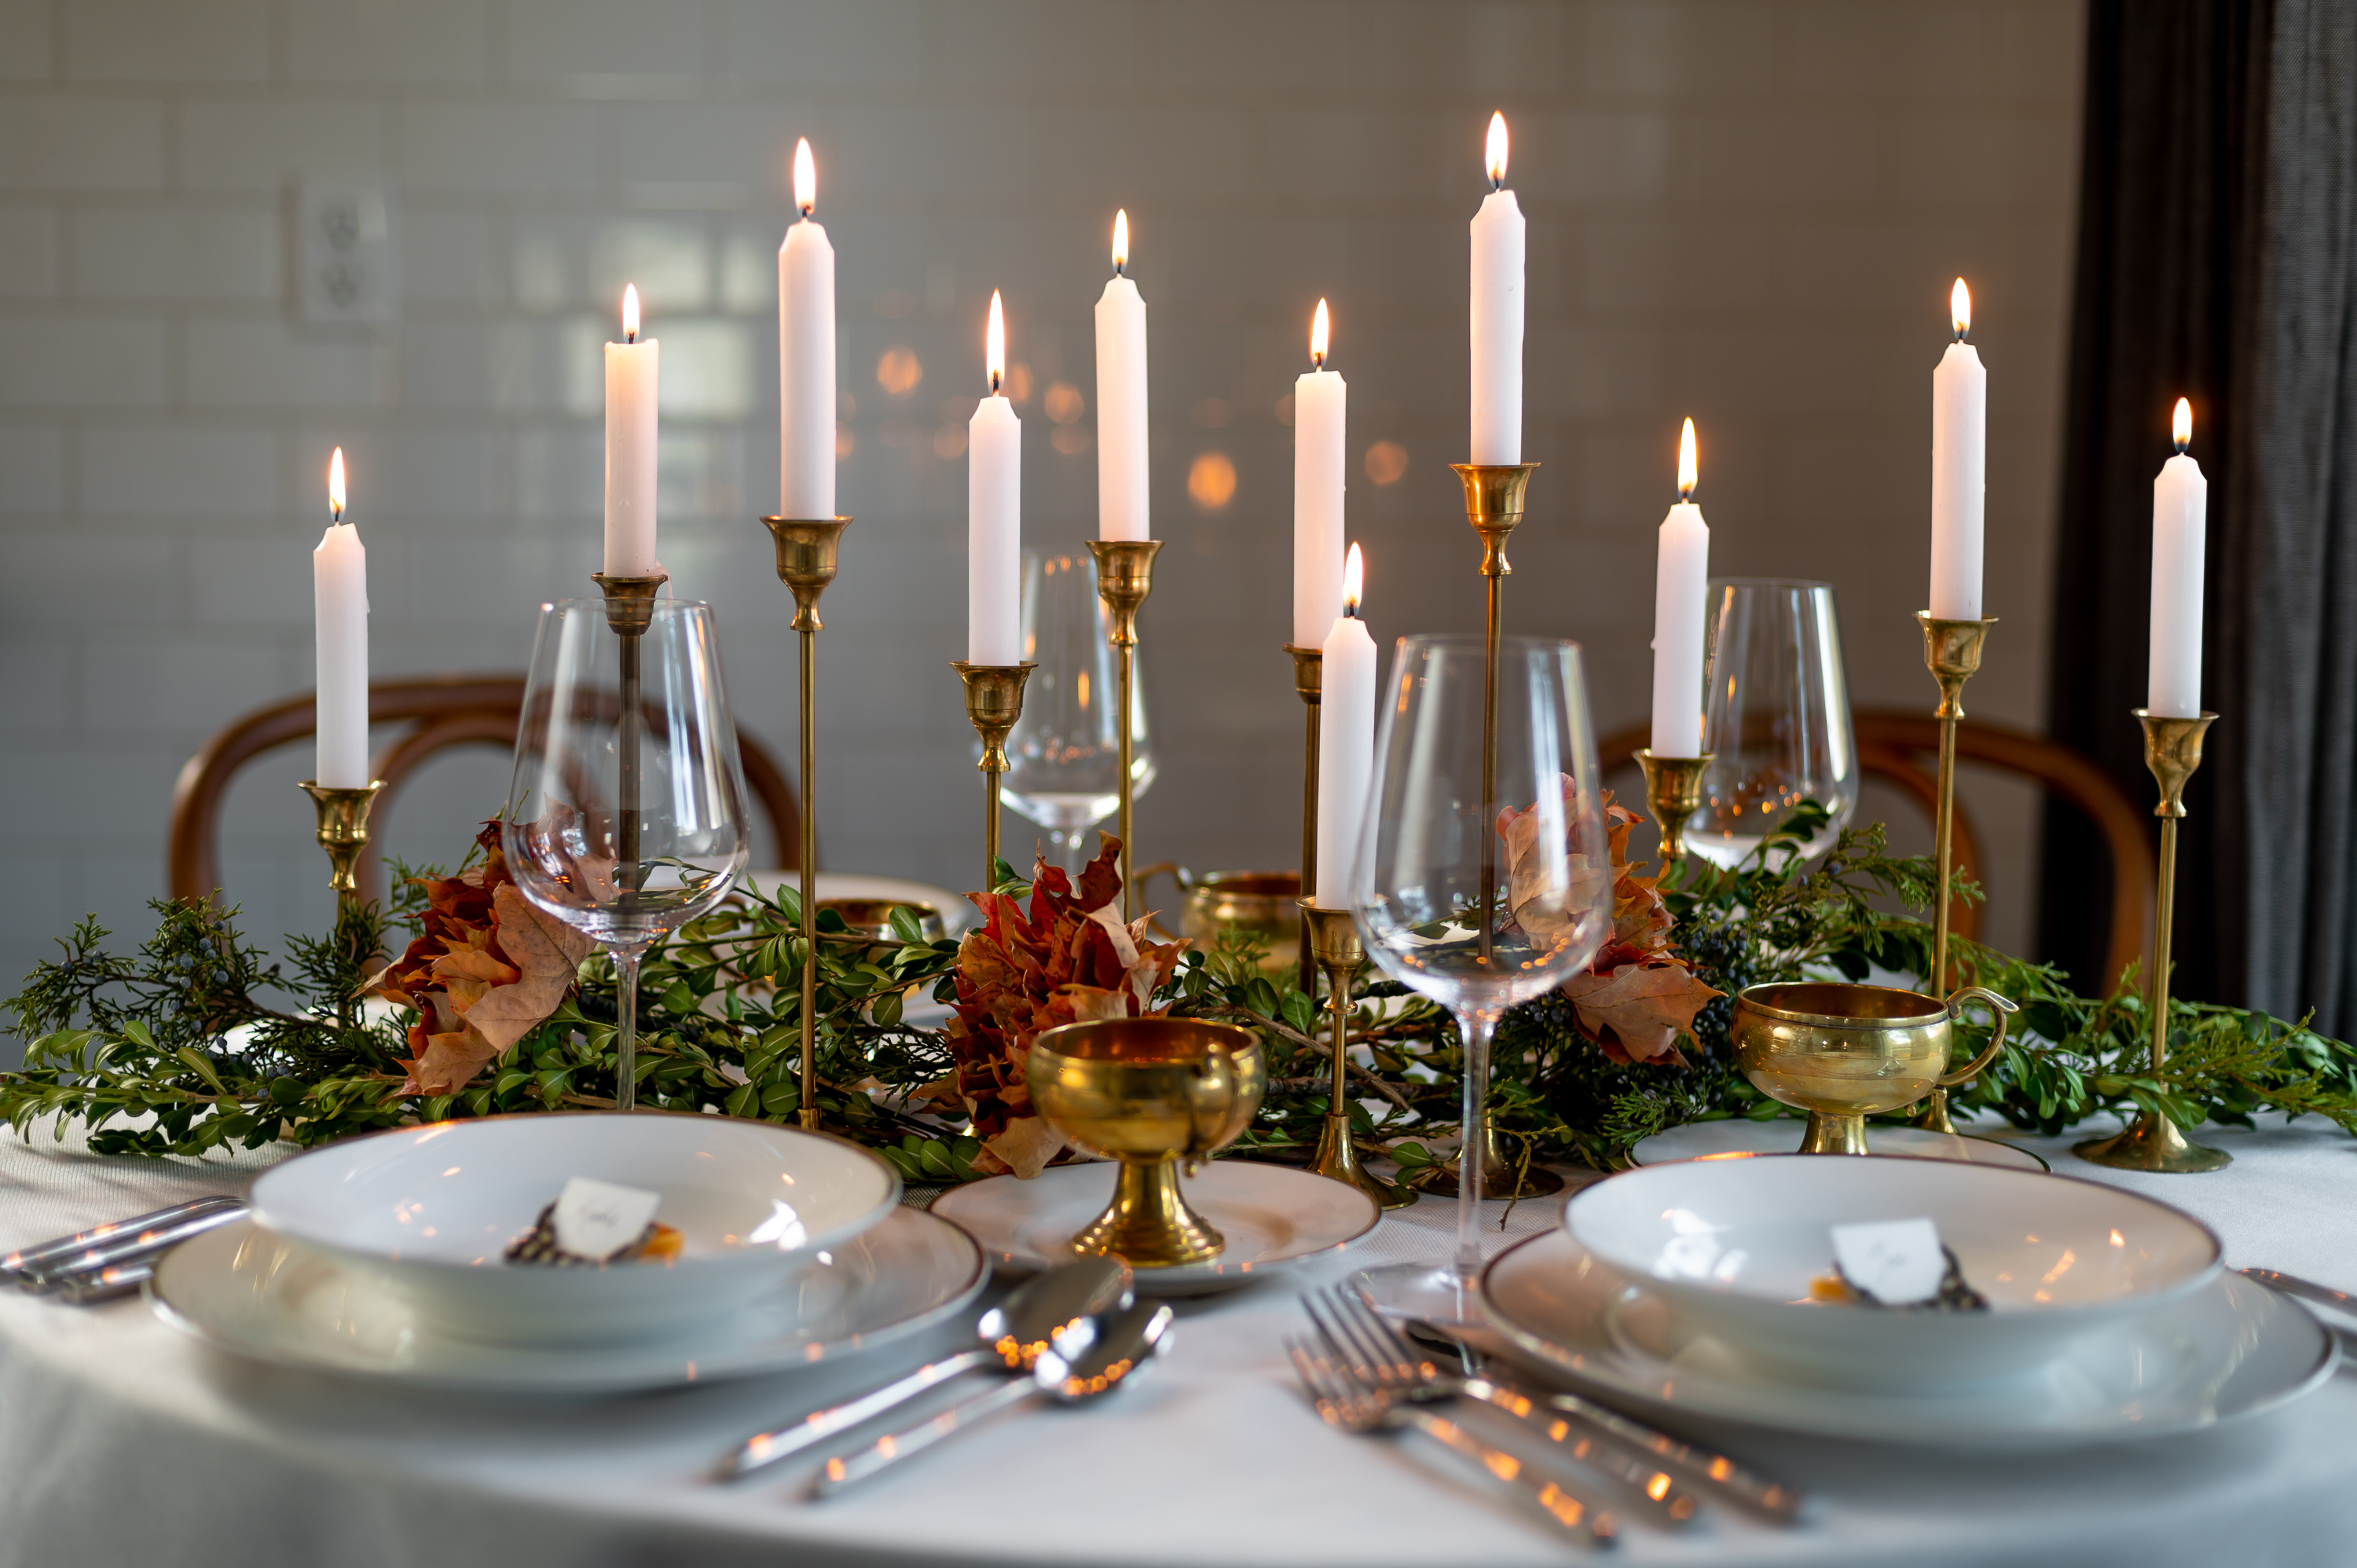
The More Candles The Better
I am a very strong believer that you can never have too many candles. It’s simply impossible in my mind. In fact, the more candles you can cram onto your table the better.
Not only do candles add a warm soft glow to your table, they add to the feeling of formality and of setting the meal apart as special. They also add a lot of visual height to you tablecape which we’ll talk about here in a moment!
Because I like to keep things budget friendly for this, I use a collection of candlestick holders I’ve picked up for a $1 (or less) here and there over the years from thrift stores and filled them with .17 cent candles from Dollar Tree.


Create Layers For Visual Interest
One trick I always use to add instant visual interest is to layer as many elements on top of each other as I can. For instance, I always start with a nice table cloth, then a big dinner place, then layer on top of that either a salad plate or bowl. On top of that I’ll either place a napkin or, as I did in this tablescape, a seasonal decor element & placecard (was super excited to find these place cards at the thrift store for $2 the other day!).
Layering these things on top of each other creates visual interest for the eye and instantly makes your table feel more luxurious.

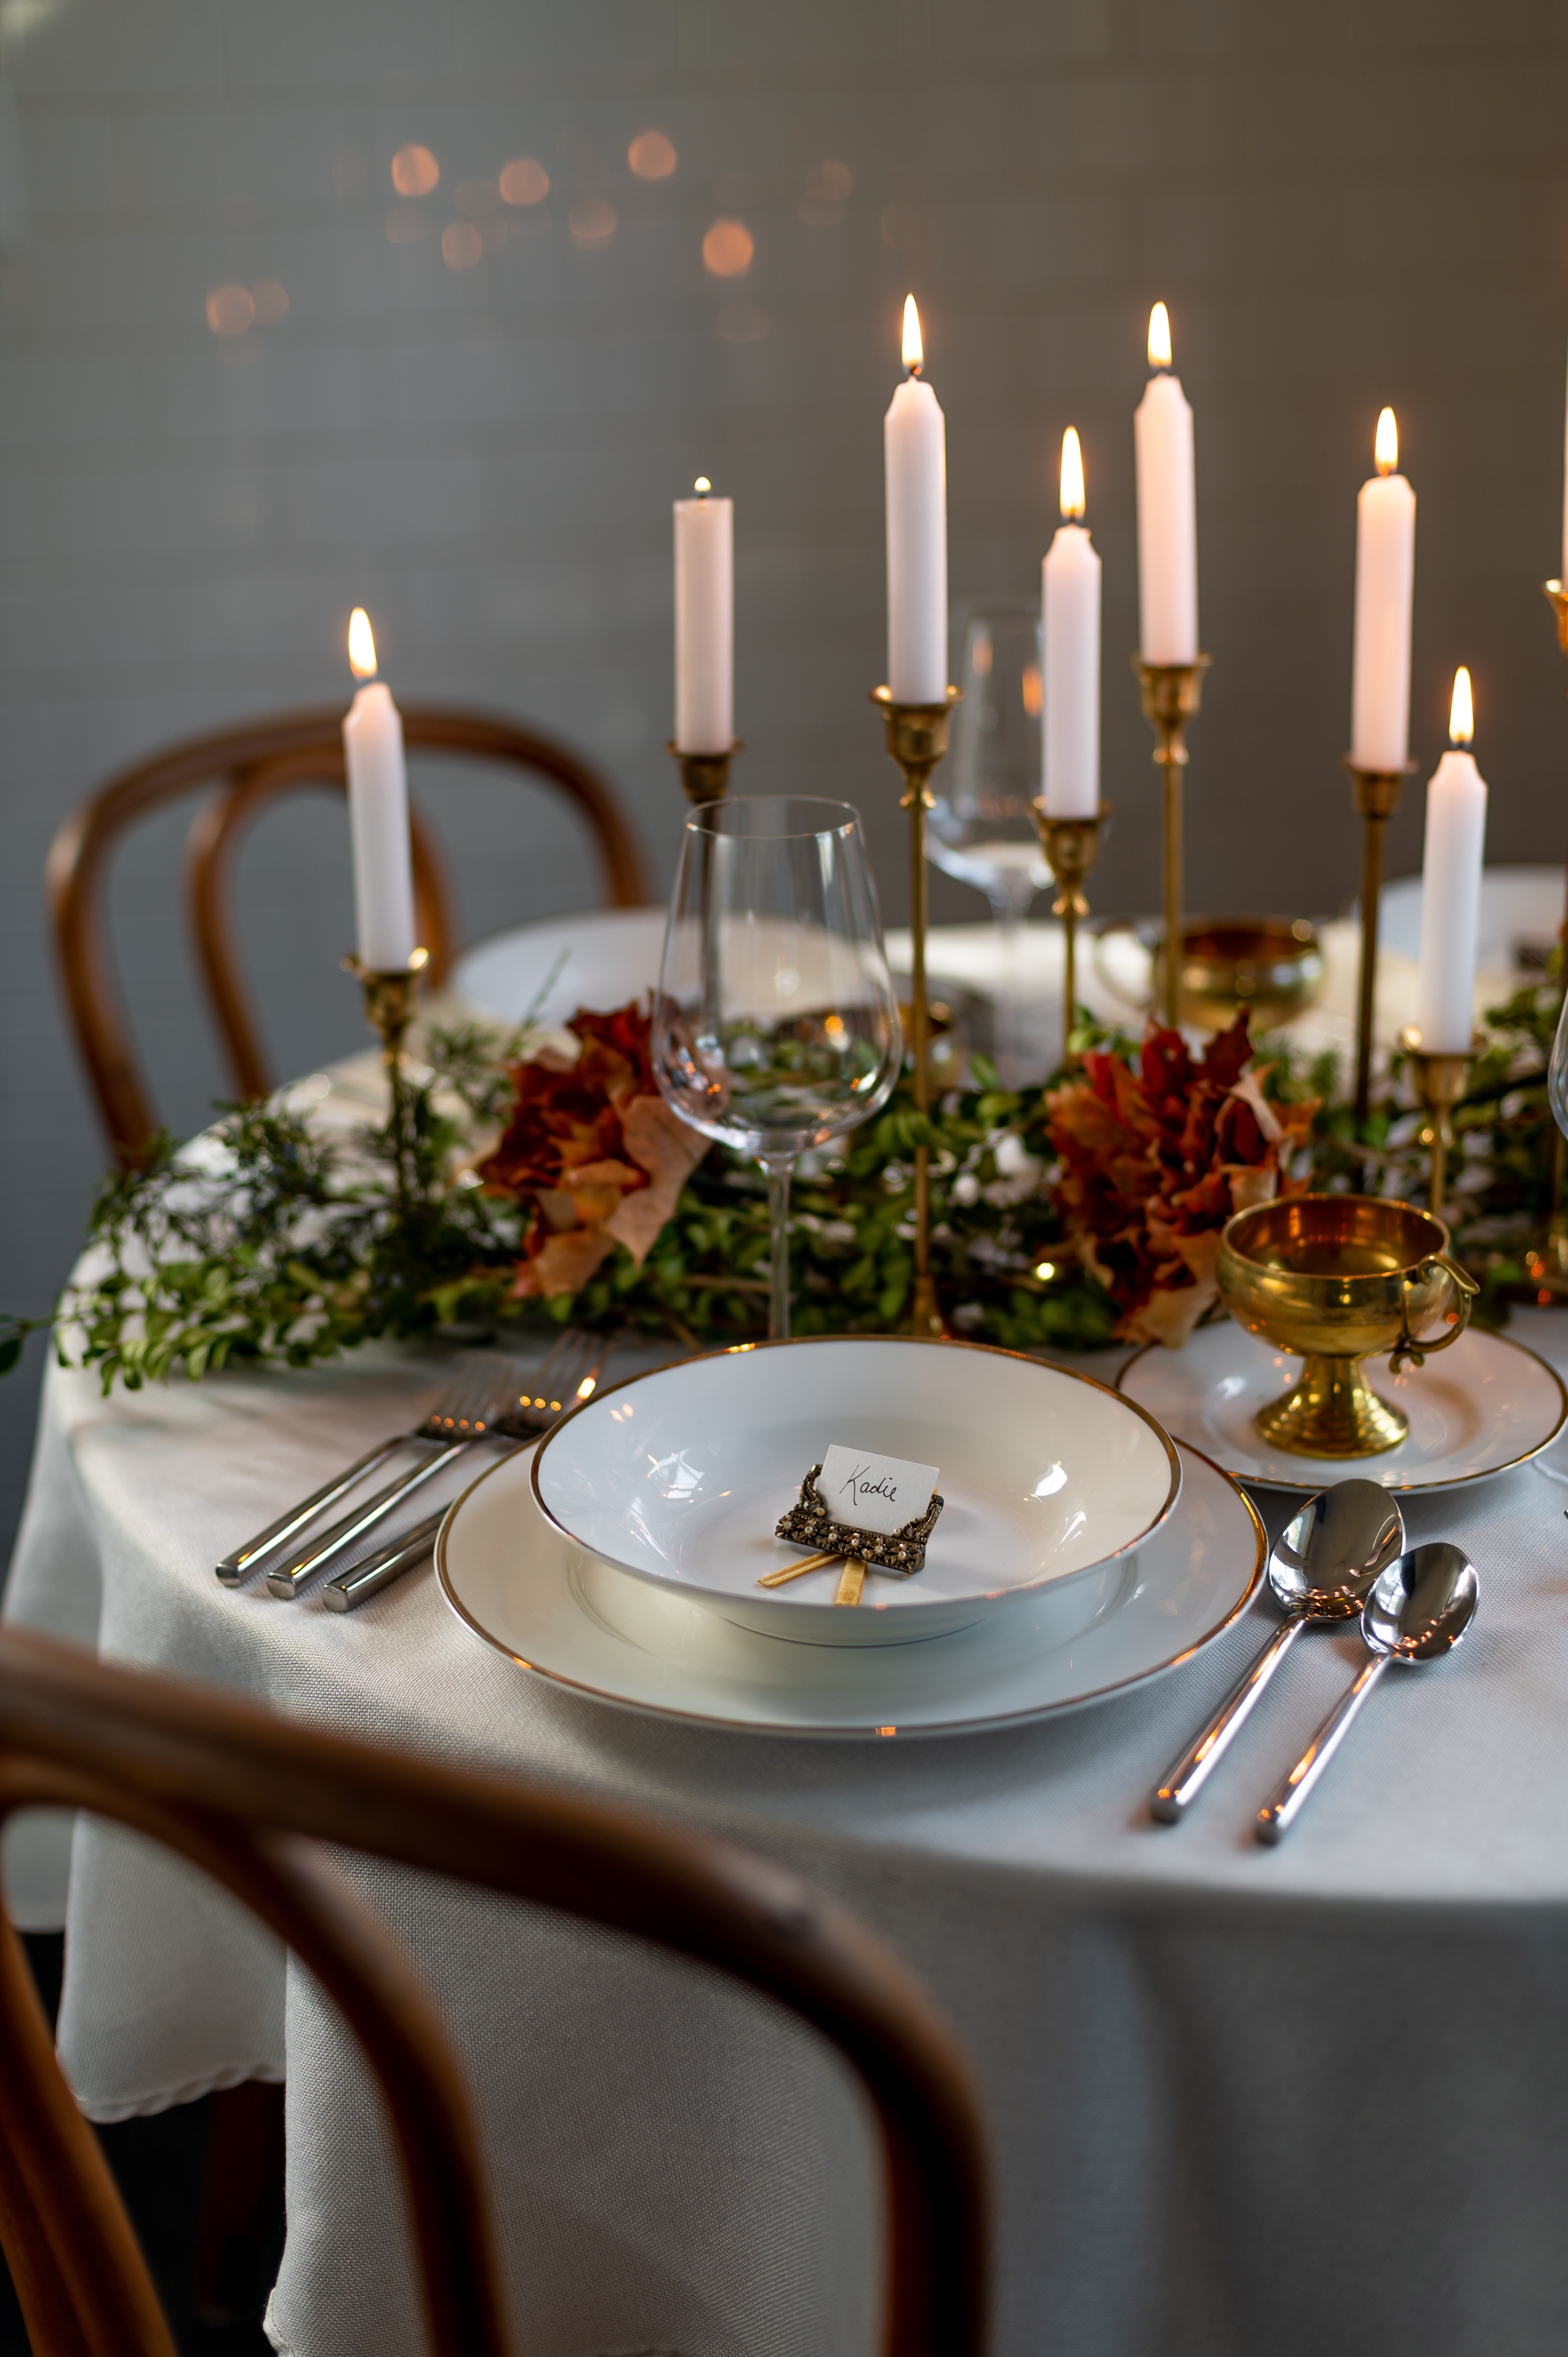
Create Visual Hight
One of the most important elements of any good tablescape is visual height and layering in elements that all fall at different elevations. HOWEVER, my personal rule of thumb on this is that I still want to be able to see the people sitting across the table from me so I can talk to them. Which is one reason I really like creating this visual height with candlesticks in a variety of different lengths. While tall, they are skinny enough to not totally block my view of the people sitting across the table from me.
I also like to keep in mind the visual height I’m adding with my place setting elements as well! For instance, if you look at the image below, my first step is my flatware, then my dinner plate, then my soup bowl, then my brass punch cups take us to the next level, then my wine glasses and finally my candlesticks continue to carry our eyes all the way to the top. Having steps all along the way like that makes for a very luxurious and eye pleasing table I find.
Create A Mix Of Contrasting Materials, Tones & Textures
In addition to visual interest from laying elements on top each other and adding visual height, we can also create interest by mixing together a variety of contrasting tones, textures and materials in our tablescape.
Let’s break down all the tones, textures and materials I used in this tablescape so you can see what I’m talking about.
Something Soft
For SOFT textures, I always like to use a tablecloth to start with. It helps with clean up and starts is off with a nice soft element on my table right away. I also brought in a bit of softness to this table with the thrifted yellow velvet ribbon.
Something Natural
As a NATURAL texture, I have all my greenery and leaves in the center of the table with their warm fall tones. Flowers also work really well for this!
Something Hard
For my HARD textures, I have two types of metal, brass and silver, I also have glass and porcelain in the mix as well.
Mixing all these textures and tones together creates a lot of visual contrast and interest for the viewer!

And that’s it! Those are my 8 go-to “rules” for creating the perfect tablescape every time!
Did I miss anything that you like to do when laying a formal table? Let me know in the comments below!
Shop This Post
White the majority of what you see featured in the tablescape above was found at an estate sale, thrift shop or antique store. I’ll link to what I can and provide some options for how I’d recreate this same look using new buy items currently available for purchase.

These are a total splurge item, but they are beautiful and feel amazing in your hands.

I love this silverware set. I tried so many and this one is perfect in every way.
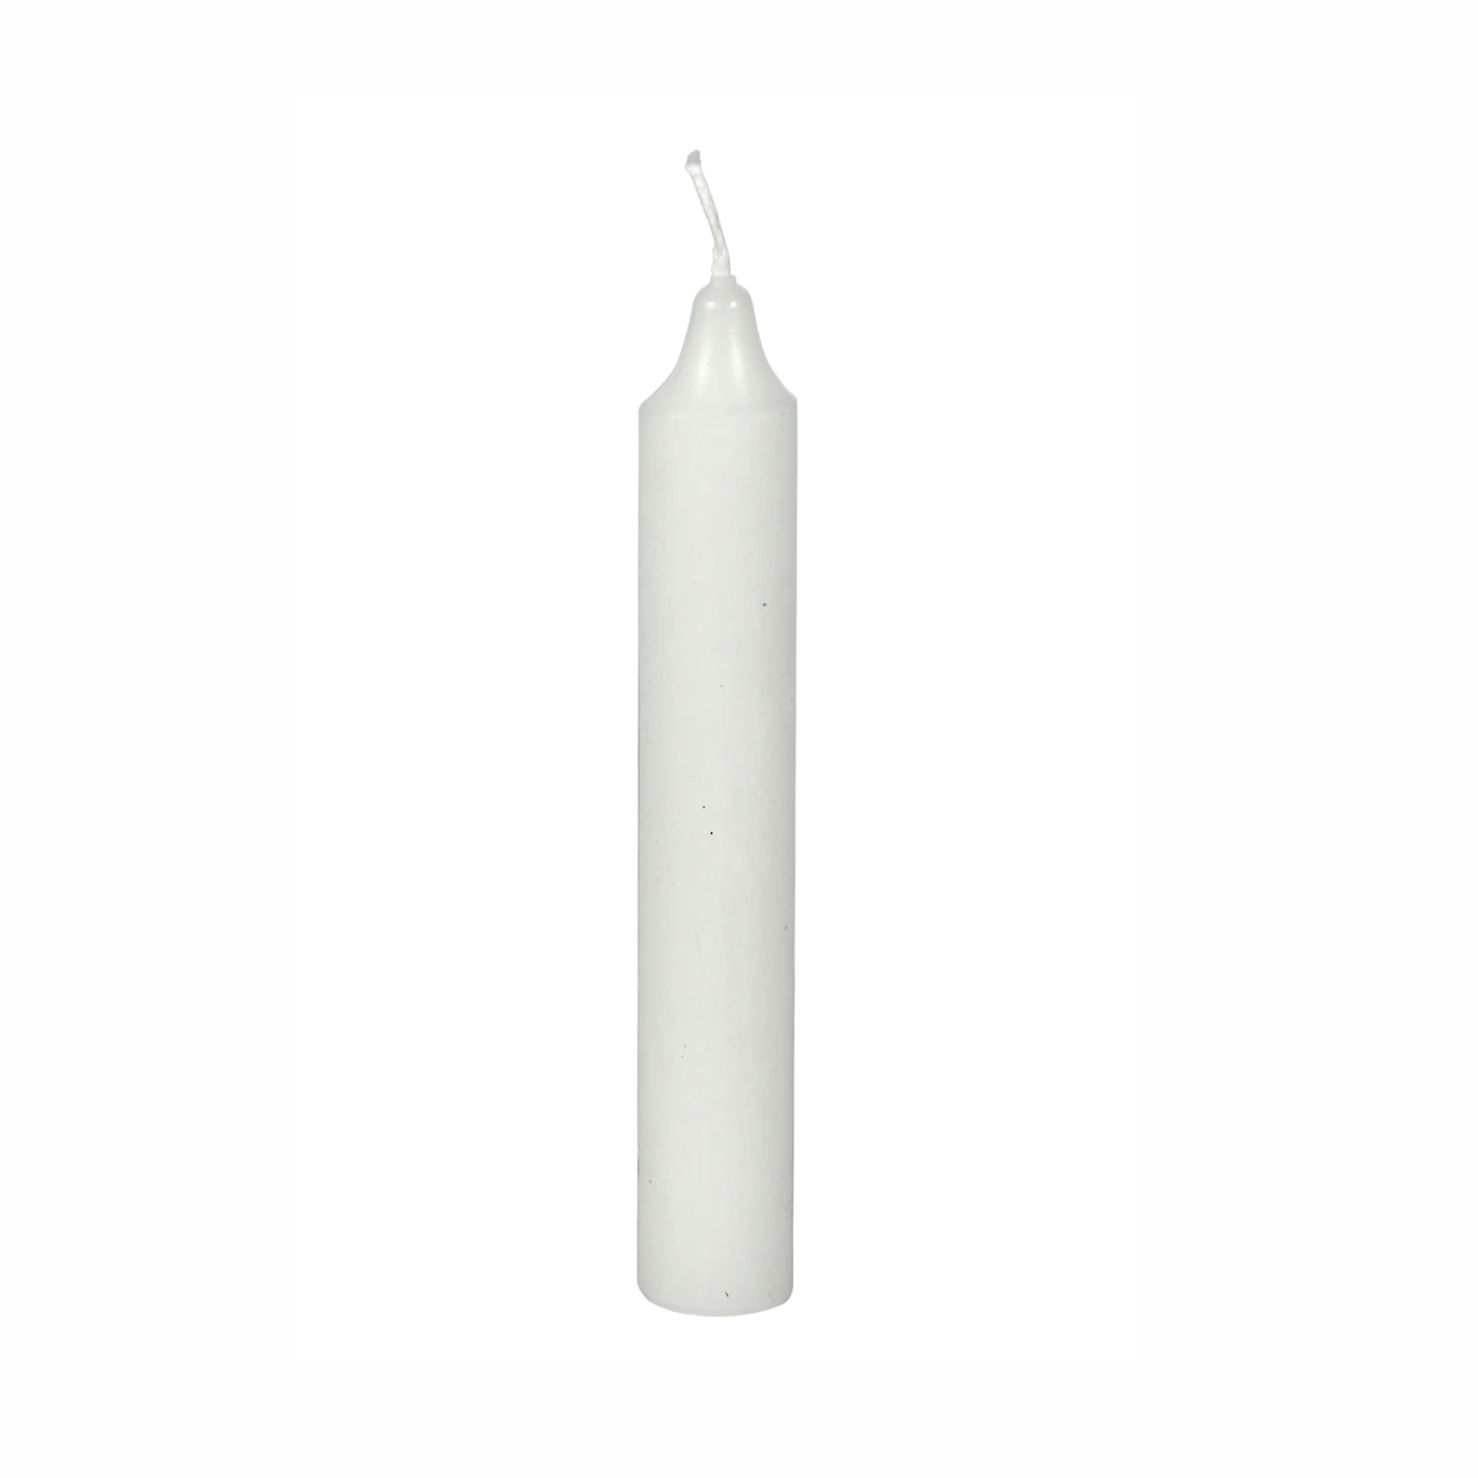
These are not the fanciest candles, but they are so cheap they let me splurge on other things!

My place card holders are vintage, but I see a lot of very similar looking sets pop up on Etsy from time to time.

My dinnerware is thrifted, but this set is very similar!

I’ve been collecting brass candlesticks for years when I see them at the thrift shop, but this is a great starter set!

I snagged my gold ribbon from an estate sale, but I’ve got my eye of this one to replace it when it’s gone.

If you don’t have boxwood bushes to take trimmings from, this is a great way to get the same look!
Don’t Forget To Pin This Post & Subscribe!
Want to keep getting more DIY home decor inspiration, thrifting tips & tricks, free art downloads, reading recommendations, and home renovation tutorials? Then don’t forget to pin this post for later so you can follow me on Pinterest and then subscribe to my blog so you can get links to my newest content as soon as it hits the blog!
One thought on “My Go-To Tips For Setting A Budget Friendly Formal Tablescape”