Congratulations! You’ve sourced your free public domain art, you’ve figured out how large you can print your file and ensured it will look it’s best when printed, now all that’s left is to frame it!
And that’s where things suddenly go from the quick budget-friendly home decor upgrade you had planned to a major custom framing expense you didn’t see coming. Sound familiar?
Thankfully I have a DIY framing hack using custom photo mats that is going to save you tons of money, while still giving you the look of high-end custom framing.
*This blog post contains affiliate links, meaning that if you purchase any of the items using the links I provide I, as the author of this website, will receive a very very small commission from that sale. This is a great way to help support your favorite bloggers at no cost to you. Think of it like a tip jar that costs you nothing!
Why Custom Framing Art Is Expensive
The thing that makes custom framing expensive is that it is created to the exact measurements of the artwork you want to have framed. Instead of cropping the image to make it fit into a standard frame opening, a custom frame, custom mat and custom piece of glass are created specifically to the artworks measurements and then assembled using archival museum quality materials.
This isn’t cheap. (Even with a 70% off coupon my husband and I still paid $400 to have a vintage map of Venice we bought on vacation framed years ago.)
However, that doesn’t mean you can’t get the look of custom framing a different (and MUCH cheaper) way by simply using my favorite art hack: inexpensive custom photo mats.
How To Create DIY Custom Framing For Your Art Using Custom Photo Mats
The magic of using a custom photo mat is that you can easily transform any oddly sized or shaped work of art into dimensions that will fit any frame, without cropping the original image and also giving your work of art a more elevated high-end appearance.
Have a weird 6×11″ work of art, but need it to fit in an 11×14″ frame you picked up at the thrift store? You can do that! Here’s how:
Source, Print & Measure Your Artwork
To start with you’re going to need to source some artwork and, if using digital downloads, create your prints in the exact size you want them.
Next we need to take some measurements of the physical art print. Since most art does not adhere to standard print sizing, you will likely have some blank white space around your art print. We want to take the exact measurements of *just the art* itself and write those numbers down.
Find A Standard Size Frame That Is Larger Than Your Art
The next step in this process is to take your measurements and find a standard frame that your image would be able to fit inside of with about a 2″ border around it.
Let say my art was 4×7. If I wanted a 2″ border around the entire image that would make the new dimensions 8×11. Looking at a list of standard frame sizes, I see that 8×12 is the minimum size frame I should use for this project.
However, you can go as big as you like and use any frame you like, just as long as it’s larger than your original artwork plus about a 2″ border around it.
Order A Custom Mat
Once you have your print and found the frame you want to put them in, you’re going to go online and order a custom mat for your frame. (I personally have used Matboard & More and been incredibly happy with the product and price point.)
When on their site they are going to ask you for all the dimension we just took. The “Outer Sizing” refers to the size of the opening in the frame you’ll be using. The “Opening” refers to the size of the hole they will be cutting into the mat for your art to be viewed through.
PRO TIP: While you can make the opening to the exact measurements of your work of art, you may struggle when framing it later to get it lined up just right. I like to make my cut opening about a 1/8″ smaller all the way around to give myself a tiny bit of wiggle room when framing my artwork.
Other Terms To Know When Ordering Your Photo Mat
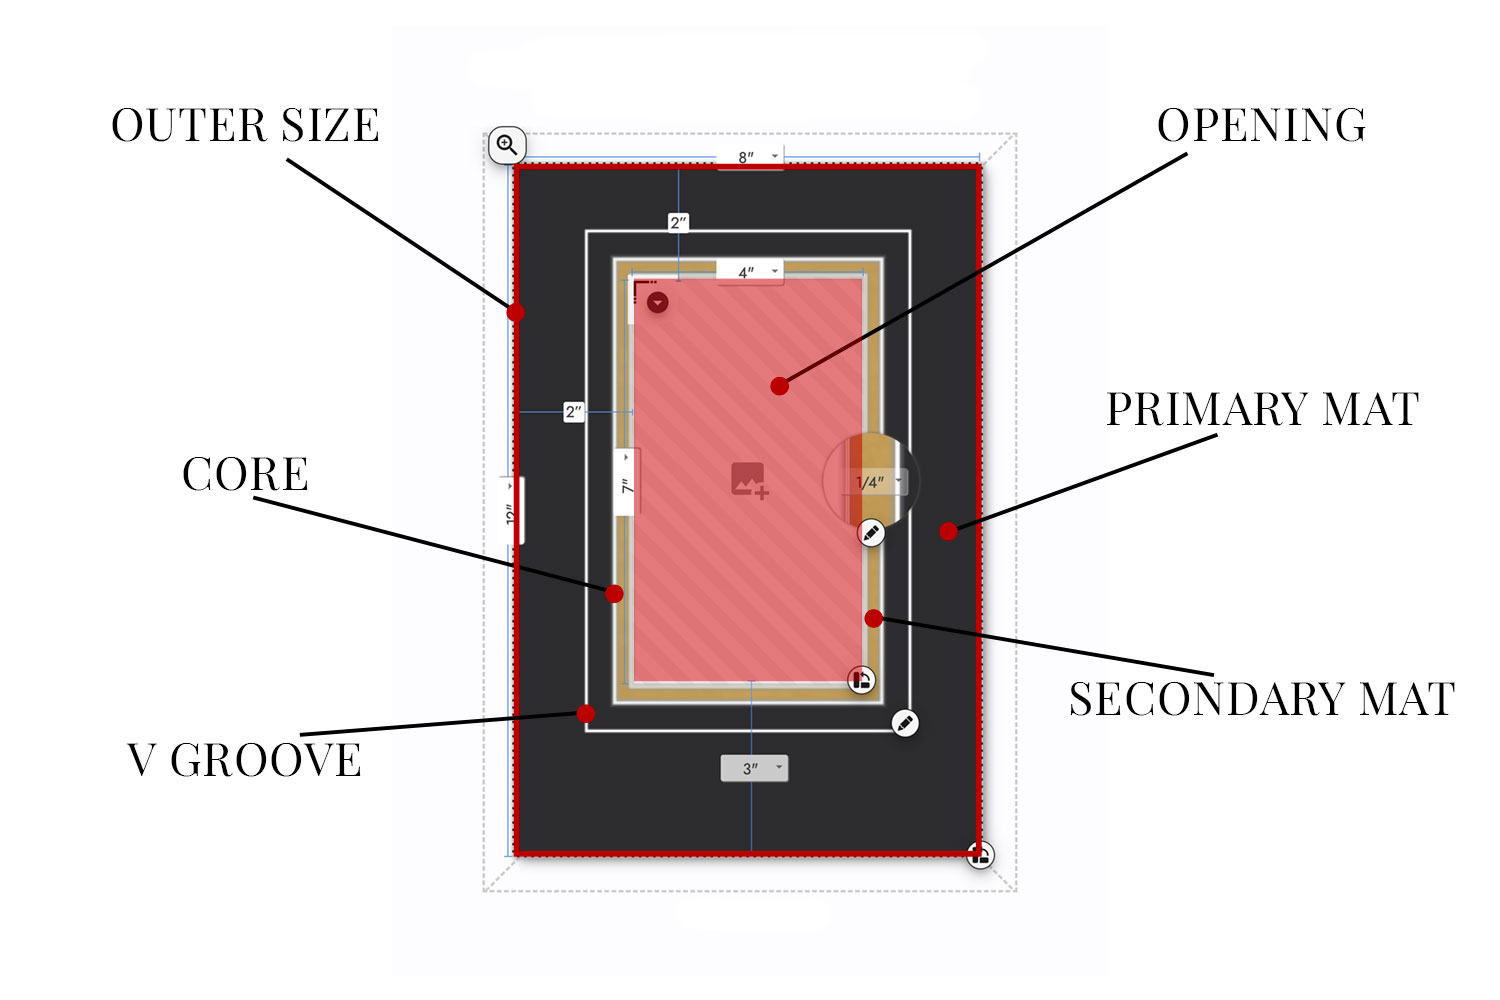
Quality: Under the “Primary Mat Color” options you will be given three choices for the quality of your mat, Economy (what most retail stores use), Decorative (a slightly longer lasting upgrade), and Conservation (an acid free option that should be used with original artwork to ensure it does no degrade over time). For most people framing art they are printed themselves, the economy option is fine. However, if you’re framing an original work of art, be sure to use a Conservation quality mat.
Core: When your mat board is cut, it is done so at an angle, which in turn will expose the inner material the photo mat is made with. This core of your mat can either be the exact same color as the top (like most standard photo mats you see), or a different color to create a subtle border effect around the image you are framing.
Thickness: Most standard mats are 4ply in thickness, however a thicker 8ply mat can give your work of art a more high-end appearance.
Accent Mat: Use this option to create a more pronounced border around your artwork by placing a second mat of a different color under the first mat. When doing so the program will automatically make your top mat slightly smaller so that a thin line of your second mat from underneath the top mat is revealed all around your image. You can set how much of this secondary or “double mat” you want exposed. (You can also make your second mat the same color as the first to just give a work more depth and dimension.)
V-Groove (Limited Availability): Adding a v-groove to your mat is another way to add an additional framing border effect around your artwork. This is done by cutting a v shaped groove into the mat around the opening to reveal the inner color mat color.
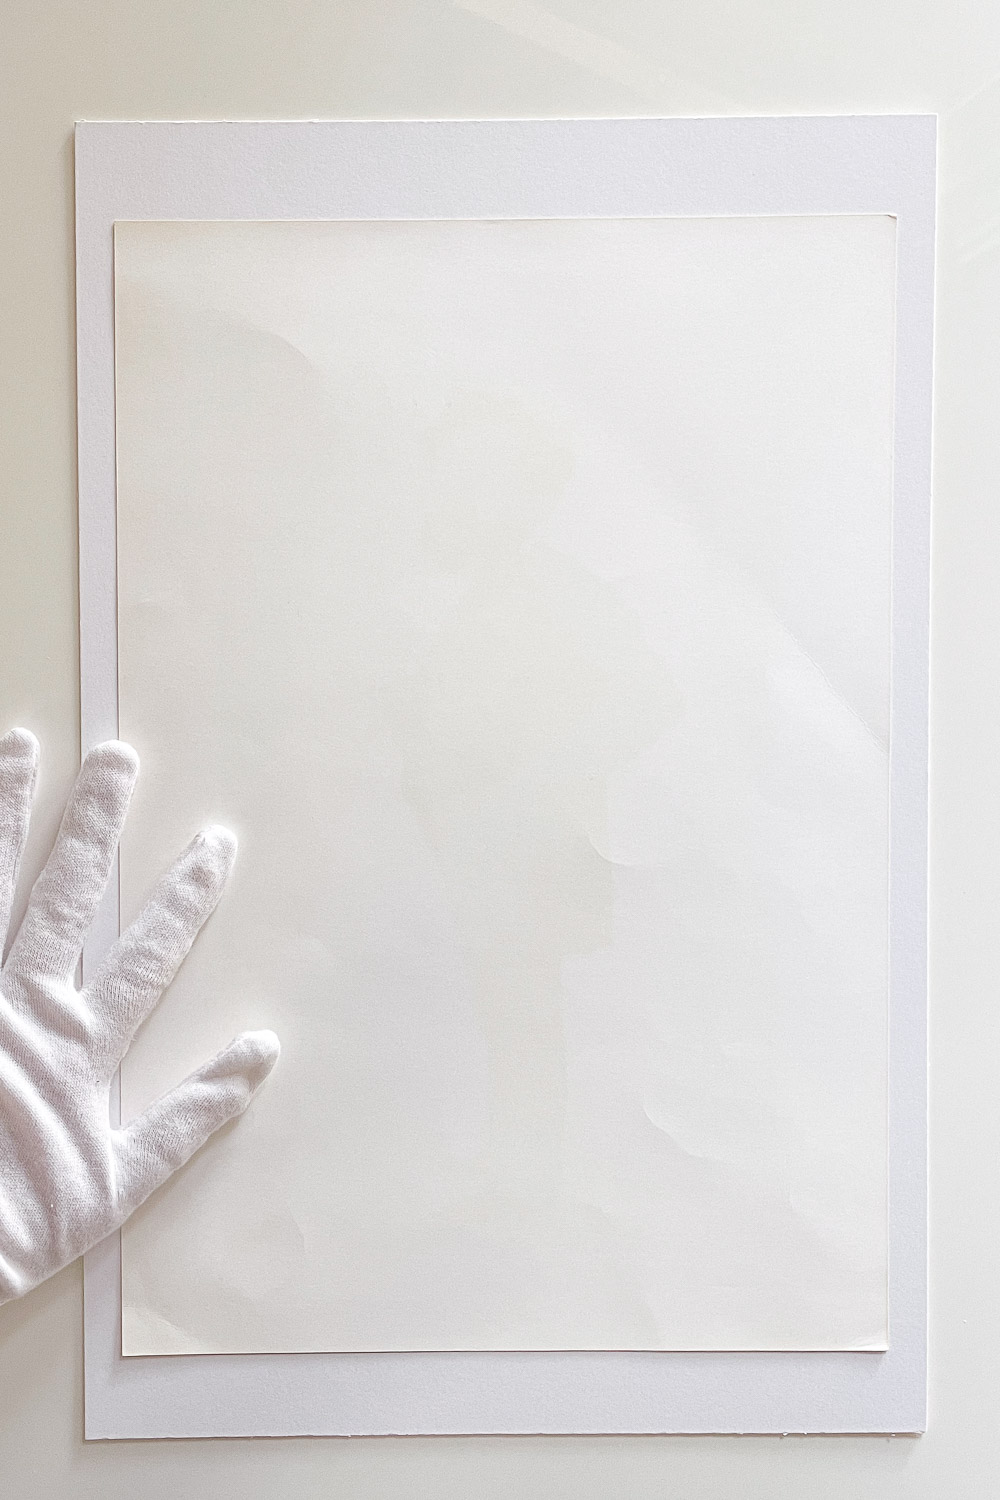
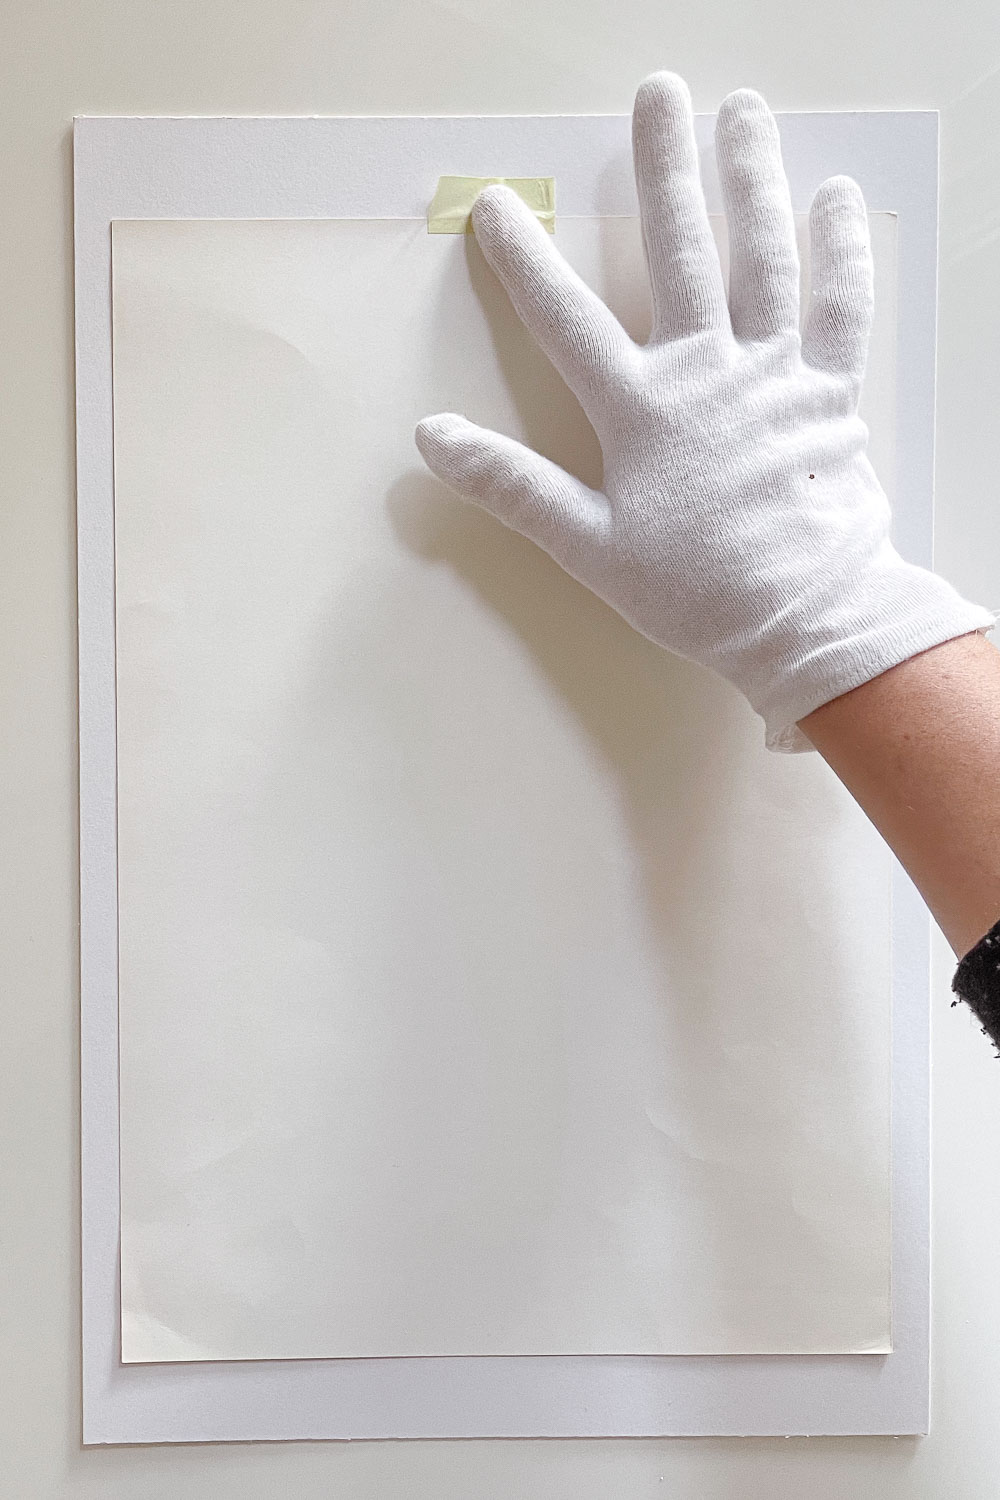
Adhere Your Art To Your Mat & Place It In Your Frame
Once your custom mat arrives, it’s time to assemble your frame. There are a lot of ways to do this, but I’m going to show you the simplest.
Start by by centering your art inside the photo mat and using one small piece of archival tape to adhere it to the top of the inside of your mat.
Then give the inside glass of your frame a good clean to ensure it is free from any dust or debris. (Using a microfiber cloth will help leave less potential debris behind)
Finally place your matted artwork inside the frame and cover with the frames backing board.
Before securing the backing board to your frame, quickly check to ensure no dust or debris accidently got trapped inside the fame.
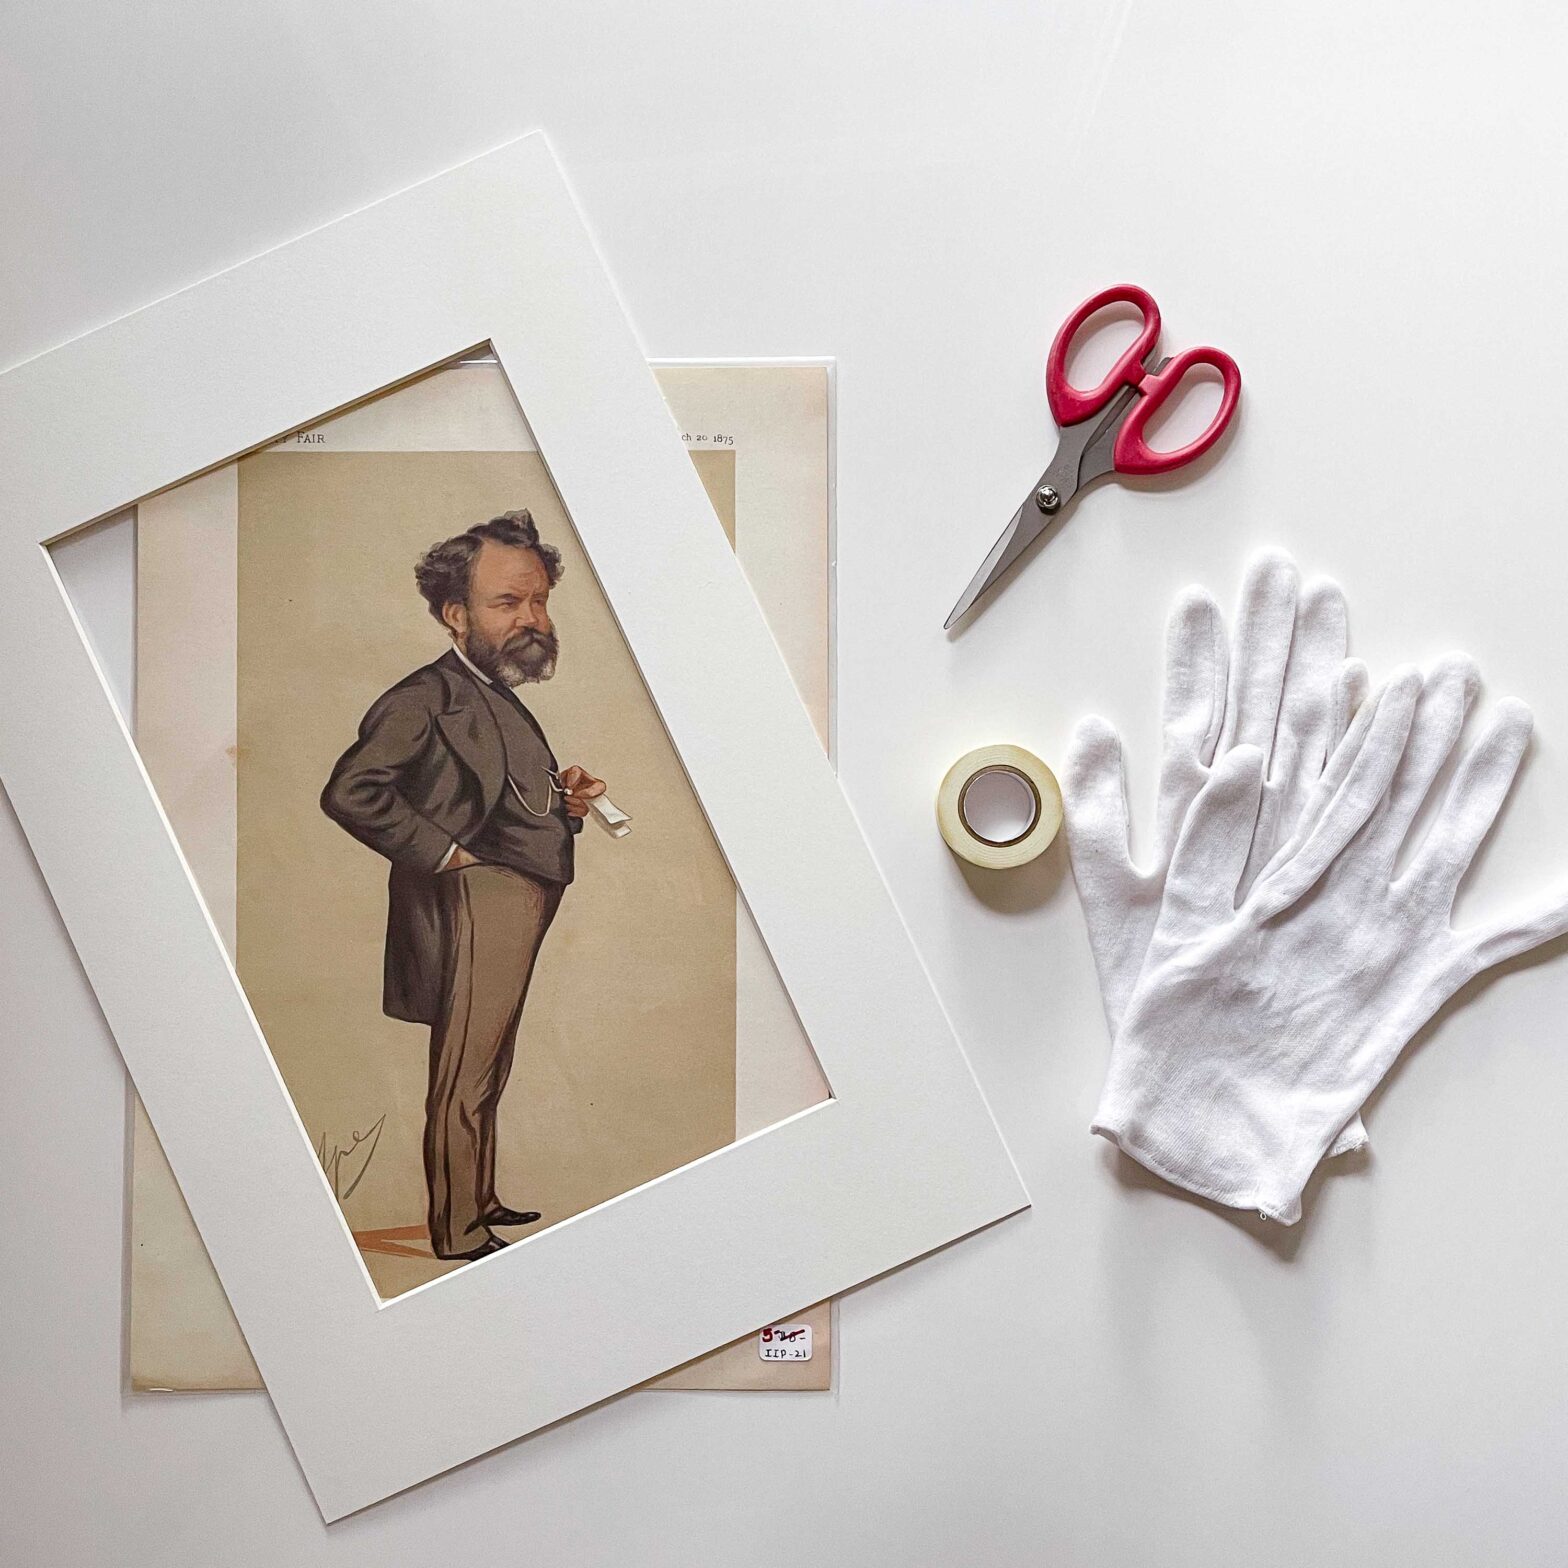
A Note On Wearing Cotton Gloves: Unless you are handling photographic prints (or any surface that may show fingerprints when handled) there is no need to wear gloves while framing your art. Conservation experts have found that the oils you may transfer from your hands are negligible in comparison to the damage you may cause by mishandling an item due to the decreased sensitivity you have in your fingertips. This article does a great job of breaking down when to use gloves and what type are best to use.
PRO TIP: If you’re trying to figure out when to use archival materials, here’s my rule of thumb.
Use archival quality materials (paper, tape, mats, backing boards) when you’re framing something:
• Meant for long term display (think decades, heirlooms to last a lifetime)
• Is an expensive professional print or highly sentimental work of art
• Is an original work of art from an artist
Why? Because regular paper and tape contain trace amounts of acid which can yellow, fade and gradually degrade, not just themselves, but anything they come in contact with over time. That’s not a big deal for seasonal decor or inexpensive digital prints you plan to swap out every few years. But it is a problem if you’re framing something you want to preserve long-term.
Final Thoughts
Is the quickest, cheapest and easiest method of framing printable wall art simply to chop it down so that it fits inside whatever frame you have on hand? Sure.
However, if you want to elevate the look of the art you are hanging on the walls of your home and are trying to achieve the appearance of of high-end custom framing. Using a simple custom photo mat is an extremely affordable way to get the look you are after without the price tag.
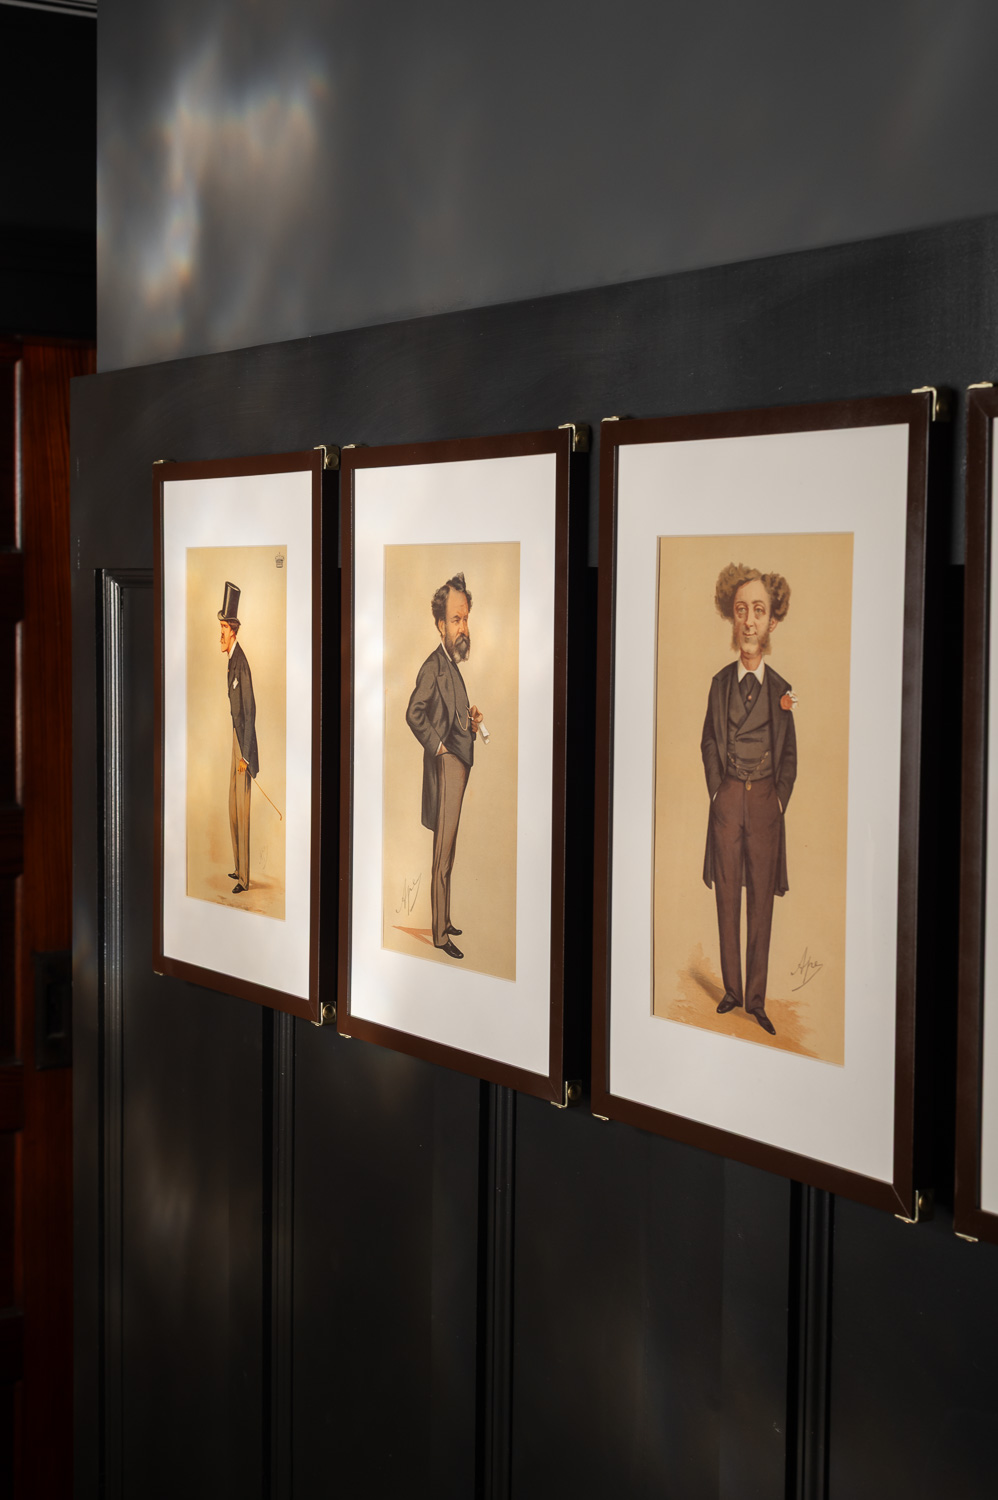
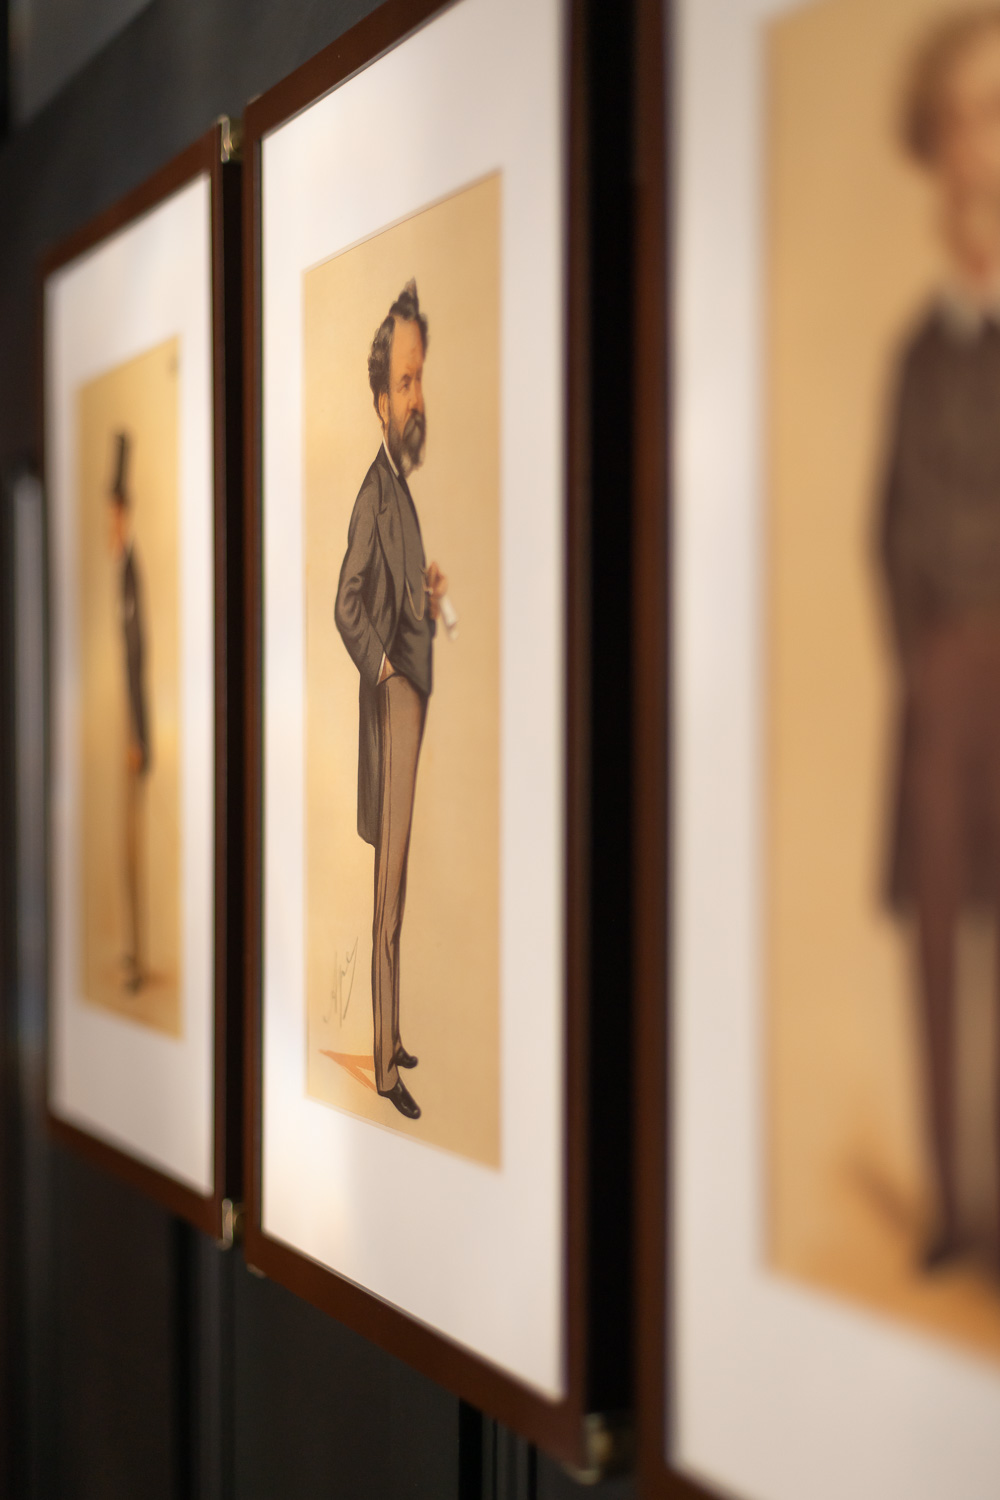
I certainly couldn’t be happier with how it let me display this collection of vintage prints I found at an antique store. All of which were a highly unusual size and shape. Using this method let me purchase inexpensive frames and display them in my renovated guest bathroom in a way that didn’t damage the original artwork.
Don’t Forget To Pin This Post & Subscribe!
Want to keep getting more DIY home decor inspiration, thrifting tips & tricks, free art downloads, reading recommendations, and home renovation tutorials? Then don’t forget to pin this post for later so you can follow me on Pinterest and then subscribe to my blog so you can get links to my newest content as soon as it hits the blog!
great ideas
Really helpful article! The custom mat trick is such a smart way to make thrifted prints look much more polished without spending a fortune.