Listen, there are a lot of Thanksgiving turkey recipes on the internet. So I get that you are likely very skeptical that this one really is “the best Thanksgiving turkey recipe ever!”. (Even though it is.) It’s not deep fried, or covered in bacon or even stuffed with anything fancy. She is simple, she is elegant, she is the classic turkey you WISH you grew up eating every year.
I know this because I grew up eating a turkey that my grandmother would roast the day before (with almost no seasonings what-so-ever) and then reheat on Thanksgiving the next day. It was dry and tough, and you had to drown it in gravy just to get it down. (Grandma was not known for her cooking, bless her heart).
So when my husband and I moved across the country and couldn’t travel back home for Thanksgiving each year, we became obsessed with figuring out how to roast the best Thanksgiving Turkey we could.
After 13 years of trial and error, and a lot of friendsgivings later, we have finally perfected the art of the classic Thanksgiving dinner turkey and Thanksgiving has gone from one of my least favorite holidays of the year, to the meal I look forward to the most each fall!
*This blog post contains affiliate links, meaning that if you purchase any of the items using the links I provide I, as the author of this website, will receive a very very small commission from that sale. This is a great way to help support your favorite bloggers at no cost to you. Think of it like a tip jar that costs you nothing!
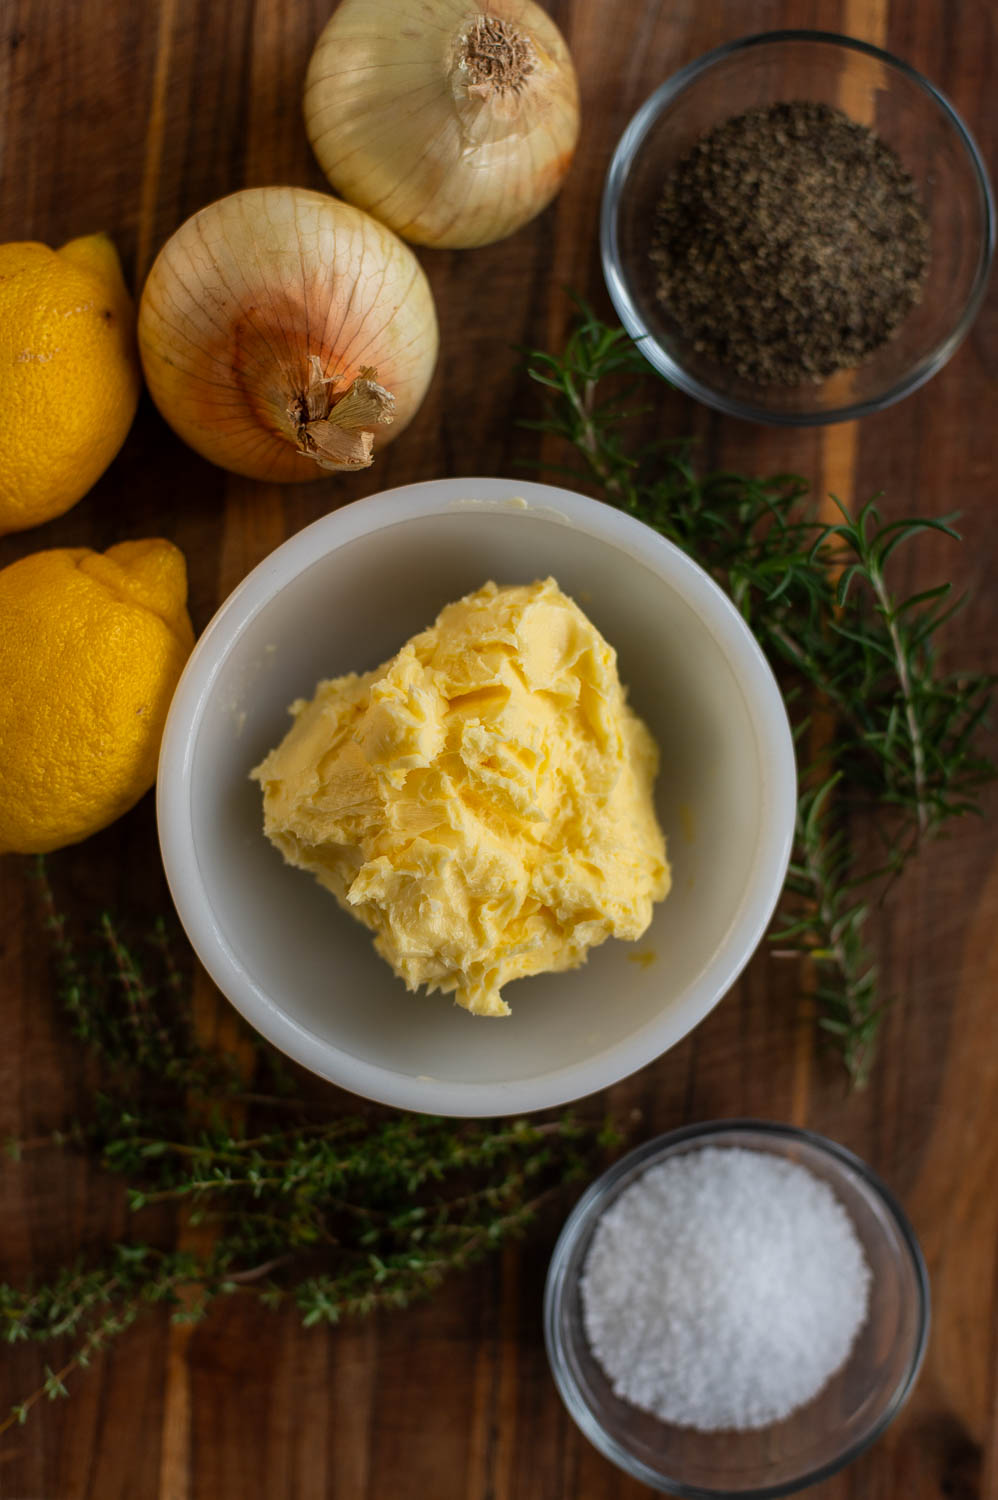
The Classic Thanksgiving Turkey Ingredients
When I told you this Thanksgiving dinner turkey recipe is simple and classic, I meant it. Just look at how basic this ingredient list is:
- 1 Thawed Turkey
- 16 Tablespoons Softened Butter
- Dealers choice on salted versus unsalted. We went salted and it was amazing, but your gravy afterward (if you chose to make some) will tend to lean on the saltier side
- 6 Tablespoons Melted Butter For Basting
- 4 Sprigs of Fresh Rosemary
- 10-15 Sprigs of Fresh Thyme
- 1/4 cup Salt
- 1/4 cup Pepper
- 2 Lemons
- 2 Small/Medium Onions
Turkey Brine Ingredients (Optional)
Brining our turkey is admittedly something we never used to do in the early days and our turkey still came out great. So this is an optional side quest you can ignore if you like.
That said, we have found it does enhance the flavor of the turkey enough that it’s worth the extra step. (If you don’t want to make your own brine you can also purchase a brine mixture you just add water to like this one.)
- 1 Gallon of Water
- 1 Cup of Kosher Salt
- 1 Cup of Brown Sugar
- 1 lemon (thin sliced)
- 4 Bay Leaves
- 1/4 cup Lemon Juice (more as desired)
- 2 Tablespoons of Onion Powder
- 2 Tablespoons Garlic Powder
- 1 Tablespoon Paprika
- 1 Tablespoon Black Pepper
How To Roast A Perfect Thanksgiving Turkey
Like all good cooking journeys, we started out with a random recipe we found in a magazine 13 years ago, and over time we’ve adjusted, tweaked, combined and shaped it into what works for us. Here’s exactly what we do every year:
Step One (Optional): Brine Your Turkey
You definitely don’t have to brine your Turkey. We skipped this step for years, and still got a delicious tasting turkey. However, we think it’s worth the extra flavor boost if you have the time for it.
2-3 days before you plan to serve your turkey, fill a pot of with one gallon of water, add the salt, sugar, sliced lemon, lemon juice, bay leaves, onion powder, garlic powder, paprika and black pepper and bring to a boil.
Stir until the salt and sugar dissolve then turn off the heat and let it cool.
Once cooled, place your thawed turkey in a brining bag, add the brine, then seal the bag and place your turkey back in your fridge for 12-48hrs.
Step Two (Optional): Air Chill Your Turkey In The Fridge
Is this step a little extra? Yes. Will it help you get some of the crispiest/tastiest skin ever? Also yes. Here’s how we do it:
1-2 days before you plan to serve your turkey, start by pulling the Turkey from the brine, then rinse it off and pat it dry with some paper towels.
Now place the turkey on a cooling rack, on top of a sheet pan. (We want air to get to all sides of the turkey and something to catch any juice that drips.)
Pro Tip: I like to fold the wing tips behind / underneath the bird at this point since as the skin dries out it gets harder to do later.
Then set the pan (rack, turkey and all) back in the fridge, uncovered, for 24 hours. Yes it will take over your entire refrigerator but it’s worth it I promise.
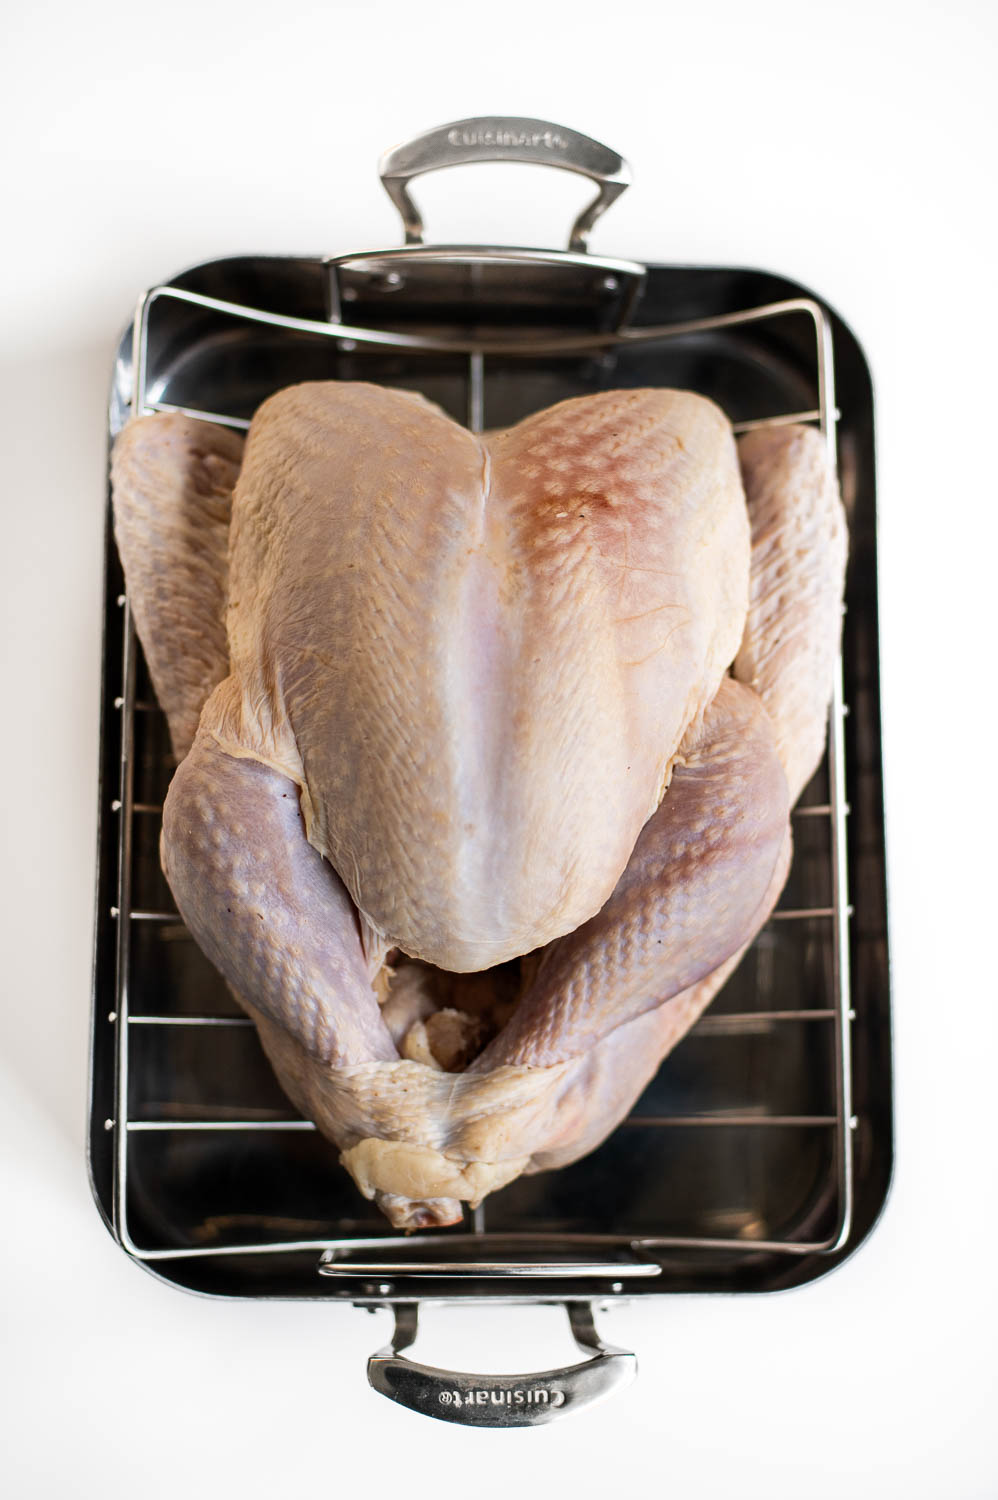
Step Three: Take Your Turkey & Butter Out Of The Fridge
About 3 hours before you want to put the turkey in the oven, pull the turkey out of the fridge, set it in your roasting pan and let it start coming up to room temp.
Now is also a good time to take the butter out of the fridge so it can begin softening as well.
Step Four: Preheat The Oven & Make The Herb Butter
30 minutes before you want to put the turkey in the oven, set your oven to bake at 300 degrees. (Use the convection roast setting if you have it).
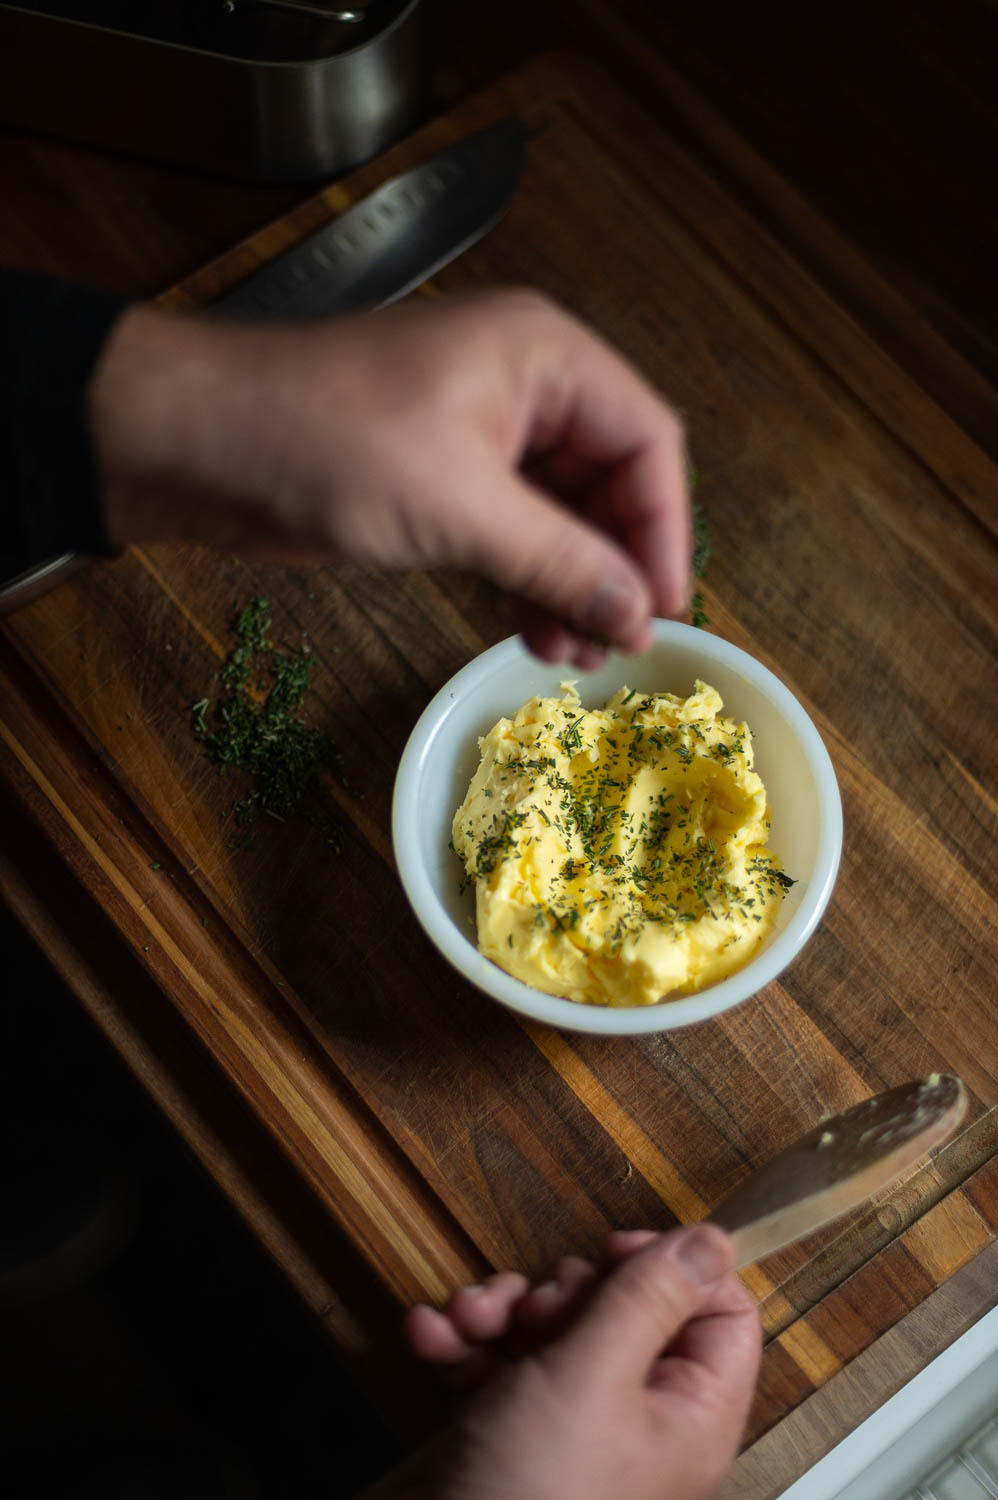
While the oven is preheating, place your softened butter in a small bowl and gather your herbs.
Detach the leaves from half your rosemary and thyme stems and finely mince them. (We’ll use the rest of the herbs inside the turkey later).
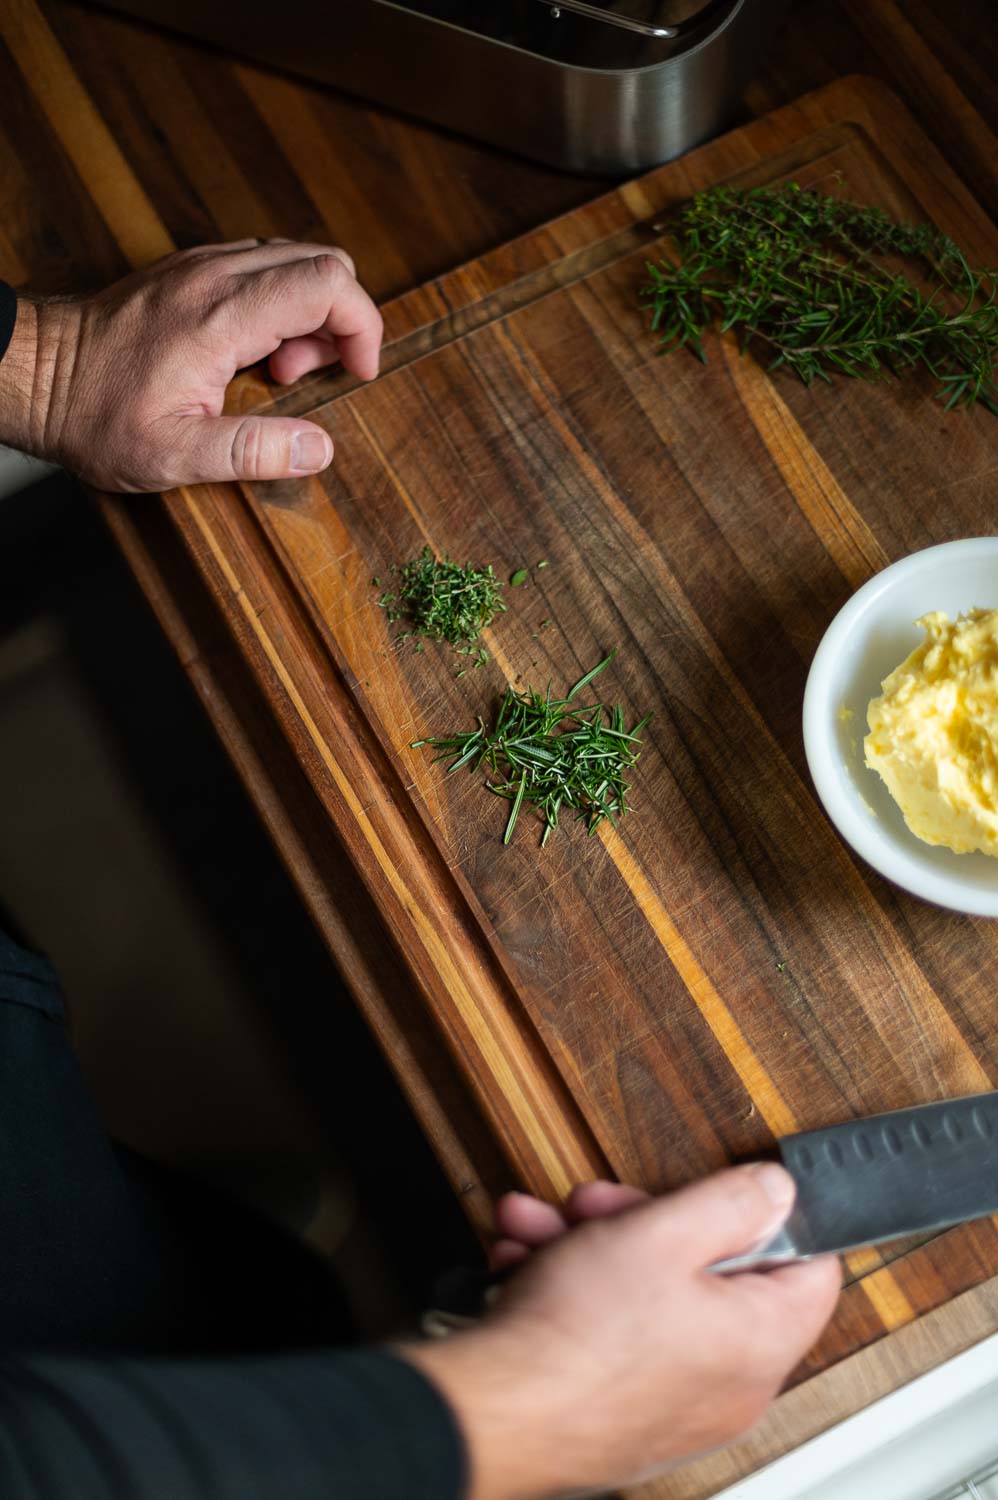
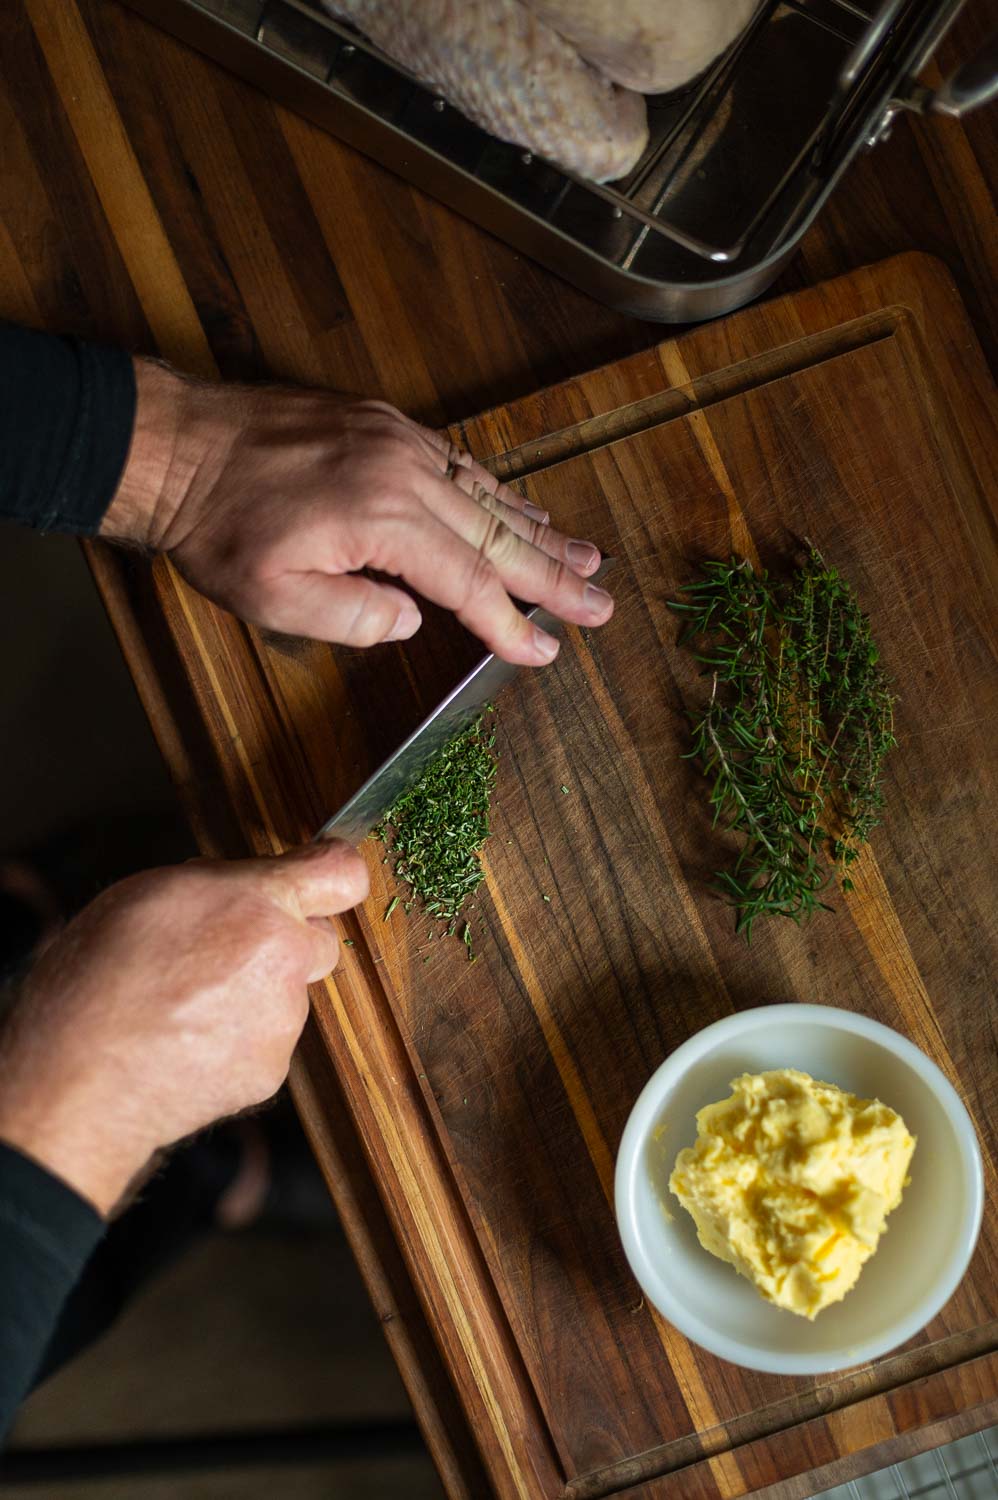
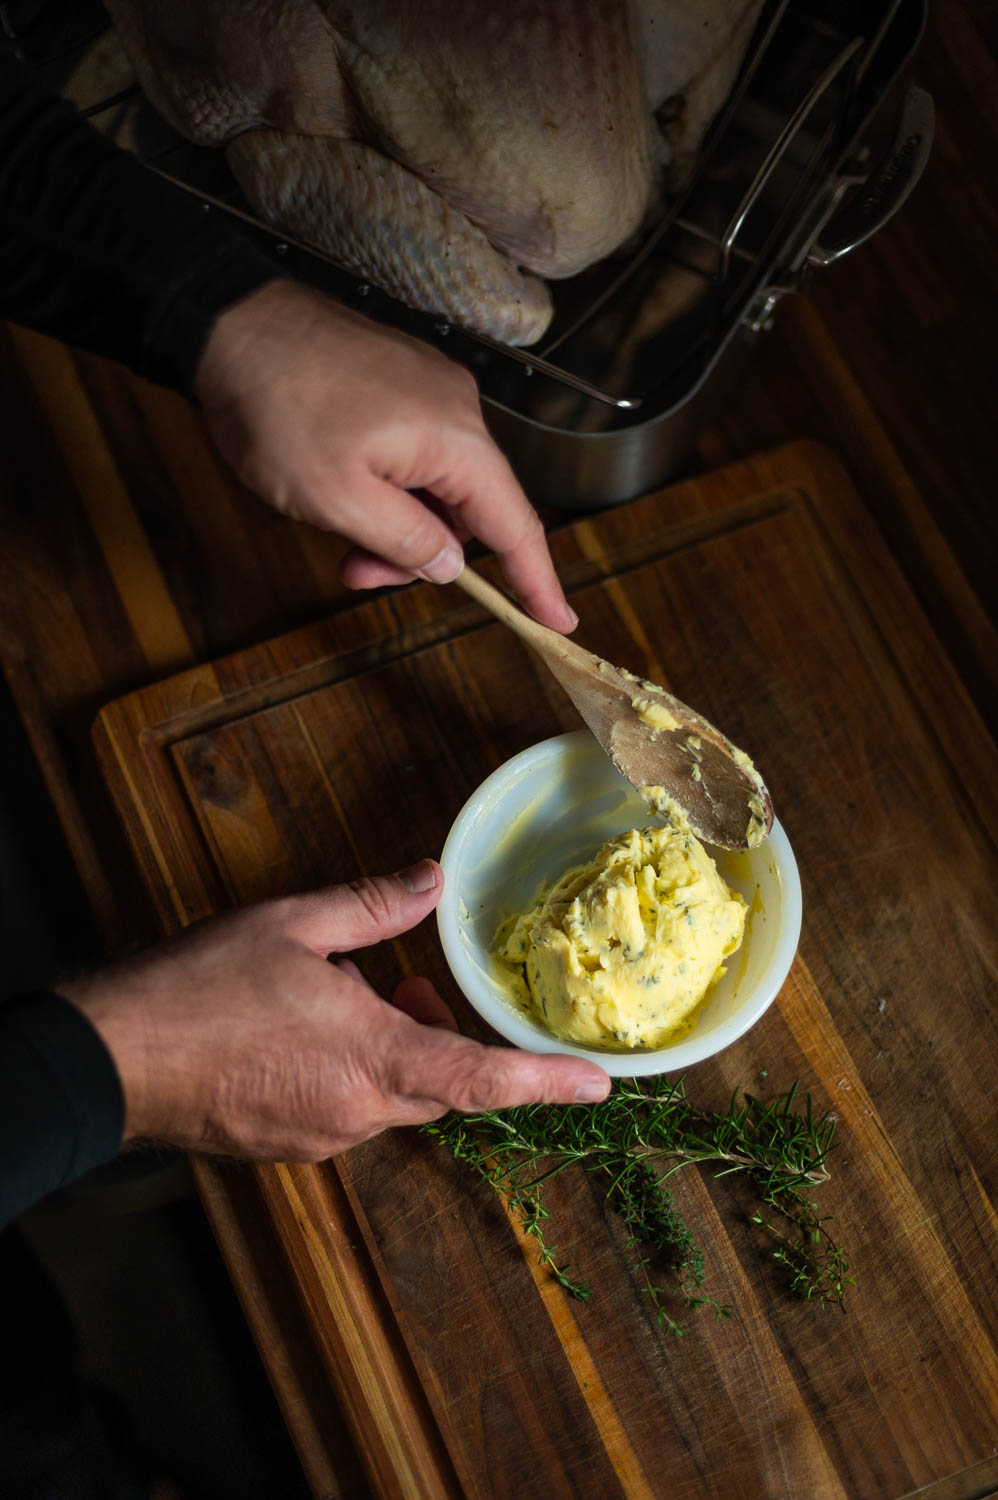
Add the minced herbs to your butter and stir until they are fully incorporated.
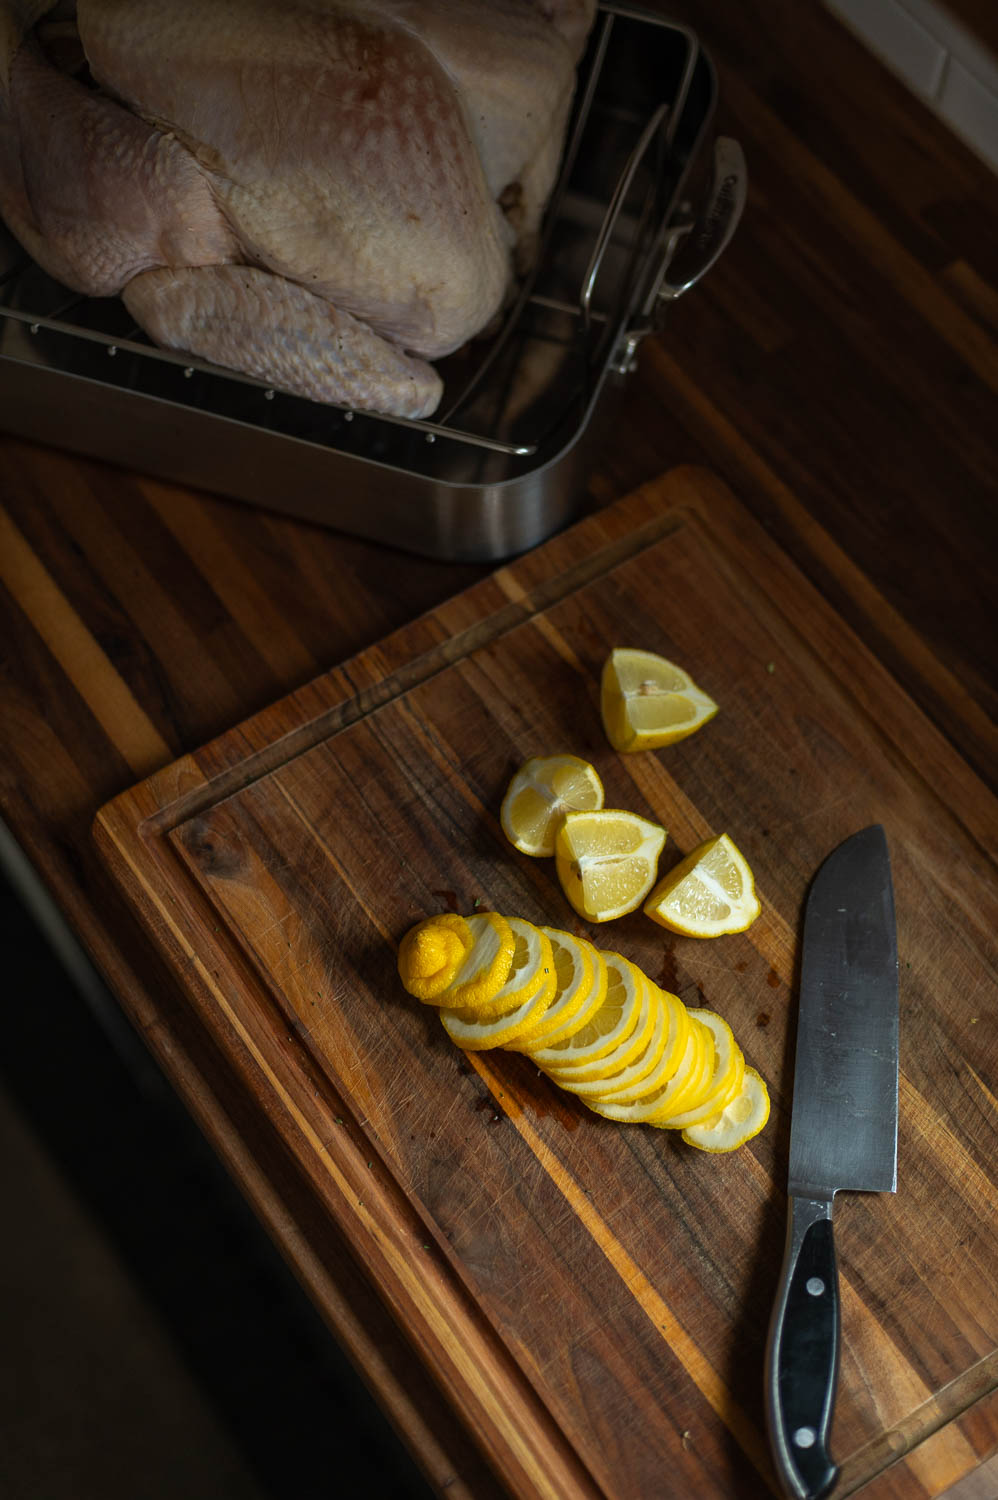
Step Five: Prepare The Onions & Lemons
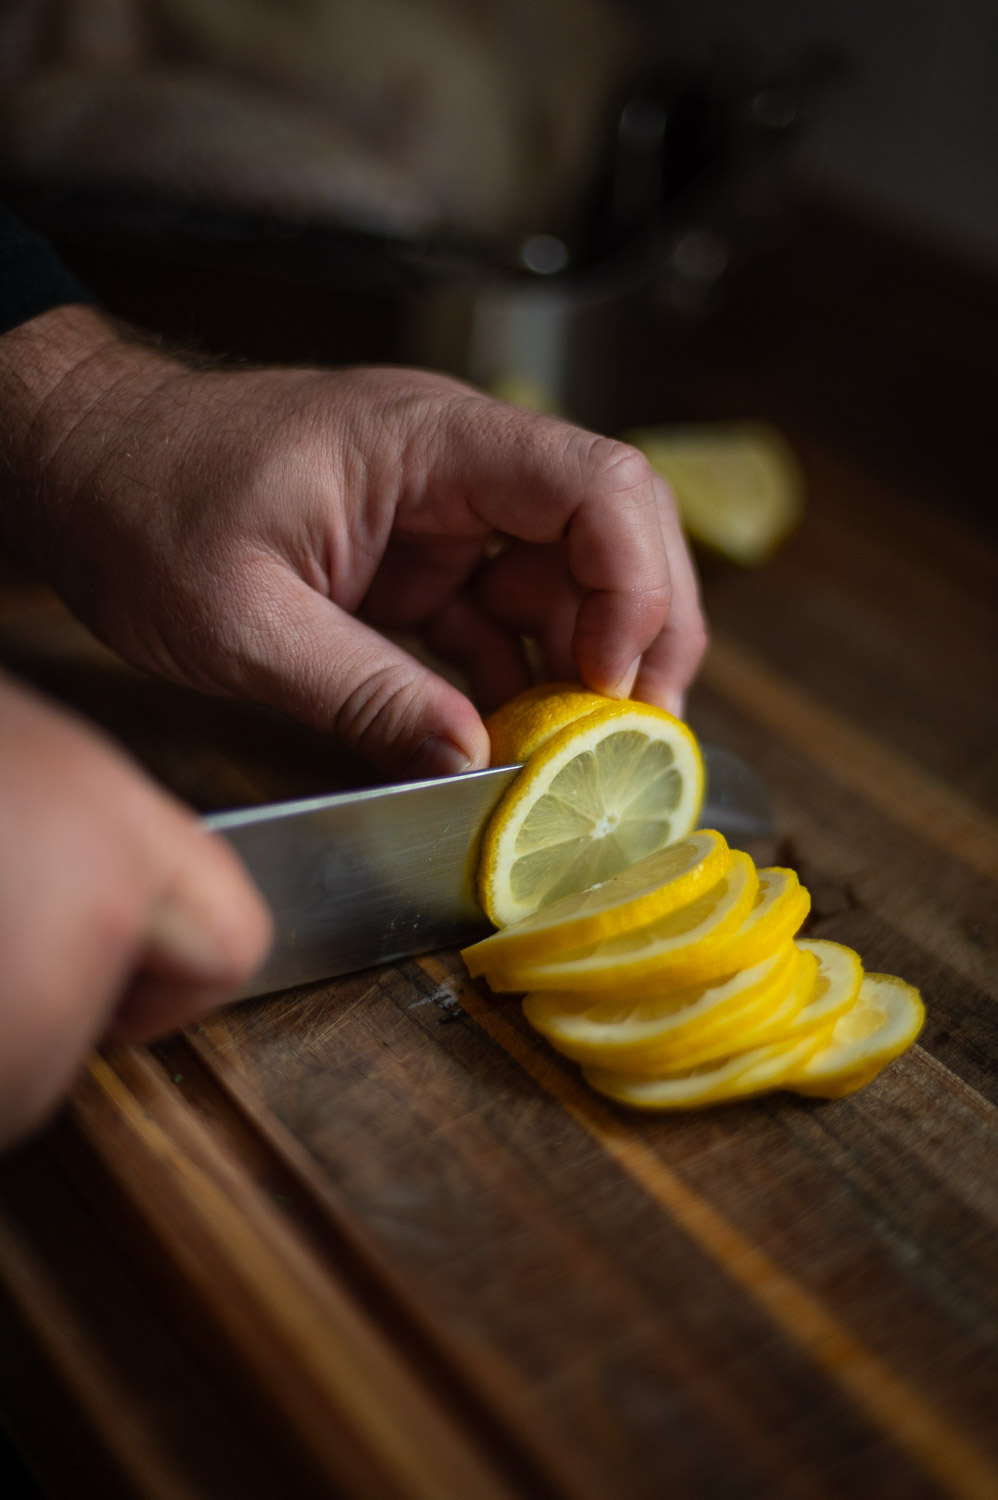
Now thinly slice one of your lemons, then quarter the other.
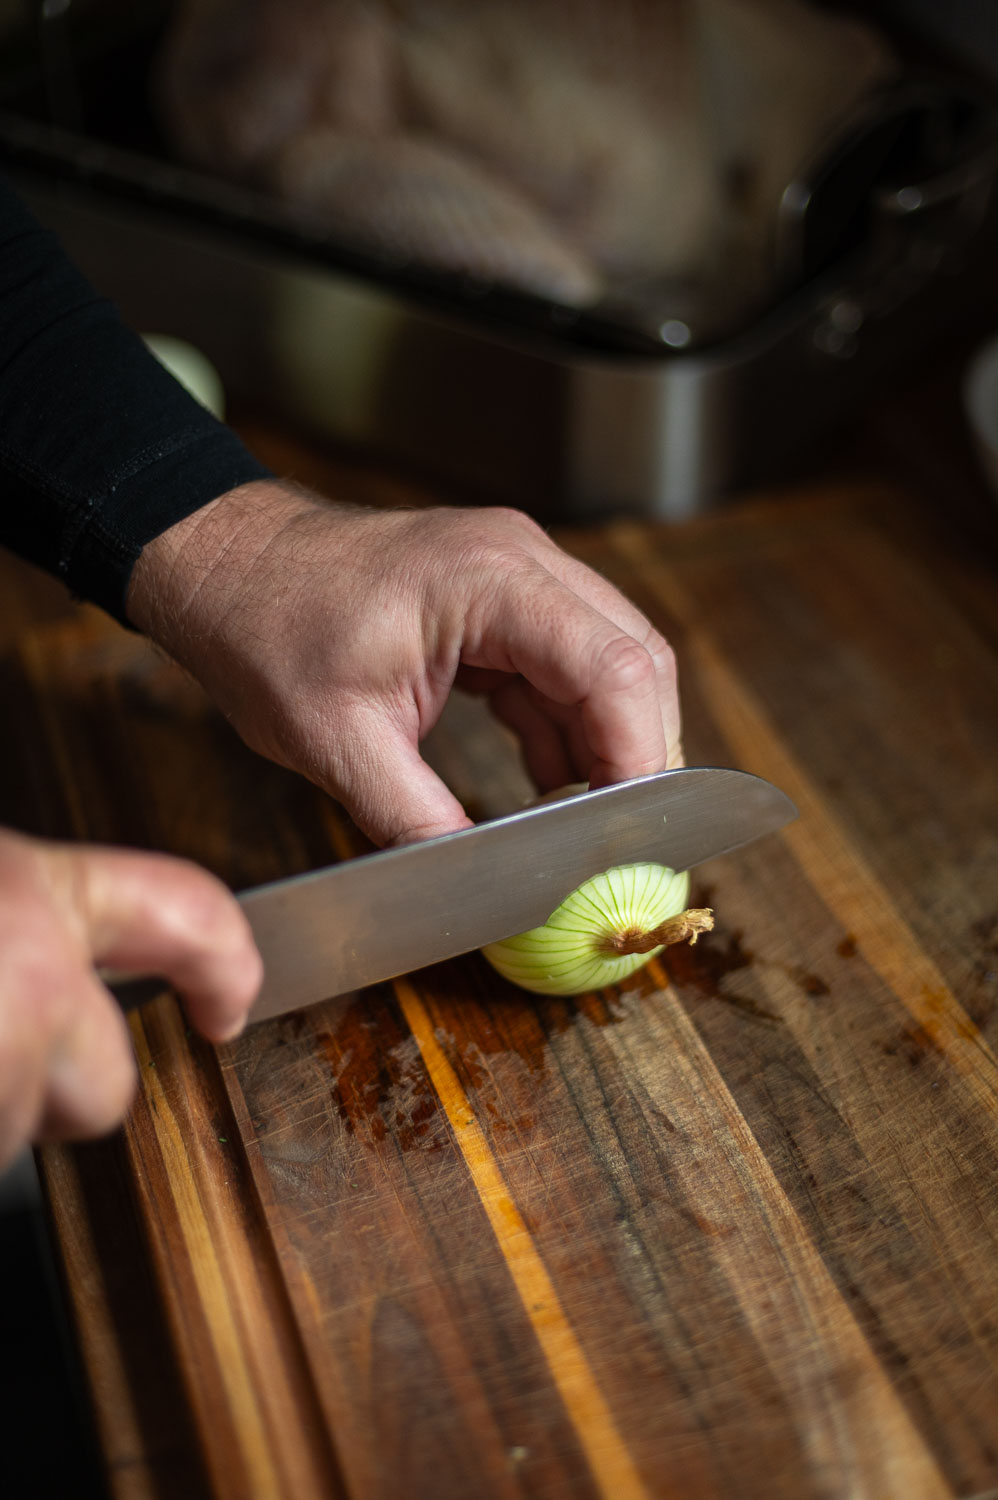
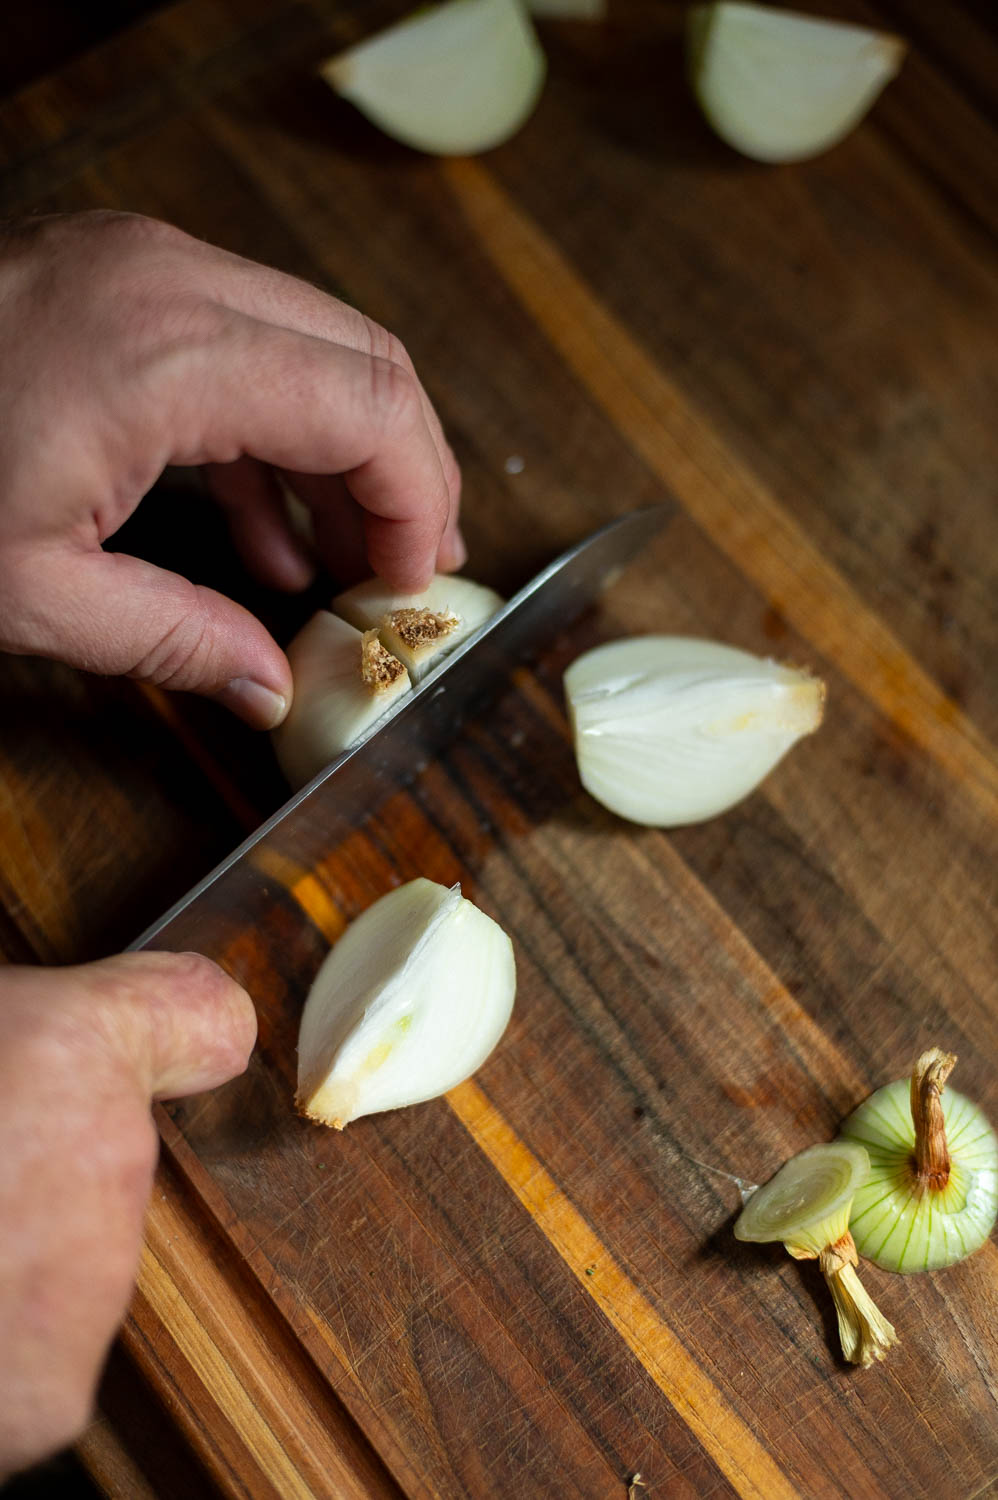
Next grab two onions and quarter both of them. (You can also just cut one large onion into 8 sections and that works fine too, you just want the chucks to be about the same size as your lemon quarters)
Step Six: Rub The Herb Butter Under The Skin
Dry white meat is the worst. Luckily our friend butter is here to save the day! But instead of just putting butter on top of the turkey, we are going to lock in that flavor under the skin!
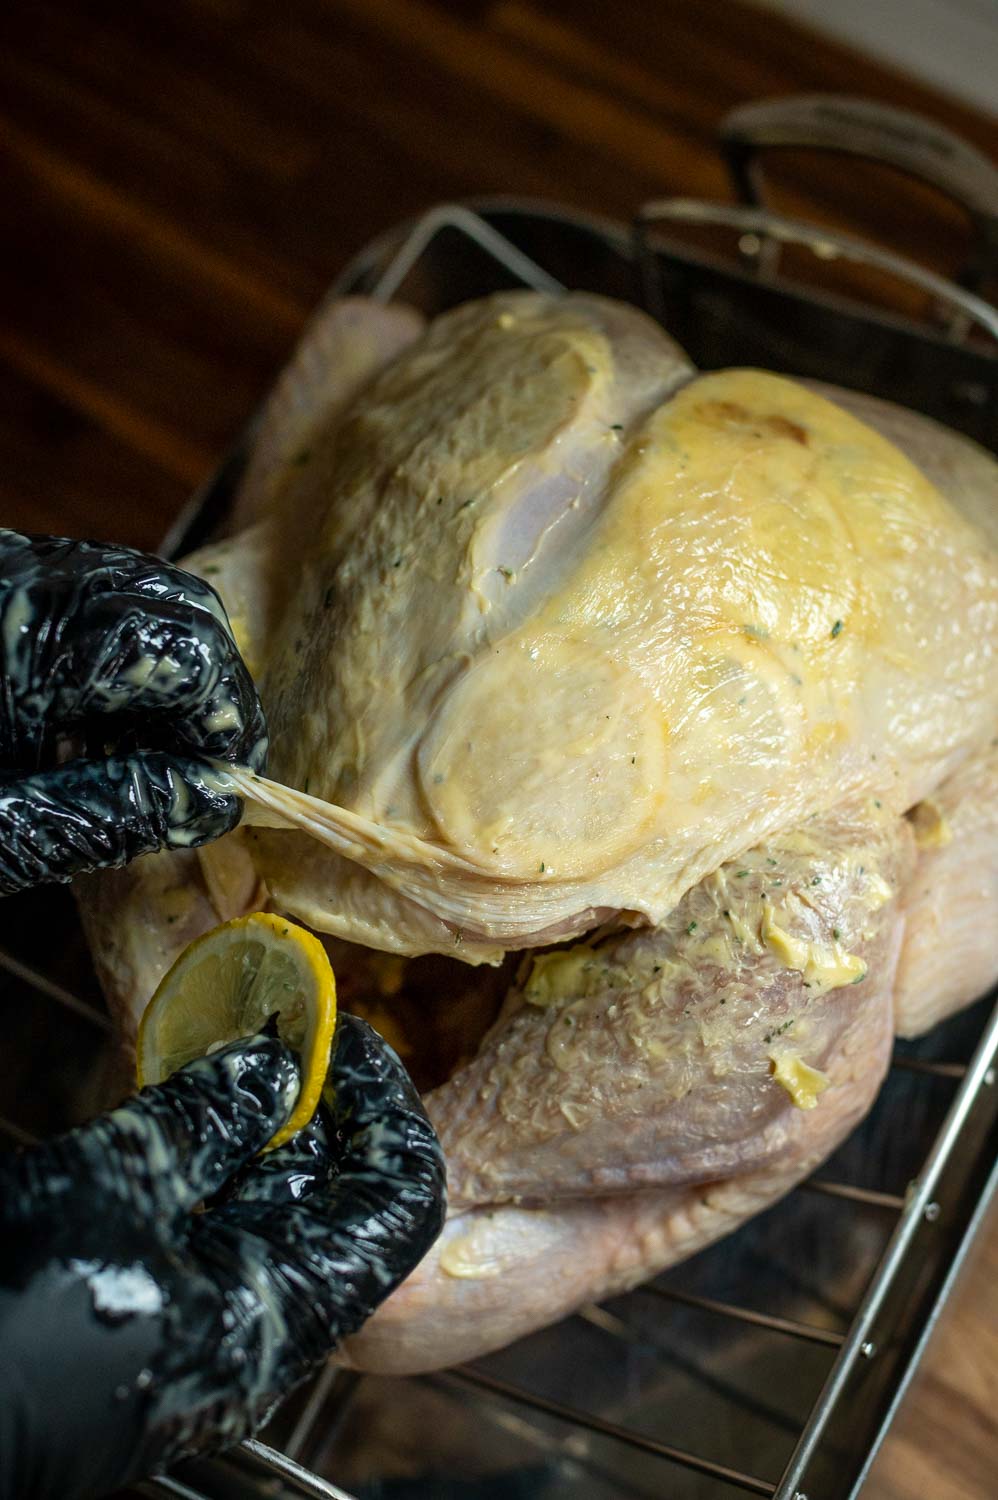
Start by using your fingers to carefully separate the skin from the breast meat. Be sure and go slow because you don’t want tear the skin.
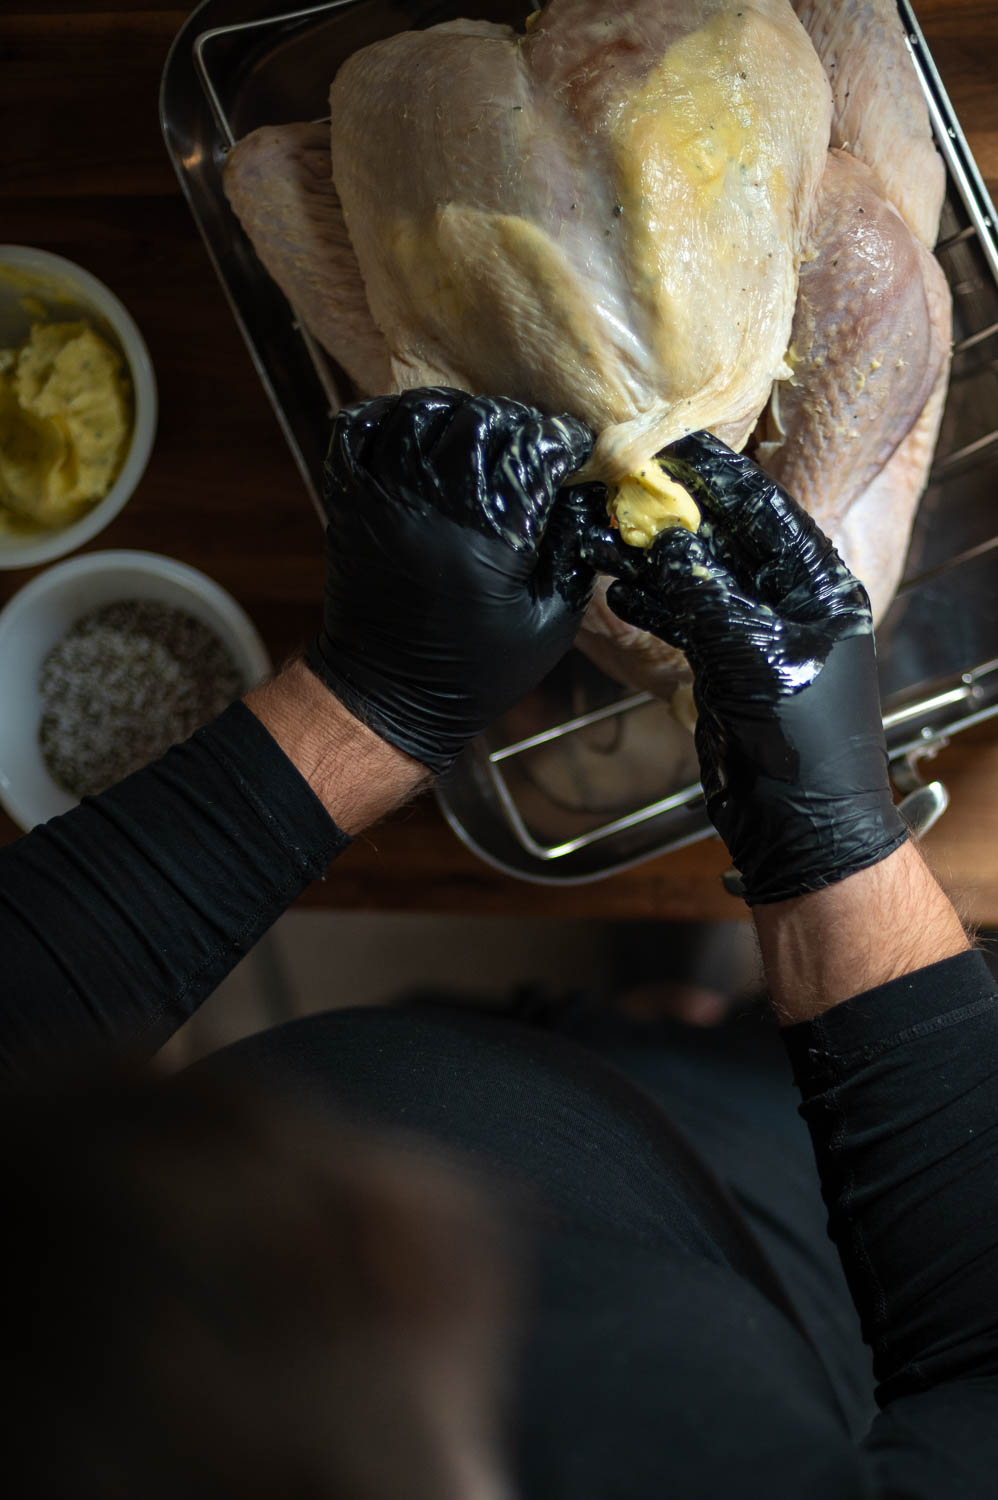
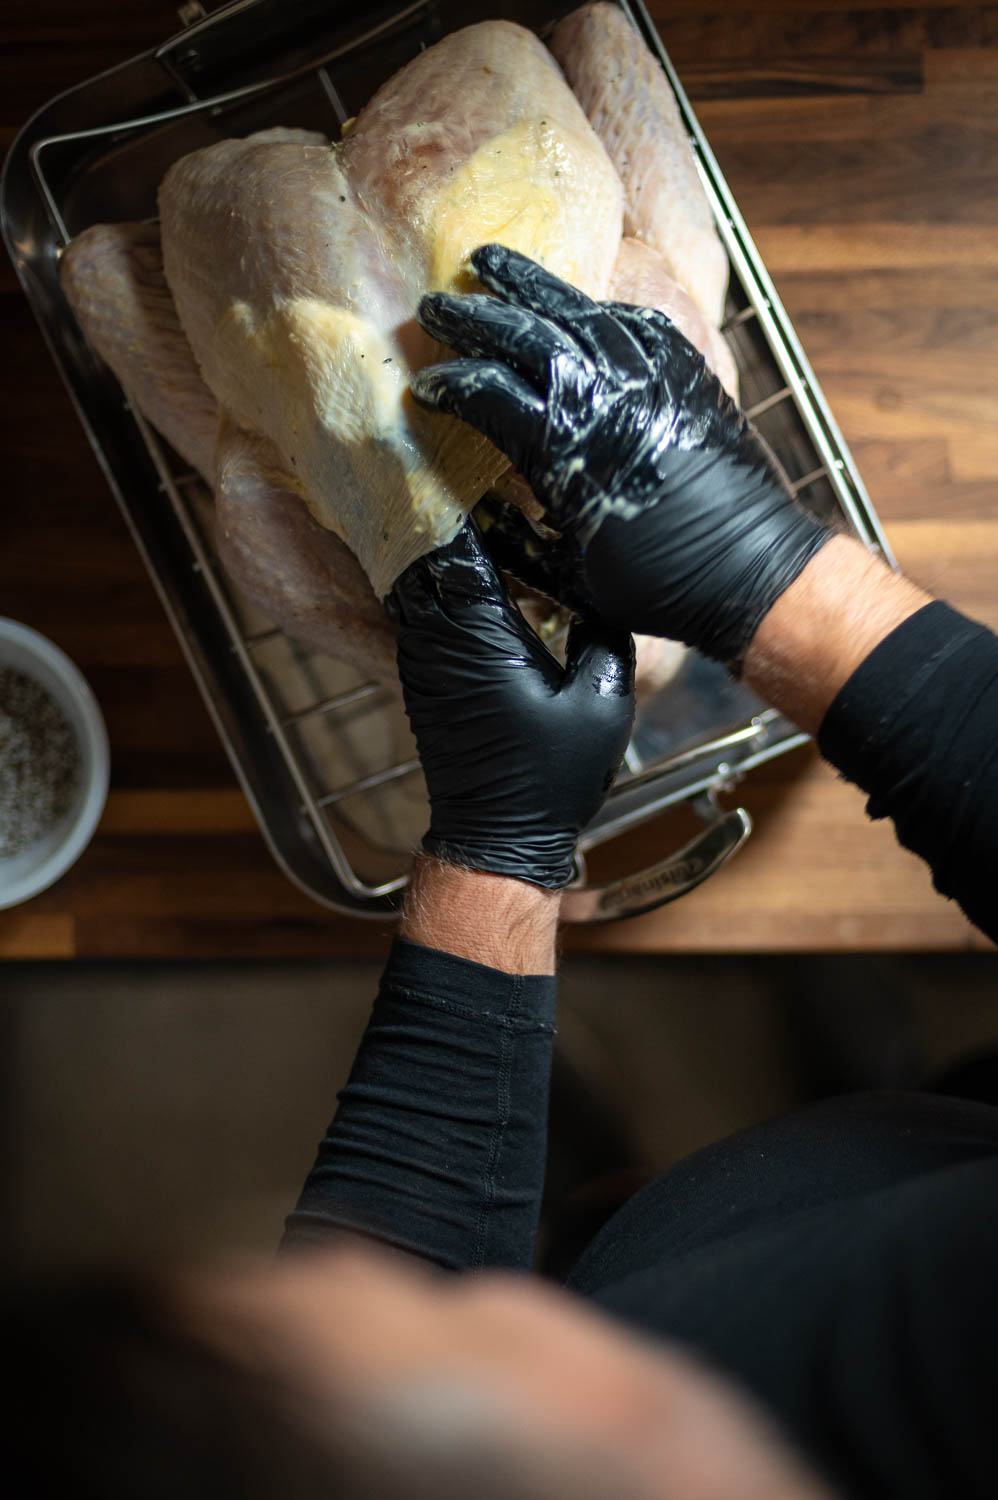
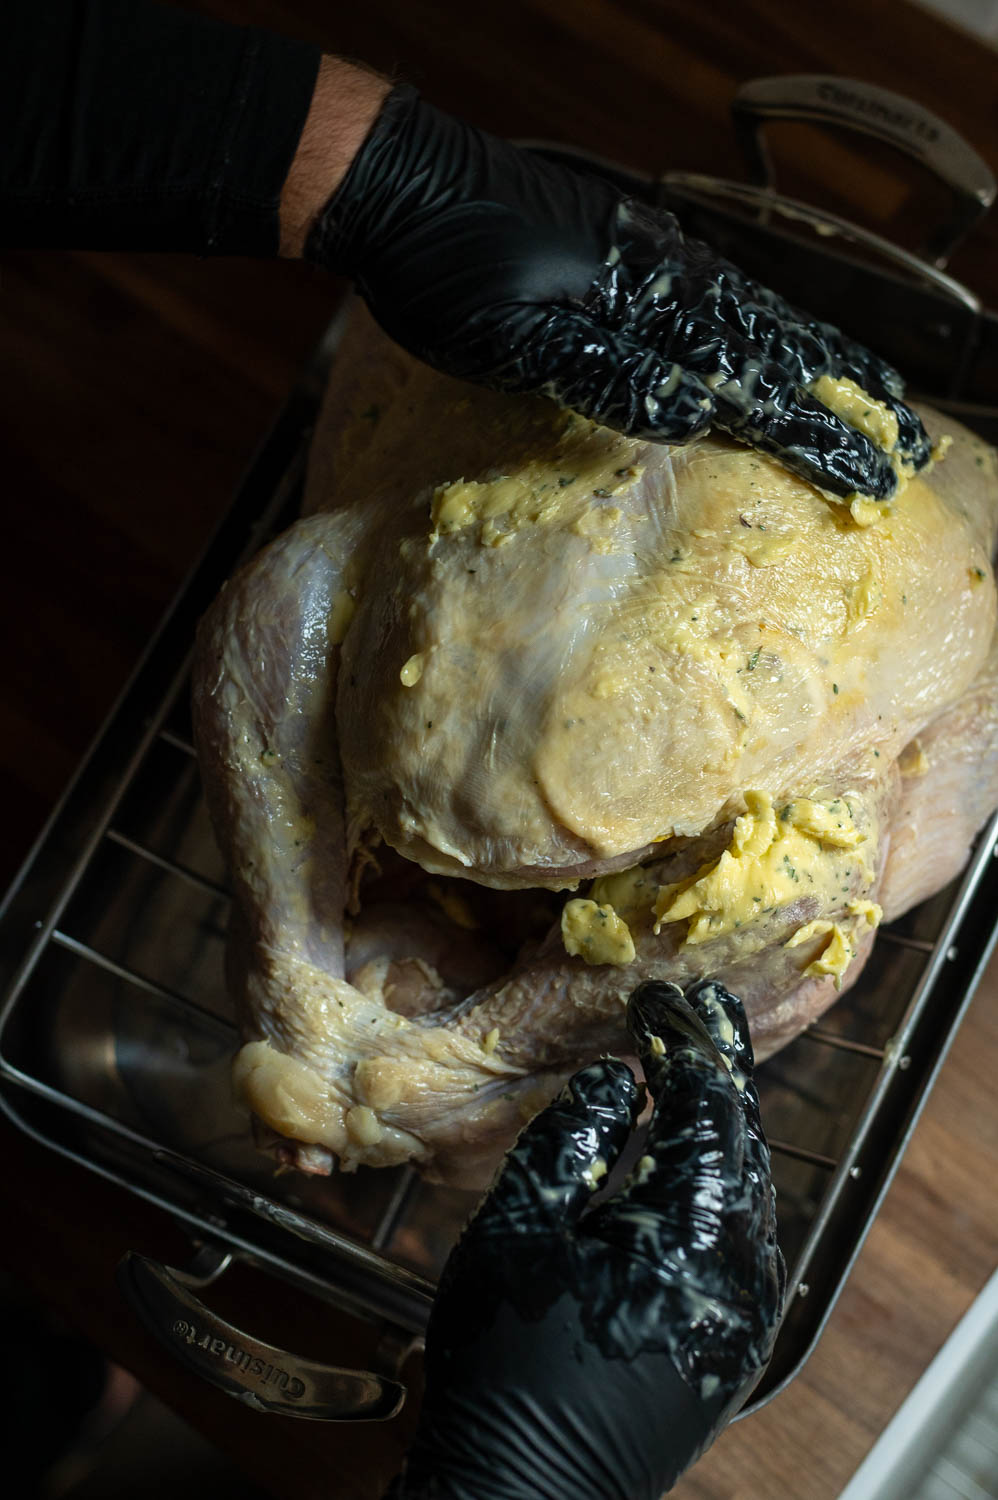
Once you’ve separated the skin from the breast meat, grab some herb butter and stuff it underneath the skin as far back as you can.
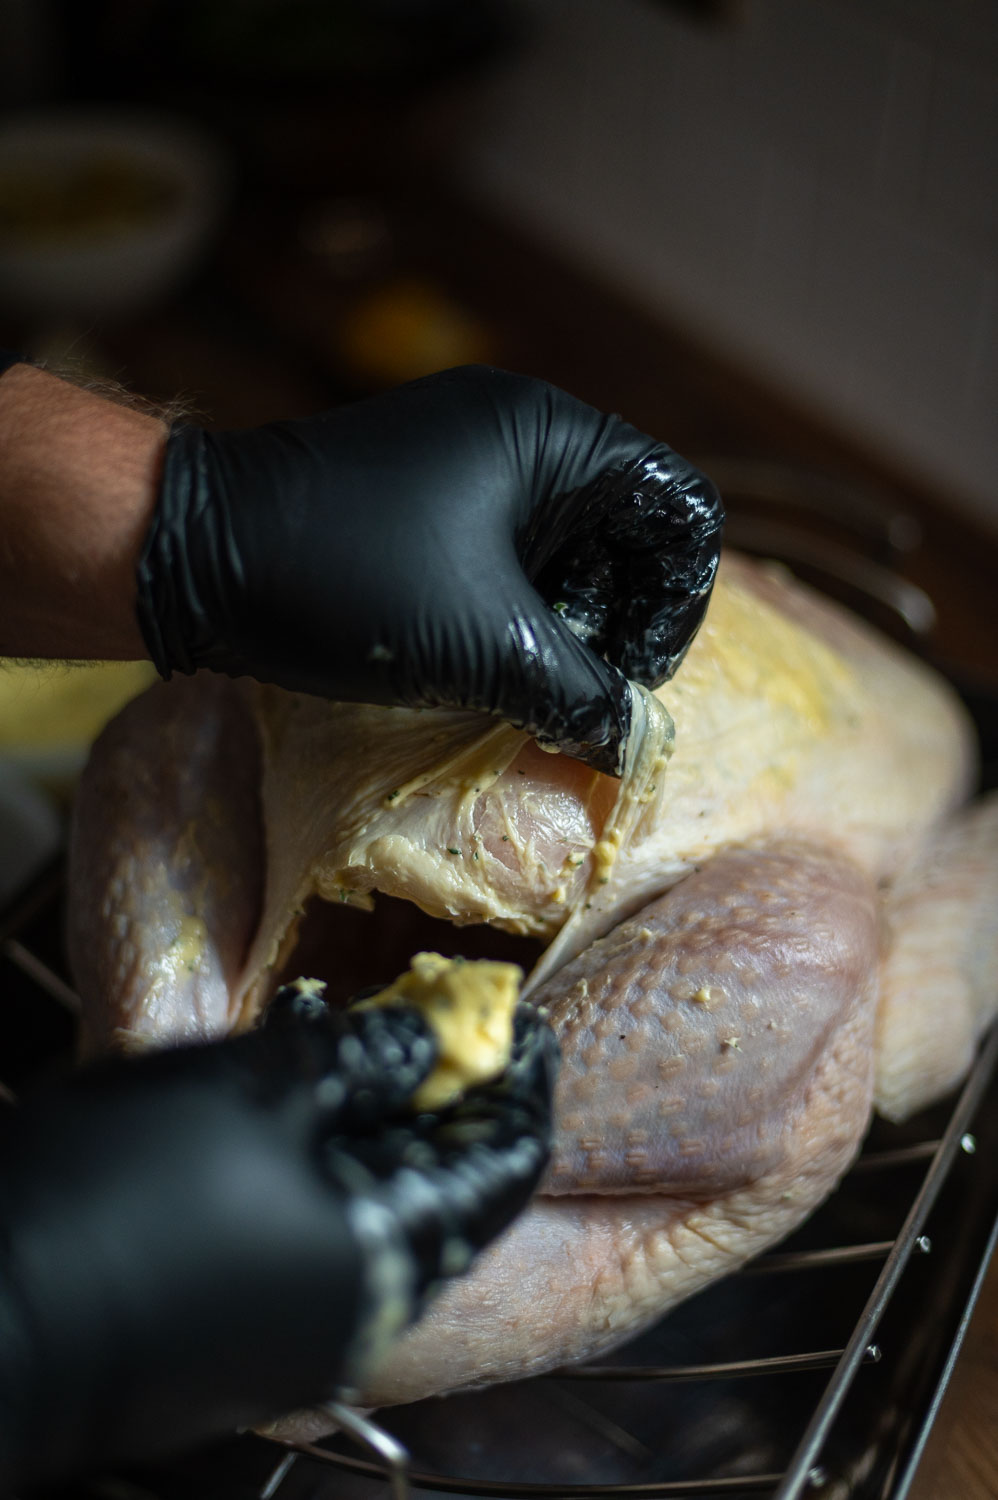
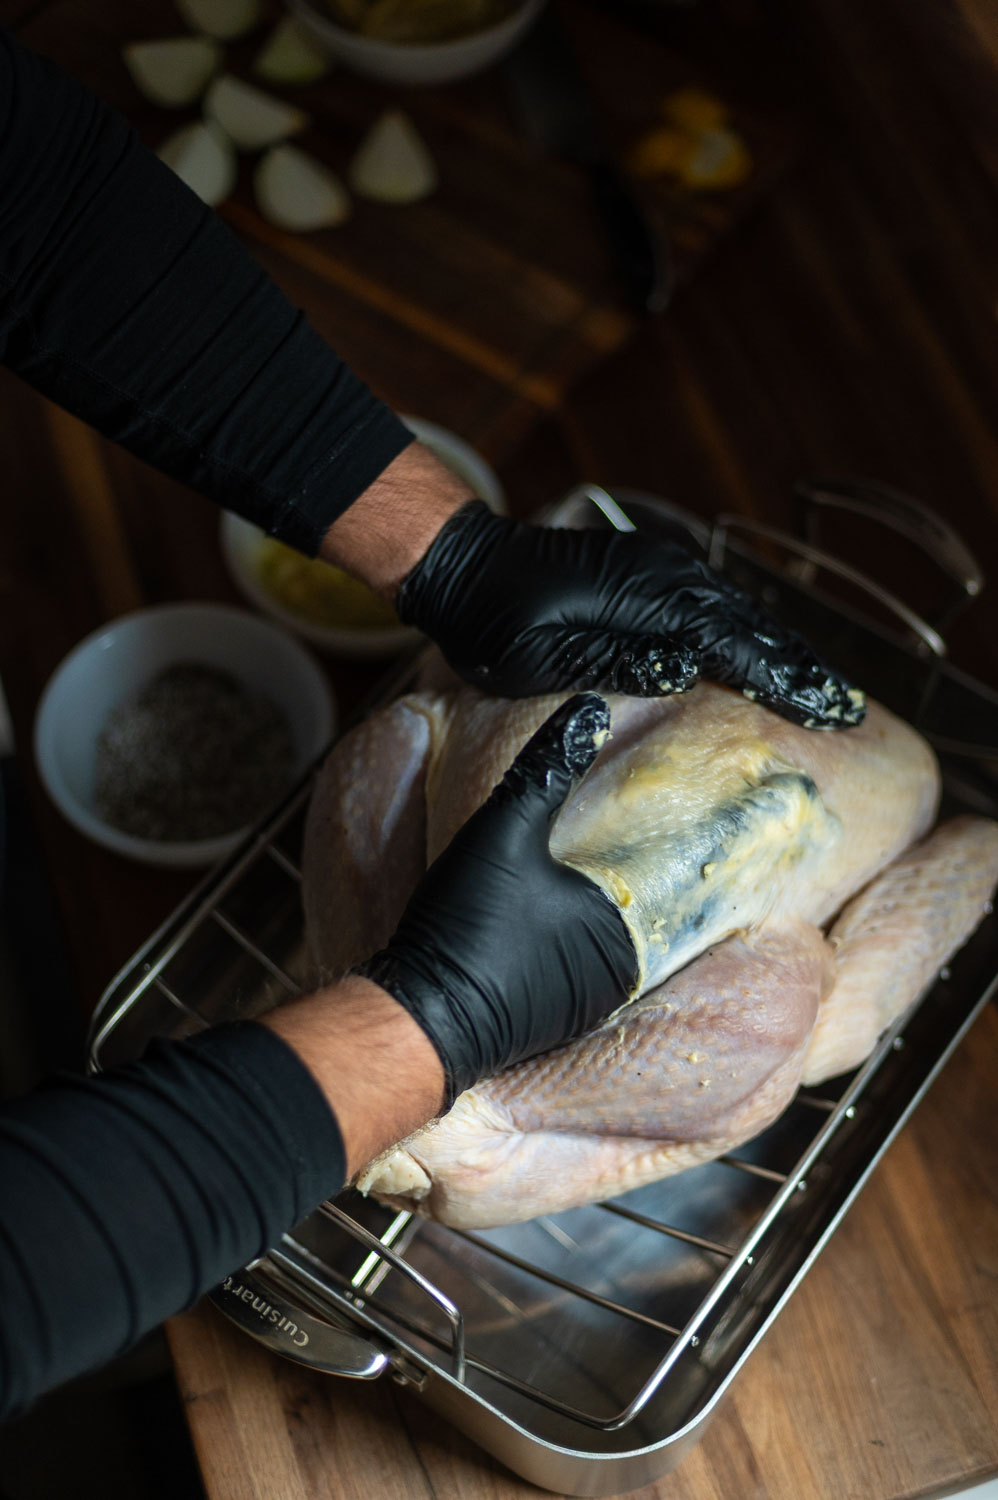
Gently work the butter in to every nook and cranny that you can on both sides of the breast.
The air chilling process can make this more challenging, but if you’re patient and gentle and use enough butter you can get the butter just about everywhere under the skin and completely coating both breasts.
We use about about 3/4ths of the butter under the skin and saved back 1/4 of the herb butter for later.
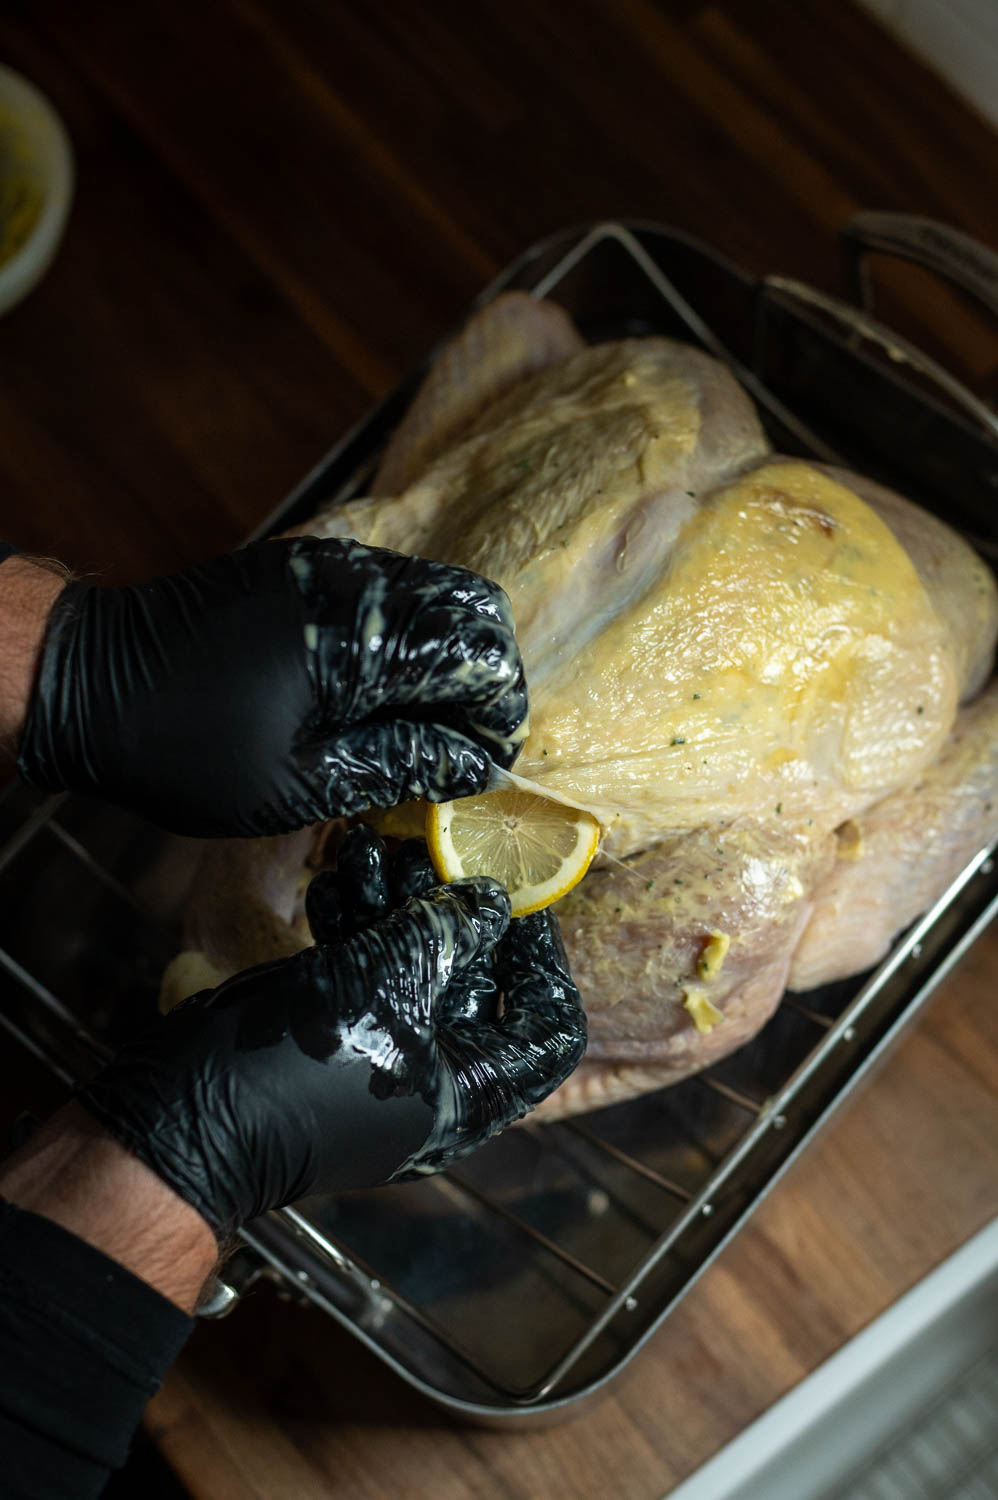
Step Seven: Place Lemon Slices Under The Skin
Now grab those thin slices of lemon and slide the lemon slices up under the skin as well as far back as you can. I try to get at least three to four slices on each breast,
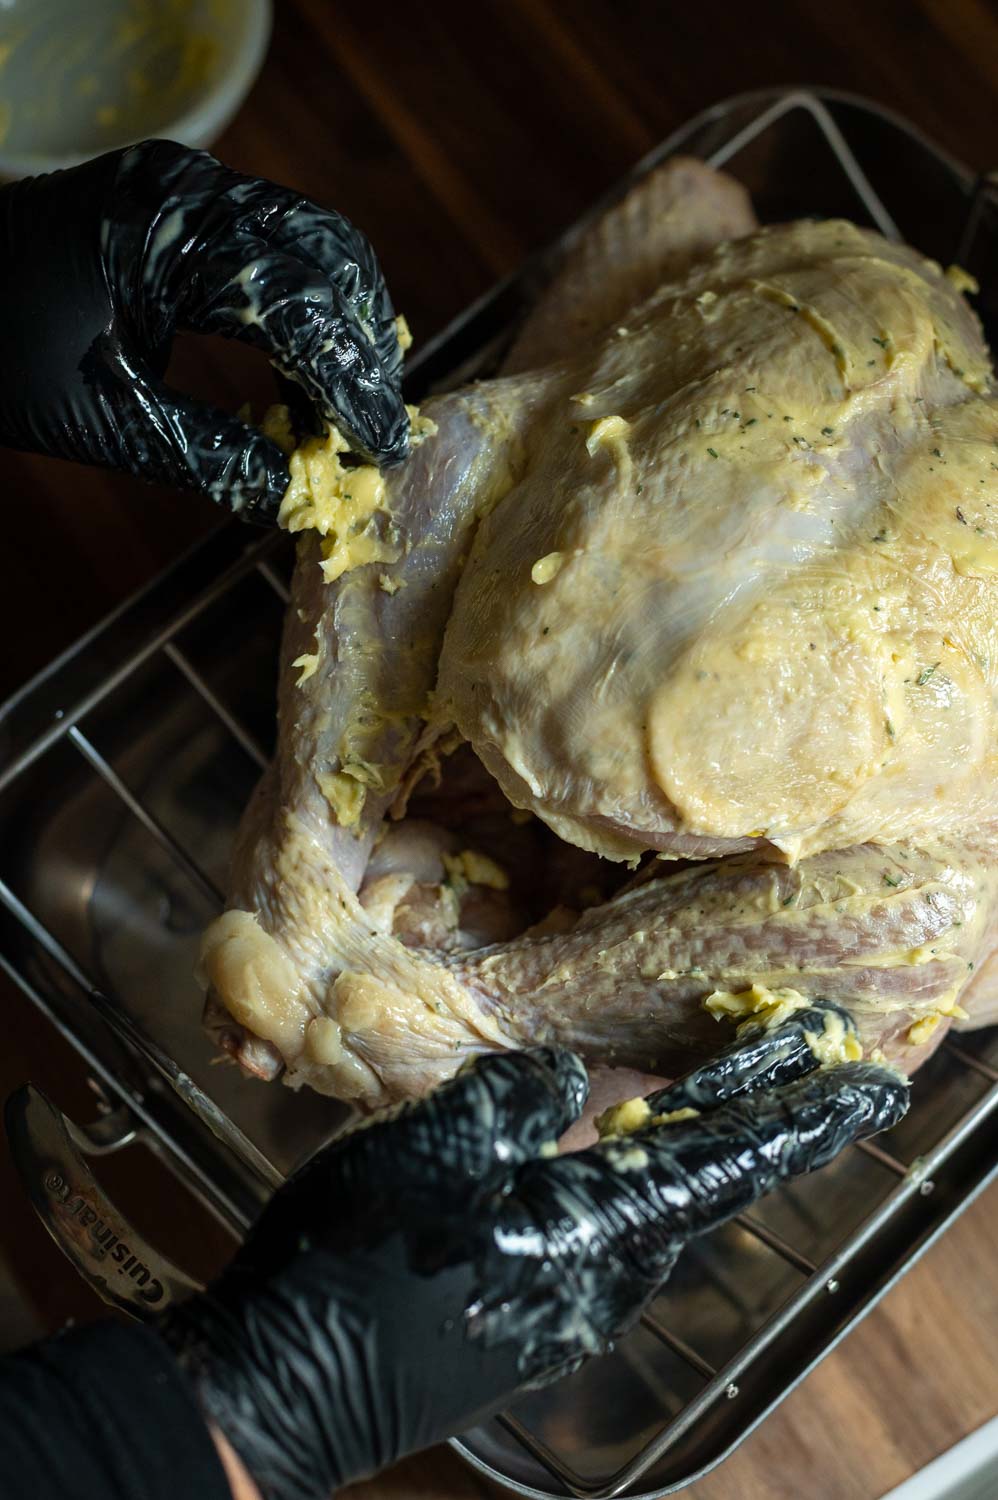
Step Eight: Rub More Herb Butter On Top Of The Skin
Next rub the remaining herb butter all over the top and side of your turkey. (Yes this is a lot of butter…)
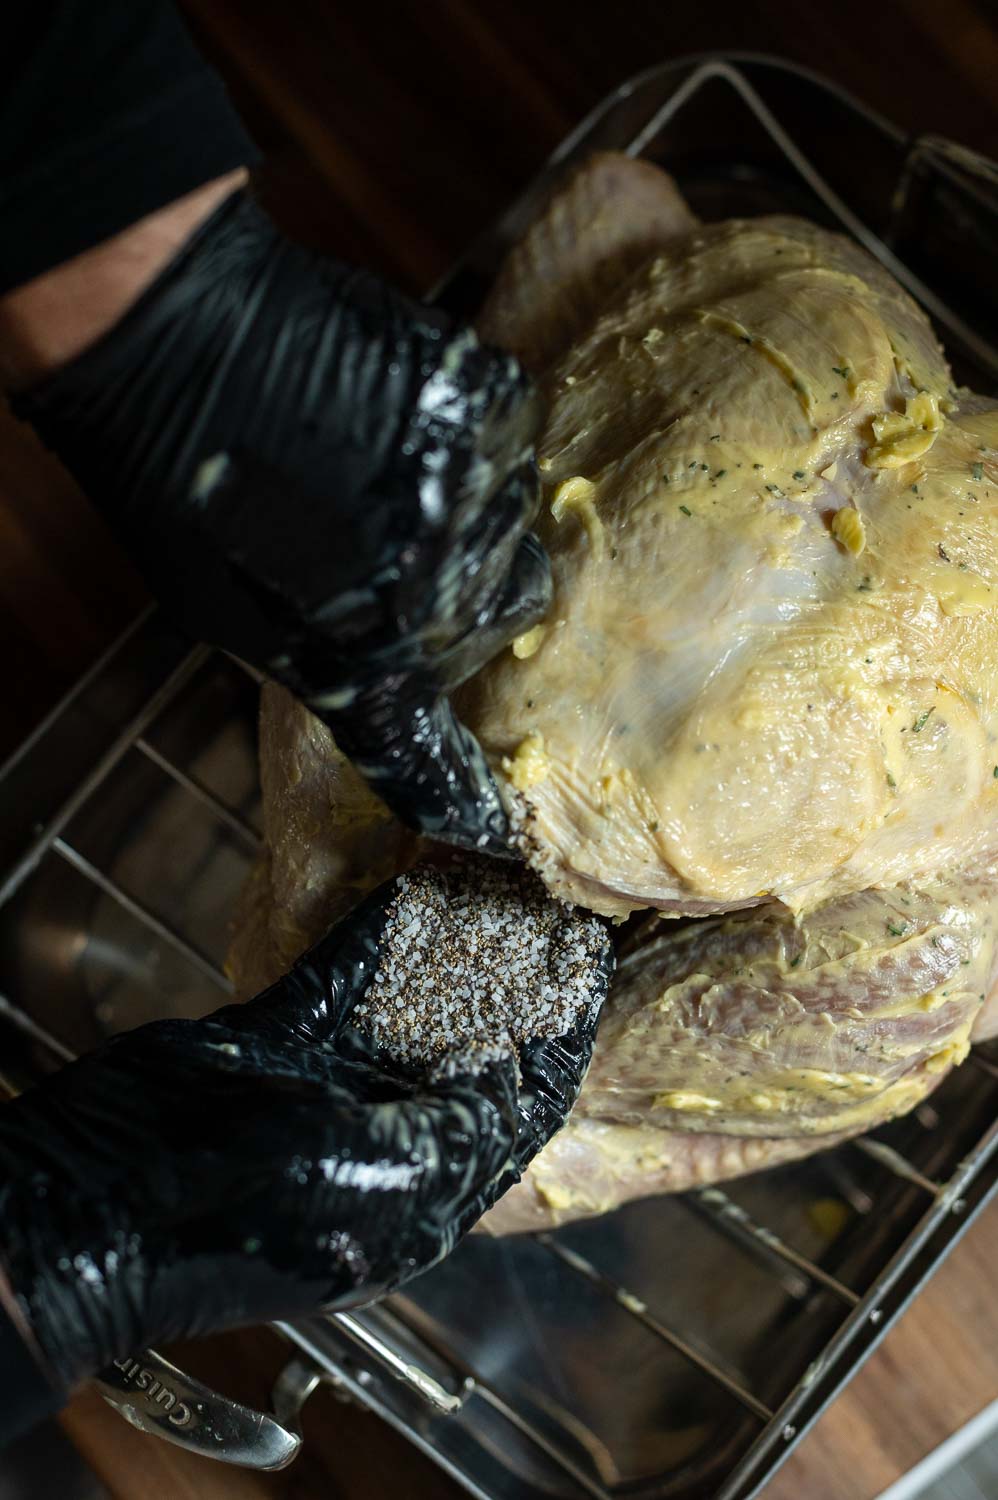
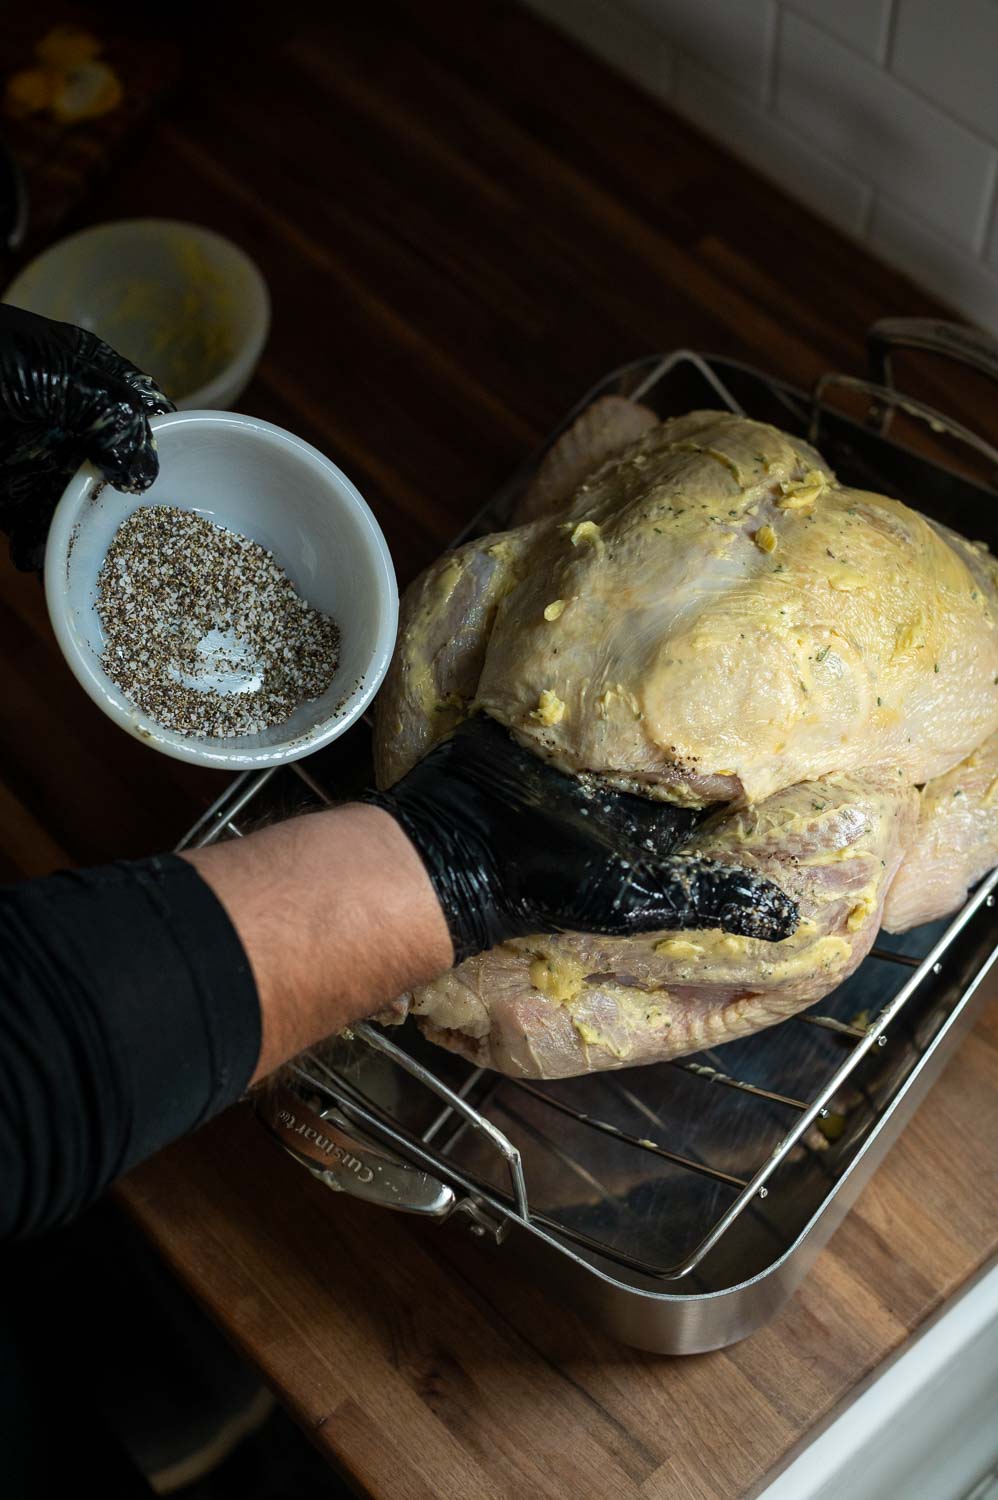
Step Nine: Coat The Cavity In Salt & Pepper
Combine the salt and pepper together and liberally coat every surface of the cavity of the turkey with the salt and pepper mixture.
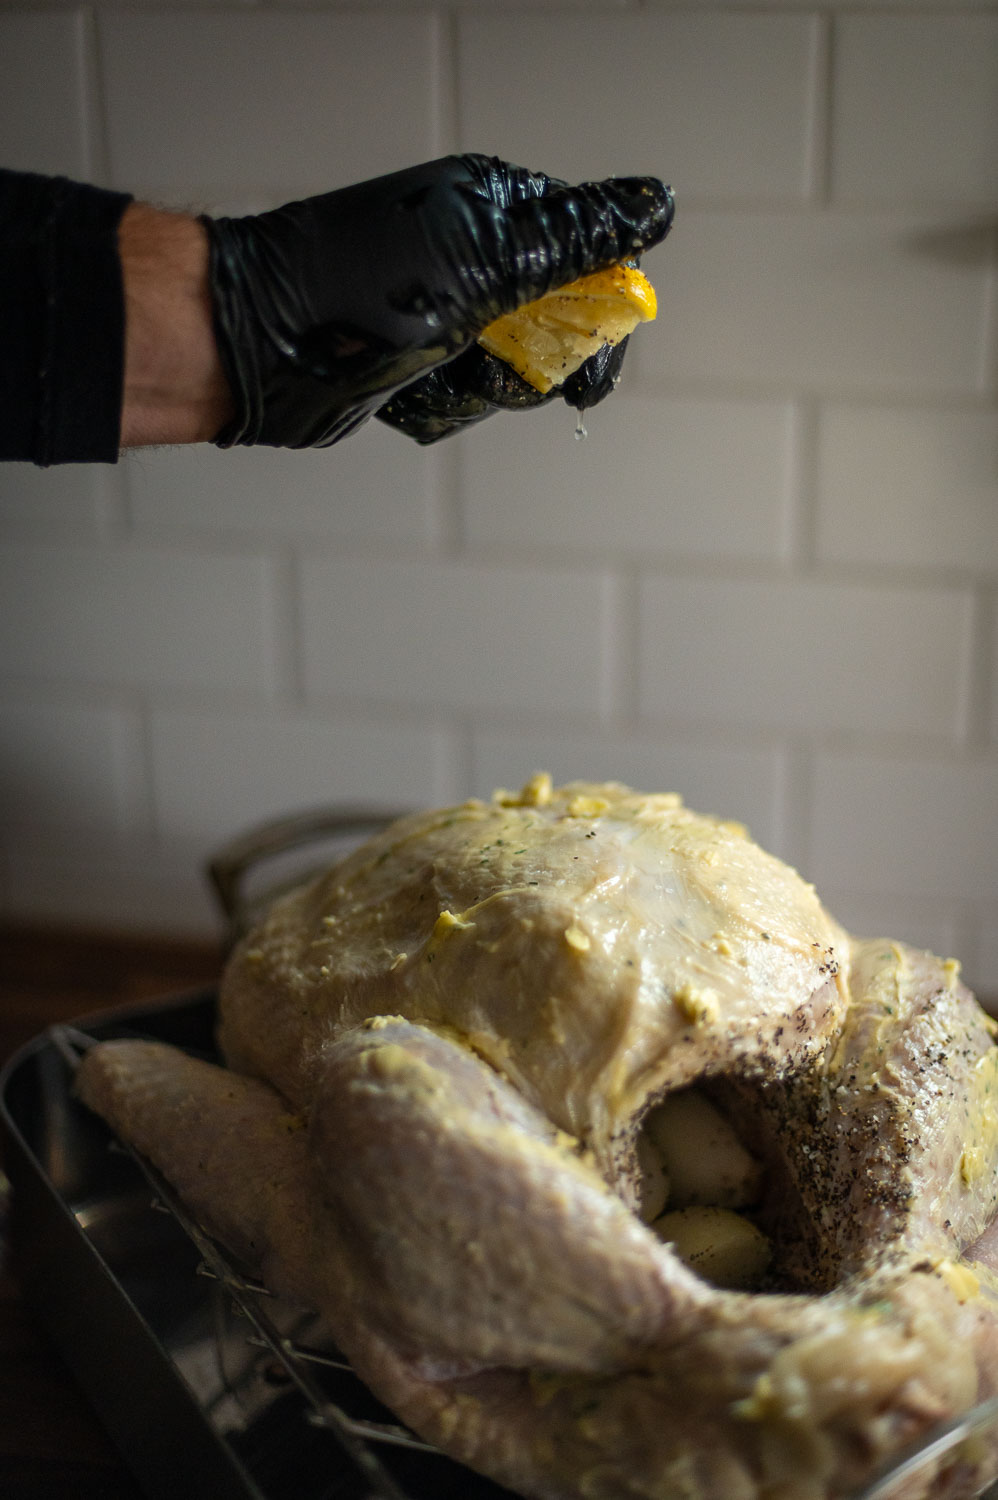
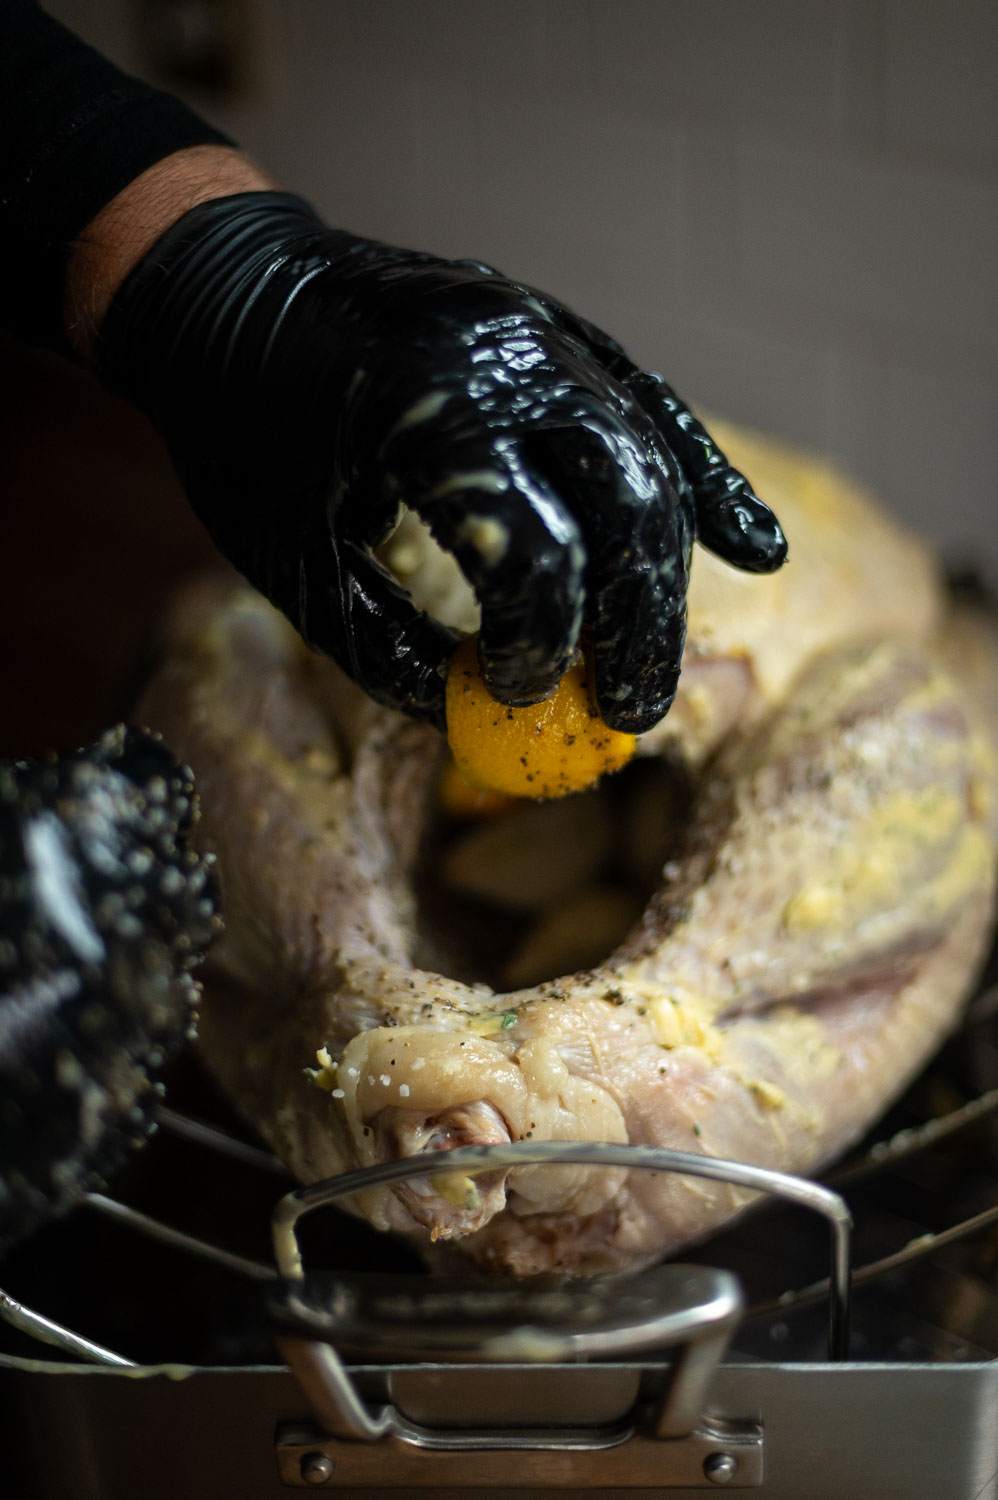
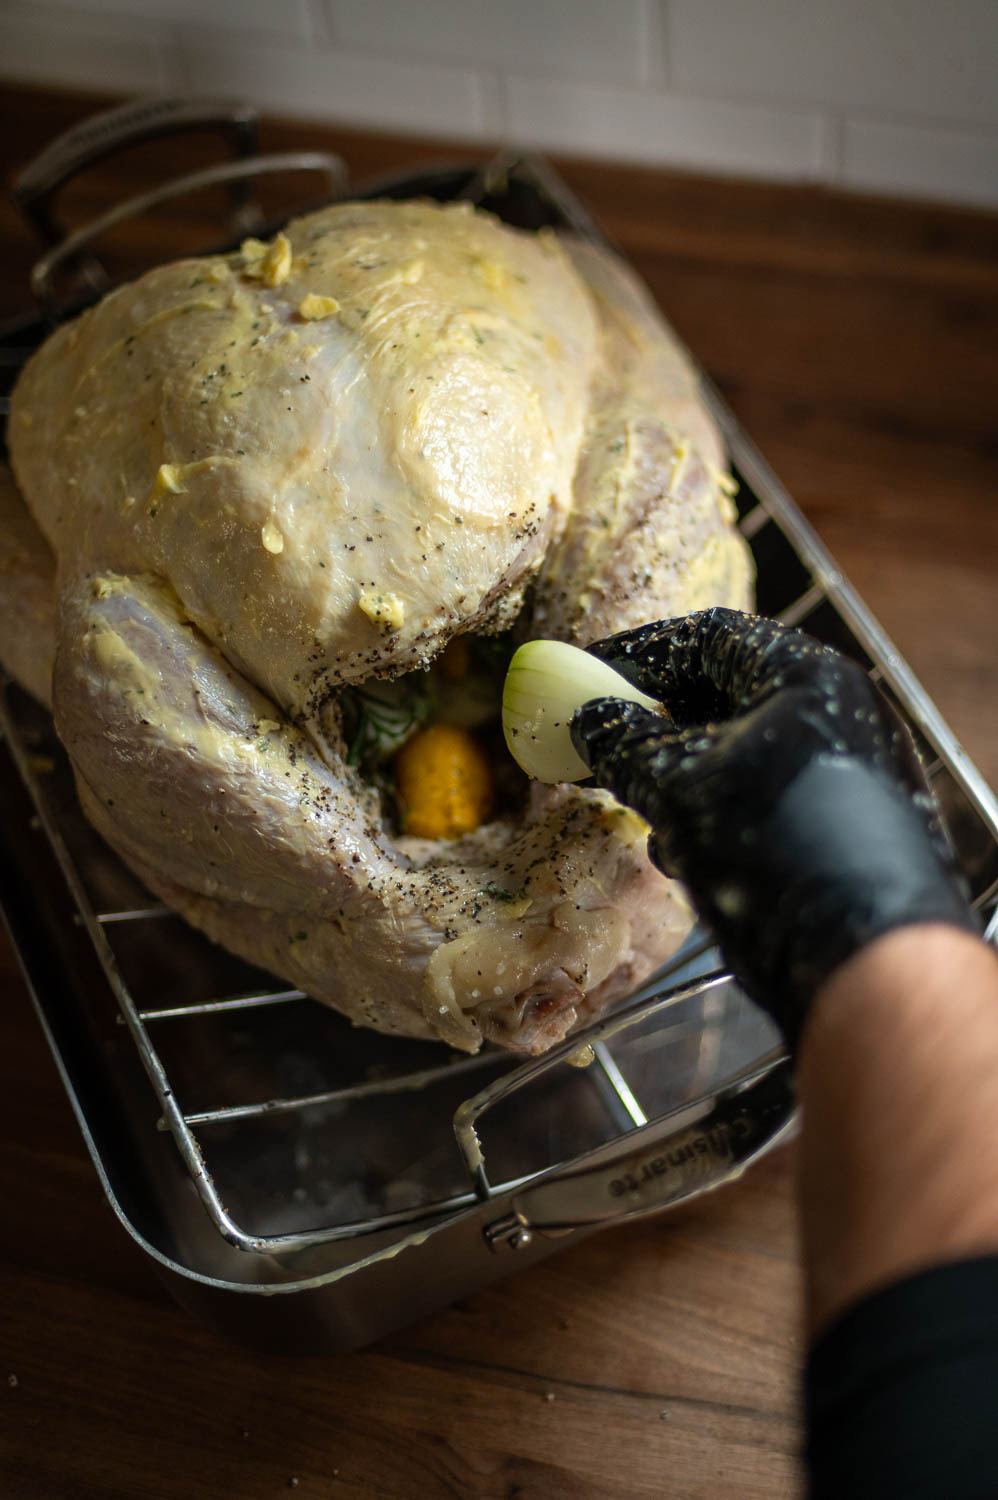
Step Ten: Squeeze Lemon Juice Over The Turkey & Then Stuff The Turkey With Lemons, Herbs & Onions
Squeeze a little bit of lemon juice out of each lemon quarter onto the top of your turkey then place all the lemon quarters inside the cavity.
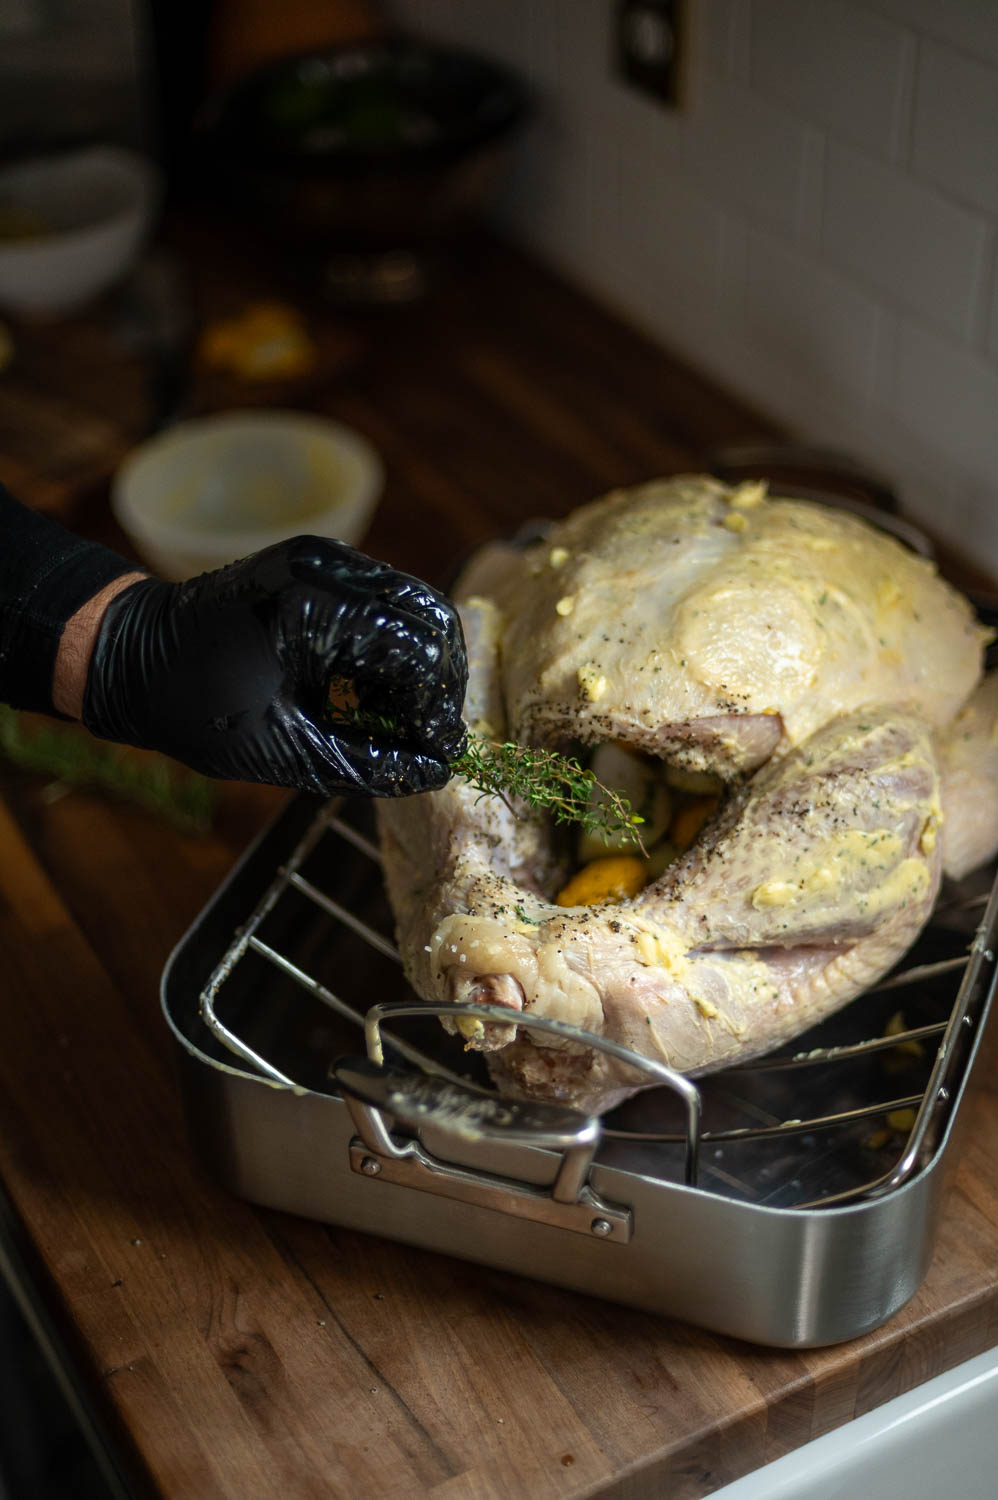
Then place your onion and the rest of your herbs inside the cavity as well. (You can also add any leftover lemon slices that didn’t make it under the skin in here too.)
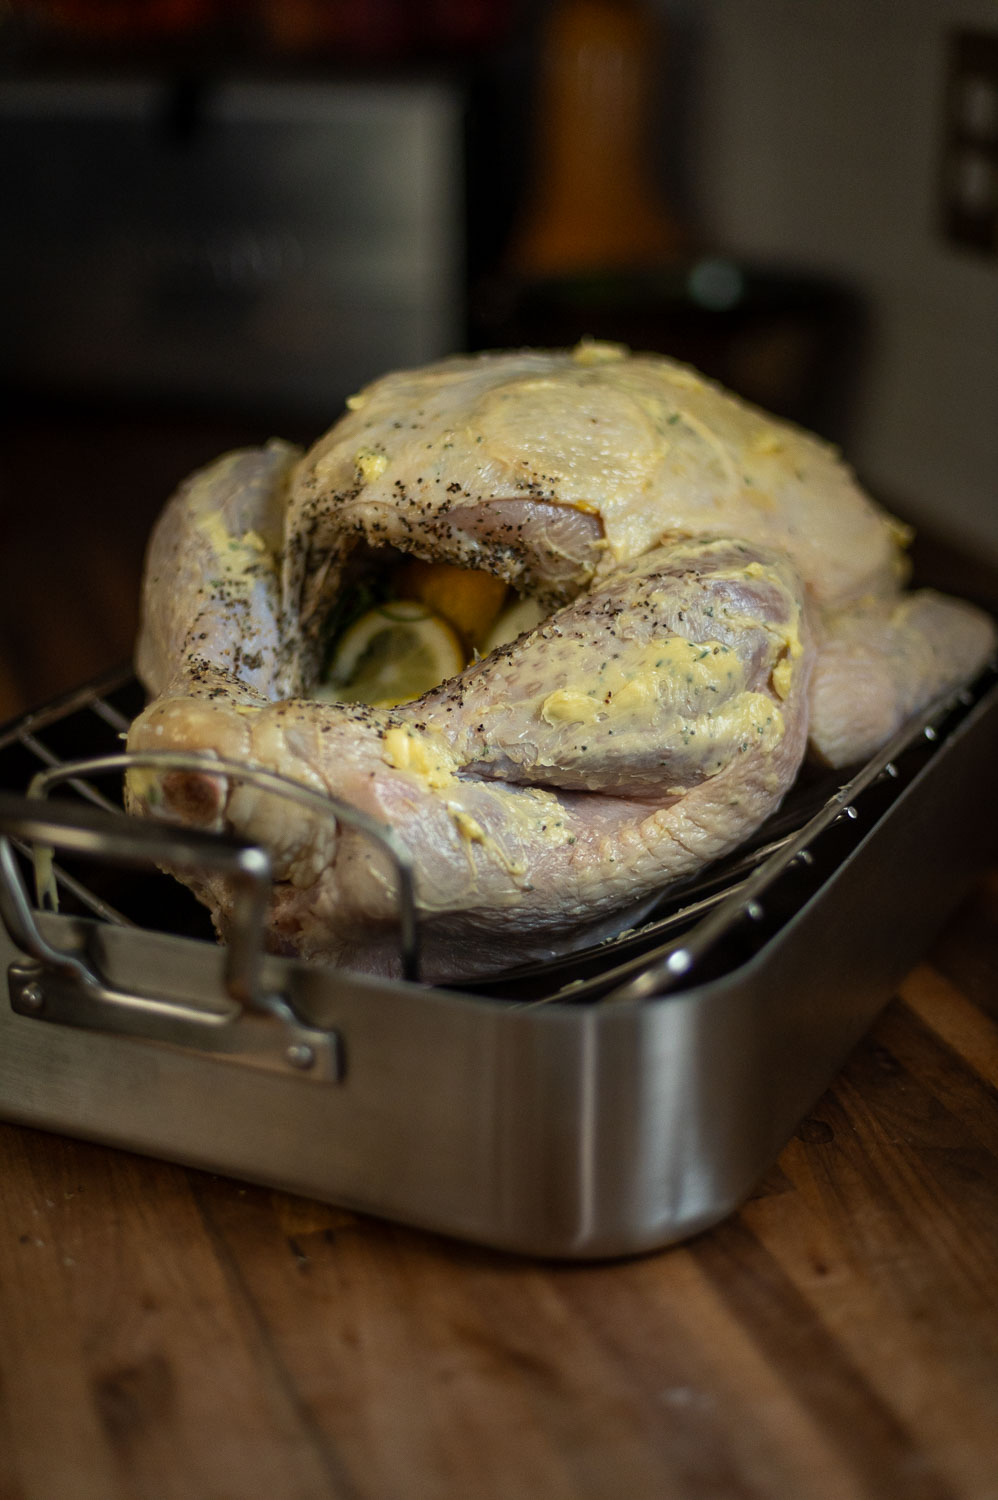
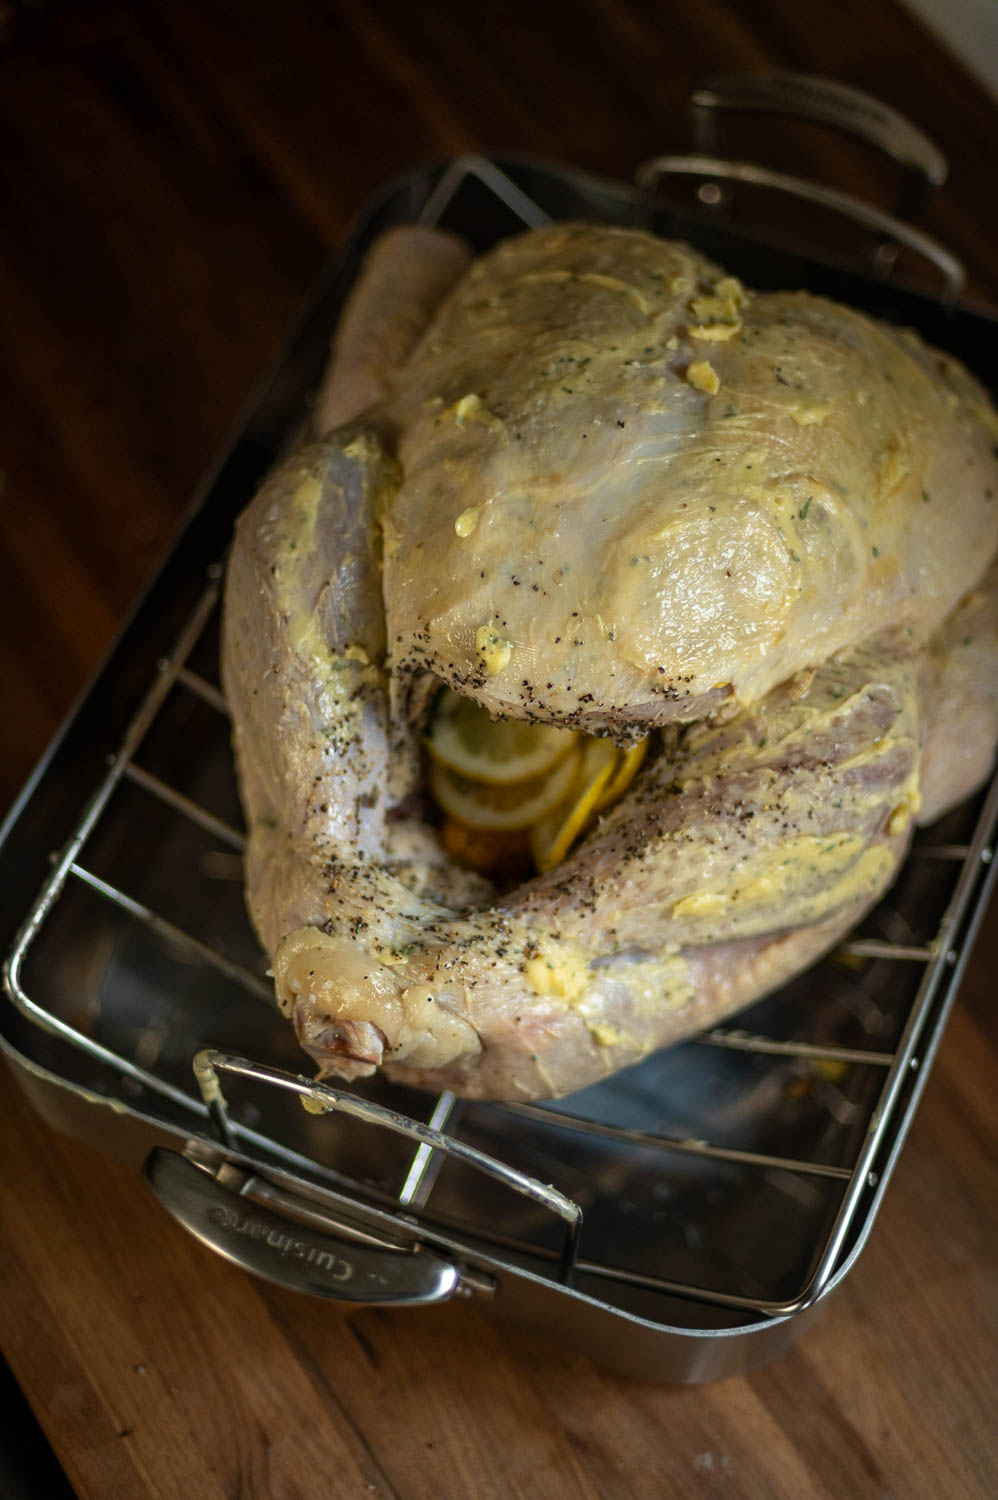
Step Eleven: Secure The Legs & Place Your Turkey In The Oven
Our turkey came with the legs already secured in place (thanks Aldi!), but if yours aren’t already secured, secure the legs together with some butchers twine like this.
Pro Tip: You can keep your turkey drippings from burning to the bottom of the pan by adding a cup of chicken broth to the bottom roasting pan before placing it in the oven!
Finally you are going to place the turkey in the oven with the legs pointed to the right.
Step Twelve: Roast Your Turkey
Once your turkey is in the oven there are still a few more steps to obtaining turkey perfection:
Melt More Butter For Basting
Grab 6 tablespoons of butter (yes more butter) and melt it in a pan on the stove on low
Baste & Rotate Your Turkey Every 45 Mins
Then after your turkey has been roasting for 45 minutes, take the turkey out of the oven and baste it with the melted butter.
When we put the turkey back in the oven we are going to make sure and rotate the bird so the legs are now pointing to the left (this help us not cook one half faster than the other)
Repeat The Process & Turn Up The Heat
After another 45 mins have passed, Pull the turkey out again, but this time turn up the heat on the oven up to 350 as well.
Then baste the turkey again, rotate orientation and put the bird back in the oven for 30 minutes.
Knowing When Your Turkey Is Done
After those 30mins have passed, you should be pretty close to done if you’re working with a 12lb turkey. For every lb over 12lbs you’ll need to add an extra 12-15mins of cook time.
Check your turkey’s temperature, baste and rotate every 30 mins until the deepest part of the breast reaches 155 degrees on a meat thermometer (or 175 degrees in thigh meat). We use this on and love it.
Step Thirteen: Let Your Turkey Rest
If you learn nothing else from this article, do not, I repeat do not cut into your turkey immediately. You need to let the Turkey rest in peace for at least 30 mins. It won’t get cold I promise.
This will allow any juices that have been excited by the heat settle back into the meat fibers. This is a vital non-negotiable step in our quest for juicy turkey perfection.
What you CAN do now is pop all those sides you prepped the day before into the now empty preheated oven to bake so they are hot and ready to serve when the turkey is rested!
Step Fourteen: Time To Serve Your Turkey
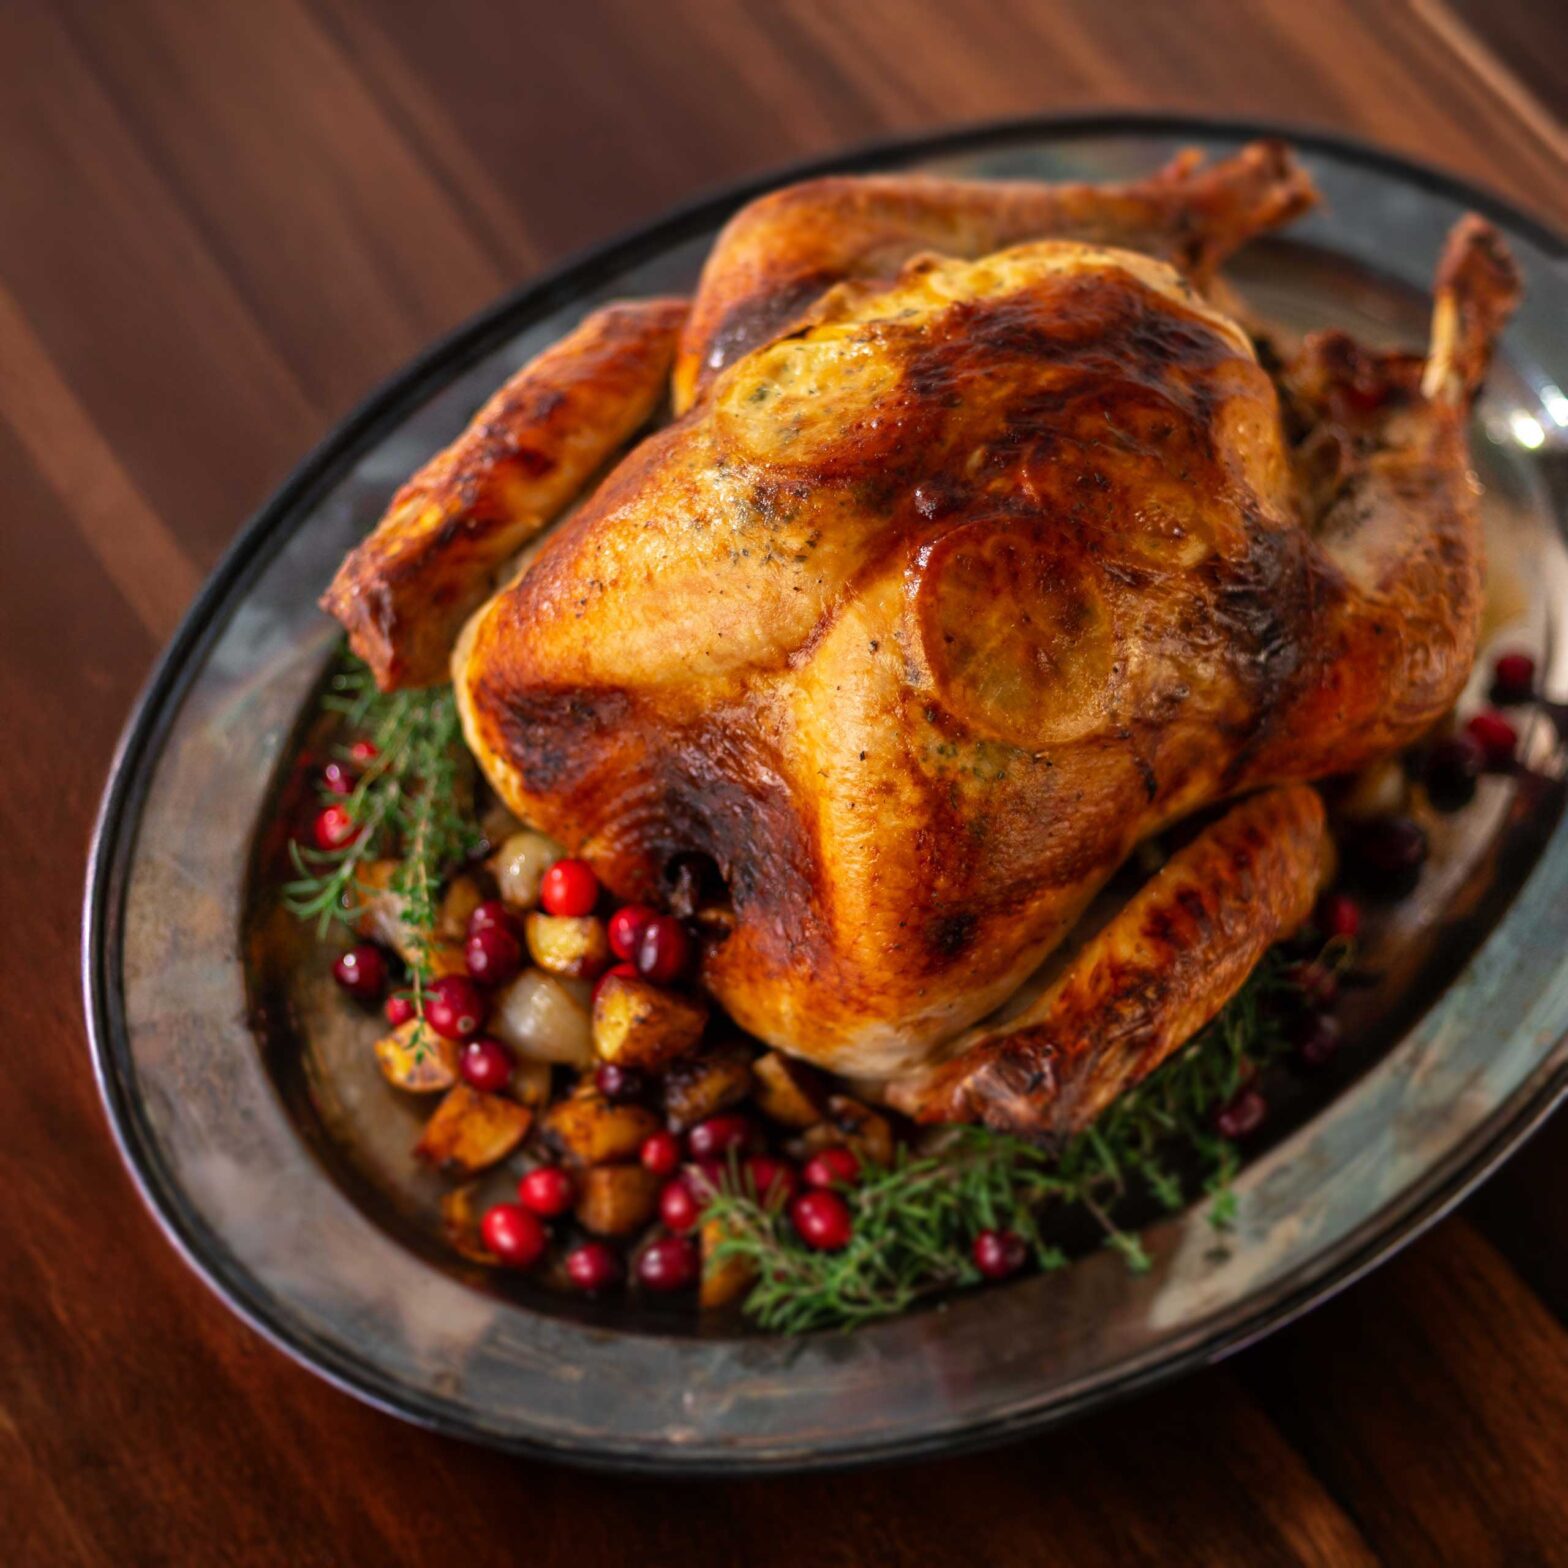
Hallelujah, the time has come! Place that turkey on a pretty tray and show her off to all your friends and family.


If you feel the need to take a photo of your hard work, I won’t judge you, because how pretty is this? She is golden turkey perfection.


Notes & Tips For Cooking Your Thanksgiving Turkey
I have just a few final notes I want to add answering some common questions I get every year about this recipe before we wrap this article up:
How Do I Know What Time To Start Cooking My Turkey So It’s Done On Time?
A quick rule of thumb is that it takes around 13-15 mins per pound to cook an unstuffed turkey at 325 degrees. So with a 12-pound turkey you should plan for up to 3 hours of cook time, but a 16 pound turkey will need up to 4 hours. (Then don’t forget to add the 3 hrs the cold turkey needs to come up to room temp before going into the oven, and the 30 mins of rest time afterward it comes out of the oven, into the equation too!)
For example: if you plan to sit down to eat Thanksgiving dinner at 2pm, and are serving a 16 lb turkey, then your bird needs to come out of the fridge at 6:30am, be in the oven at 9:30am to be done by 1:30 and have 30mins to rest.
In general, turkey retains heat for a long time, so it’s better to play it safe, get your bird in the oven early and have an extra long rest time (it won’t go cold I promise), than having everyone sitting around hungry because the turkey still isn’t done cooking.
How Do I Know What Size Turkey To Buy?
One of my favorite life hacks I learned at some point along the way is to always plan for about 1lb per person attending the meal. So if you have 15 people coming to eat, you’d buy a 15lb turkey. This trick has never let me down and always provides me with just the right amount of turkey for everyone and even a bit left over. (Which is good because Thanksgiving leftovers are the best).
What If The Breast Starts To Brown Before The Rest Of Turkey?
After that hour an a half mark, watch for too much browning on the breast. Brown is good, but we don’t want to get it to the point of burnt. To prevent this, when the breast reaches golden perfection, make an aluminum foil barrier that is the shape of the breast and just set it on top to allow the rest of the turkey to continue browning but keeps the breast skin from burning.
Can You Make This Recipe Dairy Free?
While we’ve extolled our unapologetic love of butter in this recipe, we often share Thanksgiving dinner with friends who can’t have dairy. In those instances, vegan butter options like this one work great as a dairy free substitute in this recipe.
What Roasting Pan Are You Using?
Joe did A LOT of research before investing in this roasting pan and it has definitely lived up to the hype. It’s an investment for sure, but the quality is top notch. That said, you don’t need a fancy roasting pan to cook a great turkey. A disposable aluminum pan will work just as well! Just be sure and set some potatoes or onions under the turkey if you don’t have a rack so that the turkey isn’t sitting directly on the bottom of the pan.
My Favorite Thanksgiving Side Dishes
Of course no Thanksgiving dinner is complete without sides and I’ve collected a few amazing recipes over the years. Here are the ones we make every single year:
Pimento, Cheddar Cheese & Bacon Green Bean Casserole – Pioneer Woman
If you hate green bean casserole, try this instead. Honestly you could just give me a tray of this for Thanksgiving and I’d be happy. This has to be the most decadent way anyone has ever served green beans and I’m here for it.
Sweet Potato Casserole – Pioneer Woman
I live in Alabama, so I’ve eaten my fair share of sweet potato casserole, and this one is my favorite. I love that it’s buttery and sweet but not SO SWEET that it makes your teeth hurt. The only modification we make each year is leaving out the chopped pecans.
Grapefruit Zest Enhanced Canned Cranberry Sauce
I got this easy hack out of a Rachel Ray magazine back in the day! All you are going to do is take the zest of one entire grapefruit, then mix that with 1 can of cranberry sauce. Let that sit in the fridge for a least a few hours before serving to let the flavors combine. OMG the flavor upgrade is so so good!
Final Thoughts On My “Better Than Grandma’s” Thanksgiving Turkey Recipe
I cannot tell you the number of times we’ve had friends over for friendsgiving who had no idea that turkey could actually taste this good. I think people are so used to it being dry and overcooked they just assume that’s how turkey tastes and I am on a mission to redeem turkey!
This year we even made TWO 17 lb turkeys using this recipe because we never have any leftovers after hosting Thanksgiving dinner, and I adore Thanksgiving leftovers. So we made one turkey to share and one to keep lol. We honestly love it THAT MUCH.
What about you? Did you grow up in eating delicious turkey dinners on Thanksgiving? Do you love turkey or hate it? If you give this recipe a try I’d love to know what you think! Did I convert you to becoming a turkey lover too!?

Don’t Forget To Pin This Post & Subscribe!
Want to keep getting more DIY home decor inspiration, thrifting tips & tricks, free art downloads, reading recommendations, and home renovation tutorials? Then don’t forget to pin this post for later so you can follow me on Pinterest and then subscribe to my blog so you can get links to my newest content as soon as it hits the blog!