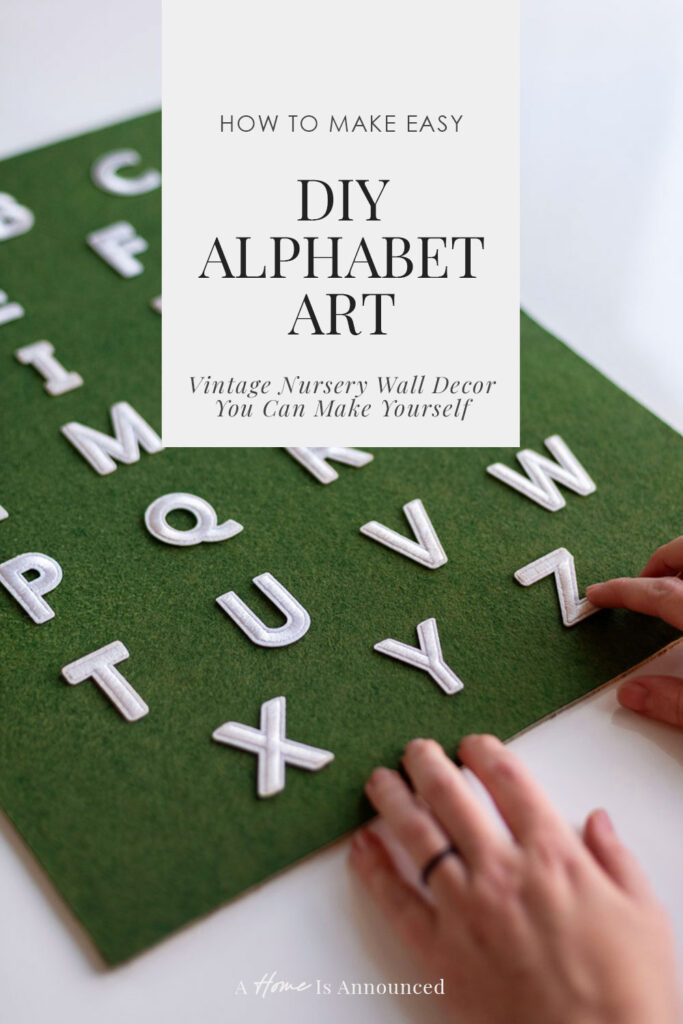
When I was searching for vintage nursery wall art for my daughter’s room, I wanted to include something that would bring in an added layer of texture to the space. That’s when I stumbled upon a brilliant idea for how to easily create vintage inspired DIY alphabet art using iron on applique letters!
I love that this project requires little to no artistic talent. If you can use a ruler, cut a straight line with scissors and wield an iron, you can make this easy DIY nursery art!
So whether you are knee deep in designing a vintage nursery, or just looking for some timeless nursery decor that doesn’t cost an arm and a leg, this DIY alphabet art is an easy way to create something that feels a bit more storied and special (so you can save those extra dollars for that fancy baby gadget I know you have your eyes on).
*This blog post contains affiliate links, meaning that if you purchase any of the items using the links I provide I, as the author of this website, will receive a very very small commission from that sale. This is a great way to help support your favorite bloggers at no cost to you. Think of it like a tip jar that costs you nothing!
Supplies Needed For This DIY Alphabet Art
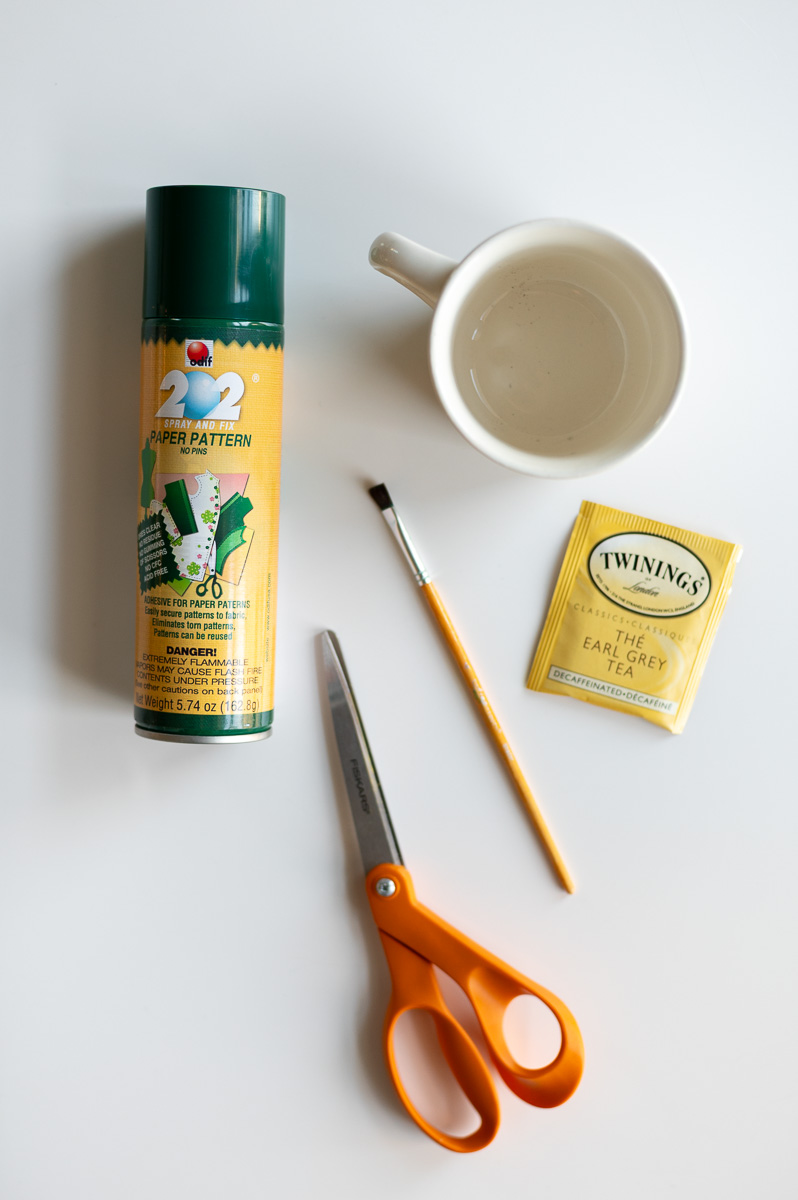
For this vintage nursery wall decor project, I used a lot of things I had laying around the house already. Here’s everything you’ll need:
- A Roughly 19 x 14″ Picture Frame
- I found mine at the thrift store, but I love this vintage look one from Amazon.
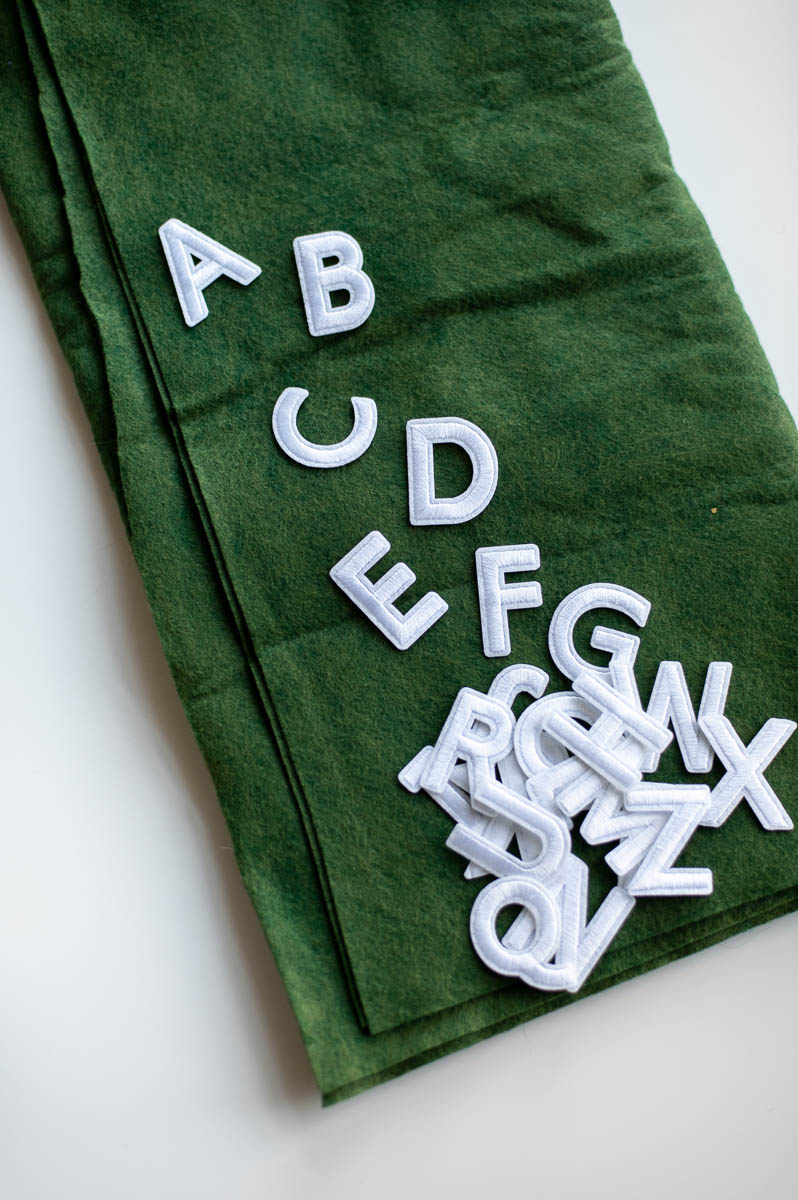
- A Set Of Iron On Applique Letters
- There are lots of different shapes, styles and colors of these to choose from, but I went with the most classic ones I could find.
- Whatever you buy, just make sure you purchase applique letters that come with an iron on adhesive backing.
- 1 Yard Of Felt (Or Fabric Of Your Choice)
- I chose to use a vintage looking moss green felt for the background of my artwork, but you can use any color or fabric you like best.
- Fabric Scissors & A Rotary Cutter (Optional)
- I used these scissors and this rotary cutter for this tutorial. If you use a rotary cutter you’ll also want to be sure you have a rubber cutting mat like this one to protect your work surface.
- Backer Board
- You will need some sort of rigid flat panel to mount your fabric to so you can insert it into your frame. You can either cut down an art board like this one, OR simply use the included back panel that comes with most picture frames.
- Spray Adhesive
- While this is not what this product was intended for, I used this temporary spray adhesive I had on hand to make this art with and it worked really well. However, this permanent spray adhesive is cheaper and probably more suited for the job.
- A Packet Of Black Tea & A Paint Brush (Optional)
- Any black tea will work!
- An Iron & Parchment Paper
- The last thing you’ll need is an iron and some parchment paper to attach your applique letters to your background fabric with!
How To Make Vintage DIY Alphabet Wall Art For A Nursery
I looked high and low for vintage inspired alphabet art for my daughter’s gender neutral vintage nursery design and just couldn’t find anything that was quite right.
(Which is saying something because I have a gallery of over 1300 free vintage art prints to pick from…)
Luckily this DIY ABC art was super quick and easy to make, and I love that it works as both baby room wall art and toddler wall art as your child grows. Here’s how I did it:
Step One: Stain Your Applique Letters With Tea Or Coffee To Age Them (Optional)
I wanted my ABC nursery art to look like something I found during one of my estate sale shopping trips or like it might have come from an antique shop.
Luckily my mom showed me how you can subtly age any fabric (or even paper) with tea or coffee!
Just brew a cup of strong black tea and paint over your applique letters until you achieve the amount of aging you want.
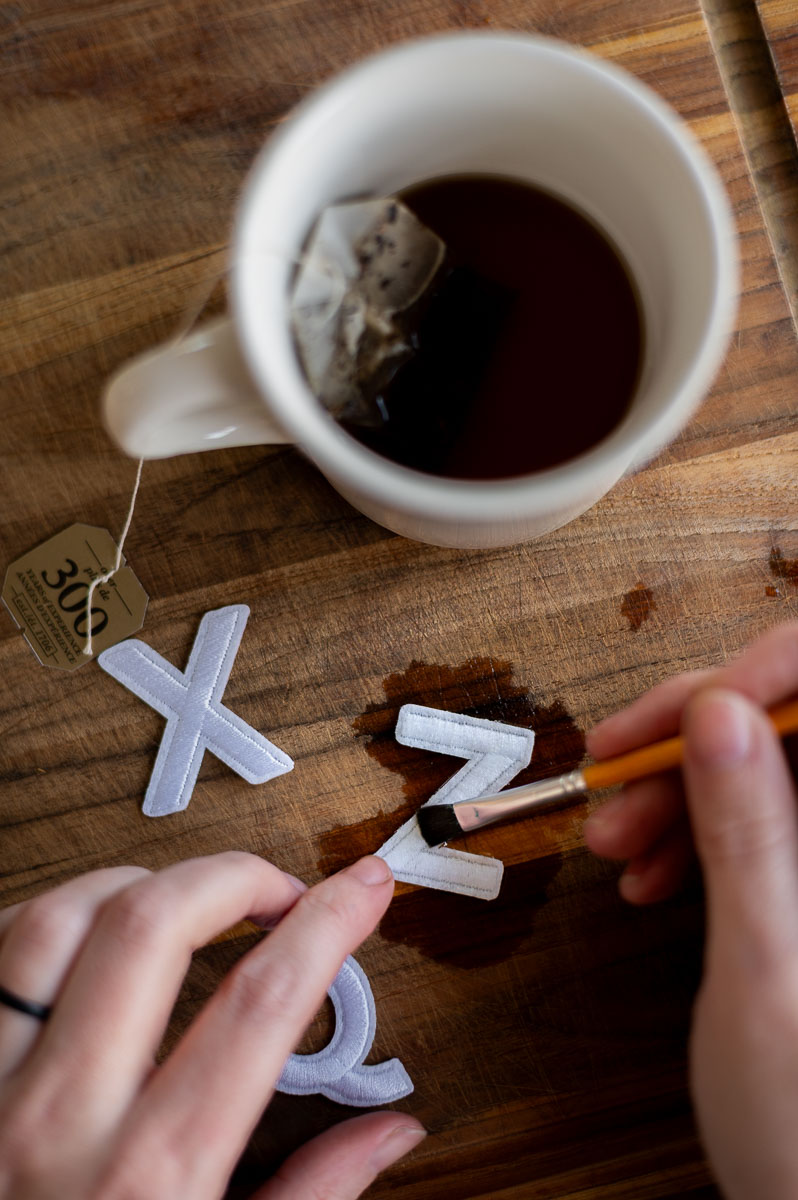
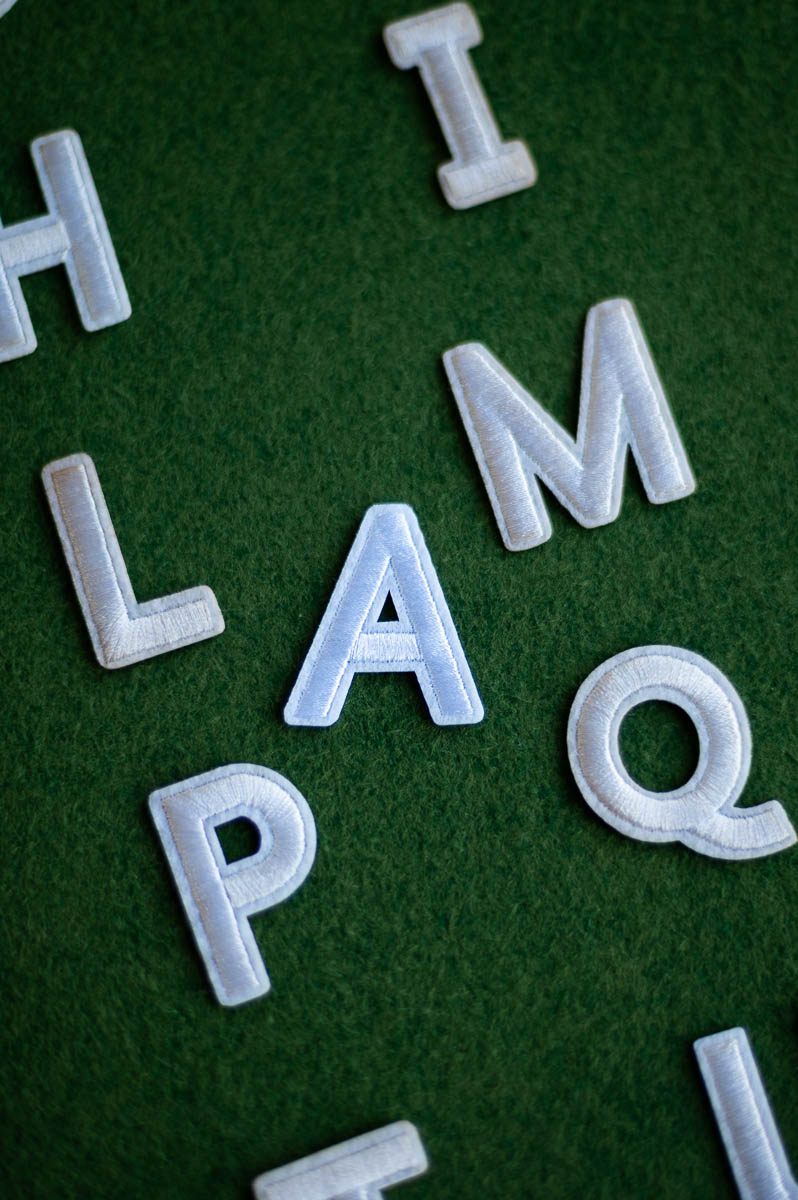
I wanted just enough to remove some of the bright white/blue cast from the letters I found on Amazon. It’s subtle in this image but I think you can see the difference between the unstained “A” and the rest of the tea stained letters in the image above.
Pro Tip: This will only work on appliques made with 100% cotton thread. Polyester will not absorb the tea stain as well.
Additionally, if you do plan on staining your letters, you’ll want to do this at least a day in advance of making your art, as the letters will need time to fully dry.
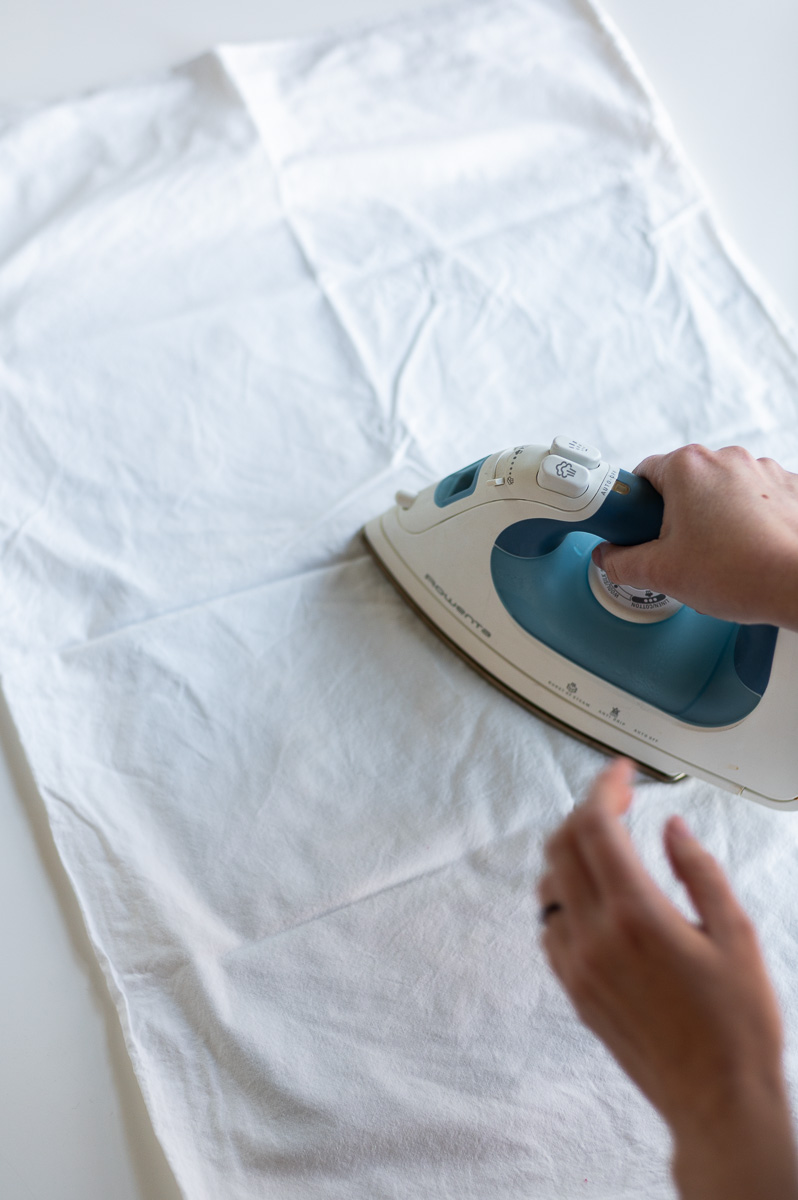
Step Two: Iron Your Background Felt
Before we can start working on the background of our alphabet art, we need to give it a good iron to work out any creases or wrinkles from the fabric.
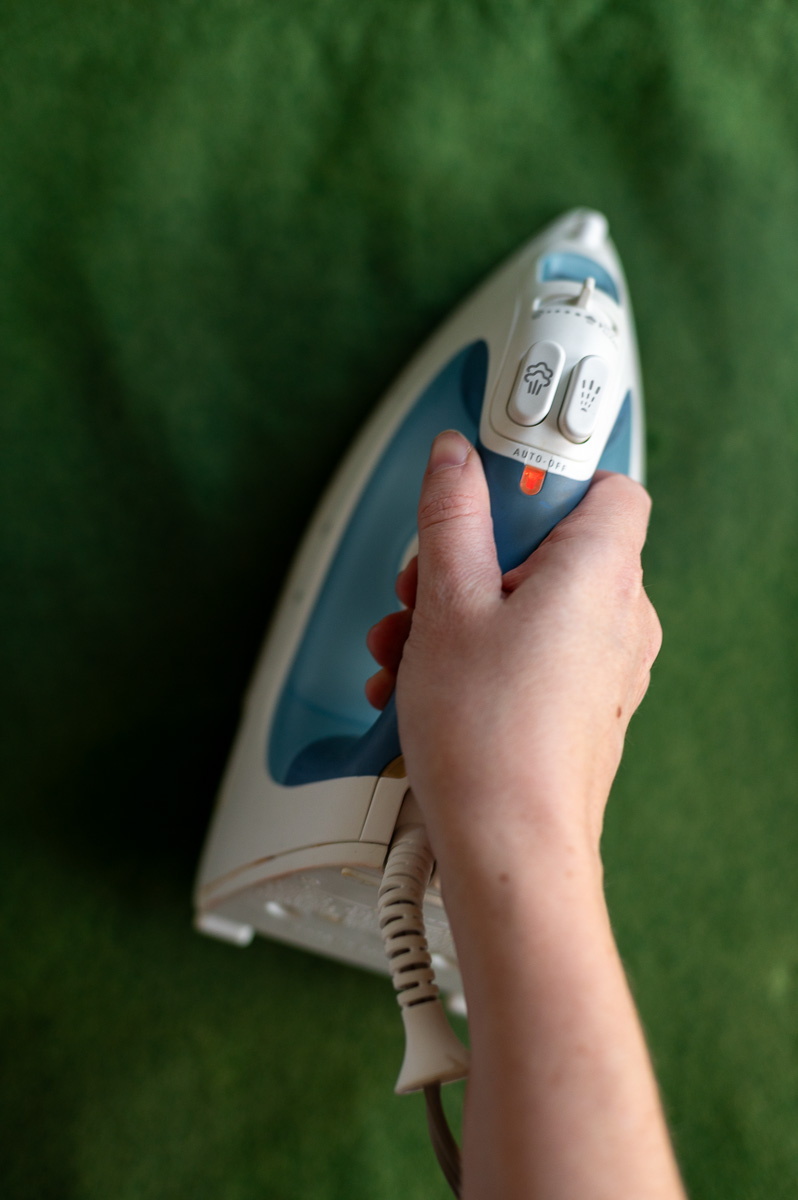
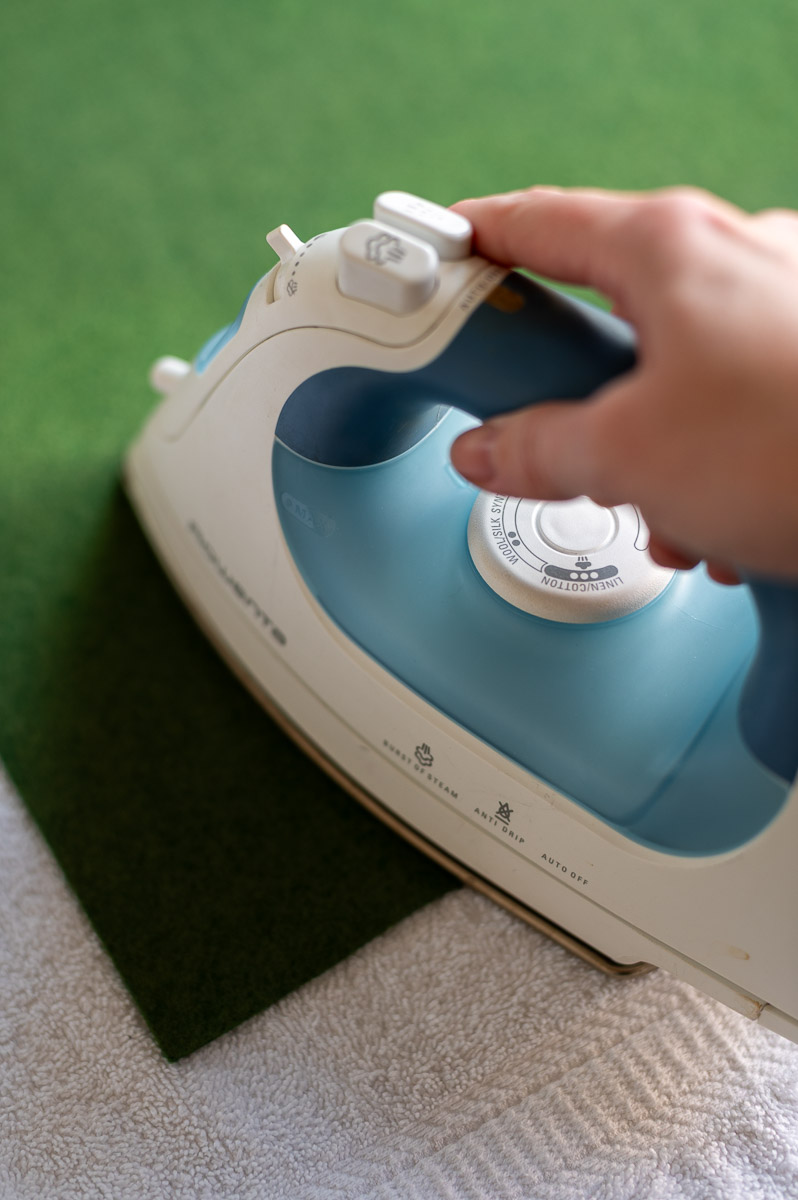
Pro Tip: If you don’t own an ironing board, you can just throw a thick cotton towel over your dining table!
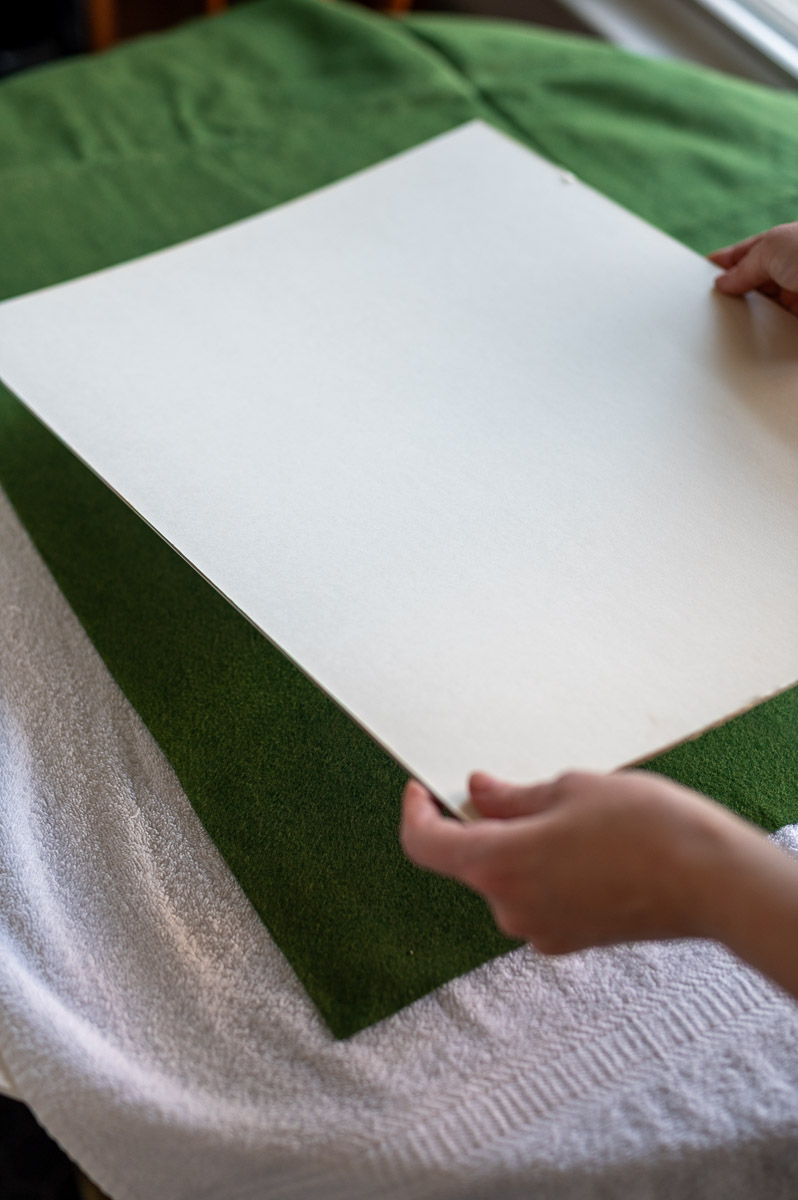
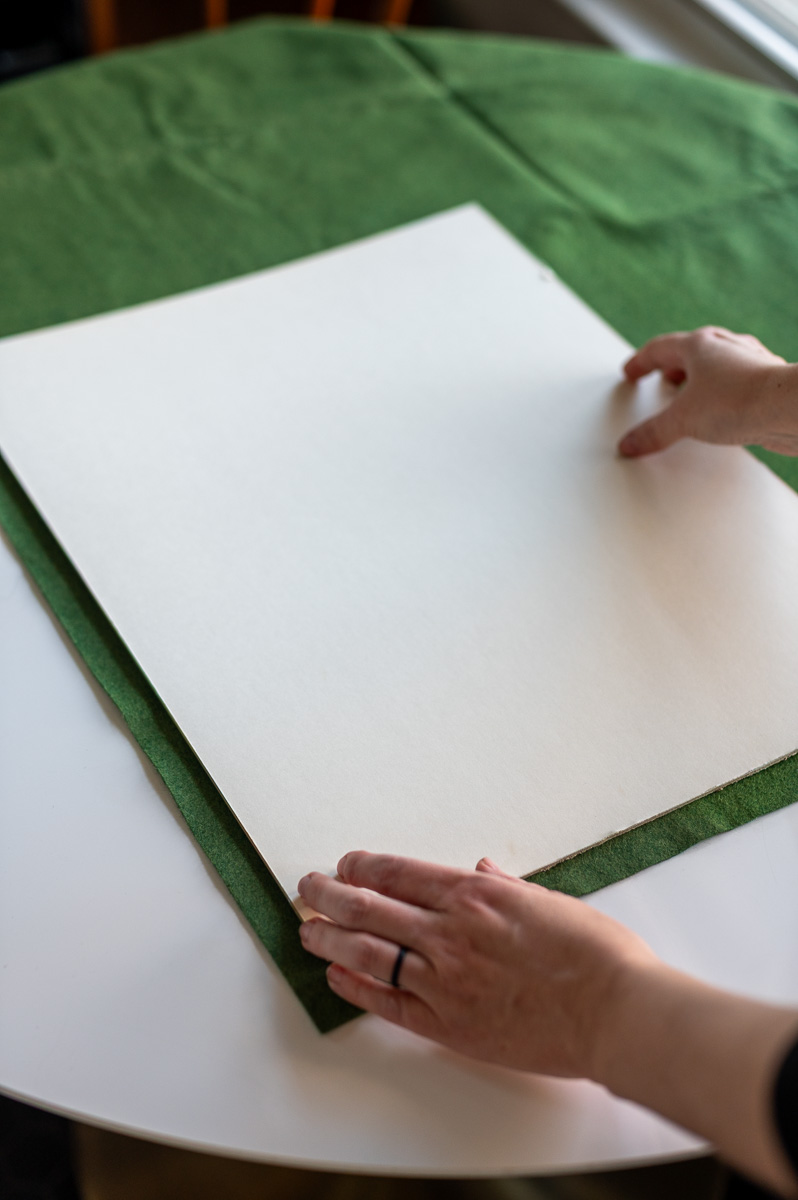
Step Three: Place Your Backer Board On Top Of Your Fabric
The next step in this process is trimming down your background fabric so it will fit on your backer board. To do this, simply lay your board on top of your fabric.
You want to leave at least an inch or two of excess fabric all the way around the board when you do this.
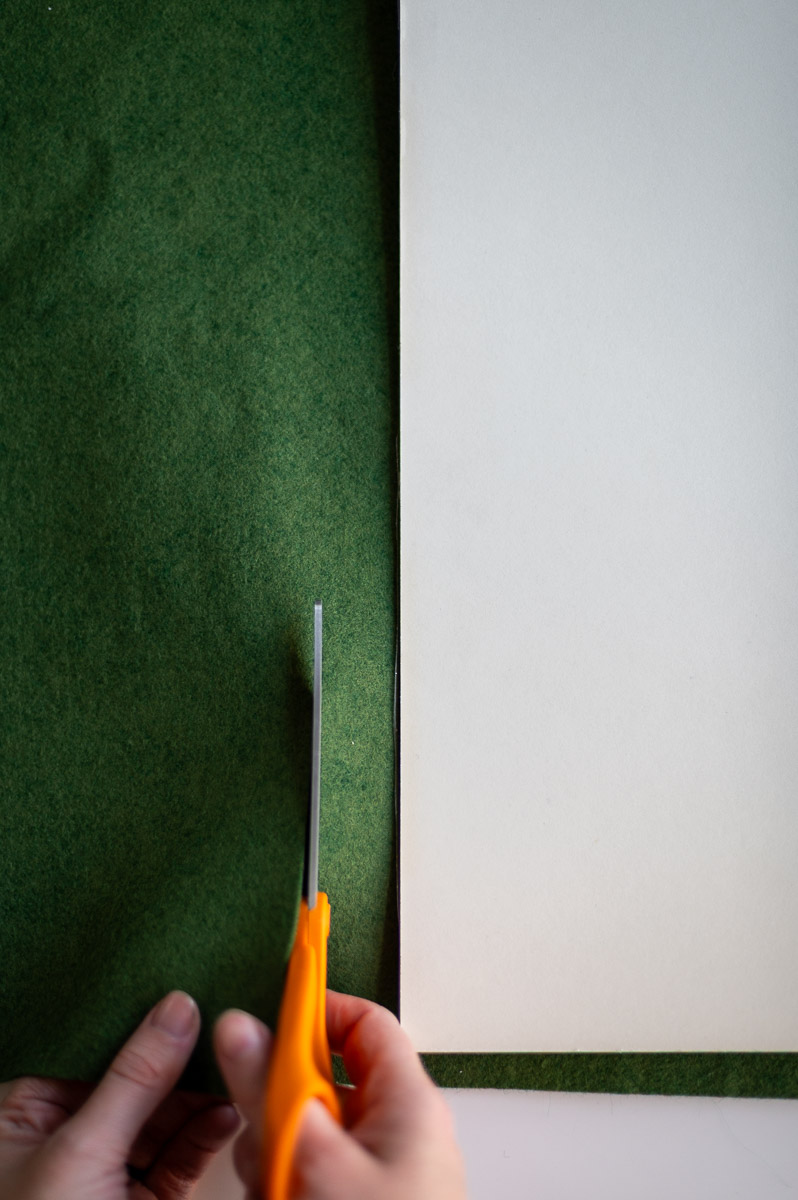
Step Four: Trim Your Background Fabric To Size
Use fabric scissors or a rotary cutter to trim down your fabric, leaving at least 1-2 inches of excess all the way around the board.
Step Five: Apply Fabric Adhesive To Backer Board
To attach your background fabric to your backer board, simply spray one side of your backer board with the adhesive.
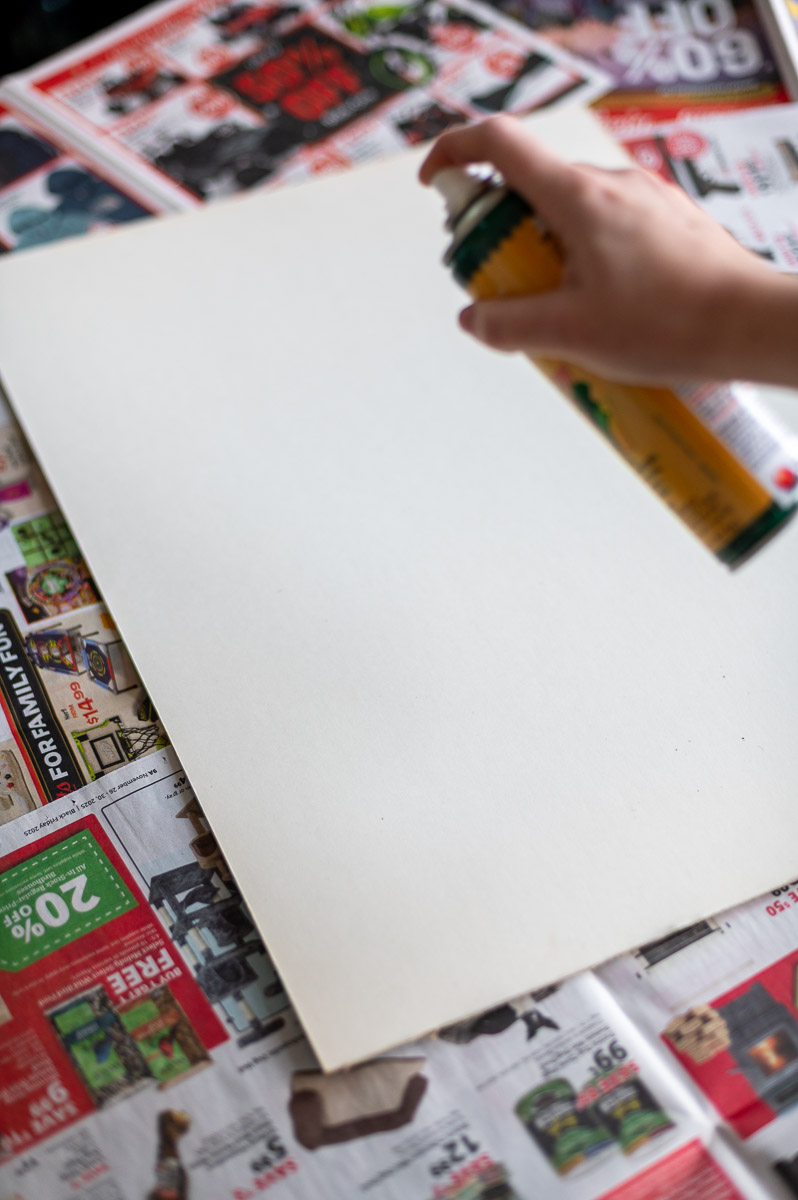
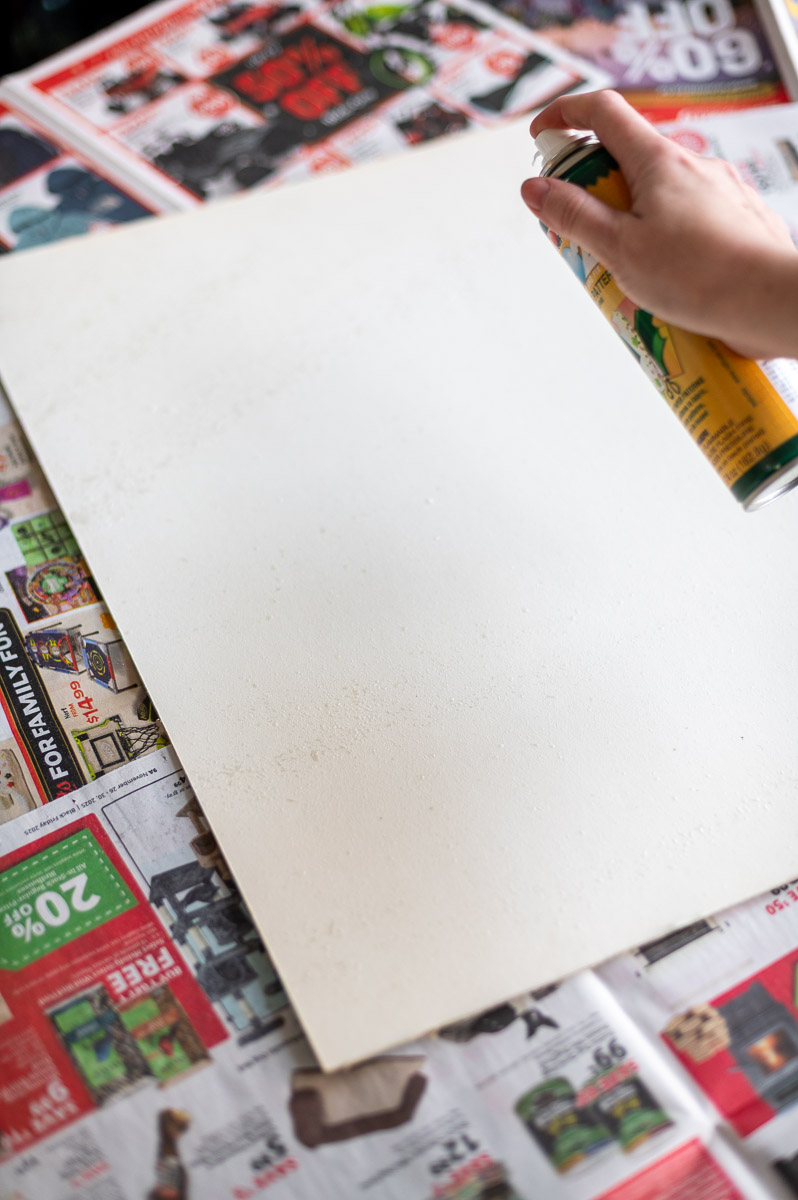
Pro Tip: Be sure to follow the directions on the back of the adhesive you are using and lay down newspaper to protect your work surface from any overspray.
Step Six: Adhere The Fabric To The Backer Board
After you’ve applied the adhesive to your backer board, you can gently lay your fabric on top of the board and rub the surface to adhere it to the board.
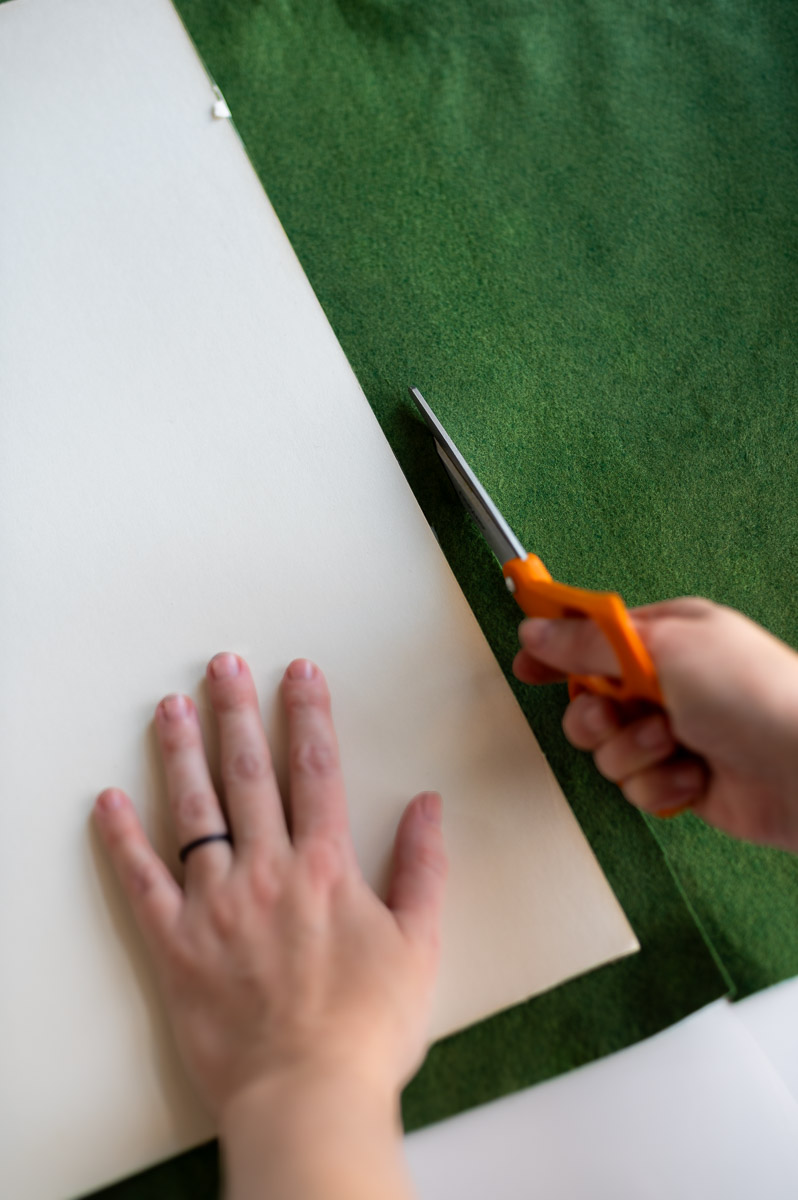
Step Seven: Trim Excess Fabric
Next flip your board upside down and trim all the excess material from around the edges.
I used a rotary cutter for this, but you can use fabric scissors if you don’t own a rotary cutter.
Step Eight: Arrange Your Letters
Now you have to decide how you want to lay out your alphabet letters on your background.
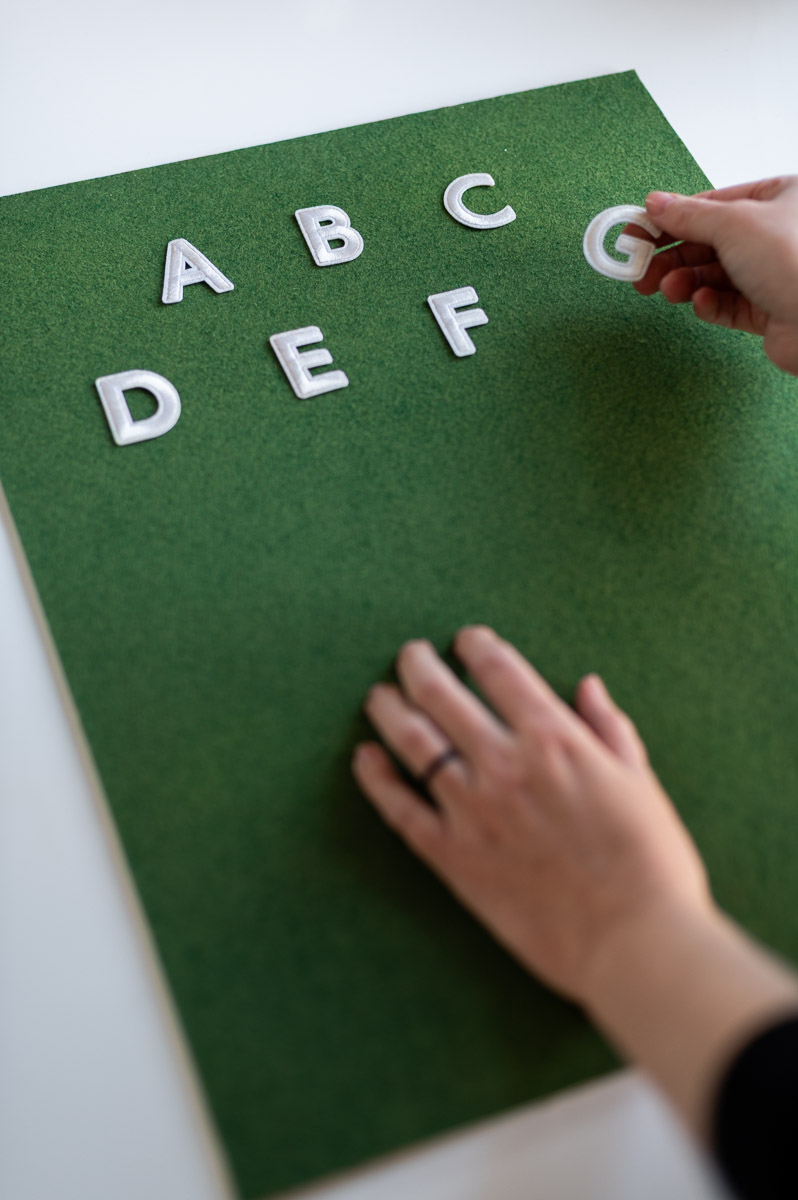
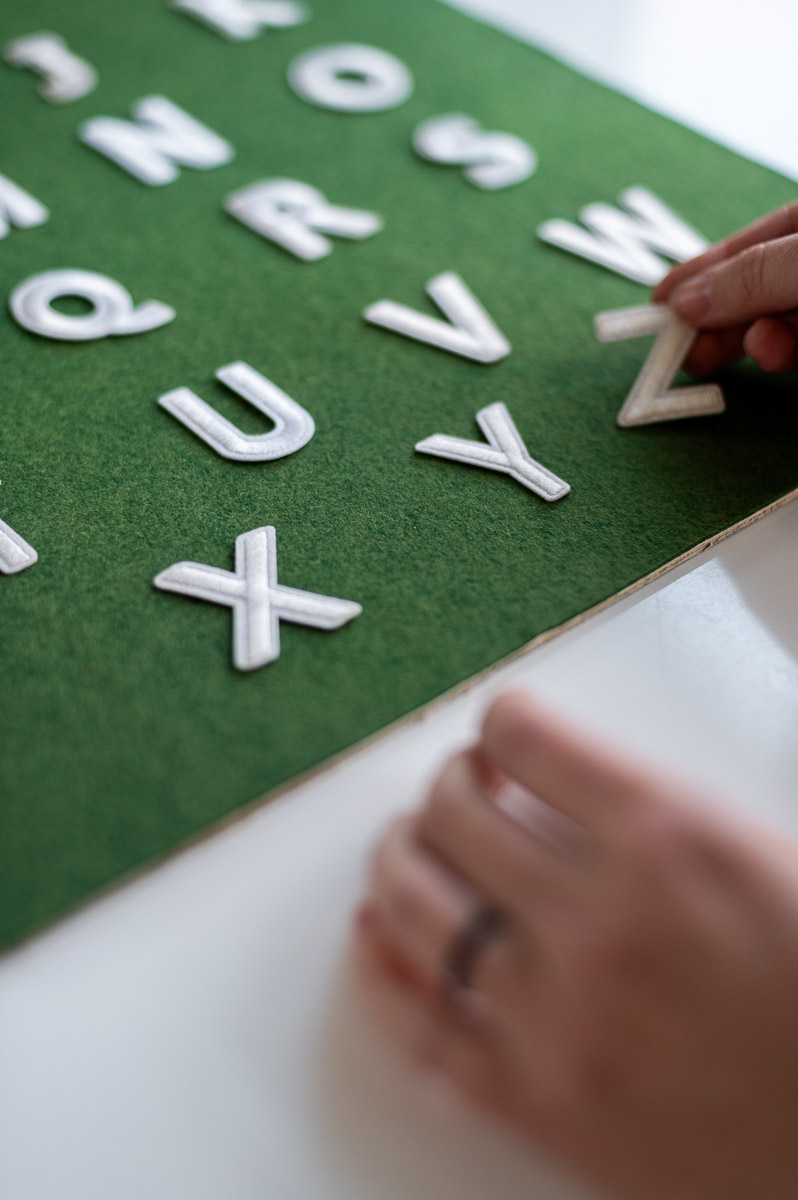
I found it looked best to do one row of three, five rows of four and a final row of three. Like this:
ABC
DEFG
HIJK
LMNO
PQRS
TUVW
XYZ
But feel free to play around and come up with your own unique layout!
Step Nine: Measure Twice & Confirm Your Layout
Once you’ve gotten your letters laid out how you want them, use a ruler to make any final adjustments to your layout or spacing.
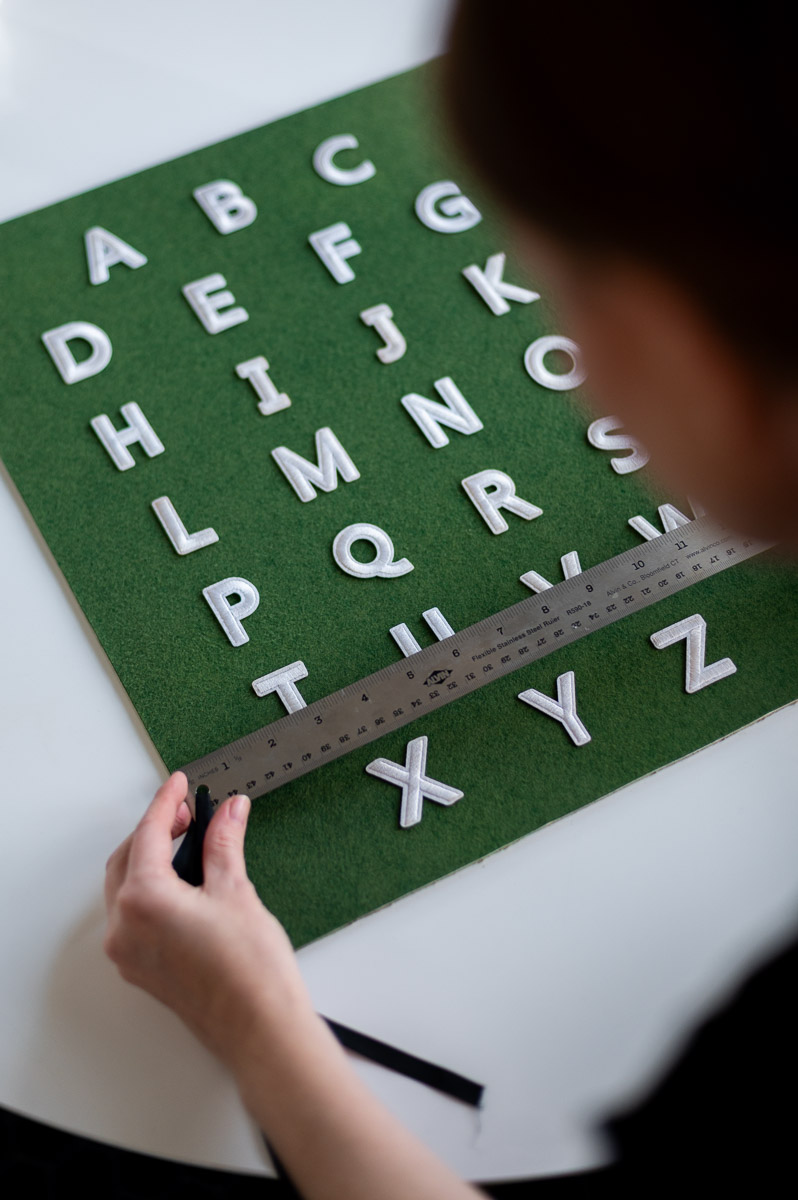
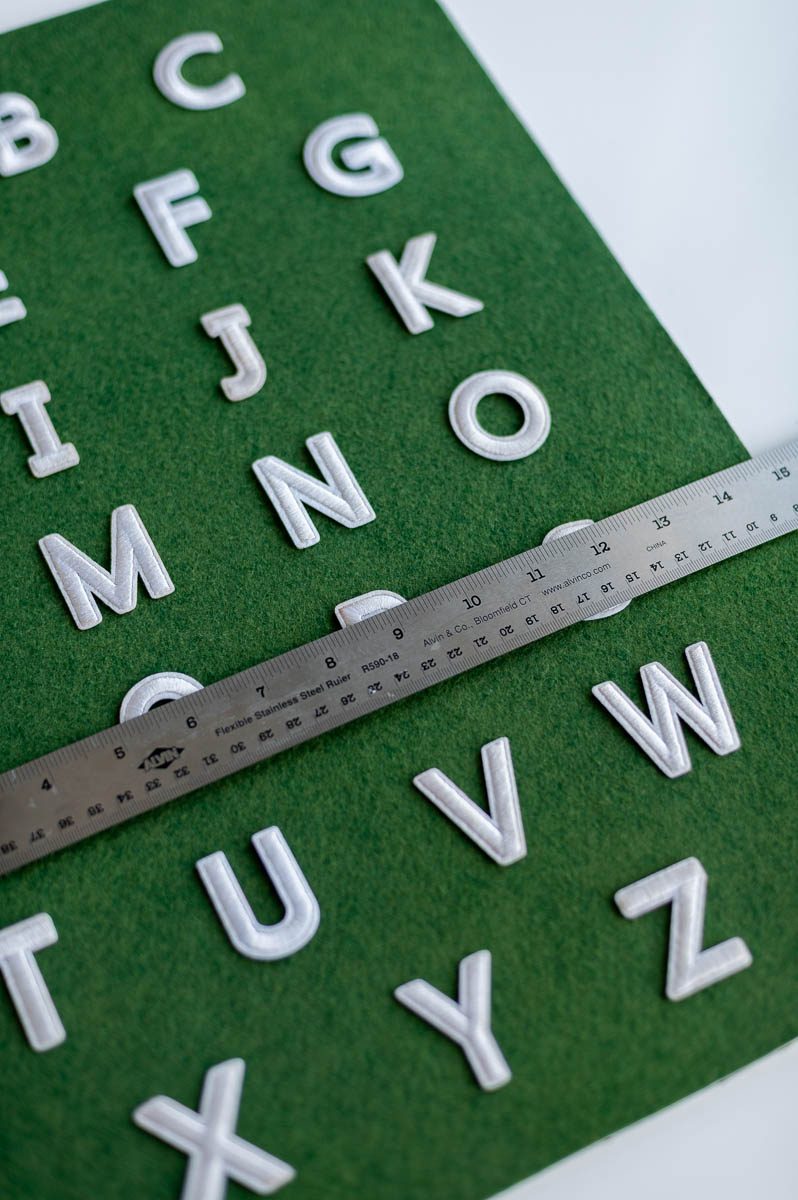
You can always eyeball this, but the perfectionist in me could never. So I spent about an hour with this ruler nudging letters around until everything was just right.
Pro Tip: Use a few straight pins to help hold your letters in place while you get everything adjusted how you want it.
Step Ten: Adhere Your Letters To The Background
The final step in this process is to use your iron to adhere your applique letters to your background fabric.
Pro Tip: You’ll need to place a protective barrier between your applique letters and the iron, you can use a linen pressing cloth for this like shown above, or a plain sheet of parchment paper.
After trying both, I recommend using the parchment paper as you can see your design through it a bit more. That way you can know if any of the letters moved on you after laying the paper on top.
Final Thoughts On This DIY ABC Nursery Art
This simple DIY nursery art was so quick and easy to create! Whether you’re designing a green vintage nursery (like I am), or just want some budget friendly timeless nursery decor, I love that this is one of those DIY nursery crafts that can grow from baby room artwork into toddler wall art.
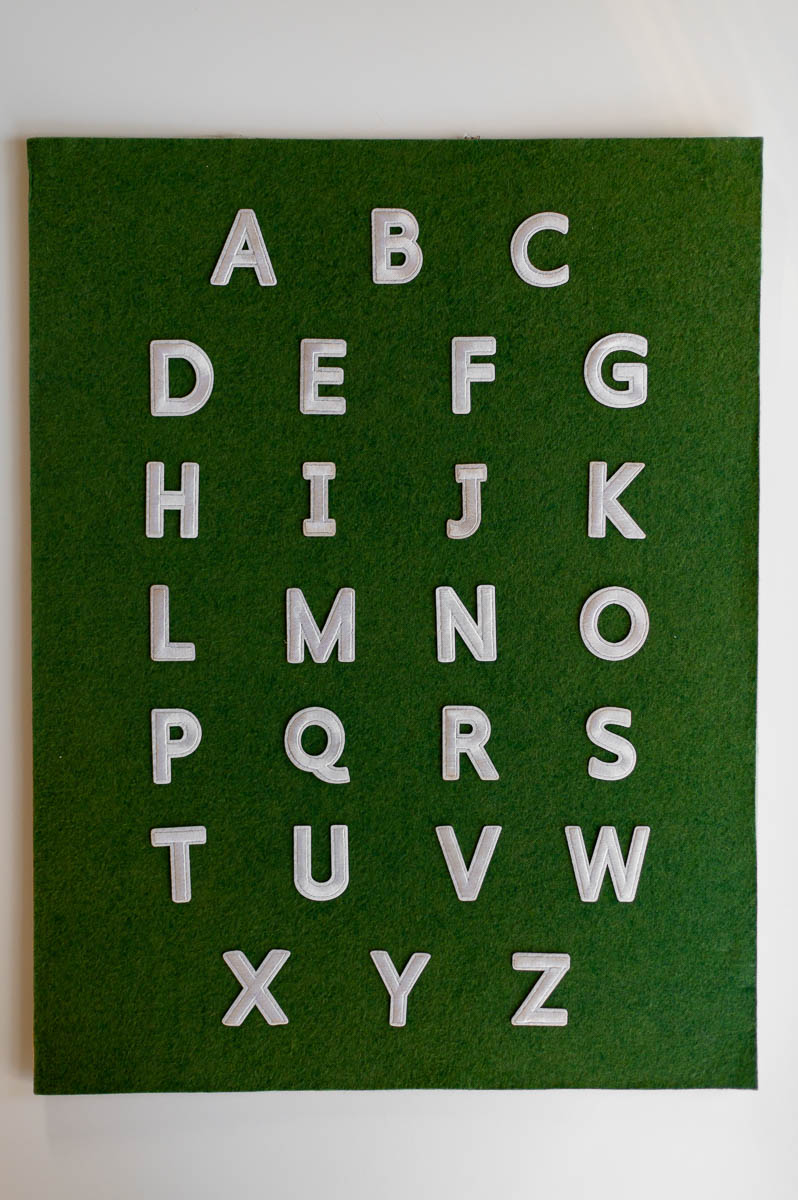
And I’m so happy with the tea stain I applied to the letters. It added just the right amount of aging so the art felt like it had a bit more story and history to it. Here’s what the art looked like before framing:
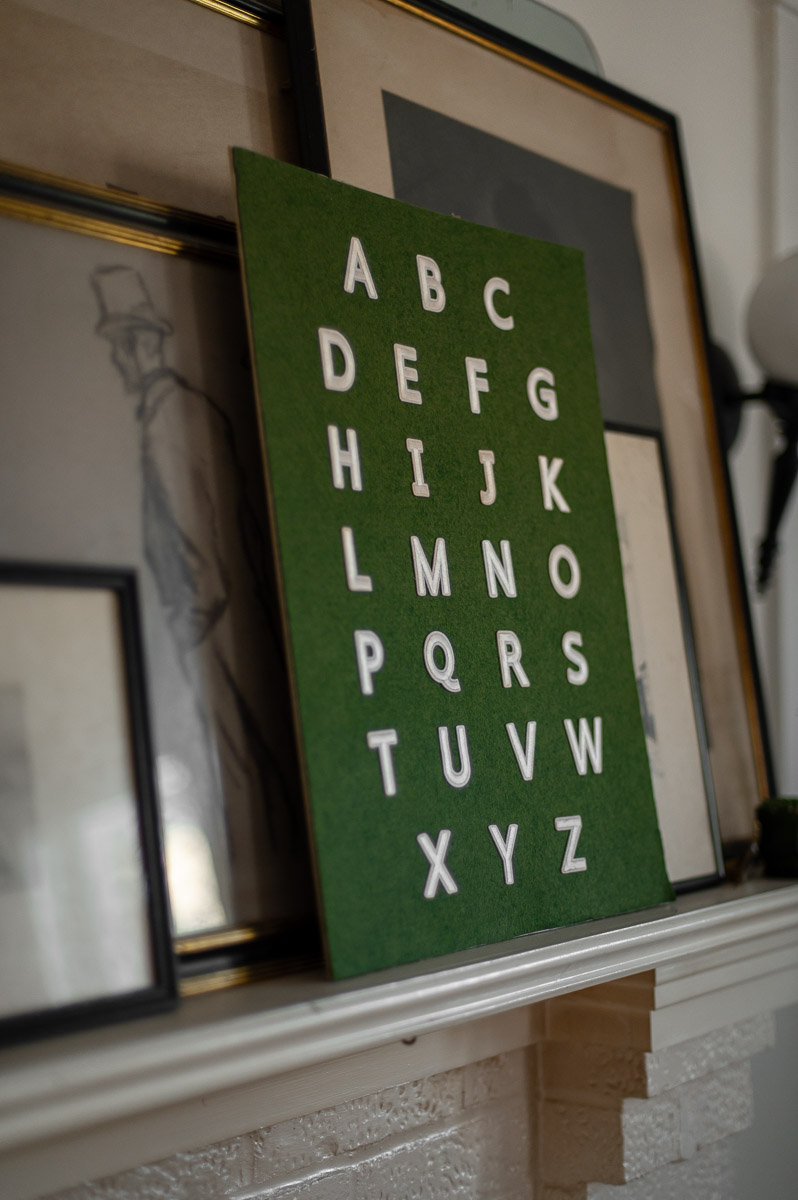
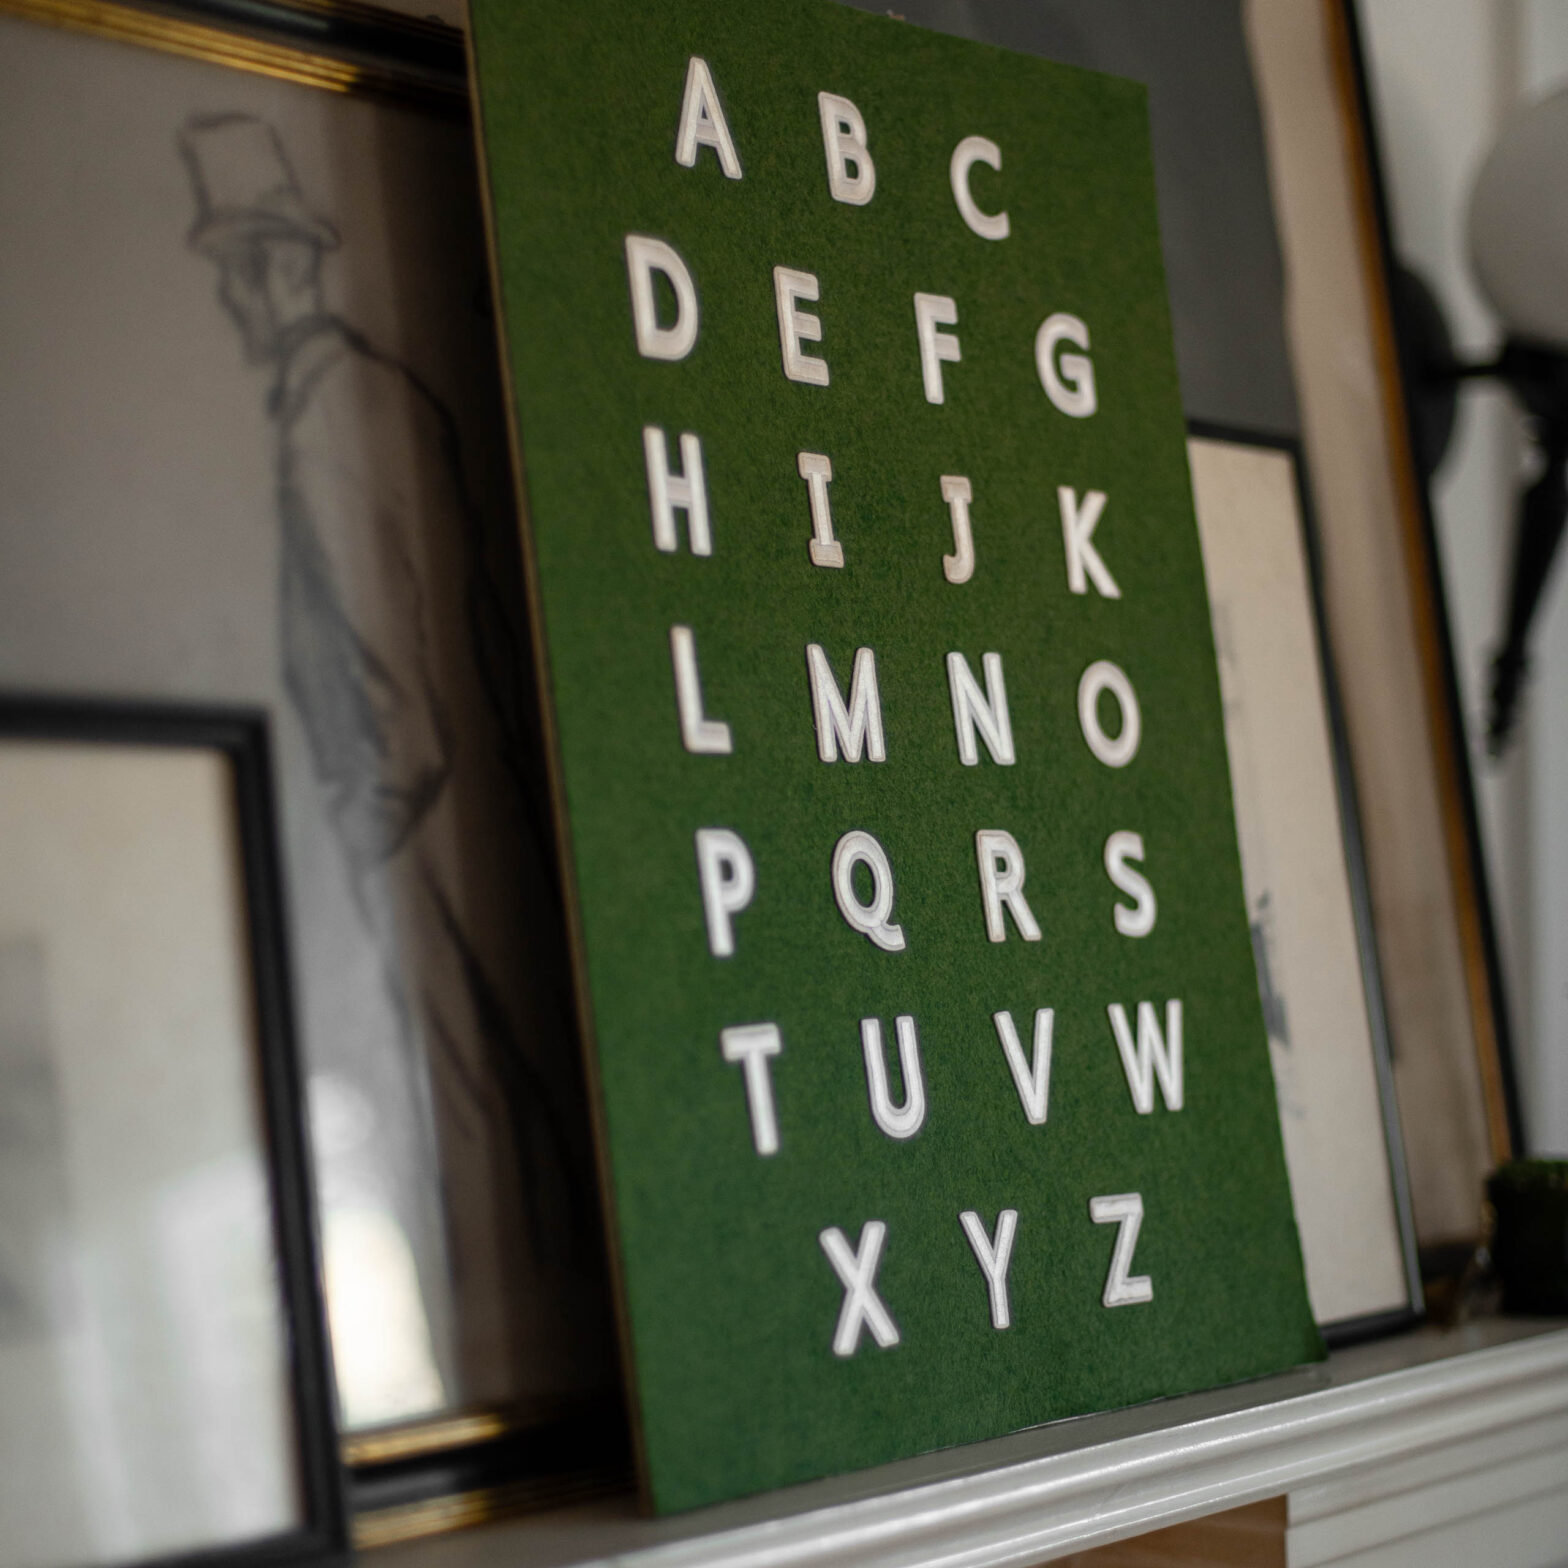
And here it is after framing, including a little sneak peek at my daughter’s nursery! (The big reveal for that is coming very soon!)
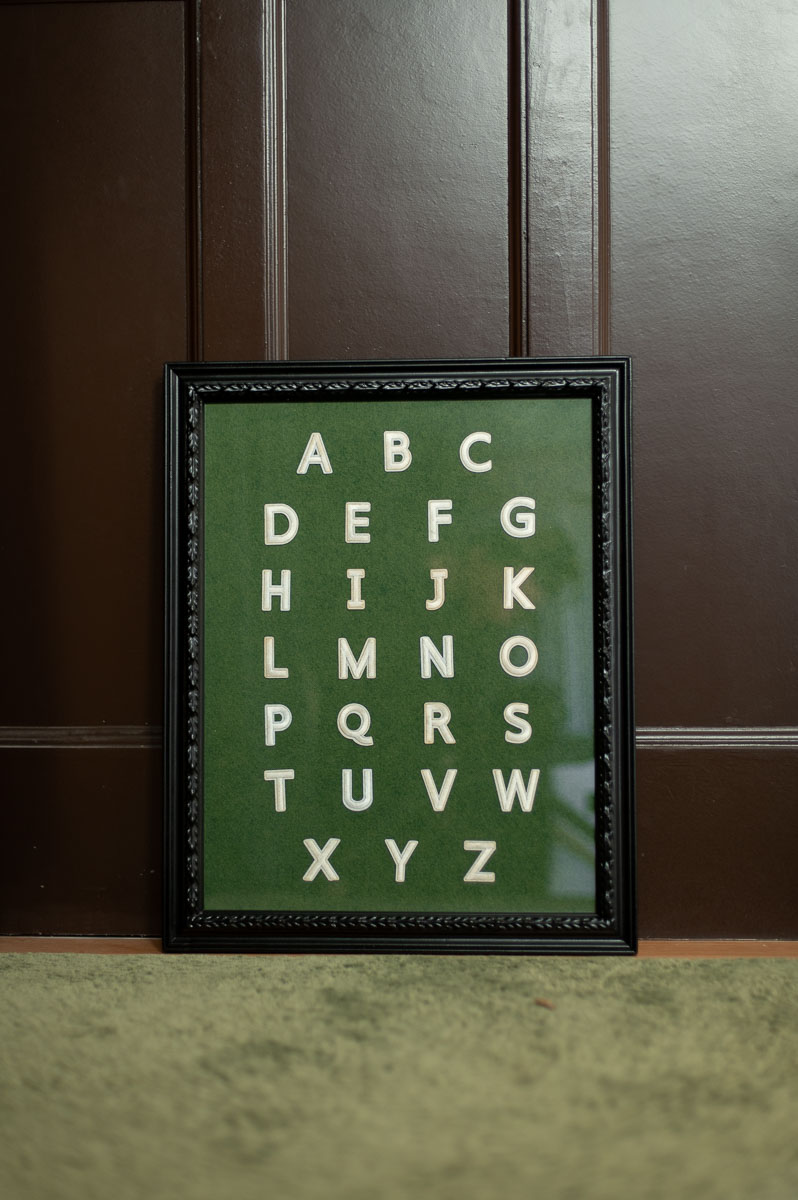
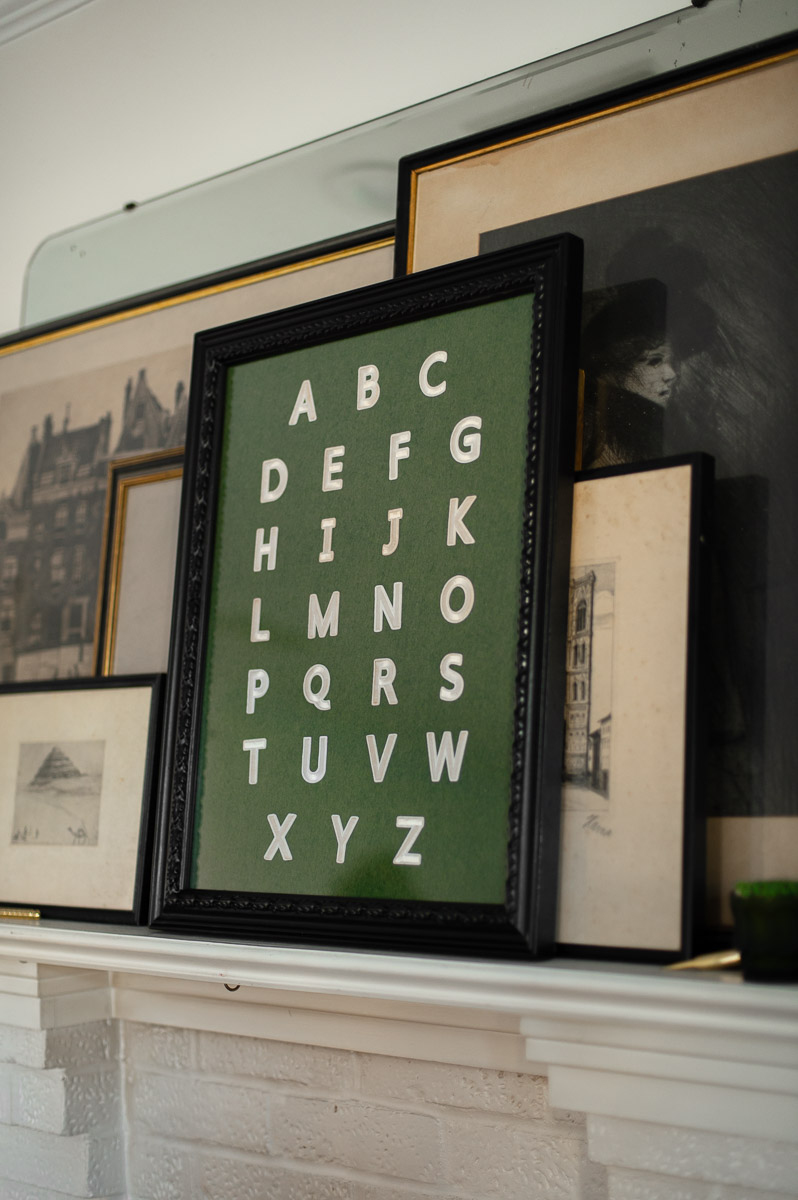
What do you think? I’m still deciding if I want to do some gold accents with rub n’ buff on the frame, but otherwise I love how this project turned out and I can’t wait to show you how it looks in the final nursery reveal images!
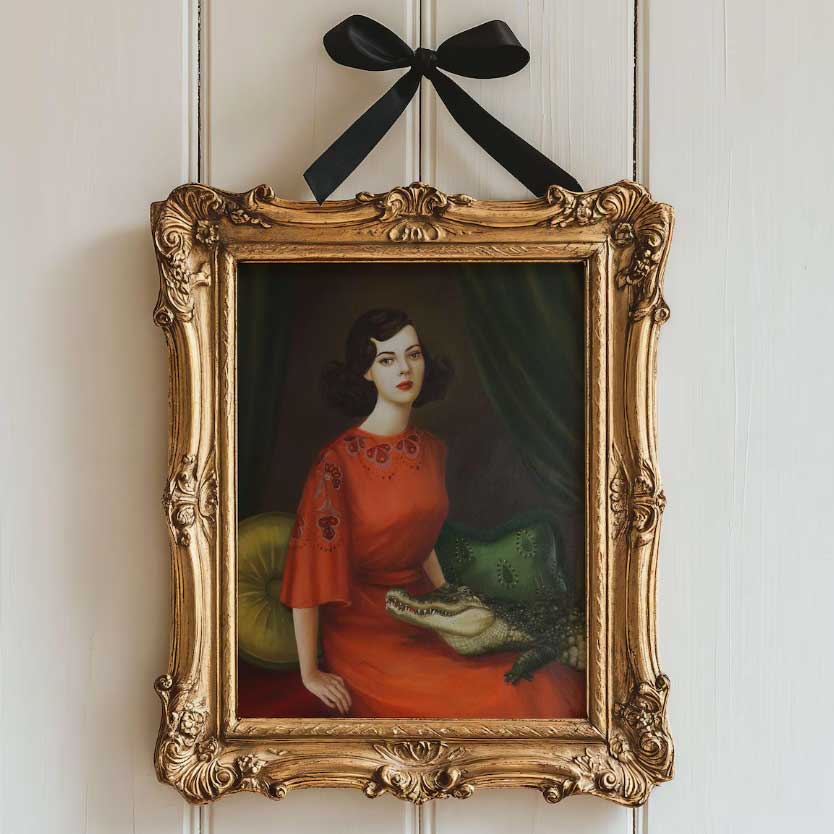
Looking for more budget friendly vintage nursery wall art ideas? Then you might want to explore my collection over over 1300 free vintage art prints! Then this post will show you how to turn cheap paper prints of those free downloads into faux oil paintings!
Shop Other Vintage-Inspired Nursery Decor
I’ve spent month looking at vintage nursery decor ideas, so I rounded up a few of my favorite finds that would go perfectly with this DIY alphabet art for you here!


Don’t Forget To Pin This Post & Subscribe!
Want to keep getting more DIY home decor inspiration, thrifting tips & tricks, free art downloads, reading recommendations, and home renovation tutorials? Then don’t forget to pin this post for later so you can follow me on Pinterest and then subscribe to my blog so you can get links to my newest content as soon as it hits the blog!