
I love old vintage books and I love Christmas, so when I kept seeing Christmas Carol framed wall art everywhere this season, the idea of bringing my two loves together and creating my own faux vintage book cover wall art felt like a Christmas craft I could not pass up.
From the research I’ve done for The Public Domain Print Shop, I knew I could find the cover art for Charles Dickens’ A Christmas Carol for free in the public domain. But once I started digging, I discovered that there are so many other vintage book covers available that you could turn into wall art too!
Which meant that once I figured out how to make this project with one book cover, I could recreate it with any vintage book cover I loved, opening up endless possibilities for vintage bookish wall art!
*This blog post contains affiliate links, meaning that if you purchase any of the items using the links I provide I, as the author of this website, will receive a very very small commission from that sale. This is a great way to help support your favorite bloggers at no cost to you. Think of it like a tip jar that costs you nothing!
Supplies You’ll Need To Make Your Own Christmas Carol Framed Wall Art
Don’t be intimidated by this supply list. About 95% of it comes from The Dollar Tree, so this is a very budget friendly DIY Christmas craft project.


- Cheap Color Copy Print Out Of Your Book Art
- I have a FREE download file I’m going to give you to print out for this!
- White Canvas Boards
- I like these ones from The Dollar Tree because you can get two books out of one board.
- A Craft Knife / Box Cutter
- Any x-acto type knife, or even a sharp box cutter will work for this. I’ve been using this one lately and really like how comfortable it is.
- A Ruler & Straight Edge
- I use one like this one with a cork back so it doesn’t move around on me.
- Matte Mod Podge
- This small size from The Dollar Tree is more than enough.
- A Paint Brush
- Again these Dollar Tree brushes work great. You don’t need anything fancy for this.
- A Spray Bottle
- Again, simple is fine. I used one of the Dollar Tree ones.
- A Rolling Pin
- Technically you should use a tool like this one, but I don’t have one of those, so I just made a small rolling pin we use for cooking work.
- Gold Paint
- I used some cheap gold paint I got from The Dollar Tree for this, however I don’t really recommend it. I’d try one of the gold colors from this brand instead. (or rub n’ buff would work great too if you have it!)
- Water Color Paper
- This pad of 24 sheets from The Dollar Tree for $3 worked great. If you can’t that at The Dollar Tree, this pad from Michaels is a bit bigger and will give you more framing options.
- A Matted 8×10 Picture Frame
- I found this one at The Dollar Tree and it worked PERFECTLY for this project because of the cardboard spacers it comes with. But you can use any 8×10 picture frame really.
- Adhesive Dots
- You could skip these Dollar Tree adhesive dots and just use hot glue, but these give you a bit more time to get your placement just right, vs the hot glue which starts to cool and then doesn’t adhere as well if you aren’t fast enough.
- A Glue Gun & Glue Sticks
- I currently use an ancient cheap mini one I’ve had forever. But I have this one on my wish list to upgrade to in the future! It’s so pretty and has amazing reviews!
- Tape
- Any type of tape you have on hand will do, however ideally you want to be using acid free tape like this any time you’re using it on artwork you don’t want to degrade and yellow over time.
How To Make Vintage Christmas Book Cover Wall Art (Step-by-Step Tutorial)
This is an easy Christmas craft project you can get done in an afternoon and will only cost you about $8 in supplies from The Dollar Tree! (Reusable crafting tools like the brushes, glue gun, spray bottle, ruler, etc. not included).
Step One: Print Your Book Cover Art
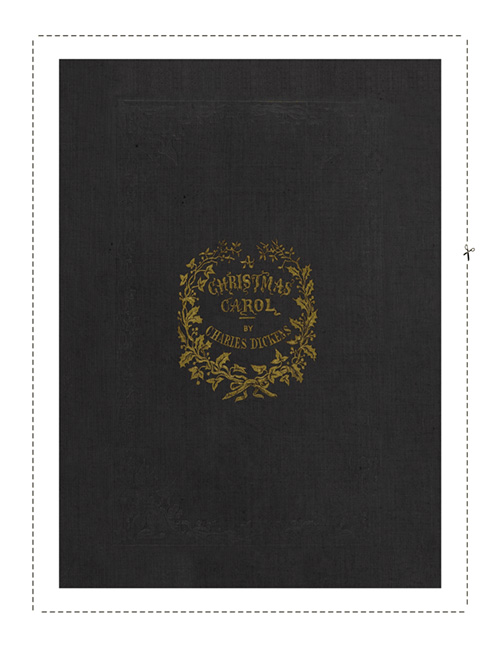
If you want the ORIGINAL first edition cover art for A Christmas Carol that the viral one I’m seeing everywhere is based on, I sourced it from the public domain here.

Download Your Free Christmas Carol Wall Art
Here is the digital art file I used for to create this Christmas Carol wall art. You can download the file for for free by clicking the link below the image.
I digitally extended the edges of the original art file so there would be more “material” to wrap around the edges of our book cover without cutting into any of the cover art design.
I chose to alter the overall tone to be more neutral than the original cover art file, but I also included a version more similar in tone to the viral wall art and the original cover art in the free download as well.
You want cheap paper prints for this, color copies on plain paper are what we’re looking for. If the paper is too thick, it won’t show the canvas texture through the paper as well later.
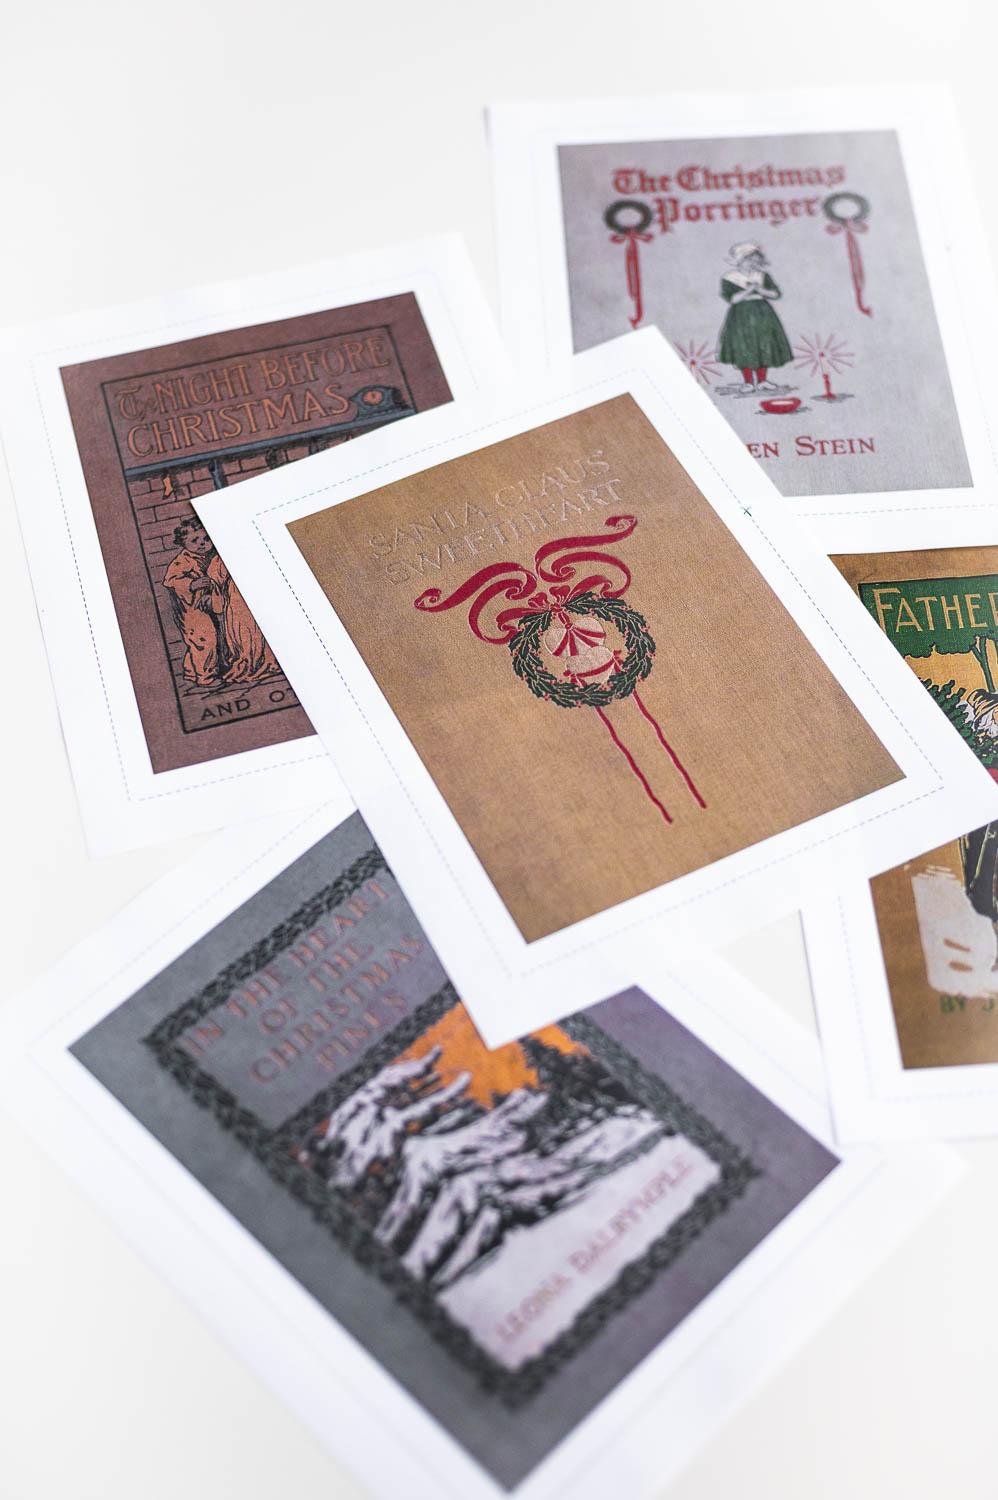
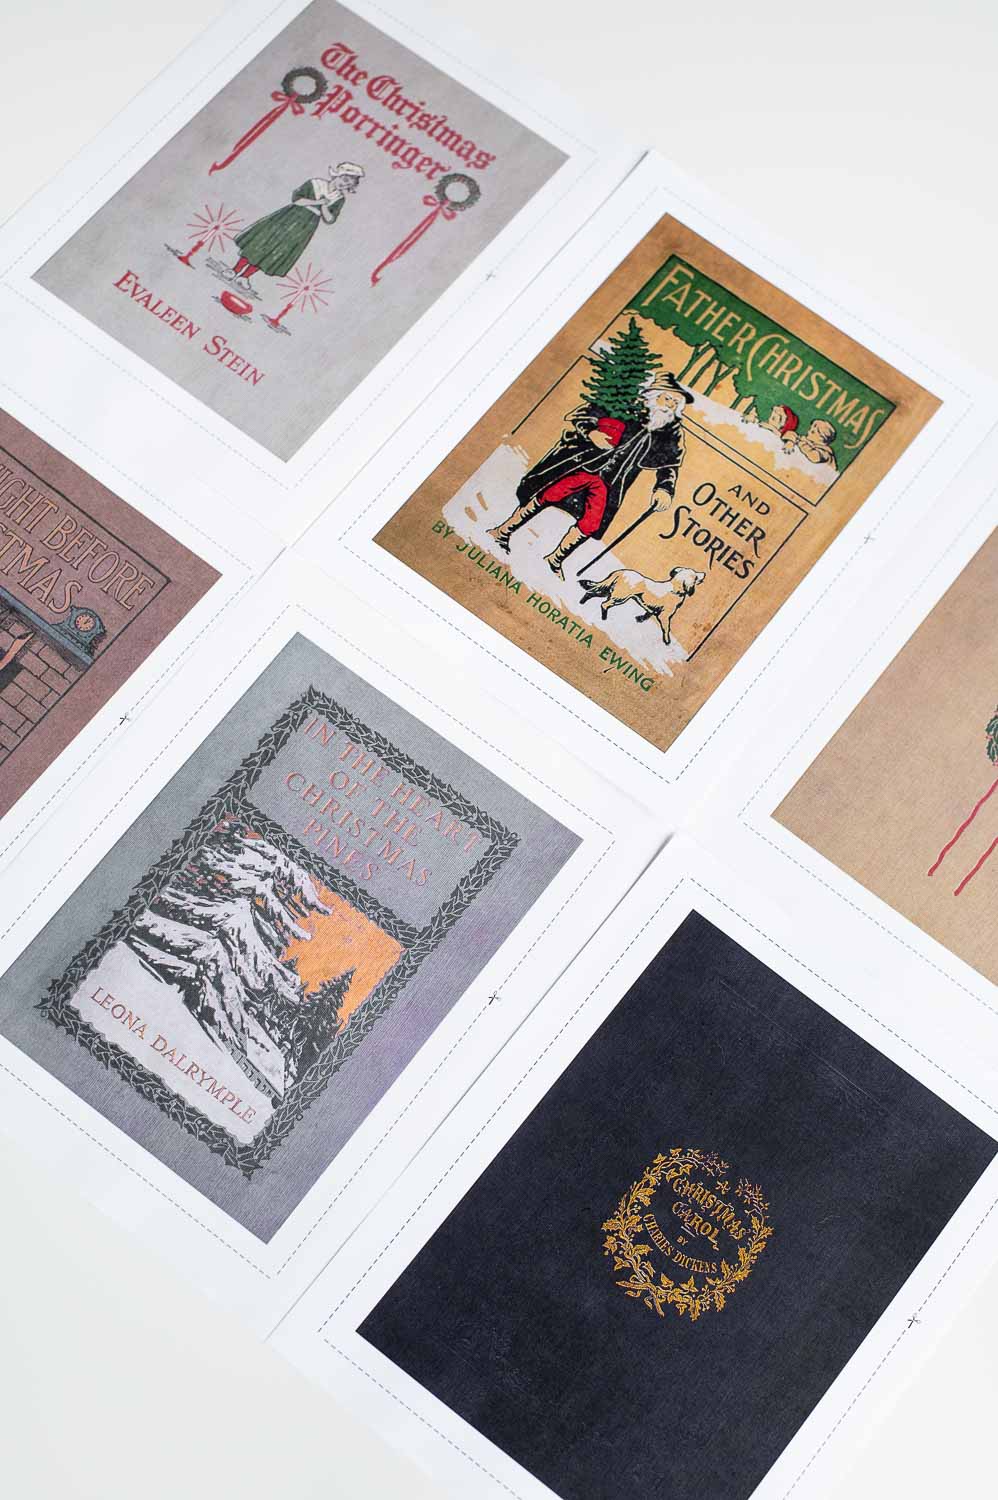
During this process I discovered a bunch of other cover art from old vintage Christmas books that were just begging to be made into vintage Christmas wall art as well!
So I painstakingly digitally modified and formatted each of them using the same process as I did for the Christmas Carol art file.
If you want the full set of all 8 digital files I created, you can purchase it for just $6 here!

Printable Vintage Christmas Book Covers: DIY Wall Art for Holiday Decor
Make your own vintage Christmas book cover wall art with this easy Christmas craft that will bring a little bookish old world magic to your holiday home decor.
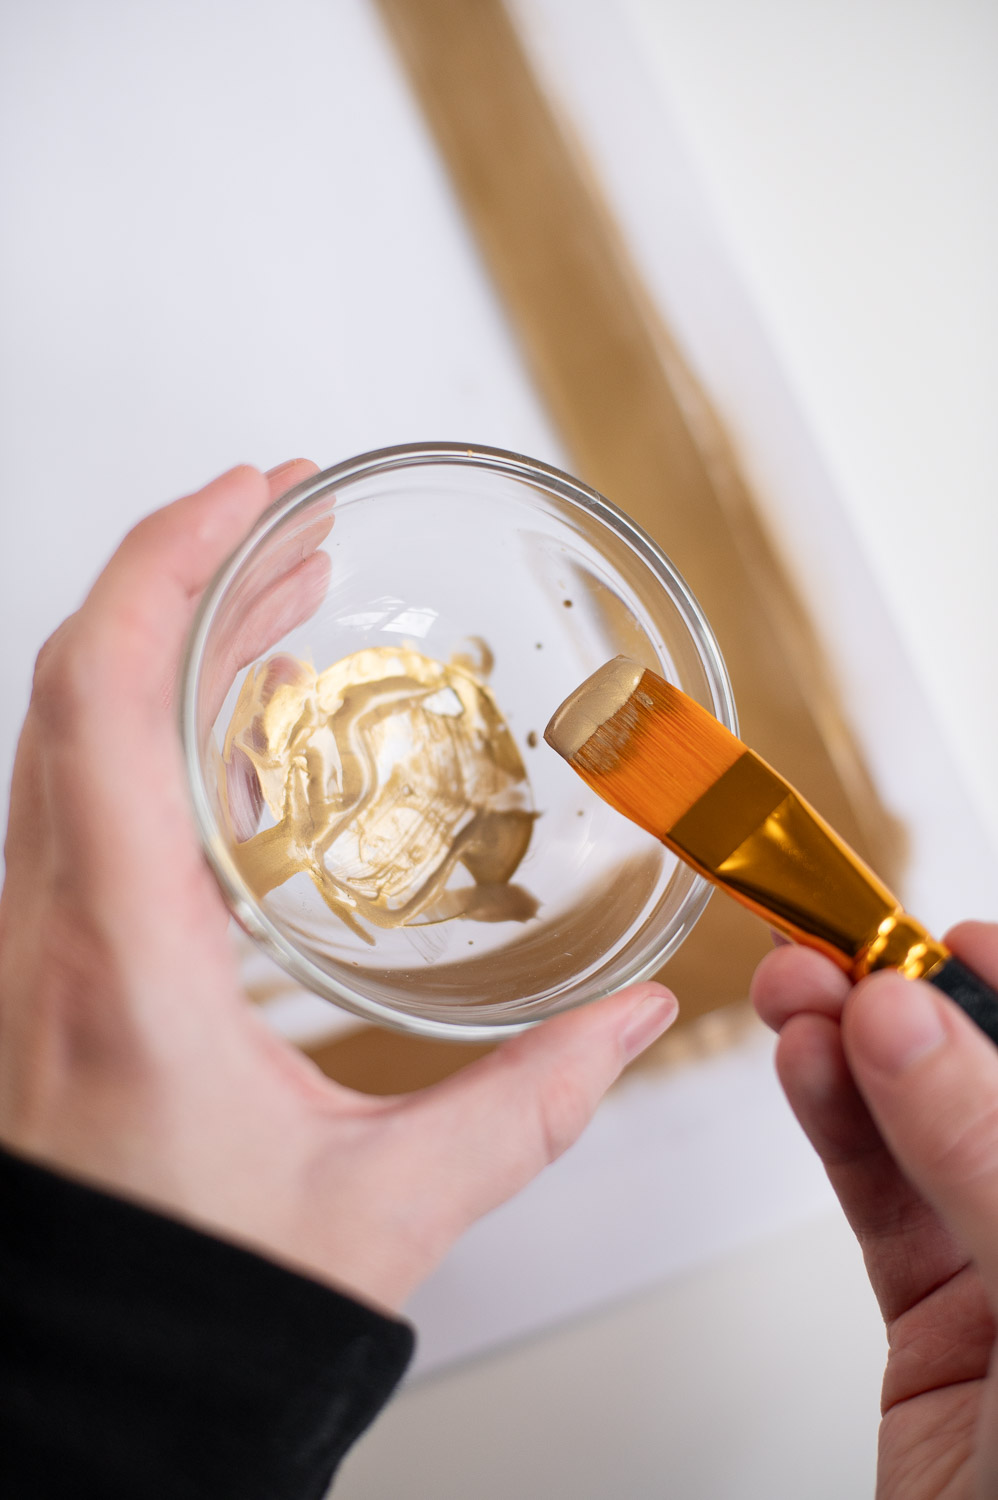
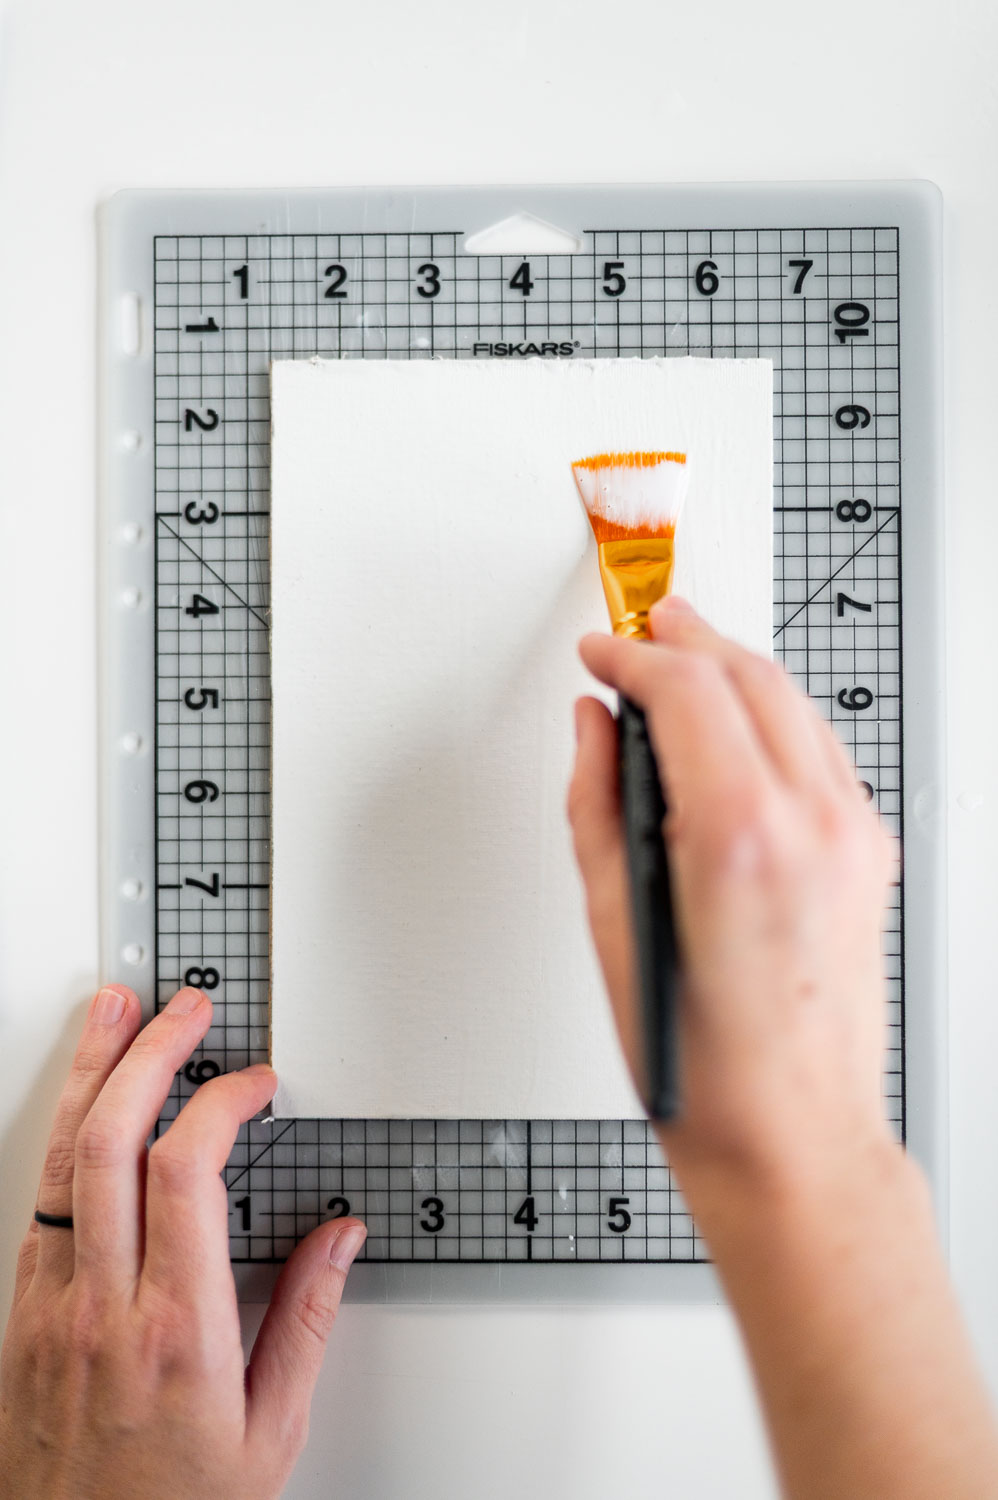
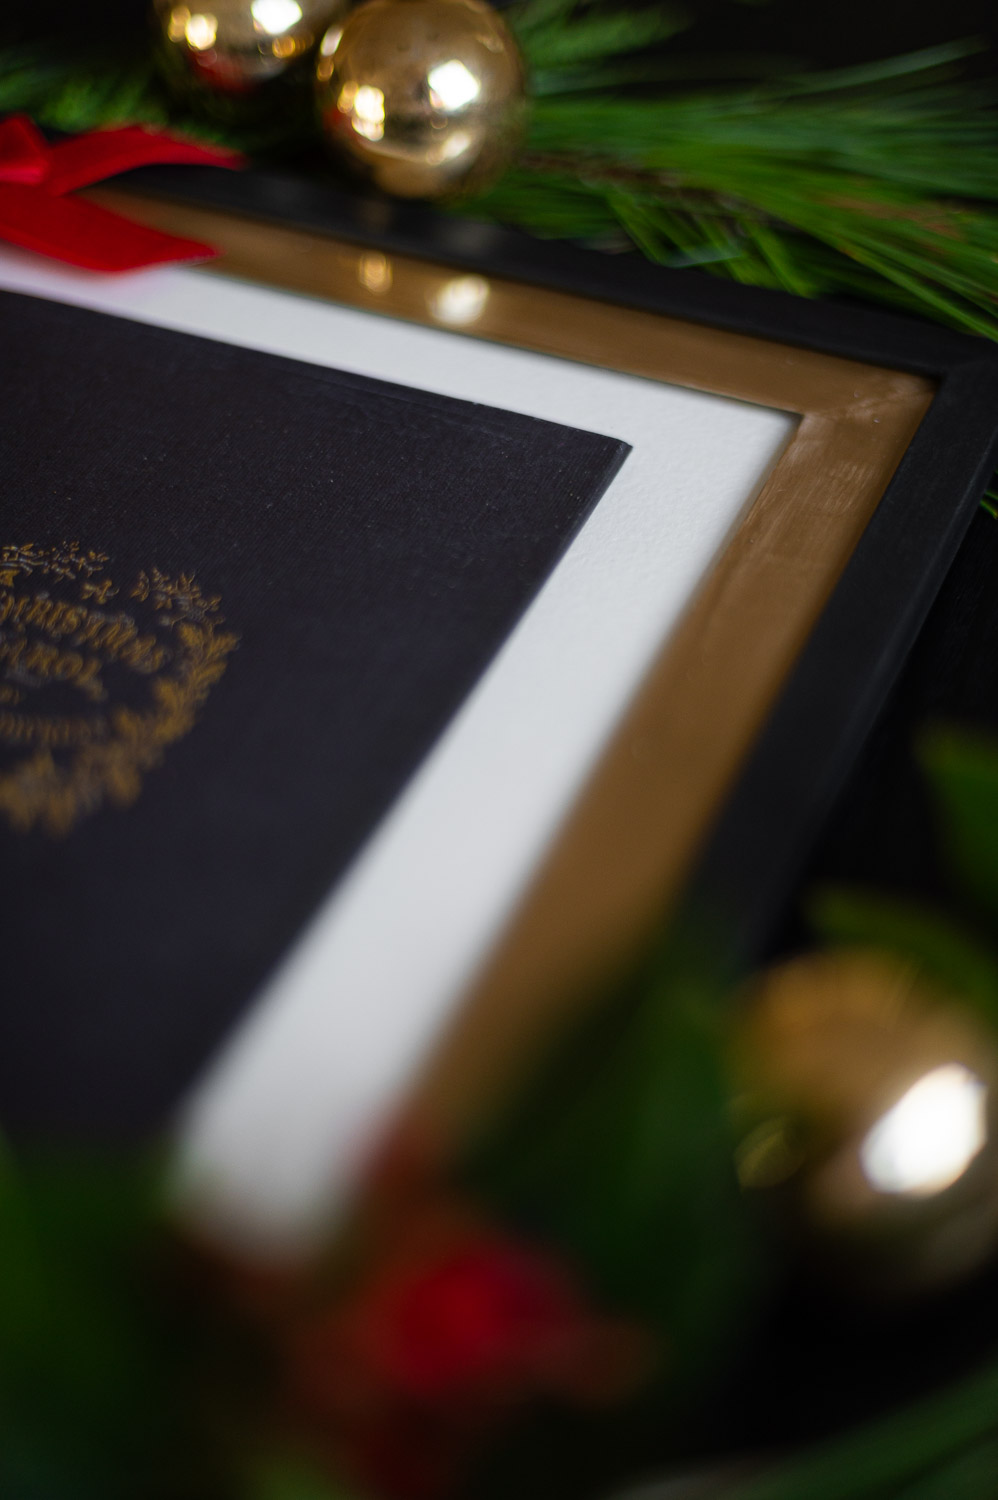
Step Two: Paint Your Mat Gold
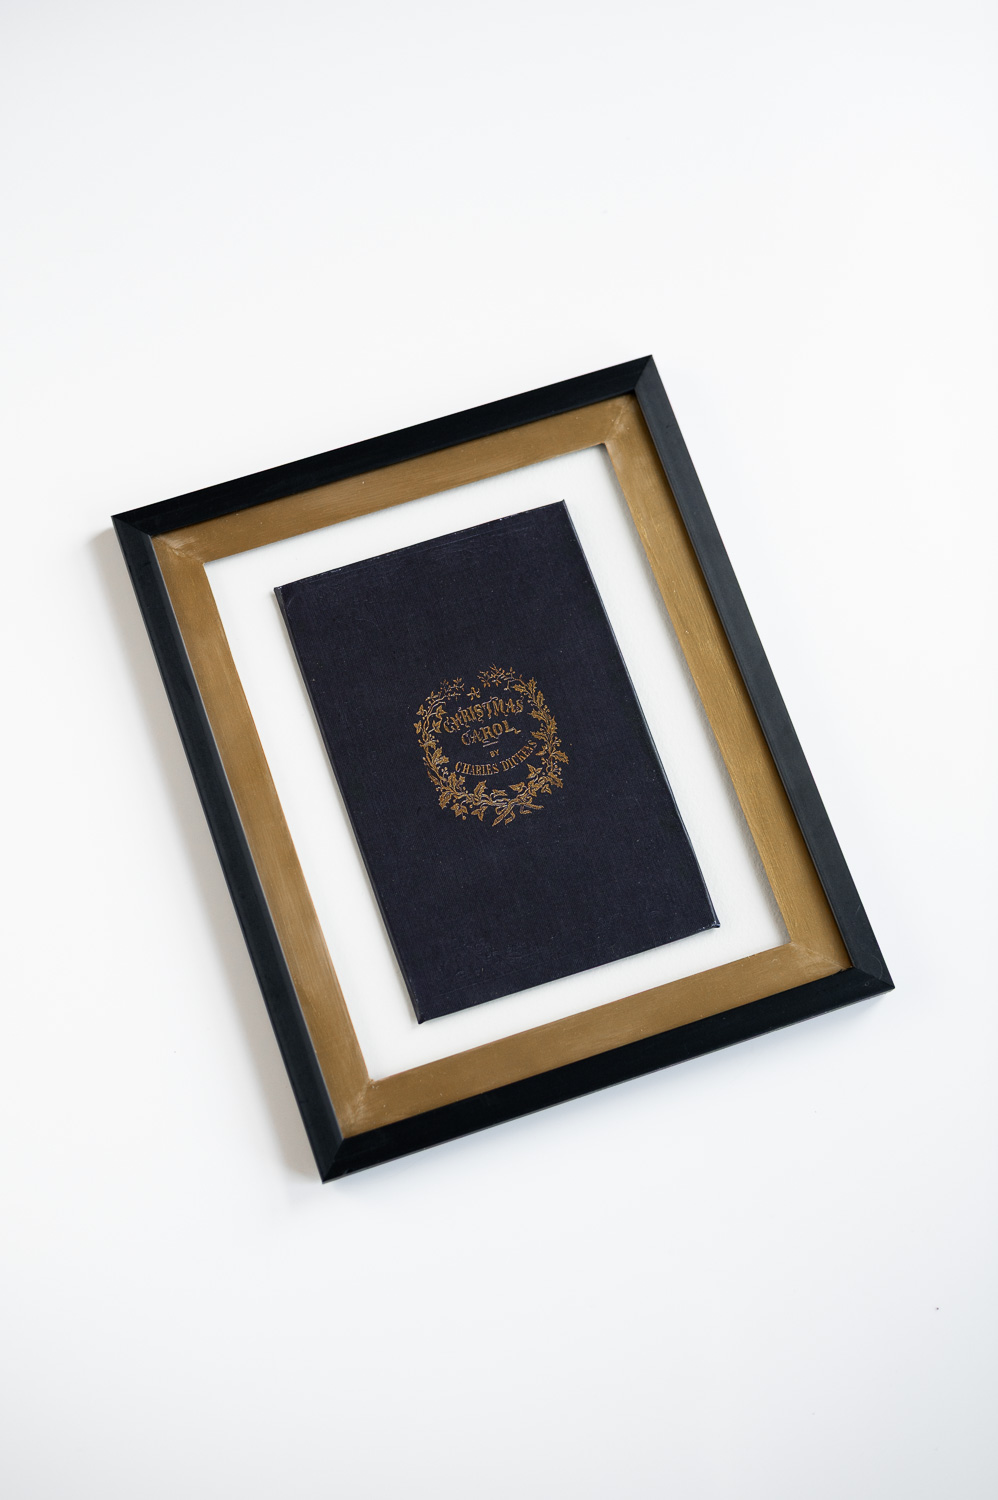
The viral wall art came with a two tone, black and gold frame.
I wanted to mimic that look by giving the mat on our Dollar Tree frame a makeover with some gold paint for a faux ‘gilded’ effect.
Note: When you go to get your mat out of the frame, don’t throw away any of the cardboard from inside of the frame. We’ll need to use those later.
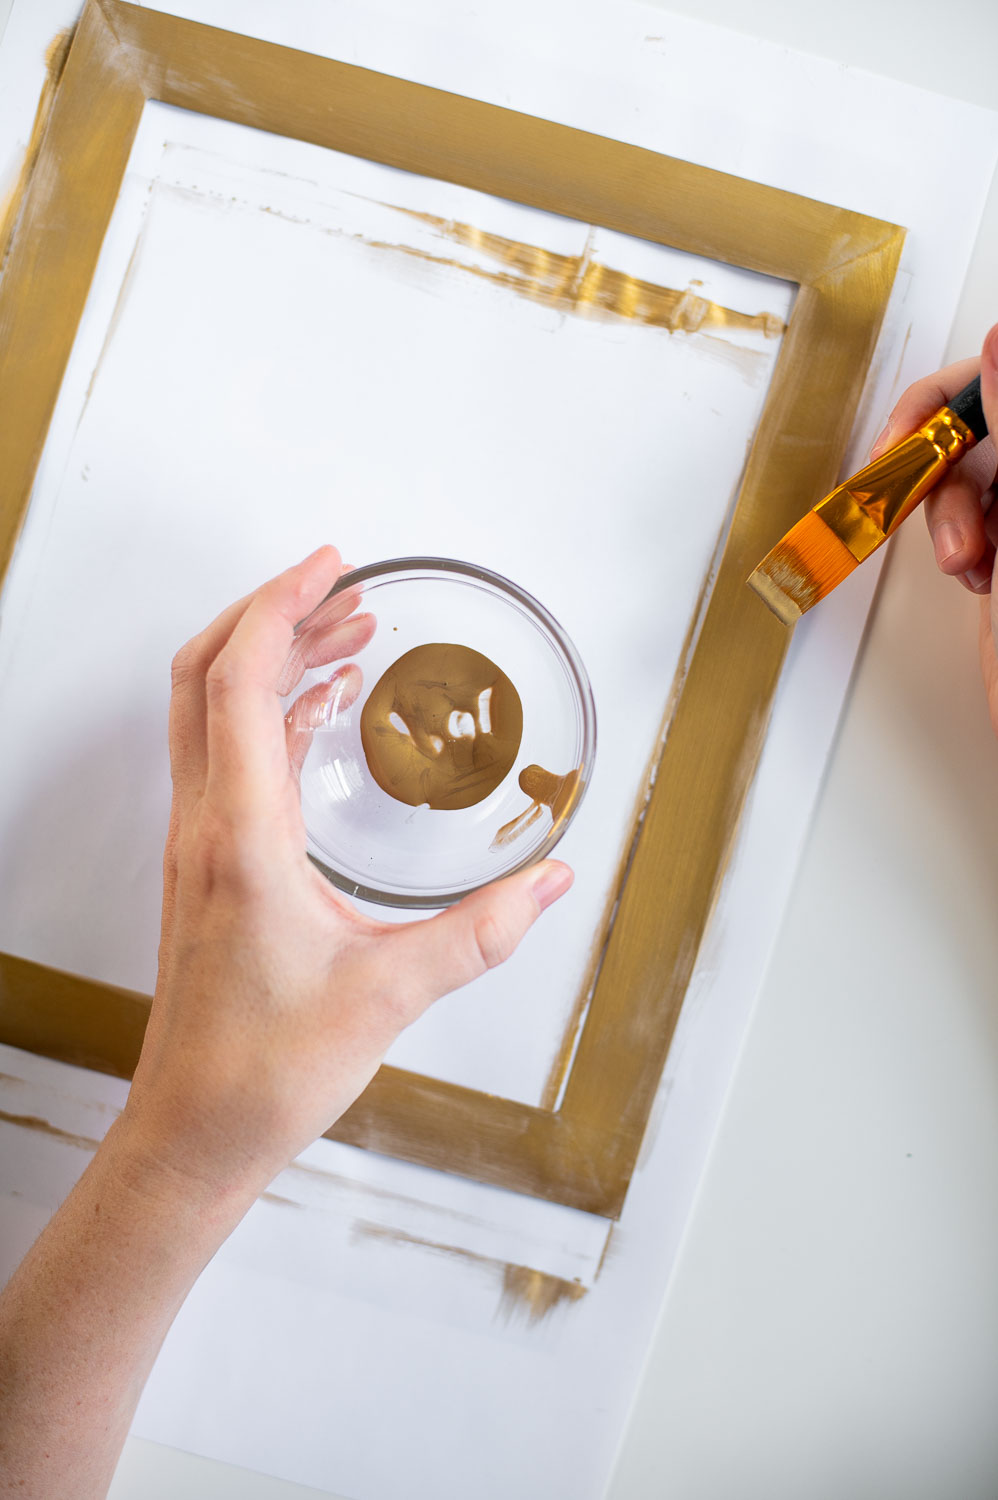
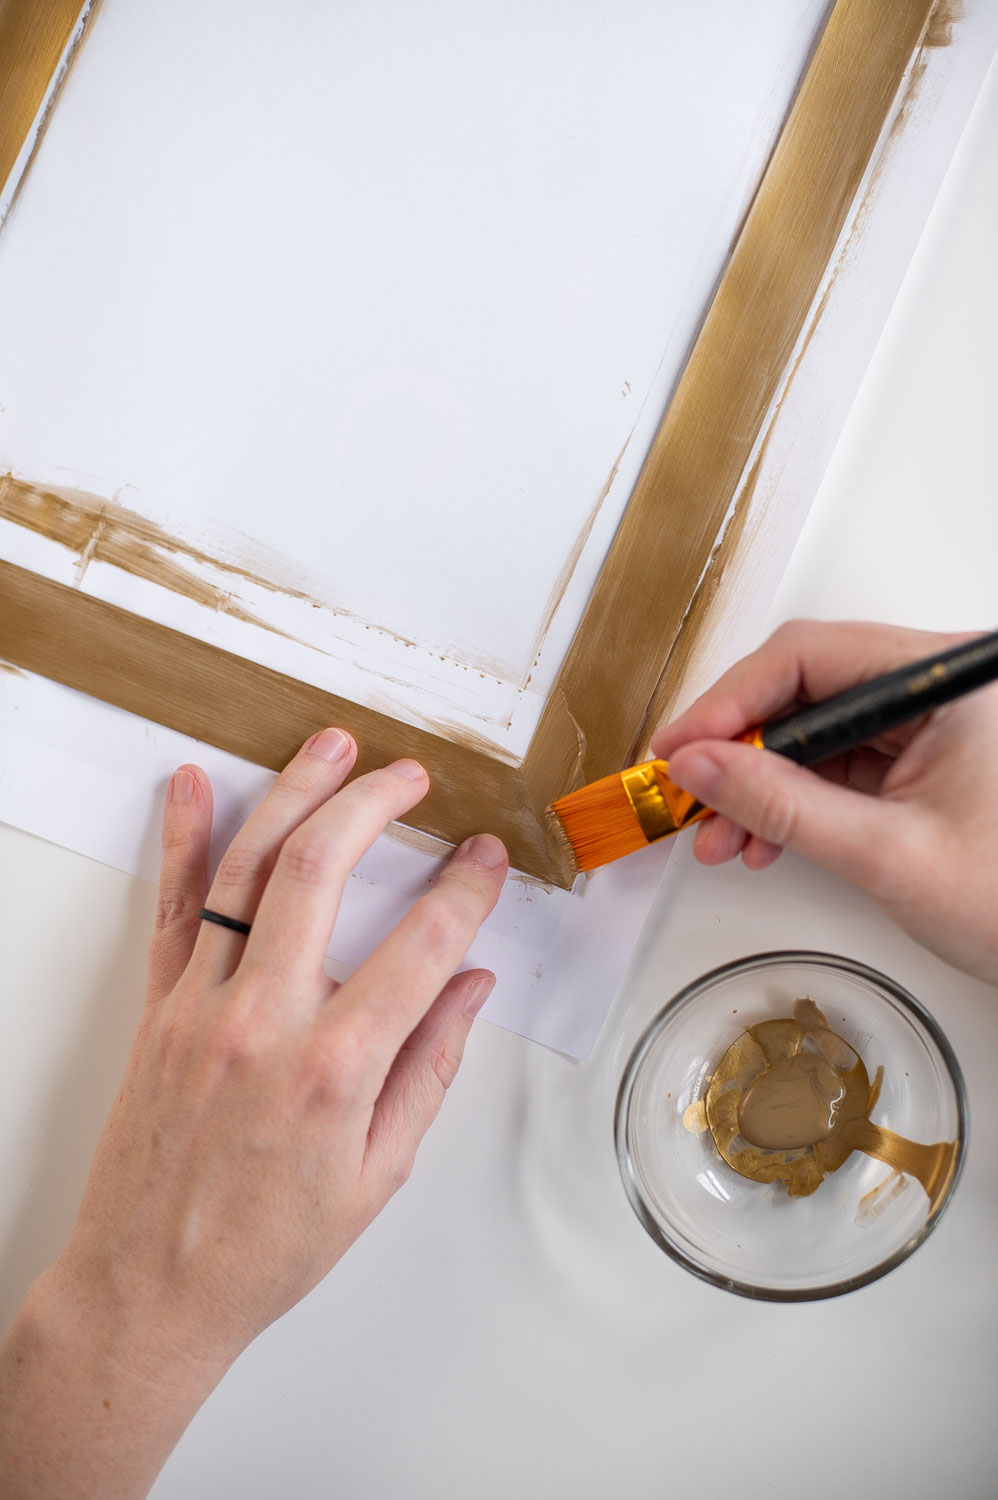
The trick to getting this to look good is to paint pretend mitered corners on the ends of the mat.
So instead of just dragging your paintbrush from the top to the bottom, start your brush in the corner at an angle then drag to the middle. Repeat from the other corner to the middle.
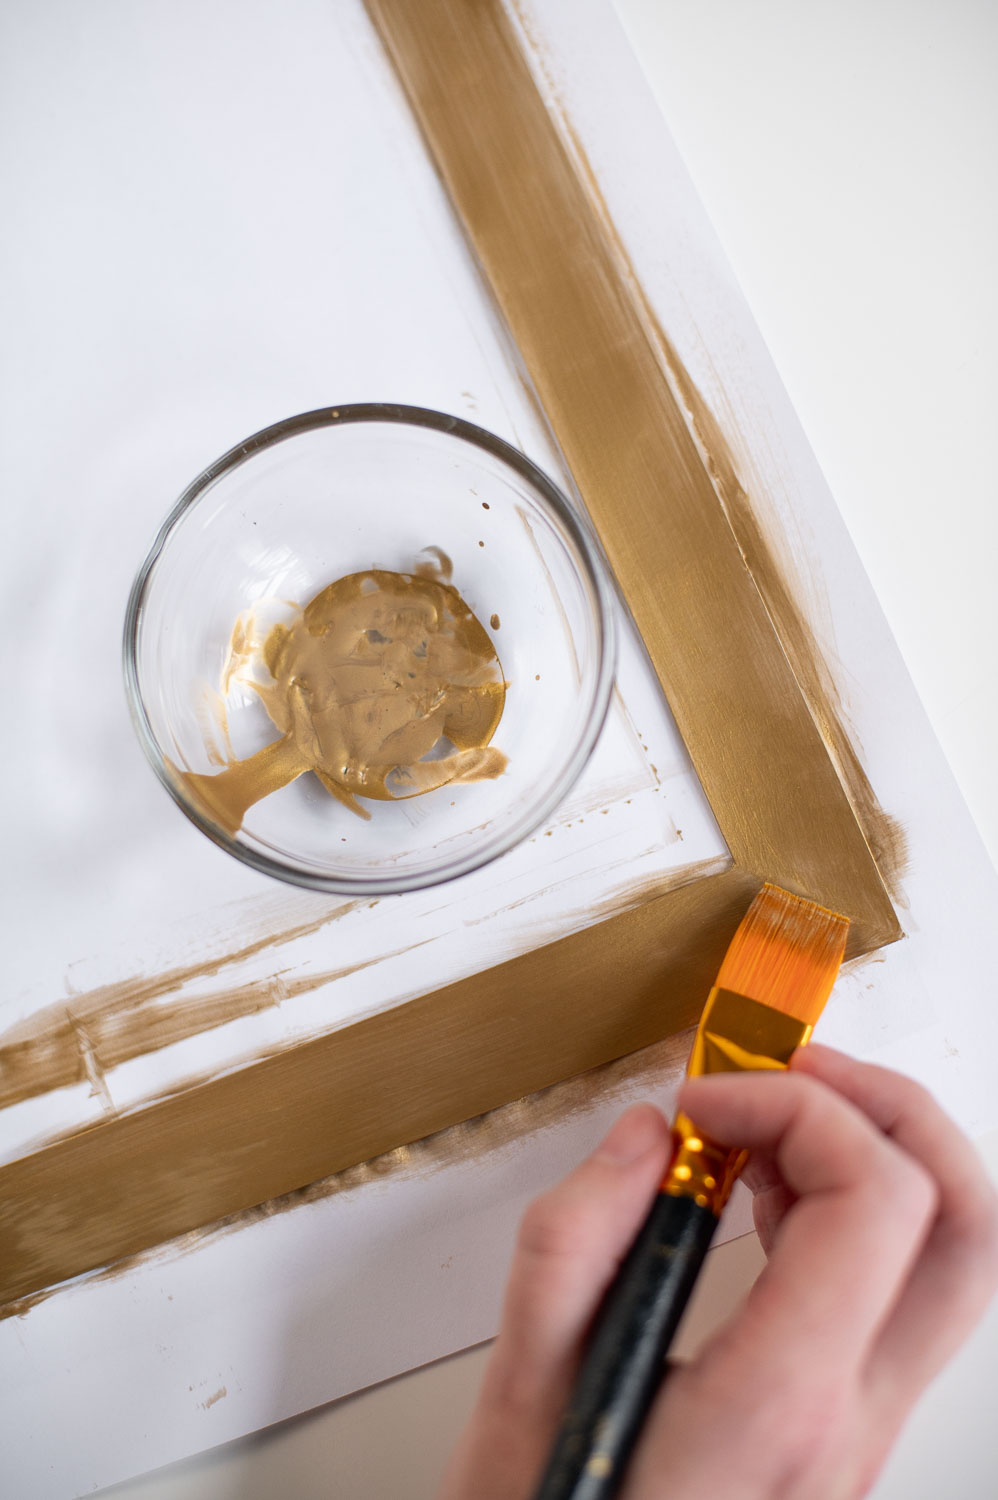
We’re doing this first because you’ll likely need more than one coat of paint on the mat to a get a good solid finish and we need time for it to dry before we assemble our frame later!
Pro Tip: If the moisture from all that paint makes your mat wavy, even after it’s completely dry, cover it with a piece of parchment paper. Then stack some heavy books on top and let it sit for a while. That should help flatten your mat back out.
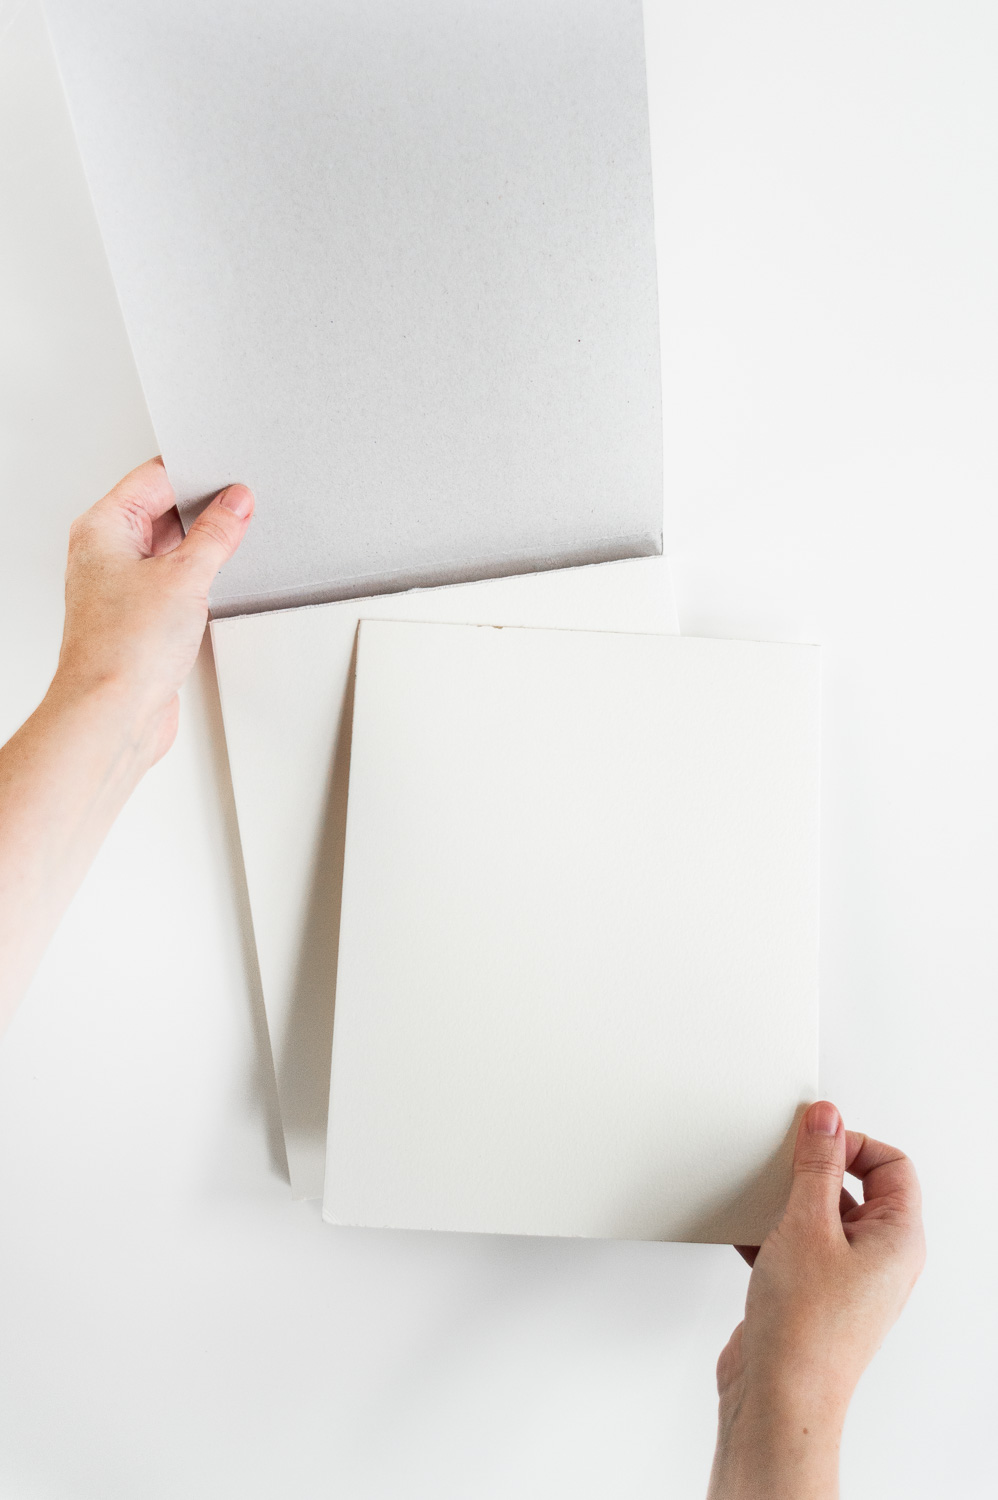
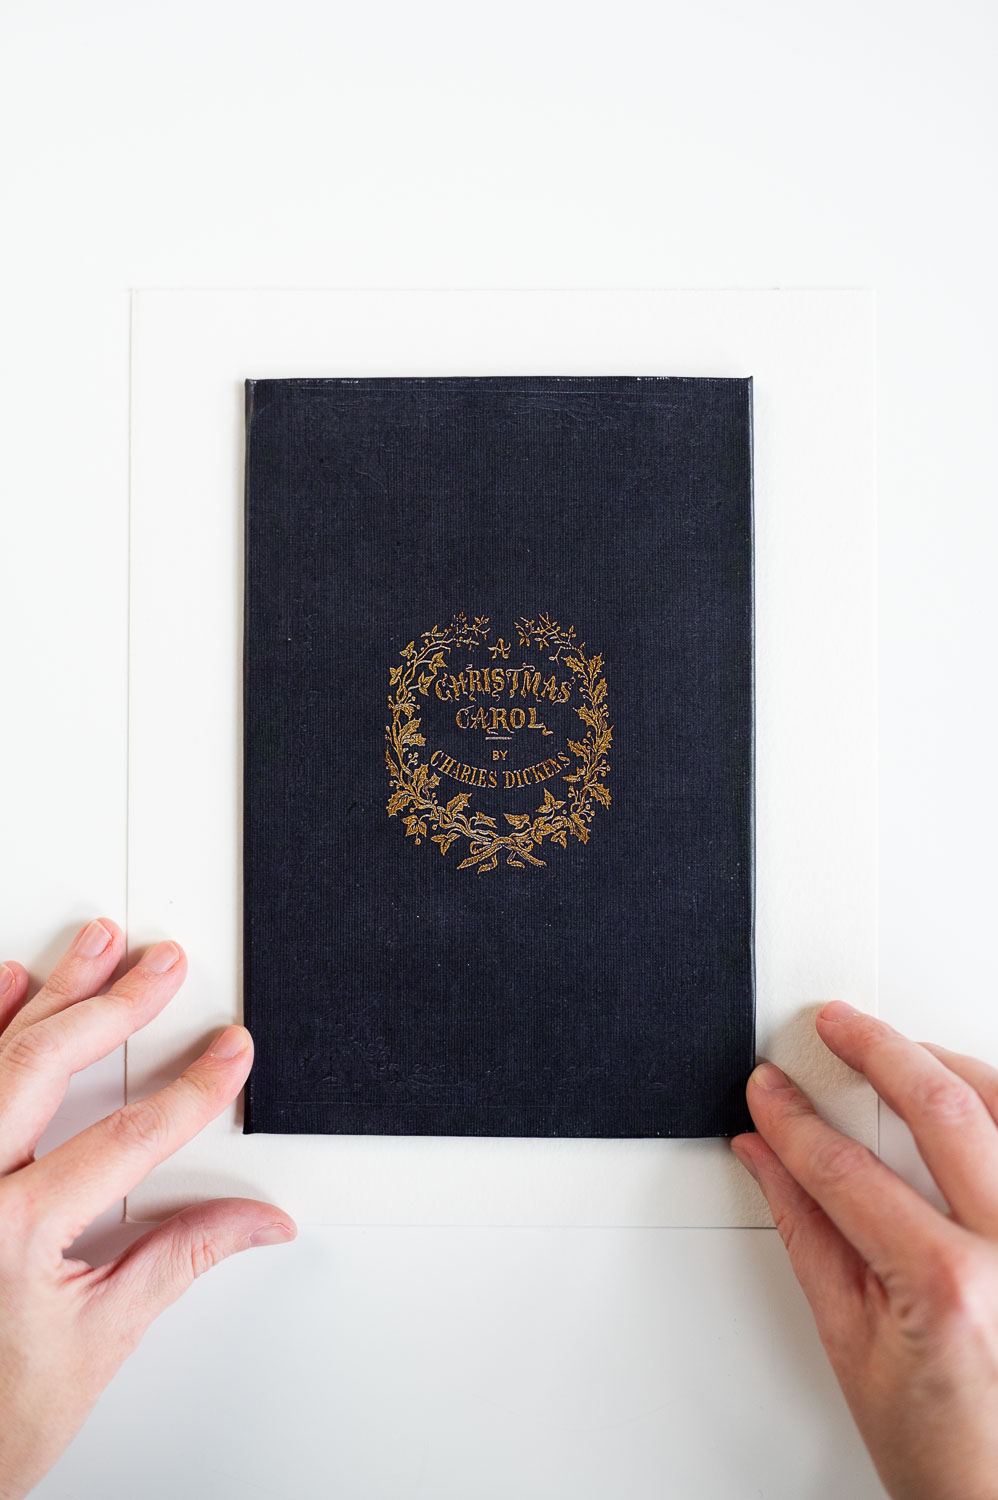
Step Three: Trim Your Canvas Board To Size
The next step in this process is to trim down the canvas board to the size we want our finished book cover to be.
That should either be approximately 5.24″ x 8″ or 5.5″ x 8.25″. (It will just depend on how your printer chooses to scale the image onto the paper when you print the file.)
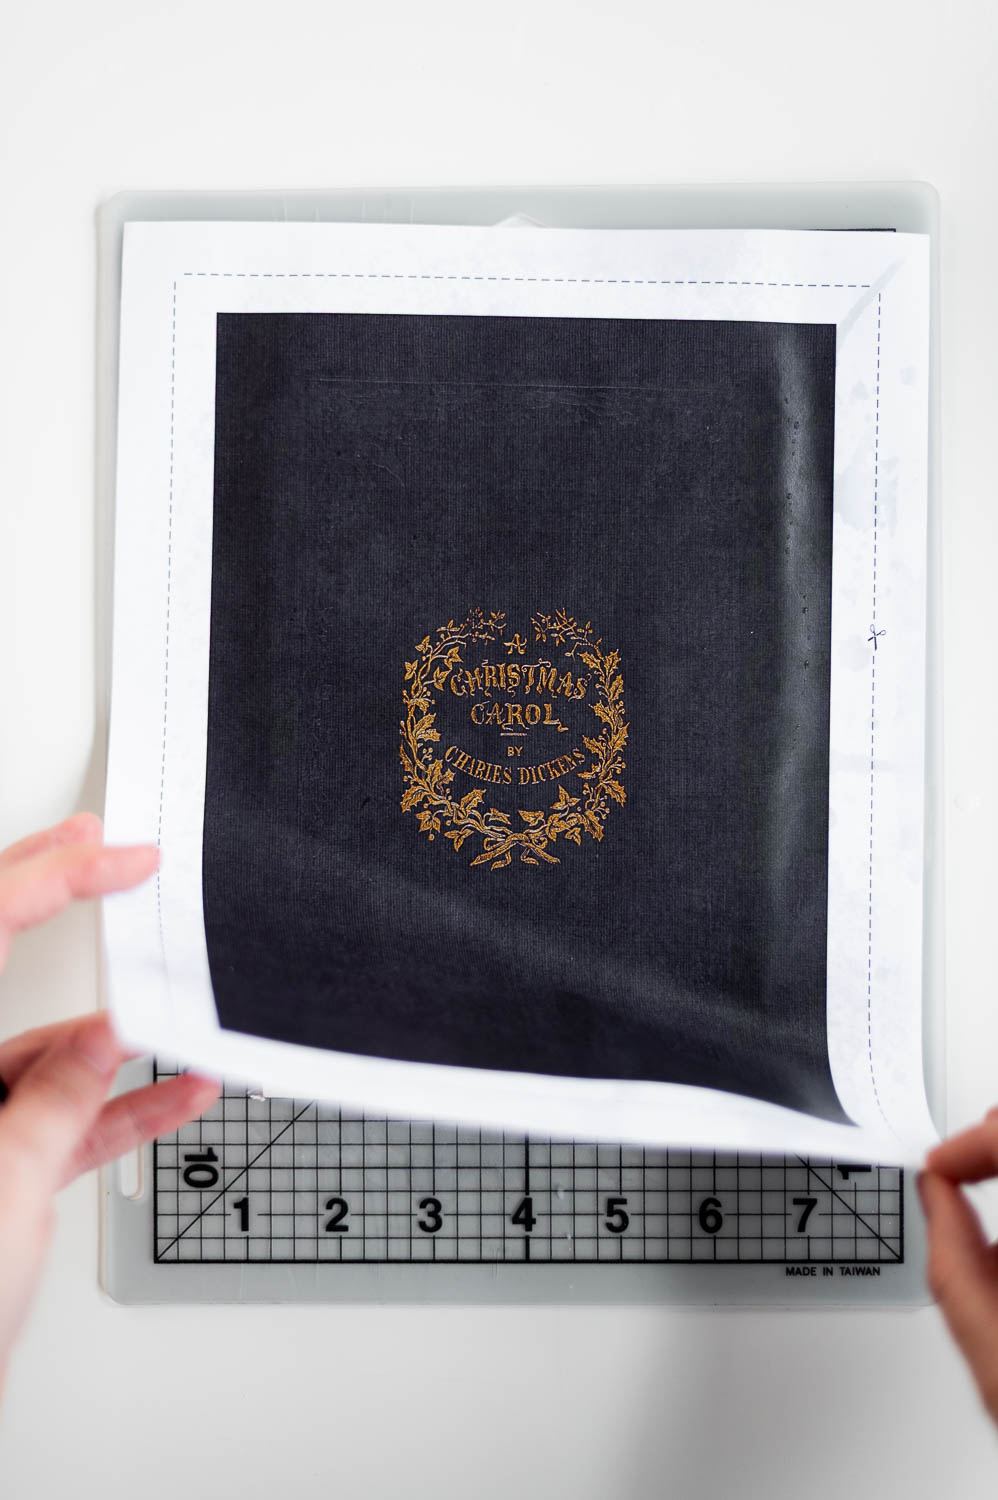
To know for sure what size to trim your canvas board to, measure your printed art file and ensure you have at least a quarter of an inch extra on all sides past the cover design.

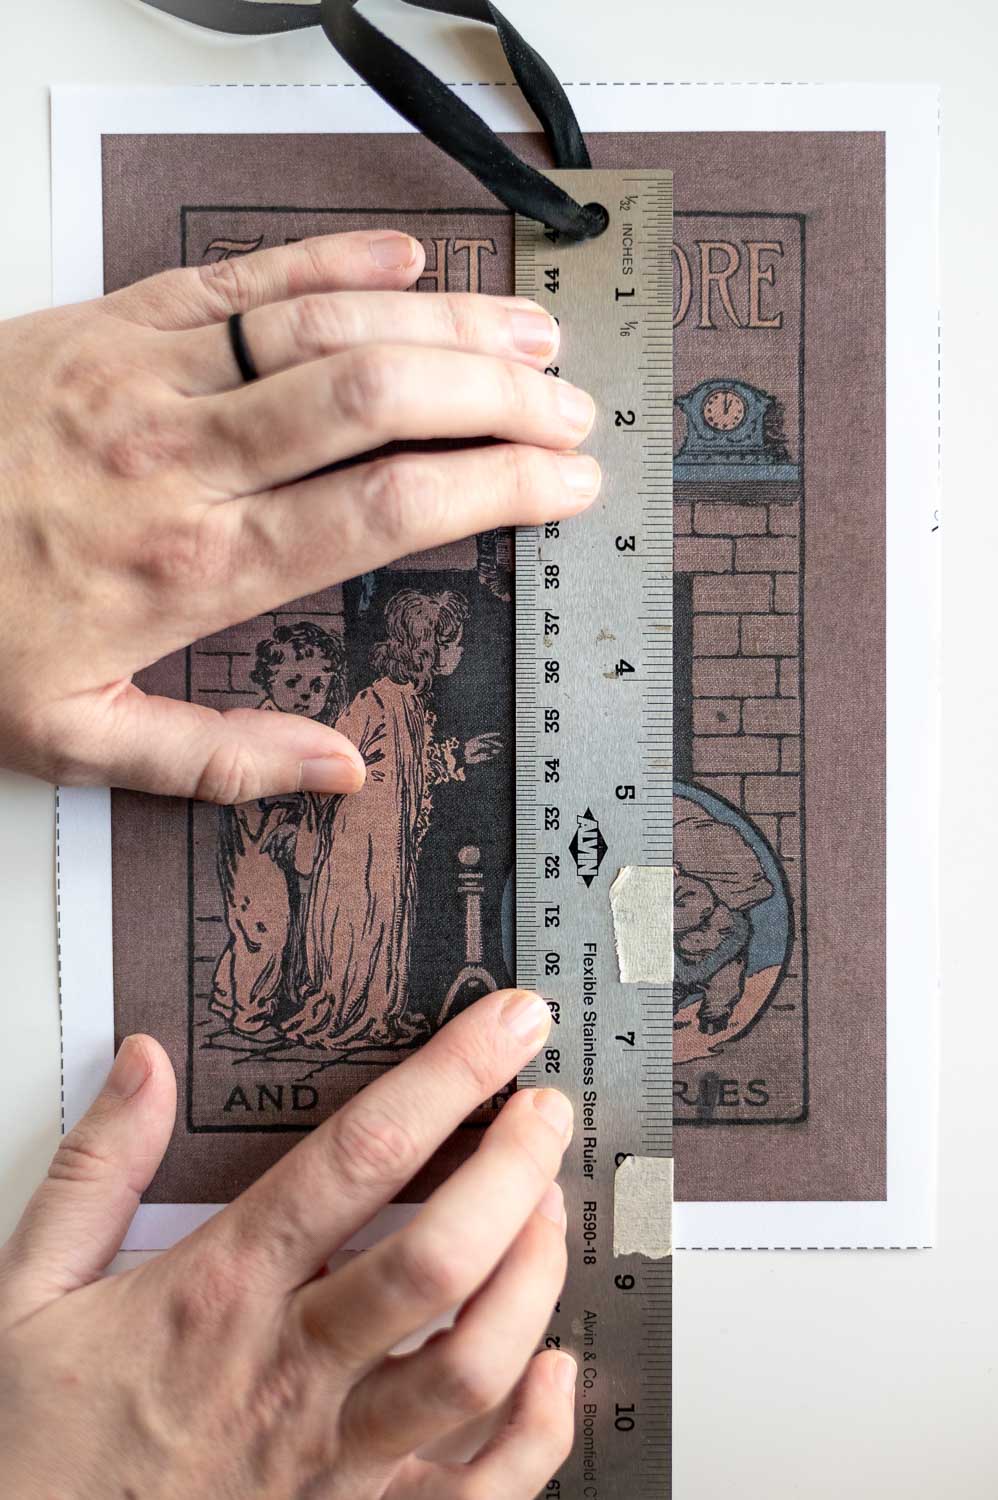
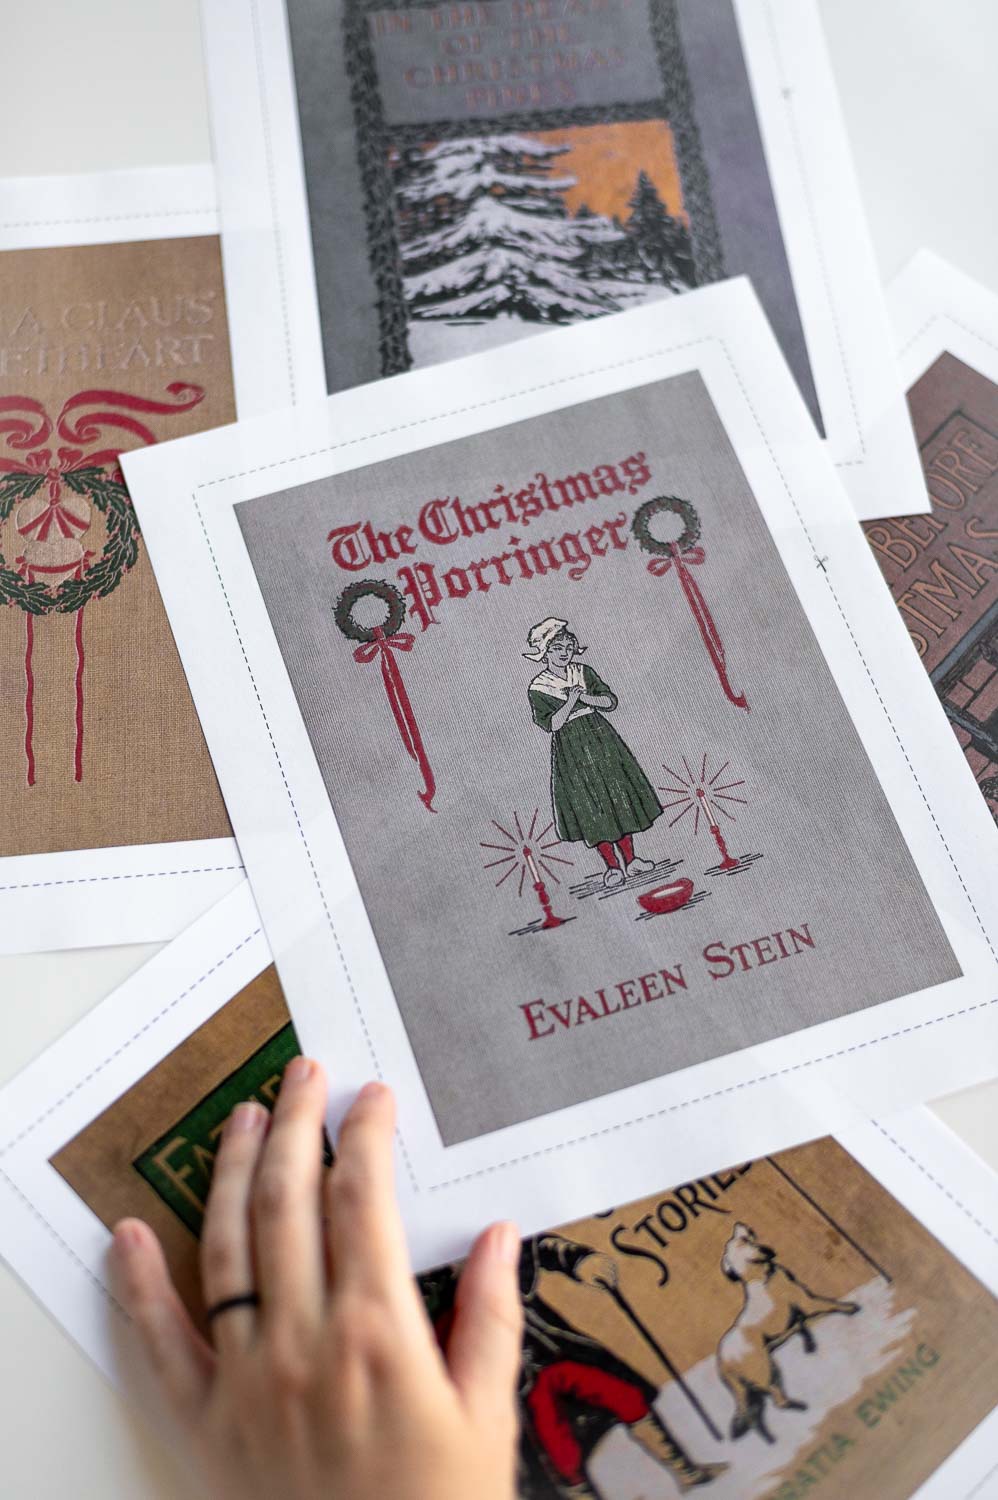
We want to make sure no elements of the cover art are going to get cut off when we wrap the print around the edges of the canvas board. This is especially important on any of the covers that feature a border like the one pictured above.
I like to place some tape on my ruler where the measurement is so I don’t make any mistakes later.
Once you have a width and height measurement for your cover art you can mark out trim lines onto your canvas.
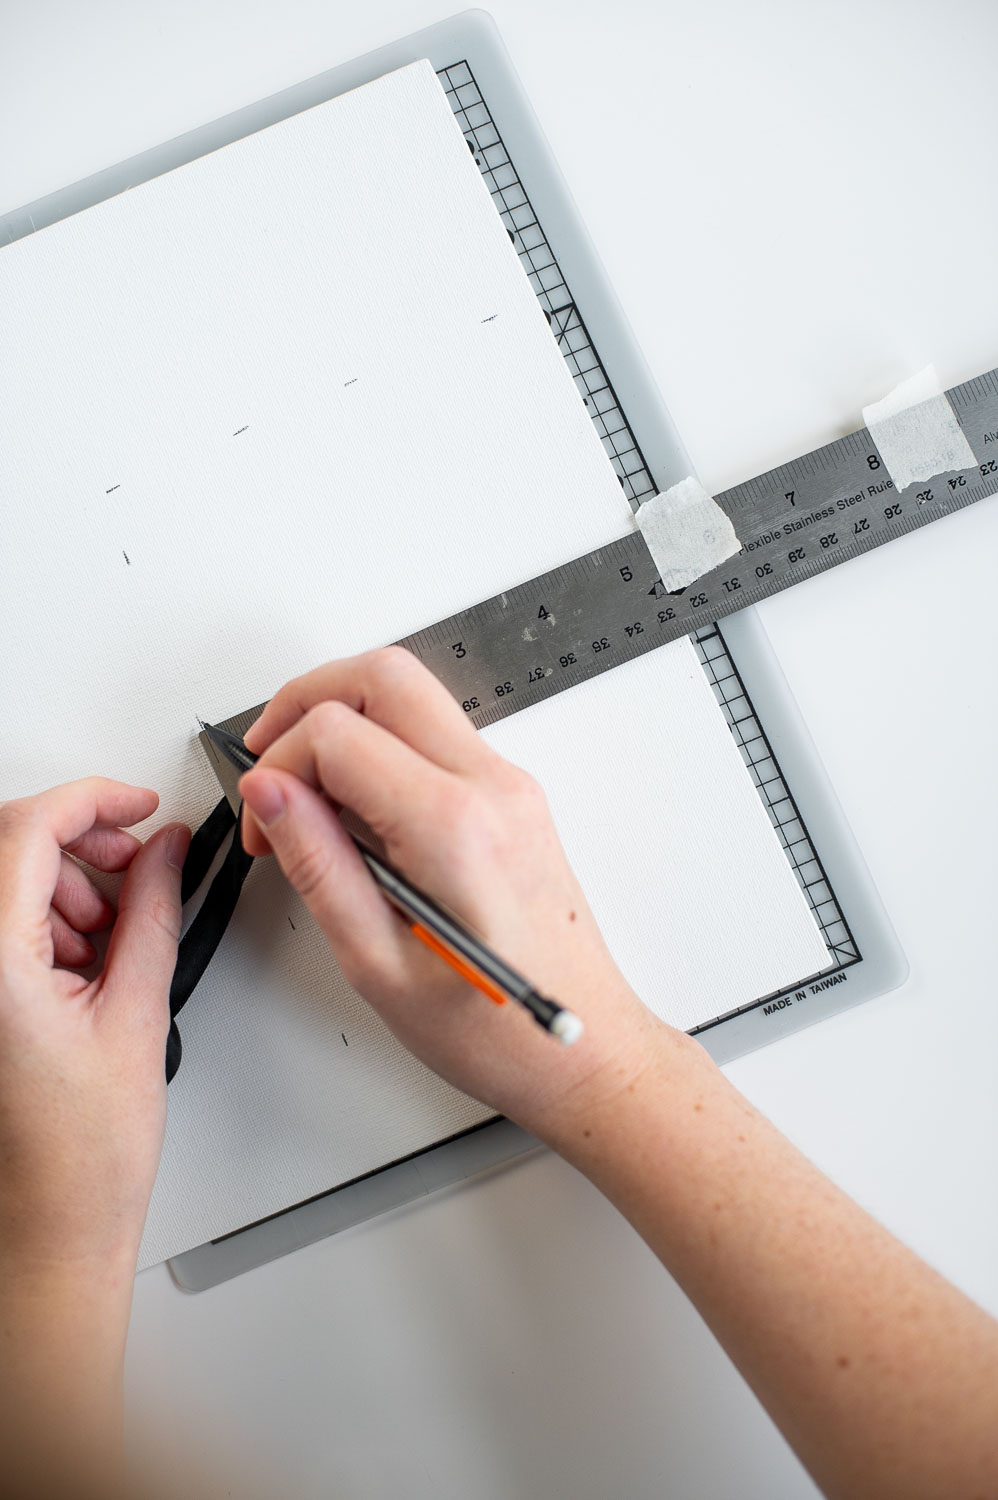
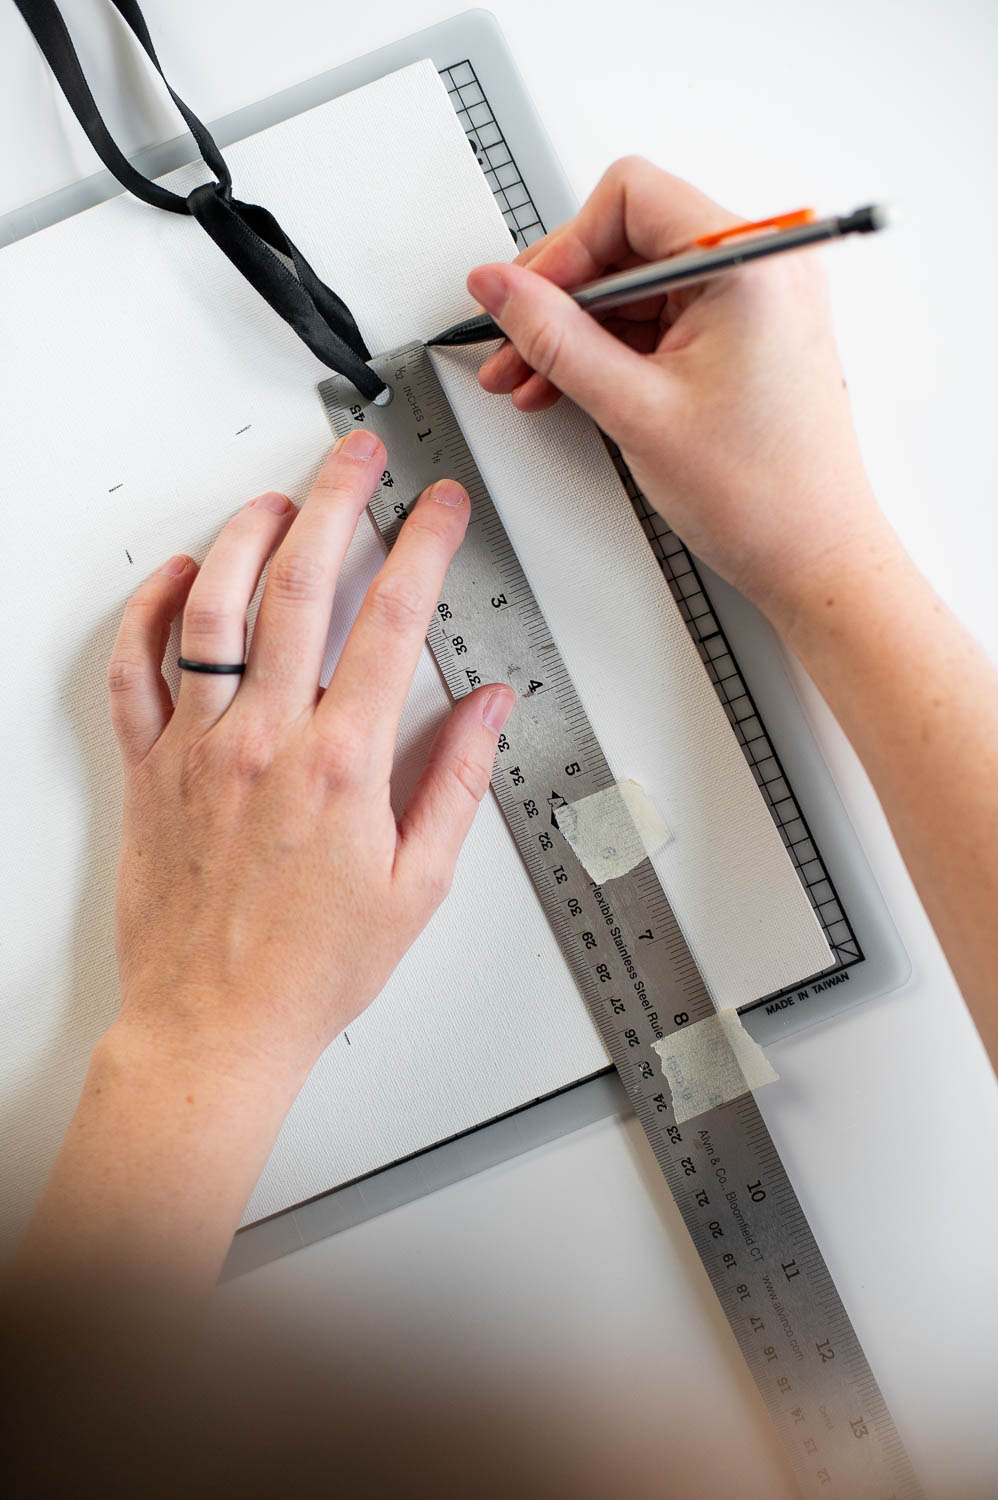
Once you’ve got the measurements marked out, you can cut your board down using a craft knife.
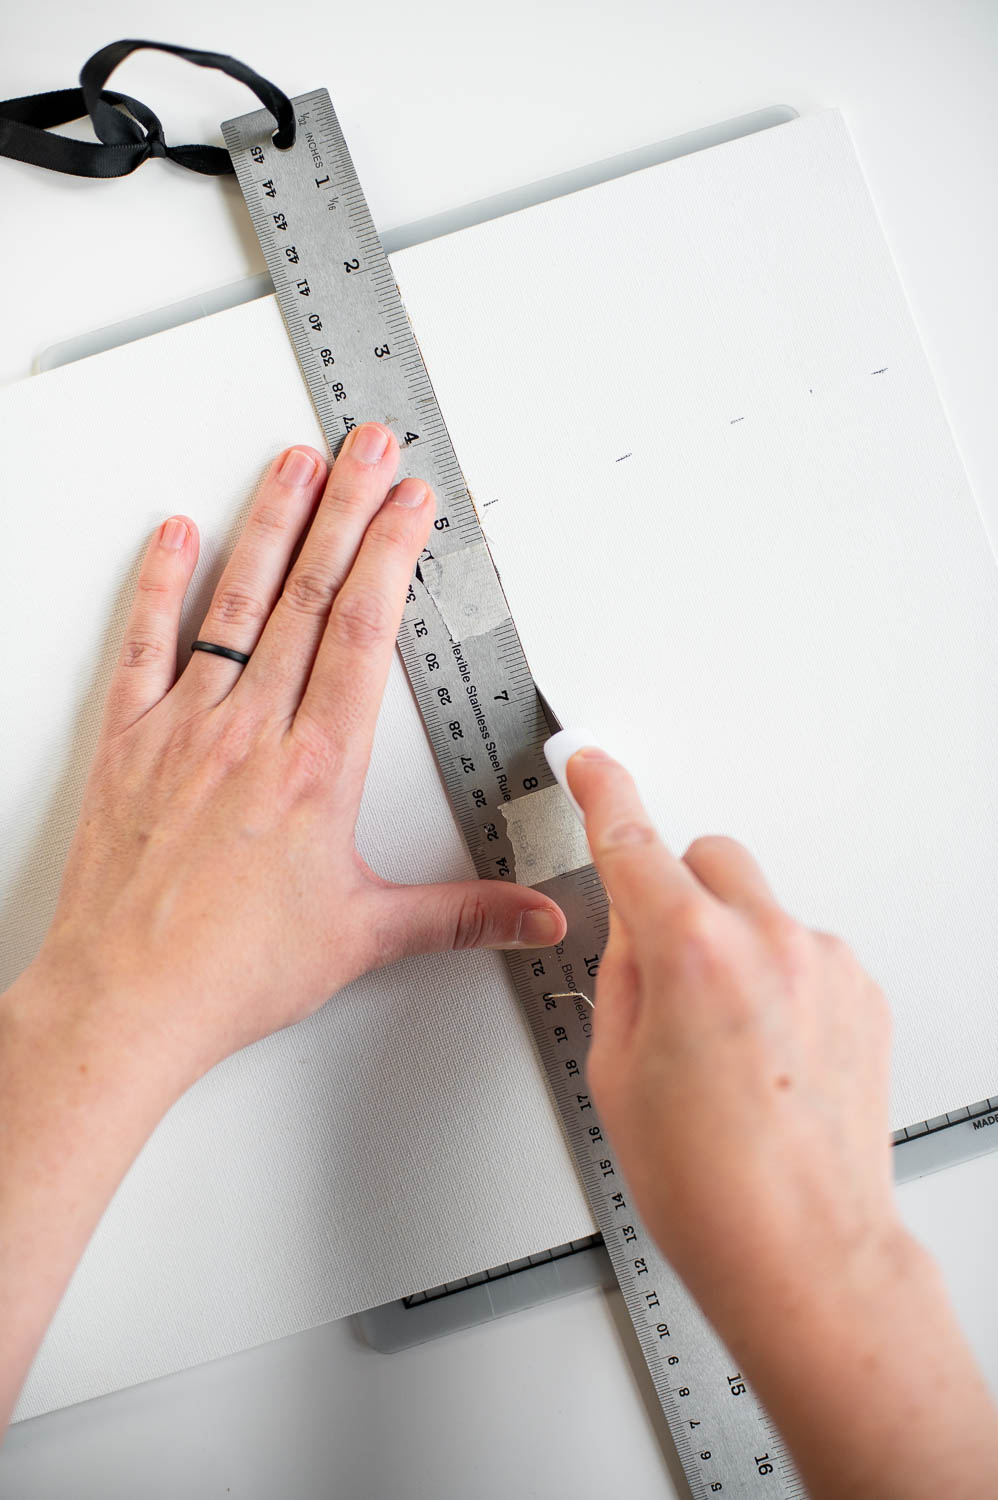
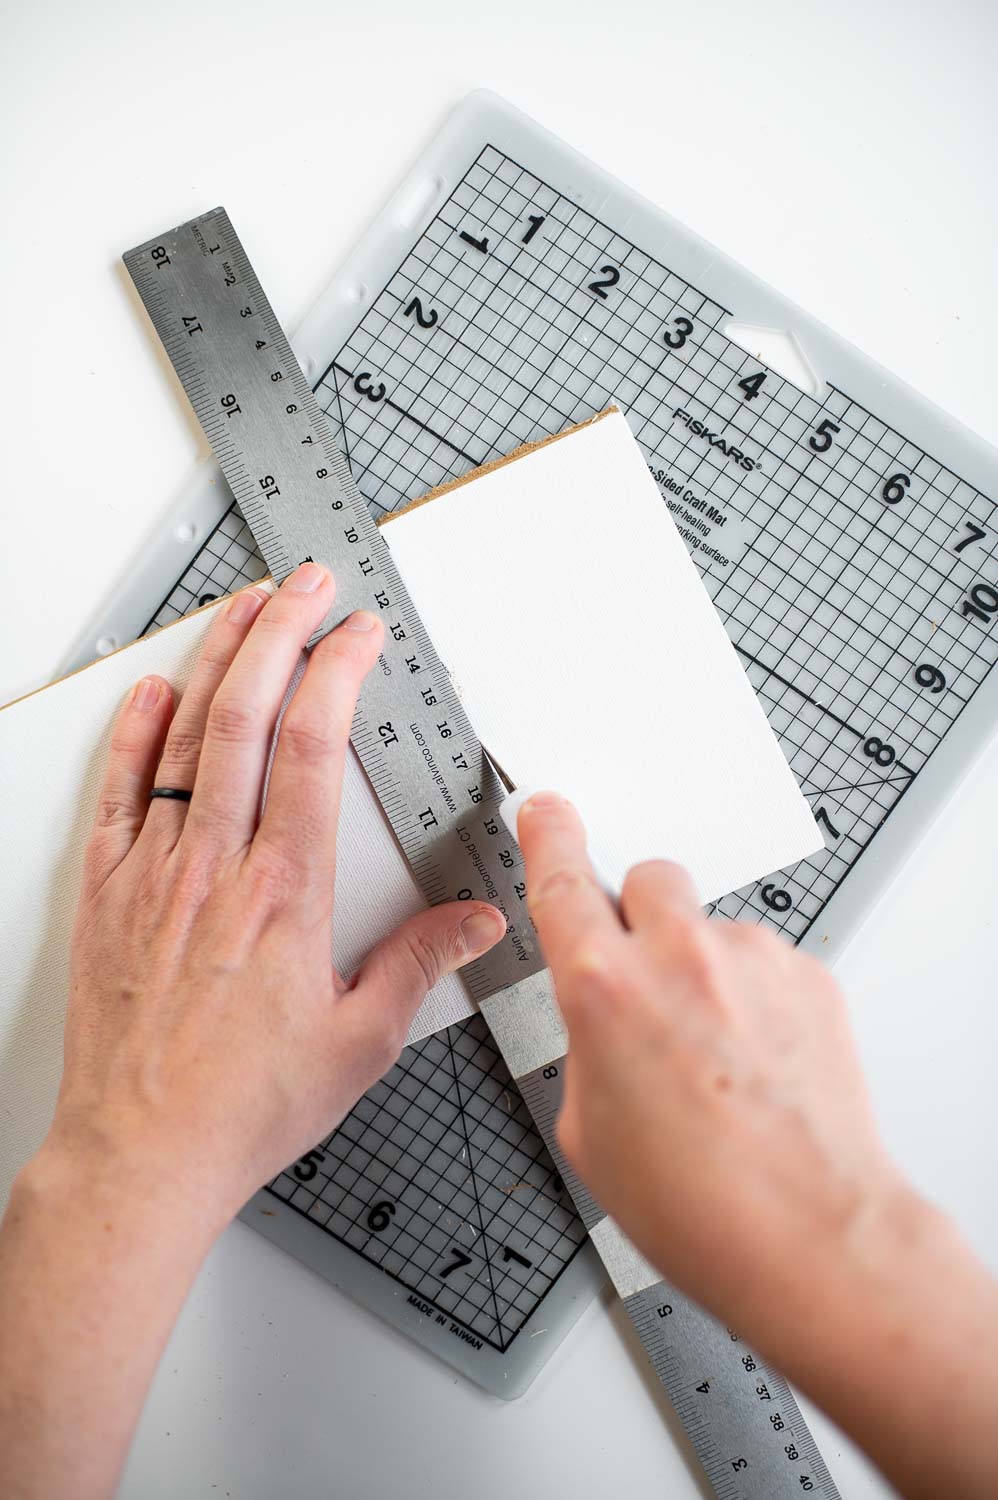
You will likely need to press pretty hard and do several passes, on both the front and back of your canvas board, with your craft knife or box cutter to get all the way through the canvas board.
Be sure to clean up your edges the best you can if it doesn’t cut cleanly.
We’ll need the sides to be as smooth as possible for the next step in this process.
Step Four: Use The Mod Podge To Adhere Your Paper Print To The Canvas Board
This next step in the process I’ve actually written about in detail HERE, so I won’t get into the nitty gritty of the entire process in this blog post to save time. So if you want more details about how I’m doing this, check out this other post starting at Version 2 step 5 here!
That said, the basic process goes like this:
Start by lightly misting the pack of your paper print with water. Then apply a layer of mod podge over the entire surface of your canvas board.
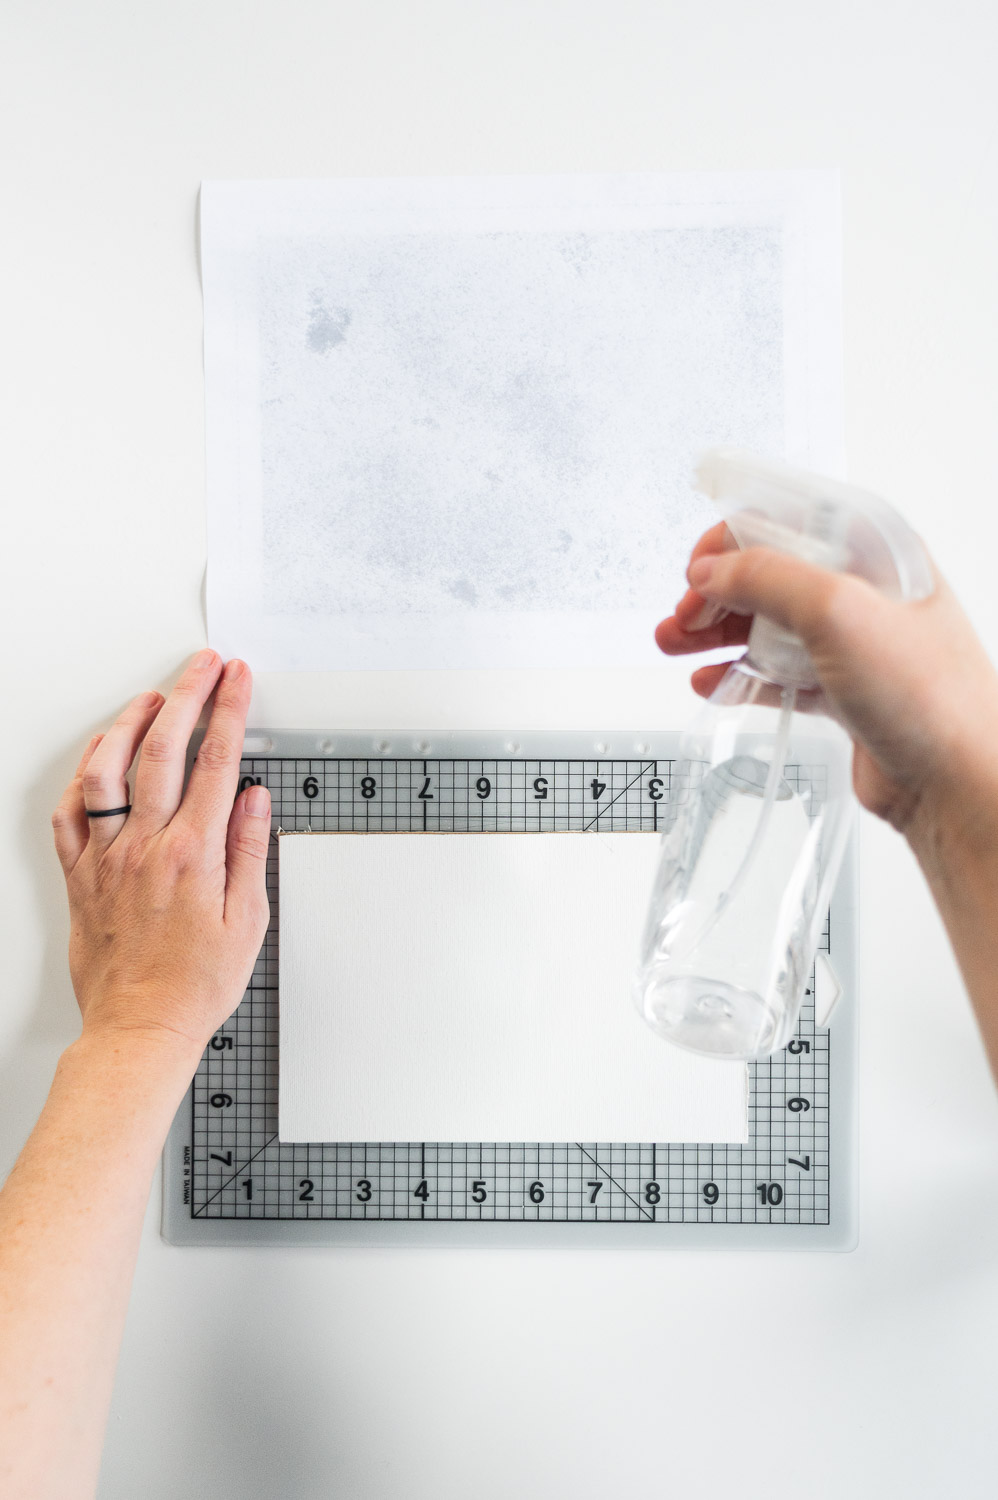
Now very carefully lay your wet print on top of, and centered on, your canvas board.
If you don’t get it quite right the first time, don’t try and slide it, you might rip the paper. Instead lift the paper up from the edges, reposition it and try again.
Next, use your rolling pin, rolling from the center out, to work out any bubbles and adhere your print to the canvas.
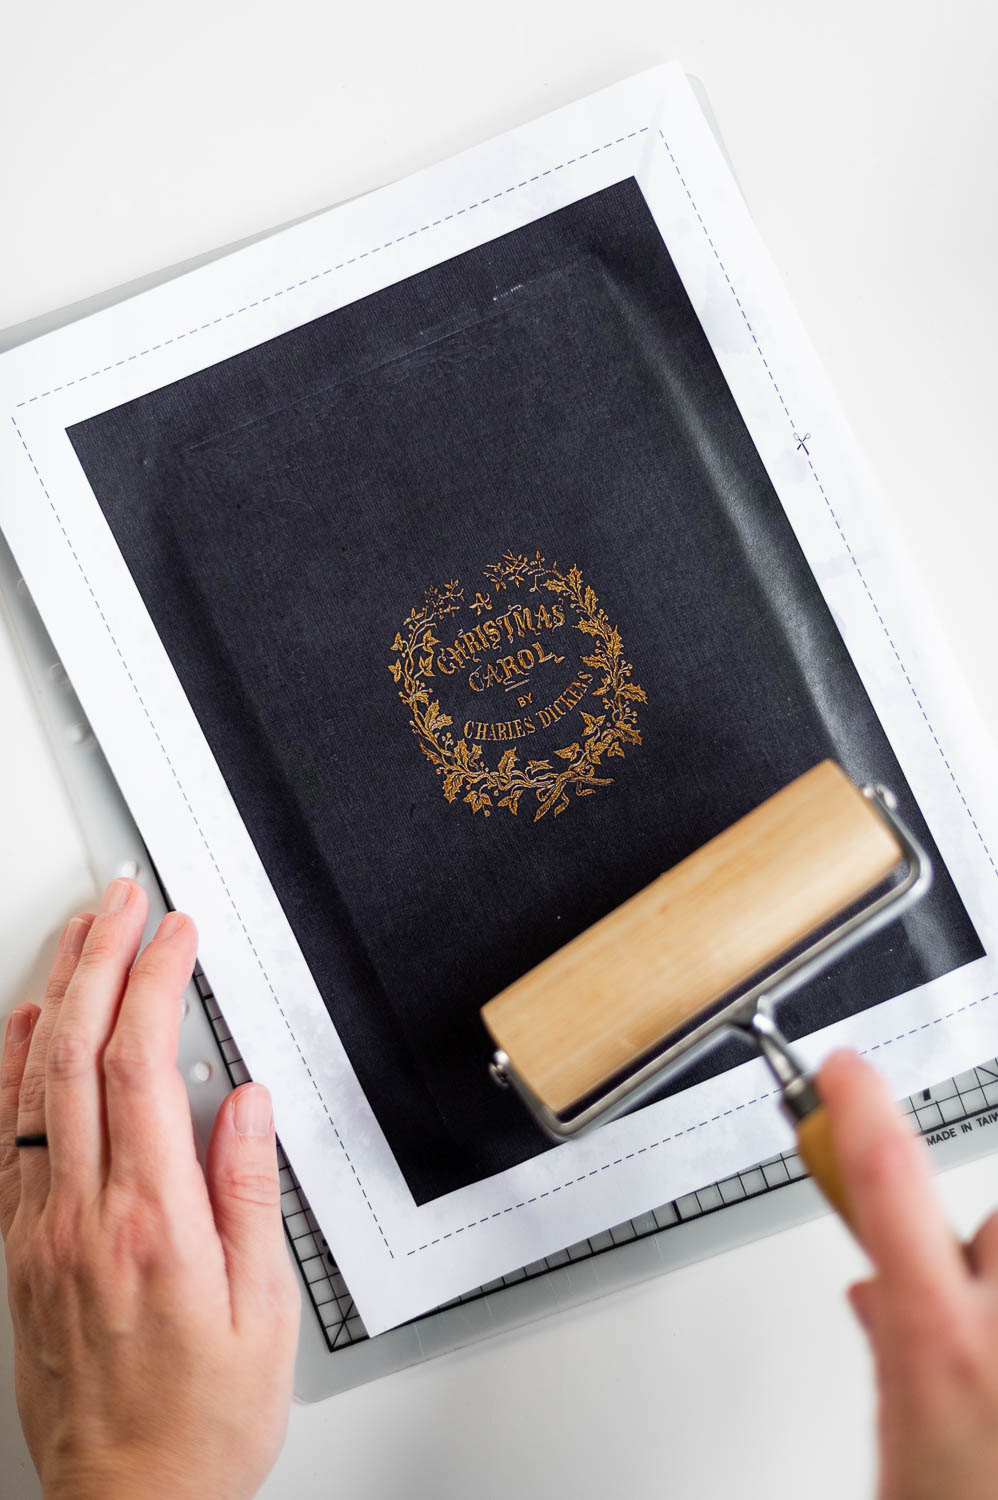
Now set your print aside and LET IT DRY. You don’t want to keep working with it while the paper print is wet. (This is a great time to put another layer of gold paint on your mat if you need to)
Step Five: Wrap The Paper Over The Edges Of The Board & Secure It To The Back With Hot Glue
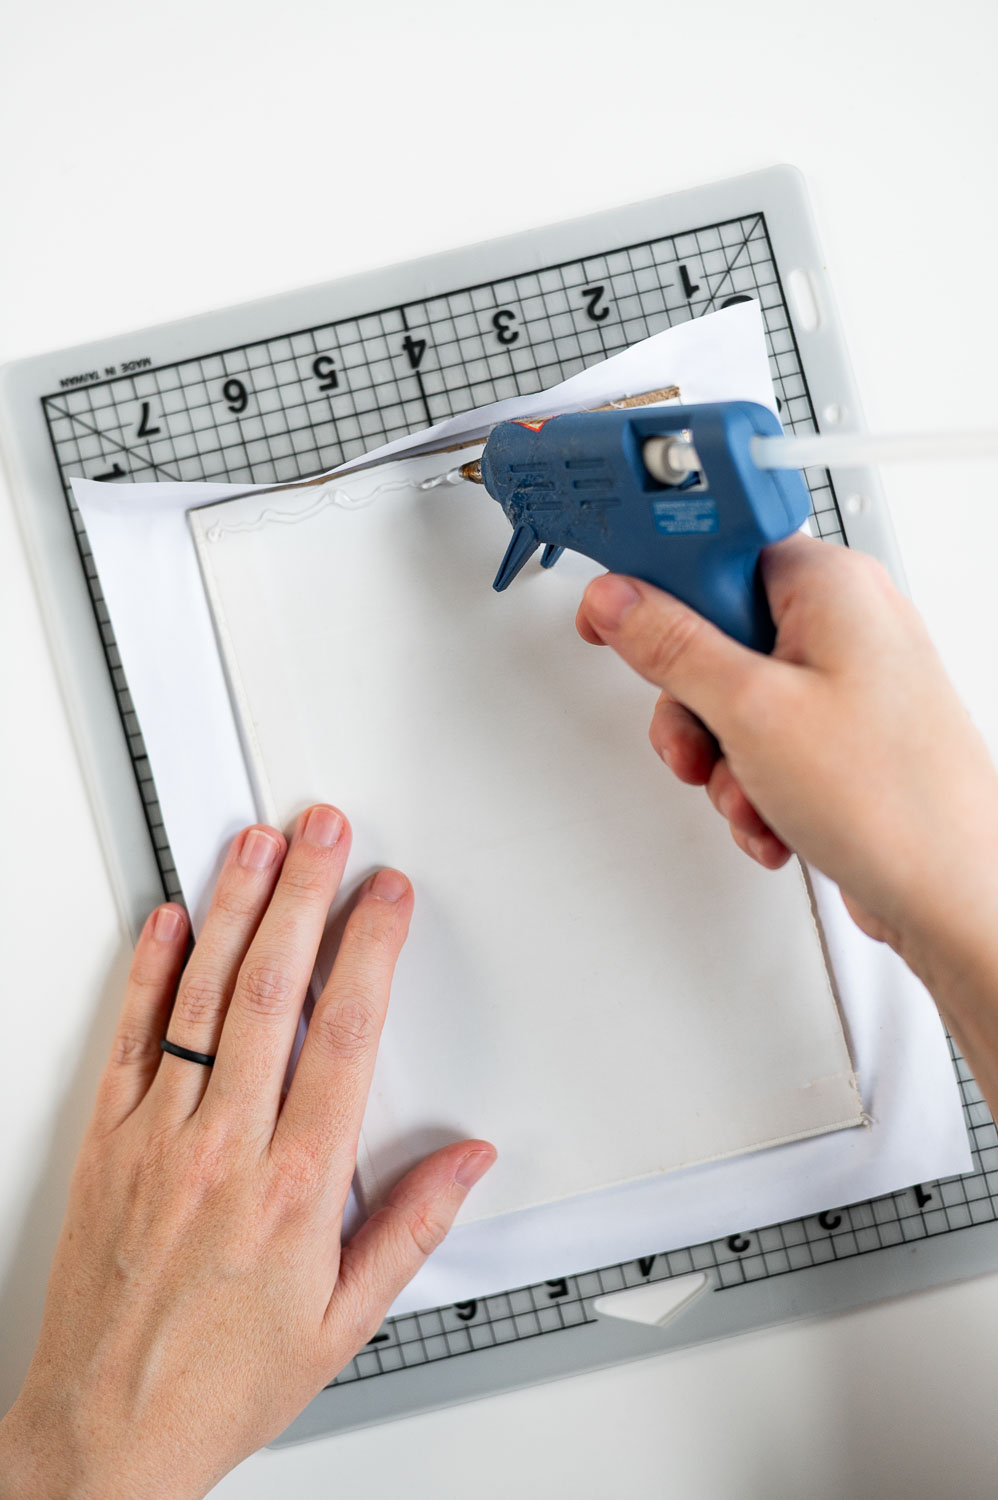
Once your art has fully dried, (like seriously, you need it to be DRY before moving on in this process, trust Kadie) you can flip your board over, trim off the excess paper, and wrap the edges onto the back like a present.
Then use your hot glue to secure everything down.

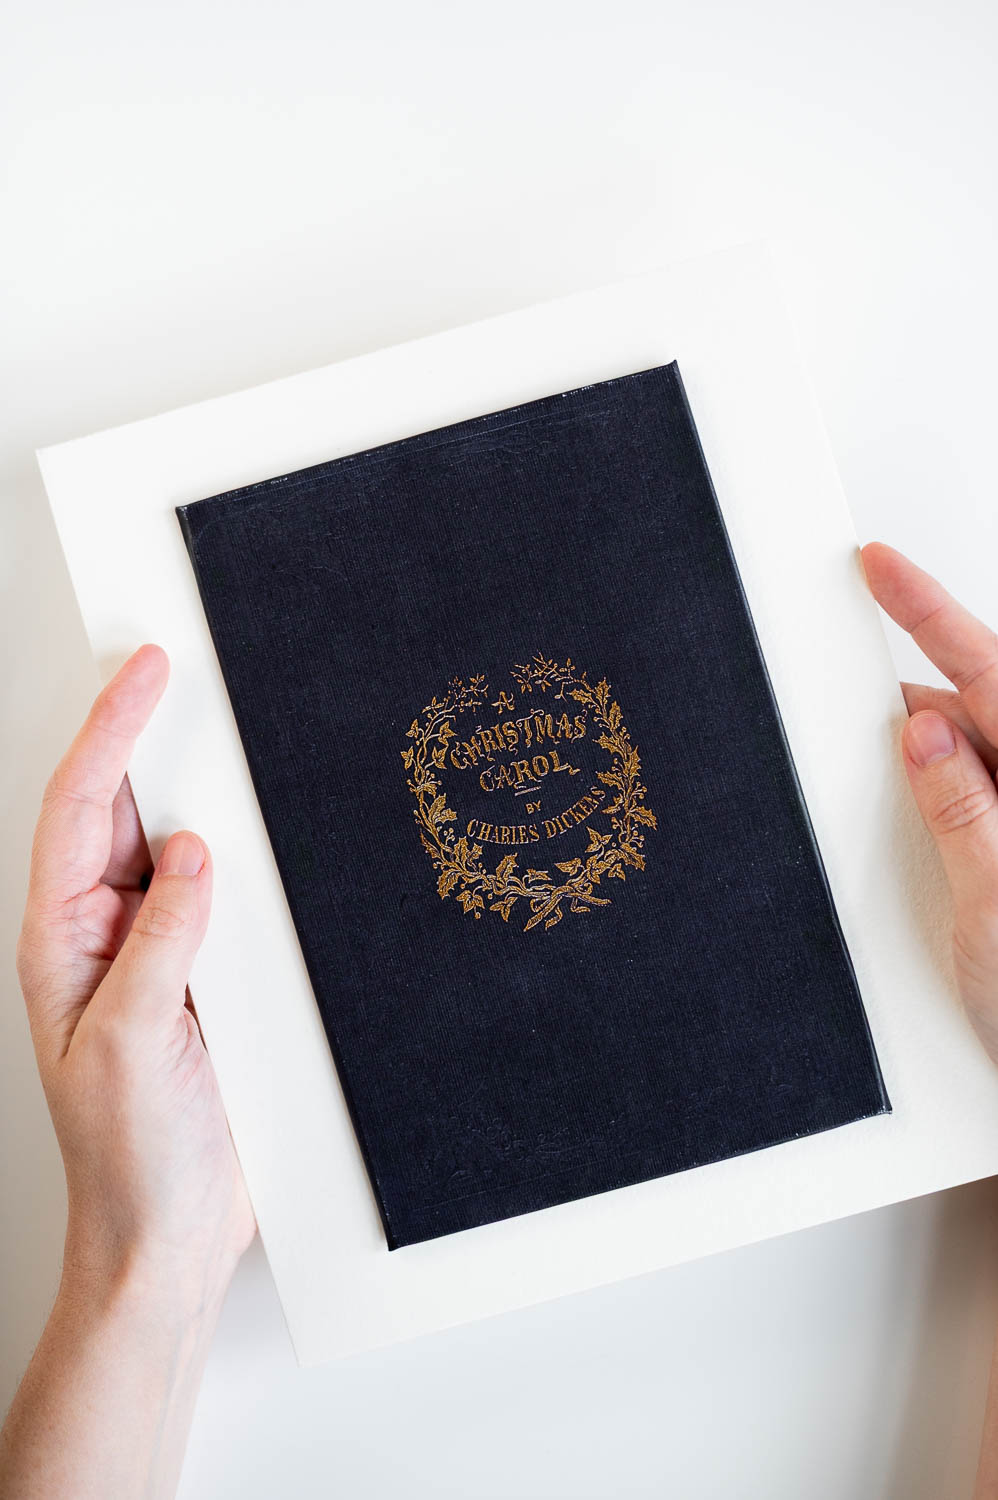
Step Six: Use The Adhesive Dots To Attach Your Book Cover To The Watercolor Paper
The viral Christmas Carol framed wall art I saw had the book cover mounted on some textured off white paper. We can get a similar look by mounting our book cover onto some thick watercolor paper.
Note: If you want your background paper to look more aged, you’ll need to yellow it a bit. My favorite way to do this is with tea! Any black tea works. Just brew a cup, then use the tea to paint your watercolor paper. Just be sure it’s fully dried before moving onto this next step.
I used one adhesive dot in each of the corners of my book cover and another in the middle of the book.
Once you have the adhesive dots on, you can flip your book cover over, center the book cover on the sheet of watercolor paper, and then press down firmly to adhere the two elements together.
To ensure I get maximum adhesion, I like to place a clean sheet of paper on top of my book cover, then rub and press down all over.
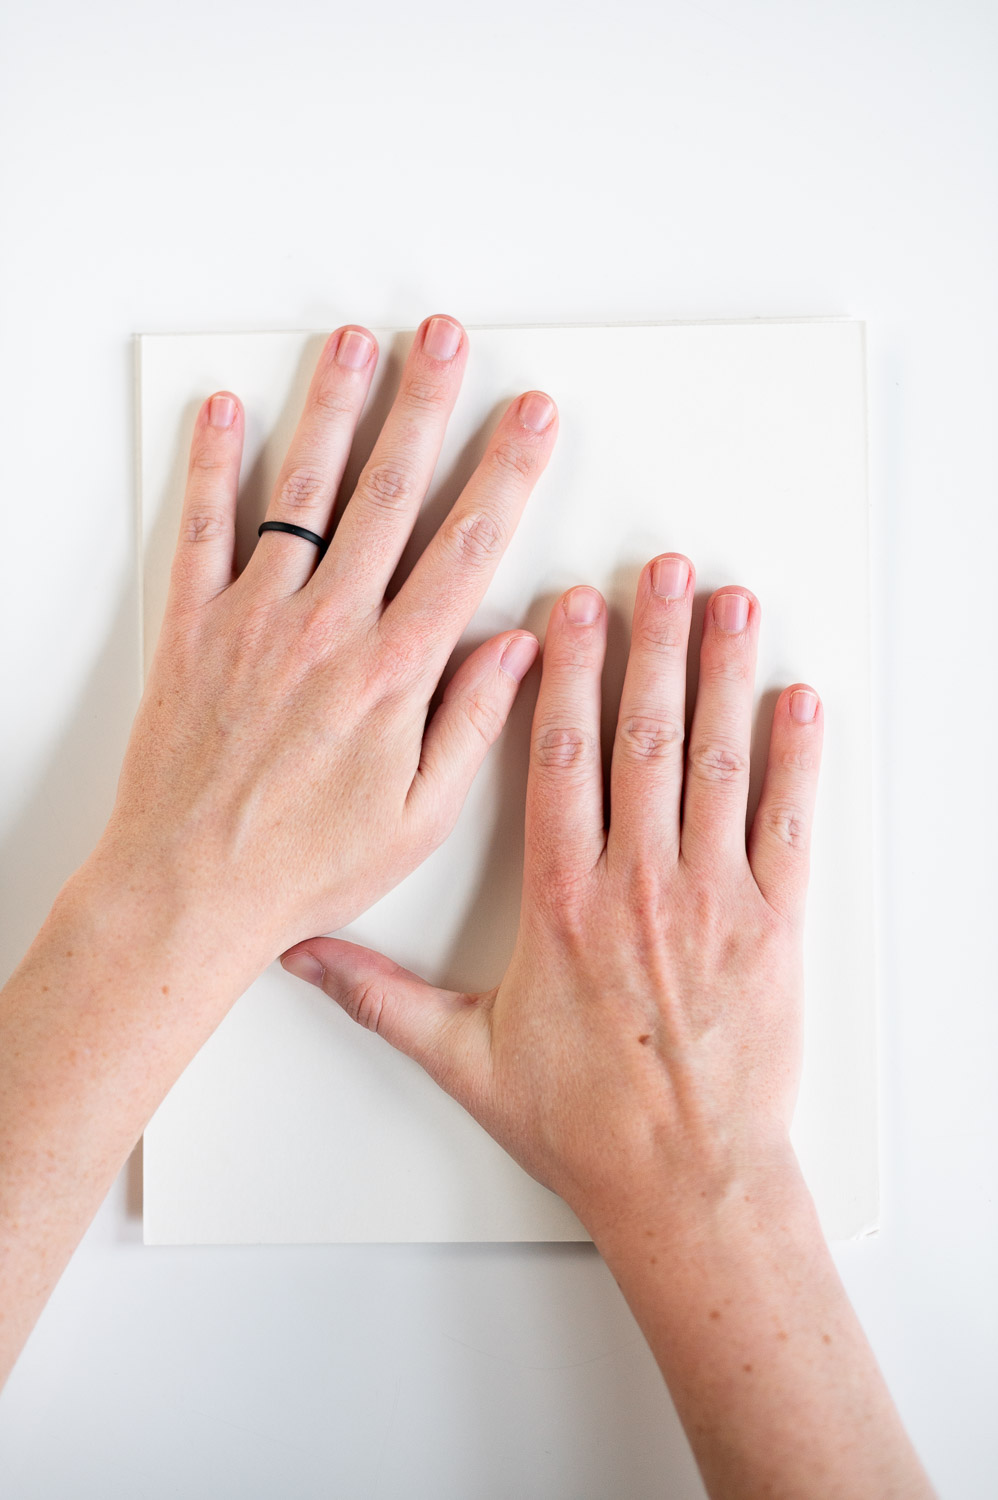
That way I don’t have to worry about damaging the front of my art or getting fingerprints all over the front of it while I’m pressing down.
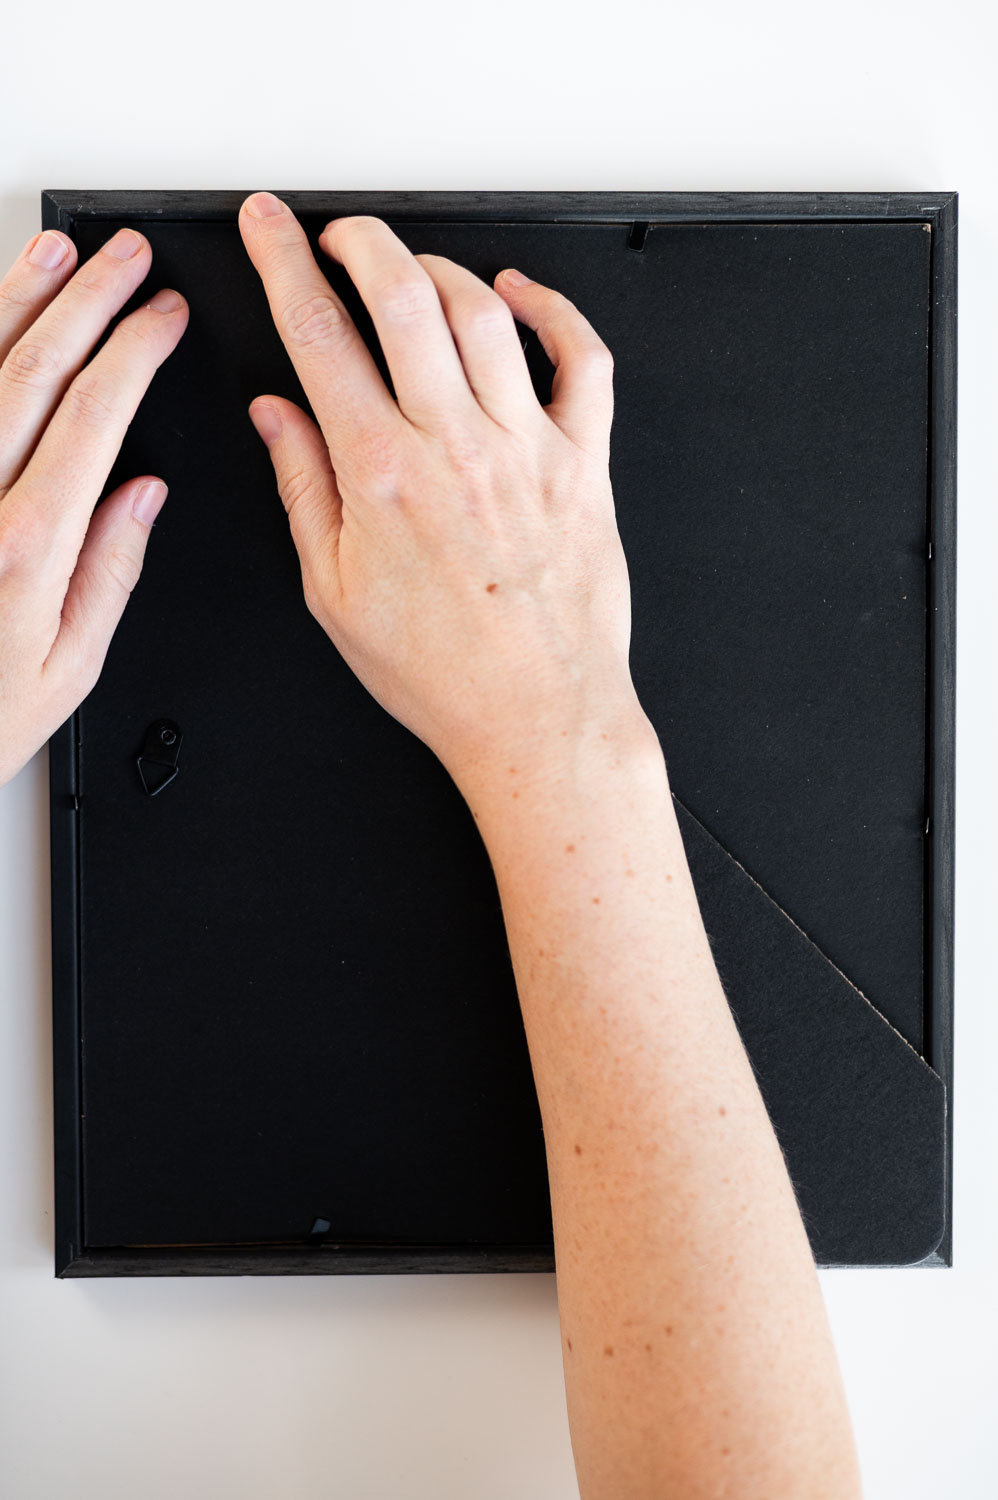
Step Seven: Assemble Your Frame & Tape The Watercolor Paper To The Back Of The Matboard.
It’s finally time to assemble your art in the frame!
Start by placing your gold mat in the frame.
Then (if you’re using the same Dollar Tree frame I used) place the cardboard spacers you removed to get the mat out, back into the frame behind the mat.
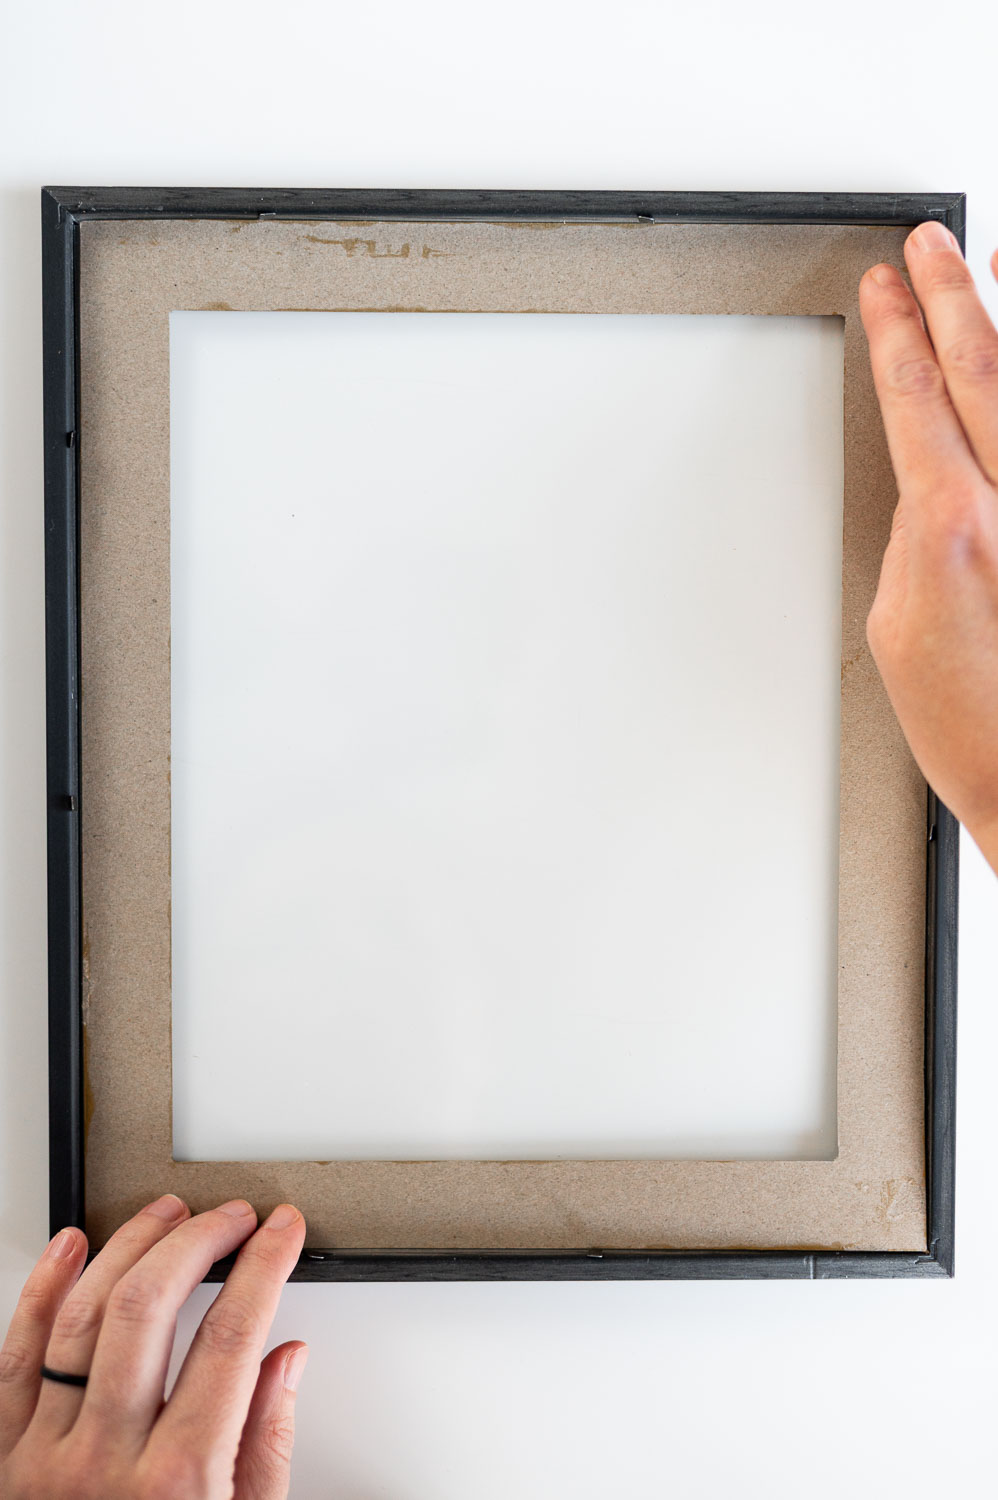
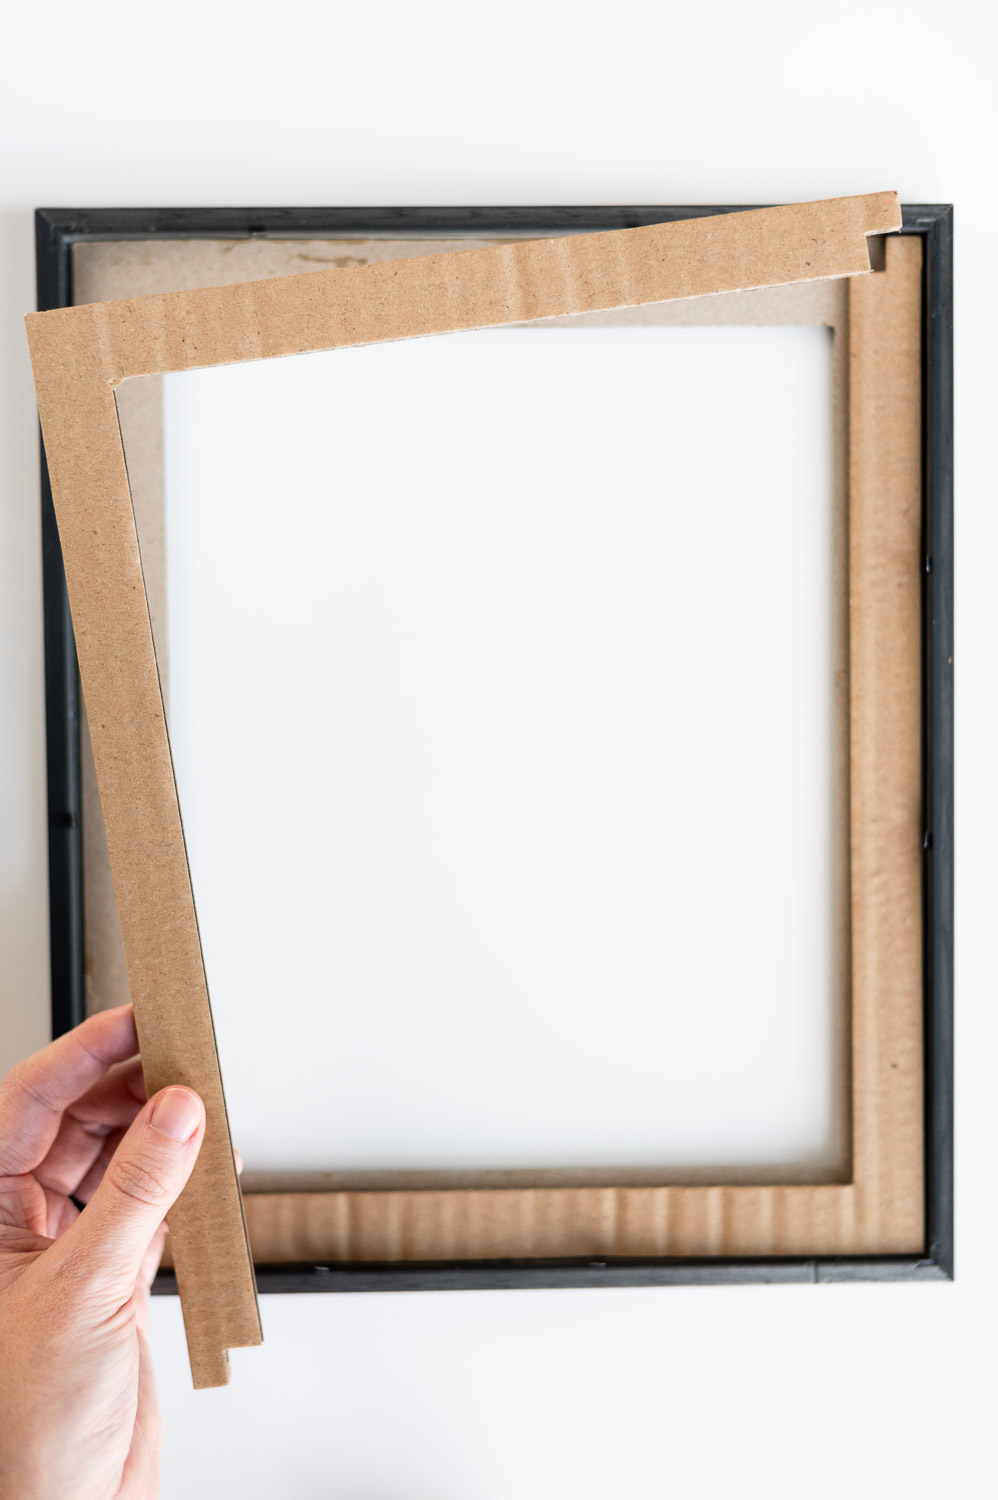
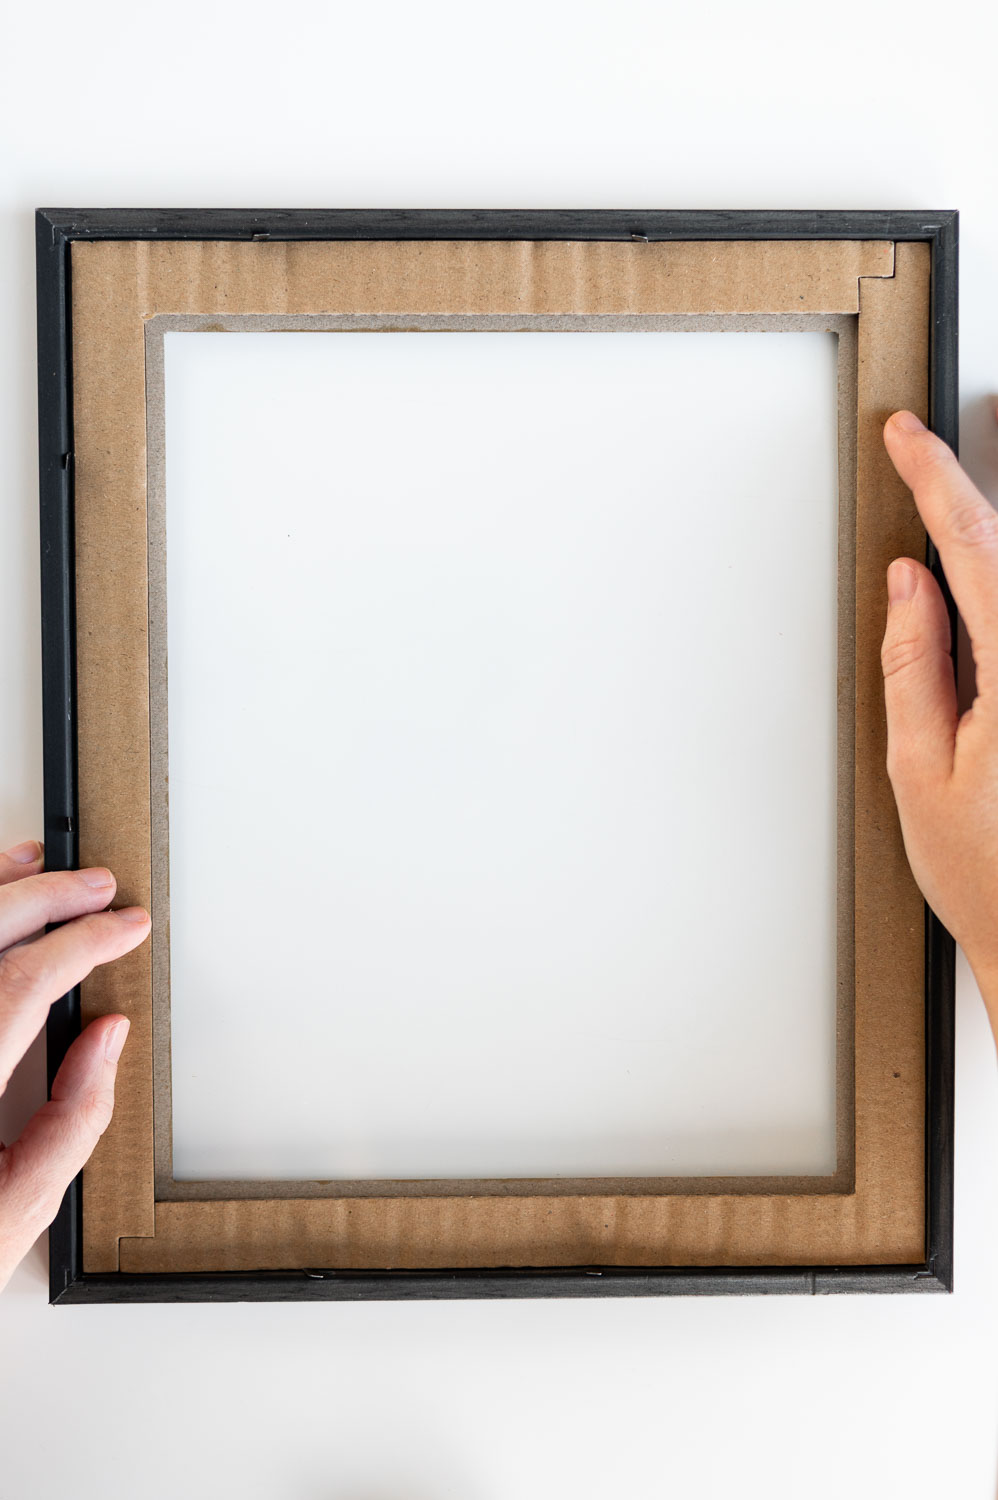
Those cardboard spacers will give our book room to sit in the frame properly and give us a nice shadow box effect.
Note: If you are using your own frame (and didn’t come with these cardboard spacers) just cut a few pieces of scrap cardboard from your latest amazon delivery box down to fit and those will work just as well.
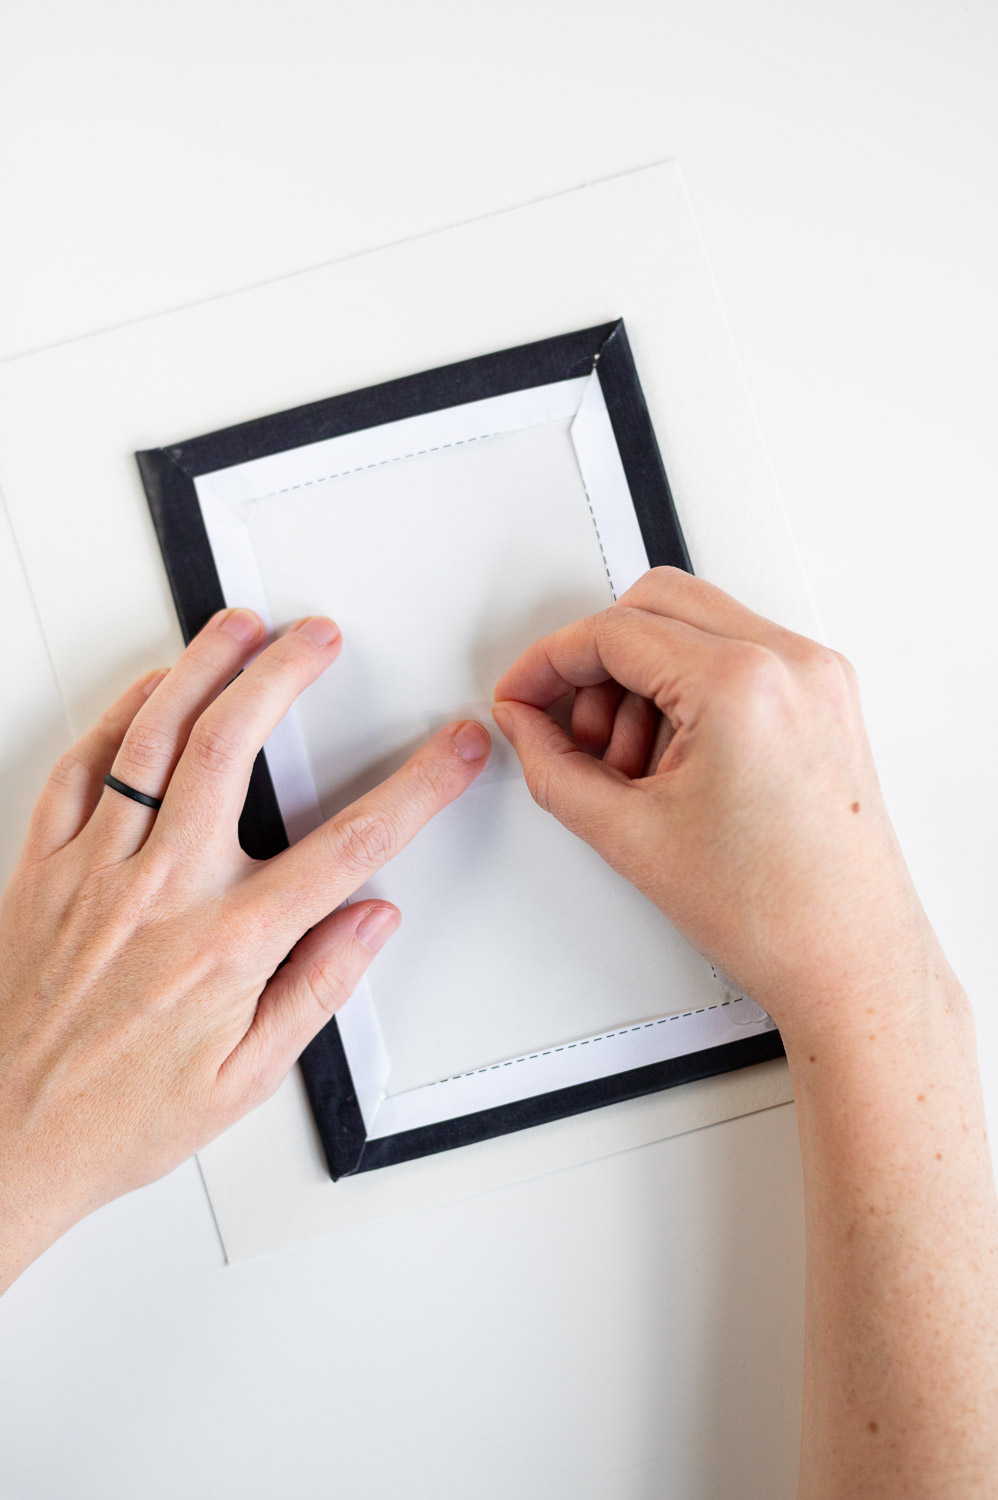
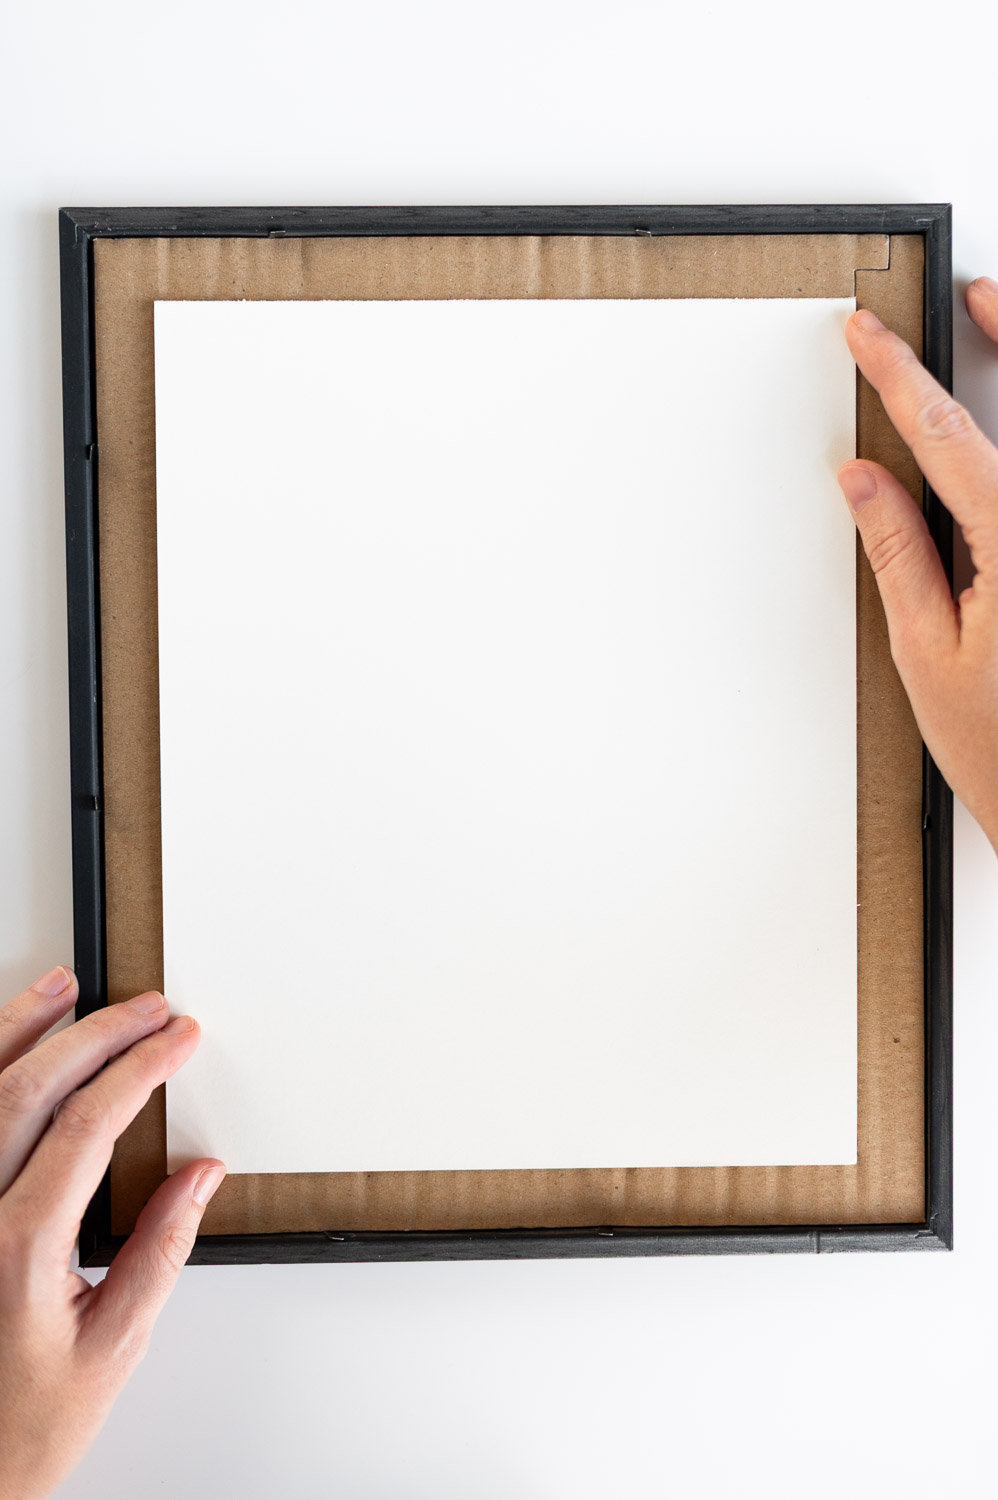
Now you can place your watercolor paper with your attached book cover into the opening of the frame, centering it the best you can.
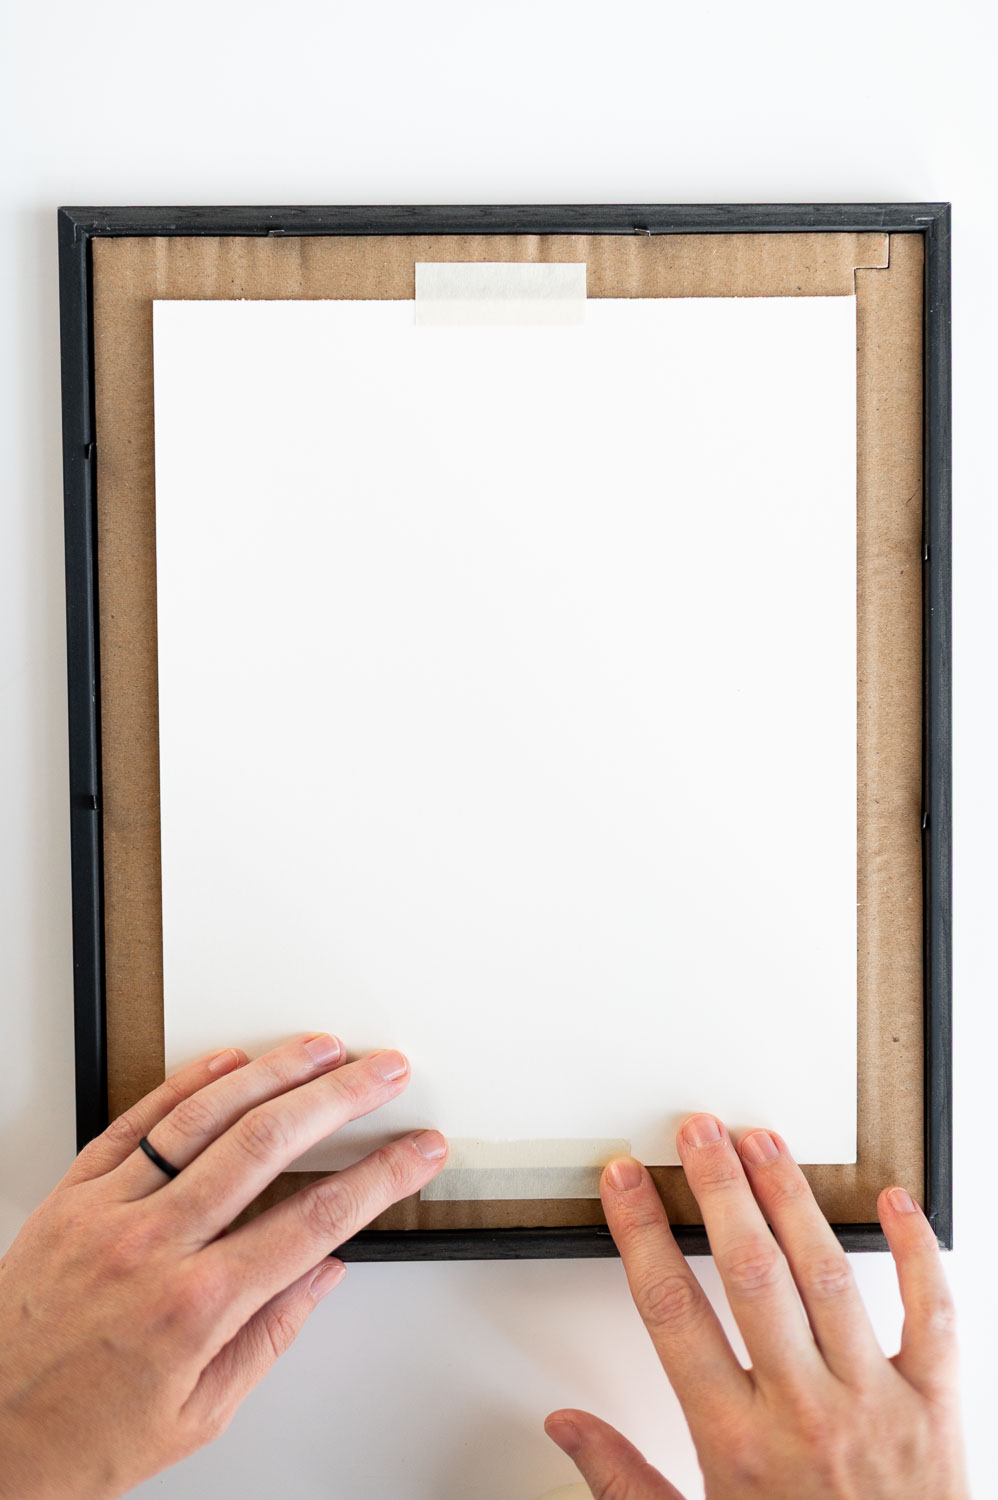
Attach the watercolor paper to the cardboard spacers with some acid free tape, then replace the back on the frame.
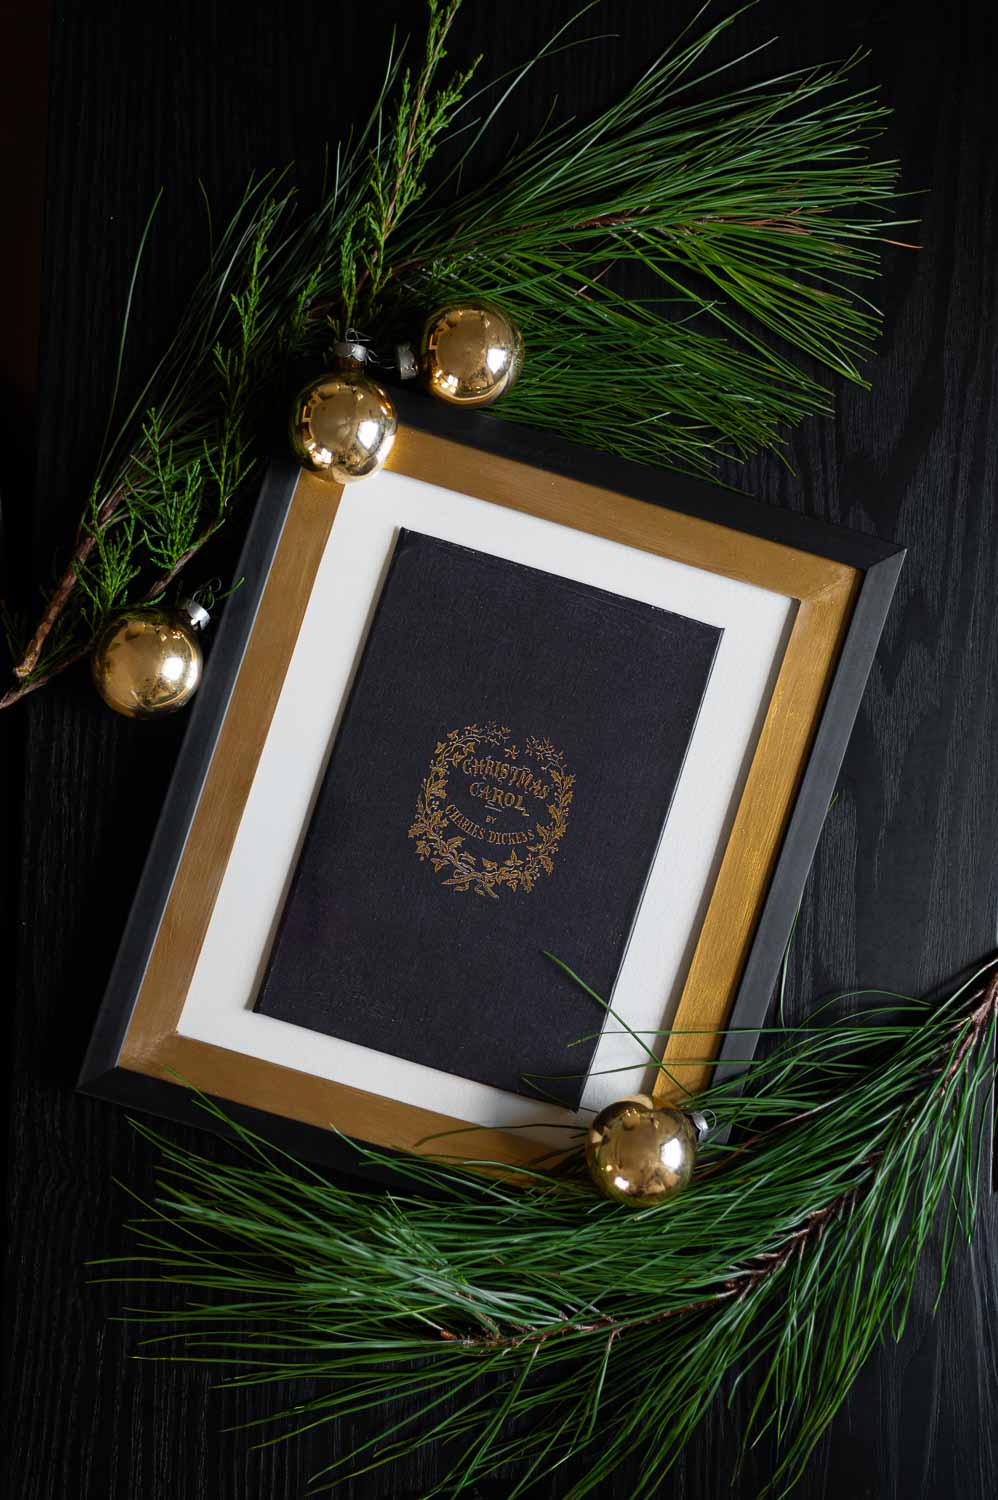
Final Thoughts On My DIY Vintage Book Cover Wall Art For Christmas
I knew from the moment I saw that viral Christmas Carol framed wall art pop up in my social media feed that I could make something very similar using public domain art files and I’m so proud of how well this Dollar Tree version came out!
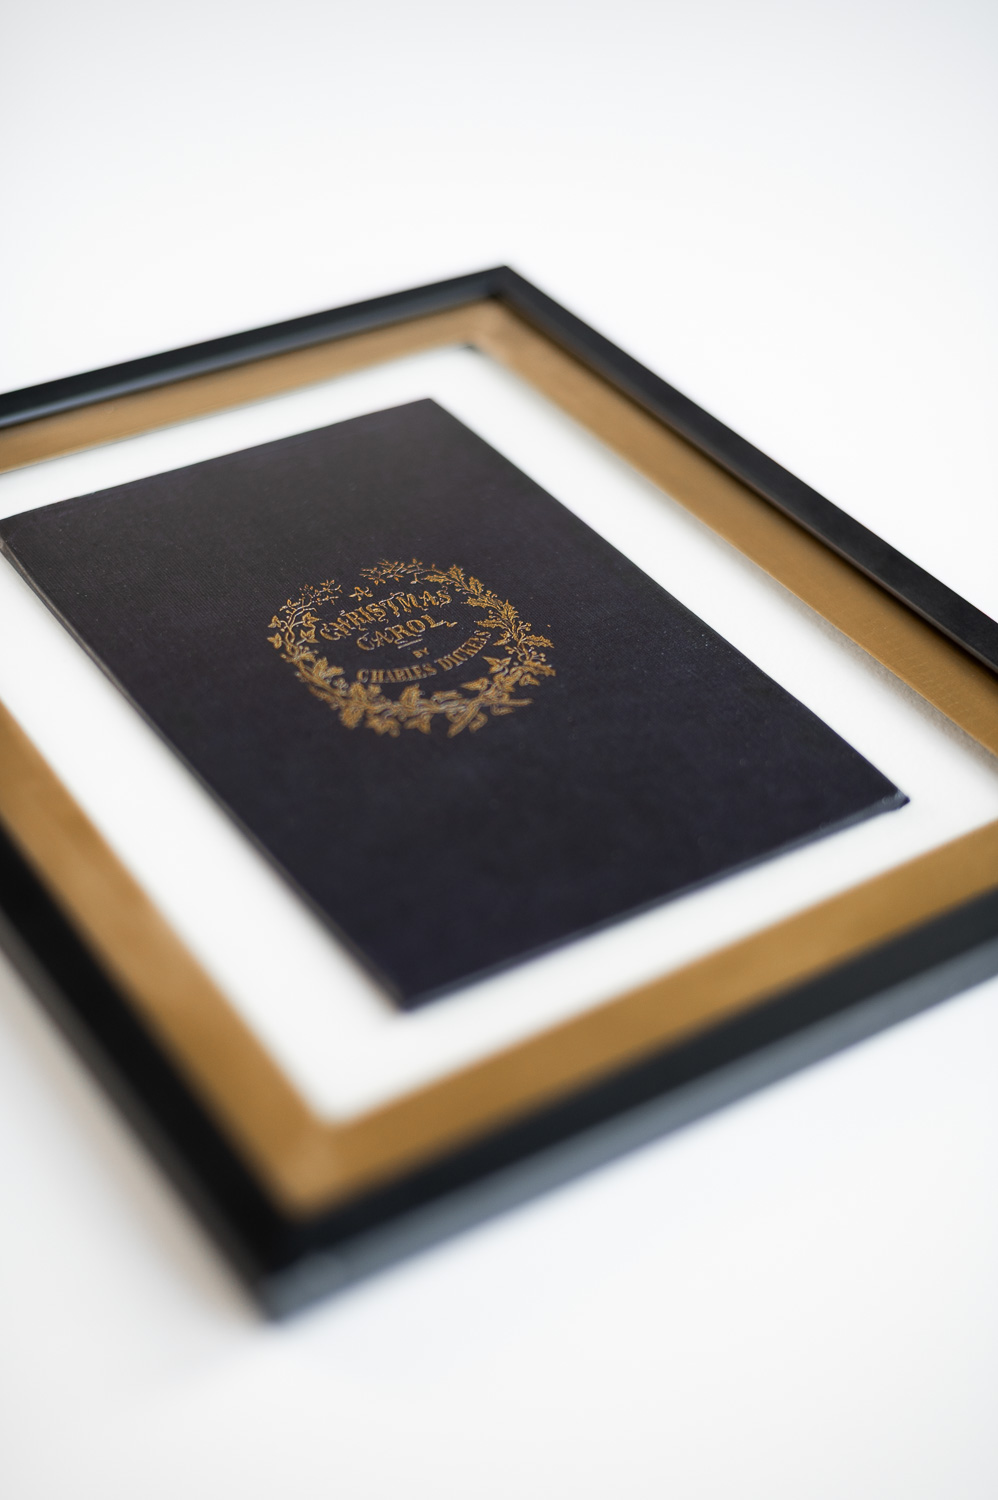
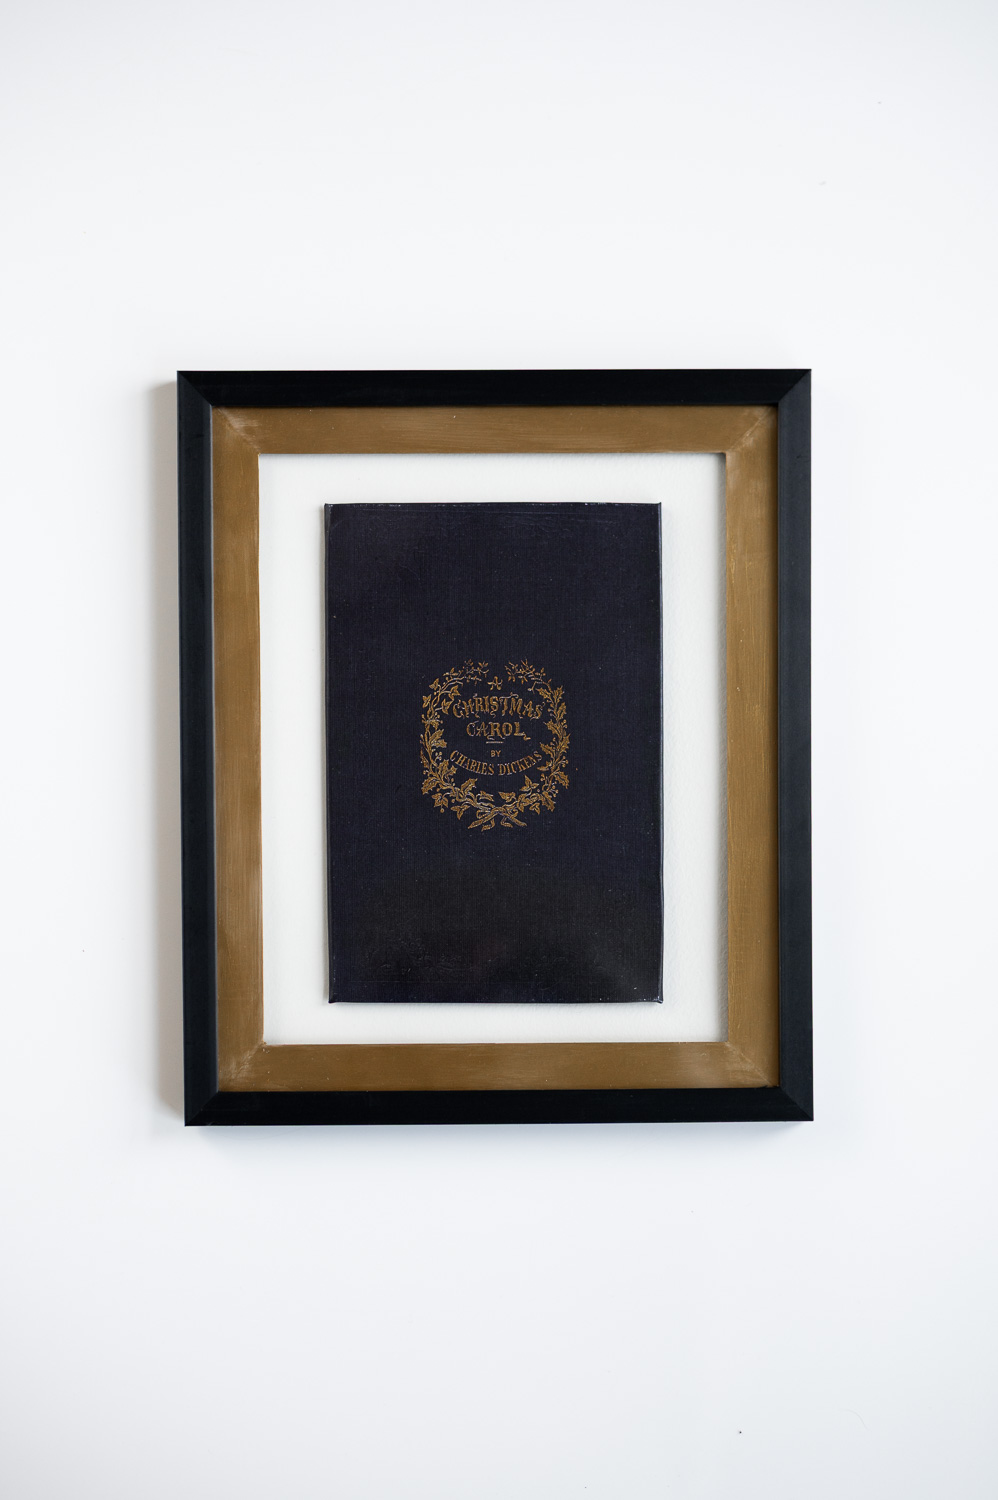
If I were to do mine over again, I think I’d definitely take the time to tea stain the watercolor paper first though. The contrast here at the moment is a bit more stark than I’d ideally prefer.
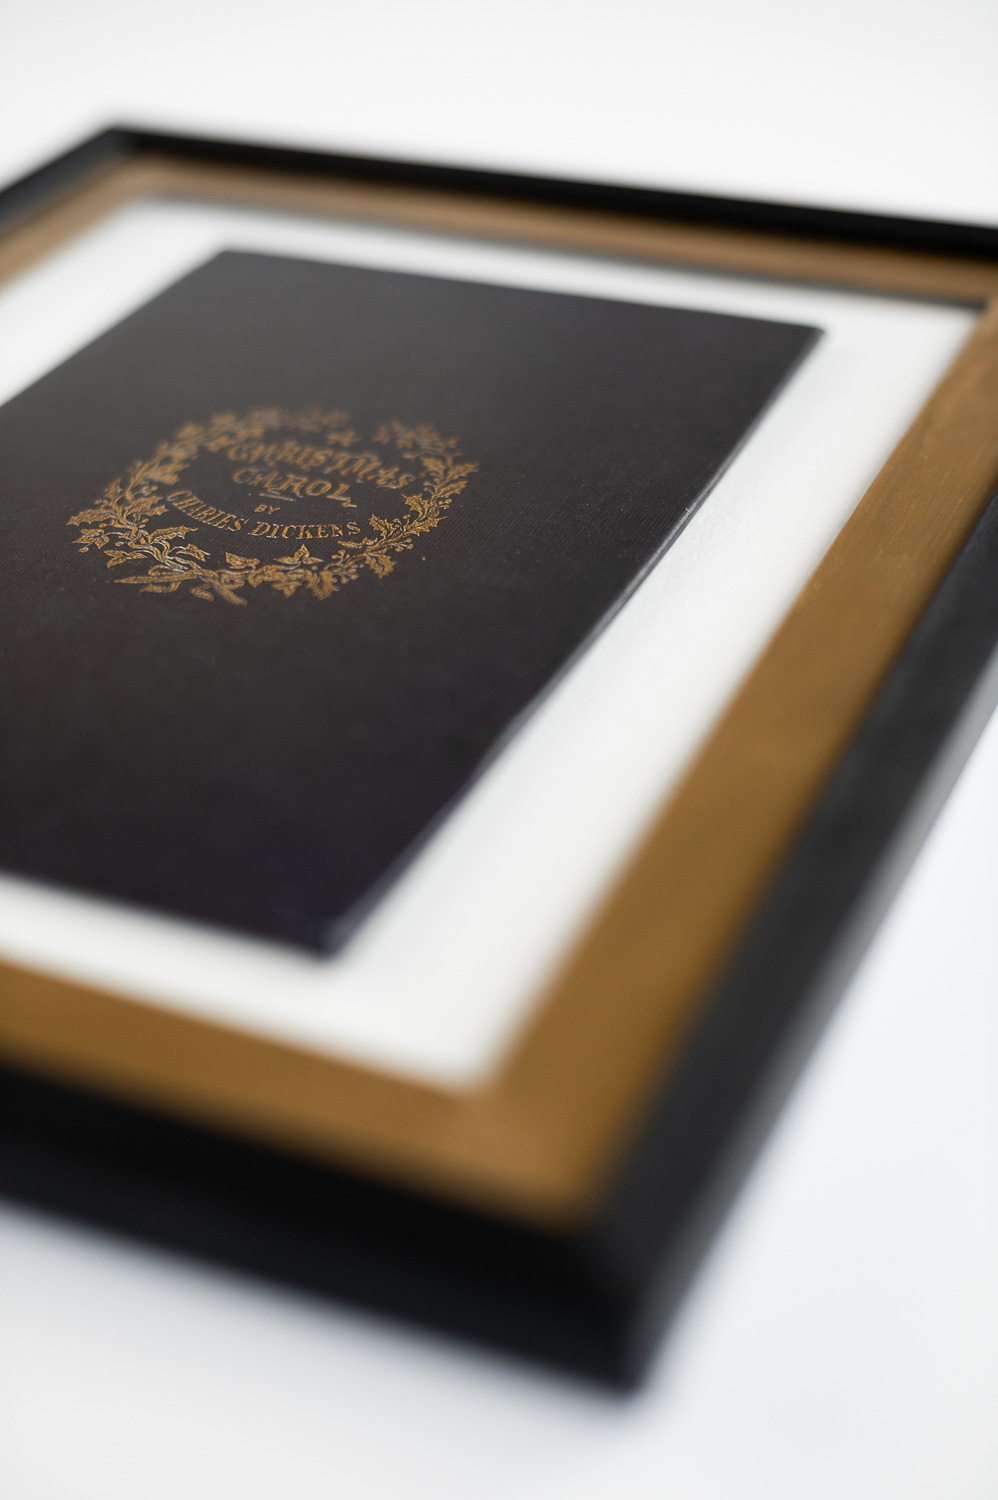
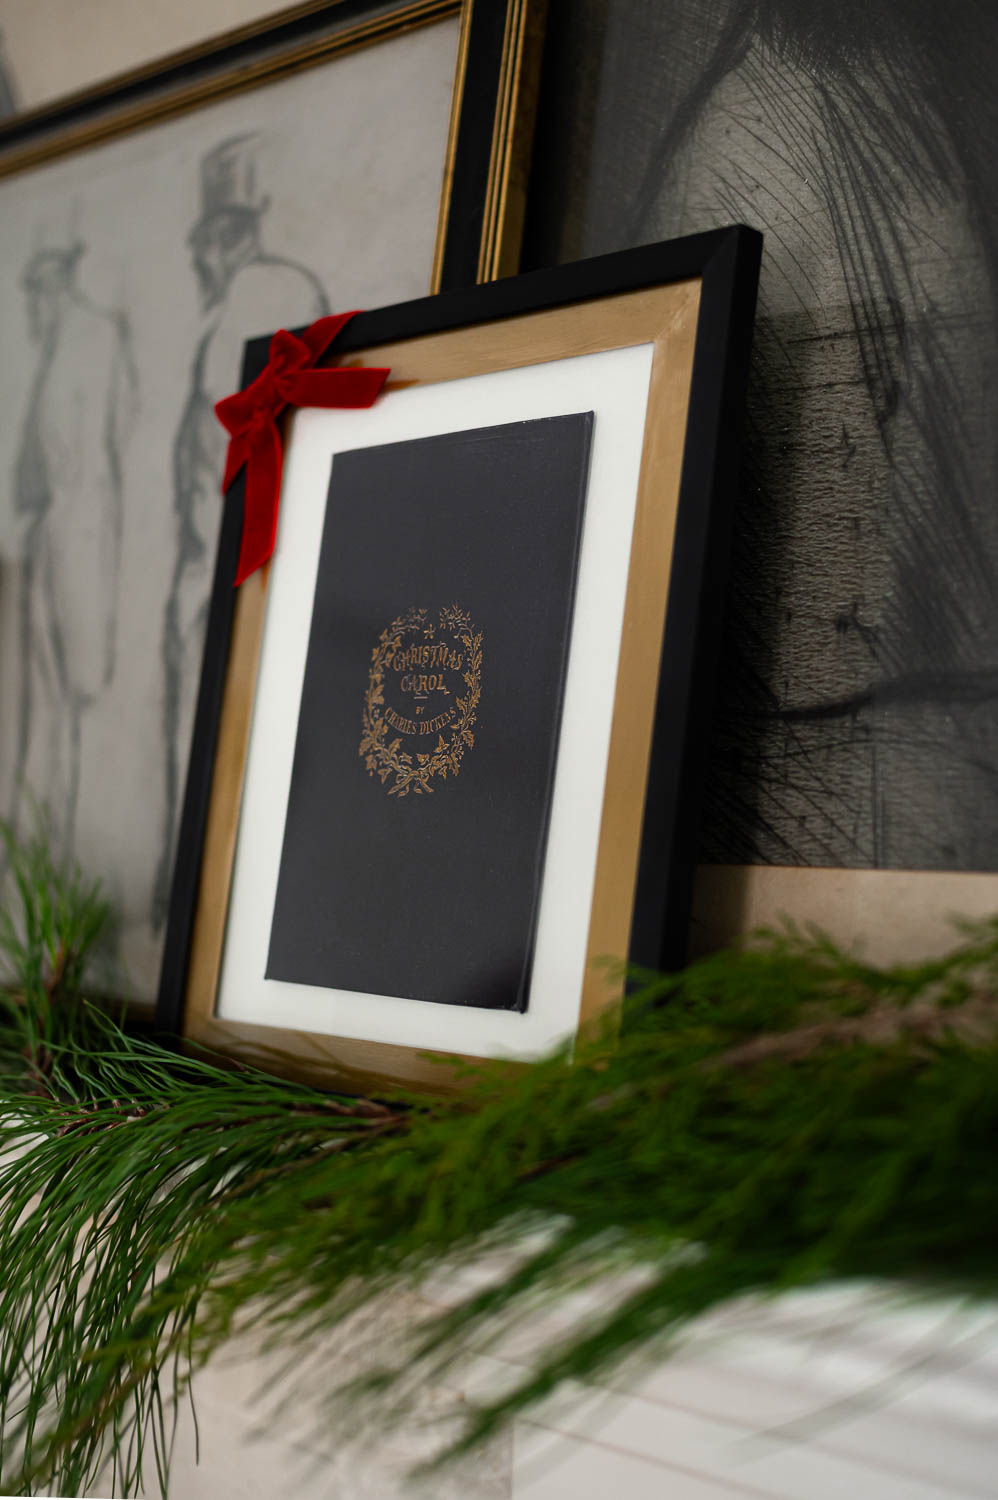
That said, I’m really impressed with how realistic this looks. It truly does look like the cover off an old book that has been removed and framed.
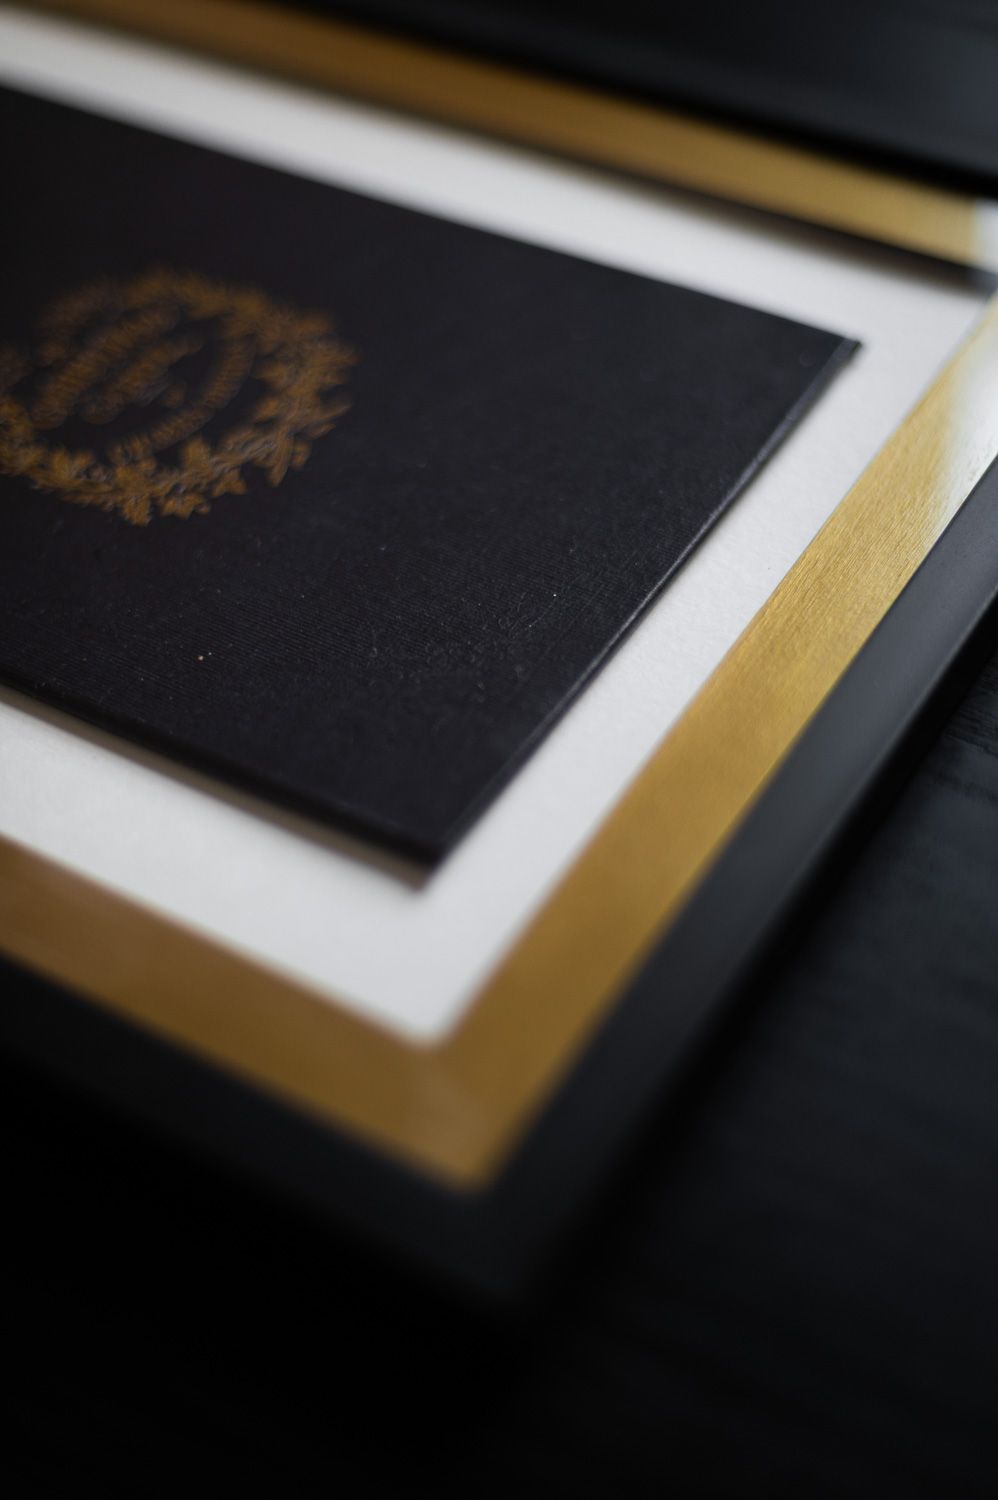
And the slight shadow mount effect we got using the cardboard spacers really elevates the look of the final product! Not too shabby for an inexpensive Dollar Tree frame!
What do you think? How did I do for a dupe made almost entirely from supplies you can buy at The Dollar Tree!? What vintage book cover would you make framed art out of next? Let me know in the comments below!
And if want more budget friendly old world DIY Christmas decor ideas, be sure and check out this blog post as well!

Don’t Forget To Pin This Post & Subscribe!
Want to keep getting more DIY home decor inspiration, thrifting tips & tricks, free art downloads, reading recommendations, and home renovation tutorials? Then don’t forget to pin this post for later so you can follow me on Pinterest and then subscribe to my blog so you can get links to my newest content as soon as it hits the blog!