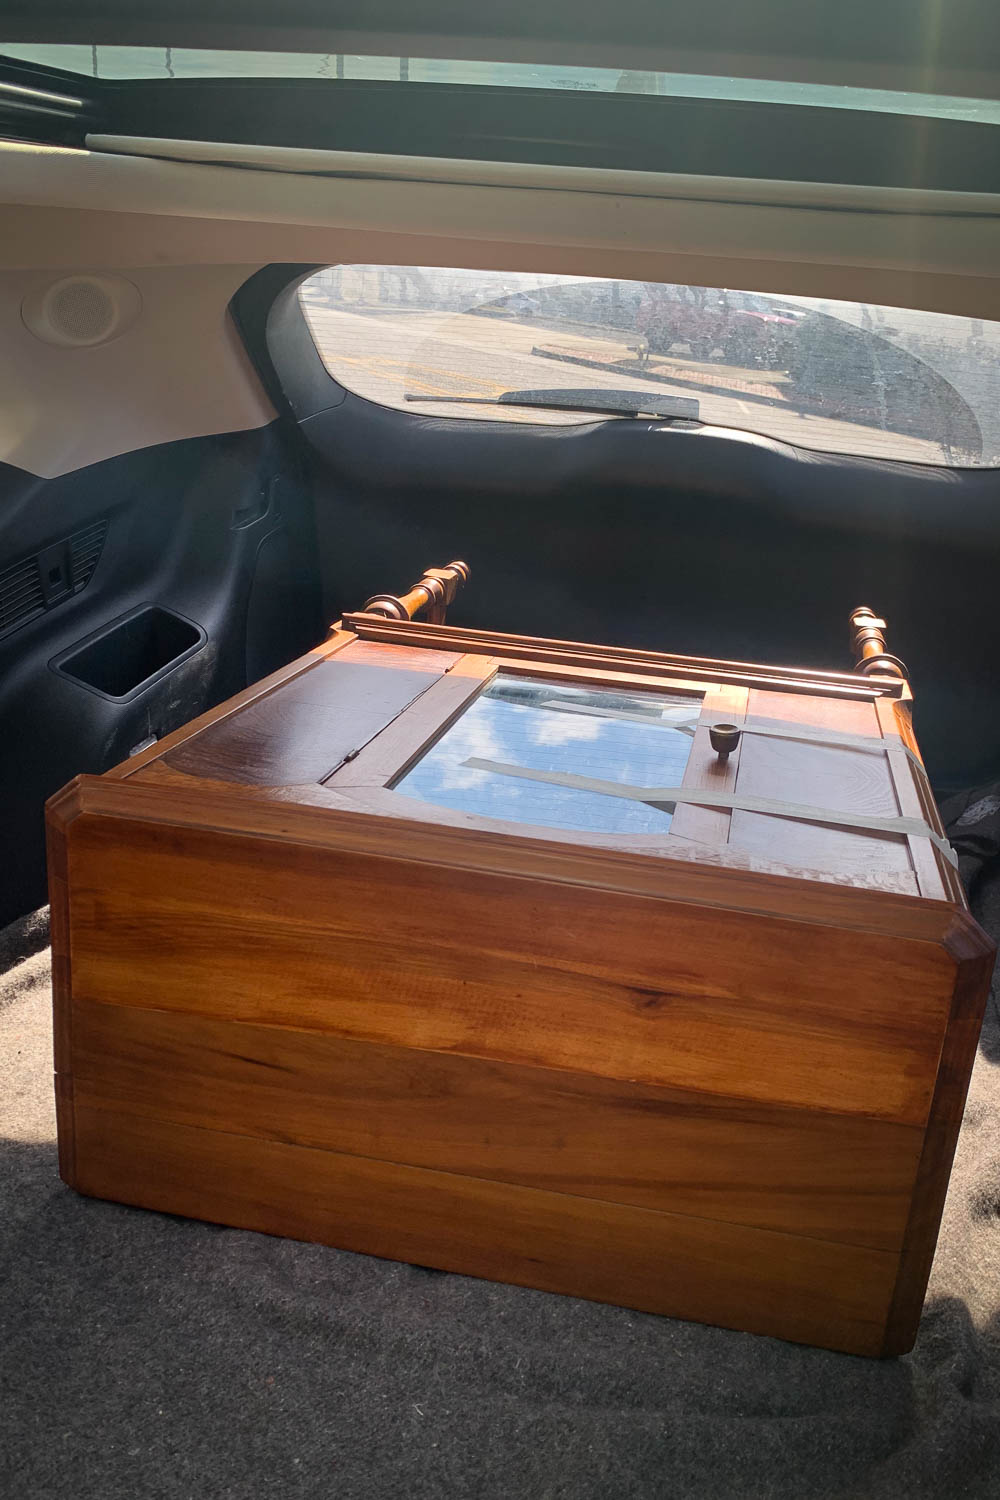
I’ve been obsessed with the idea of using a vintage cabinet for bathroom storage ever since I first saw one styled that way. When we started renovating our guest bathroom, I searched Facebook Marketplace for months until I finally found the perfect piece (worth every minute of the two-hour drive to bring it home for this makeover).
There was only one problem. I knew I needed towel storage and this vintage cabinet didn’t have anywhere to store towels.
After a lot of research, I came up with a clever plan for how to modify my vintage cabinet and turn it into the perfect bathroom storage cabinet complete with all the space I needed to store towels!
*This blog post contains affiliate links, meaning that if you purchase any of the items using the links I provide I, as the author of this website, will receive a very very small commission from that sale. This is a great way to help support your favorite bloggers at no cost to you. Think of it like a tip jar that costs you nothing!
Photos Note: In an effort to build a more complete archive of my past projects, I’m converting some of the quick DIYs I originally shared only on Instagram Stories into full blog posts. Since these projects were captured on my phone at the time, the process photos may not be as polished as those in my newer posts—but I think the projects are still worth sharing here.
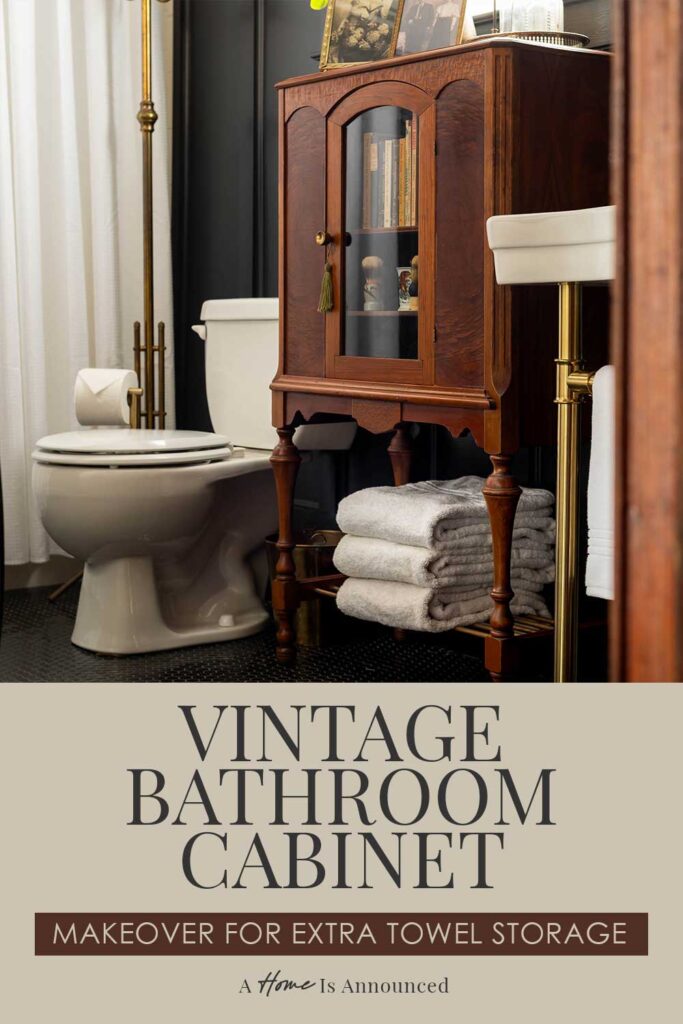
How I Created The Perfect Vintage Bathroom Cabinet From A FB Marketplace Find
While this project is specific to my needs and the vintage cabinet I found, this same technique would work to update many other vintage cabinets with a similar base design to help maximize usable storage space!
Supplies Needed
- An old vintage cabinet (with a cross bar at the bottom)
- Aluminum rods (or real brass ones!)
- Rub N’ Buff (if you want the look of brass and are using aluminum rods)
- A Small Hand Saw (with a blade rated for cutting metal)
- A Drill (and a drill bit slightly larger than the size of your rods)
- Glue (optional)
Step One: Source A Vintage Cabinet
Vintage cabinets come in all shapes and sizes, so finding one that fits your space is key. For this project, I needed something short enough to fit underneath the window ledge in our bathroom, yet wide enough to still offer a decent amount of storage.
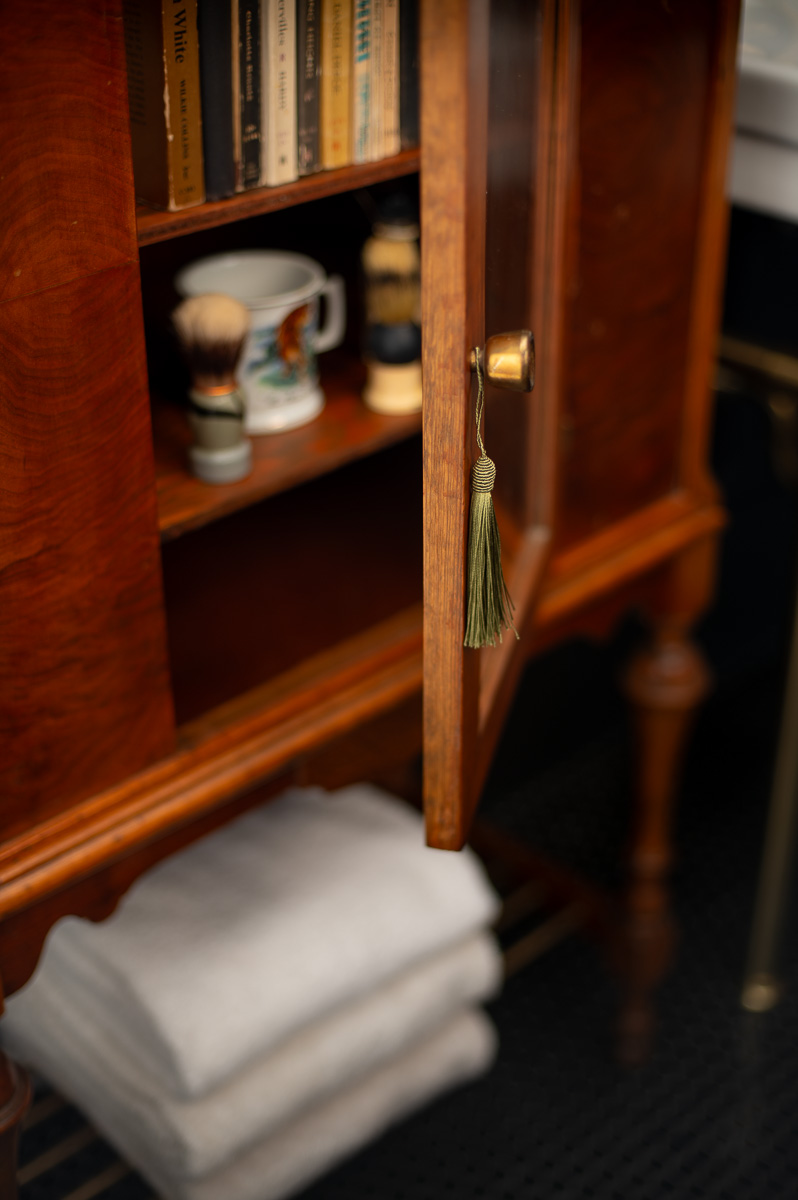
It took month of searching Facebook Marketplace daily, but I finally found an old radio cabinet that had been converted into this glass front storage piece at an antique store in a neighboring town.
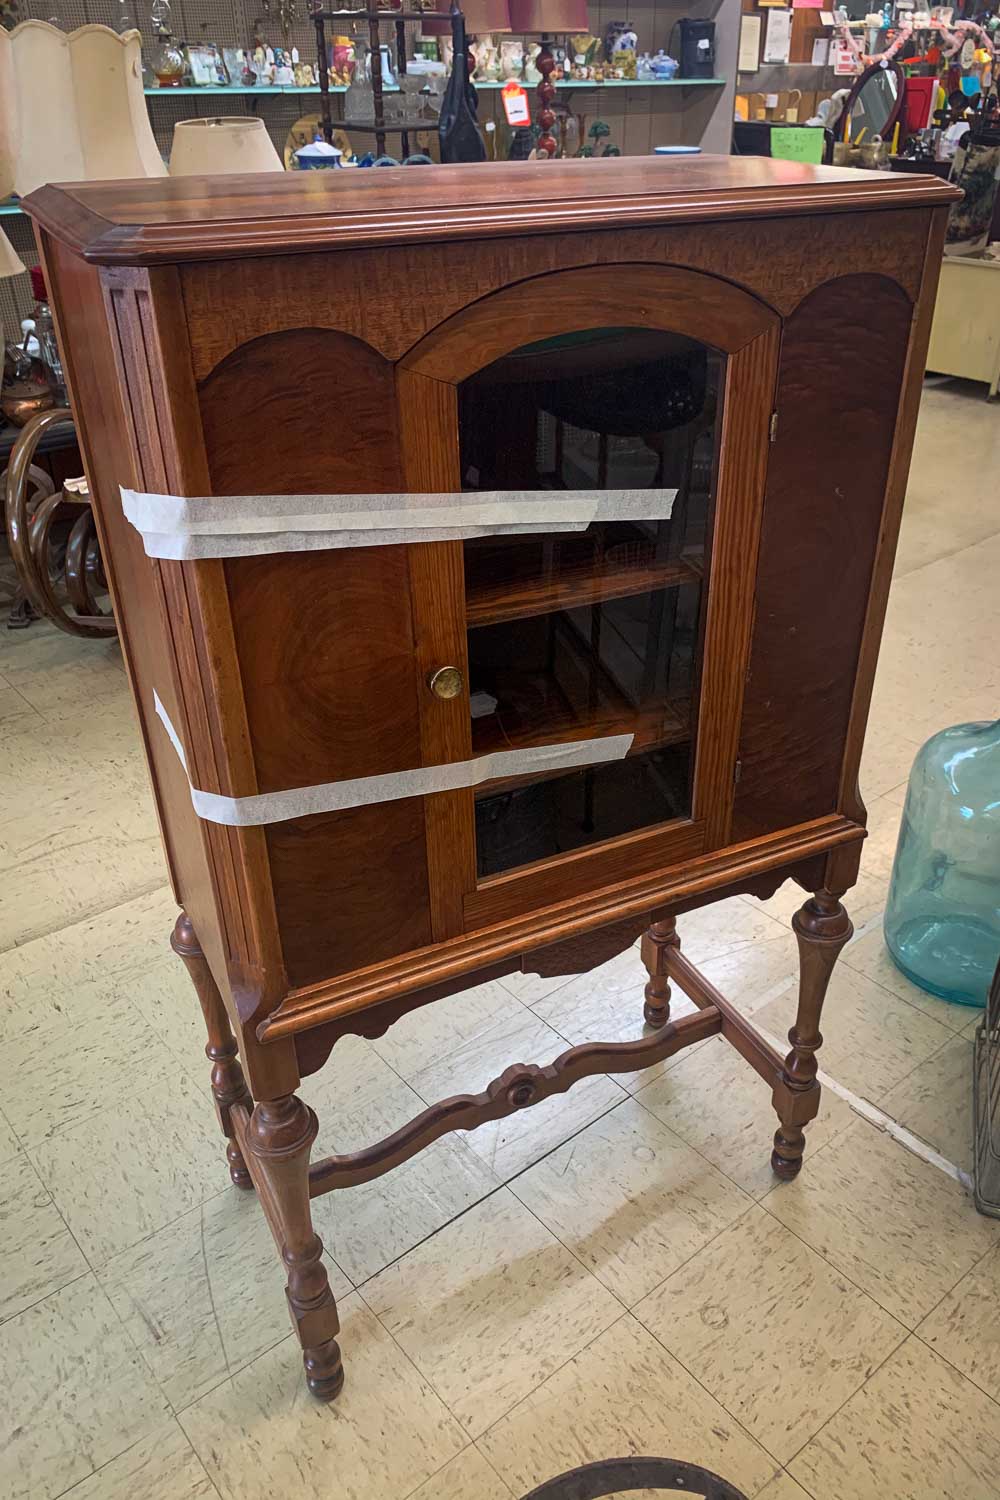
And while I loved everything about the cabinet, it obviously wasn’t going to work to store towels.
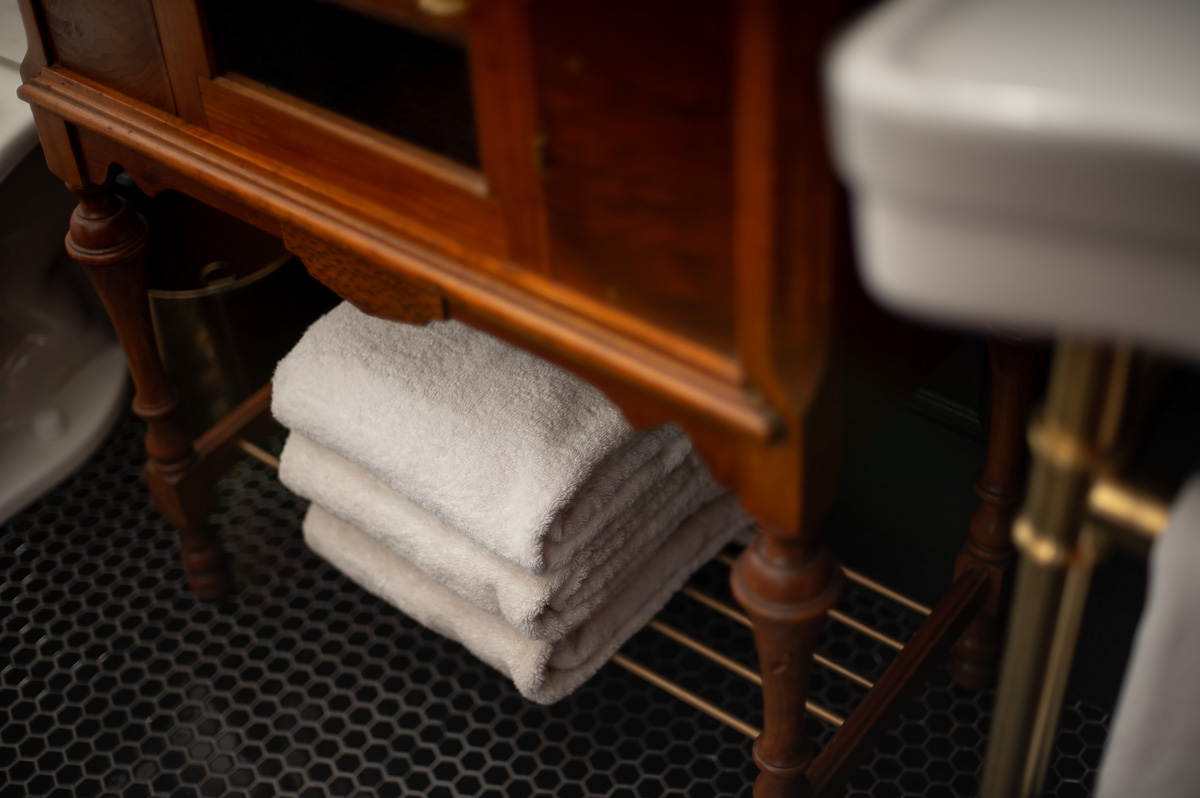
Then an idea came to me. What if we removed the decorative crossbar from the bottom of the cabinet and instead installed some sort of shelf down there? Better yet, what if we brought in some more brass by creating a shelf out of brass rods!?
I loved that this would also bring some more “masculine” lines to the piece, since that was the vibe that I was going for in the bathroom.
Step Two: Remove The Original Decorative Cross Bar
Unfortunately I totally spaced taking photos of this step, however the process was super easy. We simply used a small hand saw to cut the crossbar in half. After doing so, each end of the bar could be popped out of the cabinet and removed.
FAQ: Where you nervous about “ruining” an antique? Not going to lie, it took me a while to come to terms with hacking off a part of this vintage cabinet. However, after living with the end result, I would do so again in a heartbeat because it’s one of my favorite pieces of furniture in my entire house now. That said, I knew this piece wasn’t worth a ton of money. So always do your research before you accidentally cut into a priceless heirloom.
Step Three: Prepare Your “Brass” Rods
While I wanted the look of brass, my budget dictated we use something a little bit more economical for this project, so I opted for cheap aluminum rods.
These can be sourced from your local home improvement store and are easily cut with a hand saw (as long as you use a blade rated for cutting metal).
To know how long to make our rods, we measured the interior width of our cabinet and then added on an additional 1/2″ for a snug fit. Then we cut them all to length. We needed 5 rods total for our design.
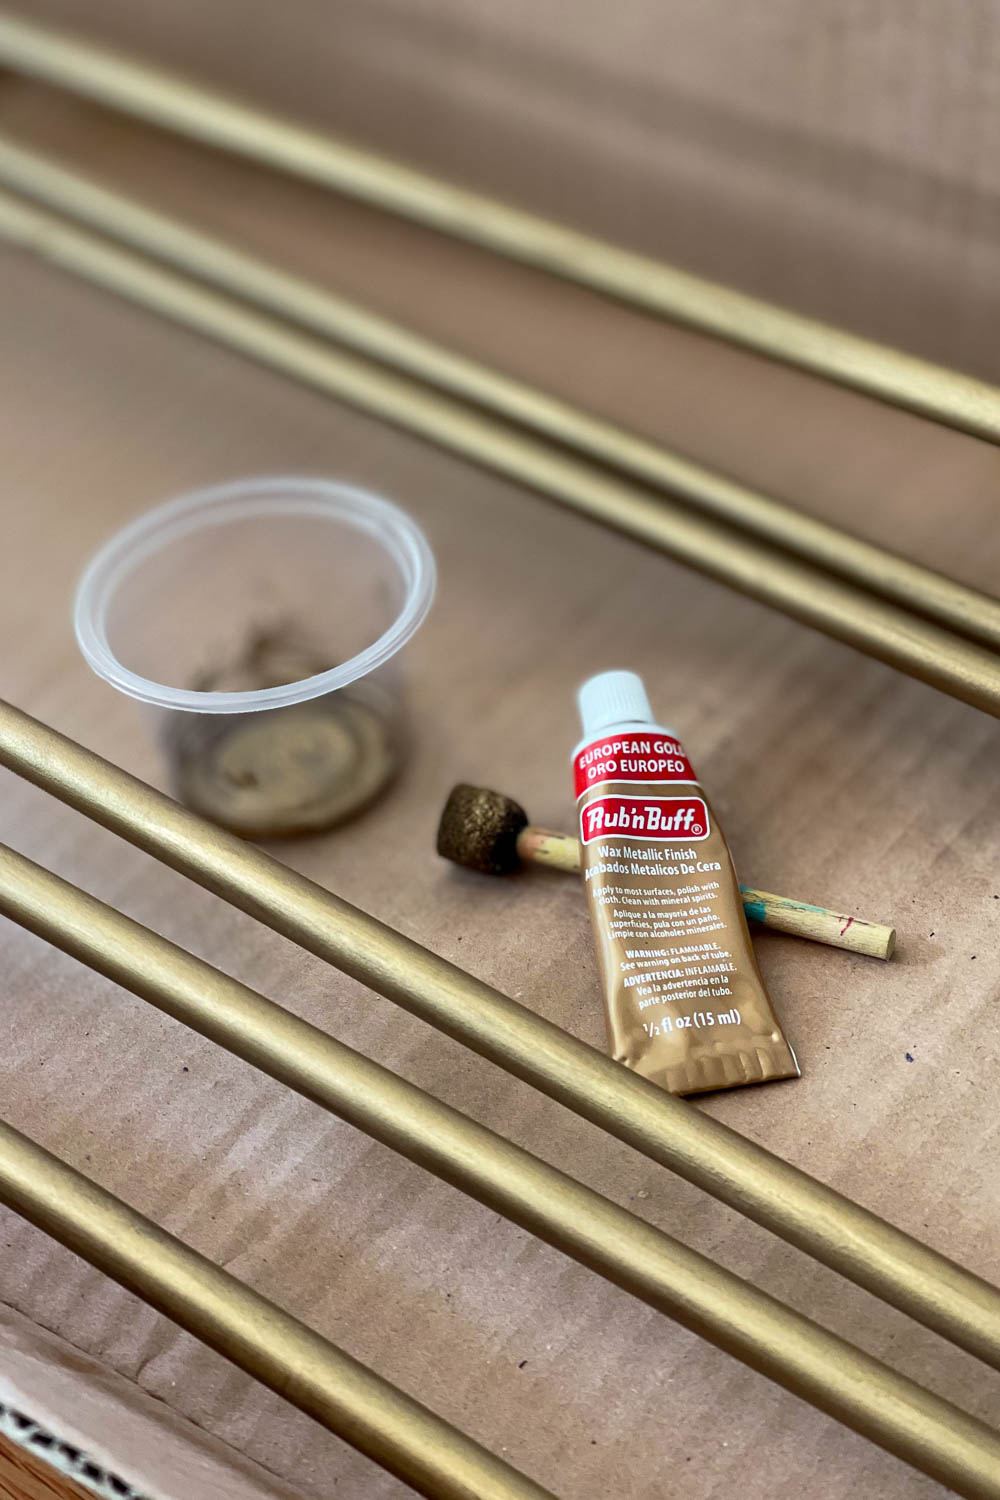
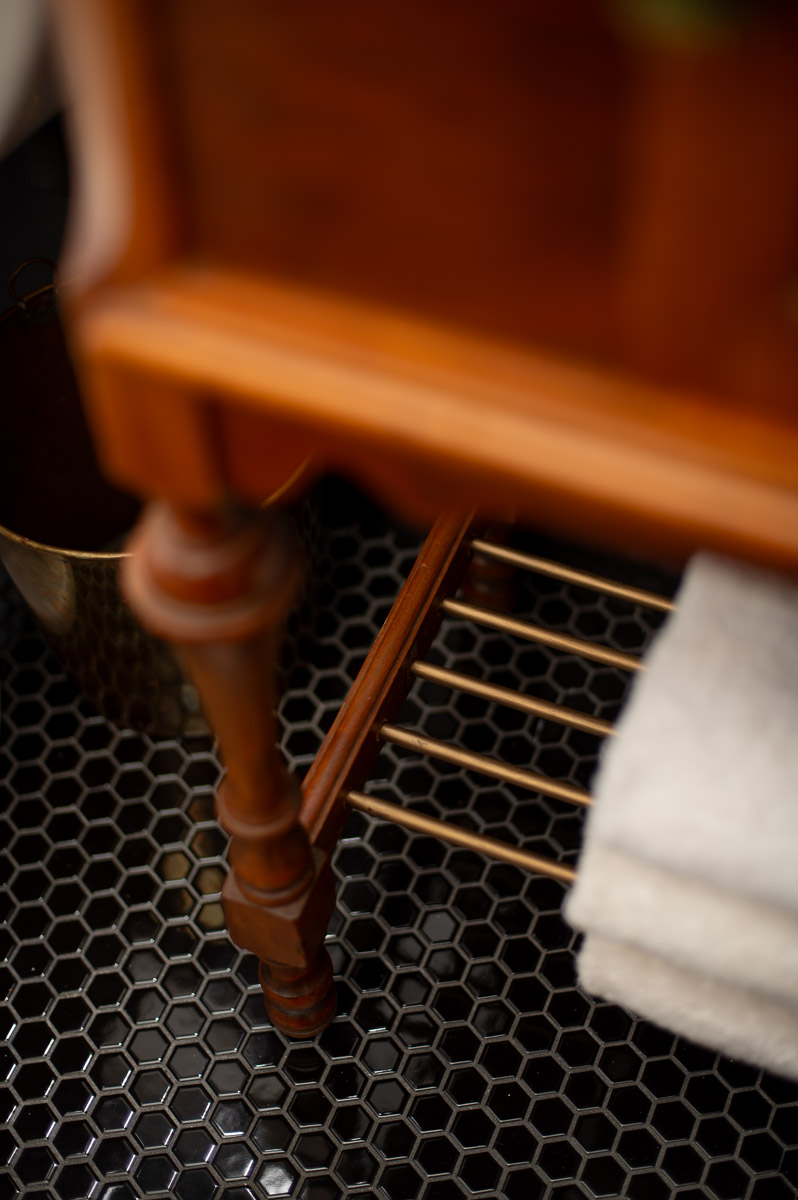
Since I chose to use cheap aluminum rods instead paying for more expensive custom brass rods, I decided to try and get the look of brass by applying a coat of rub n’ buff in the shade “european gold” to each of the rods.
This turned out to be the perfect shade of gold and matched all the other brass accents we had in the bathroom already so well.
FAQ: Will the rub n’ buff come off on my towels and stain them? No! I have stored my white bathroom towels on these rub n’ buffed rods for years now and never had any color transfer.
Step Four: Drill Holes On Each Side Of The Base Of Your Cabinet
Now came the part of the project I was most nervous about, drilling into my dream vintage cabinet so we could install the rods.
We carefully measured the width of the wood at the base, and determined how deep to drill so we would only drill halfway through the wood.
PRO TIP: To help make sure we would drill the correct depth each time, we placed a piece of tape on the end of the drill to mark the correct depth we needed to drill.
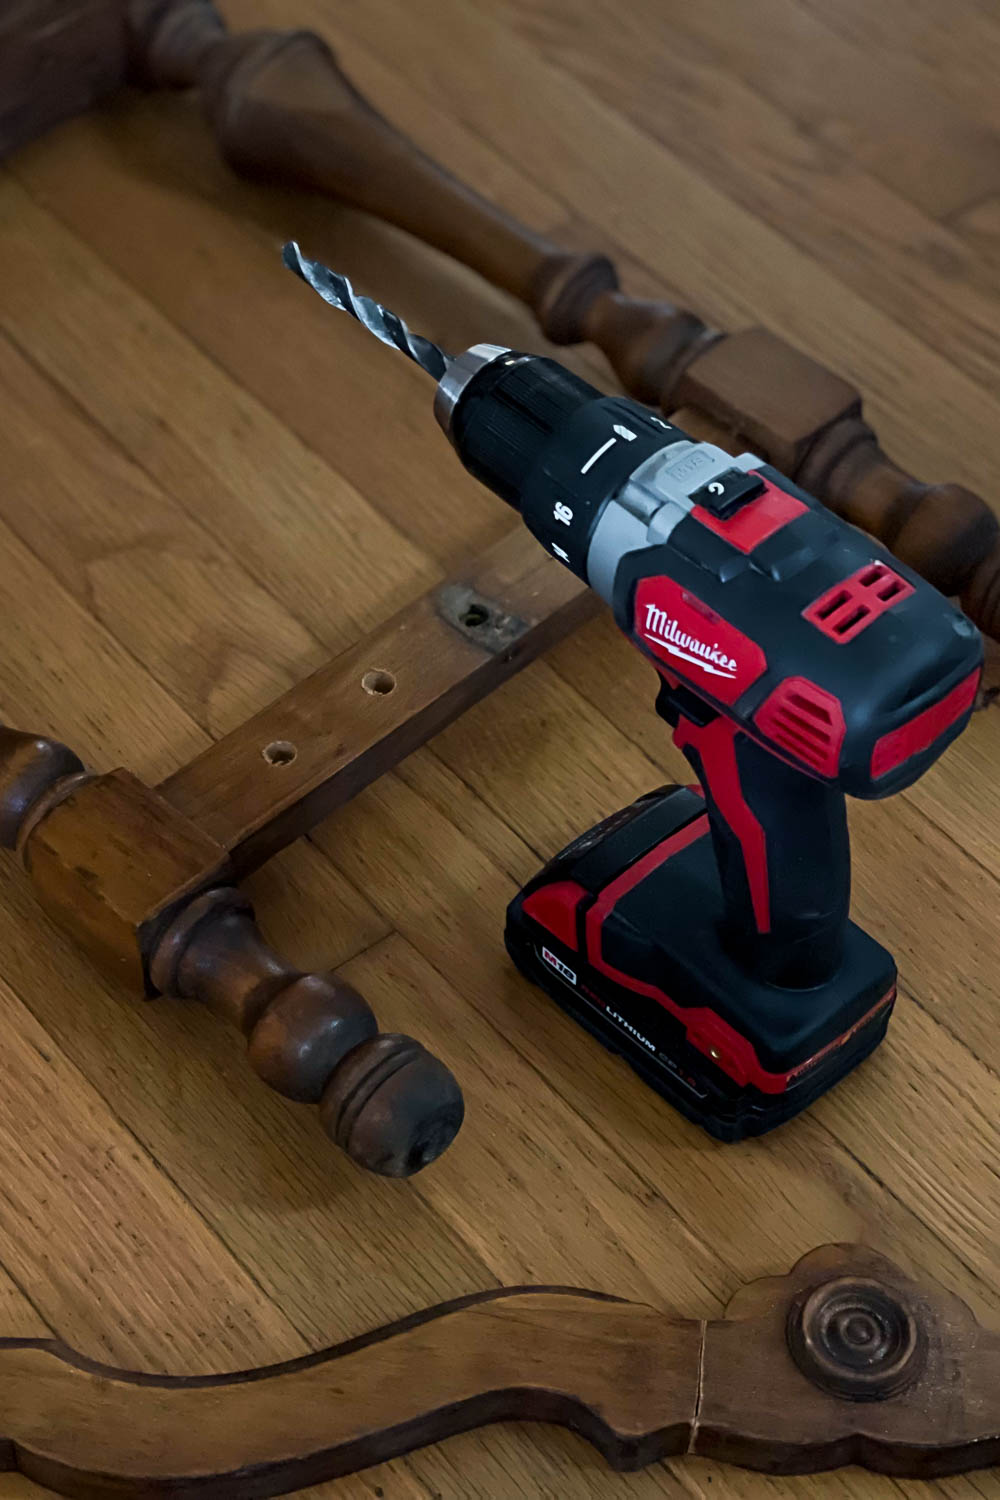
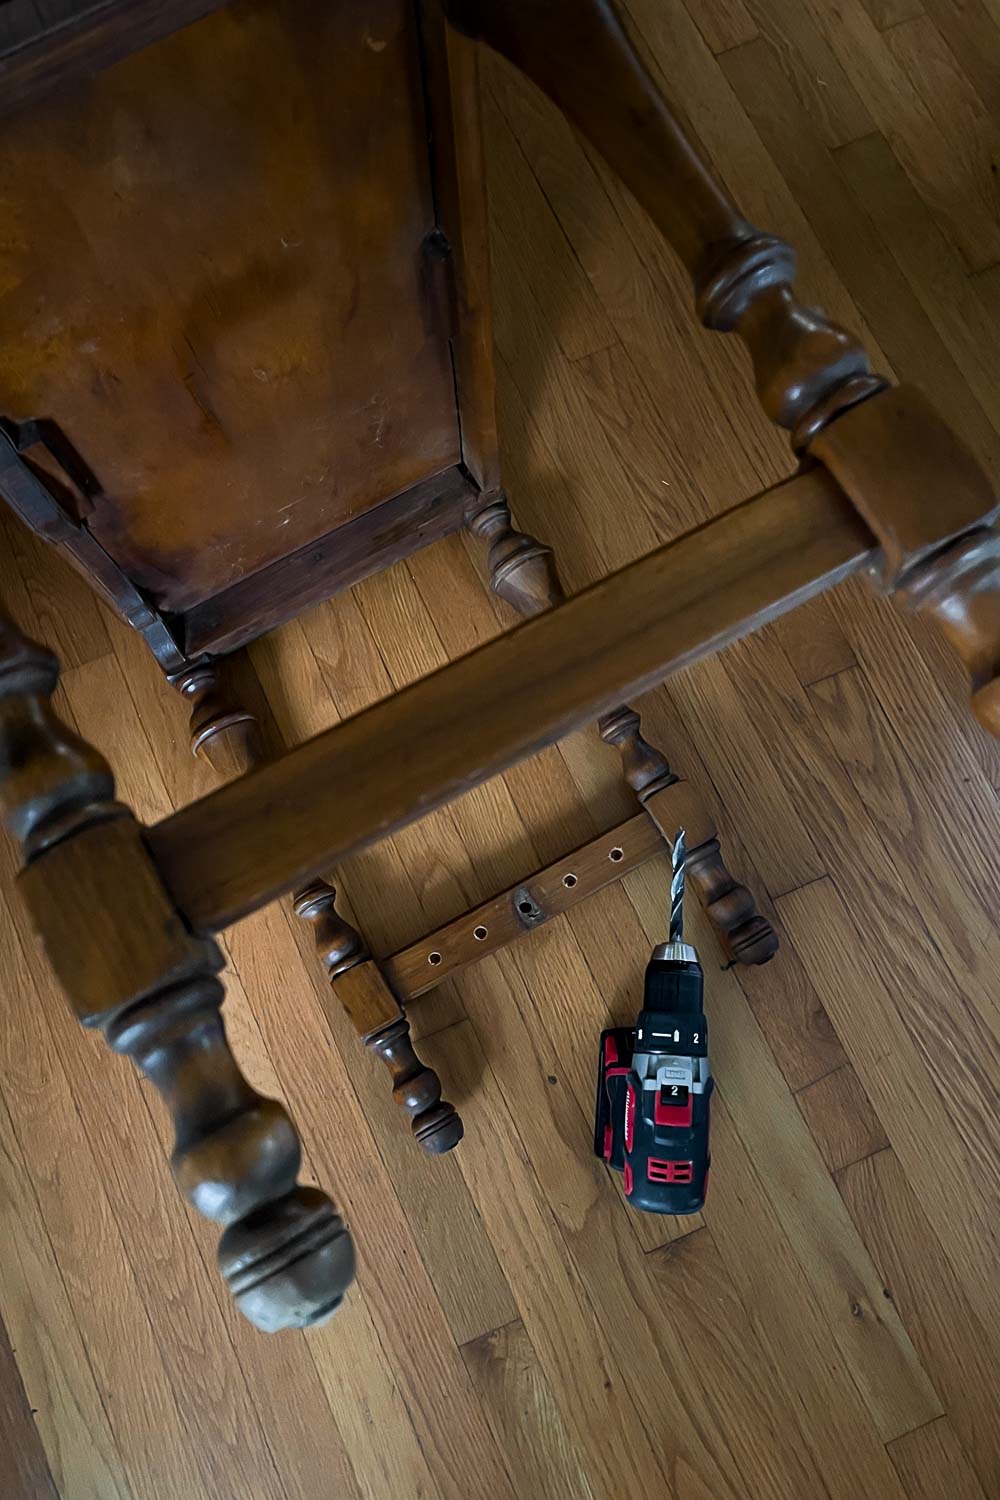
Each side of our base had one hole already from where the original cross bar was attached, so we started by enlarging that one to the correct size for our rods.
Then we measured and drilled two holes to each side of the center hole for a total of 5 holes.
We then repeated the same process on the other side of the cabinet.
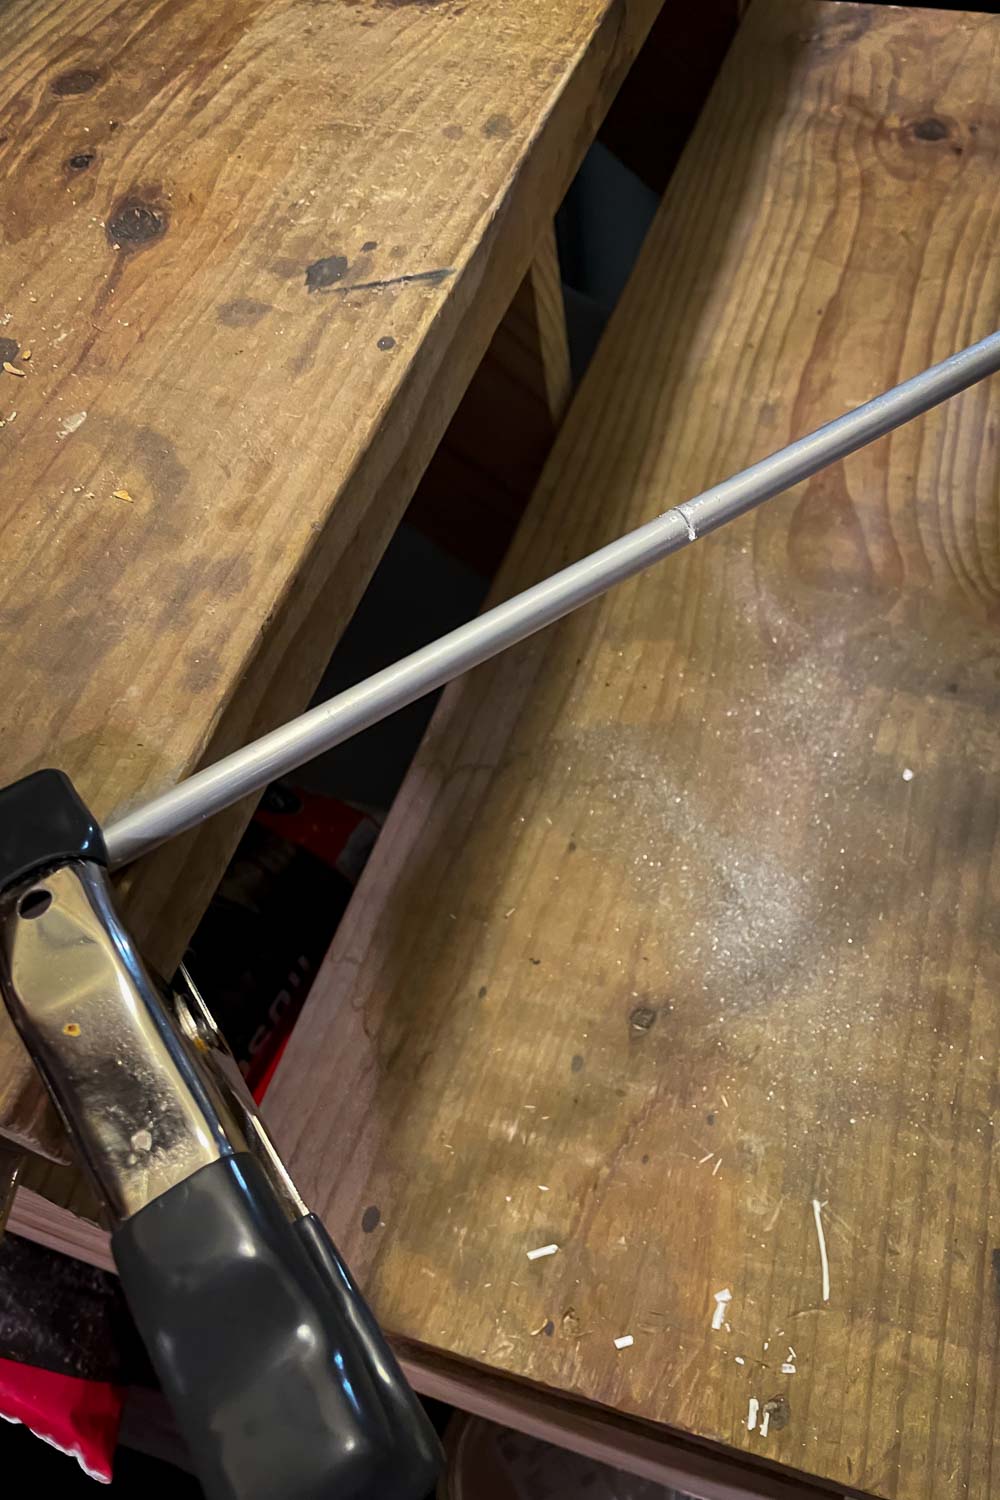
Step Five: Insert Your “Brass” Rods Into The Holes
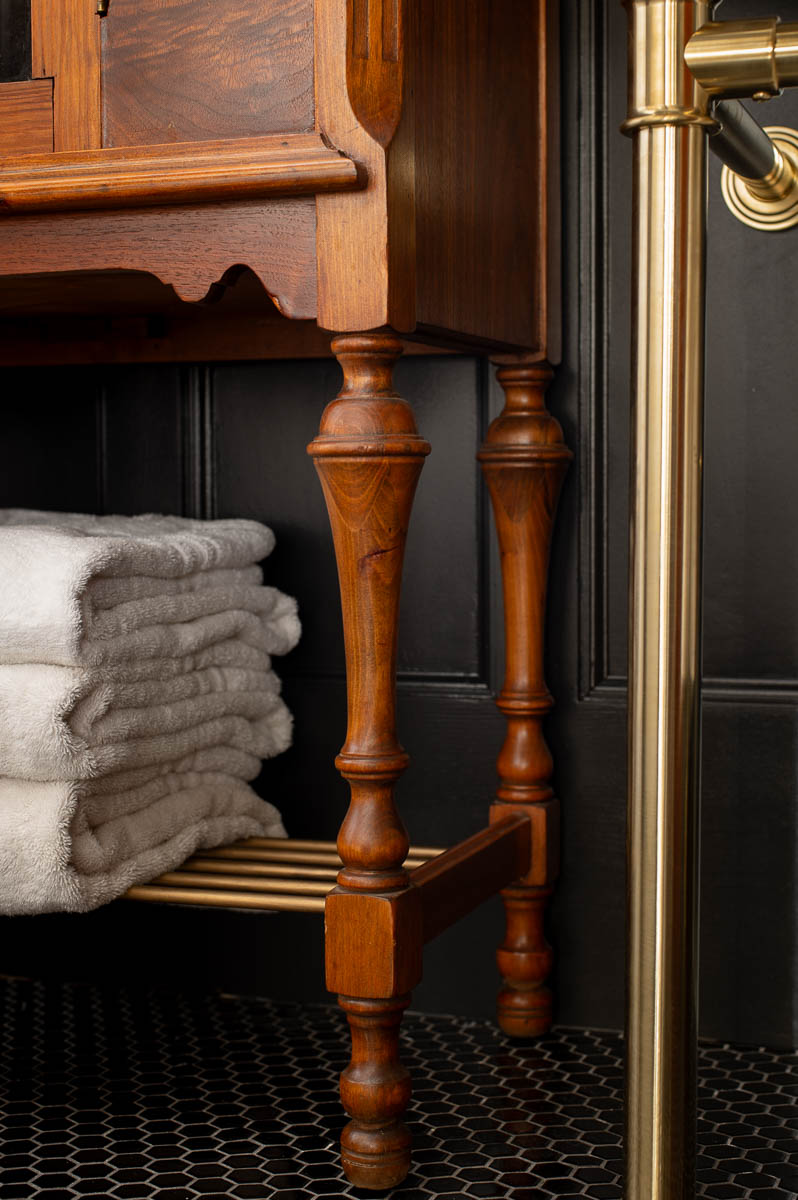
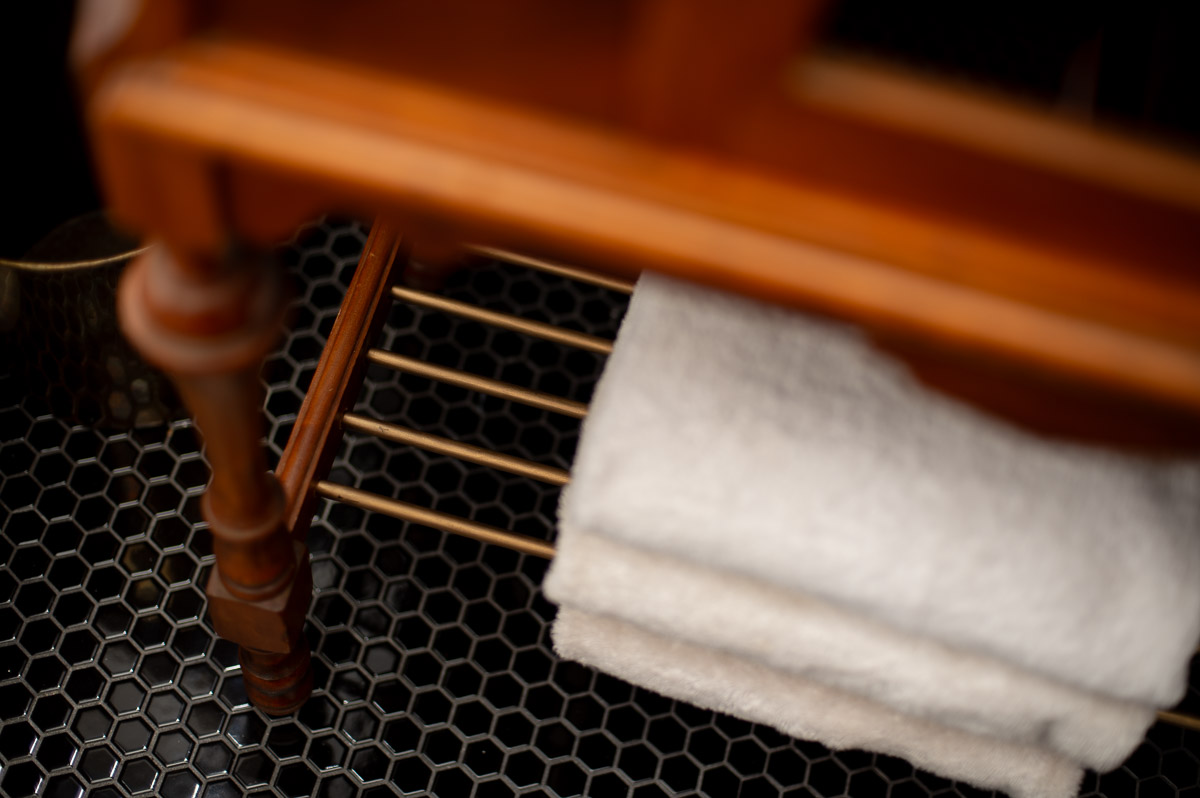
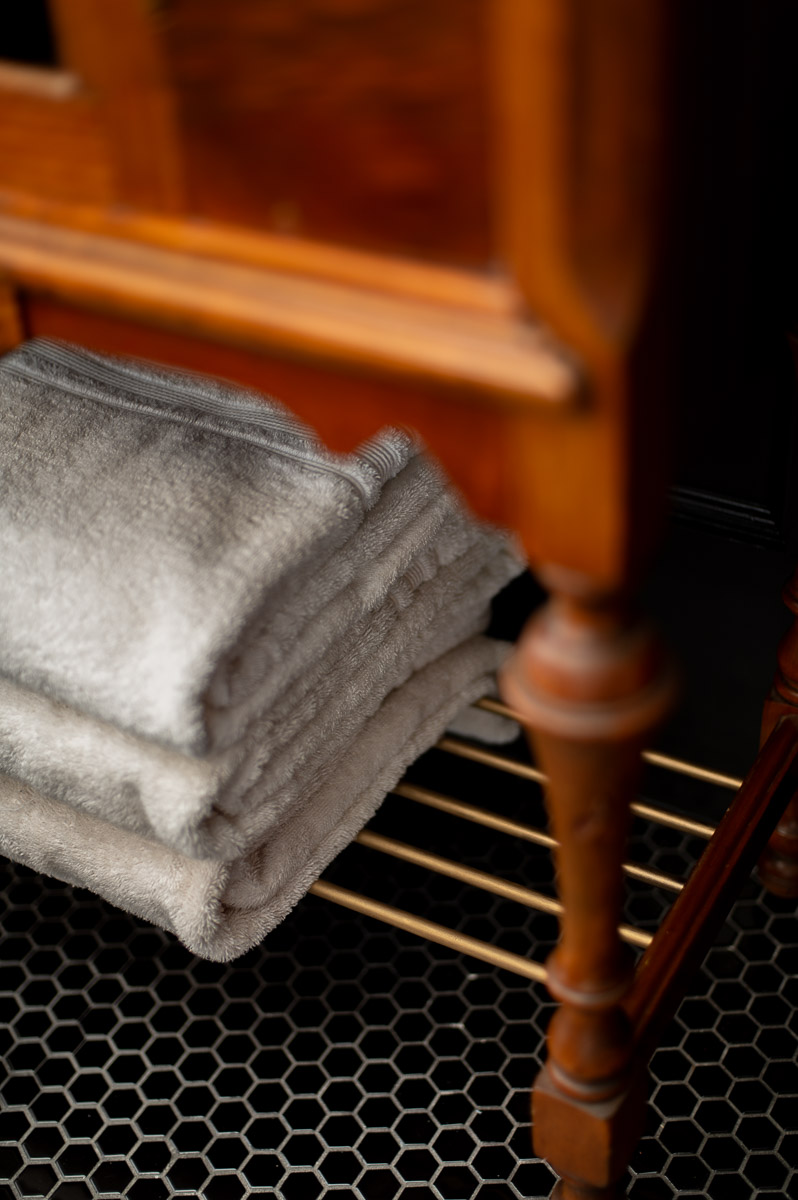
Once all our holes were drilled we carefully inserted our new “brass” rods into the hole at either end of the cabinet. The wood should have a little bit of give that will allow you to slide each end of the rod in place.
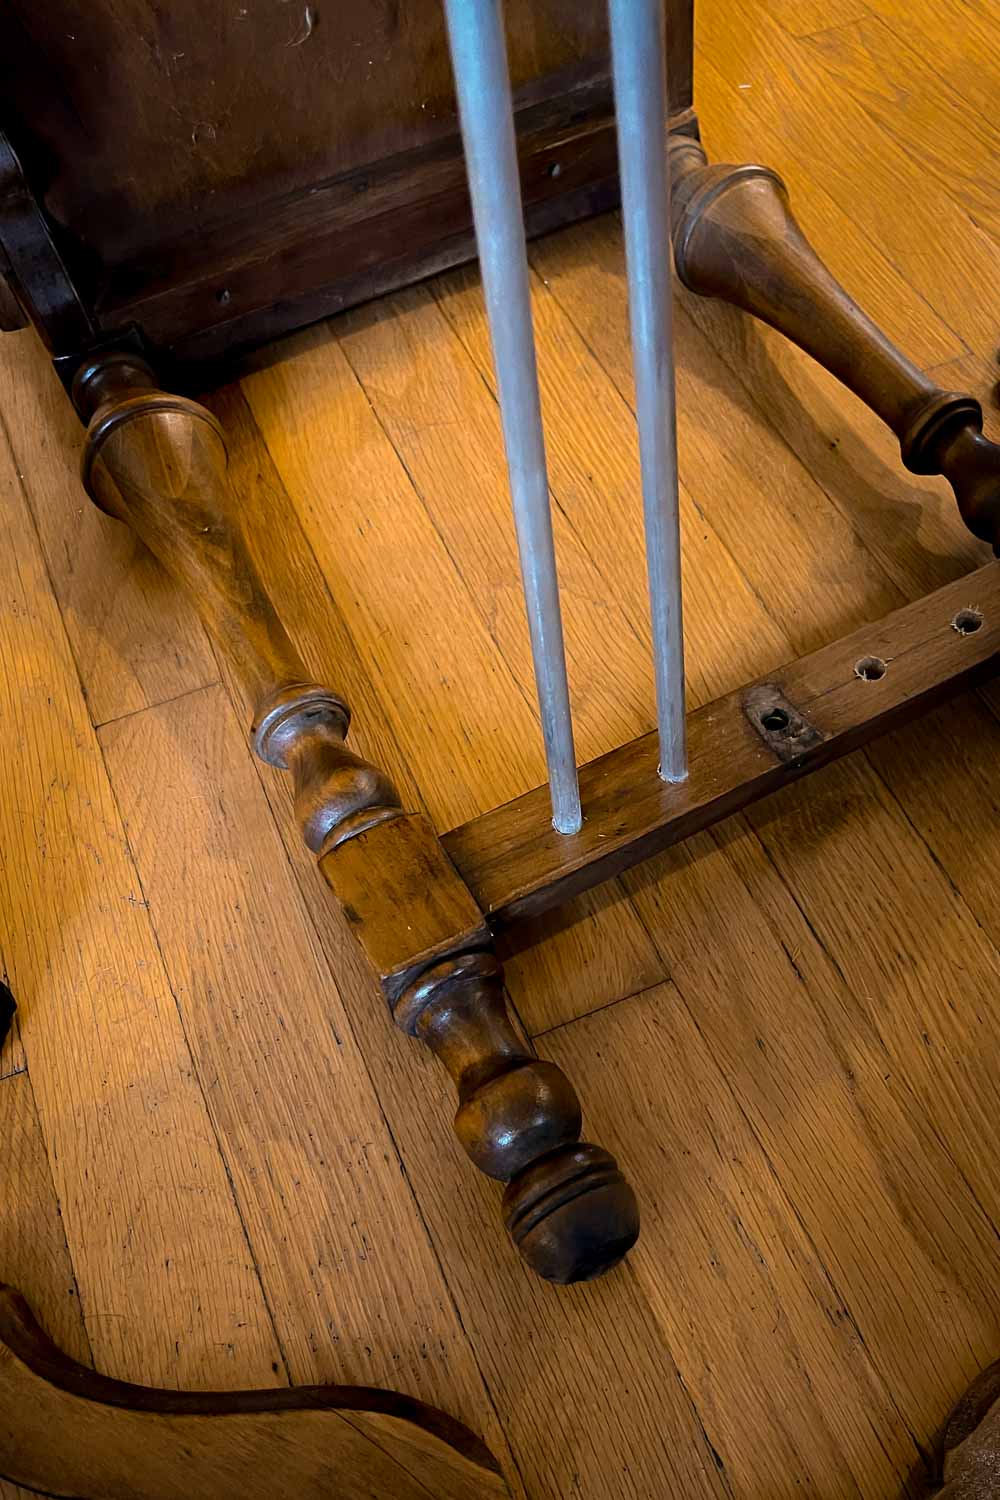
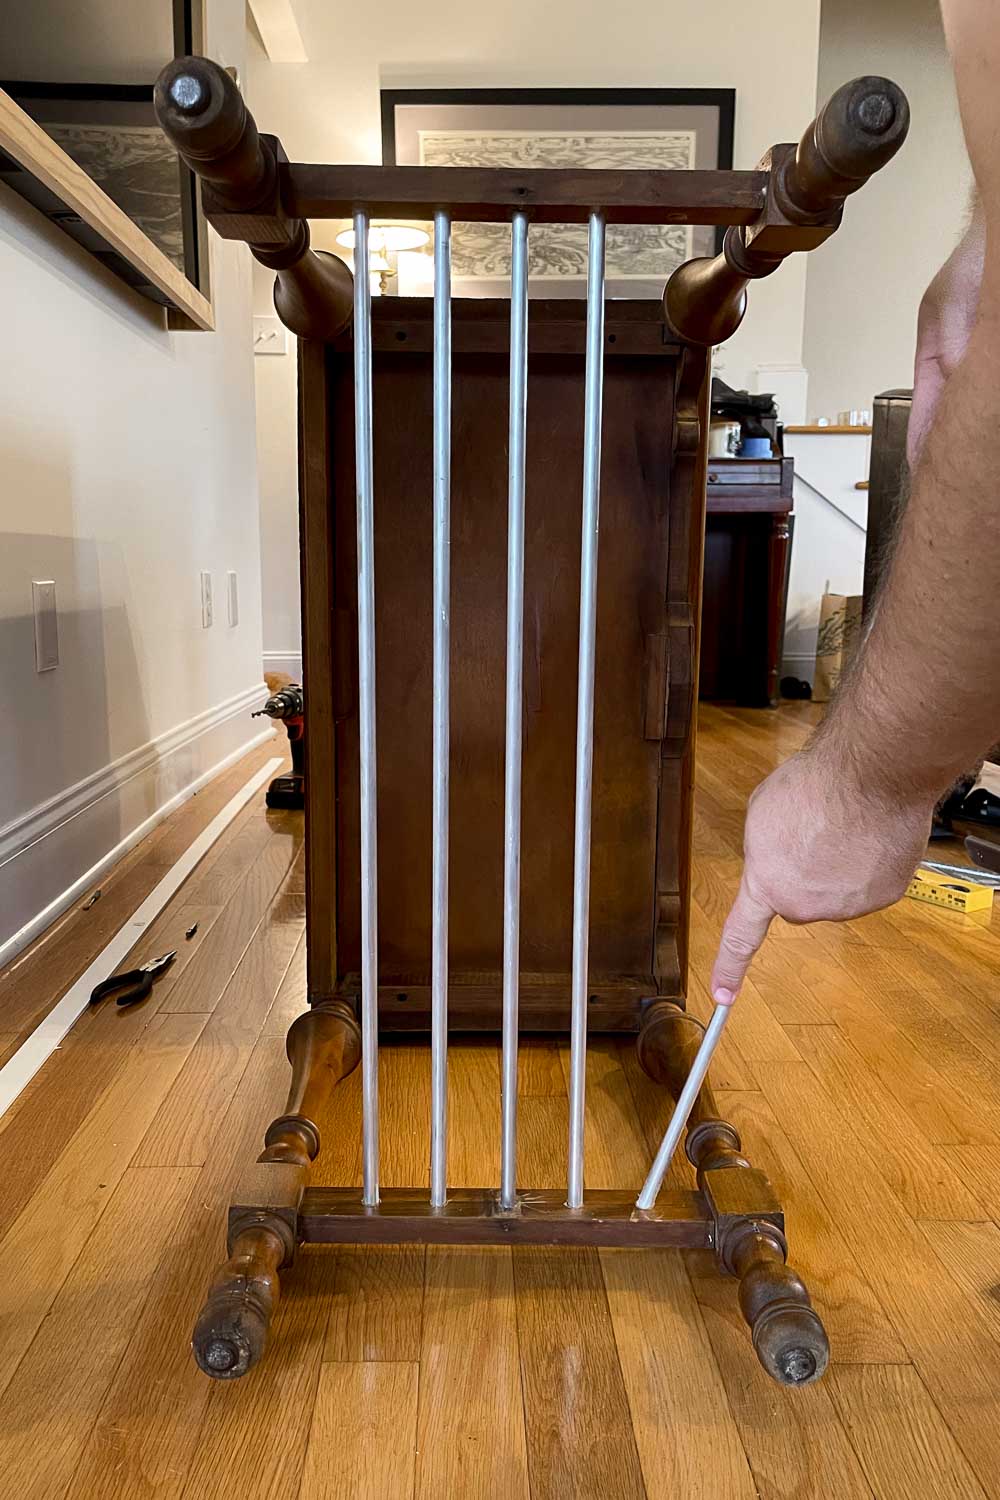
We got lucky and found that the fit was tight enough when all the rods were installed to not require any glue to stay in place. However, if you are worried about your rods falling out, or don’t have as tight a fit, you can put a dab of glue in each hole before inserting the rods to help secure them in place.
PRO TIP: When we were inserting the rods we accidently scratched the wood a bit, you could avoid this by putting some painters tape over the area before inserting your rod to help protect the wood.
(Ignore that the rods are silver in these photos. I took these pictures during our “test fitting” before I rub n’ buffed them and forgot to snap photos when we installed them again the second time)
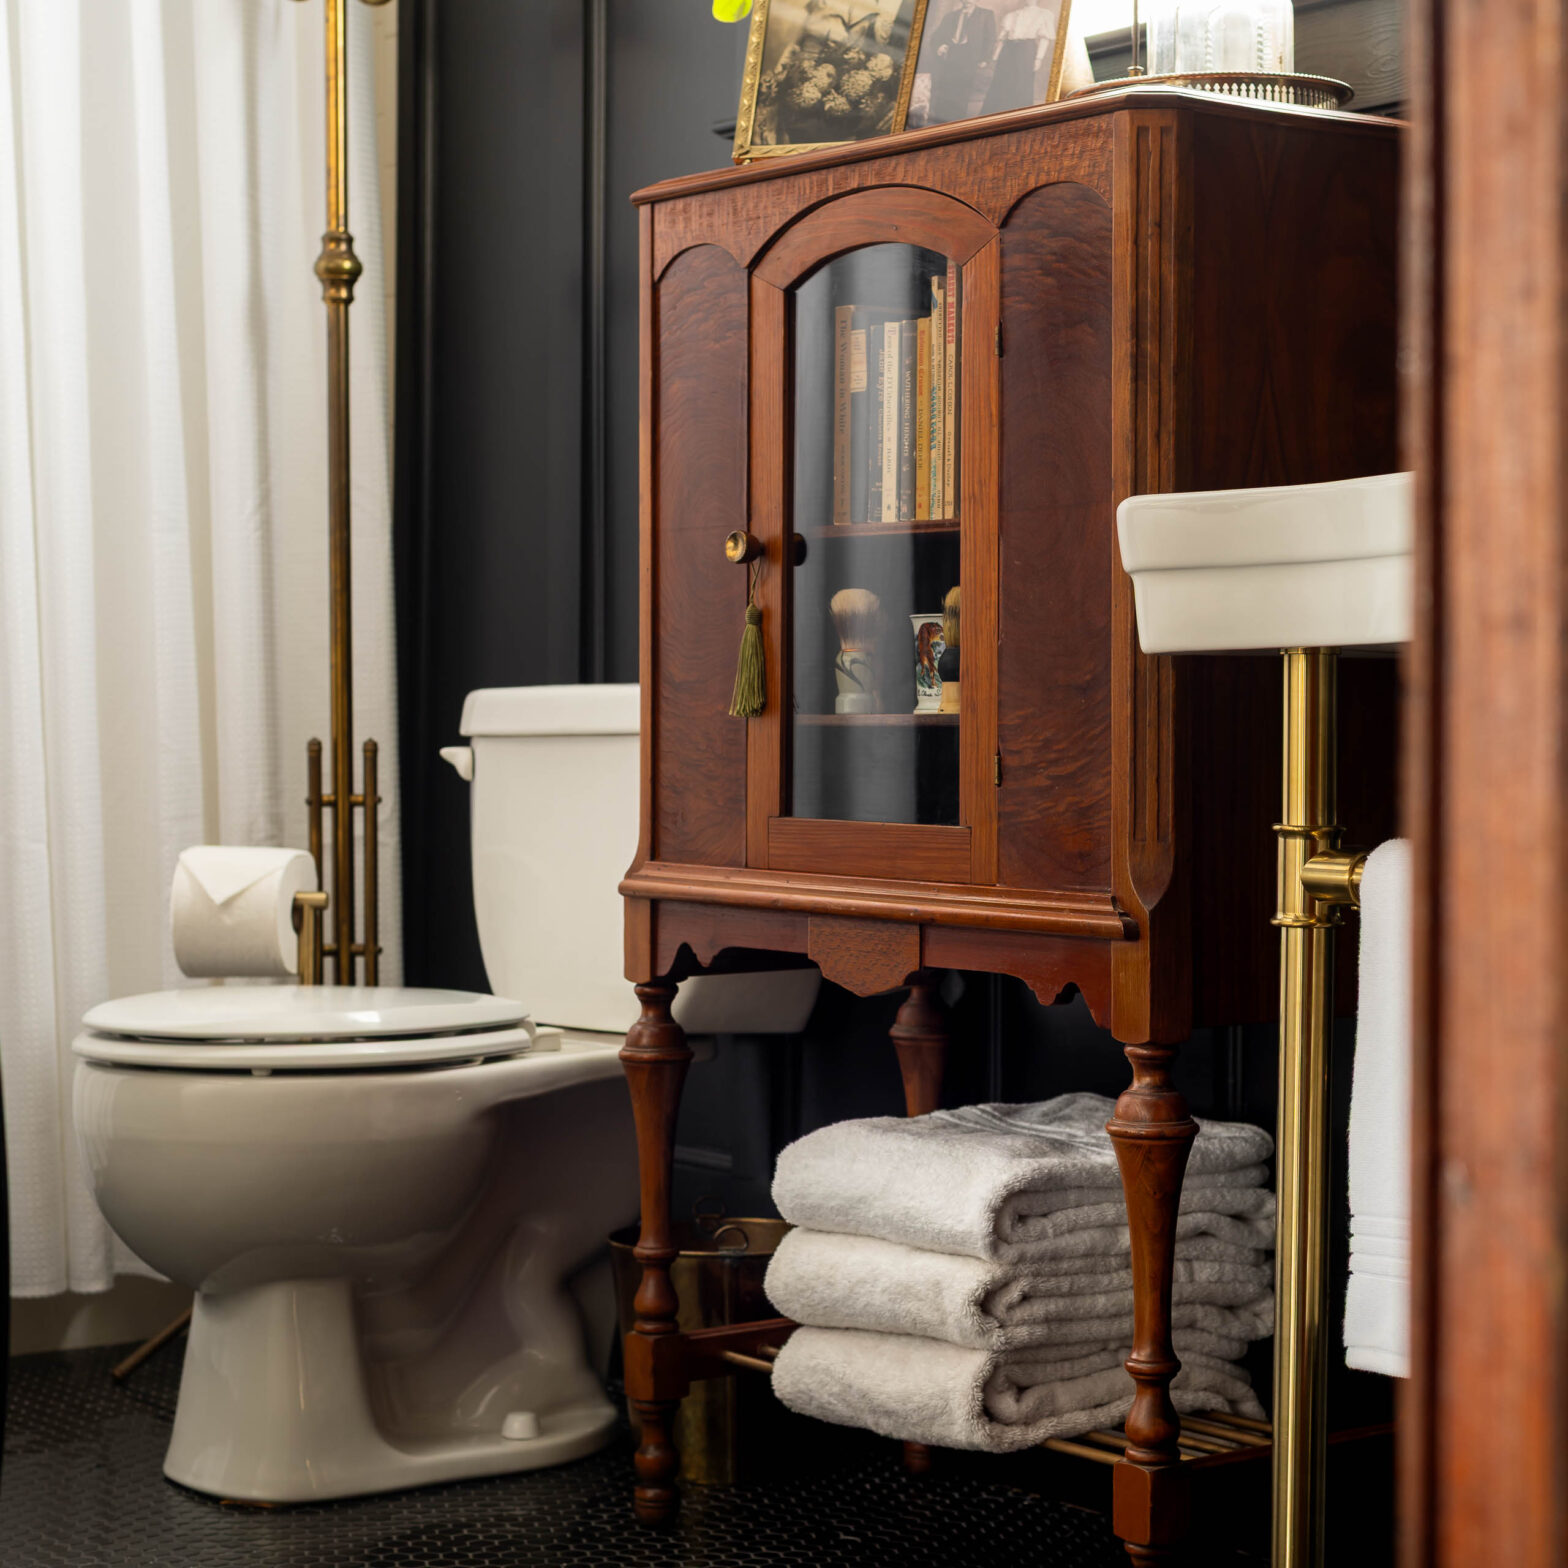
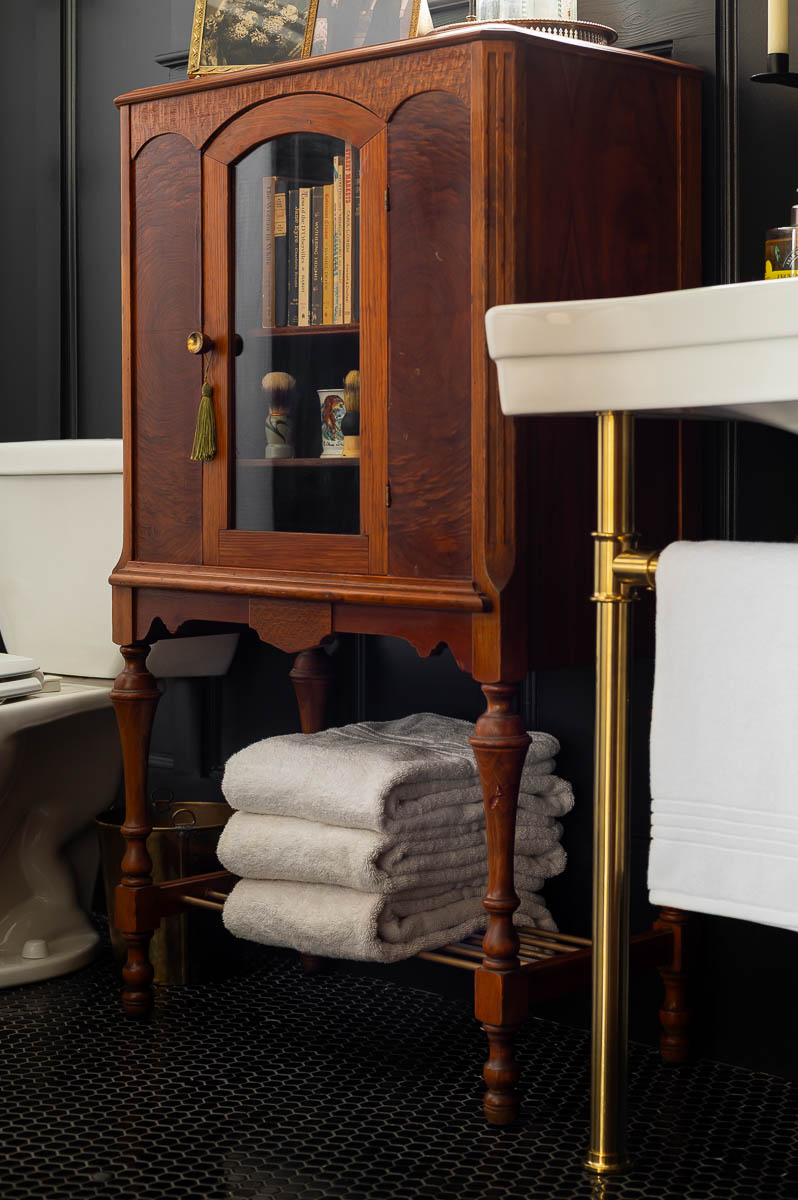
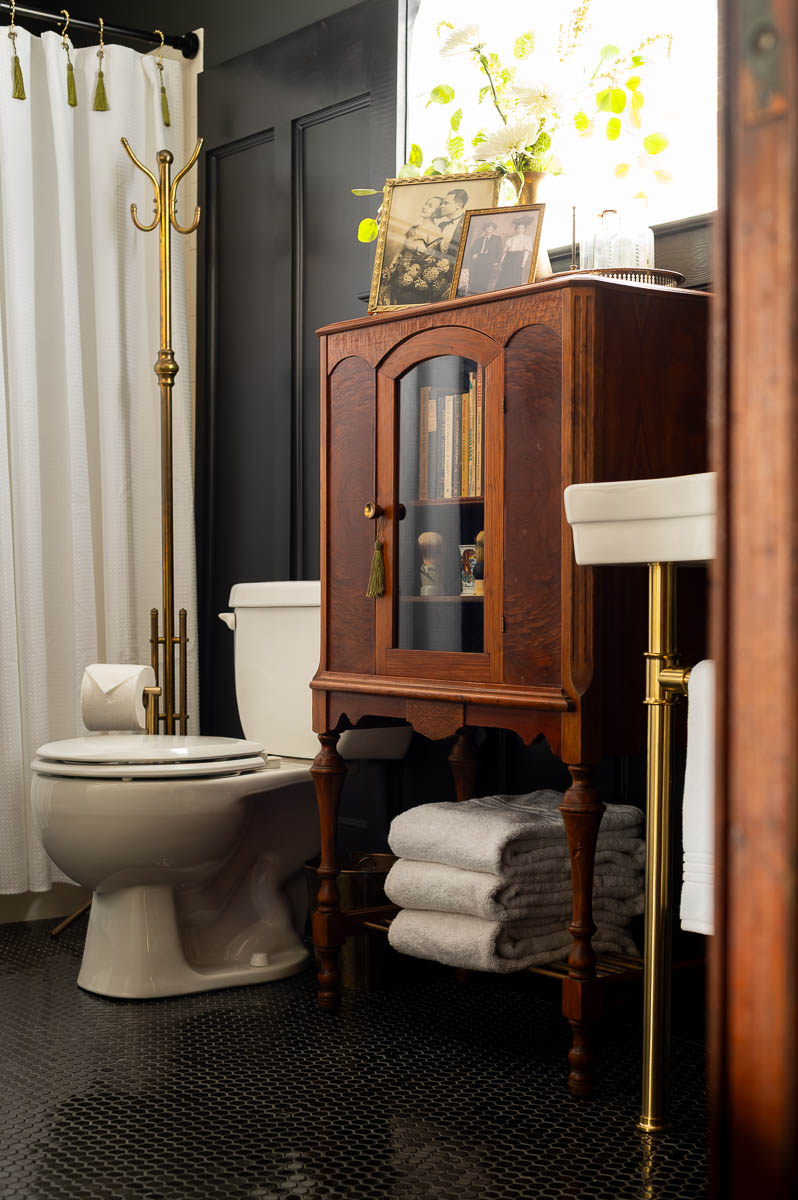
Final Thoughts On This Vintage Bathroom Cabinet Makeover
Updating this vintage cabinet turned out to be one of the smartest decisions we made for the guest bathroom. I love that we kept the original charm while making it so much more functional with built-in towel storage. It’s easily one of my favorite pieces in the entire house. (And obviously the internet agrees since the photos of this cabinet are among the most popular images I’ve ever posted to social media!)
Don’t Forget To Pin This Post & Subscribe!
Want to keep getting more DIY home decor inspiration, thrifting tips & tricks, free art downloads, reading recommendations, and home renovation tutorials? Then don’t forget to pin this post for later so you can follow me on Pinterest and then subscribe to my blog so you can get links to my newest content as soon as it hits the blog!