
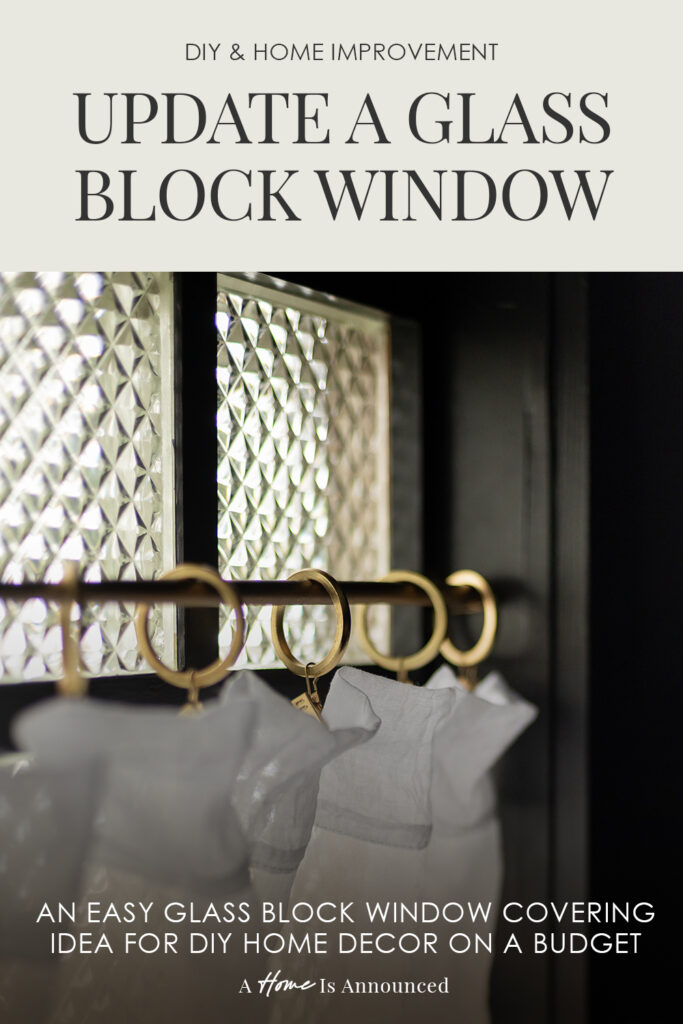
Want to update a glass block window without replacing it? This simple DIY uses trim and paint to give it a fresh, custom look that won’t blow your budget.
Back when we renovated our guest bathroom, I knew the glass block window was going to be a problem. But this was a budget DIY renovation and we did not have the funds to simply replace it. that left me scratching my head for ways to at least cover it up or modernize the glass blocks.
*This blog post contains affiliate links, meaning that if you purchase any of the items using the links I provide I, as the author of this website, will receive a very very small commission from that sale. This is a great way to help support your favorite bloggers at no cost to you. Think of it like a tip jar that costs you nothing!
My Glass Block Window Idea
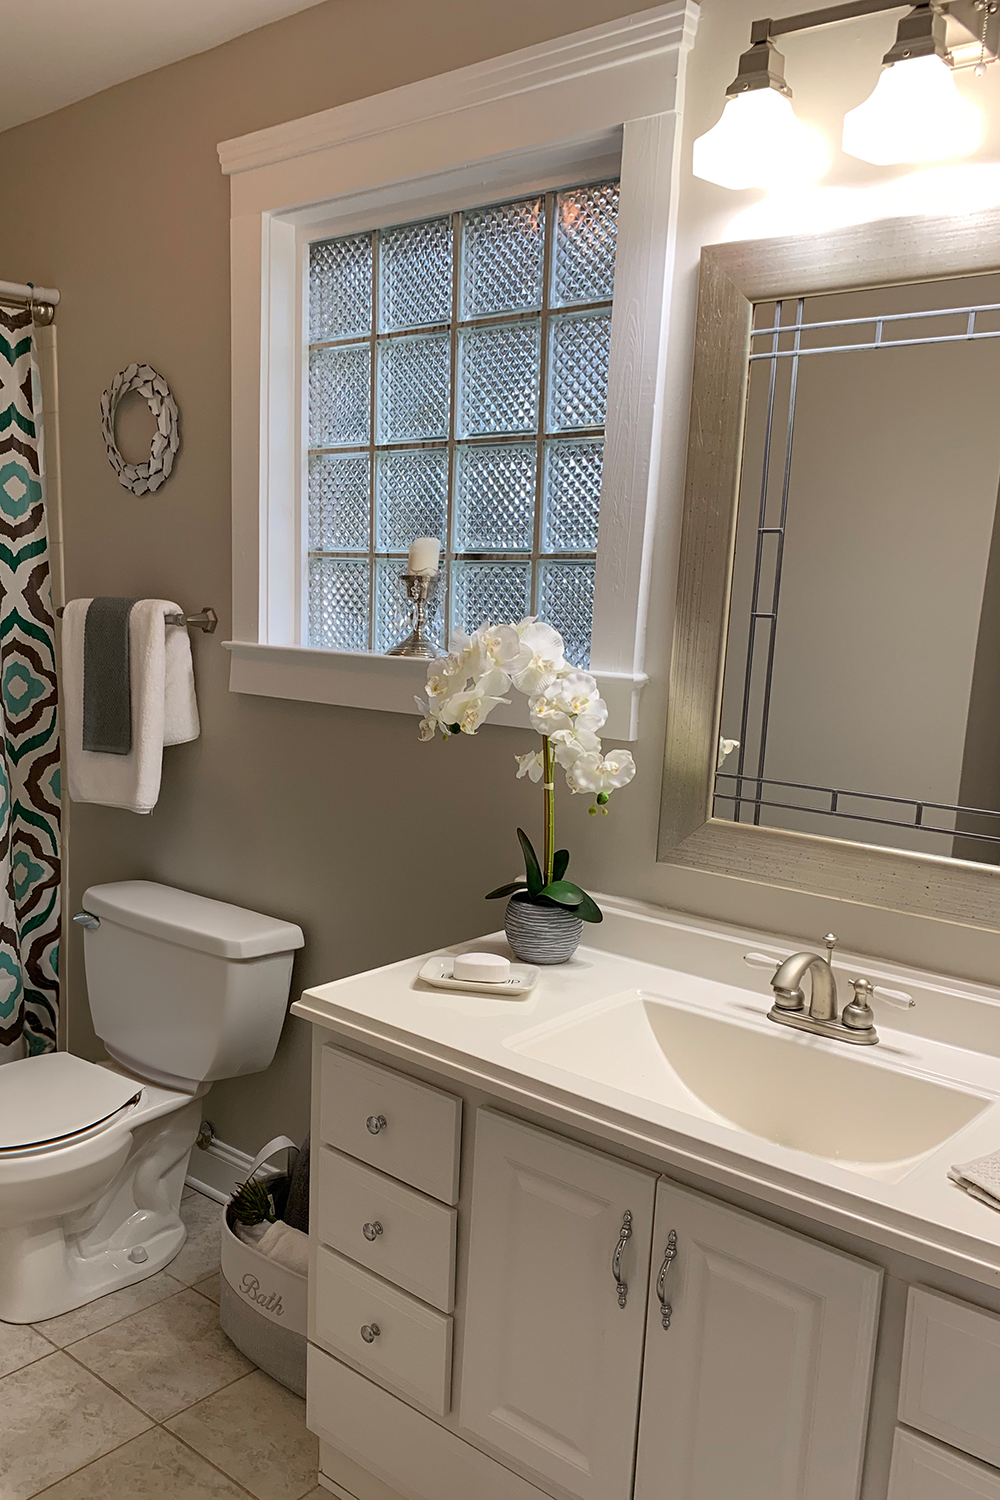
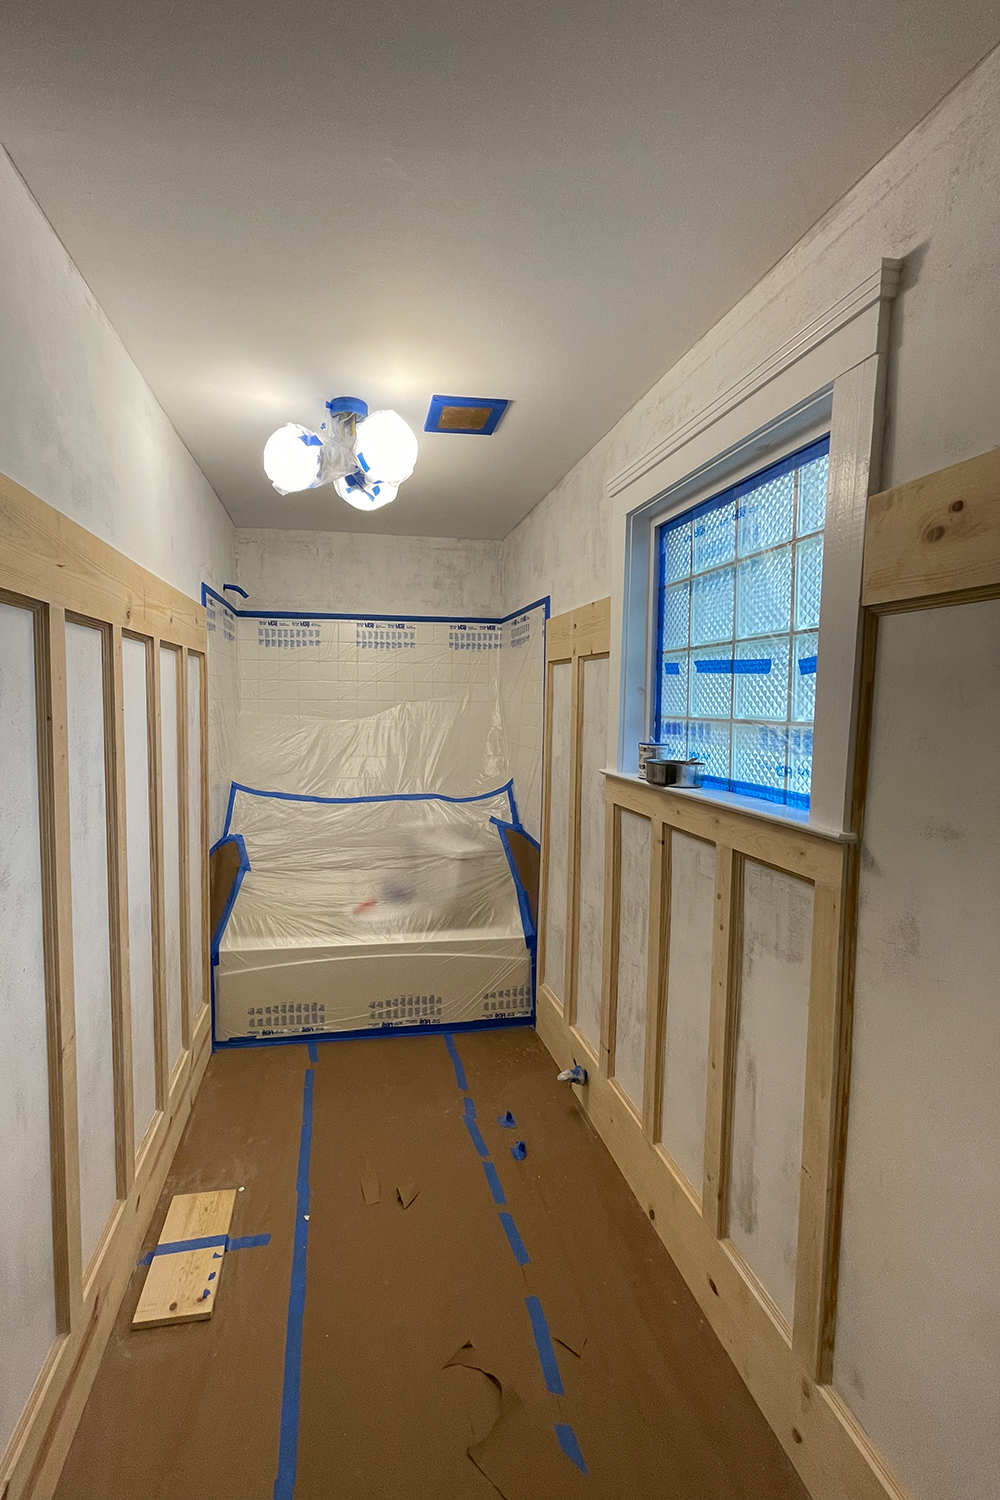
Here’s some quick “before” pictures of the room we renovated. The first image is from the day we bought the house, and the second is midway through our small bathroom renovation. You can see how the glass block window in this bathroom really dated the space and didn’t work with the traditional craftsman inspired design aesthetic we were going for in here.
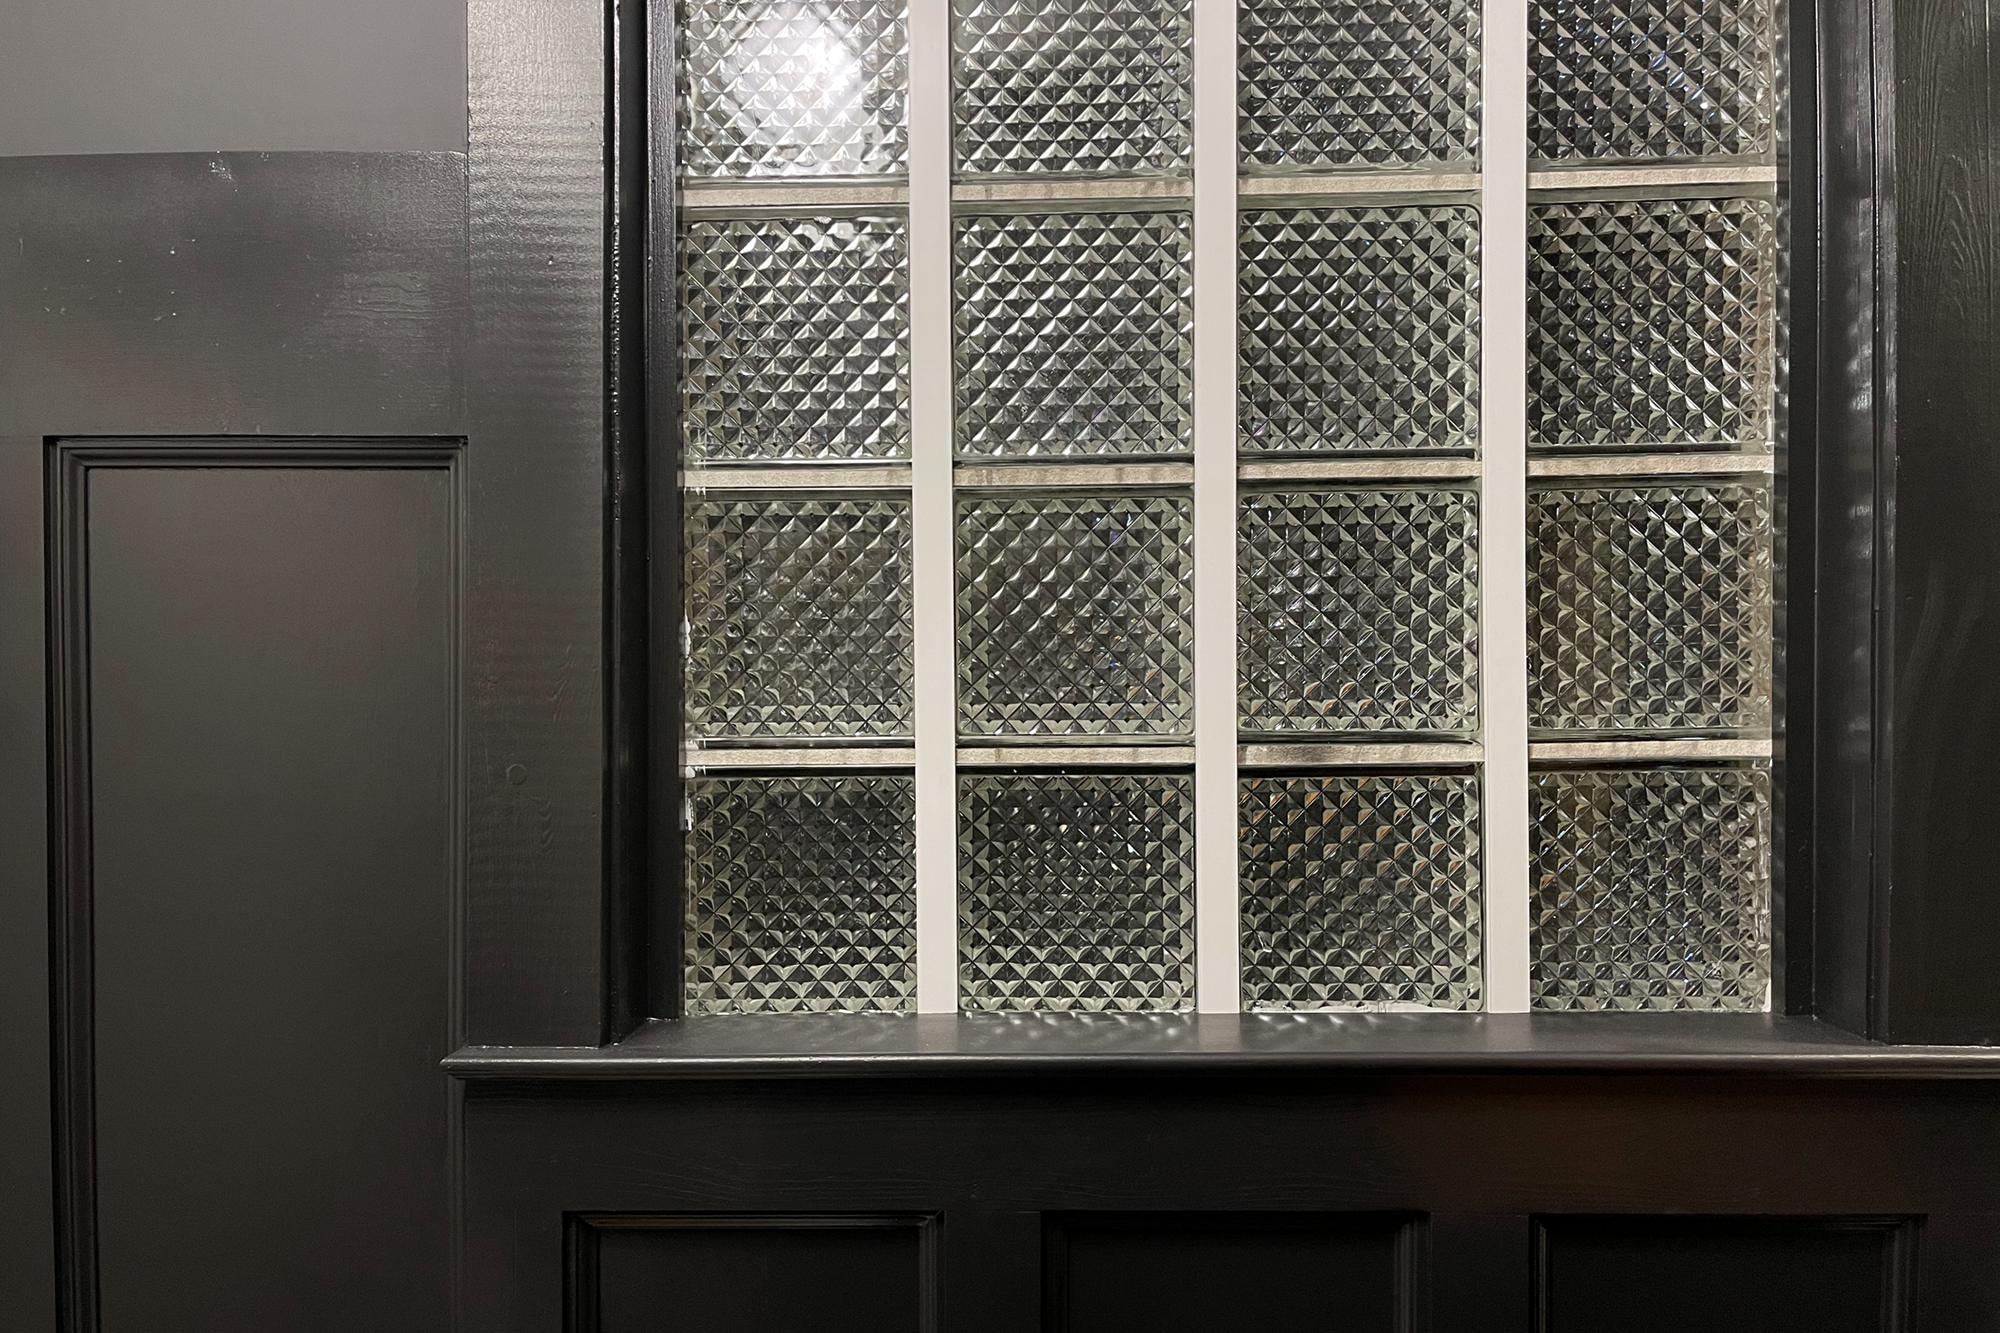
After spending a lot of time in this bathroom working on the renovation, it suddenly hit me. It wasn’t the GLASS I didn’t like. It was the mortar lines between the glass blocks! Which is when this easy diy glass block window hack popped into my head.
What if instead of disguising the entire block glass window I just covered up the mortar lines with trim and painted it to match the room!?
Here’s how I did it:
The Supplies You’ll Need:
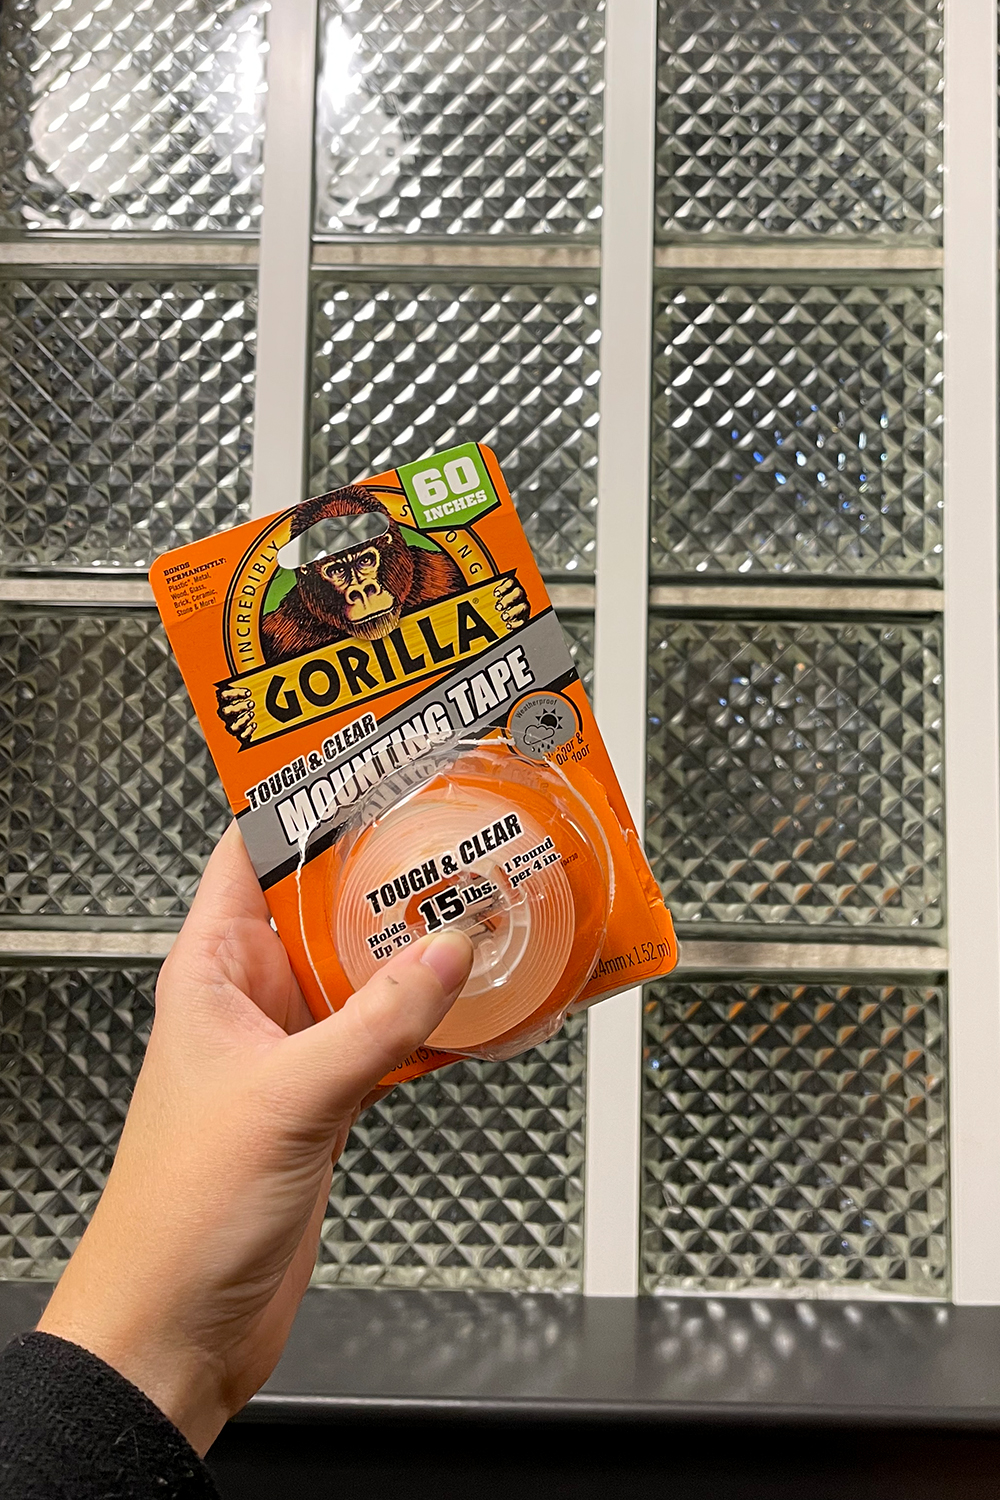
• Gorilla Tough & Clear Mounting Tape
This is how I chose to mount the trim onto the mortar lines. (I wanted something I could more easily UNDO if I hated it.) This tape is super strong and has not BUDGED since we installed the trim over 4 years ago now. If you KNOW you want your trim more permanently installed, good old liquid nails is a great option for this too.
• Trim
I wanted something flat and wide enough to cover the mortar lines and the rounded edges of the glass blocks. In the end we used this 1 1/8in finished PVC white lattice moulding we found at Home Depot. It worked perfectly!
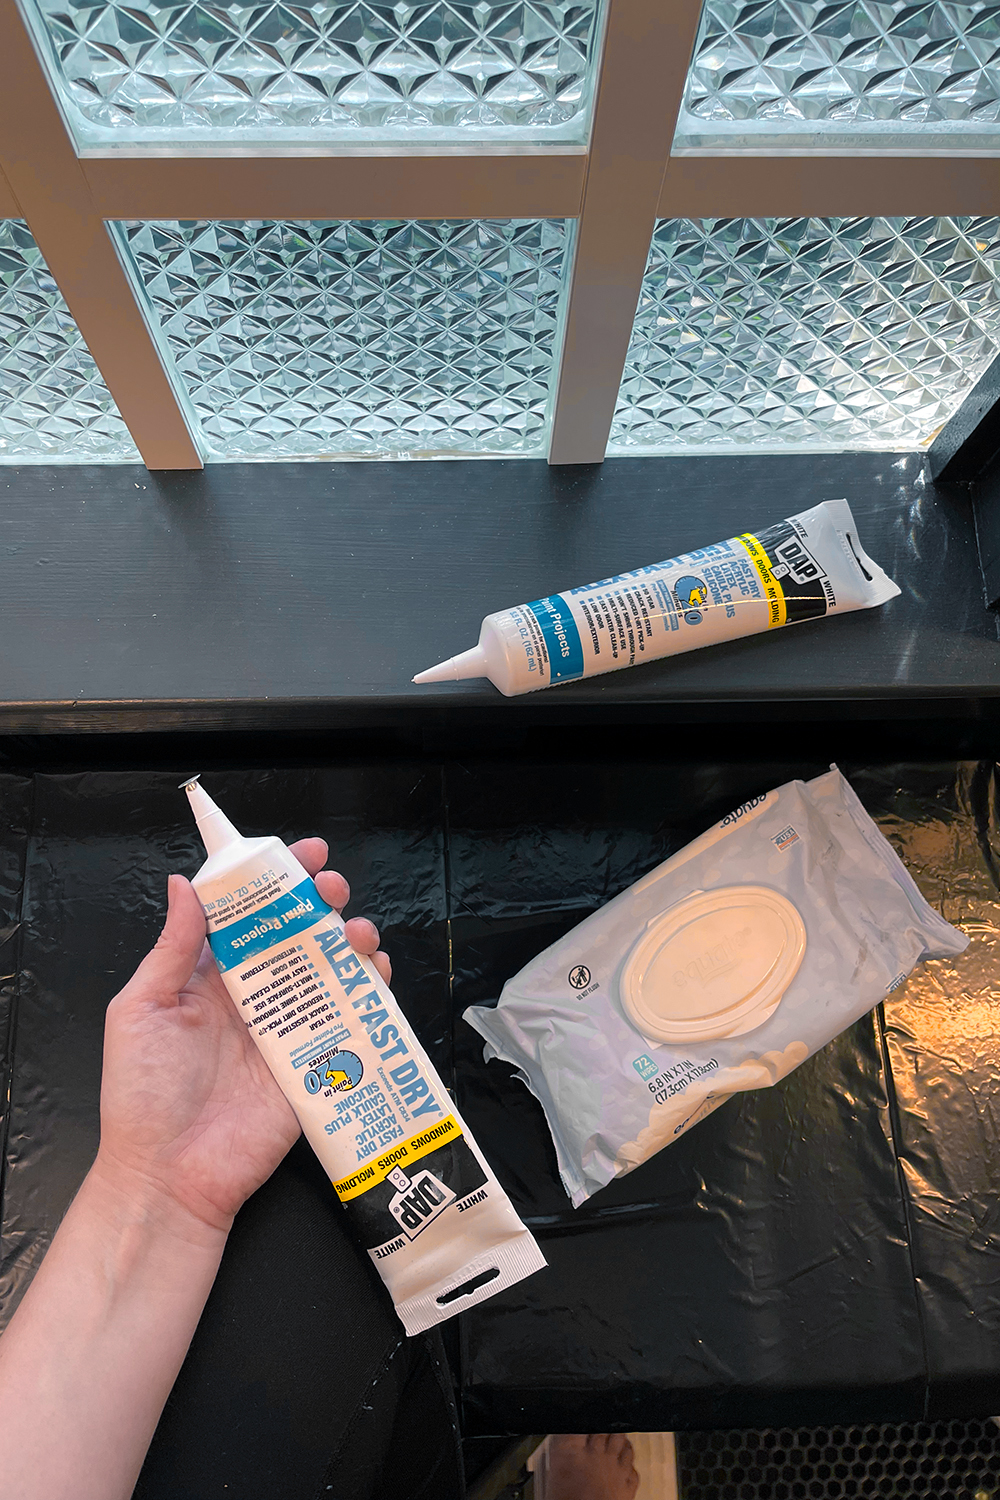
You’ll want to make sure you have some caulk on hand to fill in all the seams and smooth out the transitions. The baby wipes are super helpful for cleaning up caulk lines without making a mess!
• Saw or Miter Shears
Lastly you’ll need something to cut all the trim to size with. Either a small saw of some sort or even just a pair of miter shears is all you really need.
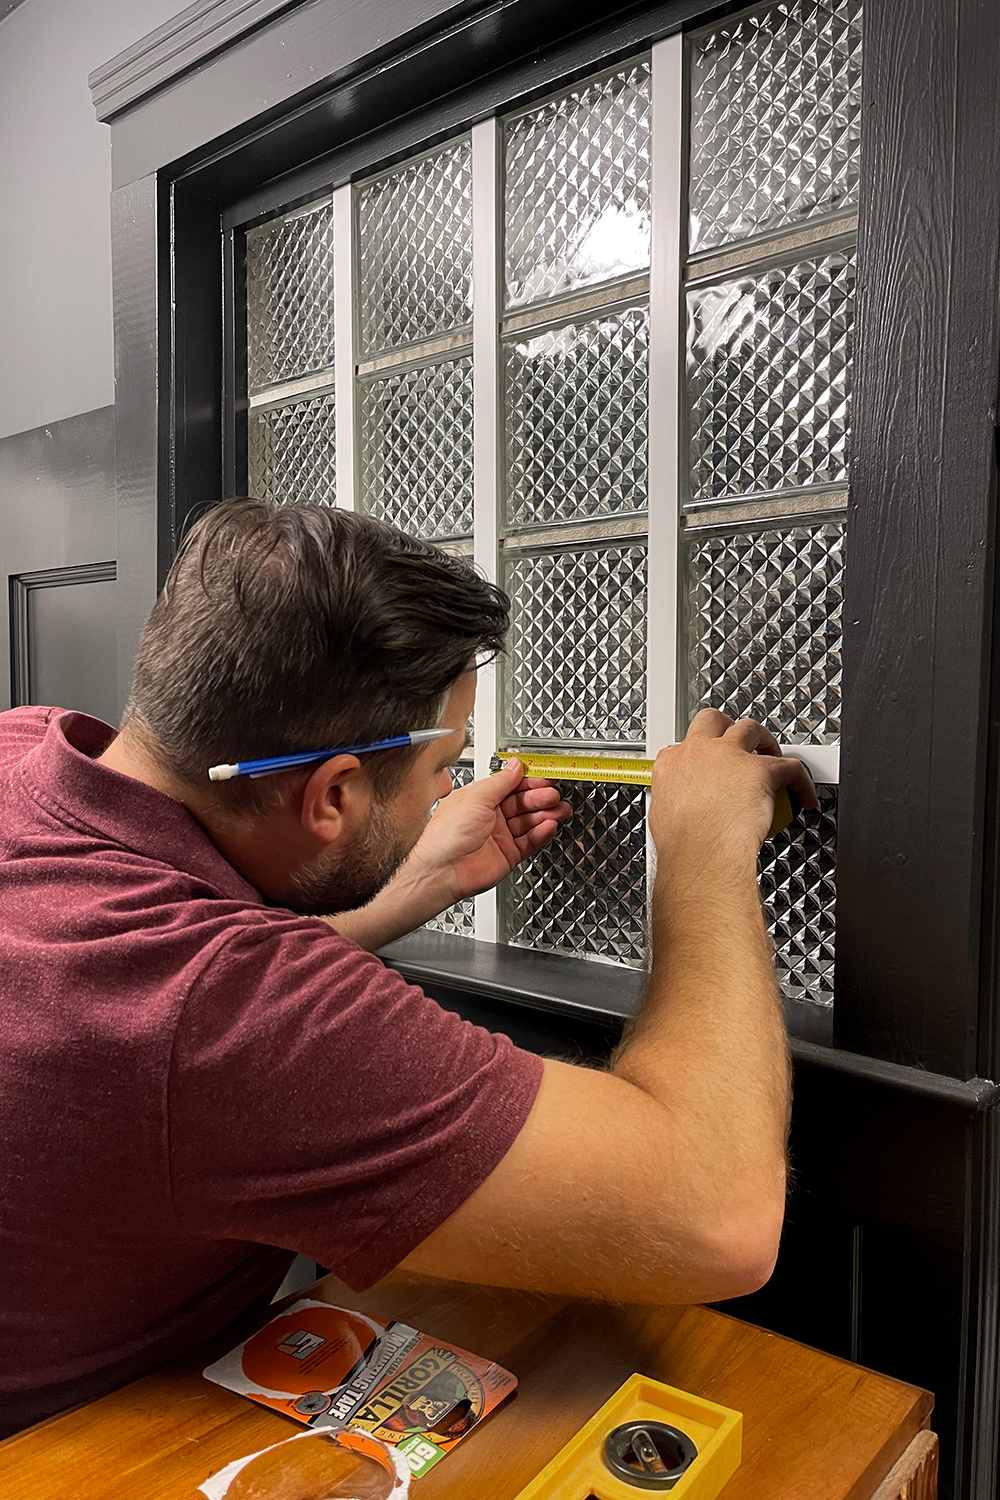
Step One: Mount Your Vertical Grid Lines
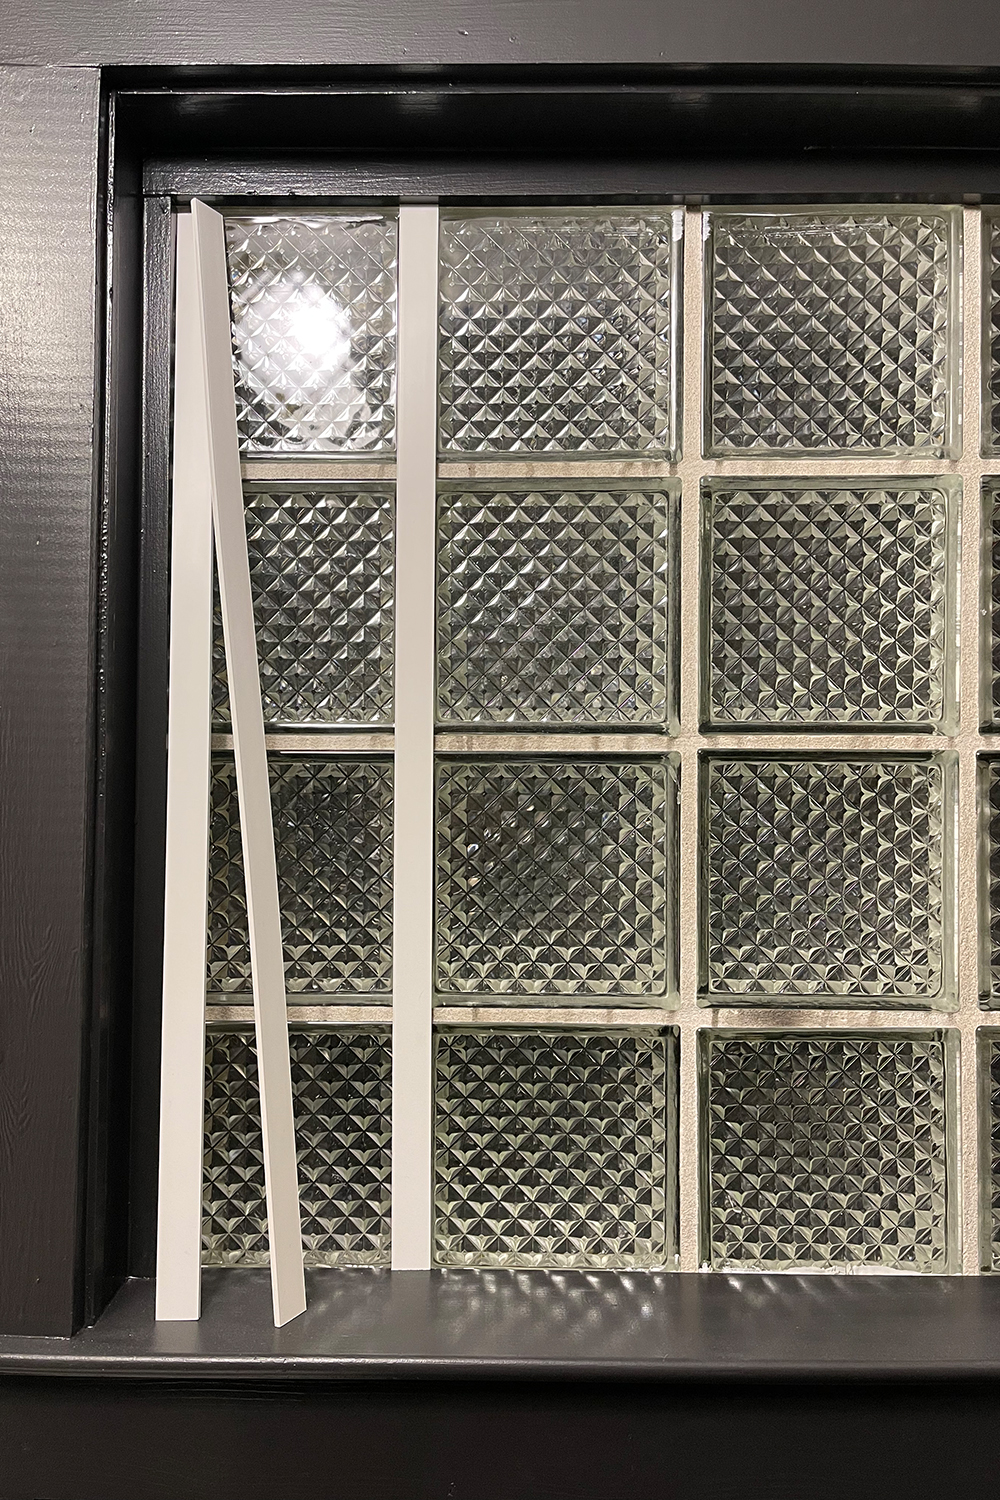
This was the easiest part of this process. Simple measure for the length of trim you will need for each vertical line of mortar, cut your trim to length, apply some double sided tape to the back of the trim and carefully adhere it to the window over mortar line.
Step Two: Mount Your Horizontal Grid Lines
Since we did big long runs for our vertical lines, that meant we needed to cut a bunch of shorter lengths of trim for our horizontal grid lines.
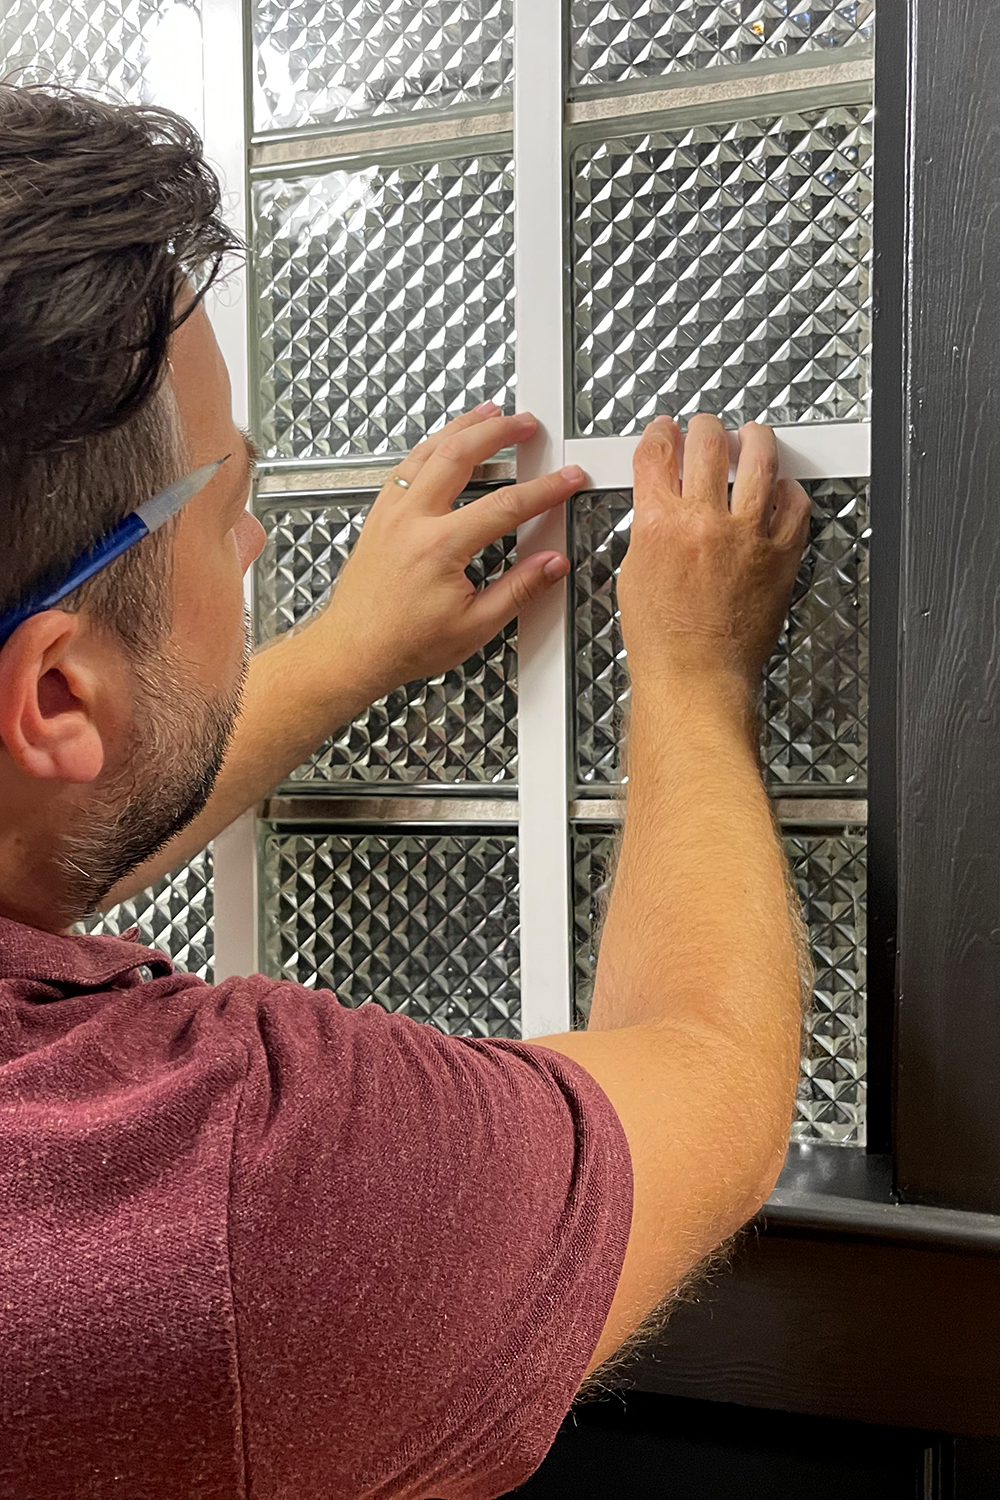
For this you’ll simply repeat the same process as before, measuring each time to ensure you get the tightest fit possible.
Step Three: Caulk All Your Seams
The trick to making this look like a real window grid is to carefully caulk all your seams and smooth out any imperfections with a clean baby wipe. Your goal is to get all this to blend seamlessly together.
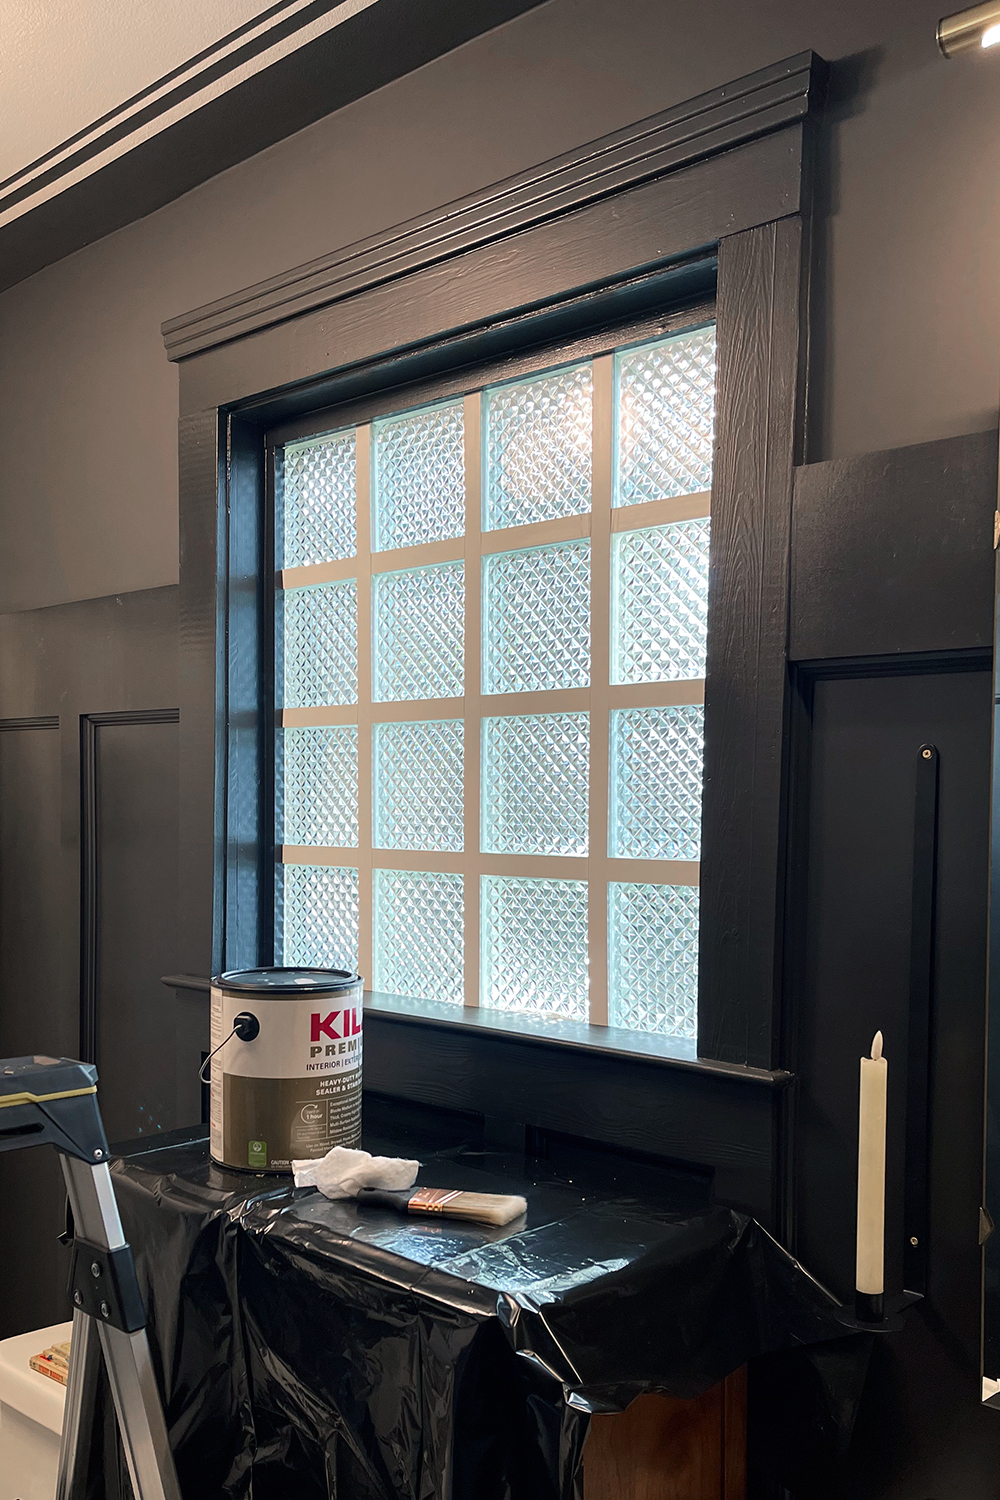
Even before paint, just hiding those mortar lines makes such a difference for how this block glass window felt and looked in this space!
Step Four: Paint Your Window Grid To Match Your Window Trim
Finally the most satisfying part of this project, Paint! It’s amazing how the look of the window completely transformed once the window grids were painted to match the trim!
We chose to also add a little sheer cafe curtain as well to go with the vintage vibes in this room.
I honestly love the refracted dappled light it casts into the room now!


Final Thoughts On This Budget DIY Block Glass Window Update
As I mentioned before, it’s been over 4 years since we did this simple DIY hack to transform our block glass window with a little trim, tape, caulk and paint and I couldn’t be happier with how this DIY has held up over time.
We recently had several windows in our house replaced and ultimately decided that we were so happy with how the block glass window looks with the DIY window grid update that we decided to just leave it as is!
What do you think? Would you try this on your block glass window?
Don’t Forget To Pin This Post & Subscribe!
Want to keep getting more DIY home decor inspiration, thrifting tips & tricks, free art downloads, reading recommendations, and home renovation tutorials? Then don’t forget to pin this post for later so you can follow me on Pinterest and then subscribe to my blog so you can get links to my newest content as soon as it hits the blog!